1. Frosted transom above the sink for privacy + glow
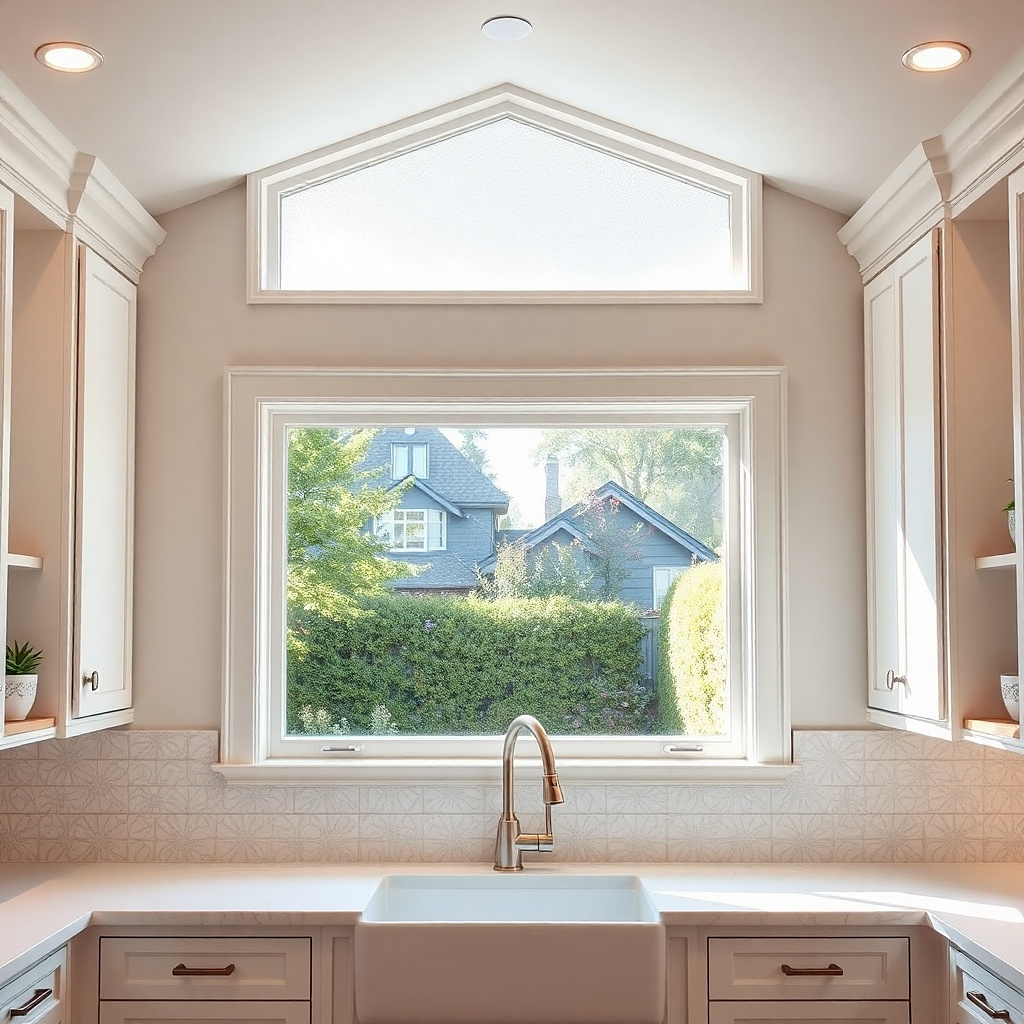
First, measure the sink wall and aim for a transom height of about 10-18 inches above the faucet zone. Install a fixed transom with frosted or privacy glass so you don’t have moving parts in the splash zone. Then extend the backsplash tile up to at least the bottom edge of the transom and keep the grout light so the light stays clean. Expect a moderate DIY-to-pro range if you’re replacing an existing opening; otherwise plan for a professional for the rough framing and header work.
A frosted transom set above the sink keeps the view private while still flooding the countertop with daylight. Frosted glass diffuses light, so you get a soft glow instead of harsh glare on wet dishes. Pair it with crisp white trim and a light backsplash so the frosted section reads bright, not dull. This works especially well in narrow kitchens where a full-width window would be too disruptive or too hard to frame around plumbing.
Common mistakeAvoid clear glass over the sink if your window faces a neighbor’s porch or street.
Try thisUse frosted glass with a smooth surface, not heavy texture, so steam doesn’t leave random streaks.
2. Narrow vertical mullion window to stretch the wall taller
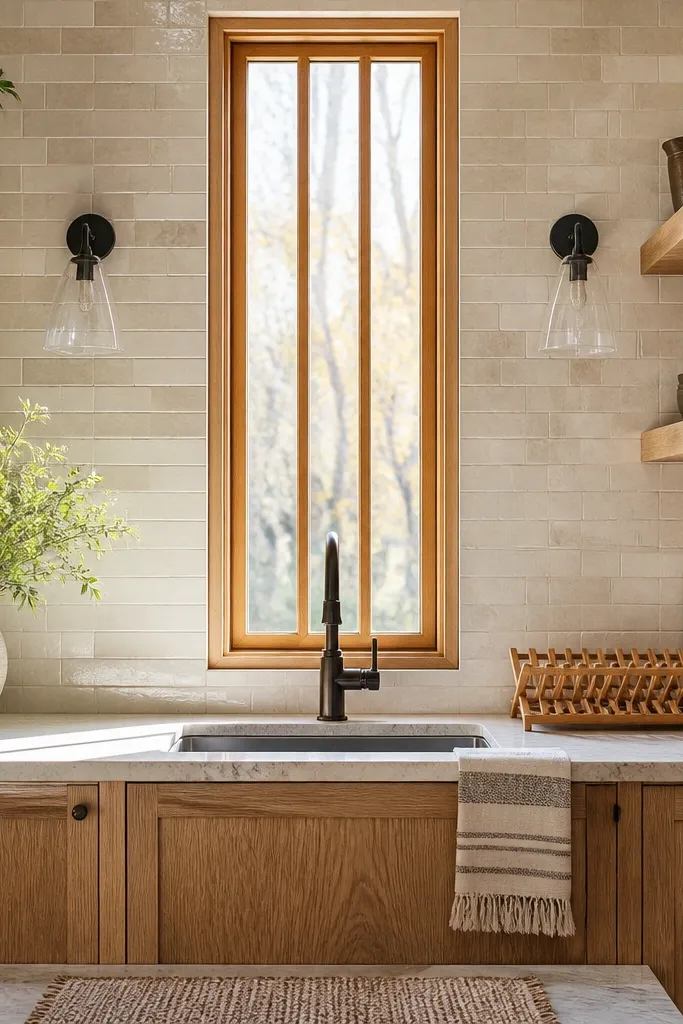
Start by limiting the width to match your space — a common sweet spot is 18-30 inches wide depending on the wall and plumbing clearances. Pick a height that sits above the counter line, with the bottom edge roughly 4-8 inches above the backsplash top. Then keep the backsplash simple and continuous so the mullions become the main visual. Install with shims for a perfectly level sill, and seal the perimeter with a paintable exterior-grade caulk.
A narrow window with vertical mullions makes a small sink wall feel taller and more architectural. The mullions break up the glass into slim columns, which reduces the “flat wall” look even when the opening is small. Choose a warm white or light oak frame to keep it from reading cold. This is a strong pick when your sink sits under cabinets and you can’t afford a wide opening, but you still want the room to feel lifted.
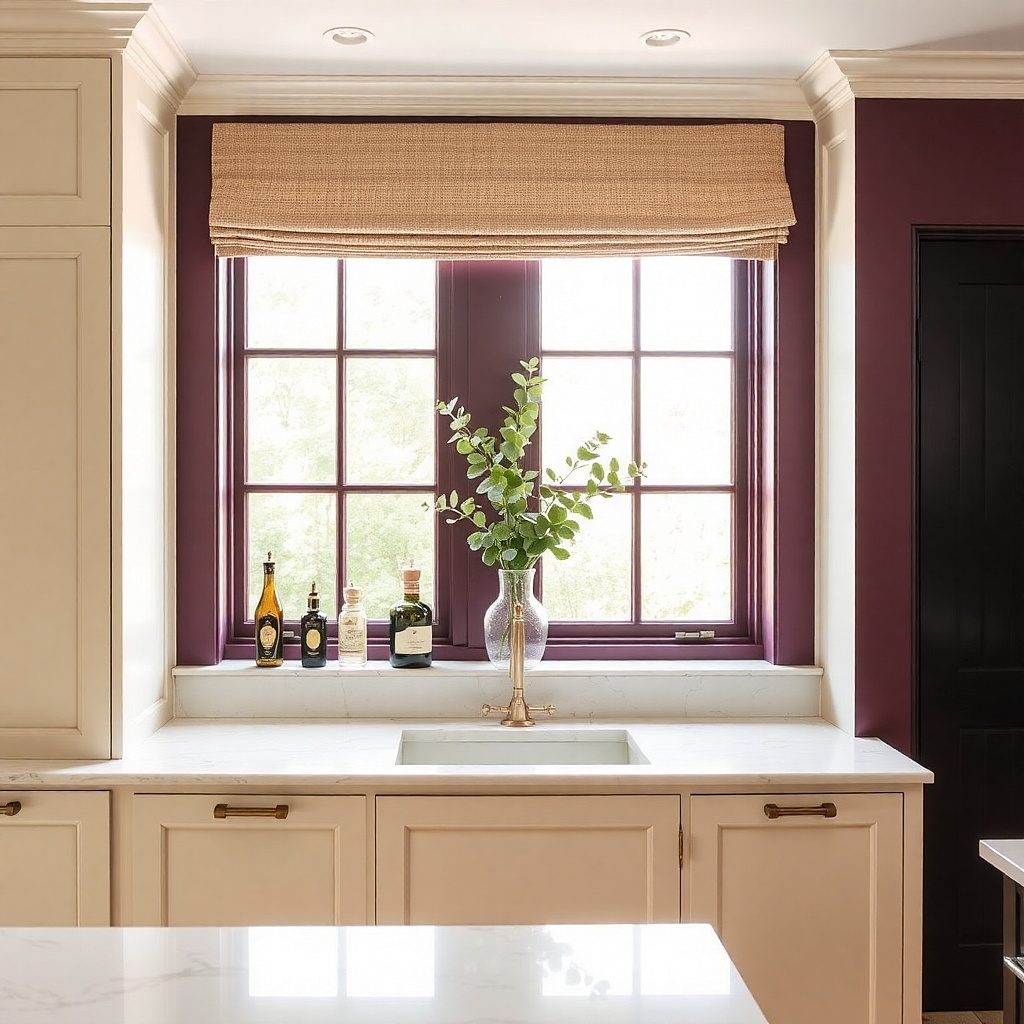
Common mistakeDon’t go too dark on the frame if your walls are already warm beige or tan — it will make the sink area feel heavier.
Try thisMatch the window frame finish to your cabinet hardware so the mullions look intentional instead of temporary.
3. Farmhouse apron sill window with a deeper ledge
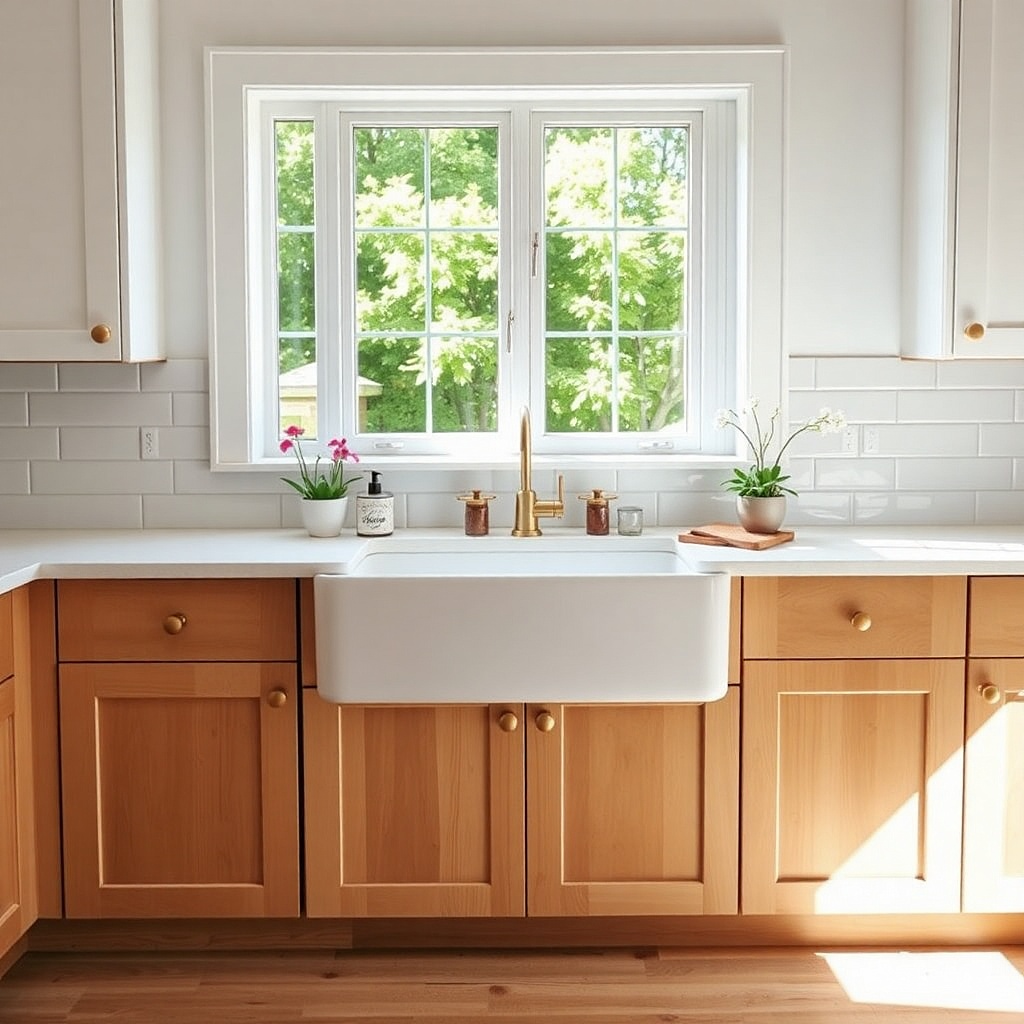
First, choose a sill depth around 2.5-4 inches so you get a noticeable ledge without blocking light. Place the window so the apron sits about 2-4 inches above the backsplash top, then tile up to the frame edges cleanly. Install a moisture-resistant trim package and use a continuous bead of caulk where the sill meets the wall. Budget more for the trim and sill work; the look depends on crisp edges and tight sealing.
A farmhouse-style window with a deeper apron sill makes the area feel finished and gives you a practical place to set a small plant or soap. The extra ledge creates a visual “platform” that balances the sink and helps the window look like it belongs, not like a random hole. Go for a durable sill finish like sealed paint or a moisture-rated wood stain, because wipe-downs happen here. This idea is strongest in kitchens with a classic backsplash — subway tile, small square tile, or hand-glazed looks — where the window becomes part of the rhythm.
Common mistakeSkip thin, flat sills — they look cheap under steam and don’t give the “anchored” feel.
Try thisKeep decor minimal: one small ceramic container or a short tray looks styled without inviting clutter.
4. Black-framed picture window panel over sink
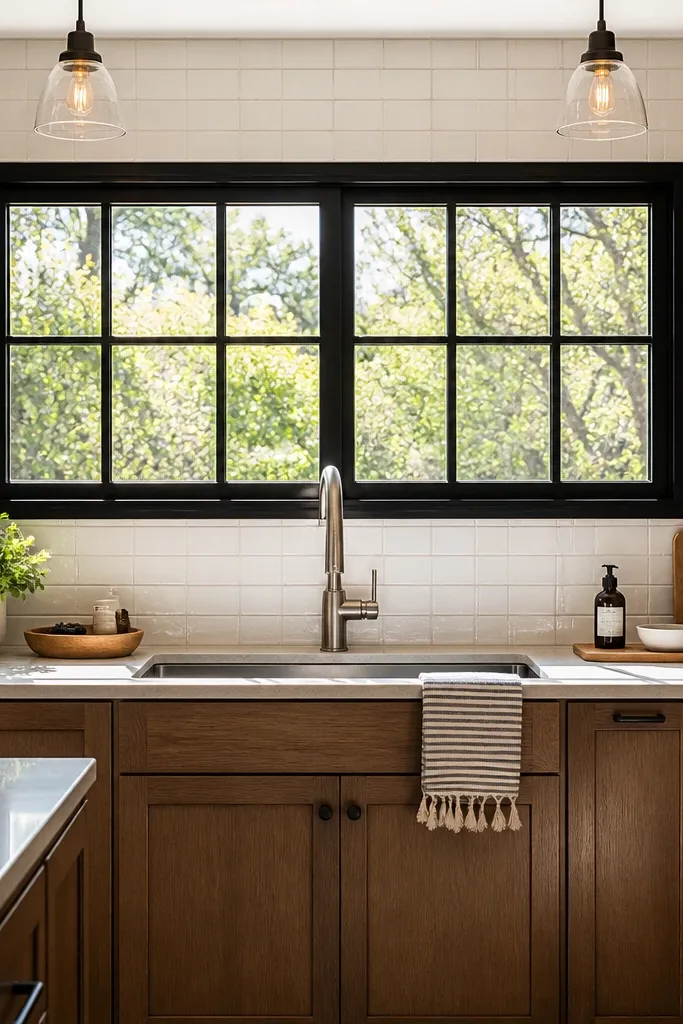
A black-framed picture window panel turns the sink wall into a focal point, even in a small kitchen. The dark frame adds contrast, while a bright backsplash keeps the glass from swallowing light. This works best when your cabinets are light or mid-tone, because the window becomes the crisp line that makes the space feel designed. If you want the “wow” look without a huge opening, choose a slim but tall panel and keep the glass large and uninterrupted.
Start by selecting an opening that fits the wall — aim for about 24-40 inches wide and 22-34 inches tall for a noticeable effect. Place the bottom of the window around 6-10 inches above the backsplash top so it doesn’t feel low. Then install a black aluminum or fiberglass frame for easier cleaning around splashes. Finish the surround with a simple trim profile and paint the casing the same color as the wall for a clean edge.
Use a light, matte backsplash so the black frame doesn’t reflect glare back into your eyes.
Don’t pair a glossy tile backsplash with a dark frame — reflections can look messy around dishes.
5. Window + tiled return corner for a built-in look
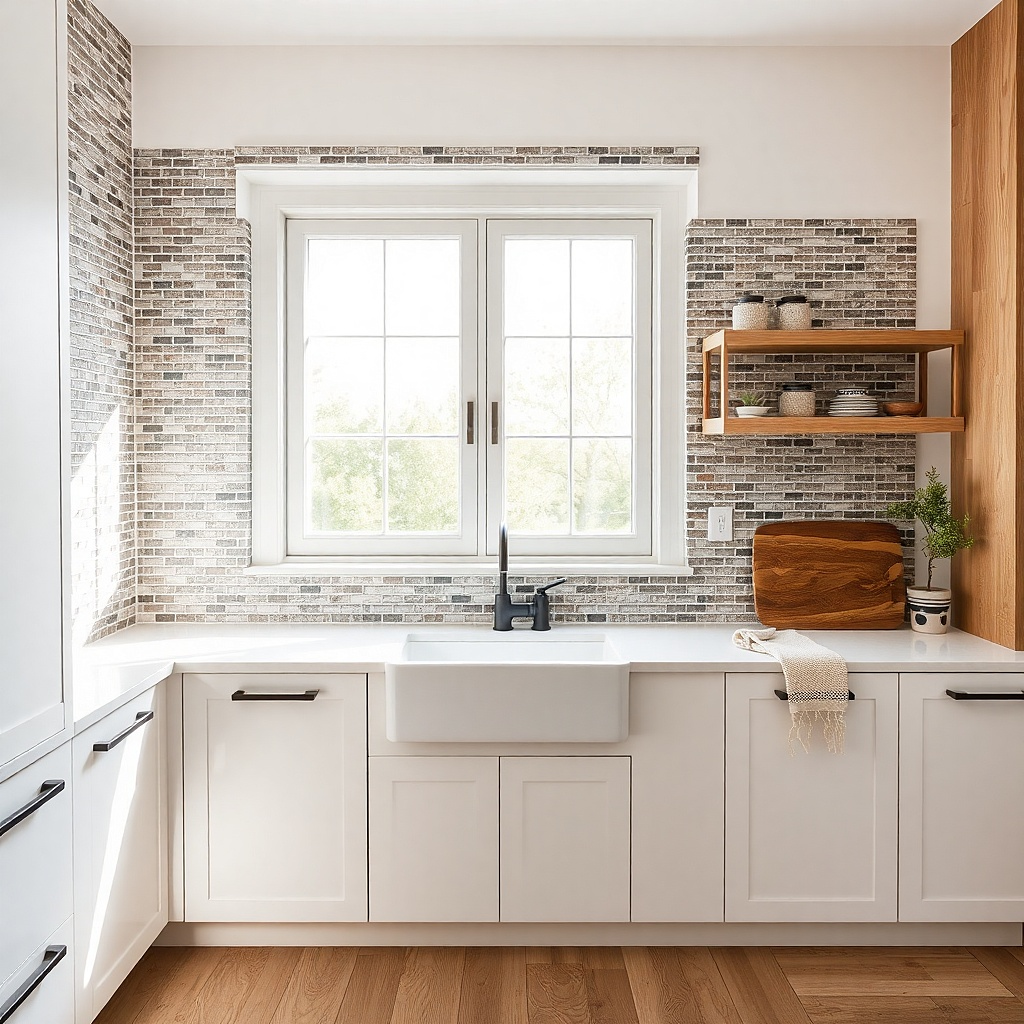
Start with your window placement first — then plan tile returns that extend at least 4-8 inches onto each adjacent wall. Waterproof the area behind the tile and use a thinset rated for wet zones. Install the tile up to the window trim, then finish the edges with a clean bullnose or a tidy metal trim piece. If you’re redoing the backsplash anyway, this idea gives you the most “architect” result per dollar.
If your sink sits near a corner, wrap the backsplash with a tiled return that runs up to the window edges. This makes the window feel built-in because the tile “catches” the frame and continues the design line around it. Choose a tile with movement — small mosaic, subtle marble-look, or a patterned field tile — so the area looks handcrafted. The visual payoff is big in small spaces because it tricks the eye into seeing depth instead of a flat wall.
Common mistakeAvoid stopping tile abruptly at the window corners; it makes the opening look patched.
Try thisMatch the grout color to the tile pattern, not the wall paint, so the return reads intentional.
6. Wood-slat blind outside the splash zone
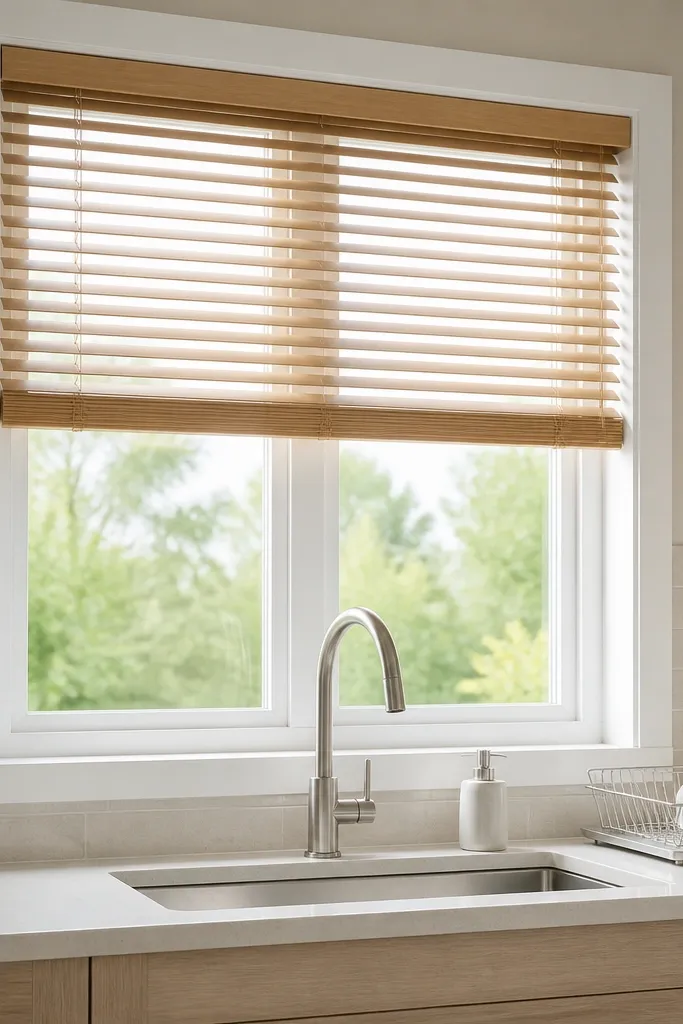
Measure the window and install the blind so the slats sit at least 6 inches above the highest point water would splash. Use a moisture-friendly finishing option if you’re buying a wood blind, and wipe it with a dry microfiber cloth before damp cleaning. Then coordinate the headrail color with your window trim and add a simple valance only if it doesn’t crowd the glass. Expect a simple install if you’re mounting into existing trim; otherwise plan for new mounting points.
A wood-slat blind looks warm and calm, but the placement matters. The trick is to mount it above the splash zone so steam doesn’t warp the slats and the blind doesn’t get dripped on during dishwashing. Choose a light wood tone like ash or pale oak and keep the headrail clean and slim. This option is photogenic because the slats create soft vertical lines that make the sink wall feel styled without blocking too much light.
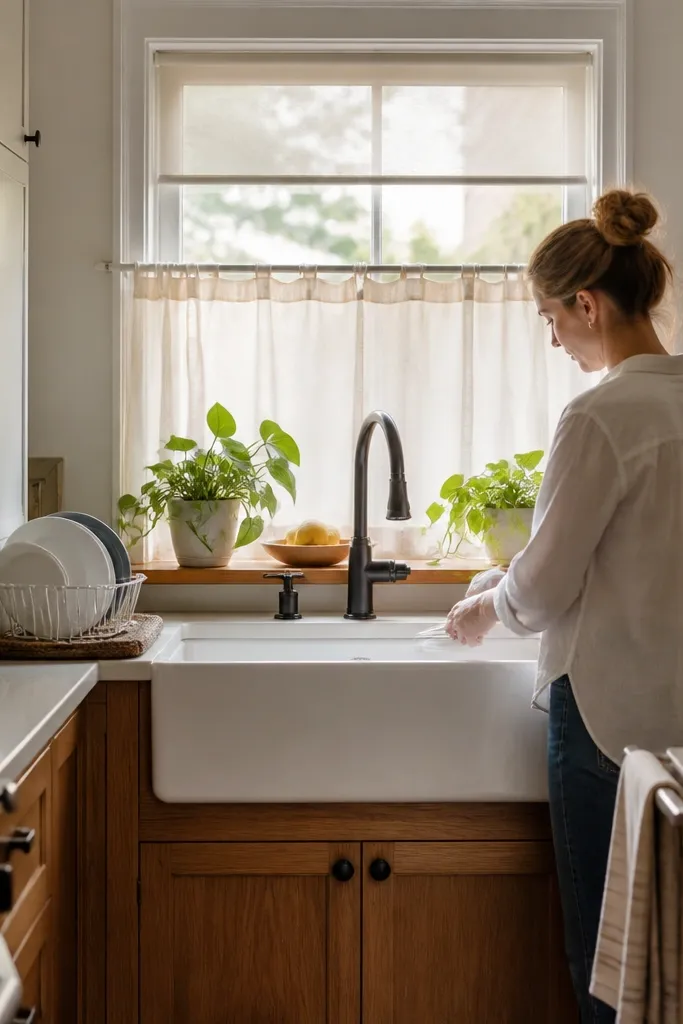
Common mistakeAvoid fabric curtains over the sink — they trap moisture and stain fast.
Try thisKeep the blind slightly open when washing — even a 2-3 inch gap keeps light moving across counters.
7. Roman shade in washable linen blend
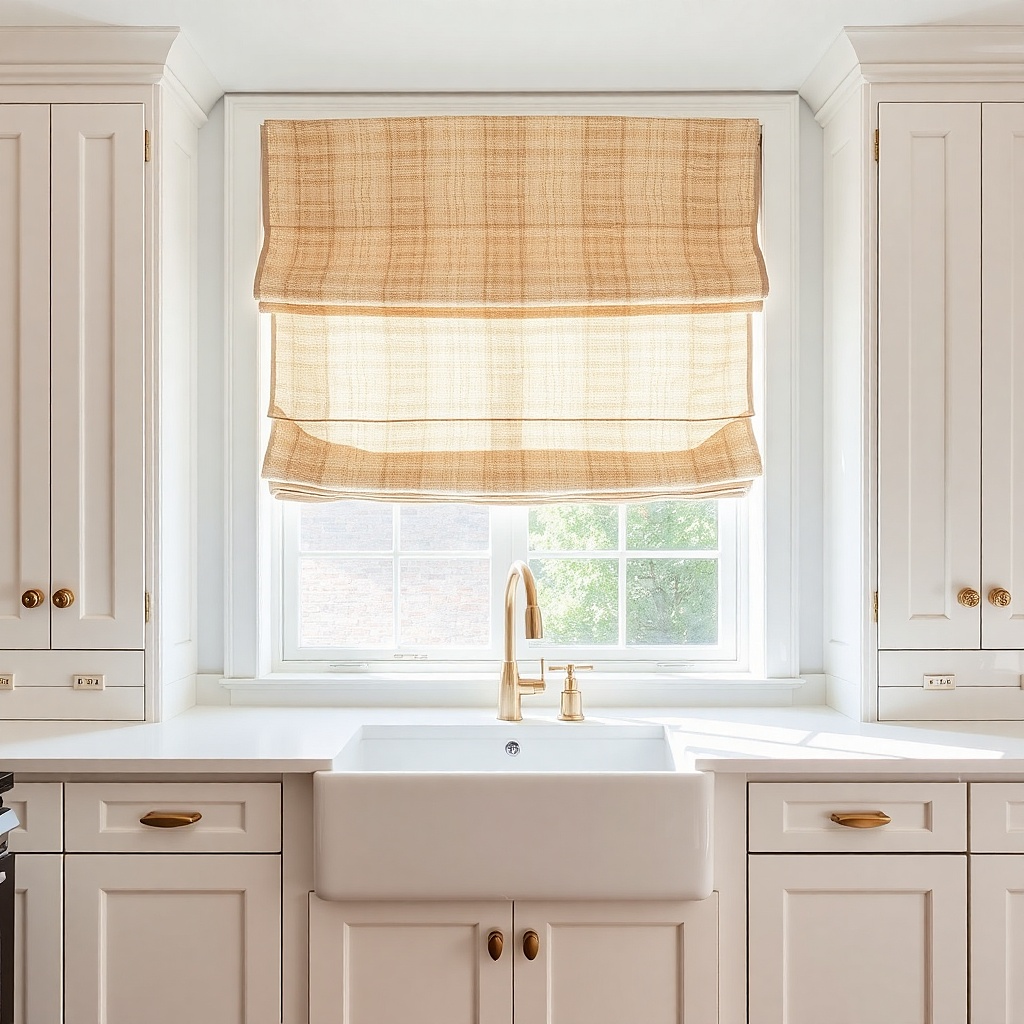
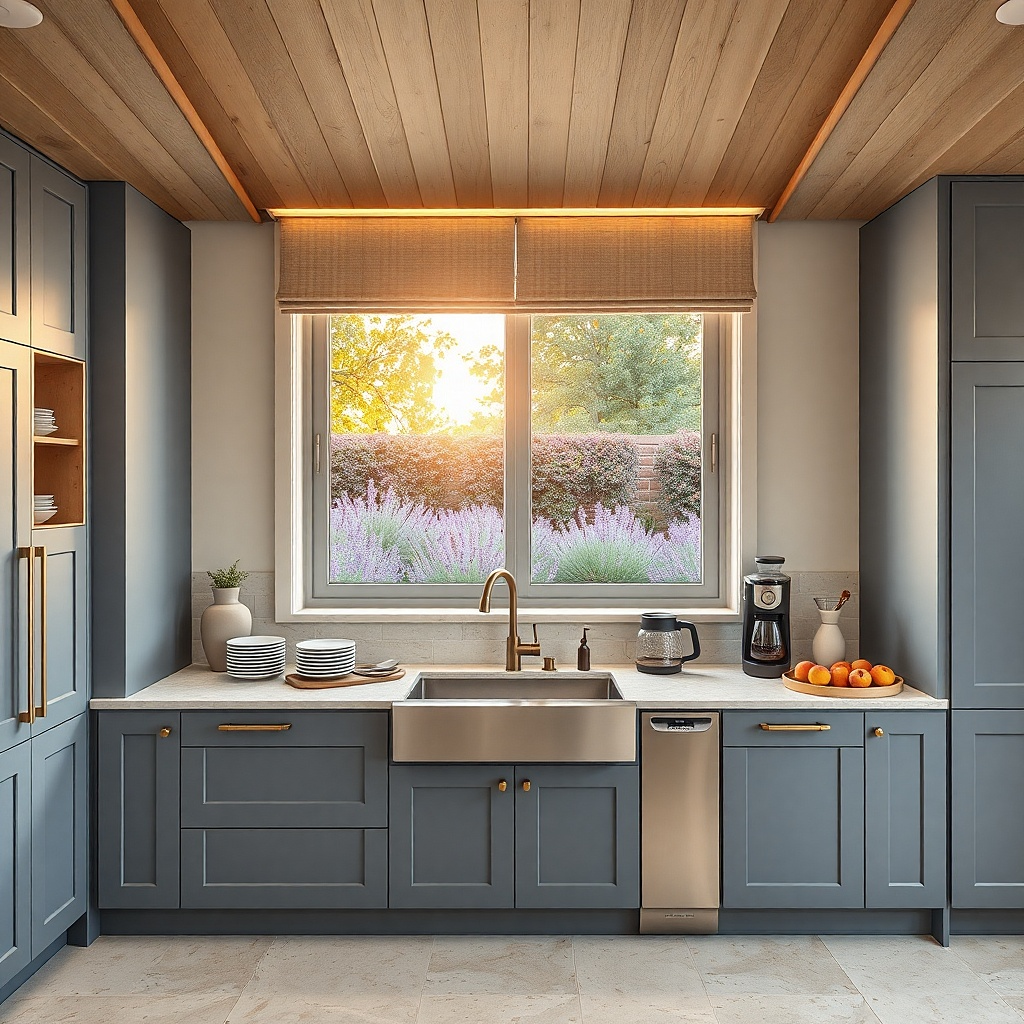
A roman shade gives you softness without the flappy mess of curtains, and a washable linen blend looks tailored in small kitchens. When it’s pulled up, it stacks neatly and keeps the window view clear, which matters for daylight over dishes. Choose a light neutral or subtle stripe so the shade doesn’t shrink the room visually. This is best when your window is off-center or your backsplash is simple — the shade becomes the design layer that makes the sink wall feel finished.
Pick a roman shade with a washable fabric and a light colorway so the area doesn’t dim. Mount it so the bottom edge of the folded shade clears the sink backsplash by at least 2-3 inches. Install a simple tension system or cord control so it stays level when raised. Cost is usually moderate — you’re paying for fabric and a clean mount — and the install is straightforward if you can drill into trim.
Add a small magnetic holdback or keep it on a cord release so the shade doesn’t drift down while you work.
Don’t choose a dark shade if your kitchen is already low-light — it makes dishes look grimy.
8. Satin brass sill rail with a clear coat
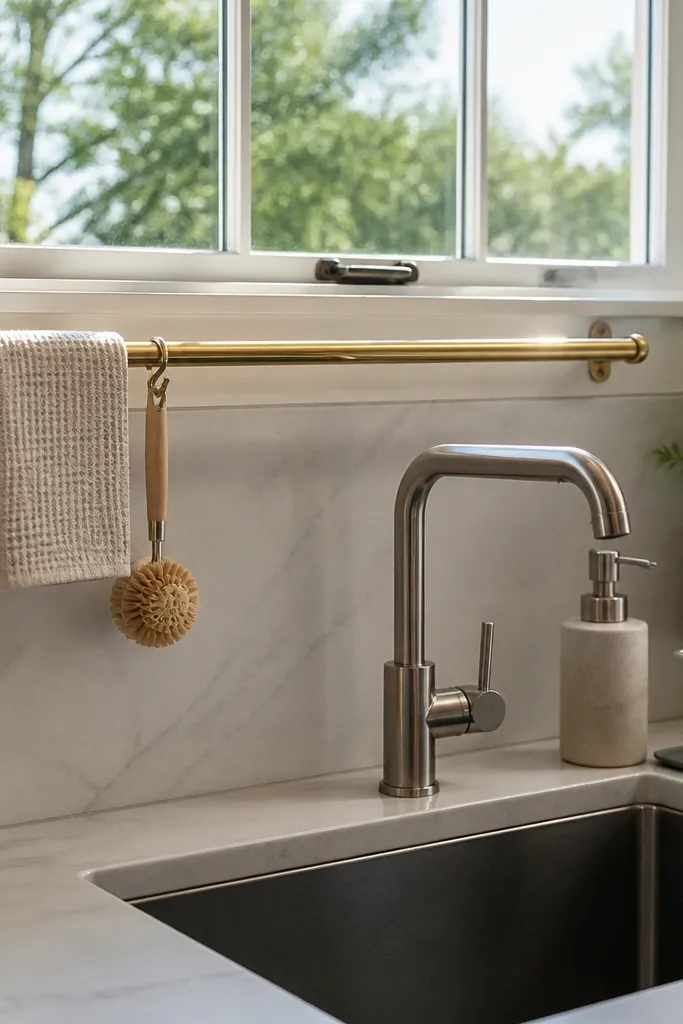
A satin brass rail under or beside the window frame turns the sink area into a styled workstation. It’s a visual anchor that adds warmth without blocking light, and it gives you a place for a towel or small tool so you stop stacking items on the counter. Pair the rail with a simple window style — casement or single panel — and keep the wall color bright. This is the best route if you want “pretty and functional” in a small space where counter clutter is the real enemy.
Start by choosing a rail length that spans roughly the window width or the towel zone — typically 18-36 inches. Mount it 10-14 inches above the countertop to keep it reachable but away from direct splash. Use screws into studs or proper anchors, then add a clear, moisture-safe seal if the rail is near frequent wet wiping. Finish with one coordinated item: a single linen hand towel or a small tray so the rail reads intentional.
Use one towel color only. Two colors near the sink makes the area feel busy fast.
Don’t mount the rail too low — towels get damp and the brass can discolor.
9. Two small windows instead of one wide opening
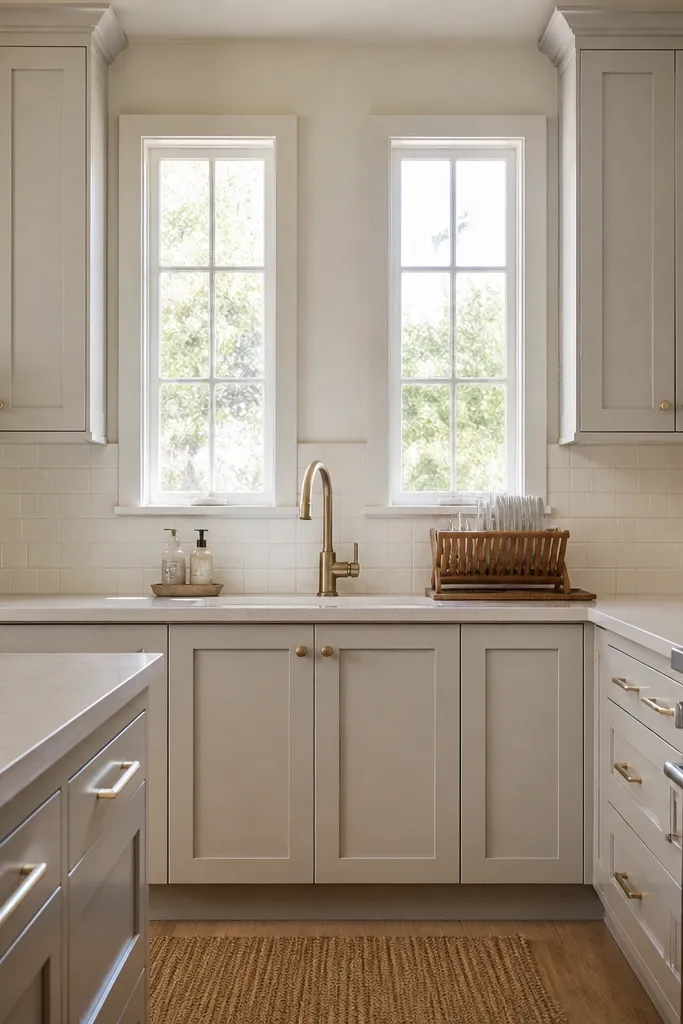
Two smaller windows can look more expensive than one wide opening, and they break up the wall in a way that flatters small kitchens. The spacing between the windows creates a rhythm that draws the eye upward, which helps when cabinet heights are low. Choose matching frames and keep the glass clear or lightly privacy-tinted depending on your exposure. This design also gives you flexibility: you can center the pair over the sink and keep your plumbing line intact.
Measure your sink span and plan two openings that each land around 12-20 inches wide, with a vertical mullion gap of 2-4 inches between them. Set the bottom edges in line with your backsplash top plus 4-8 inches clearance. Install both windows as a matched set so the trim lines up, then tile neatly to the window casings. For cost, expect more than a single opening because framing and trim work doubles, but the look is worth it if you’re staying in a small footprint.
Use the same trim profile on both windows and keep the caulk line thin and uniform.
Avoid mismatched frame finishes; the pair will look accidental.
10. Casement window with top-down opening for steam control
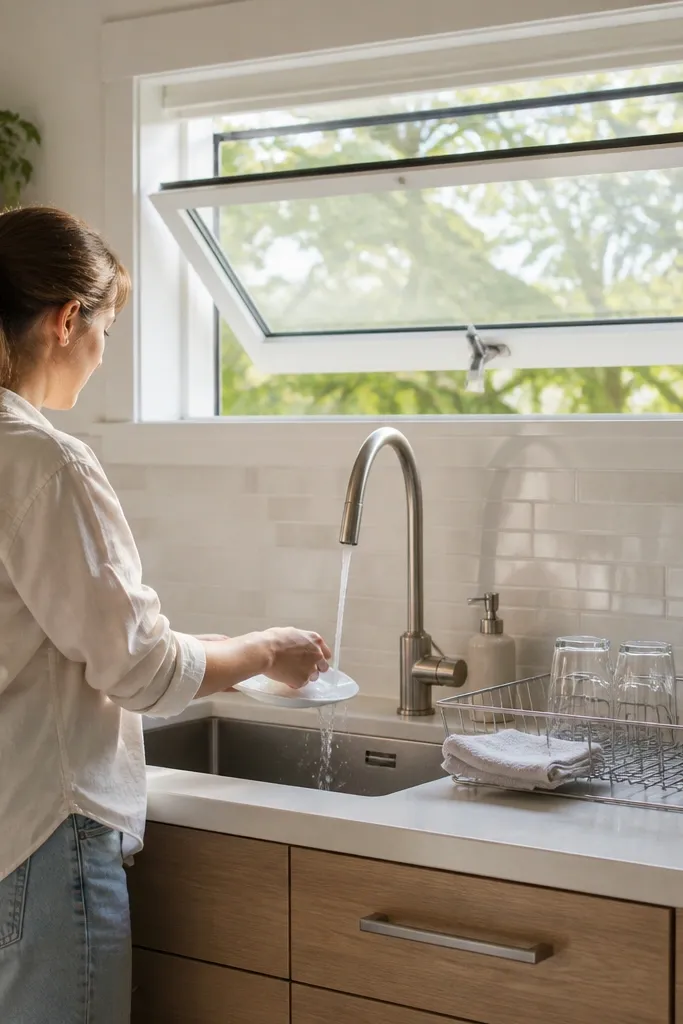
A casement window that opens outward is the most practical choice when you want to manage steam quickly without running fans all the time. You still get strong daylight, and you get ventilation right where the moisture shows up. Choose a window with a crank and keep the hardware sleek so it doesn’t clutter the view. This idea looks crisp and modern, especially with simple white tile and a light countertop.
Choose a casement sized to your wall — a common target is 24-36 inches wide and 18-30 inches tall. Place it so the sill sits 4-8 inches above the backsplash top, keeping splashes off the opening. Seal and flash properly around the frame, then add a simple blind mounted outside the splash zone. If you’re retrofitting, plan for a contractor — casements need solid rough framing and correct clearances.
Install the window so it can open at least 45 degrees without hitting upper cabinets or trim.
Avoid tight clearances to cabinets — you’ll stop opening it and steam wins.
11. Curved top window for softening a boxy kitchen
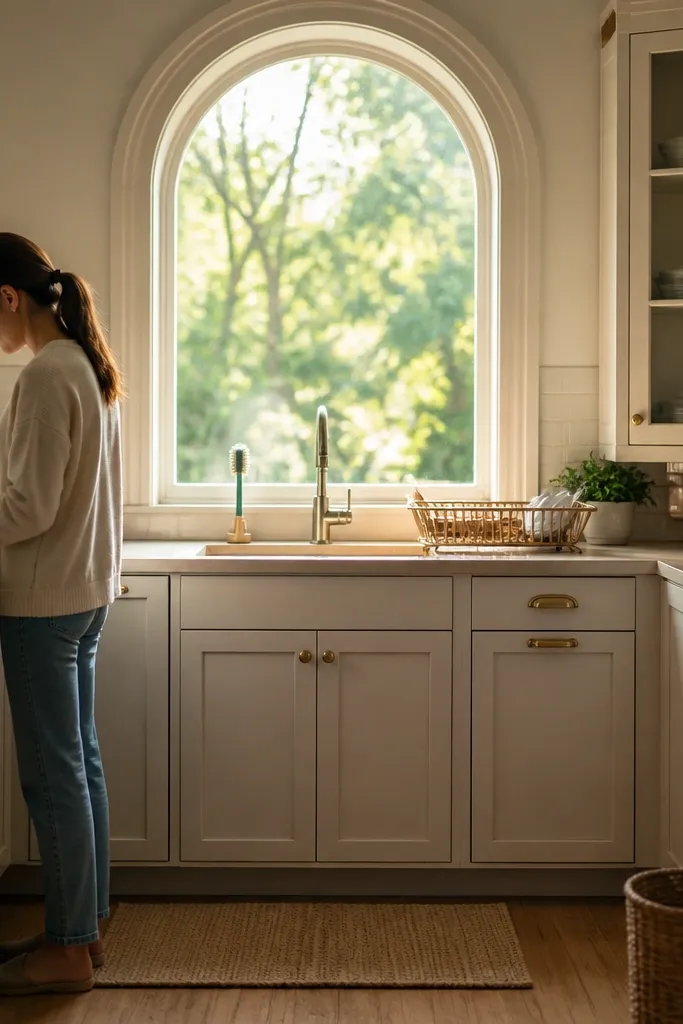
An arched-top window softens the sharp geometry of a boxy kitchen, which matters when your space is narrow and everything feels straight-lined. The curve adds a gentle focal point right above the sink, so the area reads warm even if your cabinets are plain. Use white or light cream trim and keep the backsplash light so the arch doesn’t feel dark. This works well with classic tile, small-scale patterns, or any kitchen where you want one “designer” shape.
Pick an arched opening that matches your wall — typically 18-30 inches wide with an arch height that adds about 6-10 inches above a straight rectangle. Set the bottom of the window about 6-10 inches above the backsplash top so it doesn’t feel cramped. Use privacy glass or frosted lower portion if your view needs it, then install a tight trim surround with moisture-resistant caulk. Curved tops are harder to frame cleanly, so plan for a professional rough-in and custom trim.
Match your cabinet hardware shape to the arch — even a small curve in knobs makes the window feel coherent.
Avoid heavy dark backing or patterned wallpaper behind the arch; it can make the sink zone look busy.
12. Window with integrated shelf below for dish drying style
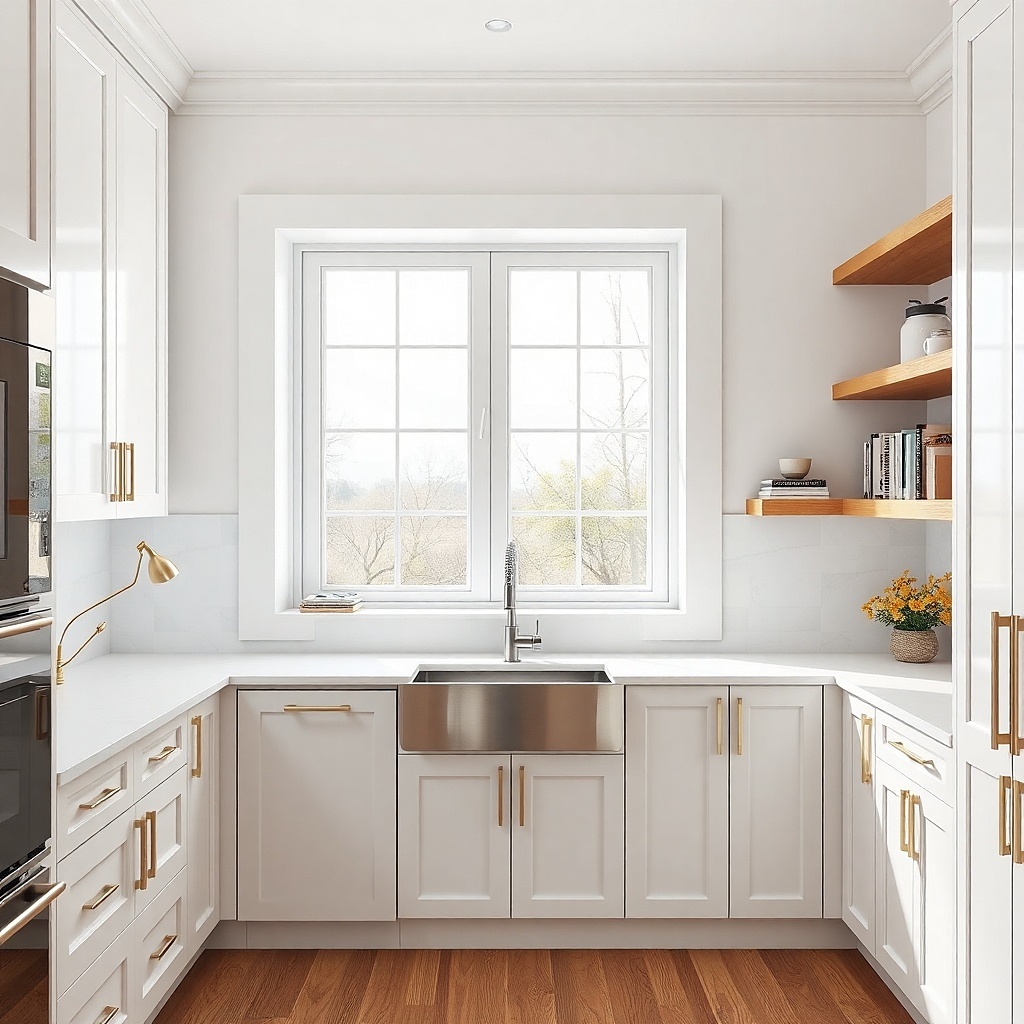
A slim shelf built below the window sill turns the area into a drying zone without adding clutter to the countertop. It also makes the window feel like part of a system, not a standalone opening. Choose a shelf material that wipes clean — sealed wood with a hard finish, or a metal shelf with a powder coat. Keep the shelf narrow and use it for one practical thing: a drying rack tray, a soap dish, or a small stack of plates. The visual payoff is clean and functional, which reads well in small spaces.
Design the shelf so it sits 2-4 inches below the sill and clears the top of the backsplash by 1-2 inches. Use a sealed finish and add a slight lip so items don’t slide toward the sink. Install with brackets into studs and seal around the bracket holes. Then style with one drying tray or one container — keep the rest of the counter open so the window still feels bright.
Use a matte finish on the shelf. Gloss shows water spots and makes the sink area look messy fast.
Don’t stack dish towels and decor on the shelf — the shelf is for drying, not clutter.