1. Woven Wood-look shades in warm natural with 1.5-inch slats
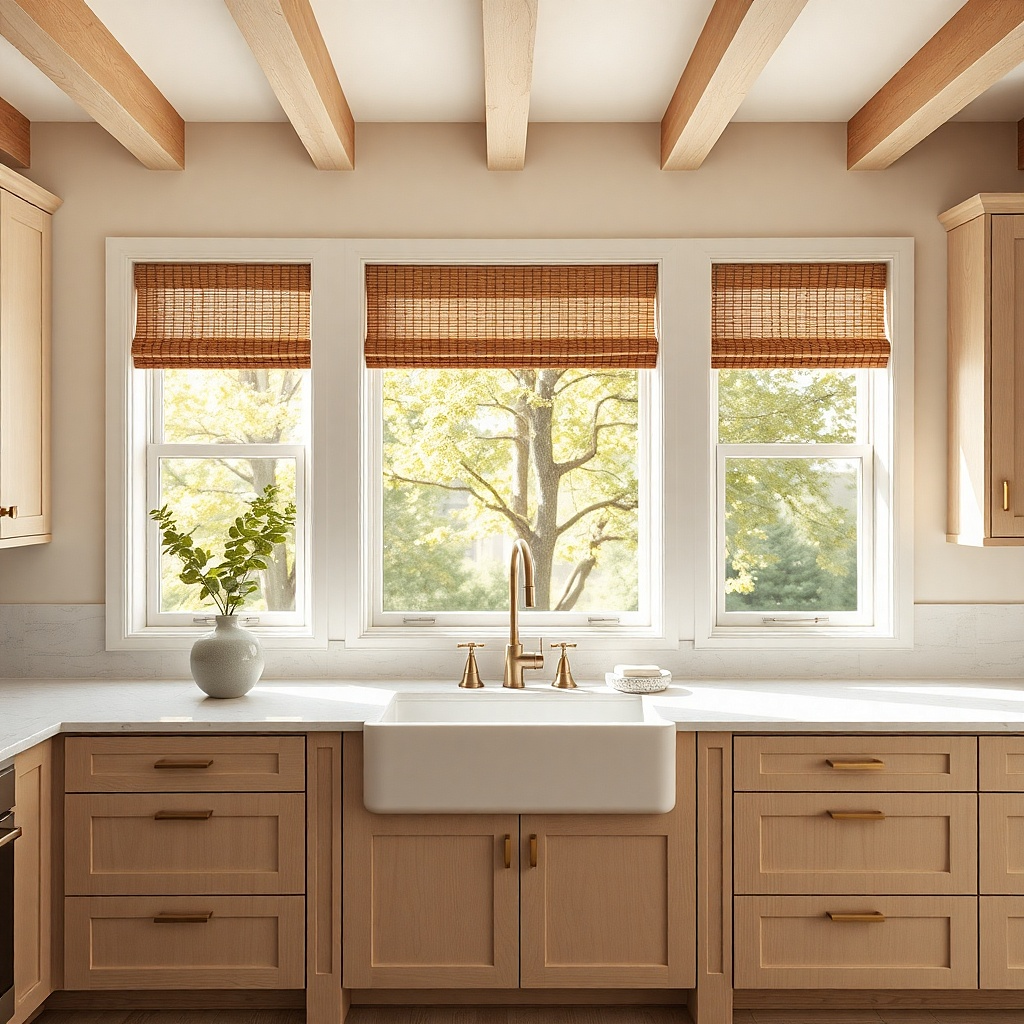
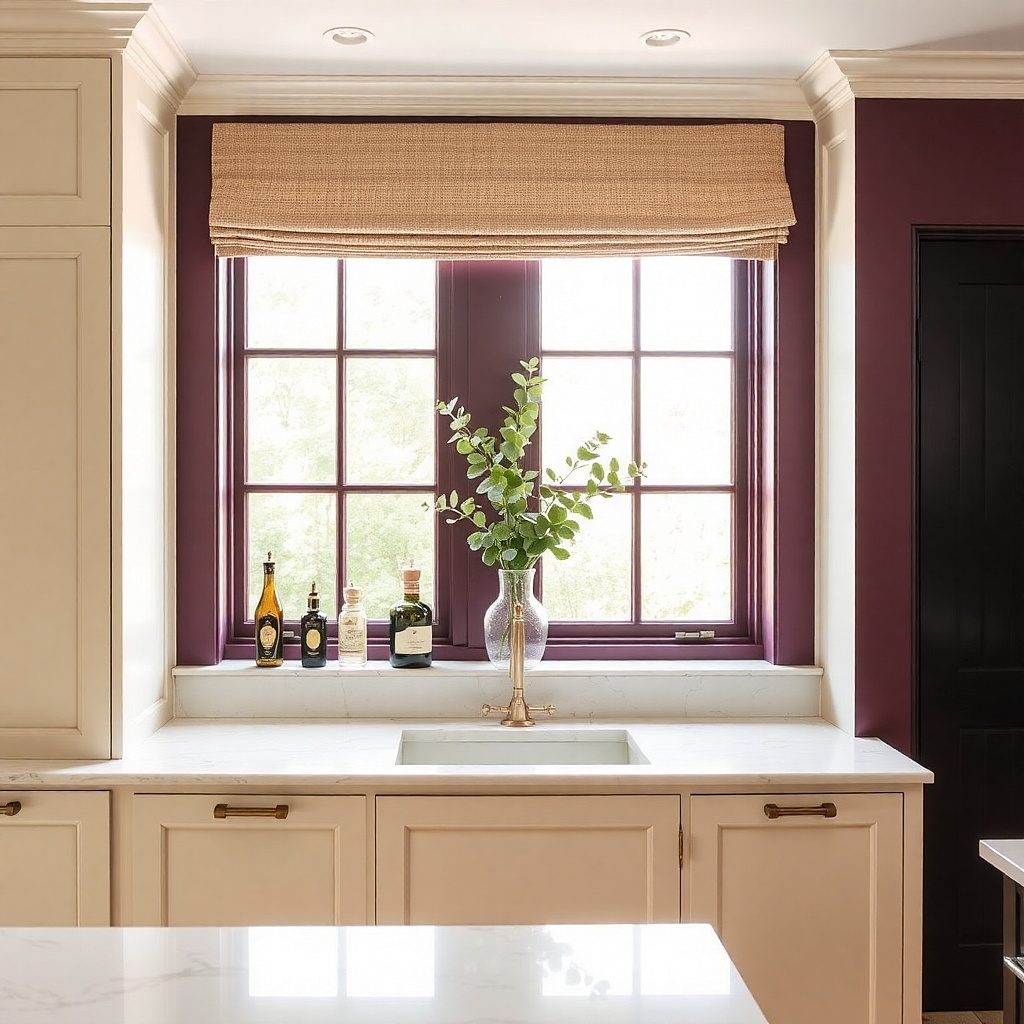
Woven wood-look shades give you the privacy-light balance that vertical blinds never manage. With 1.5-inch slats, you can tilt them to block direct lines of sight while still letting diffuse daylight hit the counter. Pick a warm natural tone, not paper-white, so the light looks soft instead of harsh. This works best for kitchens with light oak, warm greige walls, or brass-toned fixtures because the texture reads intentional. It also hides dust better than glossy materials, which matters in kitchens where cooking steam settles on surfaces.
Measure your window opening inside the frame for an inside mount. If you have at least 1.75 inches of depth for the headrail, order an inside-mount woven shade kit with matching width and a slat tilt wand or cord. Install the brackets using the manufacturer’s tension or removable mounting hardware, then test the slat tilt at full open and half closed. Finally, center the shade so the edges sit evenly with a consistent 1/8-inch gap or overlap on both sides.
Try thisAdd a thin curtain rod-style valance strip above the blind in the same warm neutral to make the top edge look finished.
Common mistakeAvoid glossy “wood” finishes — they show glare and make the window look like a temporary fix.
2. Cellular (honeycomb) mini blinds in soft white with cordless top-down
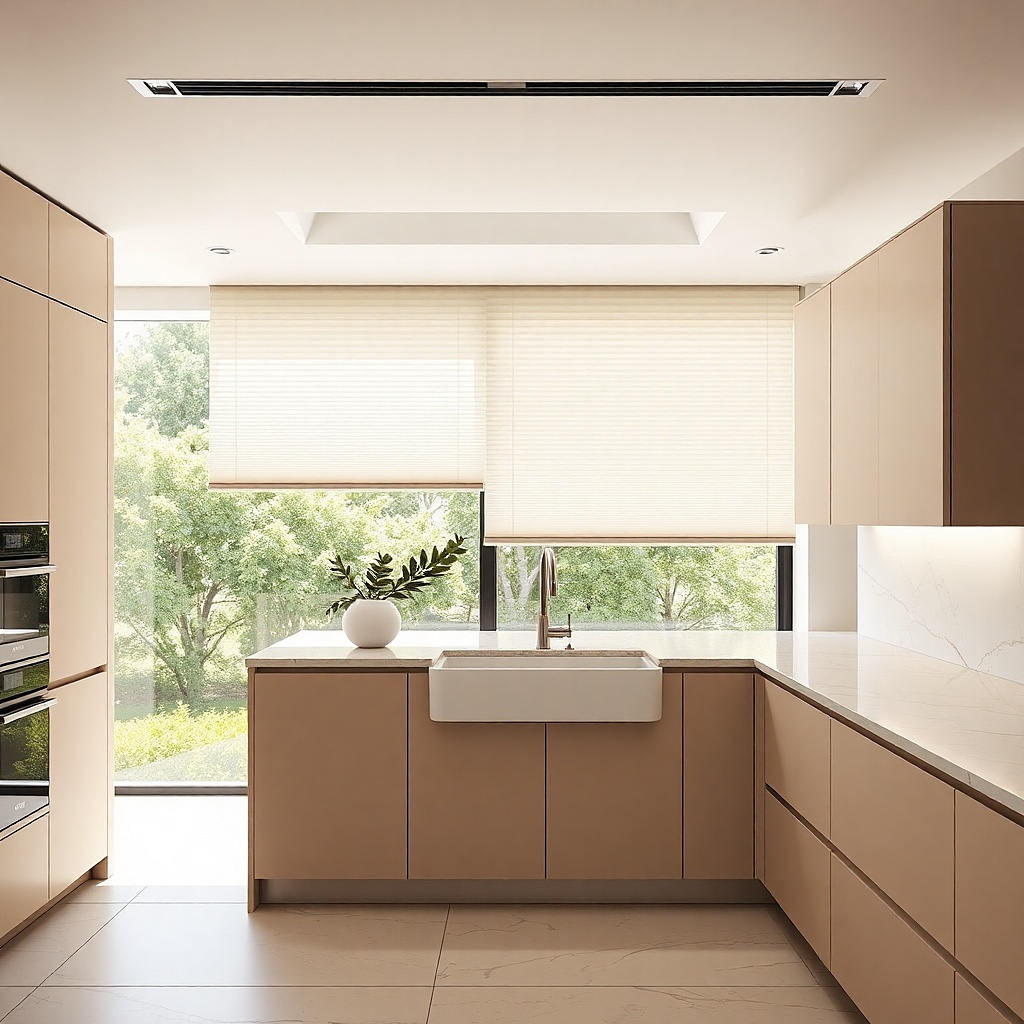
Cellular blinds are the most renter-friendly way to keep the room bright while controlling privacy. The top-down option lets you lower the blind just enough for coverage, so daylight still reaches the backsplash and countertop. Soft white looks clean in kitchens and won’t clash with stainless appliances or light stone. The honeycomb structure also adds a little insulation, which helps kitchens that get cold near windows in winter. When you’re cooking, you can keep the view blocked without fully closing the window.
Check for an inside-mount fit by measuring the frame width and depth; aim for a snug fit so light doesn’t leak around the edges. Choose a cordless top-down cellular blind in soft white and order the exact width for a clean perimeter. Install the headrail brackets at the marked points, then snap or screw the blind into place per the kit instructions. Test the lift and lower range, then set the top-down position so the bottom edge lands around eye level when fully lowered.
If your window is above a sink, set the top-down height so the bottom edge covers the sink area but leaves the upper glass bright.
Skip thin, single-layer roller shades if your kitchen has direct sightlines — they leak view when the light hits.
3. Magnetic sheer-and-privacy layer panels for sink windows
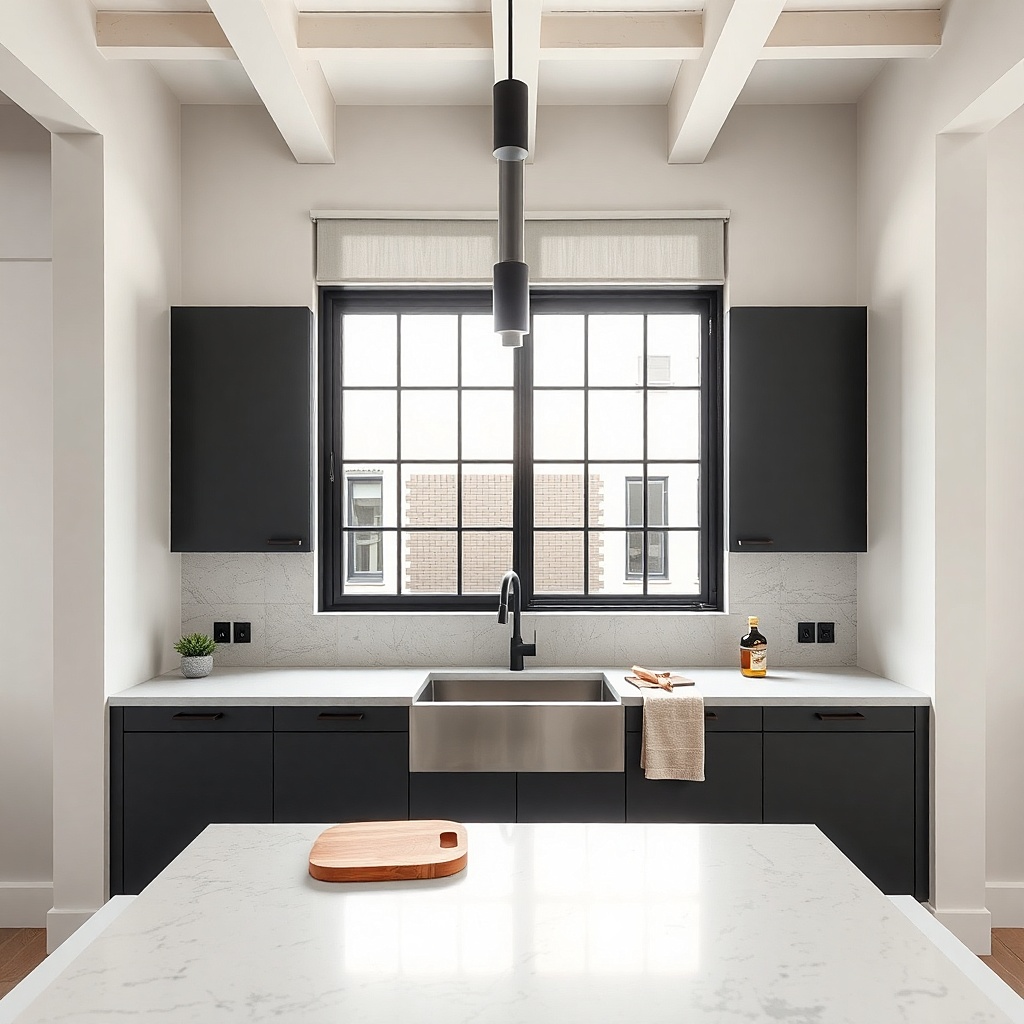
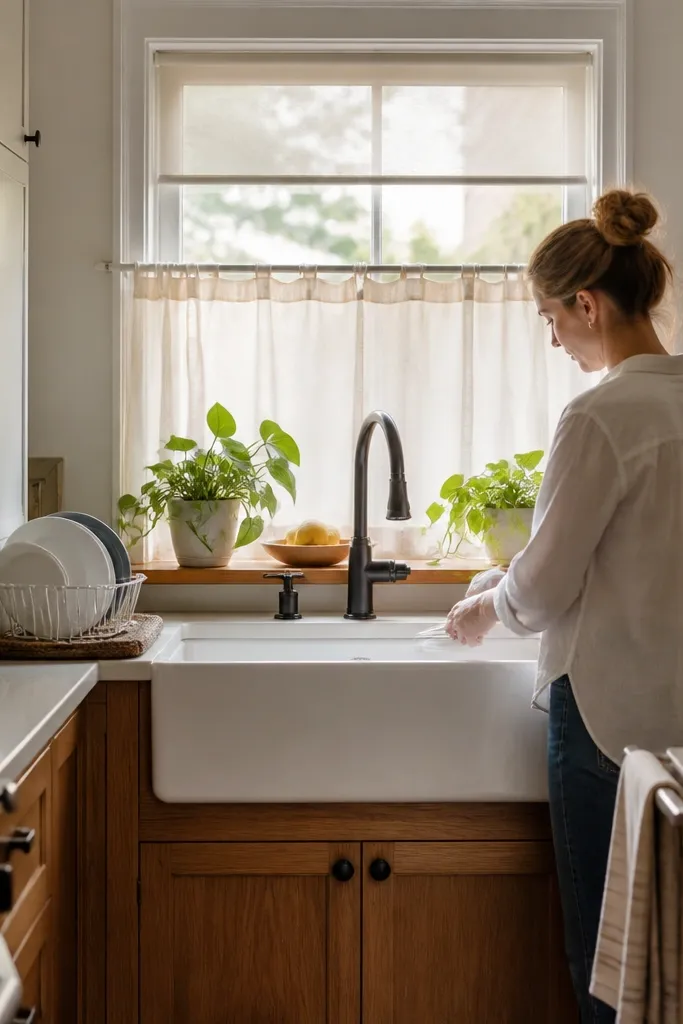
Magnetic sheer-and-privacy panels are the cleanest renter move for kitchens with a sink directly under the window. The sheer layer keeps the light airy, while the privacy layer blocks direct sight when you need it. Use a soft white sheer with a light linen-beige privacy panel so the window doesn’t look heavy. This setup is especially good for kitchens where you want daytime brightness but still need to stop strangers from seeing into the counter area. It also looks tailored because the layers line up neatly against the glass.
Measure the glass area you want covered, then buy panels sized to overlap the window edges with a tight, even border. Clean the frame or metal surface where the magnets will attach, then press the magnetic edges into place starting at the top corners. Align the privacy layer so it covers the lower half first, then add the sheer layer behind or beside it based on the panel system. Test opening and closing by gently sliding layers so they don’t snag on the sash hardware.
Use a sheer layer that matches your wall color, not your cabinet color it keeps the light from turning yellow.
Avoid mismatched panel widths; uneven overlap makes the window look DIY even when the fabric is pretty.
4. Faux linen roller shade in warm greige with blackout backing
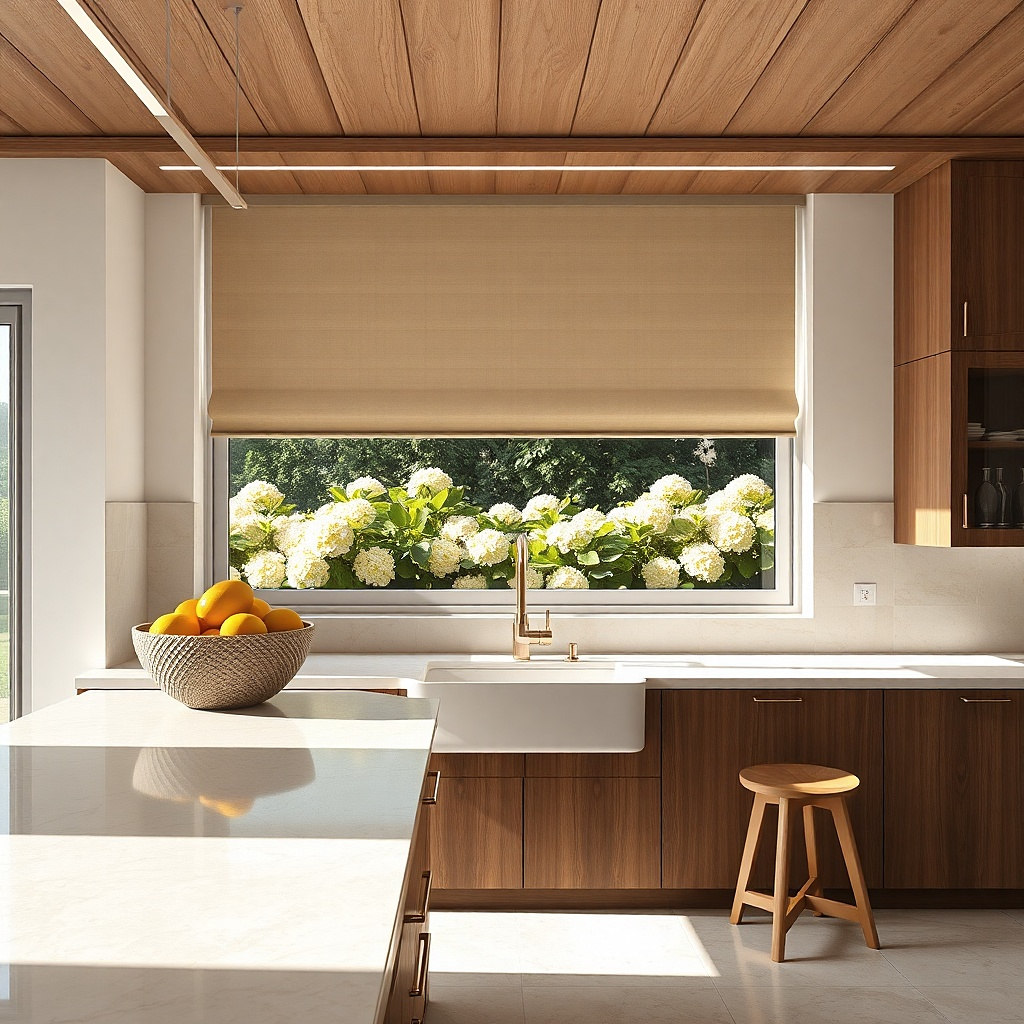
A faux linen roller shade with a blackout backing is a strong privacy option without making the window disappear. Choose warm greige because it looks expensive with both white and wood cabinets, and it softens the light when you partially roll it down. The blackout backing matters: it stops view when the shade is lowered slightly, so you don’t have to close fully to feel private. This is great for kitchens that face neighbors and for windows that sit at eye level from the street. The roller shape also looks crisp and modern, which helps if your kitchen has clean-lined hardware.
Measure inside the frame for an inside mount, or measure the outside trim if you need an exterior fit. Order a roller shade with blackout backing and specify the exact width so the fabric rolls evenly across the headrail. Install the brackets level, then mount the roller so the fabric hangs straight when fully lowered. Roll down to a height that covers the direct line of sight, then fine-tune the stop position so you don’t waste coverage above the privacy zone.
Try thisPick a matte fabric if it looks shiny in daylight, it will glare and look cheap fast.
Common mistakeDon’t choose a cool gray — it can make warm kitchens feel cold and dingy.
5. Top-down, bottom-up Roman shade in cotton gauze with privacy lining
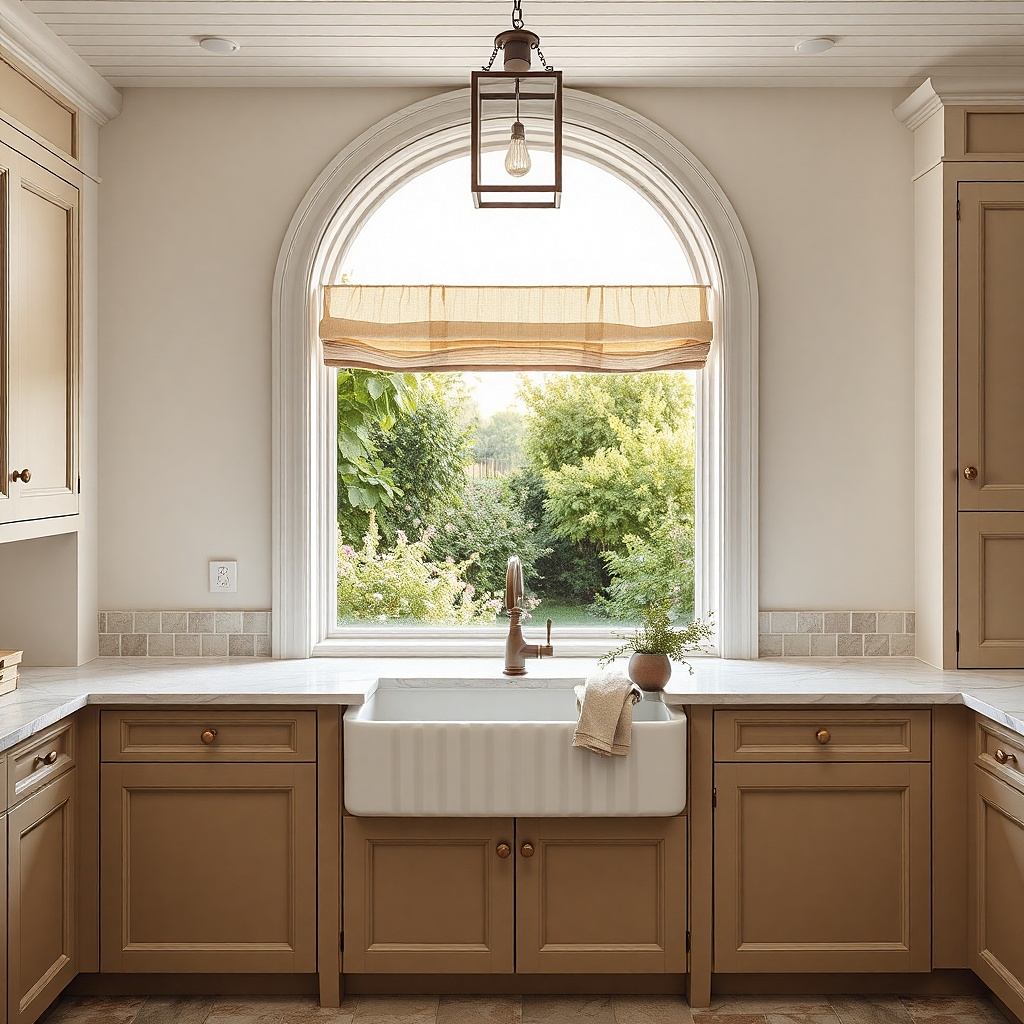
Roman shades give you the prettiest folds when you control them with top-down bottom-up hardware. Cotton gauze looks light and airy, but the privacy lining stops direct sight when the shade is lowered from the bottom. This is a great option for renters because you can install with removable brackets and still get a tailored, fabric-forward look. Choose a neutral that matches your kitchen textiles, like oat or stone. When you pull it down just far enough, the window stays bright while the lower area feels protected for meal prep and sink time.
Measure the width of your window opening and select a Roman shade designed for top-down bottom-up. Install removable mounting brackets on the inside frame or upper trim, then attach the shade and test the lift and lower cords or mechanisms. Start with the bottom-up position set so the folds cover the privacy zone, then adjust until the view is blocked at standing height. Finally, steam or press the fabric lightly so the folds hang evenly.
Try thisUse a cordless or child-safe lift if you have kids the clean look stays better than exposed cords.
Common mistakeAvoid ultra-sheer gauze without a lining — it looks pretty but doesn’t block view when sunlight hits.
6. Blackout roller shade with a decorative sheer band above
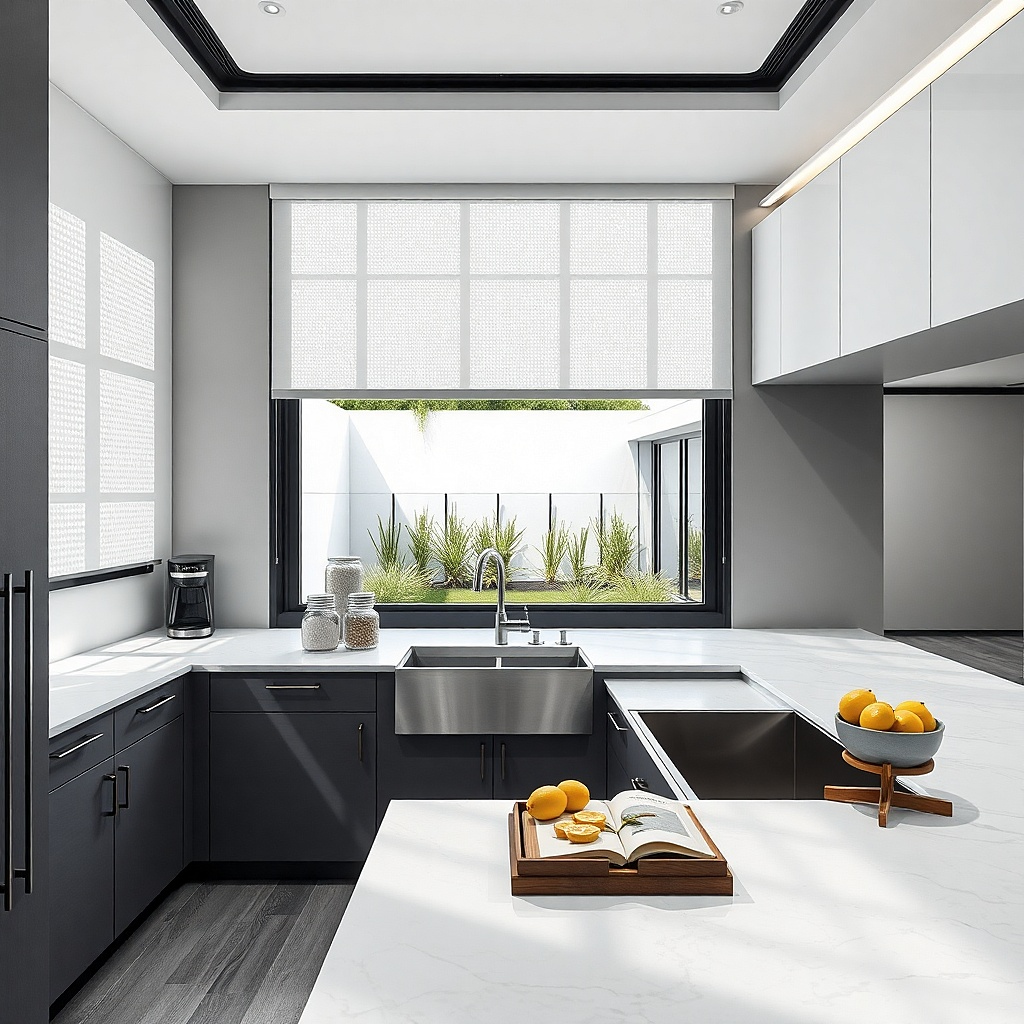
This is the “privacy first” look that still keeps daylight. The blackout roller shade handles the view and gives you real coverage, while a decorative sheer band above adds softness and keeps the window from looking like a utility cover. Use a sheer band in white or cream with a subtle texture like micro-weave so it catches light without looking see-through. The blackout portion can be rolled down to the exact privacy height needed for dinner hours. This setup is ideal when you have a strong line of sight from outside and you don’t want to compromise on privacy.
Buy a blackout roller shade sized to the window width, plus a separate decorative sheer band panel sized to cover the top third of the window. Mount the blackout roller inside or just outside the frame so it rolls straight and seals at the edges. Install the sheer band using tension rod clips or a removable curtain track so renters can remove it later. Set the blackout shade height first, then place the sheer band so it aligns with the roller’s top edge for a clean silhouette.
Choose a sheer band width that’s wide enough to cover the headrail that single detail makes it look designed.
Skip fabric that’s too thin and stiff — it will hang flat and kill the soft look.
7. Perforated privacy screen blinds in matte white for modern kitchens
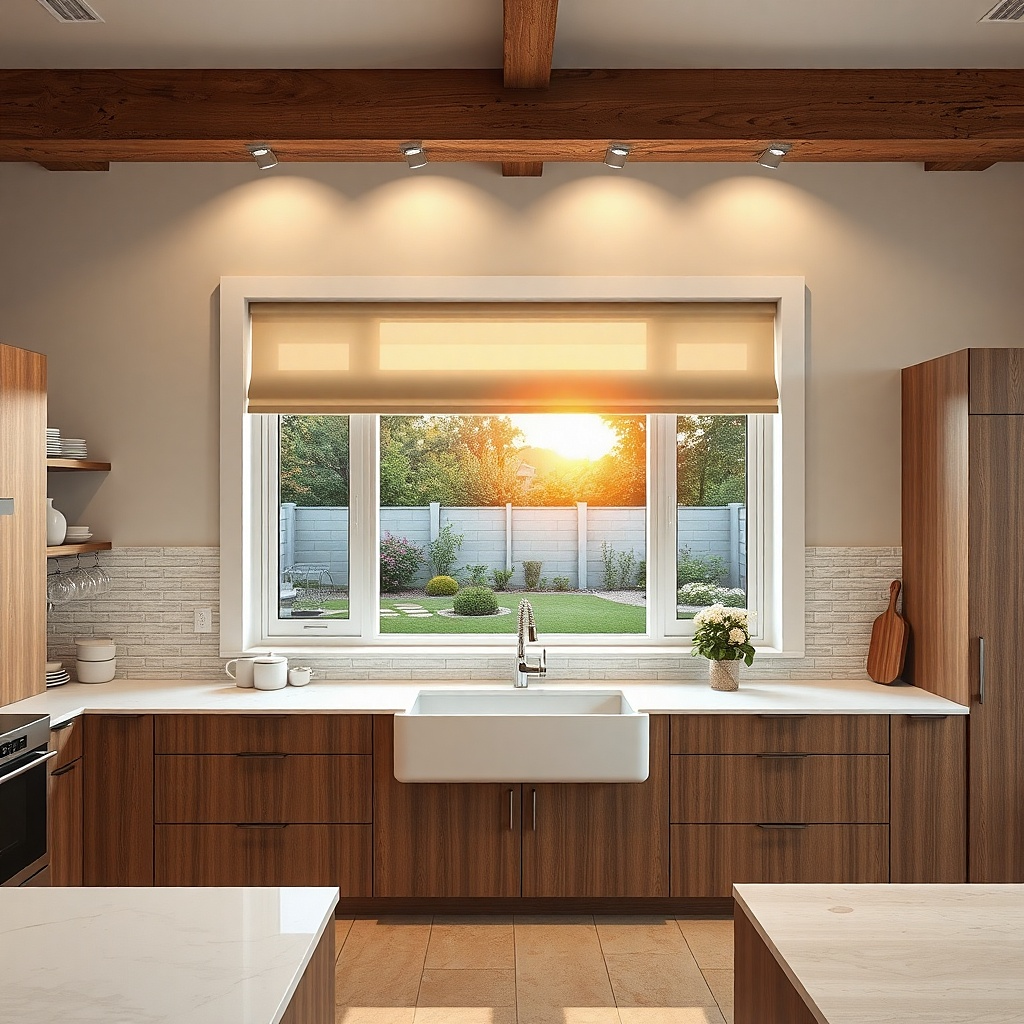
Perforated blinds are a modern solution when you want privacy without full darkening. The tiny holes diffuse light, so the room stays bright while direct sight is broken. Choose matte white or warm off-white so the perforations don’t look like a metal factory piece. This works well for contemporary kitchens, especially those with black hardware, concrete-look counters, or minimalist decor. You get a graphic pattern that looks good in photos and still gives you privacy during daytime and evening.
Measure the window width and buy a perforated blind panel system sized for inside mount or tension mount. Install mounting brackets carefully so the panel stays perfectly level; even a small tilt makes the pattern look off. If you’re using a tension system, set the tension points evenly and test for movement before you leave the window alone. Set the blind in a fixed position if your system doesn’t tilt — pick a height where the perforations block eye-level lines while still lighting the counter.
Try thisPair with a plain curtain rod or no curtain so the perforation pattern stays the star.
Common mistakeAvoid glossy perforated finishes — the holes reflect sunlight and create glare streaks.
8. Double-cell blackout shade with sheer top for bright mornings
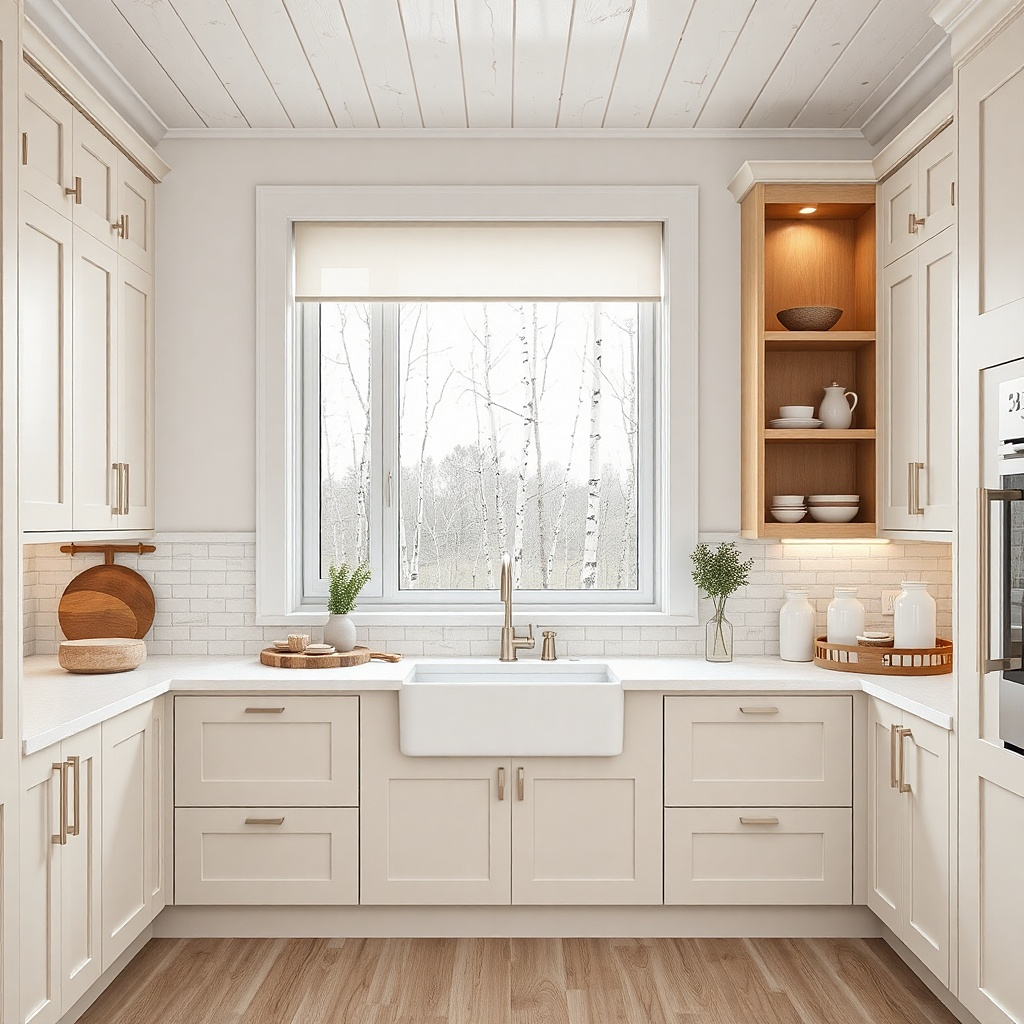
A double-cell system gives you more control than a standard roller or single-layer cellular blind. Use a sheer top section to keep mornings bright, then let the blackout bottom block view for privacy during dinner and after dark. The double-cell construction improves the look because the fabric hangs with structure, not floppiness. Pick a light neutral like warm white so the sheer area doesn’t feel gray. This is a great fit for renters who want a clean, high-end window look without drilling into drywall.
Measure inside the frame and confirm you have enough depth for the double-cell headrail. Choose a double-cell shade with a sheer top panel and blackout bottom in warm white. Mount the headrail brackets using removable hardware designed for renters, then attach the shade panels and test the open/close positions. Set the blackout bottom height to cover the lower privacy zone while keeping the sheer top portion visible and bright.
Try thisKeep the sheer top section at least one-third of the window height so daylight stays obvious.
Common mistakeDon’t set the blackout too high — you’ll lose the whole “bright but private” effect.
9. Tinted privacy window film plus removable roller blind for daytime glare control
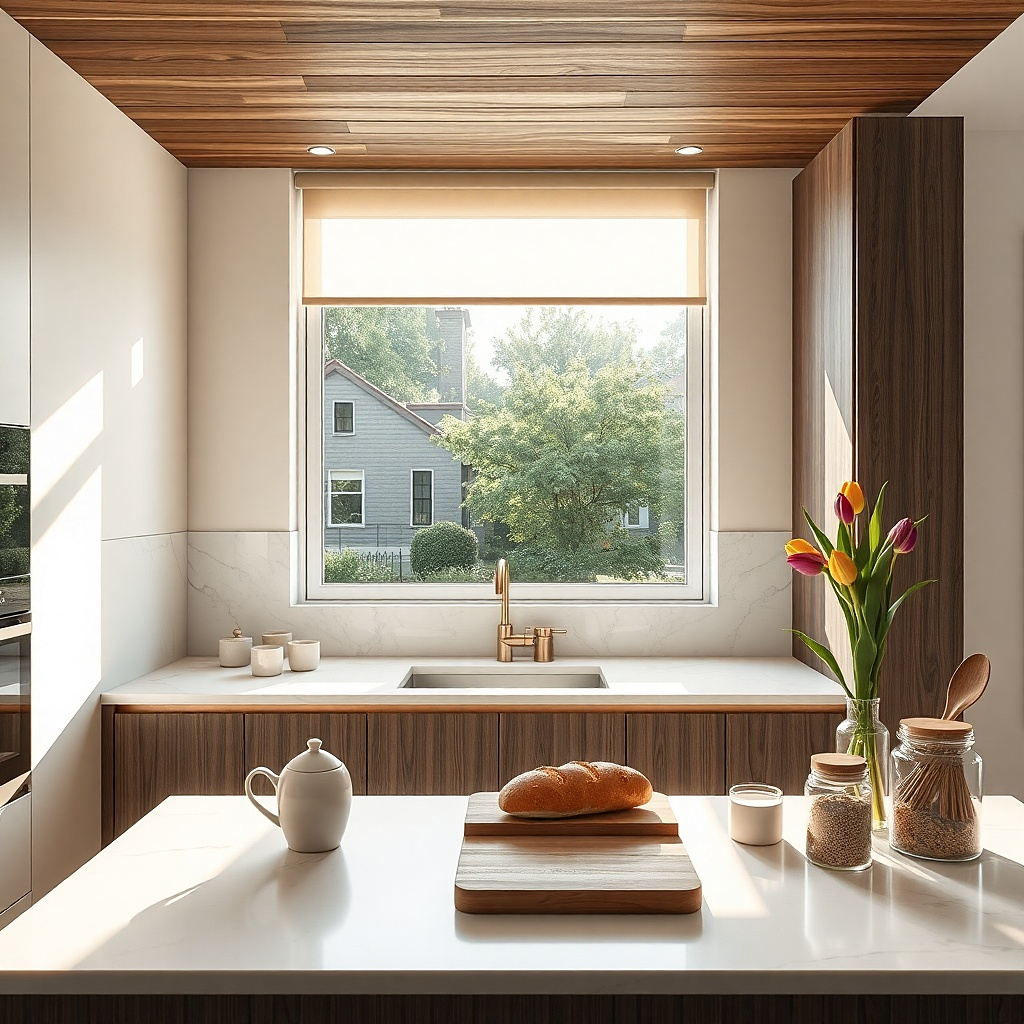
If your real enemy is glare and visibility at the same time, pair tinted privacy film with a removable roller blind. The film reduces direct sight through the glass and cuts harsh sun, while the roller blind handles privacy when you need it most. Choose a neutral tint like frosted-style partial privacy rather than a dark reflective look, so the kitchen stays bright. This combination looks layered and intentional, and it’s especially useful for south- or west-facing windows that bake the kitchen. It also avoids the “blind is closed all day” problem because the film does the heavy lifting.
Clean the glass thoroughly and apply the tinted privacy film using the included squeegee and alignment tools. Let the film cure per instructions before you mount anything. Then install a renter-friendly roller blind just outside the frame or inside if it fits, using removable brackets. Set the roller height to cover the privacy zone while keeping the top glass visible for daylight. After installation, check for any edge lift and smooth it down if needed.
Try thisUse the same warm white tone for the blind as your window trim so the layers look like one design.
Common mistakeAvoid reflective mirror film — it blocks view but creates a harsh look and can feel too intense for kitchens.
10. Accordion pleat shades in ivory for tight spaces and small windows
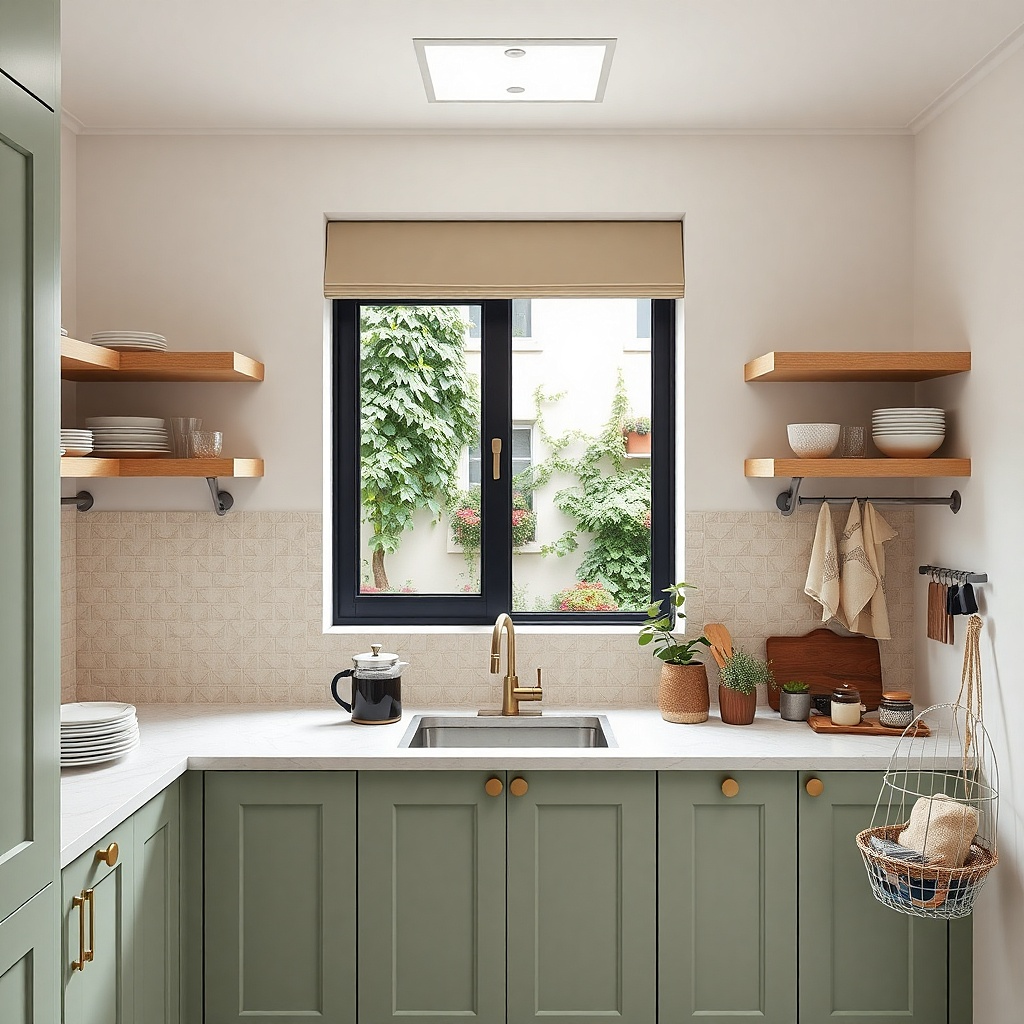
Accordion pleat shades are a lifesaver when the window is narrow, the frame is shallow, or you want a simple, clean privacy solution. The pleats fold compactly and give a soft, tailored look without a bulky headrail. Choose ivory for a warm, kitchen-friendly tone that doesn’t look sterile. Pleated shades also help with privacy because the folds break up sightlines, especially when you close them to mid-height. This is ideal for apartment kitchens where every inch matters and you still want a polished window.
Measure the exact width and height of the window opening where the shade will sit. Pick an accordion pleat shade designed for inside mount with a removable installation method, or a tension-mounted option if brackets won’t work. Install the top rail level, then attach the bottom retention mechanism if your kit includes one so the shade hangs straight. Close to a mid-height position that blocks eye-level sight while keeping enough daylight for countertops.
Hang it slightly higher than you think a higher top edge makes the window look taller and more expensive.
Skip shades with thin, flimsy pleats — they sag and look messy in daylight.
11. Sleek linen-look vertical sheer panels with side pull for wide windows
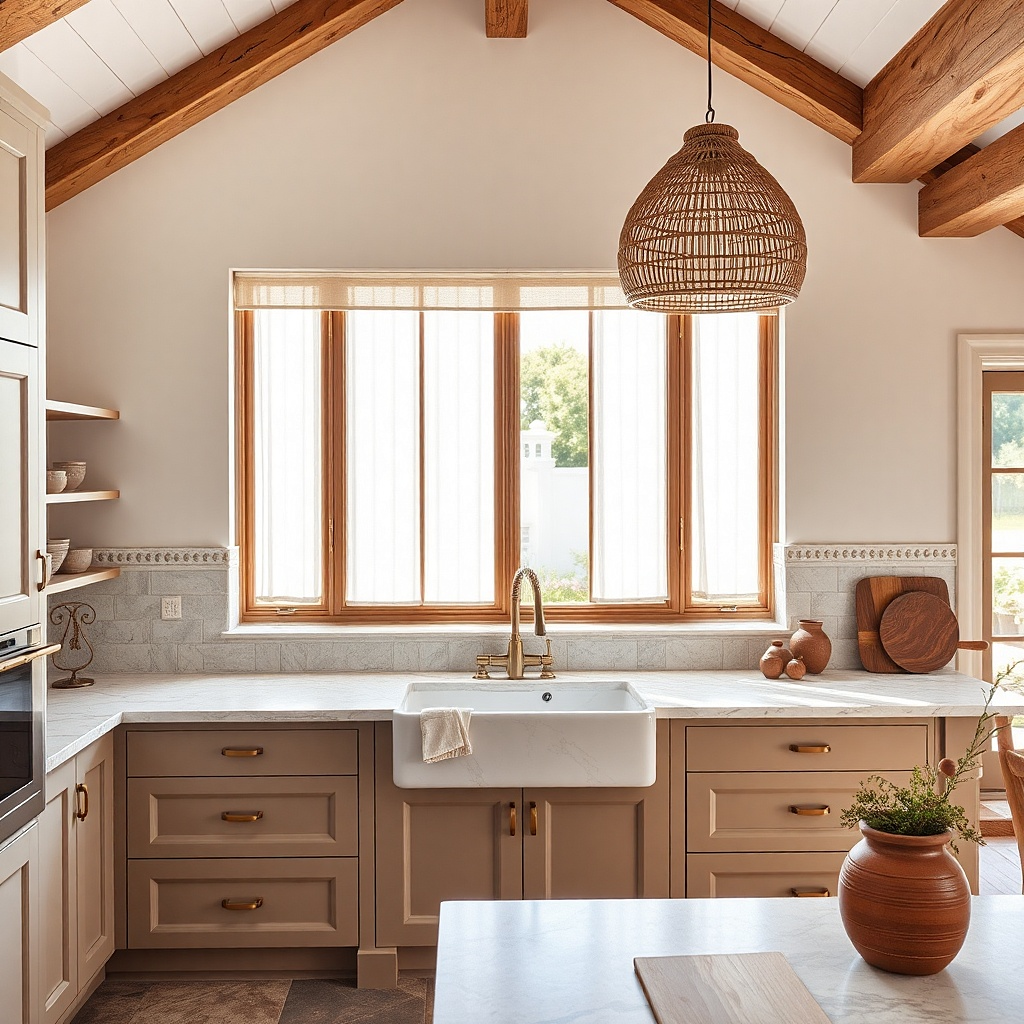
For wide kitchen windows, vertical sheer panels are the best way to get privacy without losing light spread across the room. Choose linen-look fabric in warm white or oat and keep the panels slightly gathered so the texture shows. When you pull panels to one side, you get a bright wash of daylight while the remaining panels block direct sight. This style looks great with modern hardware and works well when you have a bay window or multiple panes. It’s renter-friendly if you use track systems that clip or attach without permanent drilling.
Measure the full width of the window and decide how many panels you want based on that width, spacing them evenly so you don’t get a striped gap. Install a clip-on or removable vertical track system above the window, then hang the panels onto the runners. Pull panels to the side for daytime light, and overlap them slightly for privacy during dinner. Adjust the panel spacing until the edges line up with no obvious light leaks along the sides.
Try thisUse a warm white panel that matches your cabinet trim; cool whites make sheer panels look clinical in kitchens.
Common mistakeAvoid overly shiny fabric — it looks cheap and catches light in a way that shows the room behind.