1. Matte Black Metal Tray + Glazed Ceramic Canisters
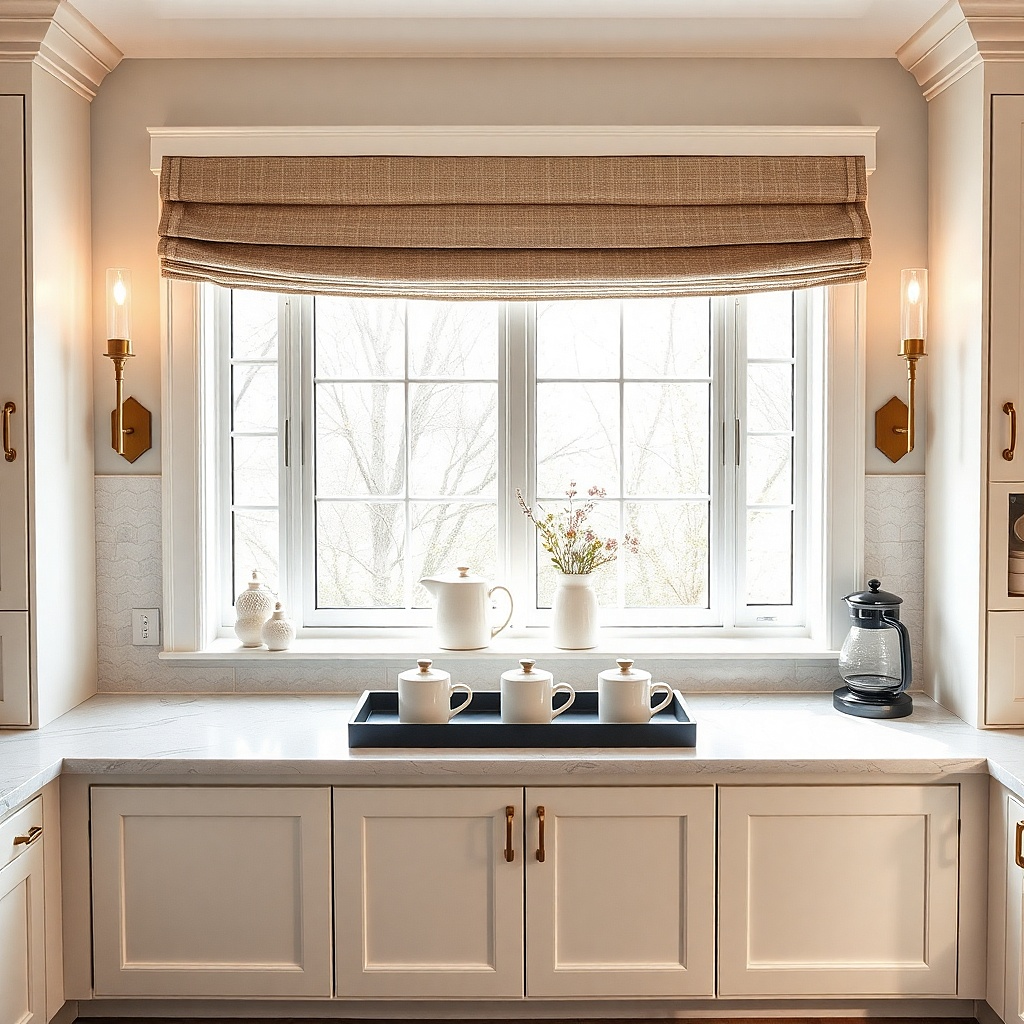
A matte black tray makes the sill look grounded even when the rest of the kitchen is light and airy. Pair it with glazed ceramic canisters in off-white or soft cream so the surface reflects light without looking shiny and greasy. This setup solves the “too blank, too cluttered” problem because the tray creates one clean boundary, then the canisters add vertical interest without spilling across the window. It’s a strong choice for kitchens where you want the sill to feel styled but still useful for daily grabs like tea, coffee, or dry goods. Keep the canisters uniform in height for a crisp, photo-ready line.
Start by choosing a tray that matches your sill depth — for a 6-10 inch deep sill, a tray about 10-14 inches wide keeps everything centered. Wipe the sill, then place the tray so there’s 1-2 inches of clearance from the window frame edge. Add three canisters spaced evenly; aim for the tallest canister to be no more than about 6 inches above the tray. Use a small folded linen or a thin paper liner only if it won’t trap crumbs; glazed ceramic is the real star.
Match the ceramic color to your dishware or the tone of your backsplash grout so the canisters look like they belong.
Avoid unglazed terracotta or porous stone-look pieces; kitchen steam turns them dull fast.
2. White-Washed Wood Sill Shelf with Small Plant and Candle Covers
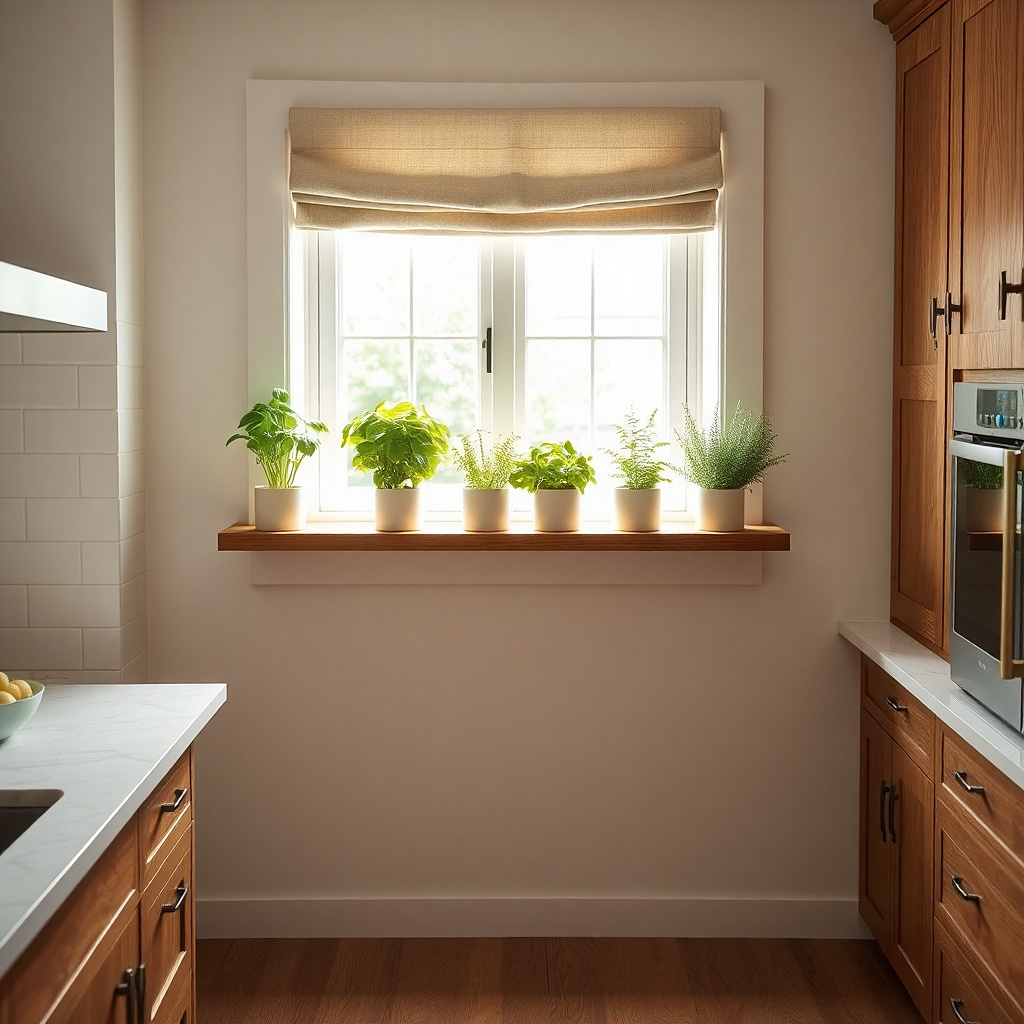
Measure the sill length and cut a shelf board to fit with a 1-inch gap on each side. Sand smooth, then apply two thin coats of white-wash stain or white paint thinned with water, followed by a clear matte poly or water-based sealant. Mount with small L-brackets under the board or use a high-adhesion shelf mounting kit made for painted surfaces. After it’s set, place a small potted plant (keep the pot diameter under 4 inches for most sills) and a covered candle holder; leave space in the center for airflow.
If your sill is wide enough, a slim shelf board adds architecture. White-washed wood softens the look and makes the sill feel like it has a built-in ledge instead of a random platform. Place a compact plant on one end and a candle in a covered holder on the other so the styling has a clear left-right balance. The plant brings life near natural light, while the candle cover keeps the flame safe and the glass clean from kitchen splatter. This works best in kitchens with light walls, white trim, or neutral countertops where you want warmth without dark clutter.
Common mistakeDon’t seal the shelf with a glossy finish; it reflects window glare and makes dust show.
Try thisUse a plant pot in the same color family as your canisters or countertop edges so the shelf reads cohesive.
3. Stone-Look Contact Paper Base + Tiered Riser for Fruit or Bread
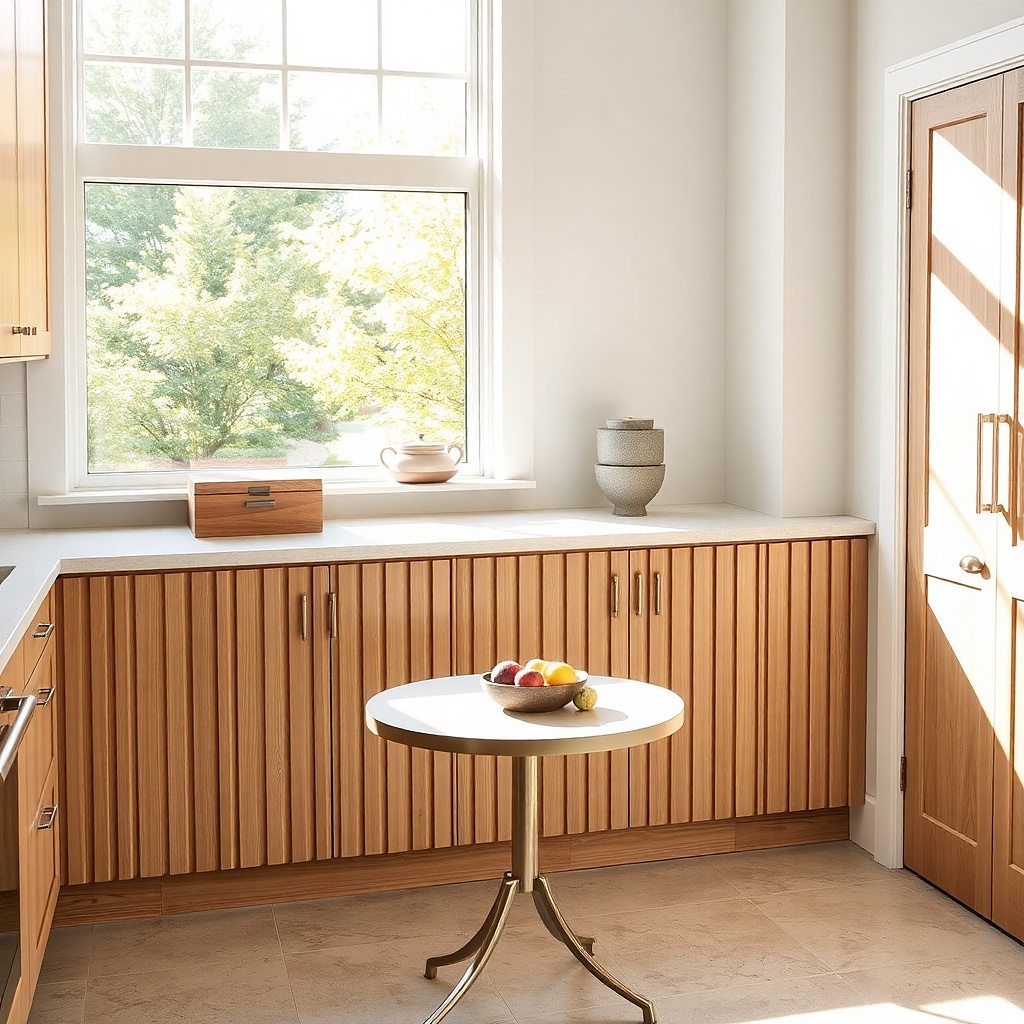
A stone-look liner instantly upgrades a plain sill into something that looks finished. Use it as the base under a tiered riser so you get height without adding bulky decor. This is a smart approach for kitchens where the sill is visible from the table or dining nook — the tiers create a “mini display” that reads intentional. Fill the tiers with real items like fruit in a bowl and a small bread board, then swap seasonally. It’s also practical because the liner protects against drips and wipe-clean messes.
Clean the sill thoroughly, then cut stone-look contact paper to the exact sill width and length. Press it down firmly, especially around corners, and trim with a sharp utility knife. Add a small tiered stand centered on top; for most kitchen windows, a 10-12 inch base keeps it proportional. Place one shallow bowl on the top tier and a small board or tray on the lower tier, leaving a 1-inch gap between items so crumbs don’t pile.
Choose a liner that matches your countertop undertone warm beige for warm stone, cool gray for cool stone.
Skip textured liners that catch crumbs; smooth is easier to wipe after cooking.
4. Rattan Tray + Ceramic Spoon Rest + Mini Herb Pot
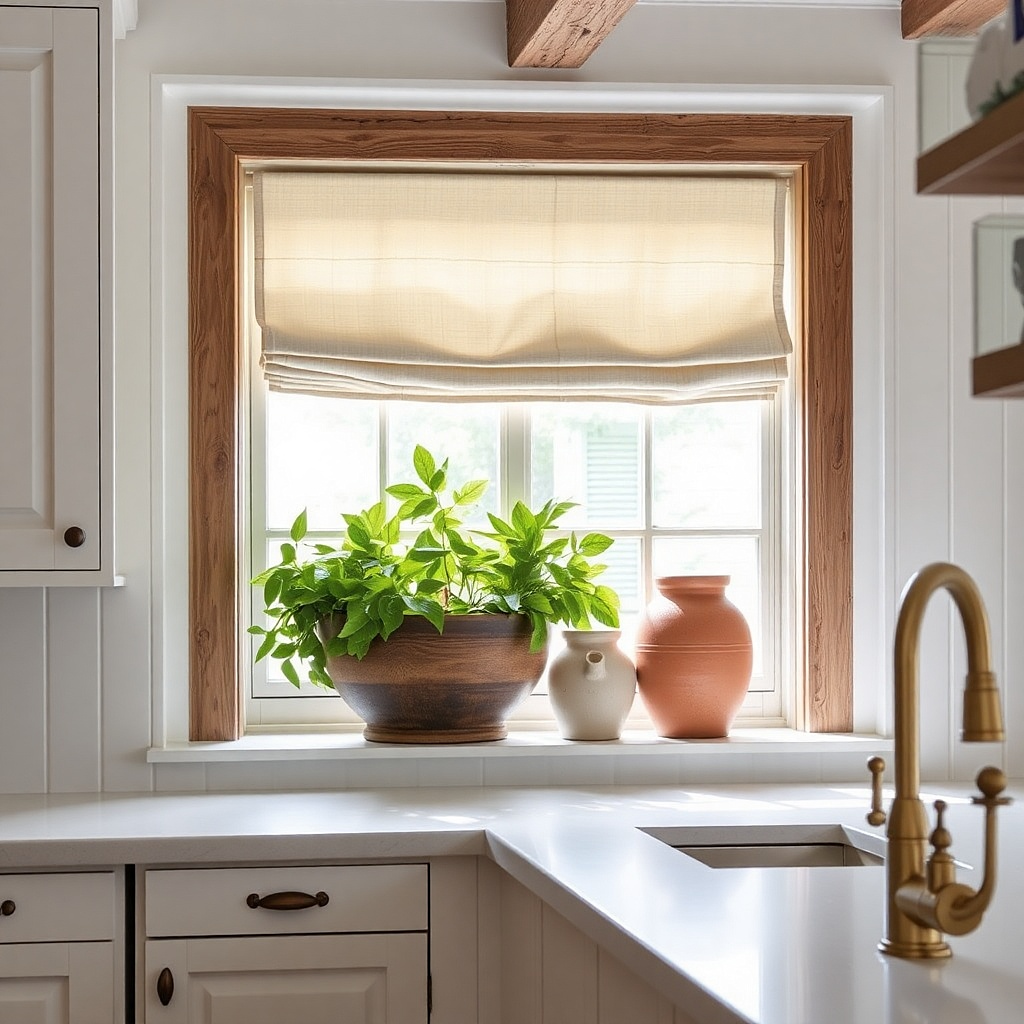
Rattan gives you that warm, natural look without needing a full renovation. A rattan tray creates a soft texture contrast against smooth windows and painted walls, and it’s easy to move when you clean the sill. Add a ceramic spoon rest for a functional touch that looks styled instead of random. Finish with a mini herb pot placed toward the window light so it feels purposeful, not like clutter. This works best for farmhouse-leaning kitchens, but it also pairs cleanly with modern neutrals when your ceramic is simple and your rattan is a light honey tone.
Pick a tray that sits fully on the sill with 1-2 inches of breathing room around it. Place a spoon rest in the back third of the tray and a small herb pot in the front third. If your sill gets hot from sun, choose herbs in small plastic nursery pots set inside a decorative outer pot to prevent water staining. Add a single styling element — like a folded linen napkin corner or a small matchbox-style container — only if it doesn’t crowd the spoon rest.
Use one herb type as the color anchor; mint-green leaves look best when there’s only one shade in the pot.
Don’t use dark, glossy faux wood decor; it looks heavy next to rattan.
5. Geometric Ceramic Tile Runner + Two Matching Bud Vases
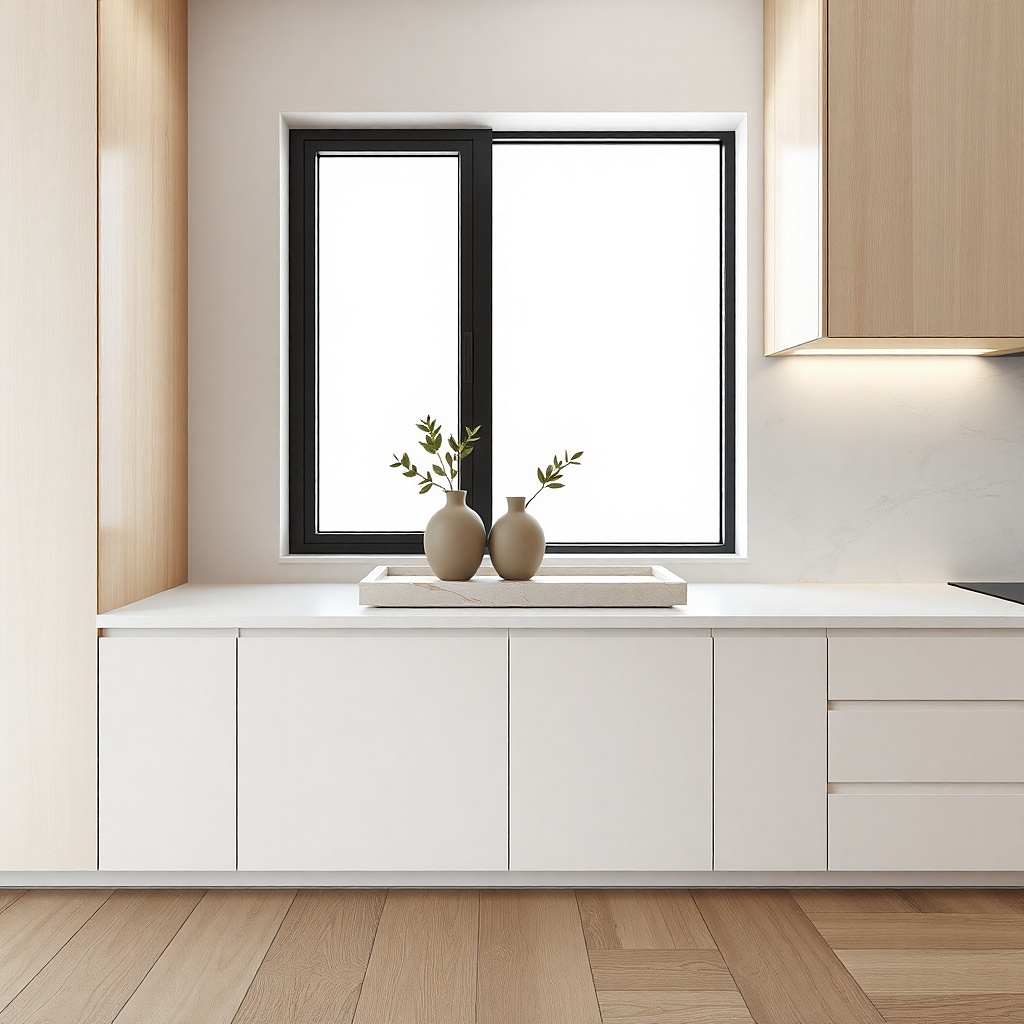
Cut a peel-and-stick tile runner or use a thin tile sheet made for countertops; keep it 2-3 inches narrower than the sill so edges don’t overhang. Press it down smoothly and roll with a hard tool for strong adhesion. Place two bud vases evenly spaced, aiming for the same height so the symmetry reads intentional. Fill with a single stem each or leave them empty with decorative stems so you can swap without re-styling the tile.
A narrow tile runner is the fastest way to make a kitchen window sill look designed. Choose a geometric pattern in two colors maximum like white with black lines or cream with muted olive. Then place two matching bud vases so the pattern doesn’t feel busy. This setup is photogenic because the tile gives you a crisp base and the vases add clean vertical shape. It also solves a common kitchen issue: window sills get scuffs from cleaning and accidental bumps, and a tile layer protects the surface.
Common mistakeAvoid multi-color tile with patterned wallpaper nearby; the sill turns into visual noise.
Try thisPick vases with a matte finish; glossy ceramics reflect kitchen lights and can wash out patterned tile.
6. Clear Acrylic or Glass Tray with Brass Candle Holders
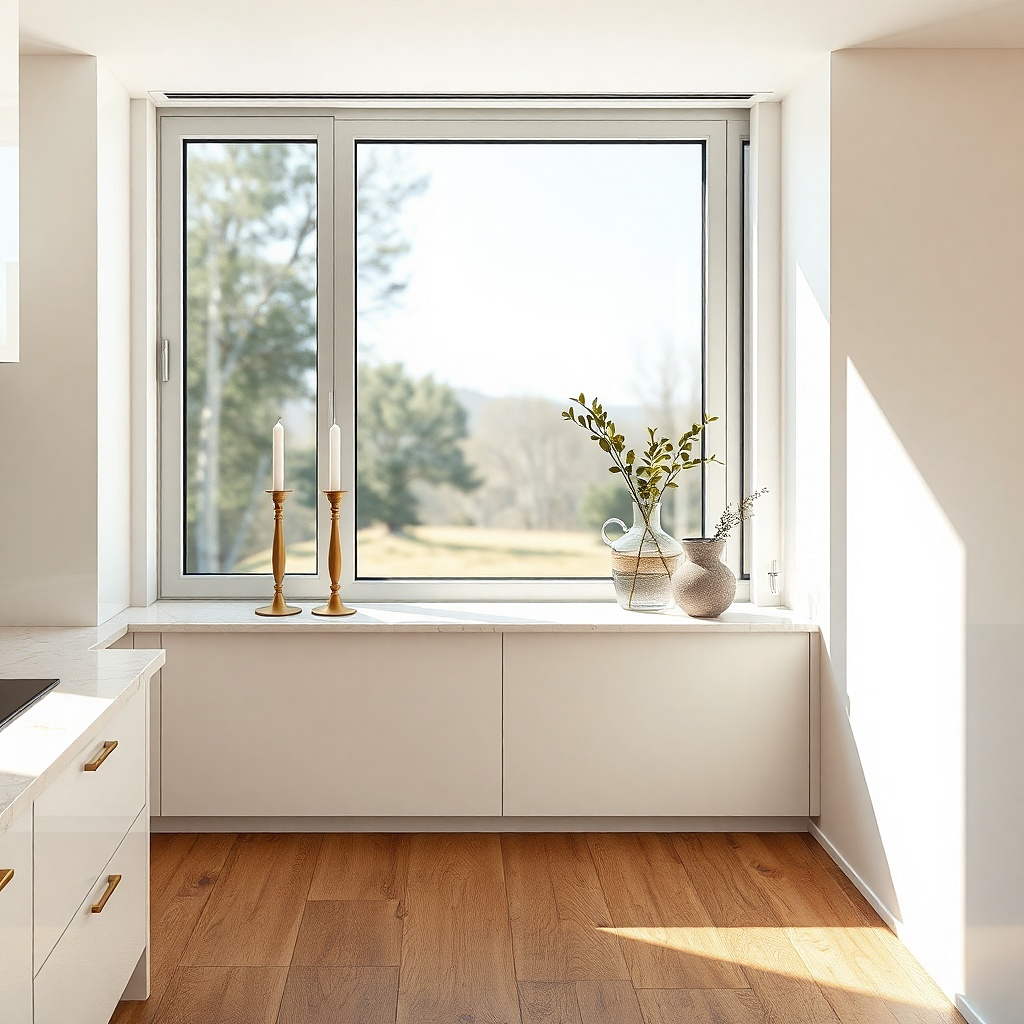
Clear trays make the sill feel lighter and cleaner, especially in small kitchens where you don’t want visual bulk. Put two brass candle holders on the tray and add a single linen runner or none at all. Brass warms up cool whites and greys, and the clear base prevents the sill from looking too heavy. This idea works when you want a styled look that still lets natural light travel across the window. It’s also easy to maintain because glass and acrylic wipe clean and show less dust buildup than dark textured materials.
Choose a tray with straight edges so it looks crisp; for most sills, a tray about 10-16 inches wide fits without crowding. Place it centered, then wipe the tray surface with glass cleaner. Add two candle holders with a small gap between them so wax drips never touch the tray. Use LED candles with timer if you want a consistent look without worrying about smoke or heat.
Keep the candle holders the same height; mismatched brass heights look accidental on sills.
Skip chunky pillar candles on a narrow sill; they block the window view and look top-heavy.
7. Vintage-Style Dough Bowl with Liners for Seasonal Color
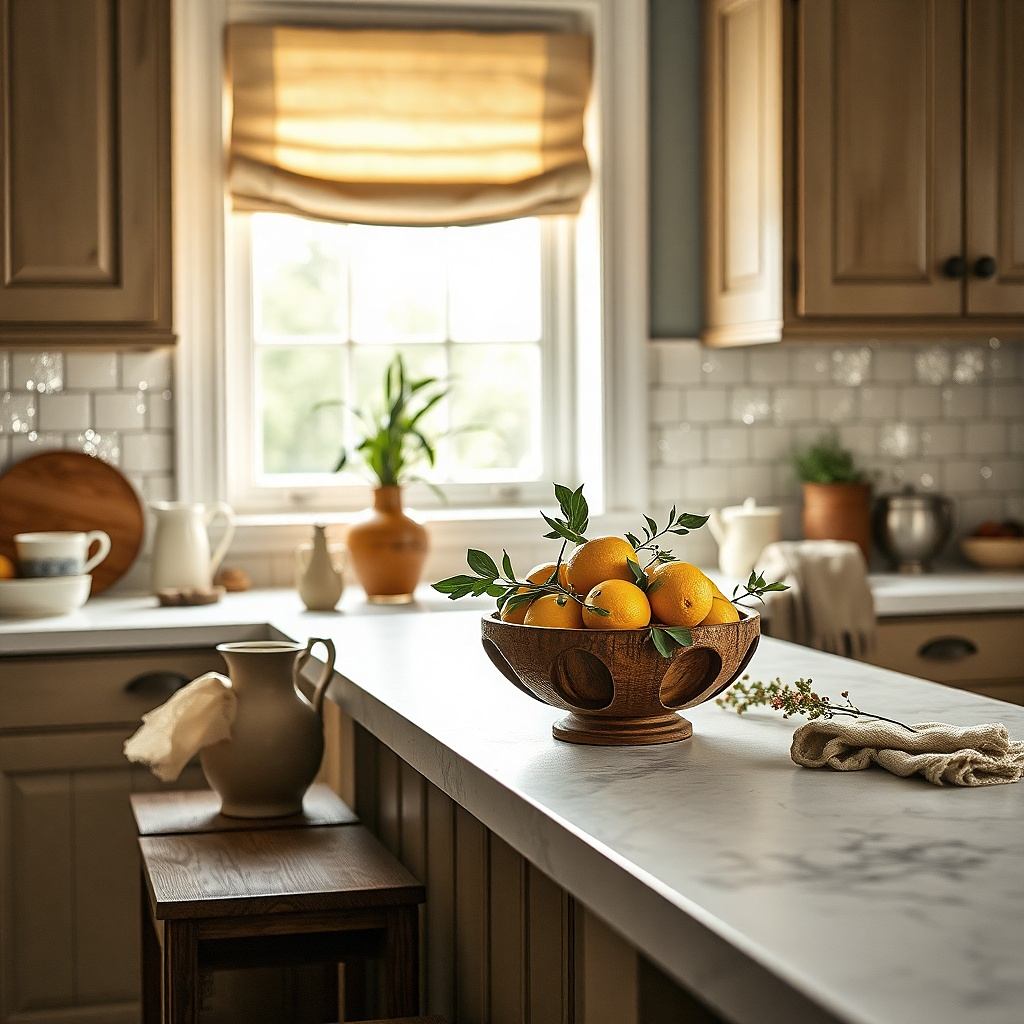
Select a bowl sized so it doesn’t touch the window frame edges — leave at least 1 inch around the bowl. Place a washable liner inside (thin plastic or waxed paper liner that you can swap). Add one main fill — greenery or citrus — then tuck in two smaller accent pieces like a small candle or a folded cloth. Keep the height under 6 inches above the sill for the best proportion.
A dough bowl gives you instant scale and a “collected” look without needing many separate pieces. Use a wood bowl with a matte finish and add a removable liner so the bowl stays clean. This is ideal when you want the sill to feel like decor, not storage, but you still need it wipeable. Fill it with seasonal items that photograph well: faux or real greenery, pinecones, citrus, or rolled kitchen towels tied with twine. The bowl anchors the whole window and makes the rest of the kitchen look more intentional.
Common mistakeDon’t fill the bowl with loose items that shed; crumbs and leaf bits are a pain to clean under the window.
Try thisUse one color theme for the season: warm oranges and browns in fall, cool whites and sage in winter.
8. Two-Level Spice Display with Matching Mini Jars
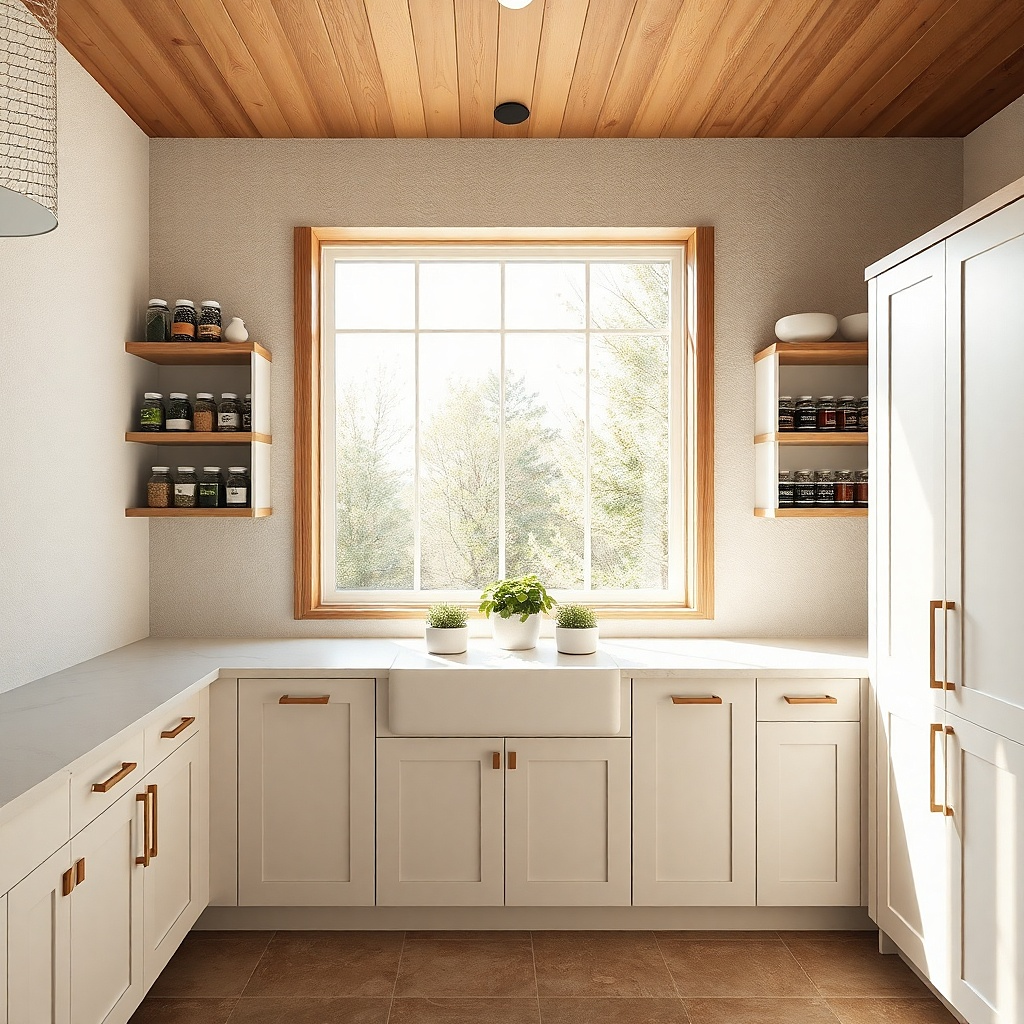
A two-level display turns a window sill into a spice moment. Matching mini jars look neat and make the sill feel like part of your kitchen system. Choose glass jars with metal lids in either brushed nickel or matte black so they look cohesive with hardware. This idea is great for kitchens where you want the sill to earn its spot — you’re not just decorating, you’re organizing. It also solves the "spices everywhere" problem because jars live in one viewable line, spaced so labels are readable.
Pick a two-tier rack that fits the sill length — for most sills, a 10-14 inch rack is the sweet spot. Clean the sill and place a tray beneath the rack to catch drips. Fill jars with spices you actually use, and keep jar size consistent so the top tier doesn’t look crowded. Arrange by color or by cooking category; then top the display with a small label card or a single herb in a tiny pot for contrast.
Use one lid finish across the jars and the rack; mixed metals look messy on a small surface.
Don’t use mismatched jar sizes; the display reads uneven on camera.
9. Slim Black Iron Utensil Caddy for Everyday Tools
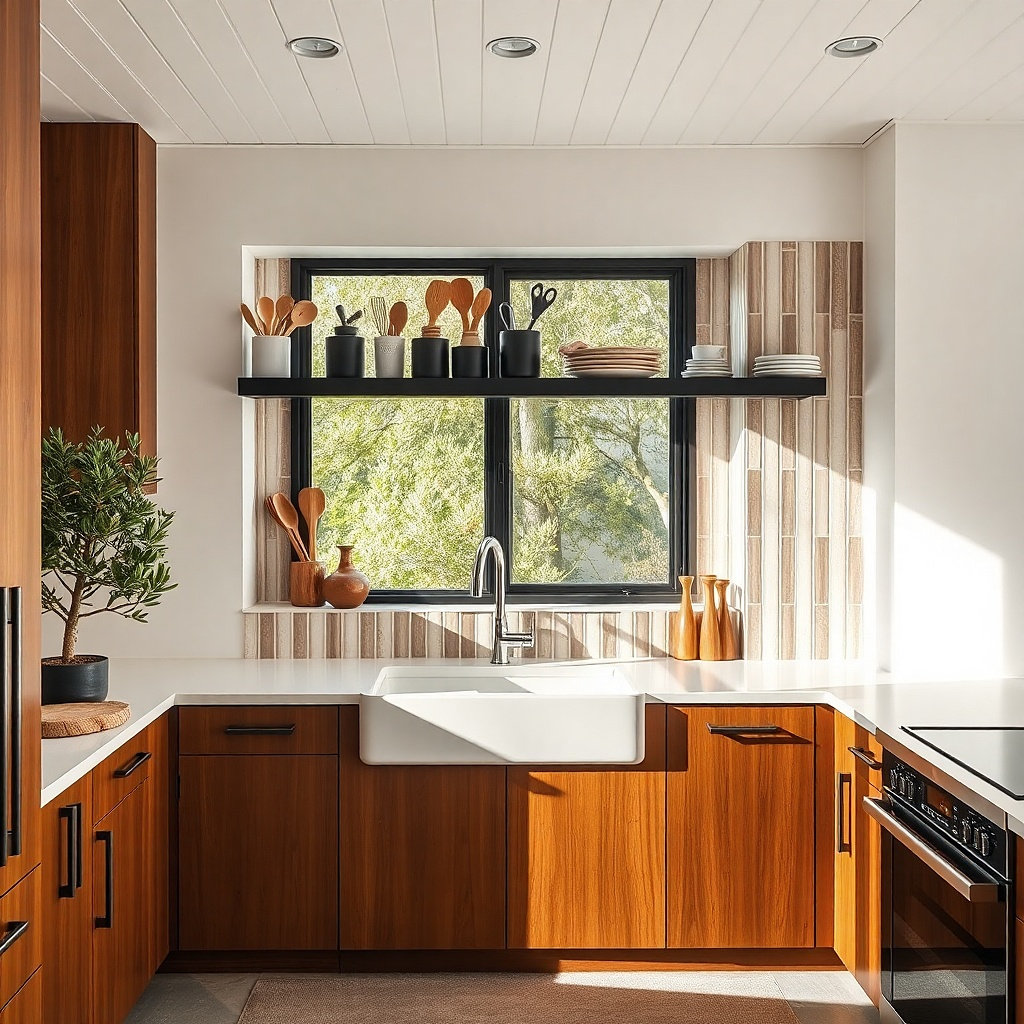
Choose a caddy that’s wider than your sink-side reach but not wider than 2/3 of your sill depth. Place it slightly toward the window frame side so it doesn’t block the edge closest to the room. Add wooden utensils — spatula, spoon, whisk — then keep the handles aligned. Finish with a small ceramic soap dish or a compact herb pot, keeping everything within a 6-inch vertical stack.
A slim utensil caddy is one of the most believable kitchen window sill ideas because it’s genuinely useful. Black iron adds structure and contrast, and a caddy with vertical lines makes a narrow sill look taller and cleaner. Put it near the sink so it supports daily routines, then add one small decorative element like a ceramic soap dish or a tiny plant. This style works in modern kitchens, but it also looks good in transitional spaces if your countertops are neutral. The key is keeping the caddy slim and the utensils grouped so the sill doesn’t become a messy tool pile.
Common mistakeSkip wire caddies with loose bases; they wobble and look sloppy when the sill is bumped.
Try thisUse the same wood tone in the utensils as your cutting board or countertop accessories for a calmer look.
10. Painted Sill Edge with a Single Color Accent + White Decor
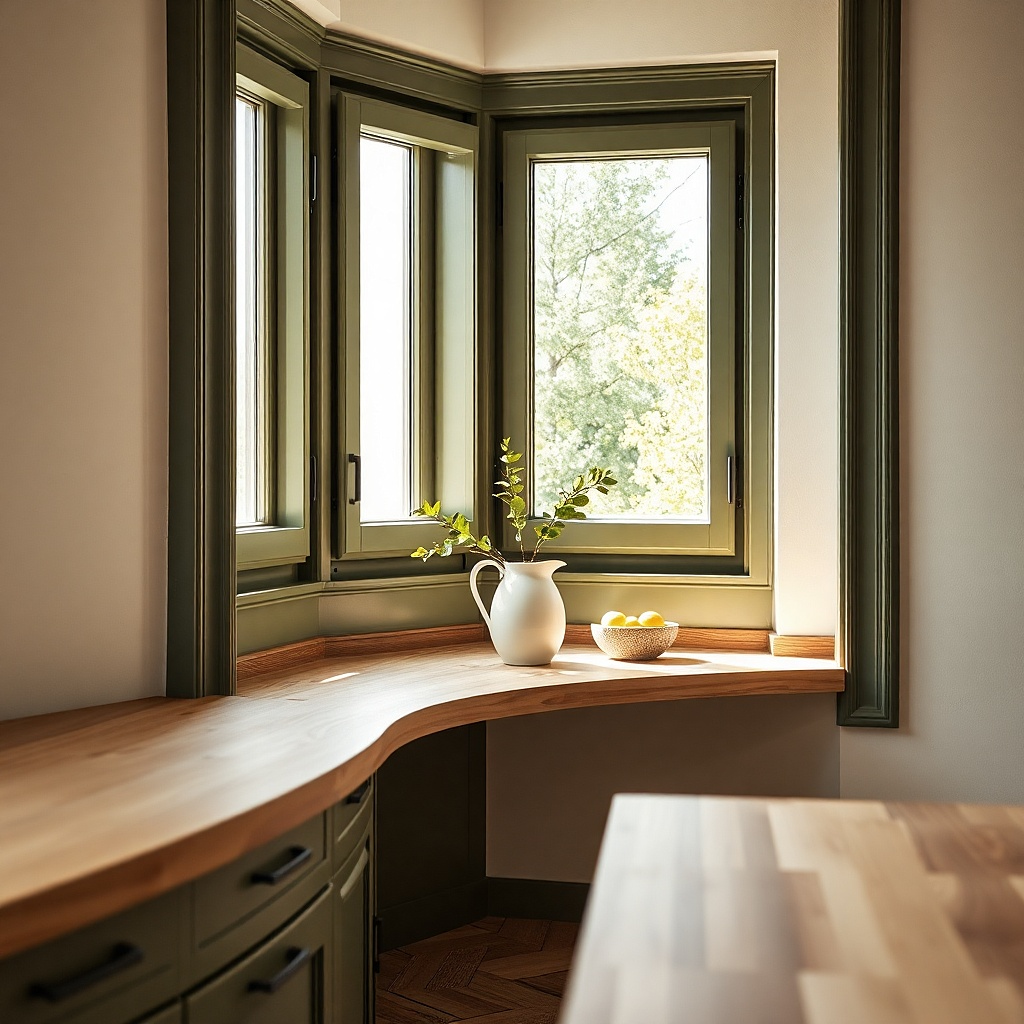
Sometimes the best budget move is to paint the sill edge and let simple decor do the rest. Pick one accent color from your kitchen like sage, muted blue, or terracotta and paint just the front edge or top lip, not the whole sill. Then style with white ceramics and one green plant so the color reads intentional, not random. This idea makes the sill look designed even if you only place two items. It also helps hide scuffs and wear, which is a real kitchen issue. Choose a matte paint finish so it doesn’t glare.
Clean the sill edge, then tape off the areas you do not want painted. Use a primer made for trim or wood, then apply two thin coats of matte trim paint in your chosen accent color. Let it cure fully before adding decor. Style with two items only: a white ceramic pot and a small white bowl or canister, both centered, leaving space between them so the color edge stays visible.
Test your accent color on a small hidden corner first; kitchen light changes how sage and blues look.
Don’t pick a glossy accent; it reflects window light and makes the paint edge look uneven.
11. Stacked Books + Tray for a Cafe-Like Window Moment
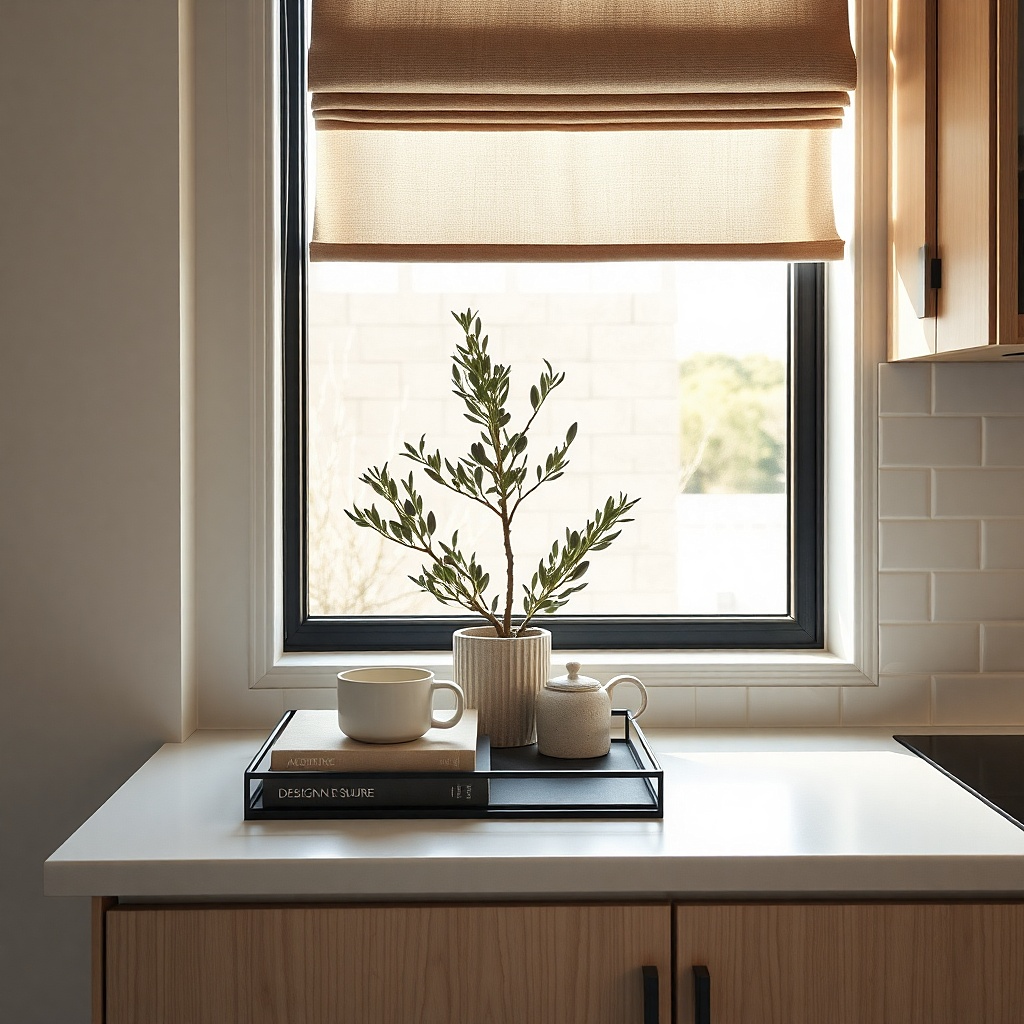
Place the books toward the back edge so they don’t block the window opening or interfere with cleaning. Set a flat tray on top of the books; the tray should be centered and not overhang more than 1 inch on either side. Add one cup or small jar and a tiny plant, keeping items below the top of the tray rim. Replace the tray contents seasonally, but keep the book colors consistent for a stable look.
A cafe-like sill moment looks great in kitchens that open to dining rooms, because it adds height and rhythm without clutter. Stack two thin books or hard covers in the back, then place a tray on top with a coffee cup, small plant, or ceramic sugar jar. Choose covers in neutral tones — oatmeal, charcoal, or off-white — so the look stays calm. This idea is photogenic because it creates a deliberate vertical anchor and a clean front display. It also works when your sill is narrow: books give you height without taking up width.
Common mistakeSkip tall stacks higher than about 8 inches above the sill; they look top-heavy in kitchens.
Try thisPick books with matte covers; glossy covers show glare from the window.
12. Woven Fabric Runner + Brass Photo Frame Mirror Clip
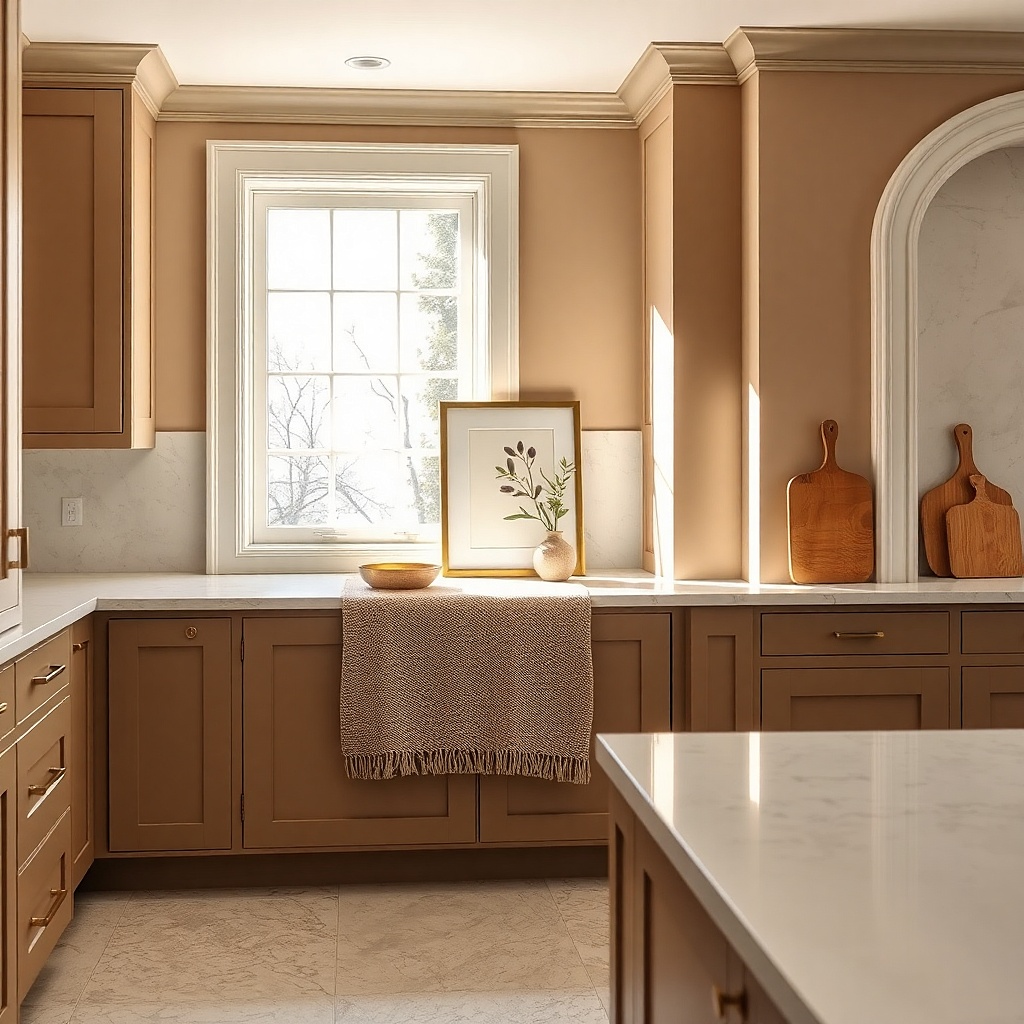
Cut or buy a runner sized so it sits within the sill edges with a 1-inch margin on both sides. Place the runner centered and smooth it so it lies flat. Add a small brass frame clip in the back corner and one small decor piece in the front, like a ceramic soap dish or a tiny jar. If you’re using fabric near grease, choose a runner that you can spot-clean or machine wash.
A woven fabric runner makes a sill feel softer and more styled, especially if your kitchen has hard surfaces like tile and stone. Use a runner in a flat weave — like light linen or natural jute — and anchor it with brass accents. A small brass frame clip or mini frame adds a curated feel without covering the window. This idea is good for kitchens where you want the sill to complement dining decor and you don’t want a bulky centerpiece. Keep the styling low and tidy so the fabric doesn’t look like a random table mat.
Common mistakeAvoid long-pile rugs or thick knits on sills; they catch crumbs and are slow to clean.
Try thisUse a fabric with a tight weave; loose weave traps dust and looks messy quickly.
13. Monochrome Ceramic Planter Set with Self-Draining Trays
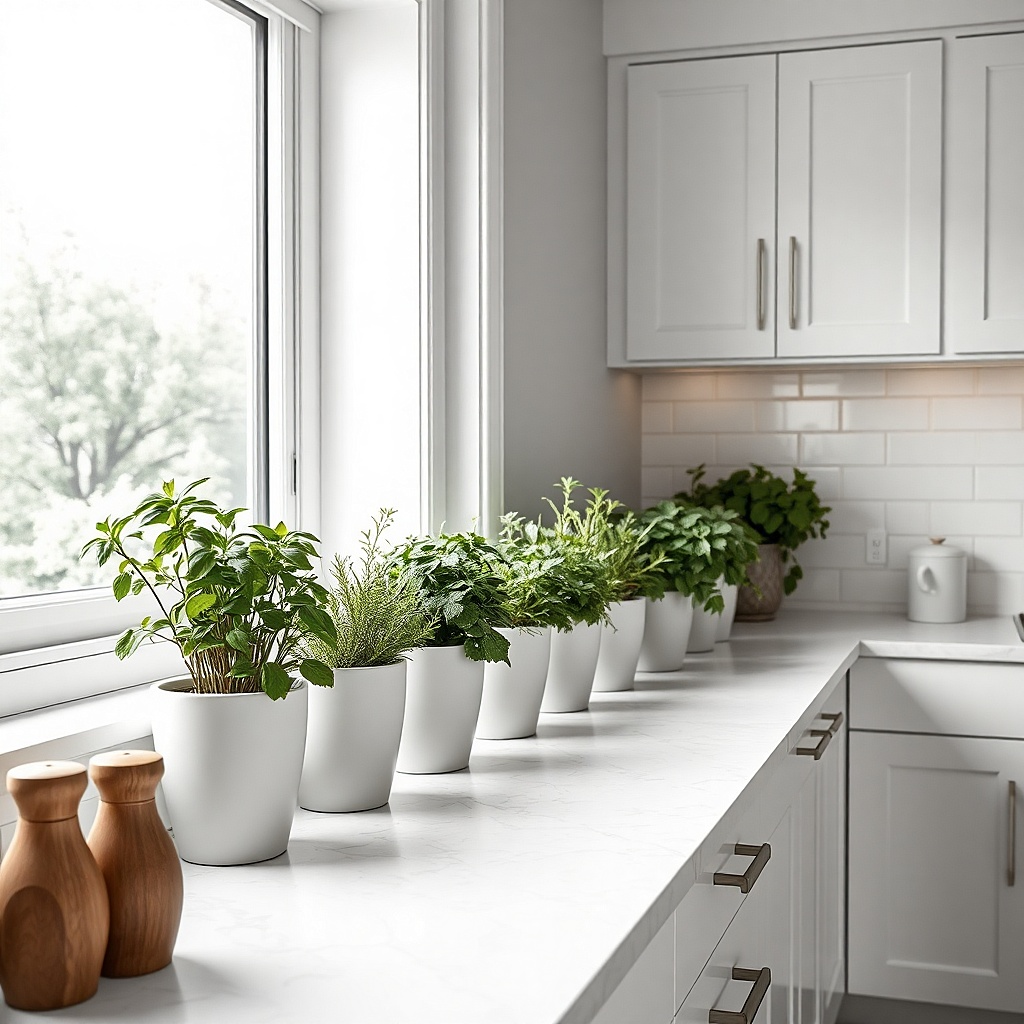
Pick 2-3 planters in the same color family and keep the pot sizes within a 1-inch diameter range. Place the planters on matching self-draining trays or use trays under each pot so excess water stays contained. Position the tallest plant toward the window light side, then add smaller plants on the opposite side for balance. Use a pebble top or a thin layer of decorative stones to reduce soil mess if you move the pots for cleaning.
Plants look best on kitchen windows when you handle water cleanly. A monochrome set of ceramic planters white, cream, or matte black looks cohesive and stops the sill from turning into mixed-pot clutter. Use self-draining trays so you don’t get water rings on the sill. This idea is ideal for bright kitchens where you want the sill to feel alive but still easy to maintain. It’s also a great solution if you want color without adding lots of objects the plant leaves do that job.
Common mistakeDon’t use saucers that leave standing water directly on the sill surface; stains happen.
Try thisRotate the pots every 2 weeks so leaves grow evenly and the sill doesn’t look lopsided.
14. Black and White Checkboard Tile Insert + Small Serving Board
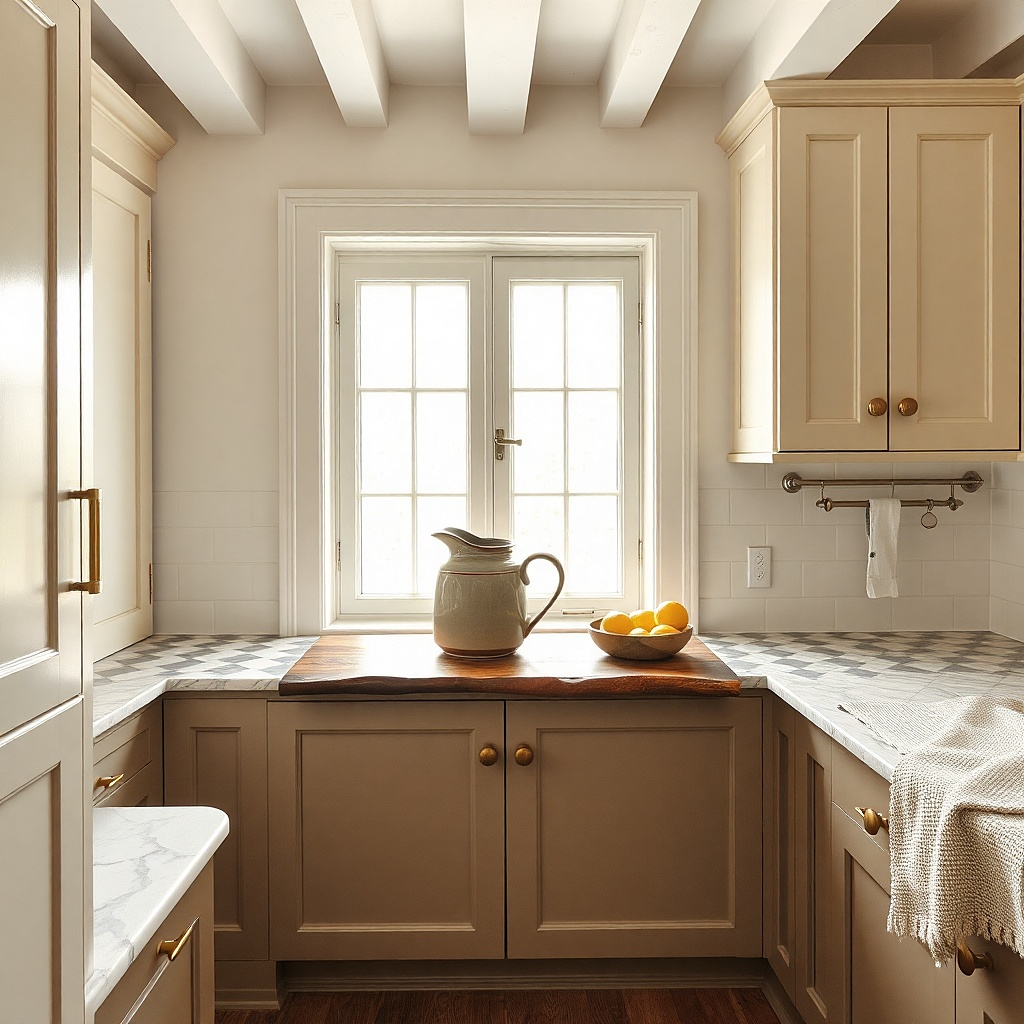
Cut a peel-and-stick checkboard tile sheet to match the sill size, then round corners slightly so it doesn’t lift. Press firmly and run a roller over the surface. Set a small serving board in the center; it should cover most of the tile insert but leave a border visible. Add one small item on the board, like a ceramic ramekin or a folded cloth, keeping it centered so the pattern remains the hero.
A checkboard insert is a punchy, photogenic base that makes a window sill look like it belongs to a styled dining setup. Use black-and-white for the cleanest look and keep the rest of the decor simple. Place a small serving board on top — wood or light laminate — so you get a warm contrast against the graphic base. This works extremely well in kitchens with black hardware or white cabinets because the pattern echoes the room’s palette. It also solves the bland-sill problem without adding clutter.
Common mistakeDon’t add multiple patterned items on top of the checkboard; it will look busy fast.
Try thisChoose a serving board with a matte finish; glossy wood shows smears from fingerprints.
15. Long Linen Napkin + Ceramic Jug for Cut Flowers
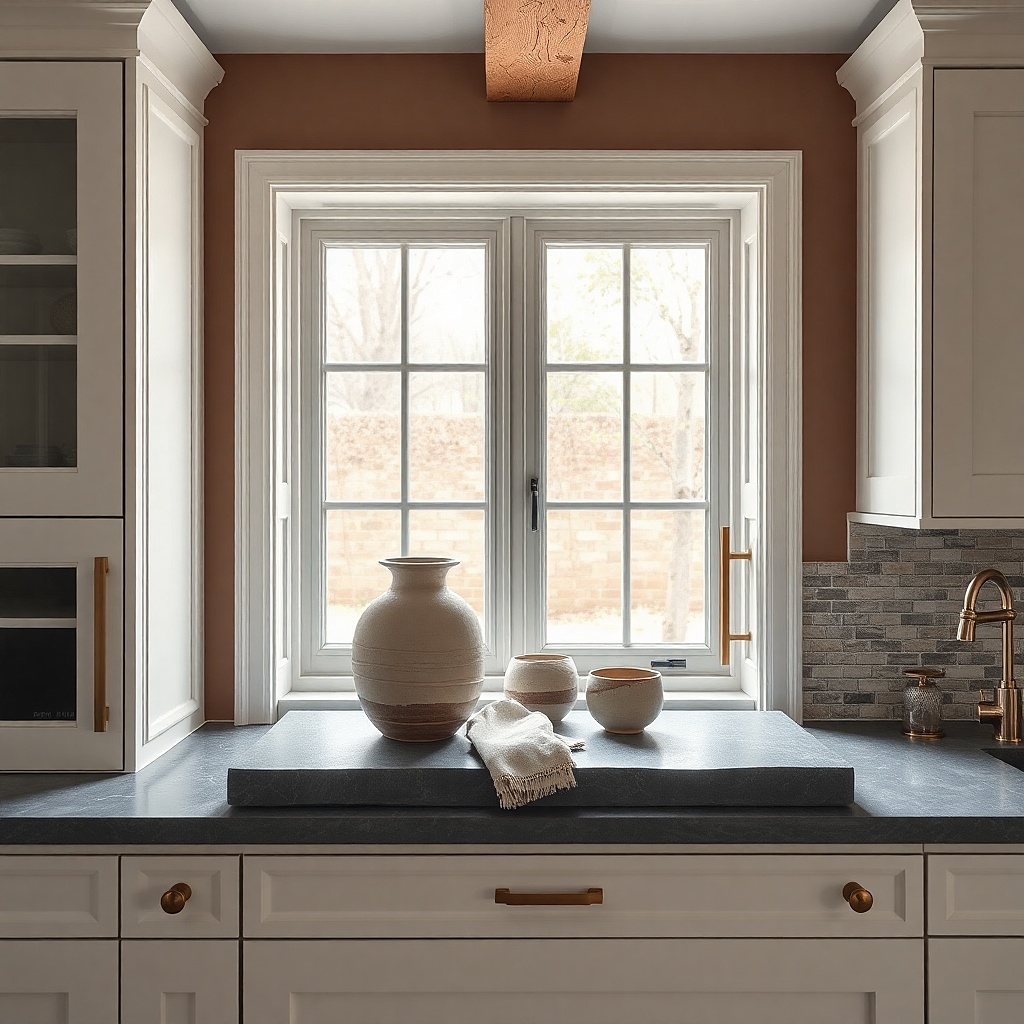
Iron or steam a linen napkin so it lies flat, then lay it centered along the sill. Choose a ceramic jug or small vase that fits the sill width without wobbling, then place it on top of the napkin so the base is stable. Add 3-5 stems only; keep them short enough that they don’t hit the window frame. Replace the napkin if it gets stained from water drips — linen is easy to refresh.
This is the cleanest way to make flowers look intentional on a budget. Lay a long, flat linen napkin down the sill and let it frame a single ceramic jug. The napkin creates softness and hides minor scuffs, while the jug gives you a clear focal point. Use cut stems in a limited palette white, pale pink, or green so the sill looks cohesive and not like a grocery bouquet dump. It’s best for kitchens where you want occasional styling that still looks good in between flower swaps.
Common mistakeSkip tall vases; they block light and make the sill look cluttered.
Try thisPick a jug color that matches your dishware trim; even a small echo makes the whole sill look planned.
16. Self-Adhesive Mirror Strip Backdrop + Minimal Gold Accents
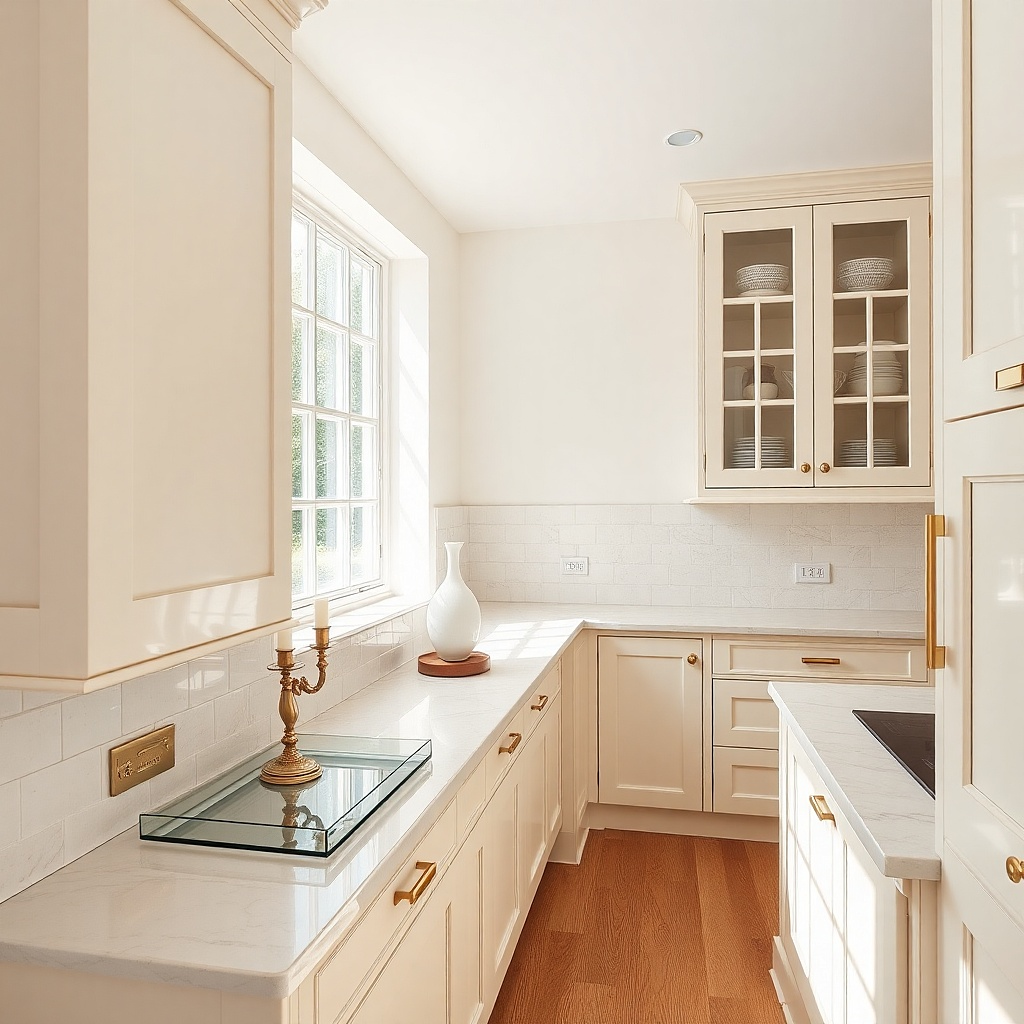
Clean the back edge of the sill where the strip will sit, then apply the mirror strip in a straight line. Press it firmly along the entire length and trim with a sharp blade if needed. Place a small tray forward of the mirror strip so it reflects through the tray opening. Add two decor pieces with the same gold tone and keep them low so they don’t obscure the reflection.
A mirror strip behind your window sill decor makes everything look brighter without adding more objects. Use a self-adhesive mirror strip along the back edge of the sill so it reflects light and makes candles or ceramics pop. Then keep decor minimal: one small tray and two gold-toned pieces. This idea is perfect when your kitchen window gets indirect light and the sill ends up looking dull in photos. The mirror adds depth, so the sill feels richer even when the surface is simple.
Common mistakeDon’t cover too much of the sill — a full mirror panel can look harsh and show fingerprints constantly.
Try thisUse matte gold pieces, not shiny chrome; mirror reflections already add shine.
17. Stacked Cutting Boards as a Base + Ceramic Catchall
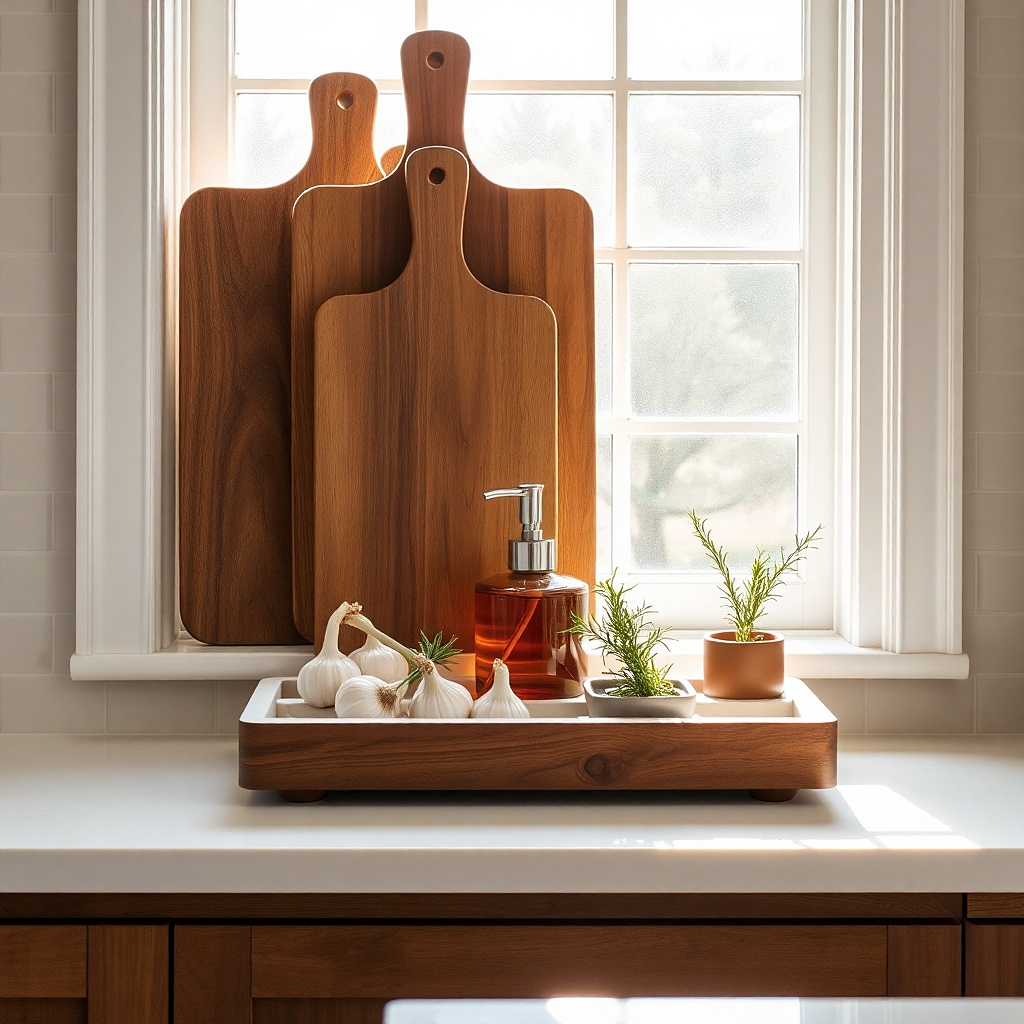
Cutting boards are practical decor because they match real kitchen use, and they photograph well when stacked neatly. Stack two boards in different sizes one flat, one slightly offset then top with a ceramic catchall for small items like salt, matches, or a tea tin. This setup solves the “sill looks decorative but does nothing” issue while still looking styled. It’s especially good in kitchens with wood countertops or wood dining furniture. The boards add warmth and texture, and the ceramic catchall keeps the look clean.
Choose two cutting boards: one larger base board and one smaller one stacked above it. Clean and dry them completely so oil doesn’t transfer to the window sill. Place the stack toward the back edge, then set a ceramic catchall on the top board. Add a small plant or a folded cloth only if there’s space; keep the overall height tight so it doesn’t block the window view.
Offset the top board by about 1 inch so the stack shows a clear layered shape.
Skip boards with heavy stains or deep cracks; they look dated on a bright window.