
1. Ironstone pitcher with a walnut mini board stack
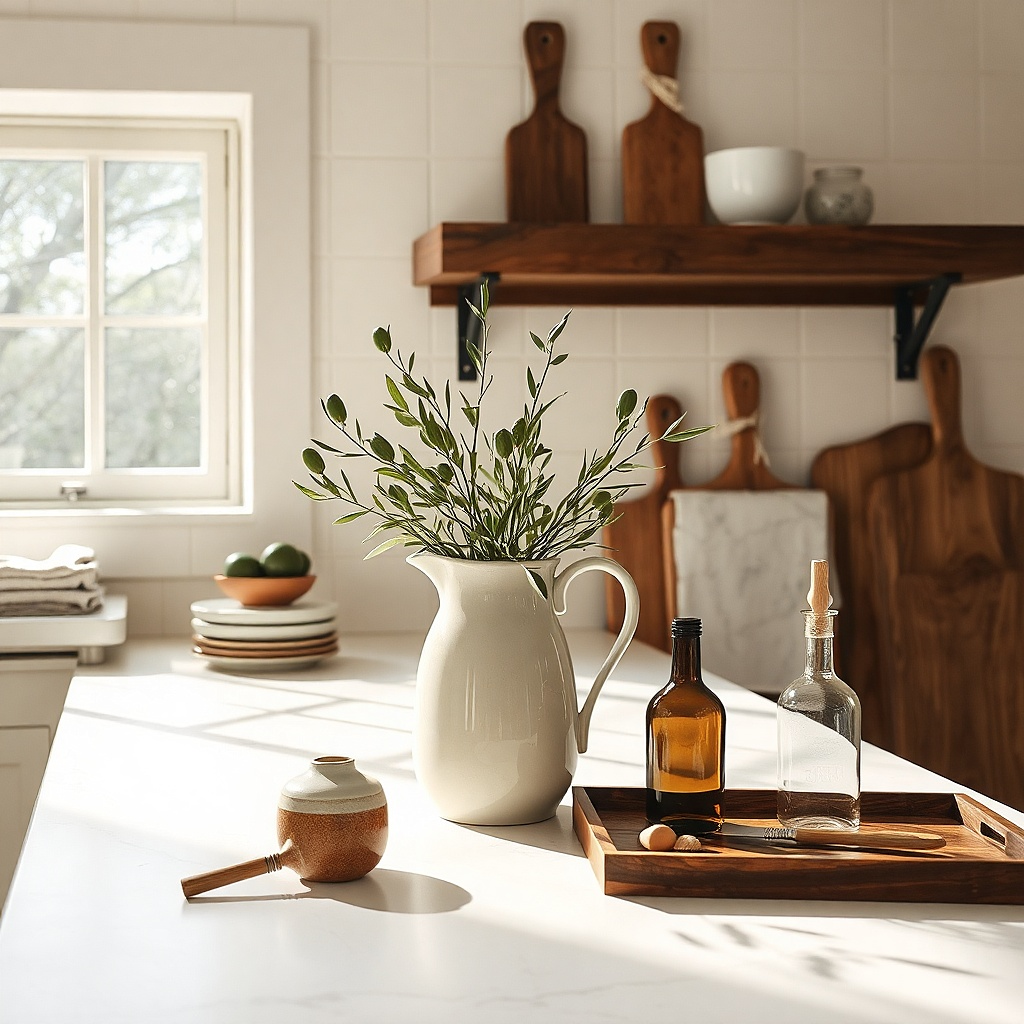
This is the easiest way to get story and structure onto a short counter run. Set a cream ironstone pitcher with a slightly uneven glaze beside two small walnut or teak boards leaned against the backsplash. The pitcher gives height and soft curves, while the boards bring dark grain and a worn edge that reads old without looking fussy. On pale counters, that cream-and-walnut pairing looks clean and expensive. It suits the stretch between a sink and a corner because the pieces stay narrow, and the boards can still be grabbed for actual use.
Try thisChoose boards with visible knife marks and a darker oil finish. Perfectly new blond boards kill the old-meets-modern contrast.
Start with two boards around 8 by 12 inches and 6 by 10 inches, each under 1 inch thick so they do not hog depth. Lean the larger board first, then overlap the smaller one by a third, and place the pitcher 2 to 3 inches in front of them off-center rather than dead middle. Add either bare stems, a clipped olive branch, or a bundle of wooden spoons in the pitcher. Expect to spend $25 to $80 if you source secondhand boards and one solid old pitcher, or less if you already own the boards.
Common mistakeDo not cram three or four boards behind the pitcher or the whole setup turns into a lumber pile.
2. Brass rail with hanging linen and one antique brush
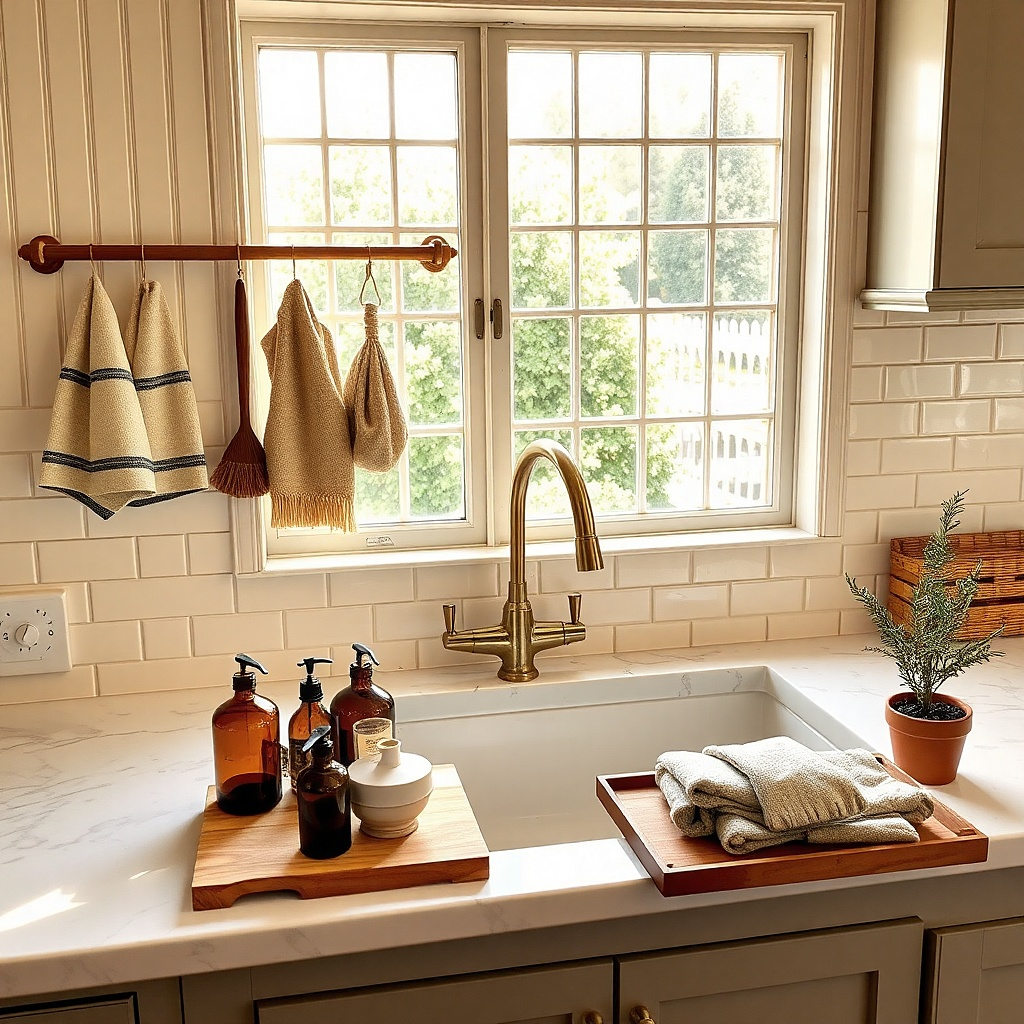
A short brass rail gives a tiny kitchen the feeling of an old European work zone without eating counter space. Mount a 16- to 20-inch unlacquered brass rail just above the backsplash and hang one cafe-striped linen towel plus a wood-handled vegetable brush or brass scoop. The rail adds a horizontal line, which is useful in small kitchens where counters can look chopped up by appliances. Unlacquered brass dulls over time, and that soft patina keeps the setup from looking showroom new. This idea works best near the sink or coffee station where the towel has a job.
Try thisPick a towel with a narrow stripe in black, faded red, or tobacco brown. Wide bright stripes read farmhouse-store display.
Start by mounting the rail 4 to 6 inches above the counter so the towel clears the surface but still feels connected to it. Use brass S-hooks or ring clips, and stop at two hanging items on a short rail. Then leave the counter below mostly clear, with just a soap bottle or a small tray, so the eye reads the rail as the decor moment. A simple rail kit, hooks, and one good towel lands around $35 to $90 depending on the hardware.
Common mistakeSkip chrome rails and synthetic towels because they flatten the vintage look fast.
3. Smoked glass cake stand for fruit and pantry overflow
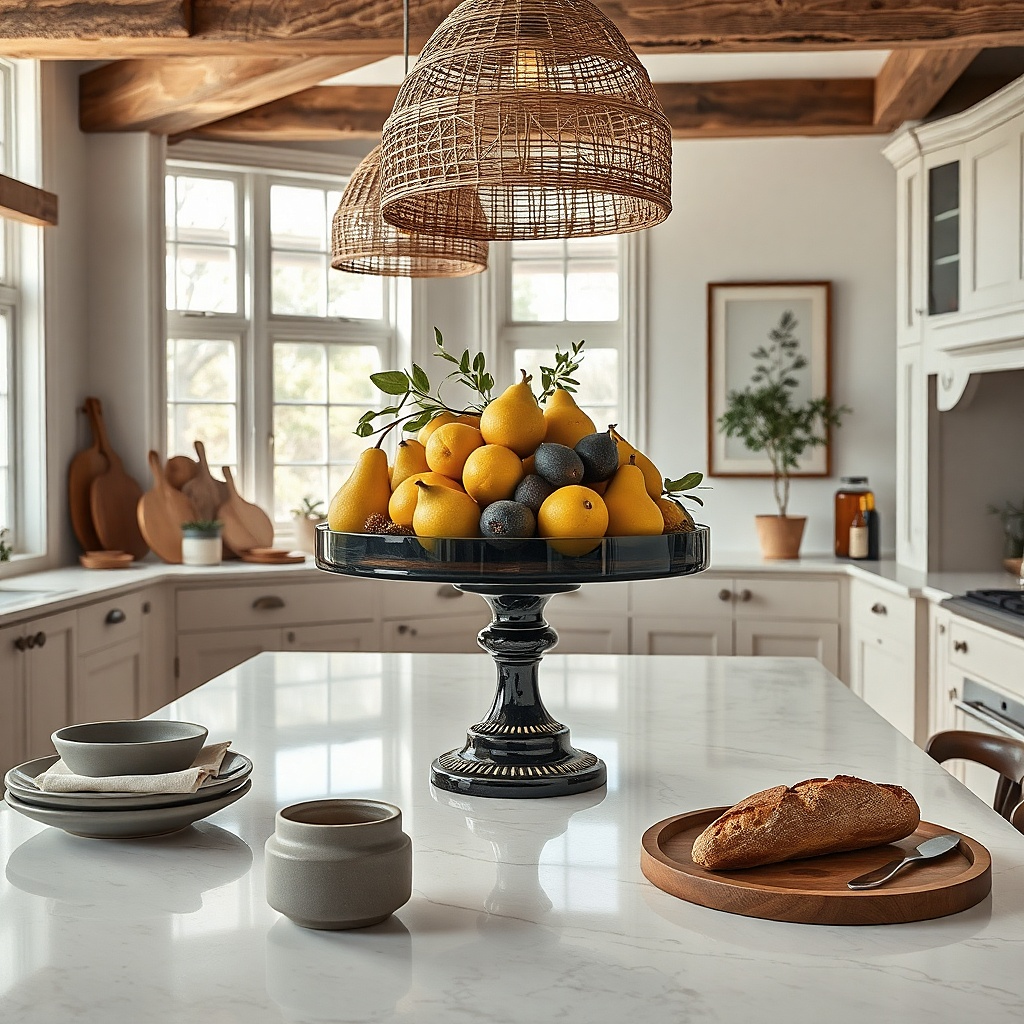
A smoked glass cake stand pulls countertop basics into one sculptural shape. Use it for lemons, garlic, shallots, or a wrapped loaf instead of scattering those items loose across the counter. The dark translucent glass catches light in a moodier way than clear glass, which gives the old-modern mix more edge. A pedestal also lifts everyday food upward, so the counter feels fuller without taking more footprint. This setup belongs near the stove or at the end of an island where produce tends to collect anyway.
Try thisWaxed paper under garlic or shallots keeps papery skins from scratching the plate and makes cleanup simpler.
Choose a stand 9 to 11 inches wide with a low pedestal and a flat plate, not an ornate ruffled rim. Set it 3 to 4 inches from the backsplash, then keep the contents to one color family at a time — yellow citrus, white garlic, or brown onions. If the stand looks too bare, tuck one folded linen napkin under the produce for texture. Secondhand smoked glass runs about $20 to $60, and styling it takes five minutes.
Common mistakeDo not heap mixed produce in bright red, green, orange, and yellow all at once because it turns the stand into visual noise.
4. Stoneware crock turned utensil block with a black tray base
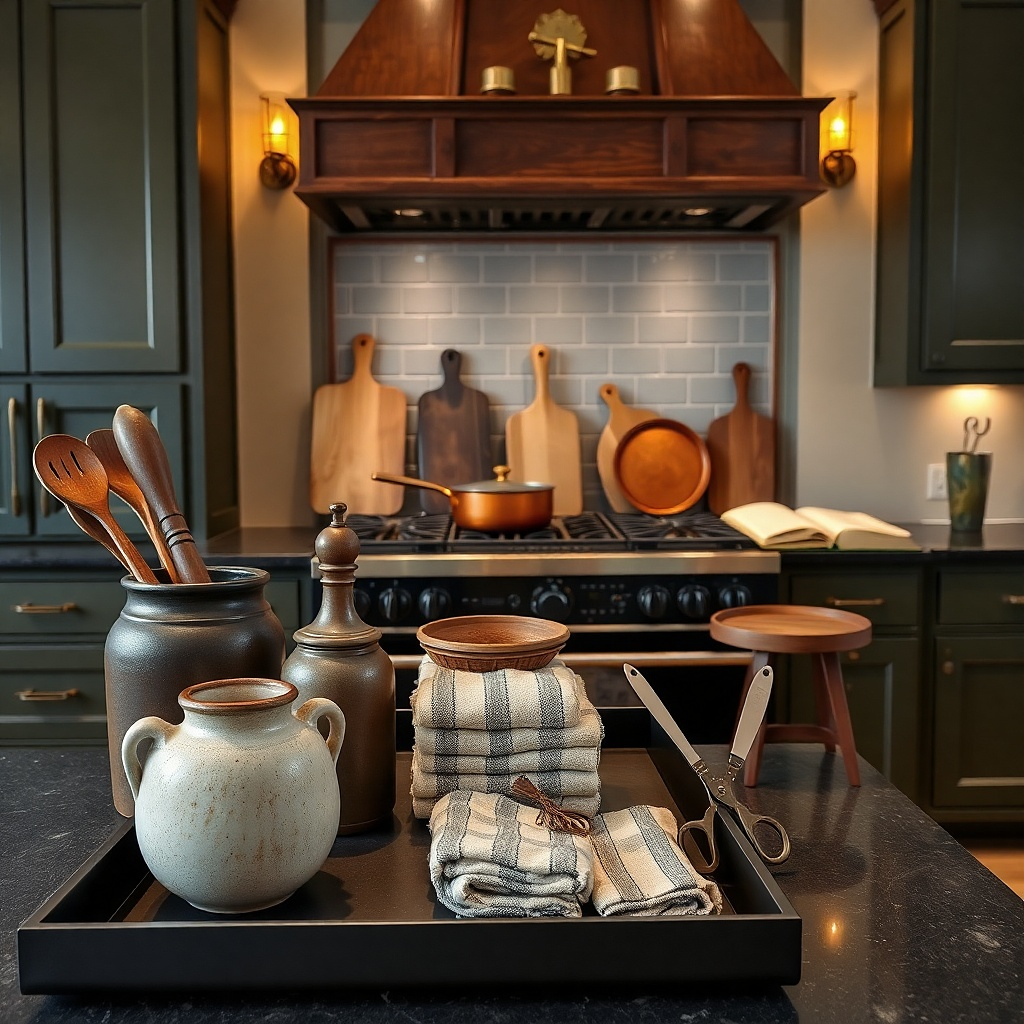
A gray or salt-glazed stoneware crock is one of the few vintage pieces that earns permanent counter space. It has weight, a blunt shape, and a matte surface that grounds lighter items around it. Put it on a slim black metal tray and fill it with wooden spoons, a fish spatula with a dark handle, and kitchen shears. The tray creates a hard outline, so the crock reads as one edited station instead of one more object on the counter. This is the right move beside a range where tools need to stay out but still look intentional.
Try thisUse tools with dark wood, black, or stainless handles. Candy-color silicone ruins the whole palette.
Start with a crock around 5 to 6 inches wide and 6 to 8 inches tall so utensils stand up without splaying. Set it on a tray about 8 by 12 inches, then add only the tools you reach for daily — five or six pieces is enough. Finally, leave 2 inches of empty tray visible on one side for a pinch bowl or salt cellar if you use one. A genuine old crock plus a simple tray usually costs $30 to $100 total.
Common mistakeDo not overfill the crock until handles fan out like a bouquet.
5. Single brass candlestick beside a ribbed butter dome
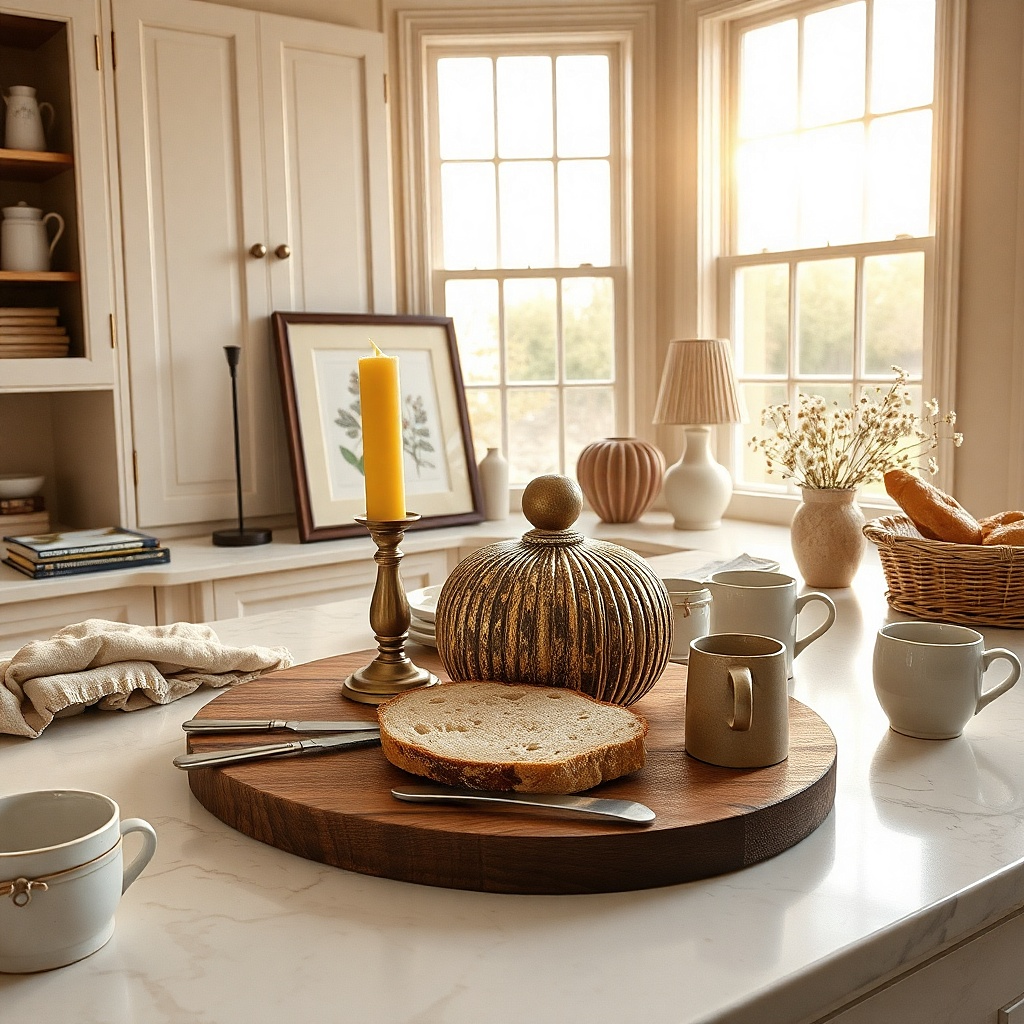
This pairing works because it feels old but spare. A short brass candlestick with a natural beeswax taper next to a ribbed glass butter dome gives you height, glow, and curve without clutter. The dome has practical use if you keep butter out, but it still looks decorative even when empty over a small scone or half loaf. Ribbed glass catches window light and throws thin vertical lines across the counter, which is photogenic in a quiet way. Put this on a breakfast counter or the stretch near a toaster where softer styling makes sense.
Try thisCream or honey-colored tapers look better here than stark white because they echo old wax and warm up cool counters.
Choose a candlestick 5 to 7 inches tall and a butter dome with a base under 7 inches wide. Place the dome first, then set the candlestick 3 inches to one side and slightly behind it so the two heights stagger. Keep the rest of that counter zone plain — no extra figurines, no second candle, no random mug. You can build this for $25 to $70 with secondhand brass and a new glass dome if needed.
Common mistakeSkip ornate silver candlesticks with too much shine unless the rest of the kitchen already has polished metal.
6. Vintage scale with one bowl of green pears
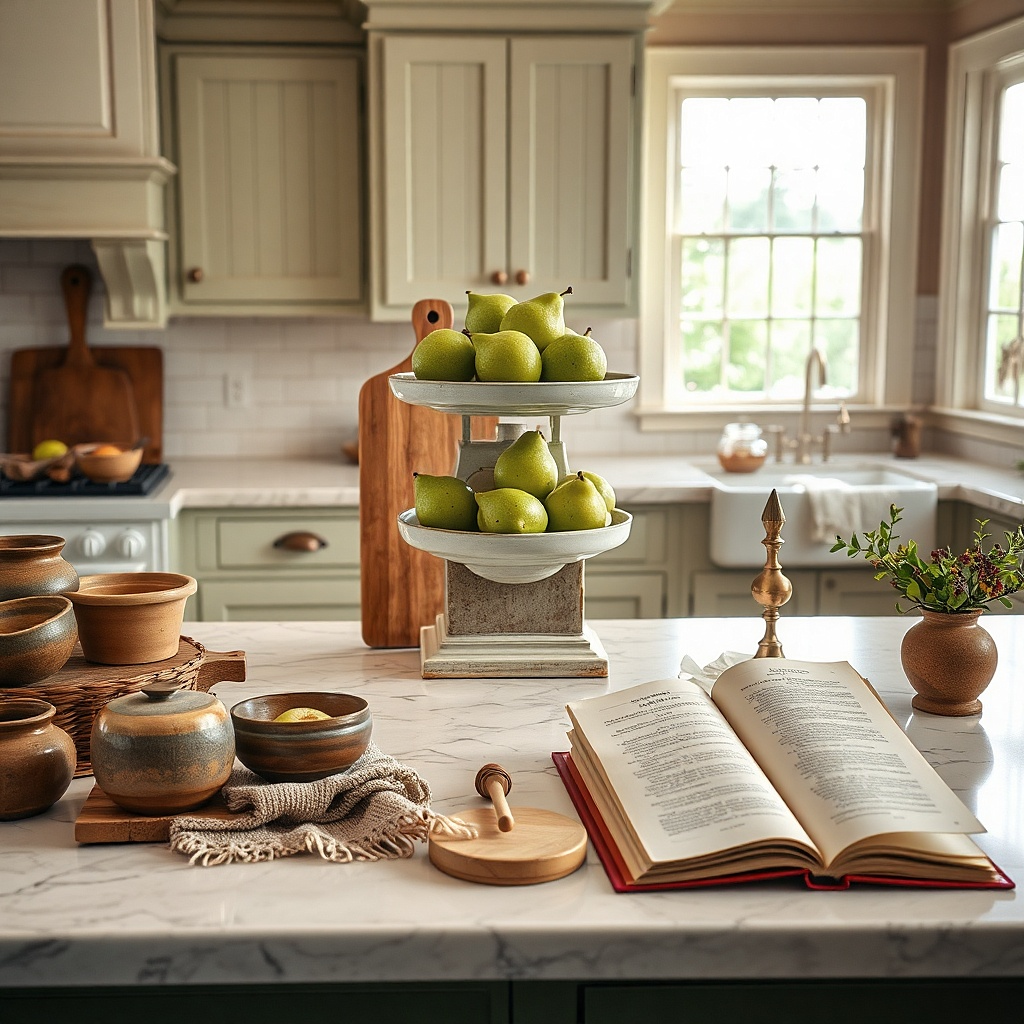
A compact vintage kitchen scale gives a small counter a real focal point. The best ones have chipped cream paint, black numbers, and a shallow tray or bowl on top. Add five or six green pears and stop there. The scale brings a clear kitchen reference, while the pears keep the setup alive and seasonal without turning it into a holiday display. This belongs on a counter end or under open shelving where a single strong object is enough.
Start with a scale no wider than 9 inches so it does not swallow the counter. If the top tray is rough, line it with a small round of parchment or a folded linen before adding fruit. Then place the scale 2 inches off the wall and keep at least 10 inches of clear space beside it so it reads as a feature, not an obstacle. Depending on condition and brand, expect about $35 to $120 for the scale.
Green Bartlett or Anjou pears look better than mixed fruit because one muted color keeps the old paint in focus.
Do not pair the scale with extra produce baskets nearby or you get a fake market-stall look.
7. Amber apothecary bottles on a narrow marble offcut
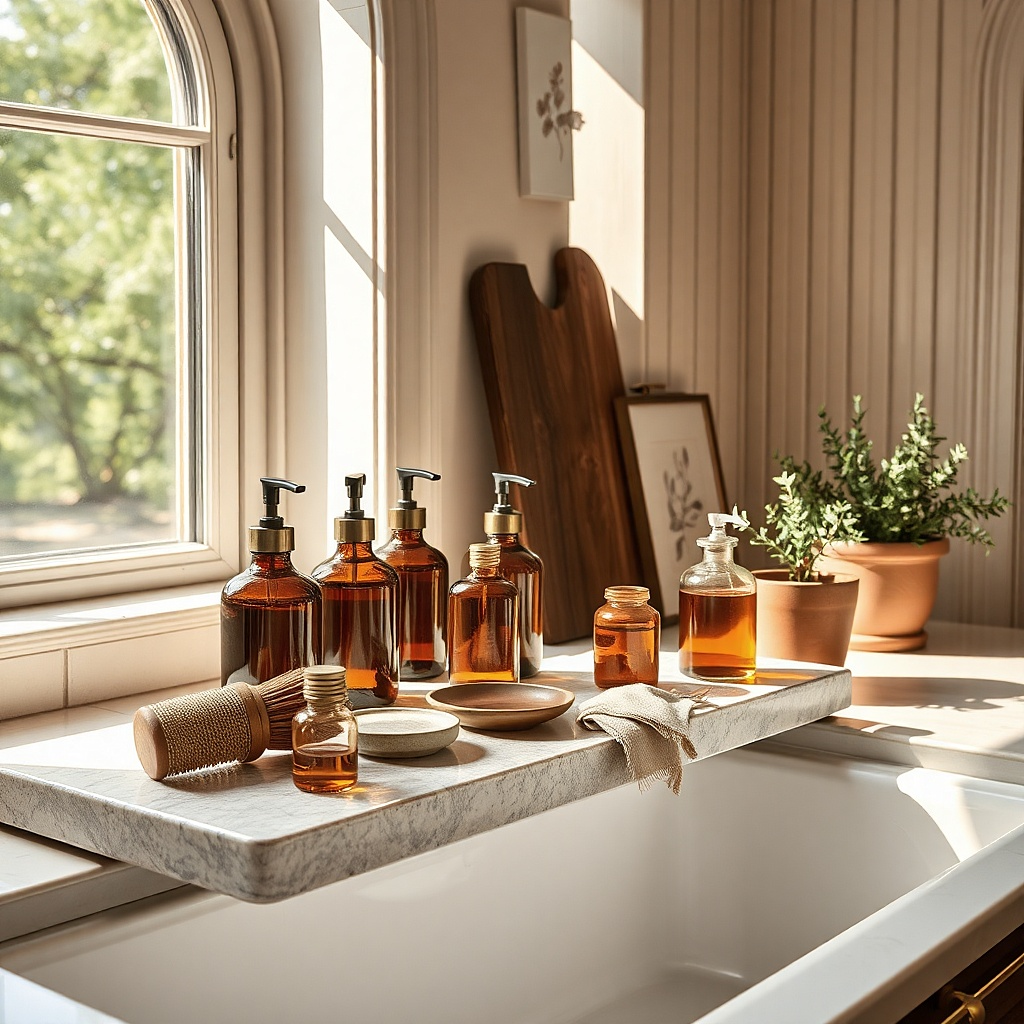
Amber glass gives a kitchen counter warmth without the fuss of patterned vintage pieces. Set two apothecary bottles one taller, one shorter on a narrow marble offcut and use them for dish soap and hand soap or one soap and one lotion. The amber tones look especially good against white subway tile, honed black counters, or pale oak cabinets. Marble under the bottles keeps drips contained and adds a crisp modern line that stops the setup from feeling dusty. This is the strongest sink-side option in the whole list because it is useful every day and still photographs well.
Find a stone remnant about 4 by 10 inches or 5 by 12 inches with eased edges, then place the taller bottle at the back corner and the shorter one forward. Use simple black or brass pumps, and remove every branded label. If you want one extra touch, add a folded brown scrub cloth under one edge of the slab, not under both bottles. The slab plus bottles usually lands between $25 and $75.
Pick bottles with plain shoulders and no embossed script if your kitchen already has busy tile or strong veining.
Do not line up three or four matching bottles because the setup starts reading like a hotel sink.
8. Copper pot turned herb cachepot in a dead corner
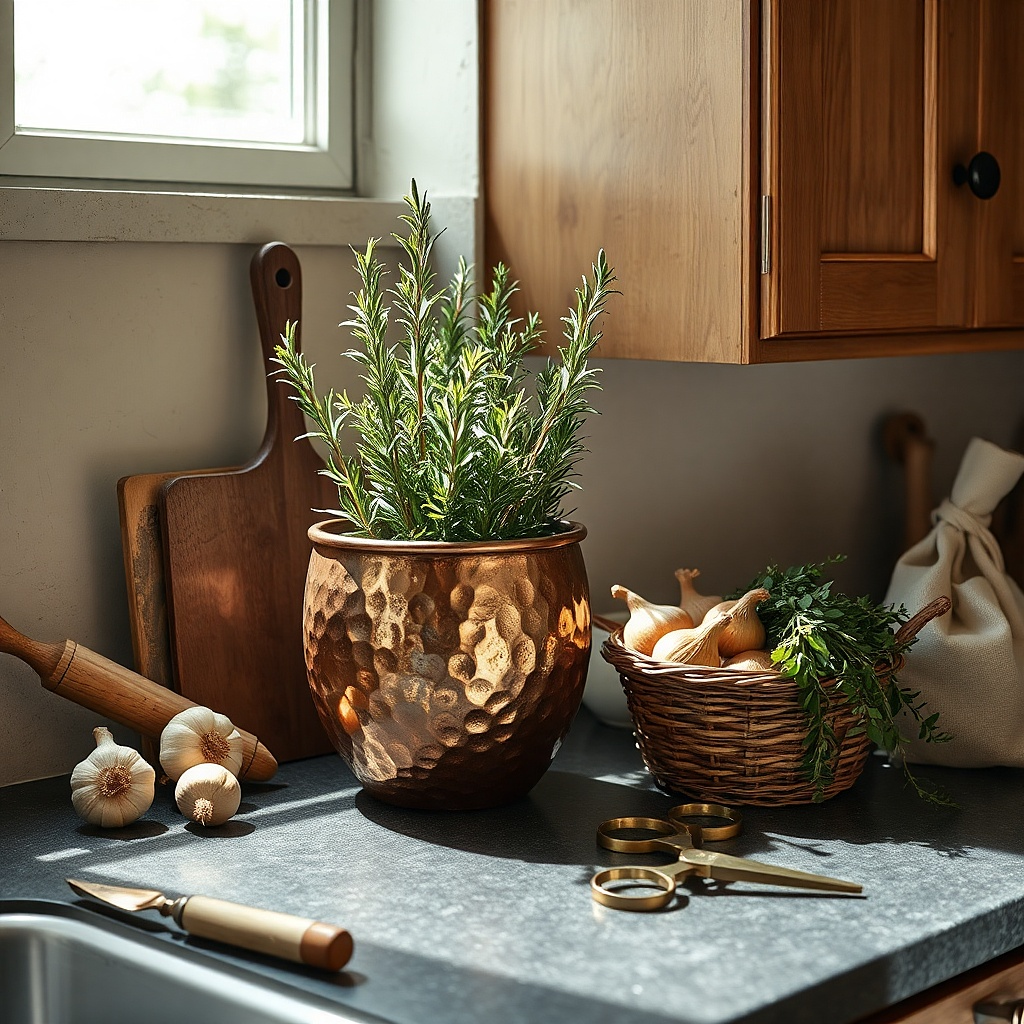
A small old copper pot gives a dead counter corner a warm hit of metal and a useful plant at the same time. Drop a nursery pot of rosemary or thyme inside instead of planting directly in the copper. The pot’s hammered dents, darkened handles, and reddish shine tell the story. Fresh herbs keep it from feeling like decor pulled from a shelf and forgotten. This idea suits corners near a window where a single object needs to fill vertical space without blocking movement.
Try thisRosemary works better than basil for this look because its upright shape reads cleaner and the silvery green suits copper.
Choose a pot 6 to 8 inches wide with side handles and enough depth to hide a 4-inch herb pot. Set a saucer or jar lid inside first to catch water, then drop in the plant and top the gap with a little moss or folded kraft paper if the fit is loose. Place the pot at a slight angle so one handle shows. A worn copper pot from an antique mall or estate sale usually costs $20 to $65.
Common mistakeSkip fake herbs because plastic leaves next to aged metal look wrong immediately.
9. Bread board backdrop with a tiny framed recipe card
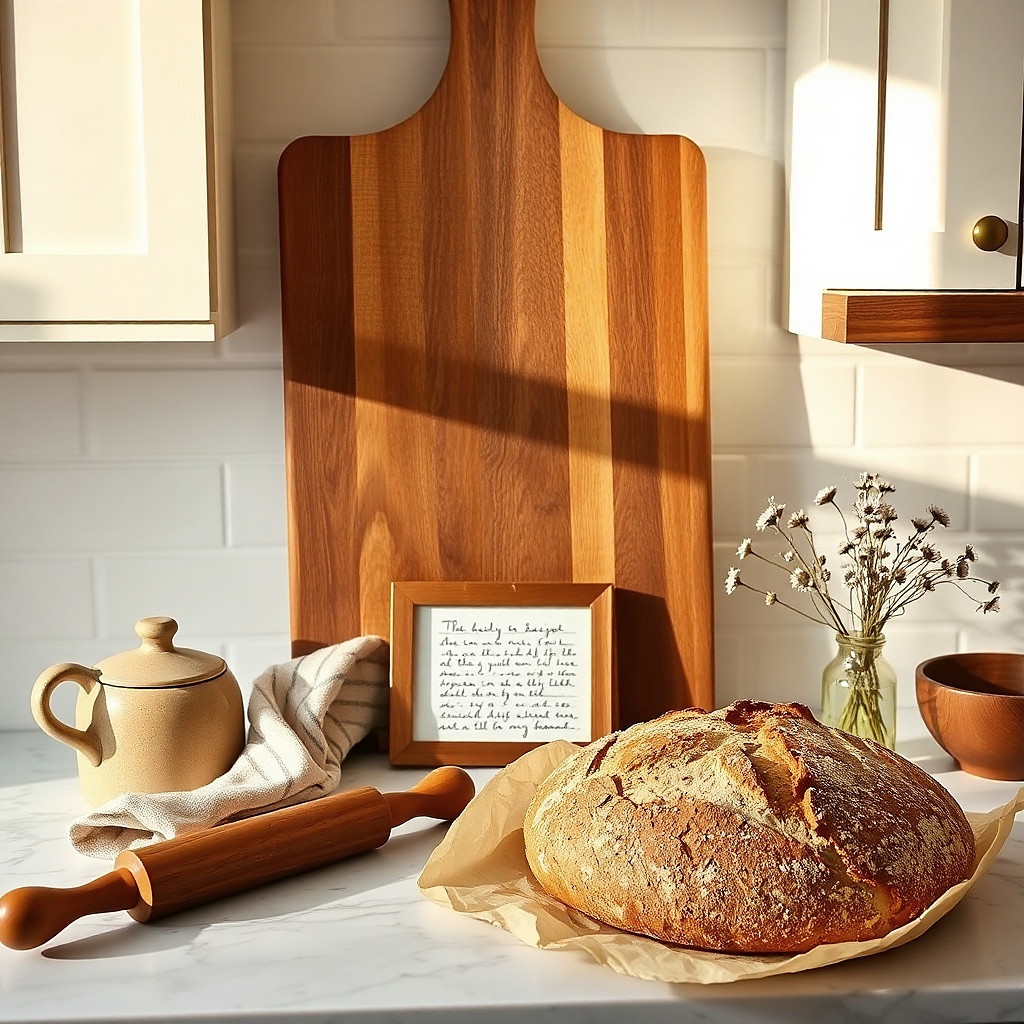
This one tells an actual story without slipping into sentimental clutter. Lean a worn bread board against the backsplash and place a small frame with a handwritten recipe card in front of it, slightly off-center. The board gives scale and texture. The frame adds a human note, but because it is tiny, it reads as detail rather than wall art stranded on the counter. This setup fits a baking corner, a coffee station, or any spot where a plain backsplash needs one layer of warmth.
Start with a board around 10 to 14 inches tall and a frame no larger than 4 by 6 inches in brass, black, or dark wood. Lean the board first, then prop the frame in front with a 1- to 2-inch overlap, and leave the rest of the area bare or with one jar beside it. If the recipe card is precious, use a copy and keep the original stored flat. You can build this cheaply if you thrift the board and use a simple frame — about $15 to $50.
Choose a recipe card with visible handwriting and some age toning. Blank cream paper has none of the same pull.
Do not use a large frame with a quote or printed sign because that turns the setup into generic kitchen decor.
10. Black enamel tray with old jam jars and one tea tin
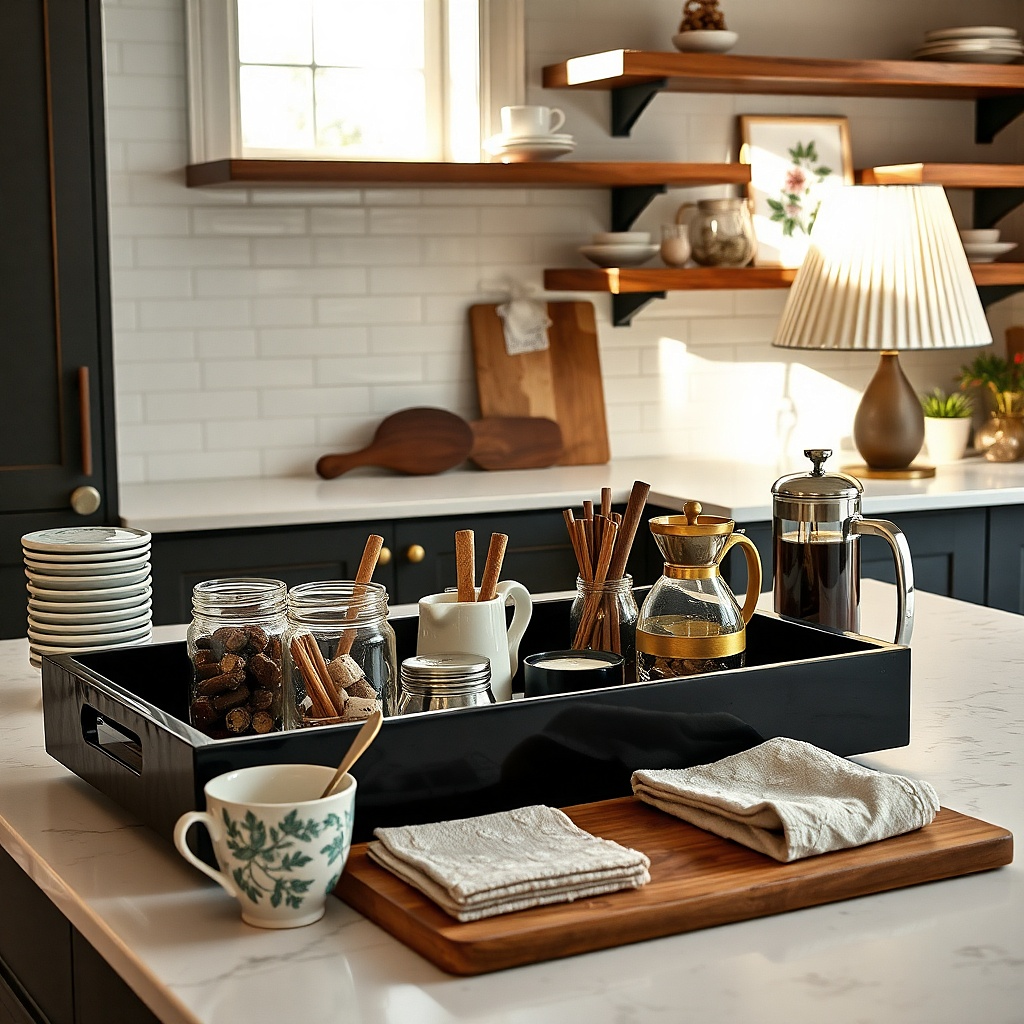
A black enamel tray is the fastest fix for a counter that collects little things. Corral two old jam jars and one vintage tea tin on it, then use the jars for sugar packets, stir sticks, or wrapped chocolates. The enamel edge creates a hard frame, which matters in a small kitchen because loose objects read messy faster. A faded tea tin brings color and print, but one is enough. This is a strong choice for a coffee bar where supplies need to stay visible yet controlled.
Try thisTea tins in faded navy, oxblood, or moss green look better than bright novelty tins because they sit quietly against black enamel.
Choose a tray around 10 by 14 inches with a low lip, then place the tea tin at the back and the jars in front with one slightly overlapping the other. Strip off any modern labels and keep jar lids off if the contents are used daily. Finally, leave at least one-third of the tray surface visible so it does not feel stuffed. You can source the whole group for $20 to $70 if you mix thrifted jars with one good tin.
Common mistakeDo not fill the jars with brightly wrapped candy or multicolor pods unless you want the tray to dominate the whole counter.
11. Mini pleated shade lamp for a soft old-kitchen glow
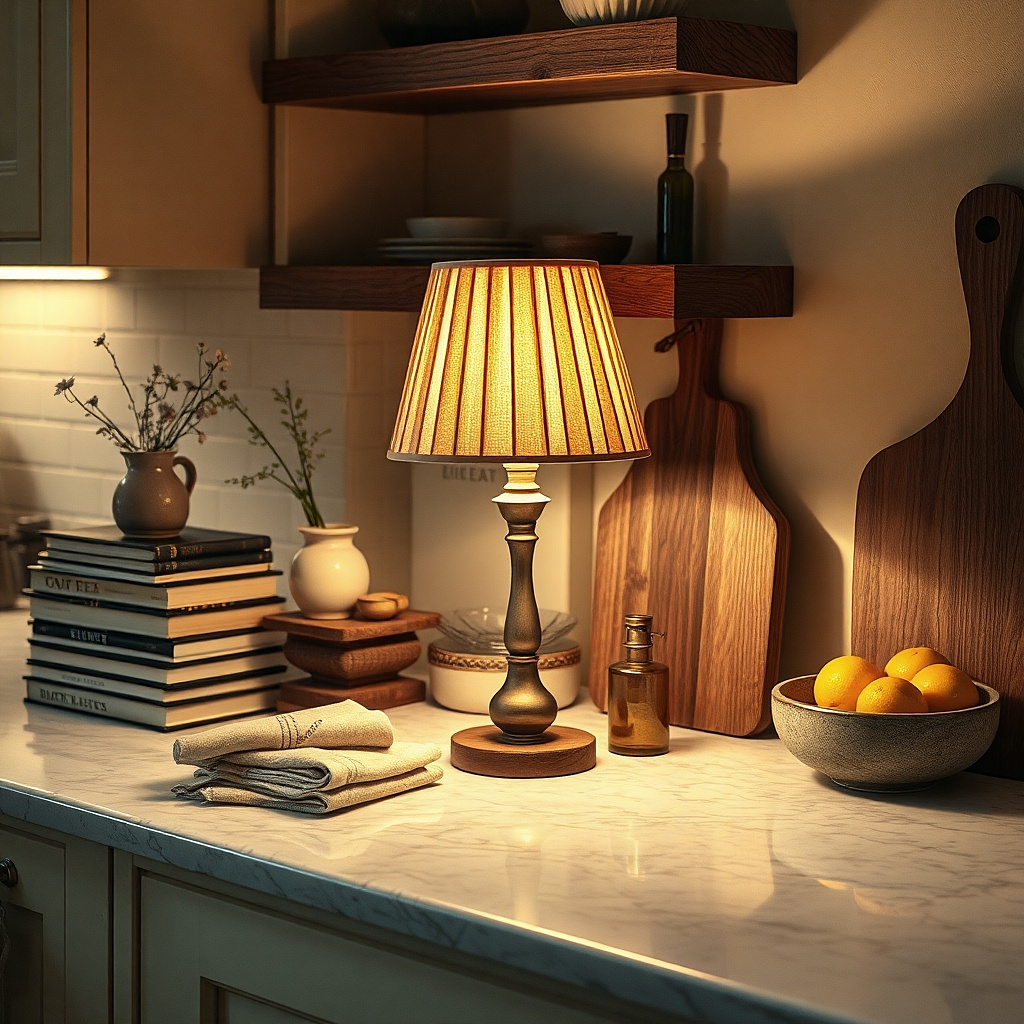
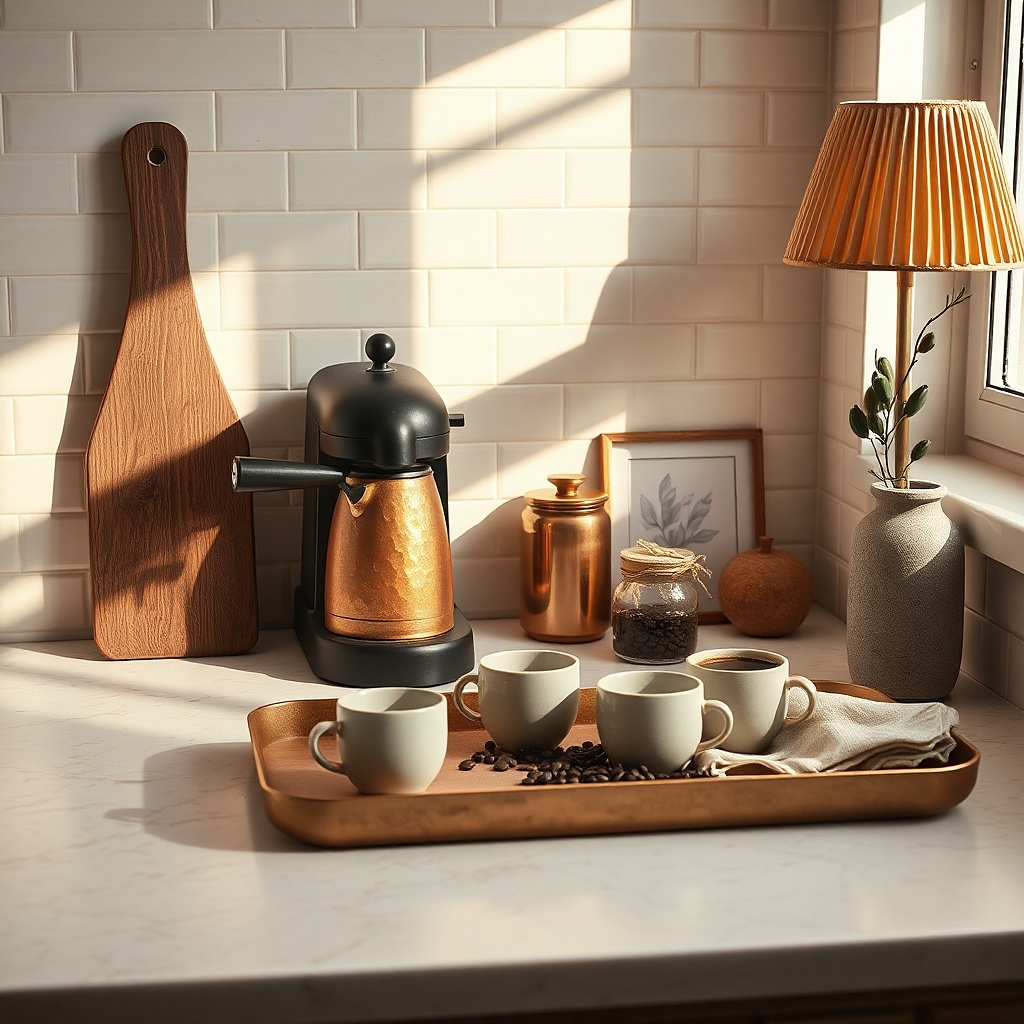
A small lamp on the kitchen counter sounds indulgent until you see what it does to the room after dark. Pick a lamp with a narrow base in aged brass, ceramic, or turned wood and top it with a small pleated shade in cream or faded stripe. The lamp gives the kitchen a residential feel instead of a purely work-zone feel. That matters in a small space where the kitchen is always visible from the living area. Put it in a far corner away from splatter, and pair it with one low object such as a board or bowl.
Try thisBattery lamps work, but a corded lamp looks better and gives steadier light if you have an outlet nearby.
Start with a lamp under 14 inches tall and a shade 6 to 8 inches wide so the scale stays right for a counter. Use a warm 2200K or 2700K bulb and route the cord tightly along the backsplash with clear clips. Then keep the lamp corner simple — one companion piece, no more. A small lamp setup costs about $40 to $120 depending on the base and shade.
Common mistakeSkip oversized shades or glossy white ceramic lamp bases that read too table-lamp heavy for a kitchen.