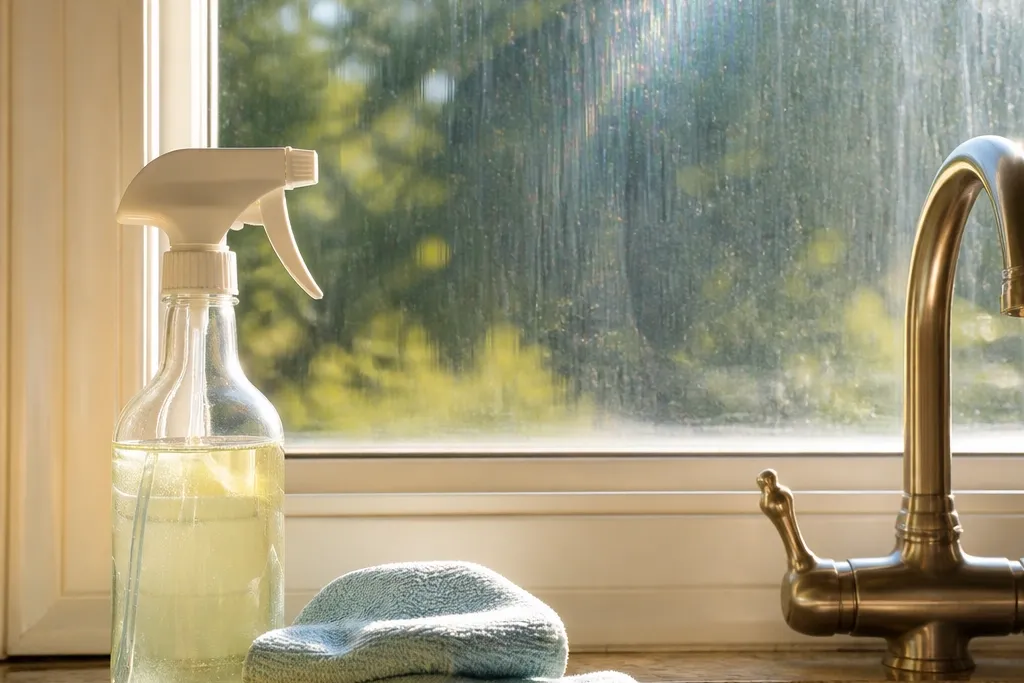
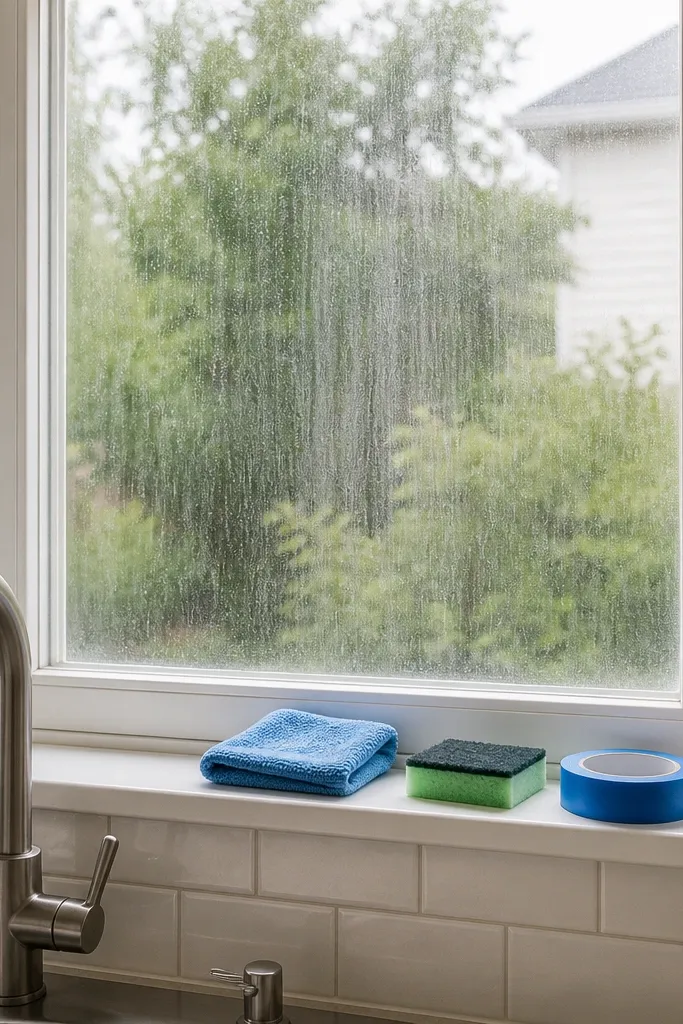
1. Citric acid bottle mist on a streaked window
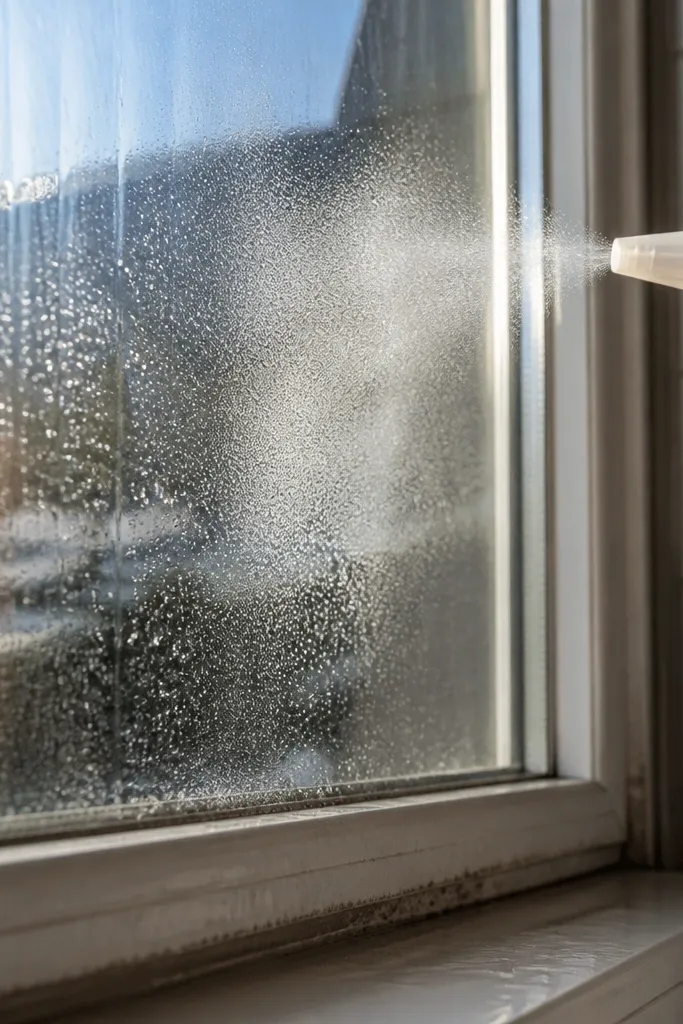
Hard water stains won’t disappear with ordinary glass cleaner because the problem isn’t the glass it’s the mineral layer sitting on top of it. A light mist of a citric acid solution helps soften calcium and magnesium deposits so they release from the surface instead of forcing you to scrub them away. Spray enough to keep the stained area evenly damp, but don’t let the solution dry on the glass. If you’re working in direct sunlight, clean one small section at a time because heat can dry the solution before it has time to break down the deposits. For older or thicker stains, you may need a second application rather than applying more pressure.
Before treating the whole window, clean a small corner first. If the glass clears in that spot, you’ll know you’re dealing with hard water deposits rather than scratches or damaged glass, which won’t improve with cleaning.
2. Warm dish soap pre-wash with microfiber

Remove Grease Before You Remove Minerals Kitchen windows collect more than hard water stains. Cooking oils, steam, and airborne grease create a thin film that prevents the citric acid from reaching the mineral deposits evenly. Start with warm water and a few drops of dish soap, then wipe the glass using a clean microfiber cloth. You’re not trying to remove the hard water stains yet you’re simply clearing away grease and surface dirt so the next step can work properly. A clean surface usually means less scrubbing later.
If the cloth feels slippery instead of gliding smoothly, there’s usually still grease on the surface. Give it one more quick wipe before applying the citric acid.
3. Non-scratch sponge for gentle agitation
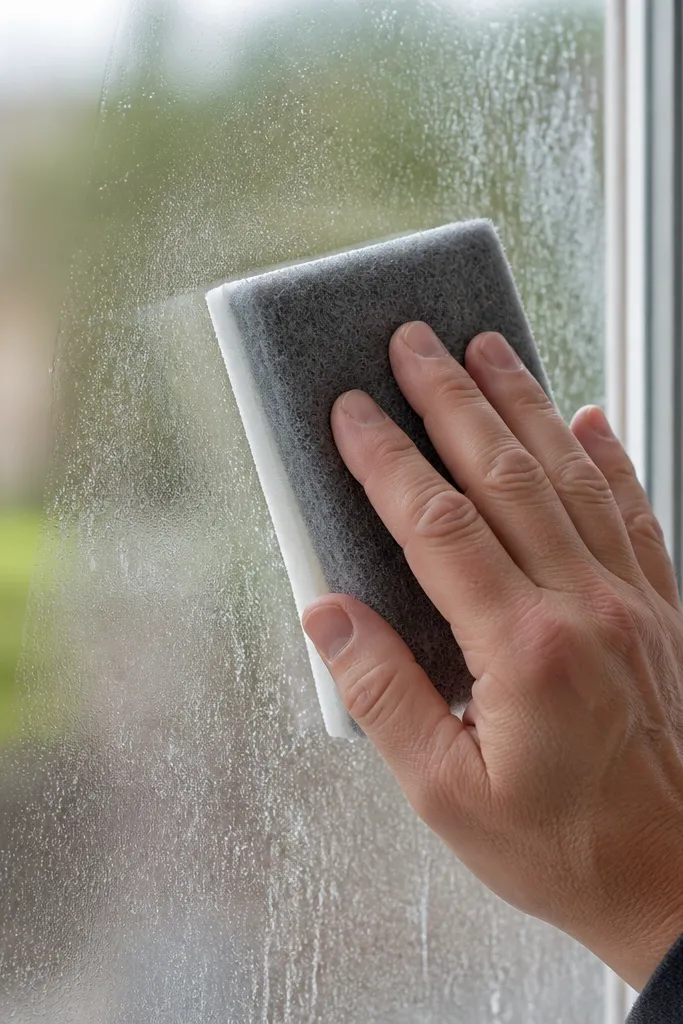
Let the Cleaner Do Most of the Work Once the mineral deposits have softened, gently work over the stained area with a non-scratch sponge using small circular or overlapping motions. The goal isn’t to scrub aggressively it’s to help lift the loosened minerals away from the glass. If the stains aren’t moving, don’t immediately push harder. Apply the citric acid again and allow it a little more time to work. Excessive pressure is one of the easiest ways to leave fine scratches, especially on older glass.
Check the glass from the side instead of looking straight through it. Mineral stains are much easier to spot at an angle, making it easier to see which areas still need attention.
4. Plastic razor blade for heavy crust
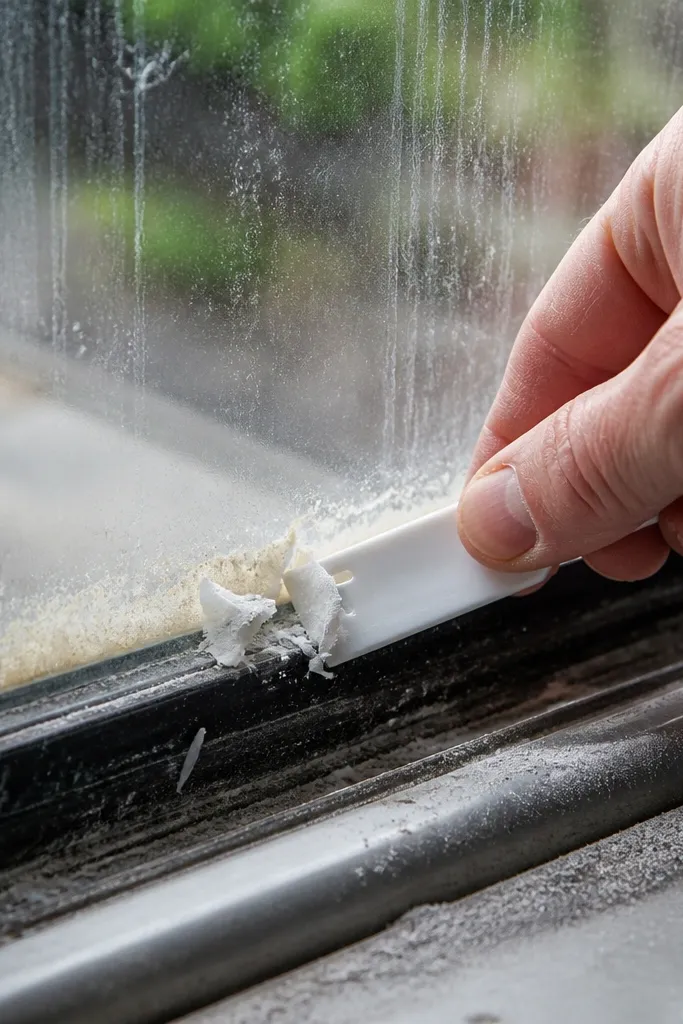
Only Use It When Stains Won’t Lift Normally Some hard water deposits become thick enough that gentle cleaning alone isn’t enough. In those cases, a plastic razor can help lift the remaining buildup without being as aggressive as a metal blade. Keep the glass wet while you work and hold the scraper at a shallow angle so it glides across the surface instead of digging into it. Use slow, controlled strokes and stop as soon as the deposit releases. If you meet resistance, reapply the cleaning solution rather than forcing the scraper through the stain.
Try thisIf the scraper catches or skips across the glass, don’t keep pushing. Reapply the cleaning solution first. Deposits that stay damp are usually much easier to lift cleanly.
5. Distilled water final rinse for crisp clarity
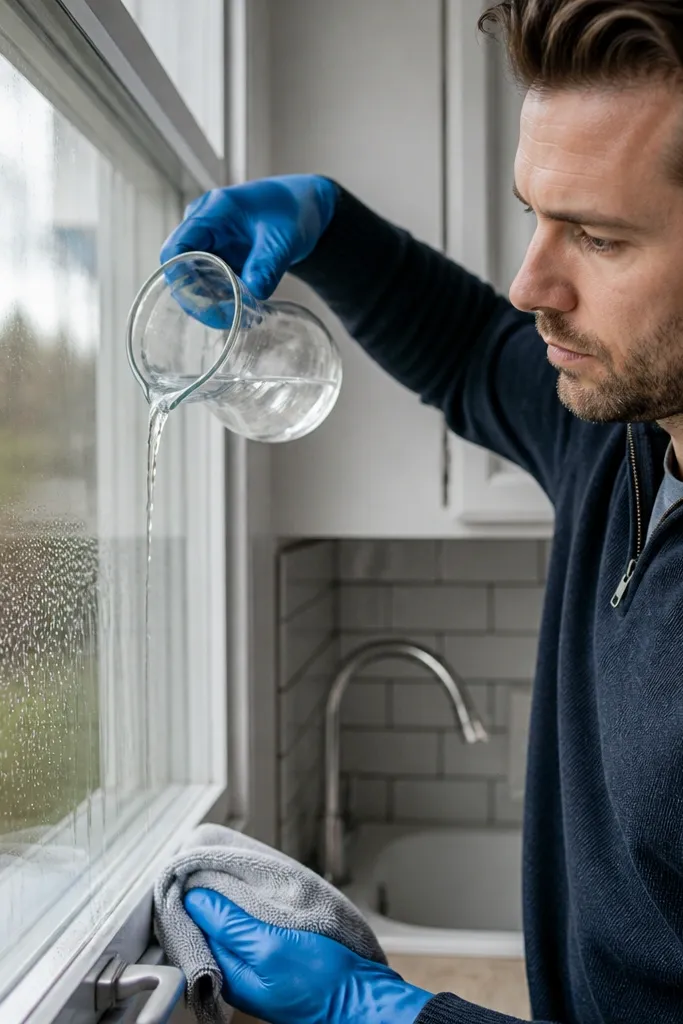
Don’t Replace One Mineral Layer with Another After the stains are gone, rinse the window with distilled water instead of tap water whenever possible. Tap water often contains the same minerals that caused the stains in the first place, especially in hard water areas. A thorough rinse also removes any remaining citric acid residue, helping prevent streaks or a cloudy finish once the glass dries.
Try thisIf distilled water isn’t available, dry the window immediately after rinsing with tap water. The less time mineral-rich water stays on the glass, the less chance it has to leave fresh marks.
6. Microfiber dry wipe in one direction
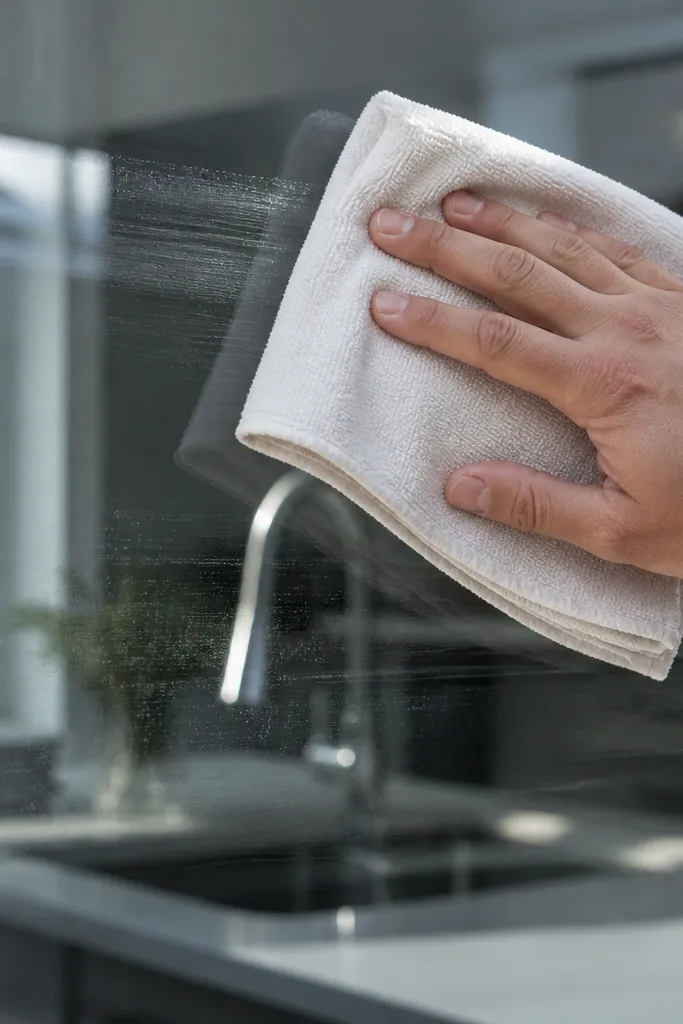
Dry the Glass Before Water Has Time to Leave New Marks The final drying step is just as important as the cleaning itself. Use a clean, dry microfiber cloth and wipe in one consistent direction rather than moving the cloth in random circles. Drying the glass immediately helps stop leftover water from evaporating and leaving fresh mineral spots behind. If you notice faint streaks, switch to a second dry microfiber cloth instead of applying more cleaner.
Fold the microfiber cloth into quarters. As one side becomes damp, switch to a dry section instead of continuing with a wet cloth that can simply move moisture around.
7. Gloves and edge-protection tape for trim safety
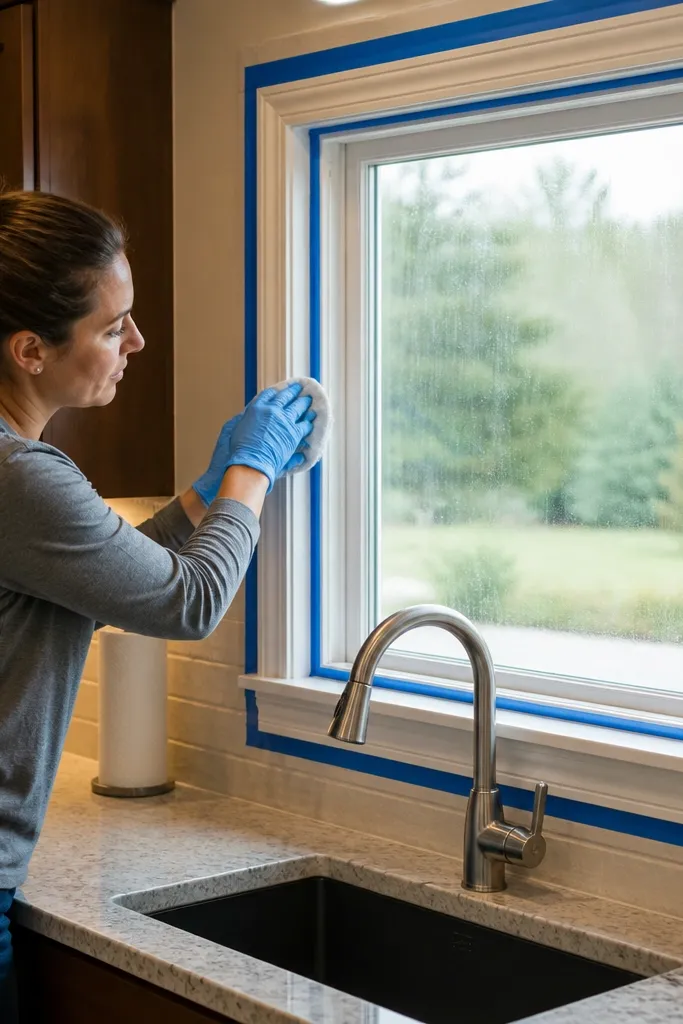
Protect More Than Just the Glass If you’re using a stronger citric acid mixture or working around painted trim, wood frames, or decorative finishes, wear gloves to protect your skin and use painter’s tape along vulnerable edges if needed. This extra step helps prevent accidental contact with surfaces that may react differently to acidic cleaners. It’s especially useful around older painted frames, exposed wood, or decorative caulk where repeated exposure to cleaning solutions can gradually affect the finish.
Try thisBefore removing the tape, wipe away any cleaner sitting along the edge. That prevents leftover solution from running onto the frame after you’ve finished cleaning.