1. Charcoal Canister Shelf with One Wood Board
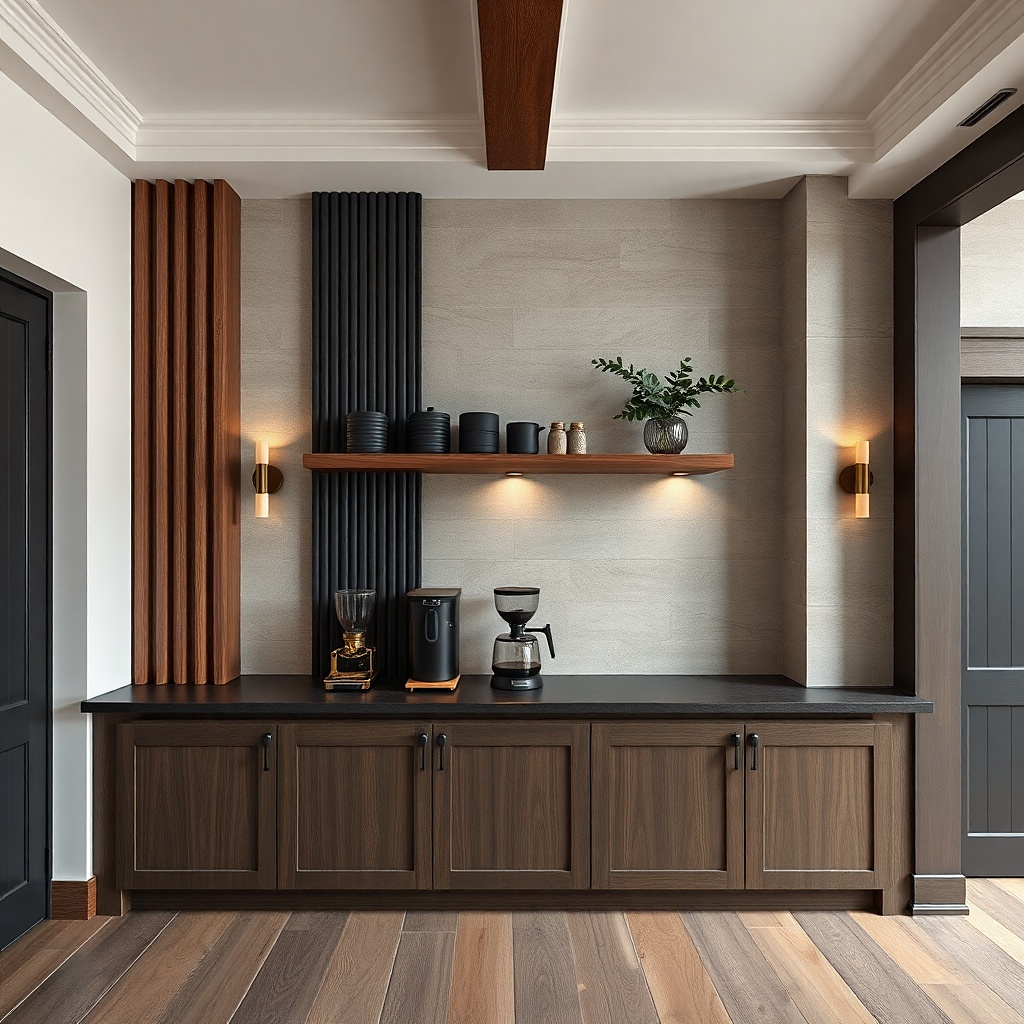
This setup looks styled because the canisters do the heavy lifting. Charcoal ceramic or powder-coated metal reads modern, and the uniform silhouettes make the shelf feel intentional even when you refresh items weekly. A single standing cutting board adds warmth and a practical reason to exist it’s the object you actually use, not decoration you need to babysit. Keep the board natural (sealed oak or walnut) so grease wipes off without dulling the grain. Place this shelf in a coffee or baking zone where canisters get refilled, not hidden.
Mount a wall shelf that’s 36-48 inches long, with a depth of 6-8 inches so your hands don’t hit the items. Put two to three charcoal canisters along the back edge, leaving 2-3 inches between each for breathing room. Stand the cutting board at one end and keep it angled slightly toward the room. Use shelf brackets rated for at least 50 lbs total and install into studs; sealed wood boards and ceramic canisters add weight quickly. Budget: $60-200 for the shelf plus $40-120 for canisters depending on material.
Try thisWipe canisters with a damp microfiber cloth and dry immediately; it keeps the charcoal finish from looking chalky.
Common mistakeDon’t mix five different canister shapes — it turns the shelf into clutter fast.
2. White Speckle Stoneware with a Linen Tidy Basket
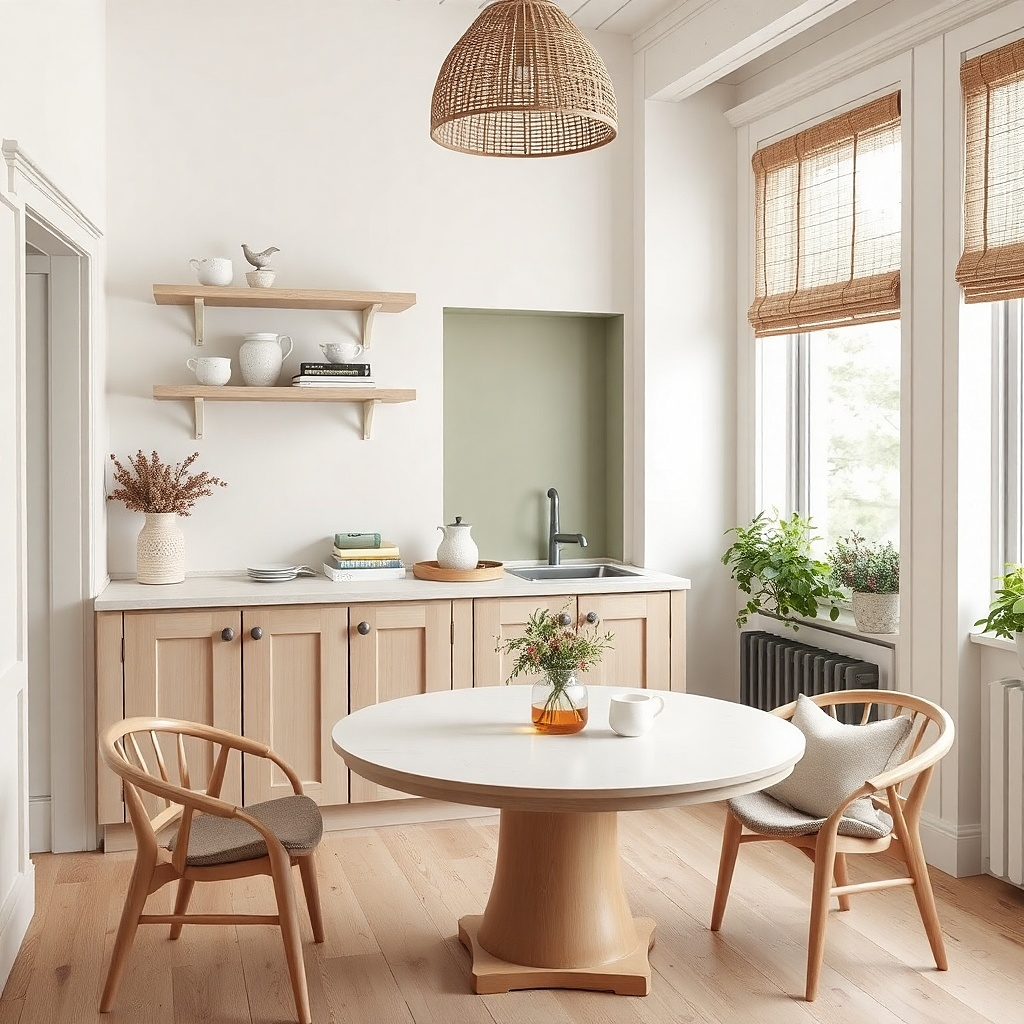
Stoneware with white speckle reads handmade without looking fragile. The speckle hides minor splatters and water spots better than flat white glaze, which matters in kitchens. Use a small linen basket to corral everyday items like stir sticks, tea packets, or tiny spoons the basket hides the mess so you don’t need to “reset” the shelf. The basket also adds texture that makes the shelf feel styled even when the contents change. This works best above a coffee maker, kettle, or tea station where you’re constantly grabbing small things.
Choose a shelf depth of about 7 inches so cups sit comfortably without stacking too high. Place three stoneware pieces (two mugs plus one small bowl) near the center, then set the linen basket on one side. Keep a 1-2 inch gap between the basket rim and the front edge for a clean line. Use a sealed wood shelf or a lacquered finish; linen can stain if drips sit on raw wood. Secure with two brackets into studs and level the shelf; stoneware is heavy and uneven shelves look sloppy.
Try thisLine the basket with a thin plastic tray or washable liner so spills wipe out instead of soaking.
Common mistakeDon’t place the basket directly against a backsplash seam that collects drips.
3. Brass Rail Shelf with Hanging Spoons and Two Jars
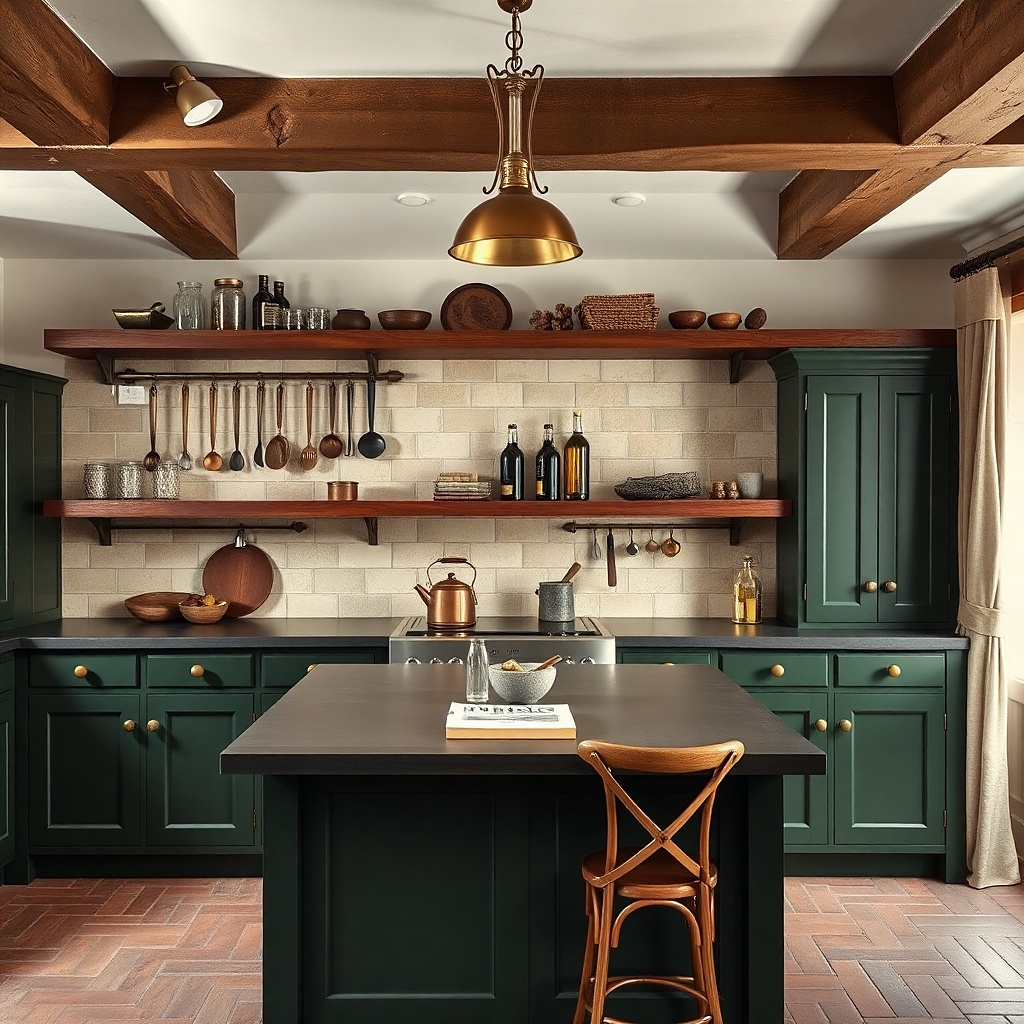
A brass rail shelf gives you visual structure and makes the shelf look “done” even with minimal objects. Hanging spoons add motion and a lived-in kitchen vibe without adding dust-heavy decor. Two clear glass jars keep it clean and functional fill them with sugar, coffee beans, or candy for a color pop. Brass reads warm next to stainless appliances, so the shelf doesn’t fight the rest of your kitchen. Use this in kitchens with a lot of metal it visually ties the countertop hardware together.
Install a shelf with an integrated rail or add a rail underneath the shelf lip. Use two glass jars with matching lids, keeping their height within 1-2 inches of each other. Hang three to five spoons from the rail using hooks so the spoons don’t touch the jars. Place the shelf 17-20 inches above the counter for easy access. For the rail, use screws into studs or a proper wall anchor rated for the load; spoons plus jars add up.
Try thisPick spoon finishes that match your faucet or hardware brushed brass + satin stainless looks intentional.
Common mistakeDon’t hang spoons so low they block your view of the jars.
4. Two-Tier Floating Shelf for Plates and a Single Tray
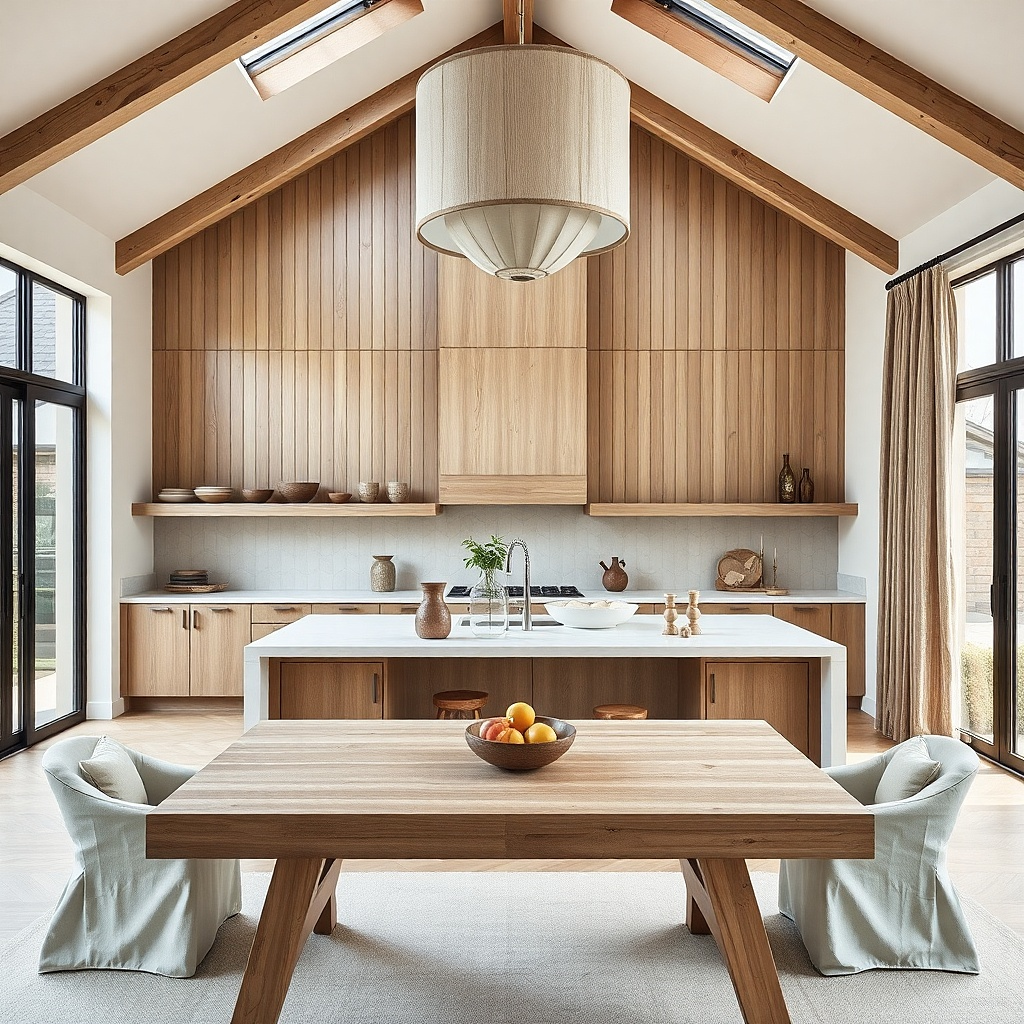
Two-tier shelves solve the “blank wall” problem by adding height without crowding. Stack plates vertically on the upper shelf so they read like a graphic element; choose one pattern or one glaze color to keep it calm. The lower shelf stays functional with a single tray that can hold napkins, a small cutting board, or utensils. This is low-maintenance because you can swap what’s on the lower tray without changing the whole look. It also works well in dining-adjacent kitchens where you want the wall to feel part of the eating space.
Pick a two-tier floating shelf system with 6-8 inches depth per level. Put one plate stack on the upper shelf centered, using 3-5 plates max so it doesn’t look bulky. On the lower shelf, place a shallow tray (about 12-16 inches wide) and keep only one tray item visible at a time. Mount so the top shelf sits about 64-68 inches from the floor, then level both tiers using a laser or long level. Expect $120-300 depending on material and bracket quality.
Try thisUse plate stands or a small riser so the plate stack doesn’t slip forward.
Common mistakeDon’t mix plate patterns — two patterns already reads busy on a shelf.
5. Rattan Basket + Ceramic Pitcher Shelf Combo
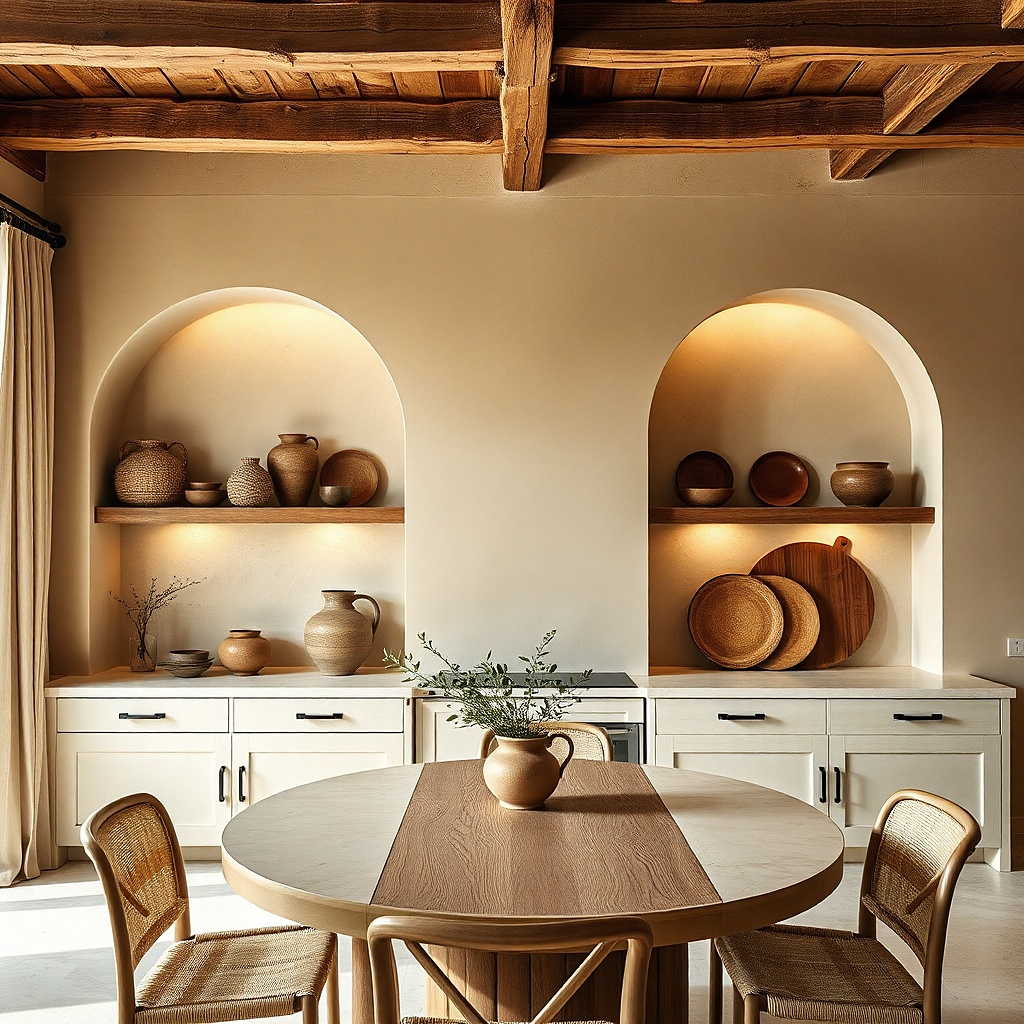
Rattan baskets hide small clutter like foil packets, extra napkins, or fruit picks. Pair it with a ceramic pitcher for a clean focal point the pitcher shape gives you that “centered” look without needing lots of objects. This combo works because the basket adds texture while the pitcher stays visually simple. Choose an off-white ceramic pitcher with a matte glaze so it absorbs light softly and doesn’t glare under kitchen lighting. Put this shelf near a breakfast nook or open shelving area where natural textures feel at home.
Use a 40-48 inch shelf with a depth of 7 inches. Place the rattan basket on one side of the shelf and center the ceramic pitcher opposite it, leaving at least 8-10 inches of open space between. Keep the basket contents to one category so it looks tidy — like napkins or tea bags. Seal the shelf surface or choose a finished shelf; rattan can shed dust, and finished surfaces make quick wipe-down possible. Install brackets into studs and keep the shelf level; baskets can tilt and look messy.
Try thisDust rattan with a dry brush once a week; wet cleaning makes it smell and look dull.
Common mistakeDon’t overstuff the basket — a half-full basket looks intentional, packed looks chaotic.
6. Black Picture-Ledge Shelf with Color-Block Books
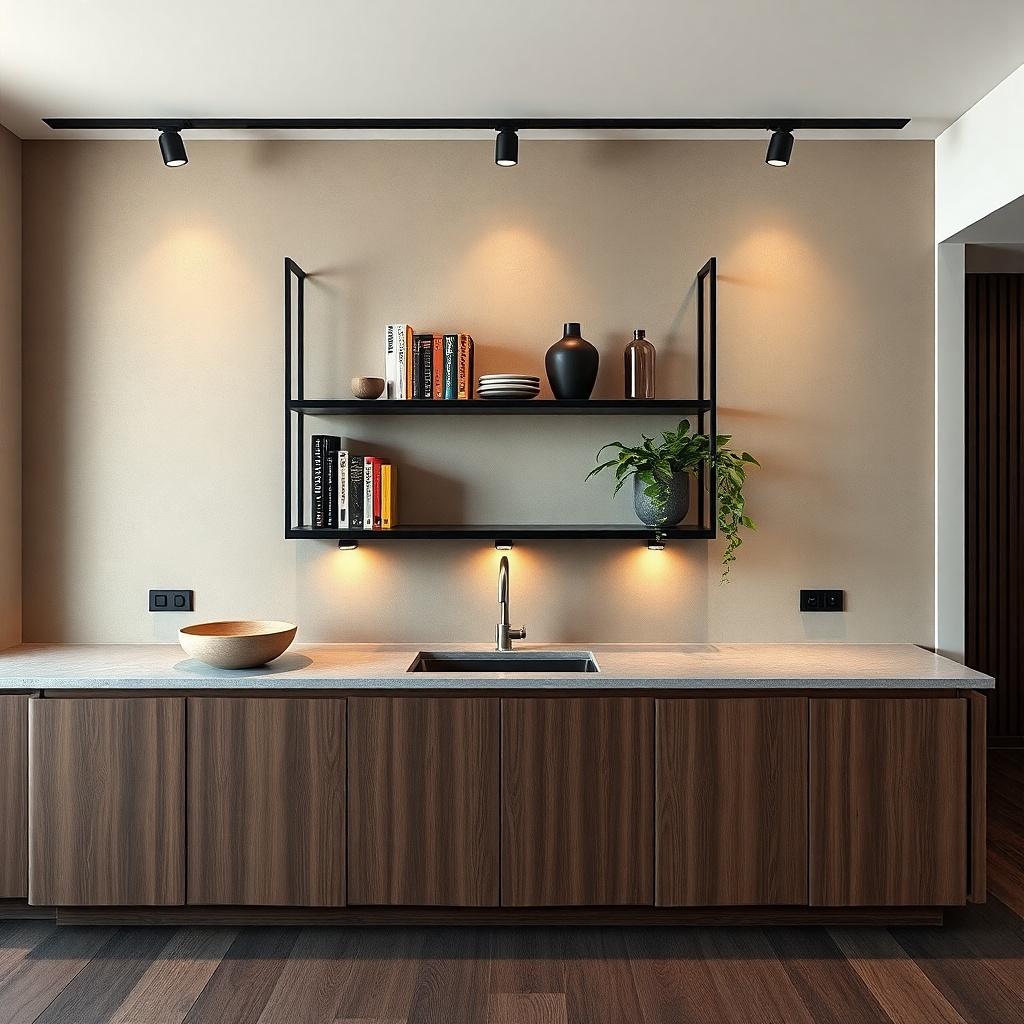
A black picture-ledge shelf gives you a clean, shadow-lined edge that makes objects pop. Stack 2-3 cookbooks or recipe books with color-block spines to create a graphic stripe effect. Add one small ceramic bowl or a candle holder at the end to break up the block of spines. This is low-maintenance because books are stable and don’t need daily rearranging, and the shelf hides small mess behind the book spines. Use this in kitchens with light walls and minimal counter clutter where the shelf needs to add structure.
Choose a picture-ledge shelf with a slim profile and a depth around 4-6 inches. Stack books vertically in the center and keep the stack height around 10-12 inches. Place one small object at each end only if the shelf is long; for a 30-36 inch shelf, keep it to one end object. Level the shelf carefully — picture ledges show misalignment. Use heavy-duty wall anchors only if you cannot reach studs; otherwise, drill into studs for a safer hold.
Leave 1-2 inches of space between the book stack and the shelf edge so the shadow line stays crisp.
Don’t use books with mixed themes and random heights — it looks accidental.
7. Floating Shelf with Hanging Plant and Two Air-Tight Tins
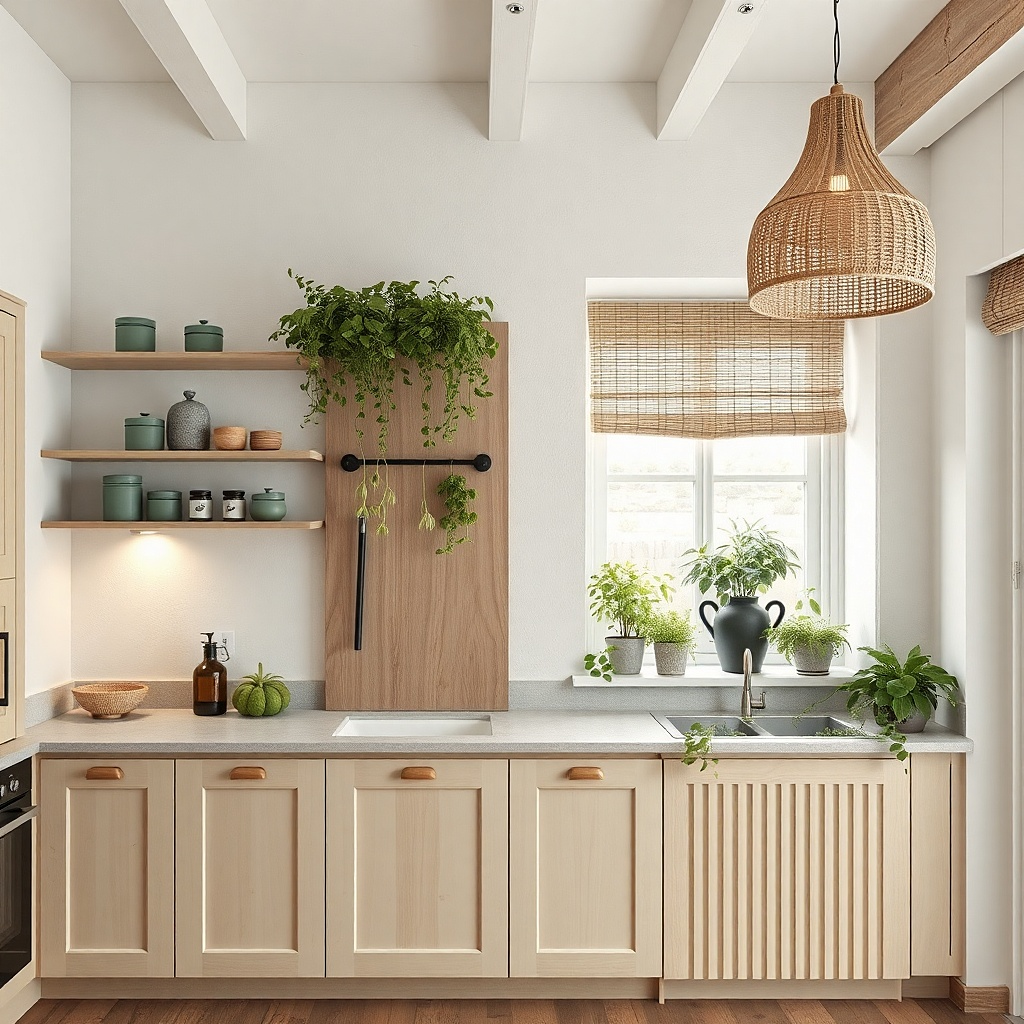
A trailing plant adds life, but it also hides the “empty shelf” problem because the leaves create texture depth. Pair it with two matching airtight tins to keep the rest calm and wipeable. Choose matte metal tins in the same color family (sage green, cream, or brushed steel) so they don’t fight the plant. This setup works because you get beauty from the plant while the tins handle daily kitchen storage you’re not relying on delicate decor. Put it on a wall near a window or under bright kitchen light so the plant stays healthy without constant moves.
Mount a floating shelf 16-18 inches above the counter so you can water the plant without reaching too high. Use a shelf depth of 6-7 inches and place tins along the back edge, leaving the plant for the center or one side. Use a small pot with a saucer so spills don’t streak the shelf; wipe the saucer, not the shelf, after watering. Install into studs and use appropriate anchors if needed. Cost: $40-120 for the shelf, $25-60 for tins, and $20-45 for a small plant.
Try thisUse a plant with trailing growth and prune tips lightly so it stays full without overhanging the tins.
Common mistakeDon’t choose a shelf that’s raw wood — watering mistakes show fast.
8. Oversized Frame Shelf with Utensil Crock Inside
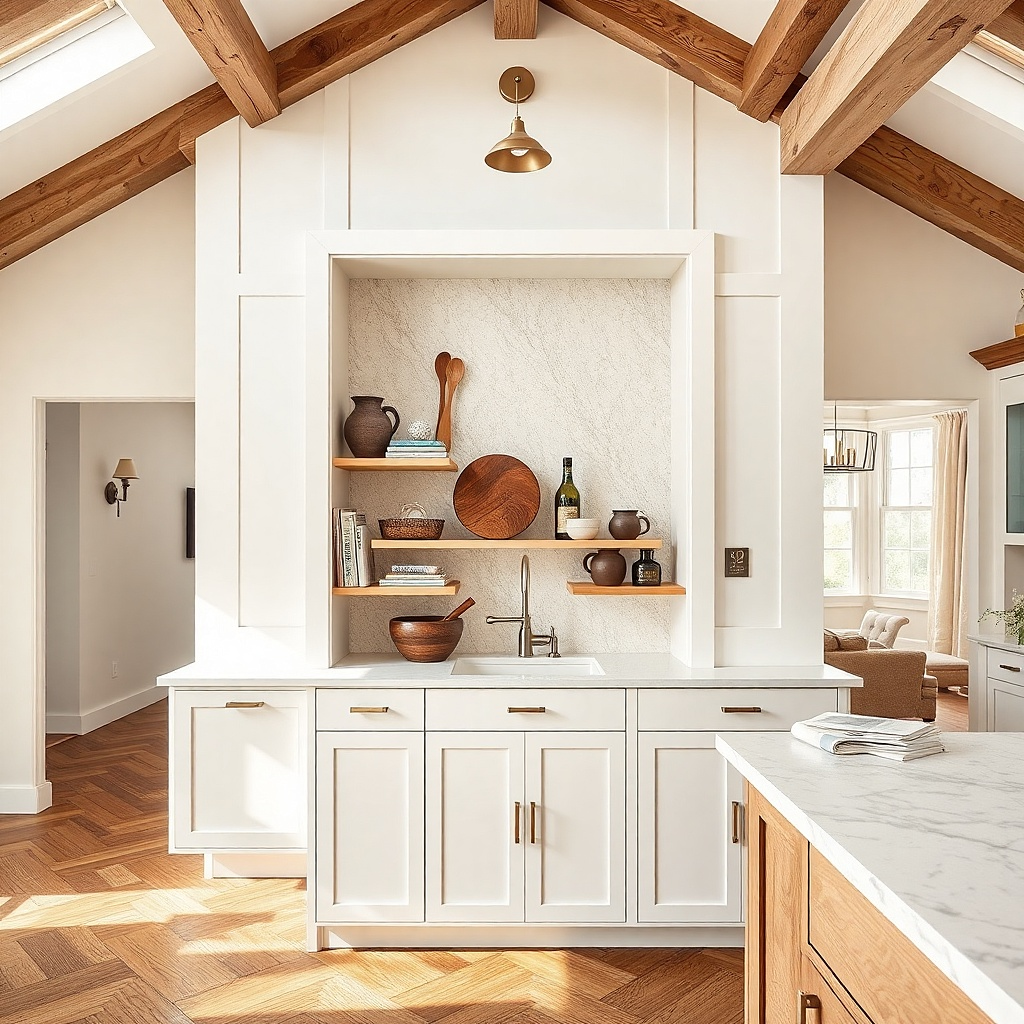
This looks designed because the frame shape creates a boundary for your objects. Inside the frame, place a utensil crock in stoneware or stainless, and add one small tray or cutting tool display. The frame also helps hide wall imperfections and keeps the decor from feeling scattered. Choose a sealed, painted frame in matte white or soft black so it wipes clean. This setup is low-maintenance because the crock holds messy tools and the frame keeps the shelf visually tidy even when you change what goes inside.
Buy or build a framed shelf unit with a flat back opening; keep interior depth around 6-8 inches. Place the utensil crock centered and add a small tray behind or beside it so the shelf reads layered. Mount at about 60-66 inches from the floor so tools are visible but not in the way of cooking. Use wall anchors or studs rated for the frame weight — framed shelves can be heavy once mounted. Finish: painted MDF with polyurethane topcoat or real wood with clear sealer.
Try thisPick one utensil material for the crock (stainless or matte ceramic) so the shelf stays cohesive.
Common mistakeDon’t add extra small decor pieces around the crock — the frame already gives you structure.
9. Monochrome Ceramic Stack with a Slim Vase
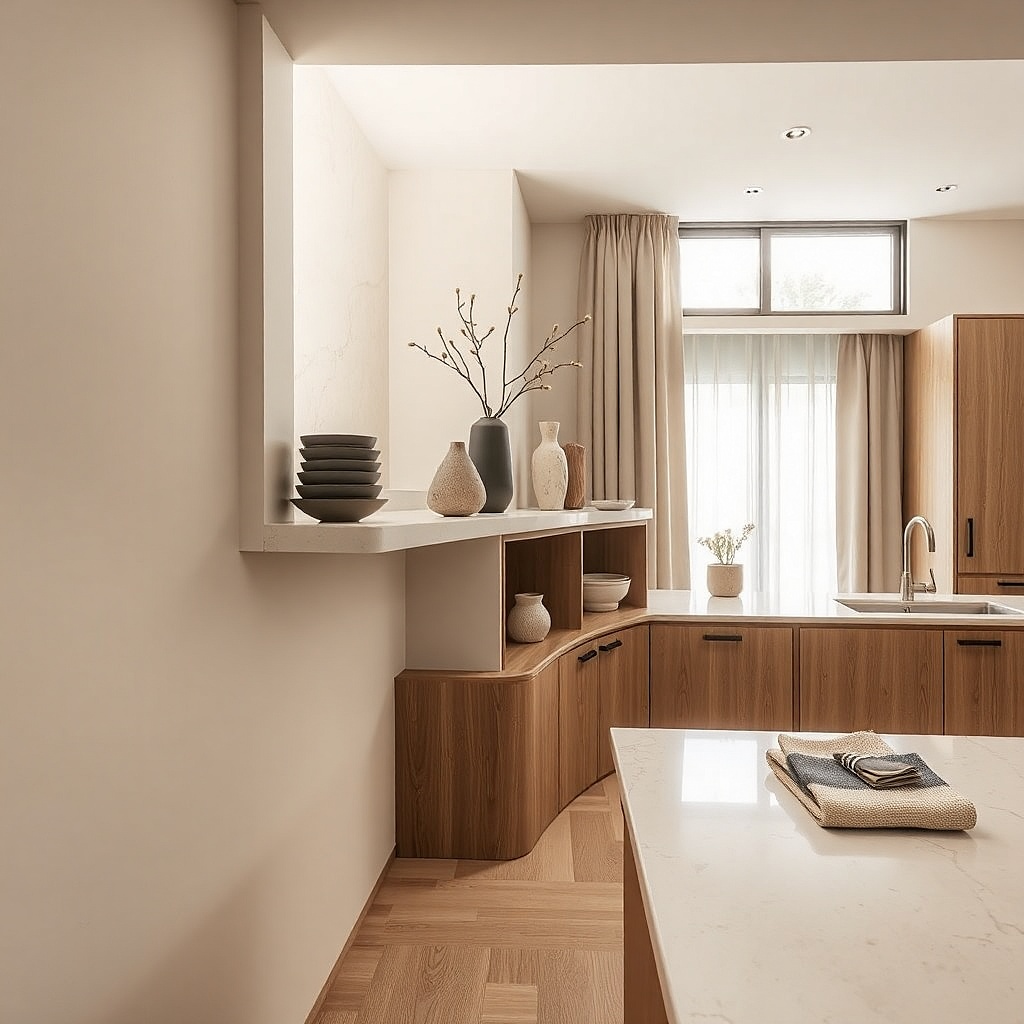
A monochrome stack looks expensive because it reads as form, not clutter. Use ceramic bowls, small plates, or risers in one tone think warm white, dove gray, or black. Then add one slim vase in the same palette with a single branch or dried stem for texture. This is low-maintenance because you can swap the stem in seconds and the rest stays put. It also solves the “my kitchen wall looks empty but I don’t want more stuff” issue the stack creates visual weight.
Choose a shelf depth of 6-7 inches and a length that fits your wall space (often 30-36 inches). Stack 3-6 ceramic pieces on one side, using risers if needed to prevent toppling. Place a slim vase on the opposite side, keeping it 2-4 inches shorter than the stack peak. If you use dried stems, keep a small waterless filler or use a dry-flower holder so spills don’t reach the shelf. Mount level and leave at least 2 inches of open space around the stack for a clean silhouette.
Try thisUse matte ceramics; they hide micro-scratches and fingerprints better than glossy stacks.
Common mistakeDon’t add bright colors — one accent is fine, more turns it into visual noise.
10. Pegboard Shelf with Minimal Trays and Labels
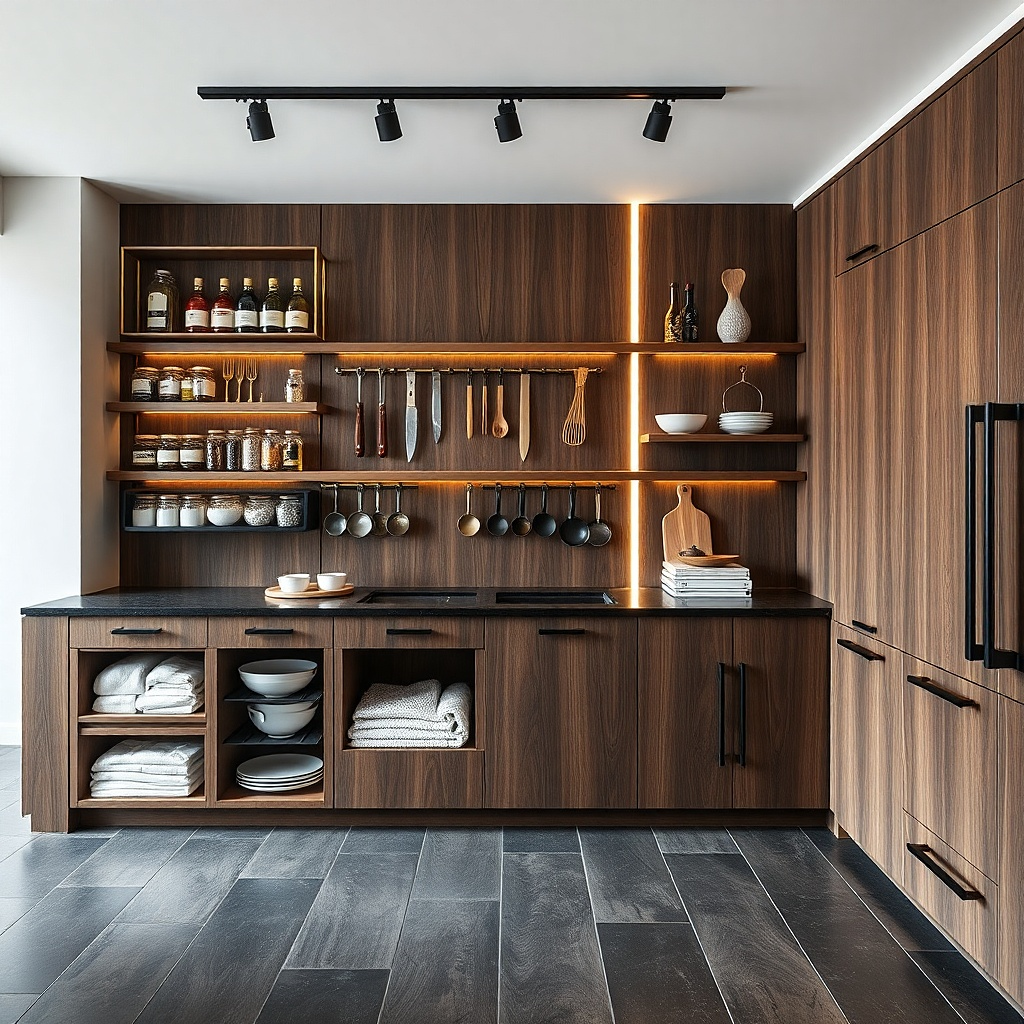
Pegboard brings order. With a shelf mounted on pegboard, you can hang a few tools or keep small trays that wipe clean. Use minimal trays in metal or sealed wood, and add simple labels for items you reach for daily. Labels make it low-maintenance because you don’t end up with random returns to the shelf everything has a place. This is especially good in kitchens where the wall is near a workspace and you want functionality that still looks tidy.
Install pegboard on the wall first, then attach a shelf to the pegboard using the manufacturer’s mounting points. Use two small trays (roughly 10-14 inches wide) and keep the number of items low. Add one label per tray and keep the font size large enough to read from standing height. Place this setup near a prep zone and keep the shelf about 18 inches above the counter. For cost, pegboard panels run $25-80, trays $15-40 each, and shelf hardware $20-60.
Try thisUse white labels with black text on a matte surface so grease mist doesn’t reflect and look dirty.
Common mistakeDon’t hang too many utensils — pegboard looks messy when every hook is filled.
11. Clear Glass Shelf Boxes with One Color of Canisters
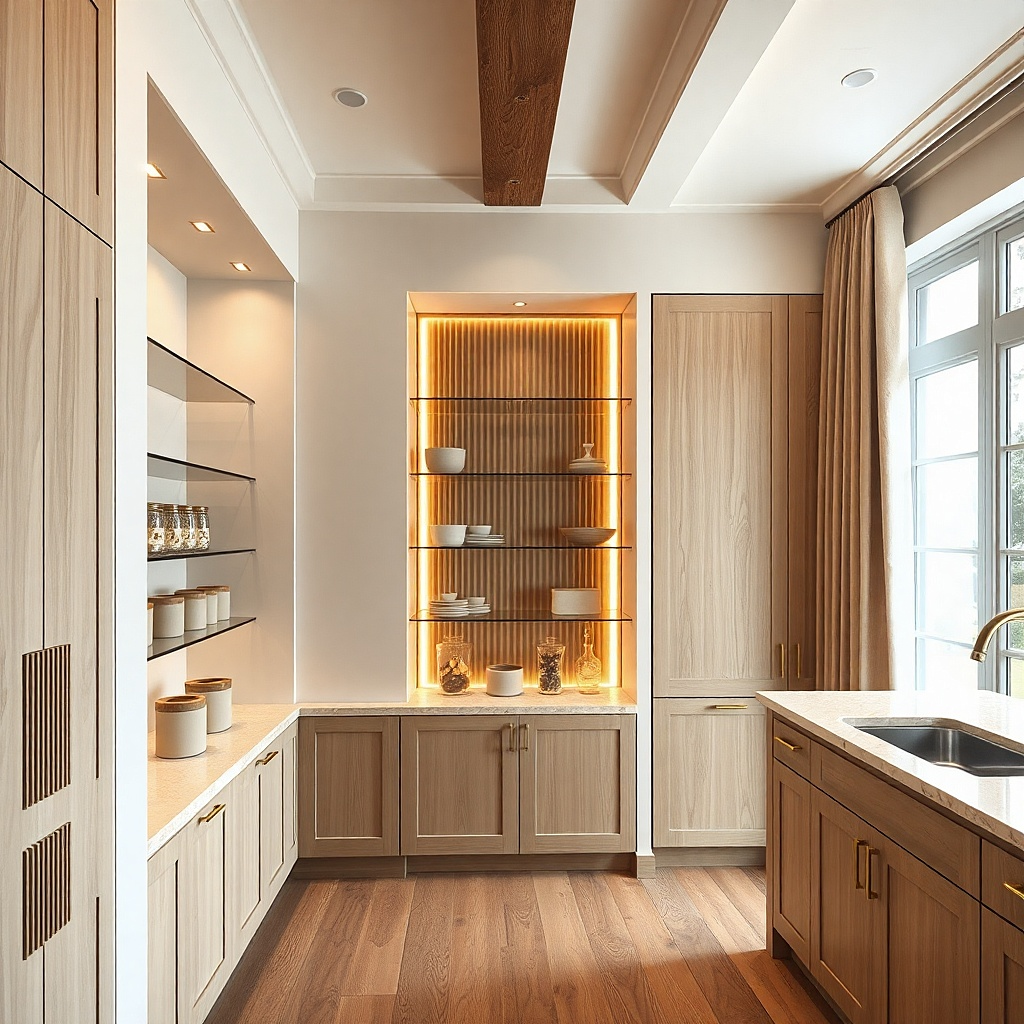
Glass shelf boxes make your decor look styled while blocking the visual mess of daily use. Put matching canisters inside one color family only and keep the canister lids aligned. The glass edges catch light and make the shelf look polished even with few items. This works well in kitchens that have open sightlines from dining to cooking, where you want the wall to look clean without constant daily rearranging. Choose clear glass with polished edges so it doesn’t look cloudy over time.
Pick shelf boxes that fit your shelf depth (often 6-8 inches) and measure your shelf length for placement. Place one large glass box centered or two smaller boxes spaced evenly. Inside each box, use 3-4 matching canisters; keep height within 3 inches so the box looks balanced. Wipe glass with a streak-free cleaner and dry with microfiber — install the boxes once the shelf is fully mounted and leveled. Budget: $40-150 for boxes plus $40-120 for canisters.
Try thisChoose canisters with matching lid styles; the lids are what the eye reads first through glass.
Common mistakeDon’t mix tall and short canisters inside the same box — it looks uneven through glass.
12. Staggered Cutting Board Wall Shelf with Olive Oil Bottle
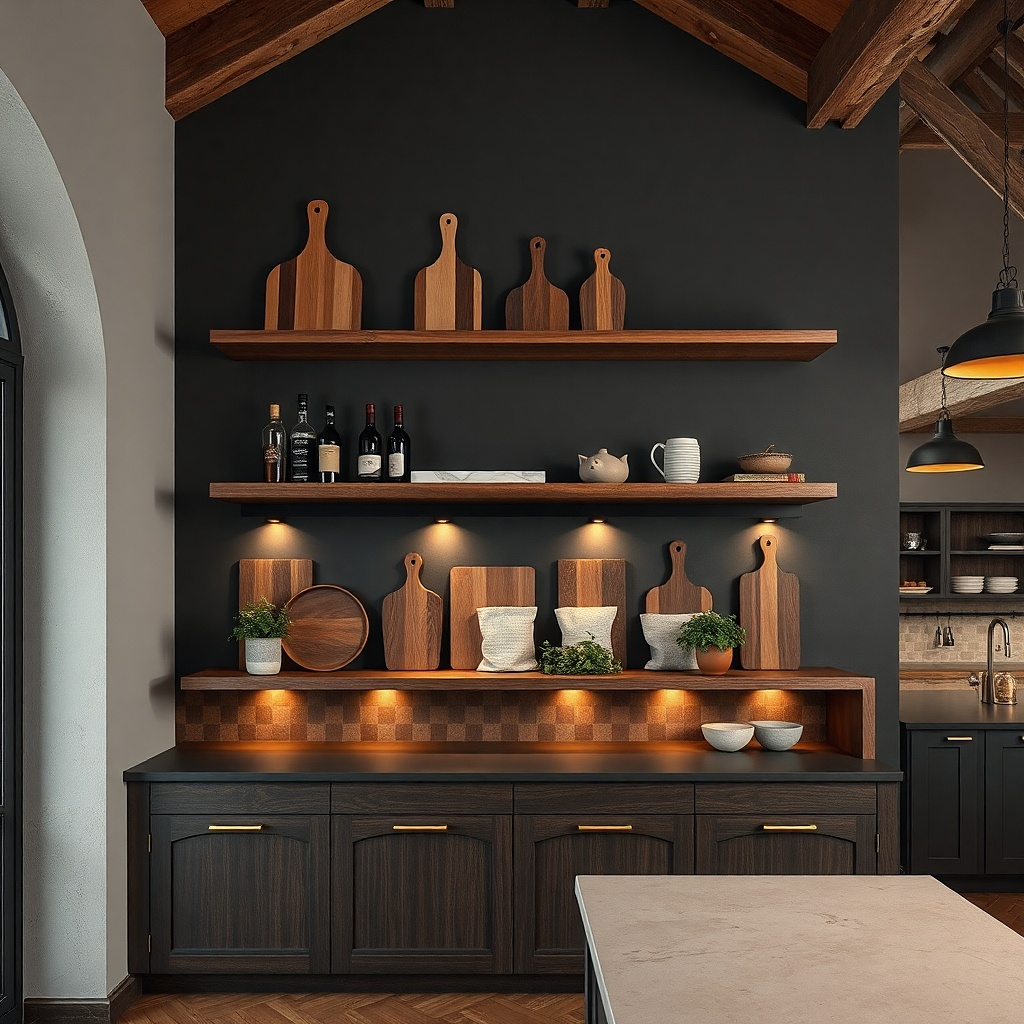
Cutting boards make the shelf look functional because they belong in a kitchen. Stagger two boards at slight angles so they create depth, then add one tall bottle (olive oil or vinegar) as the vertical anchor. The boards add texture and wood grain color that warms up white walls and stainless counters. This setup stays low-maintenance because you can rotate boards for actual use without re-styling everything. It also reduces the need for small decor pieces that gather grease dust.
Use a shelf depth of 8 inches so boards sit securely without hanging off. Place one cutting board flat at the back, then lean the second board slightly in front, keeping the total height under 14 inches. Set the olive oil bottle upright in the center or near the front edge but away from where you’ll bump it with a dish towel. Seal the shelf and the boards with food-safe oil if they’re raw wood; keep boards dry to avoid residue buildup. Install shelf brackets into studs and use anchors only if you can’t reach studs.
Try thisMatch the oil bottle finish to your faucet or hardware for a cleaner read.
Common mistakeDon’t stack boards flush against the wall — leaving a small gap looks more intentional.
13. Ceramic Tile Accent Shelf with Small Candle Holders
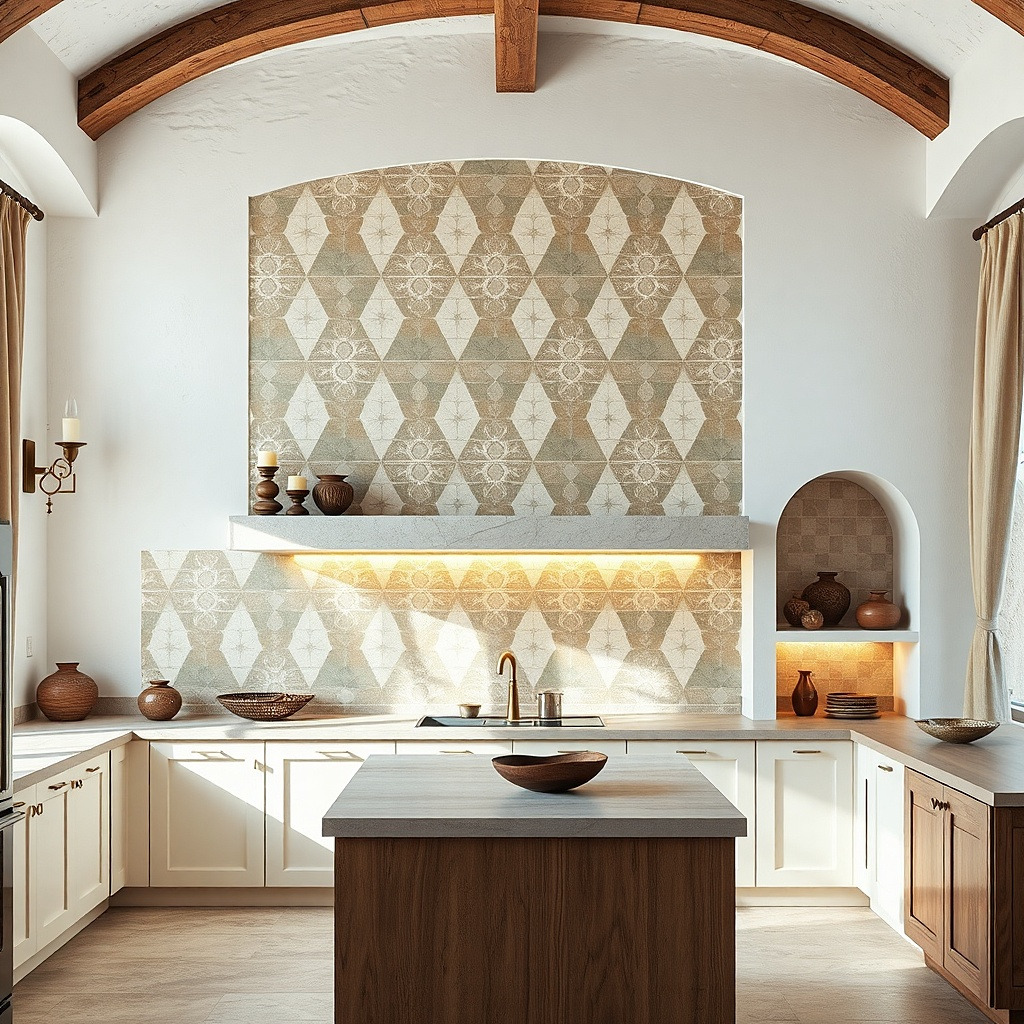
A tile accent behind the shelf makes the wall decor look finished without adding more objects. Put small candle holders (matte ceramic or brushed metal) on the shelf and keep the rest minimal. The tile pattern adds color and texture, so you don’t need to rely on a lot of items to make it photogenic. This is low-maintenance because candles can be swapped or removed quickly, and the tile surface wipes clean. Place this near the dining table or a sideboard so the wall looks styled during meals.
Choose a small tile panel sized to your shelf width — typically 24-36 inches. Mount the tile securely to the wall or use a backsplash-safe adhesive system, then install a shelf in front of or directly under the tile. Place two candle holders on a tray or directly on the shelf, keeping them 6-8 inches apart. Use matte candle holders so they don’t show dust as clearly as glossy. If you’re using real candles, keep them away from steam vents and use drip-free holders.
Try thisUse one candle height and one smaller height; the silhouette is cleaner than three equal candles.
Common mistakeDon’t pick a tile pattern with multiple loud colors — it competes with kitchen surfaces.
14. Satin Black Shelf with Three Brass Canisters and a Cloth Runner
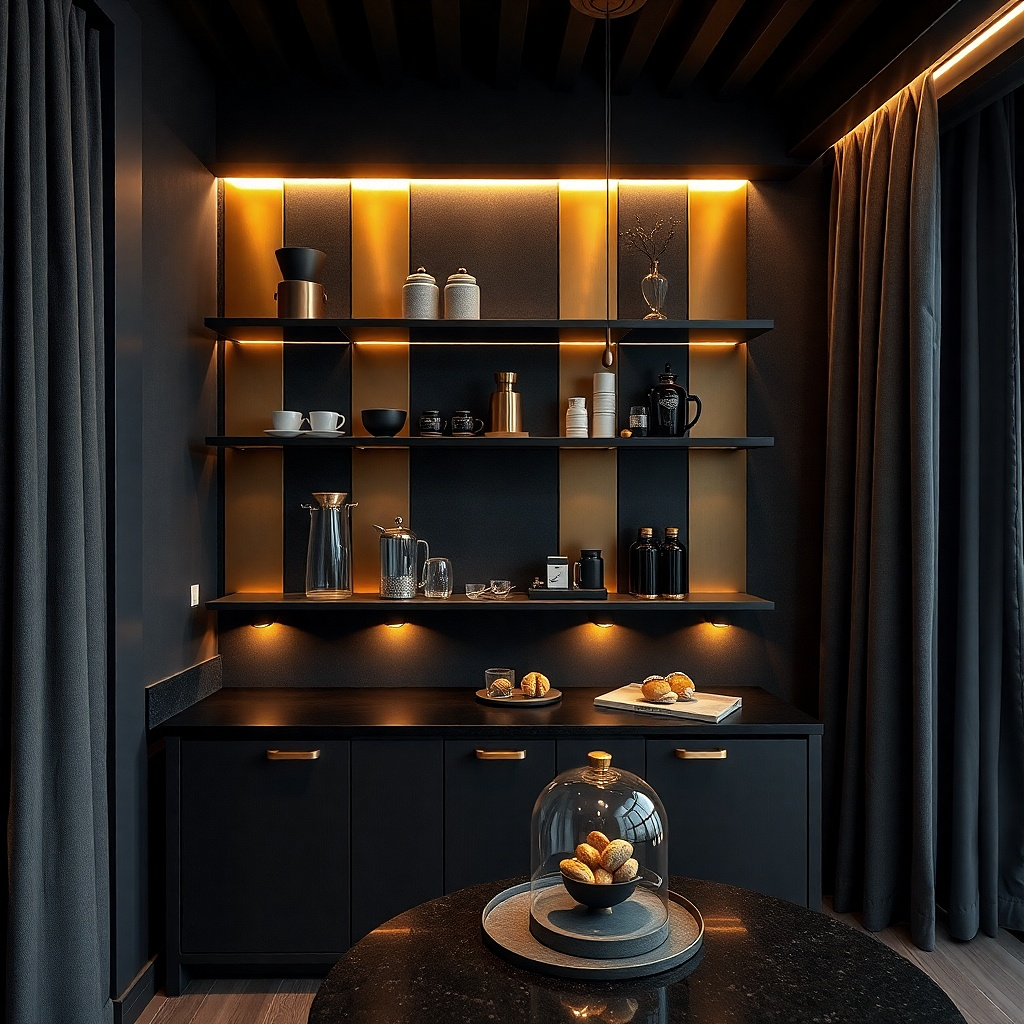
Satin black shelving gives you a neutral stage, and brass canisters add warmth without needing bright colors. Add a folded cloth runner under the canisters to create a soft, styled base line — it hides minor shelf imperfections and makes the shelf look layered. Use three canisters only, each with the same lid type and similar height so the look stays graphic. This setup is low-maintenance because brass and sealed finishes wipe quickly, and the cloth runner can be swapped in minutes. It works best on walls near black hardware or dark cabinetry where the shelf should match the kitchen’s tone.
Mount a satin black shelf 36-42 inches long with 6-7 inches depth. Place the cloth runner flat and centered, then line up three brass canisters along the back edge with even spacing. Keep the middle canister slightly taller than the side ones for a subtle hierarchy. Cut the runner so it doesn’t hang past the shelf lip — about 2-3 inches shorter than the shelf on each end. Install with studs and use a level; shelf alignment is what makes the whole look feel intentional.
Try thisUse a washable cotton runner in cream or light beige so it doesn’t look grimy after a few months.
Common mistakeDon’t choose an overly textured fabric — grease mist sticks to fuzzy weaves.
15. White Floating Shelf with Stacked Bowls and a Hanging Key Hook
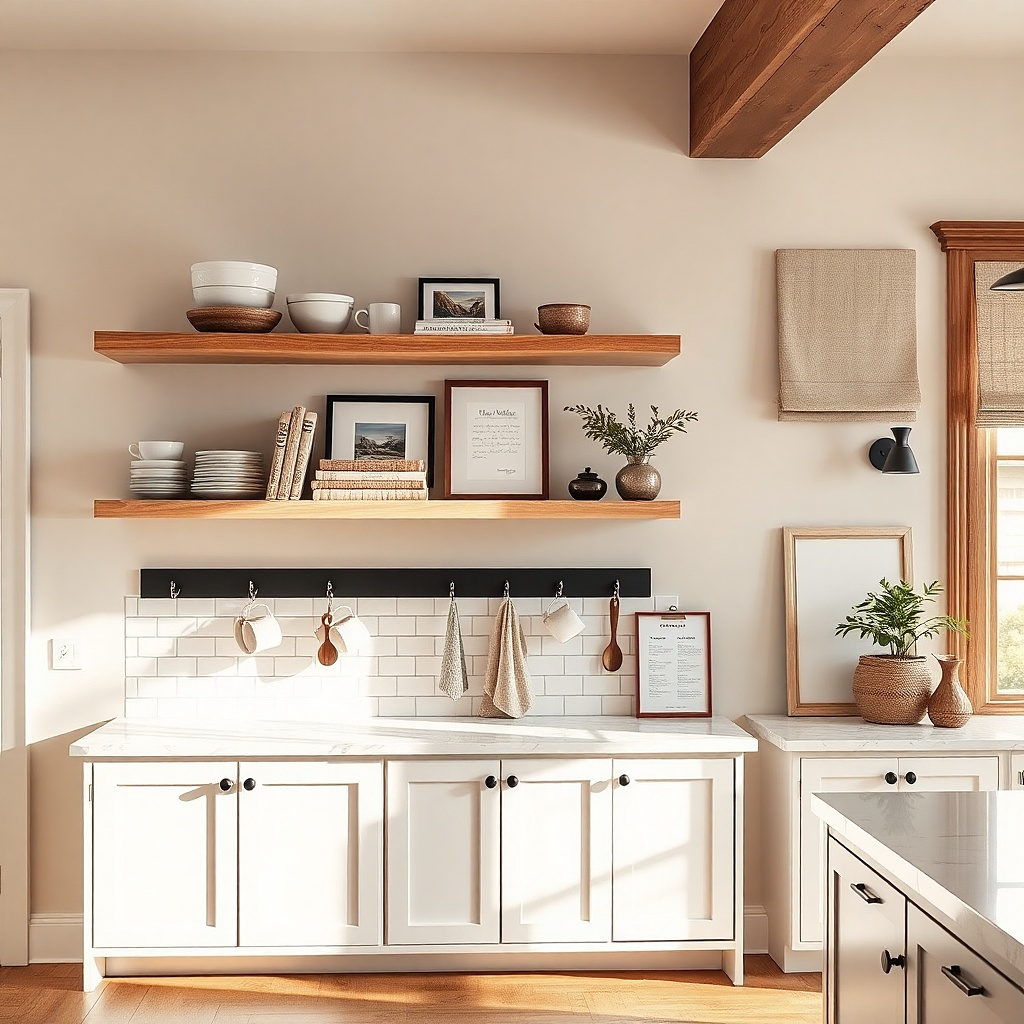
This is a small change that makes a big aesthetic difference: add one tiny hanging hook under a white floating shelf. Stack bowls in white or pale gray on the shelf, then hang a single item — like a kitchen towel ring, a whisk, or a set of measuring spoons so the wall reads dynamic. The hook creates a vertical element that keeps the shelf from looking static. It stays low-maintenance because bowls are wipeable and the hanging item gets used, not forgotten. It fits kitchens with minimal counter clutter where you need the wall to do more than just sit there.
Choose a white floating shelf with a depth of 5-6 inches so it feels light. Stack 4-6 bowls in one color family and keep the stack centered; aim for a stack height around 10-12 inches. Install a small metal hook under the shelf lip about 2-3 inches from the stack so it doesn’t crowd. Keep the hanging item single and functional — one towel ring or one utensil set. Use proper mounting hardware for the shelf and ensure the hook screws are tight; loose hooks look messy quickly.
Try thisMatch the hook finish to your cabinet pulls or faucet so the shelf looks like it belongs.
Common mistakeDon’t hang multiple tools — one hanging element is enough for photogenic balance.
16. Metal Tray Shelf with Everyday Olive Oil Vinegar Set
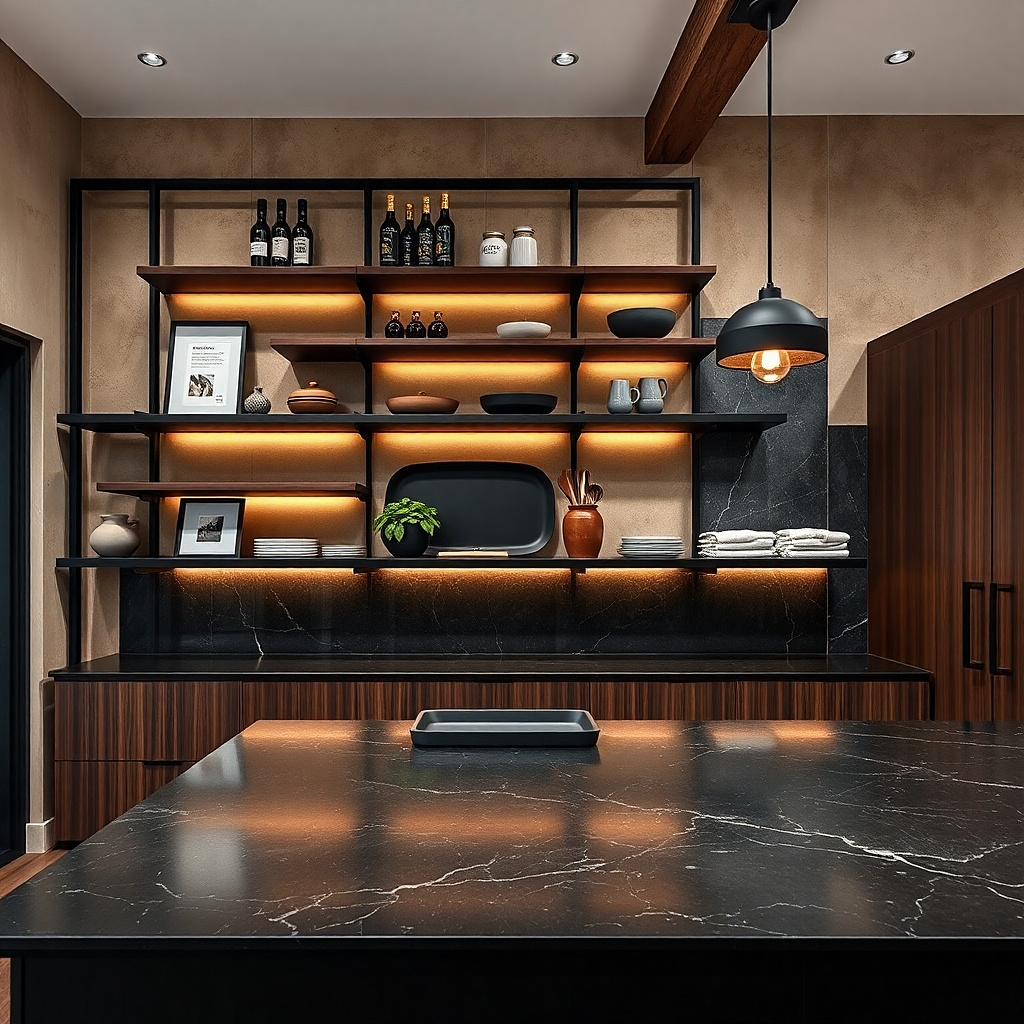
If you want low-maintenance and high function, use a tray as your “containment” tool. A metal tray with two matching bottles makes the shelf look styled, but it also makes it easy to clean — you can lift the tray and wipe the shelf underneath. Choose clear glass bottles with matching pour spouts or matte bottles in one color family. This setup is clean-looking because the tray gives you a defined boundary and reduces visual clutter from label variations. Place it near your stove or prep area so the bottles are part of your cooking routine.
Mount a shelf 18-20 inches above the counter and keep depth around 7 inches. Center a metal tray (12-18 inches wide) on the shelf and place two bottles inside with the labels facing outward. Leave a small gap of 1-2 inches between the bottles so they don’t feel jammed. Use a tray with raised edges so drips don’t run off onto the shelf. Install the shelf into studs and check level twice; bottles reveal crooked mounting immediately.
Use bottle labels with a simple design and keep one font style; it looks cleaner than mixed label packs.
Don’t skip the tray — without it, shelf cleaning becomes annoying fast.
17. Open Shelf with Ceramic Planter and Replaceable Dried Stems
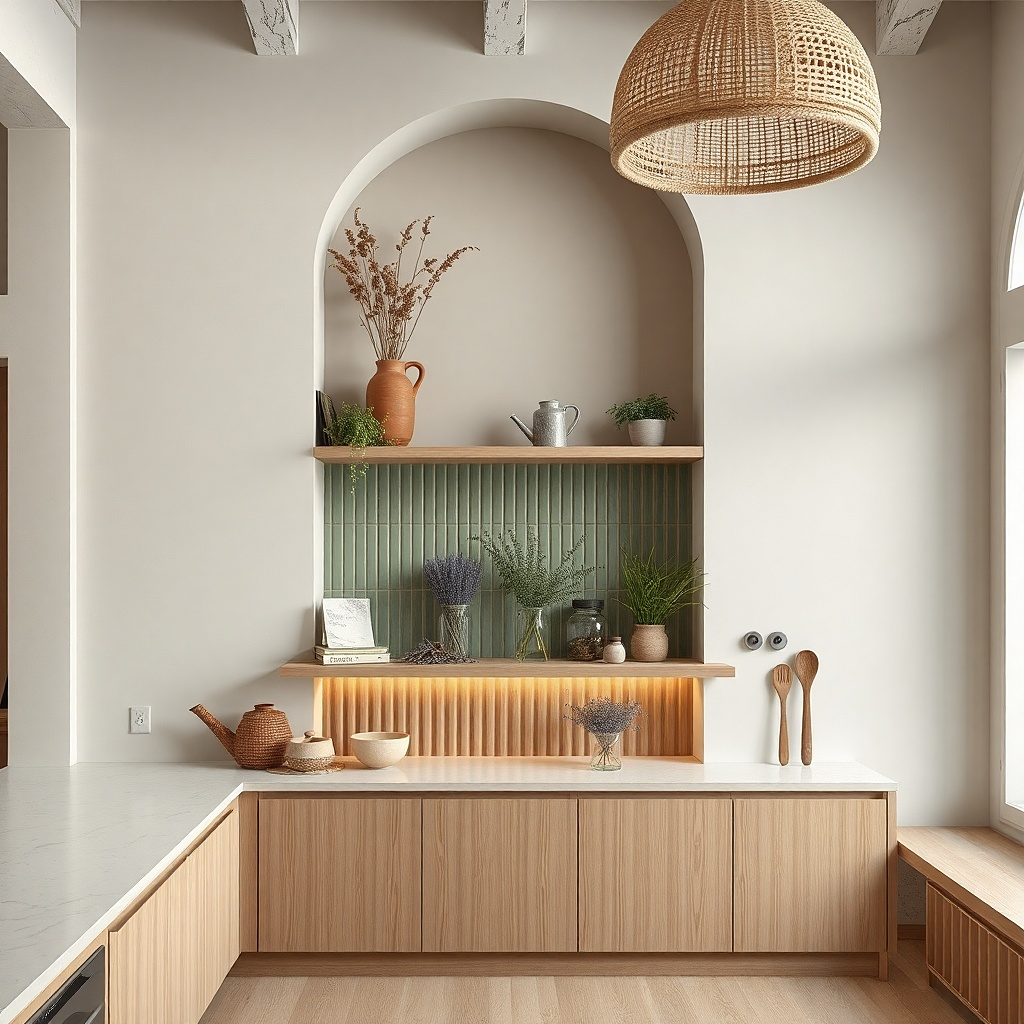
This is the shelf styling that survives busy weeks. A ceramic planter with a small plant gives you organic texture, and a jar of dried stems adds height and color without needing watering. Pick a planter glaze that wipes clean and doesn’t show water marks matte stoneware is good here. Keep the dried stems in a simple glass jar so the look stays tidy when you refresh. This setup works in kitchens where you want decor that looks intentional even when you’re not cooking-cleaning-photoshoot perfect.
Use a shelf depth of 7-8 inches so the planter sits stable and doesn’t overhang. Place the planter slightly off-center, then add a jar of dried stems on the opposite side. Keep stems trimmed to about 9-12 inches high so they don’t reach the backsplash or look messy. Choose a planter with a drainage saucer if you use a live plant; wipe any water after watering. Mount with brackets into studs and keep the shelf level; open shelves show tilt.
Dust dried stems with a dry brush before placing them; it removes the gray film that makes them look old.
Don’t use glass jars with cloudy buildup — it makes the whole shelf look neglected.
18. Slim Shelf with Floating Acrylic Risers and Small Plates
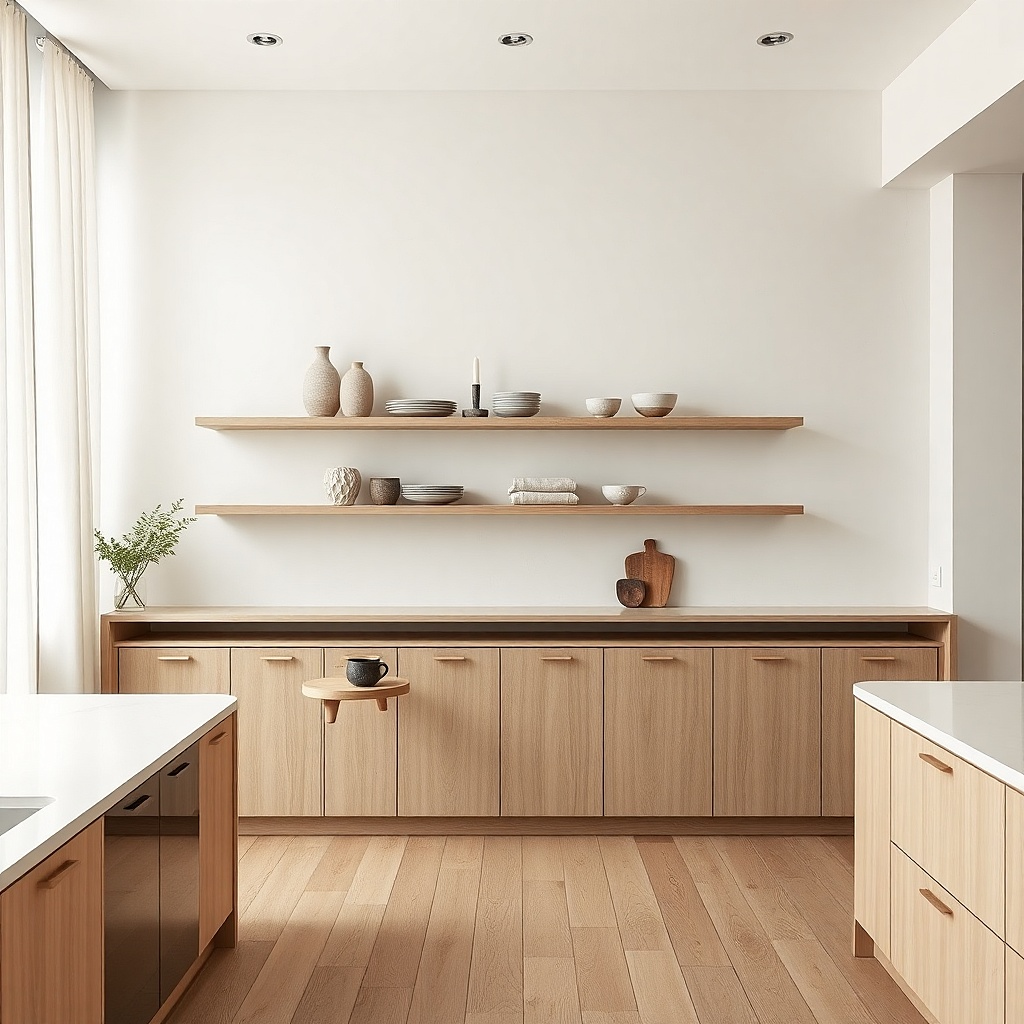
A slim shelf can look airy instead of empty when you use risers. Acrylic risers lift small plates and create a layered look without adding clutter. Keep the plates small (salad plates or dessert plates) and use one glaze color family so the shelf reads cohesive. Add one utensil holder or small spoon crock at the end for function. This is low-maintenance because the plates are wipeable and the acrylic makes it easy to keep the shelf line clean you can wipe around the risers quickly. Best for kitchens with light walls and a modern style where you want “gallery” energy.
Pick a shelf depth of 4-6 inches to keep the look slim. Place acrylic risers on the shelf and set 4-6 small plates on top, keeping plate spacing even. Add one utensil holder at the far end so the shelf has a functional anchor. Use a clear or frosted acrylic riser; clear shows smudges, frosted hides fingerprints. Install the shelf level and secure — small items look crooked when the shelf isn’t straight.
Try thisWipe acrylic with a microfiber cloth only; paper towels create micro-scratches that catch light.
Common mistakeDon’t stack plates too high — it blocks the risers and makes the shelf feel cramped.
19. Wood Shelf with Hanging Towel Bar and One Ceramic Bowl
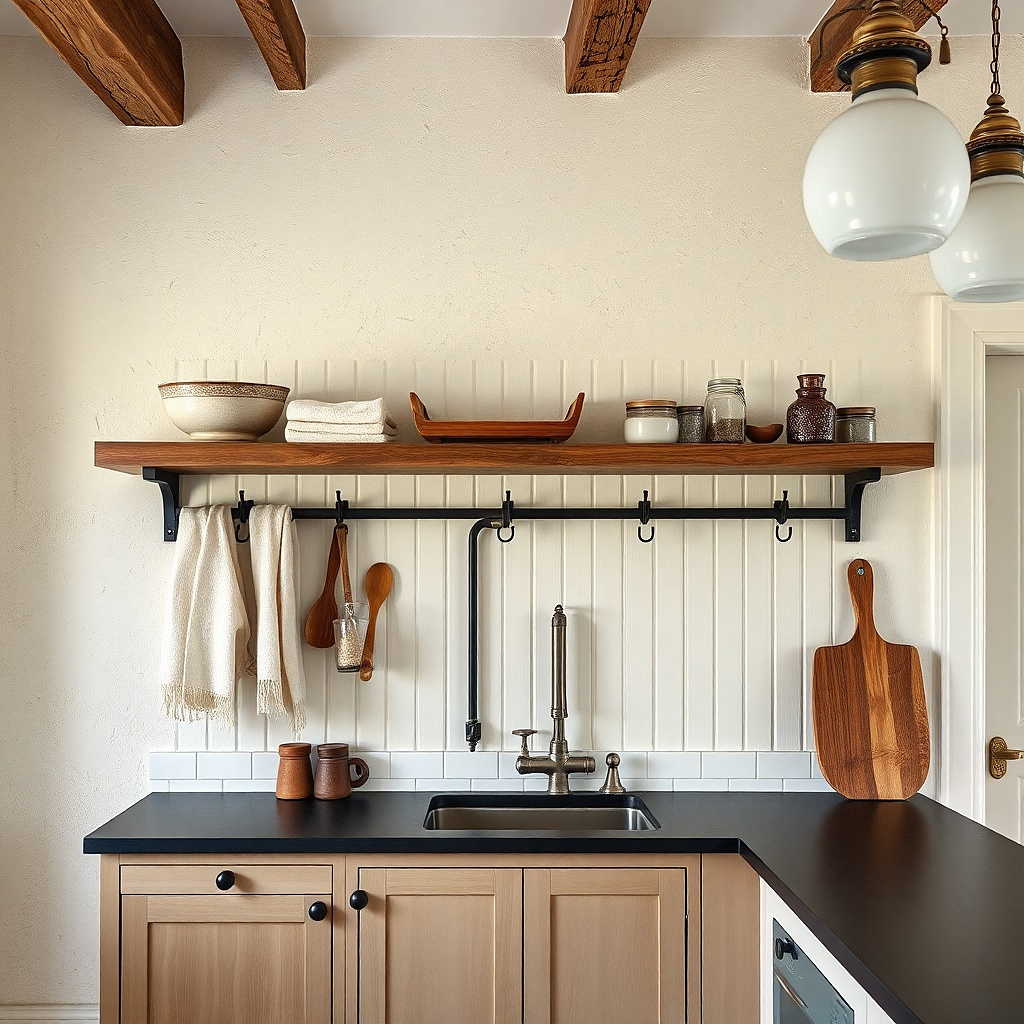
A hanging towel bar under a wood shelf is a clean way to add daily function and visual structure. Put a single ceramic bowl on the shelf for fruit, keys, or quick grab items like garlic bulbs you’re about to use. The towel bar gives you a vertical line and solves the “where do I put the towel” mess. Choose a wood shelf with a sealed finish so the towel doesn’t stain it and so you can wipe cooking splashes without worrying. This setup is best on walls near the sink where towels and small prep items belong.
Mount a sealed wood shelf at about 60-66 inches from the floor, then install a towel bar 6-8 inches below the shelf lip. Place one ceramic bowl near the corner closest to your sink side so it’s easy to grab without reaching deep. Keep the bowl size around 8-10 inches wide so it reads intentional, not tiny. Use a towel that matches your kitchen textiles and wash it regularly; swap the bowl items as needed. Secure the shelf into studs and use a towel bar mount rated for frequent pulls.
Use a towel bar with rounded edges; it looks softer and prevents towel corners from snagging.
Don’t add more than one bowl — the towel bar already adds the busy element.