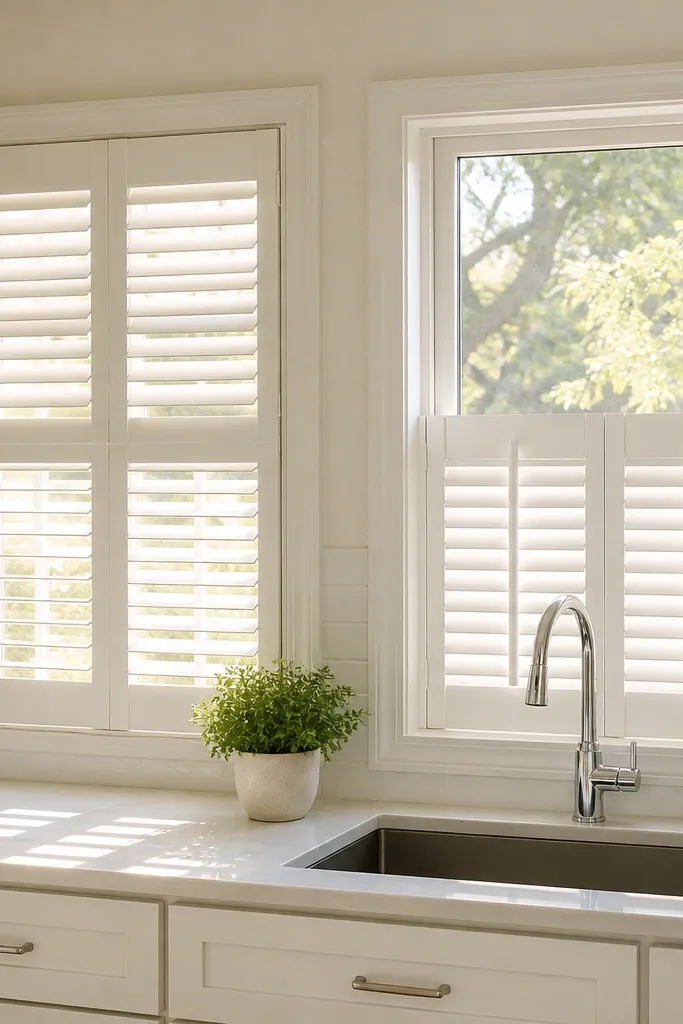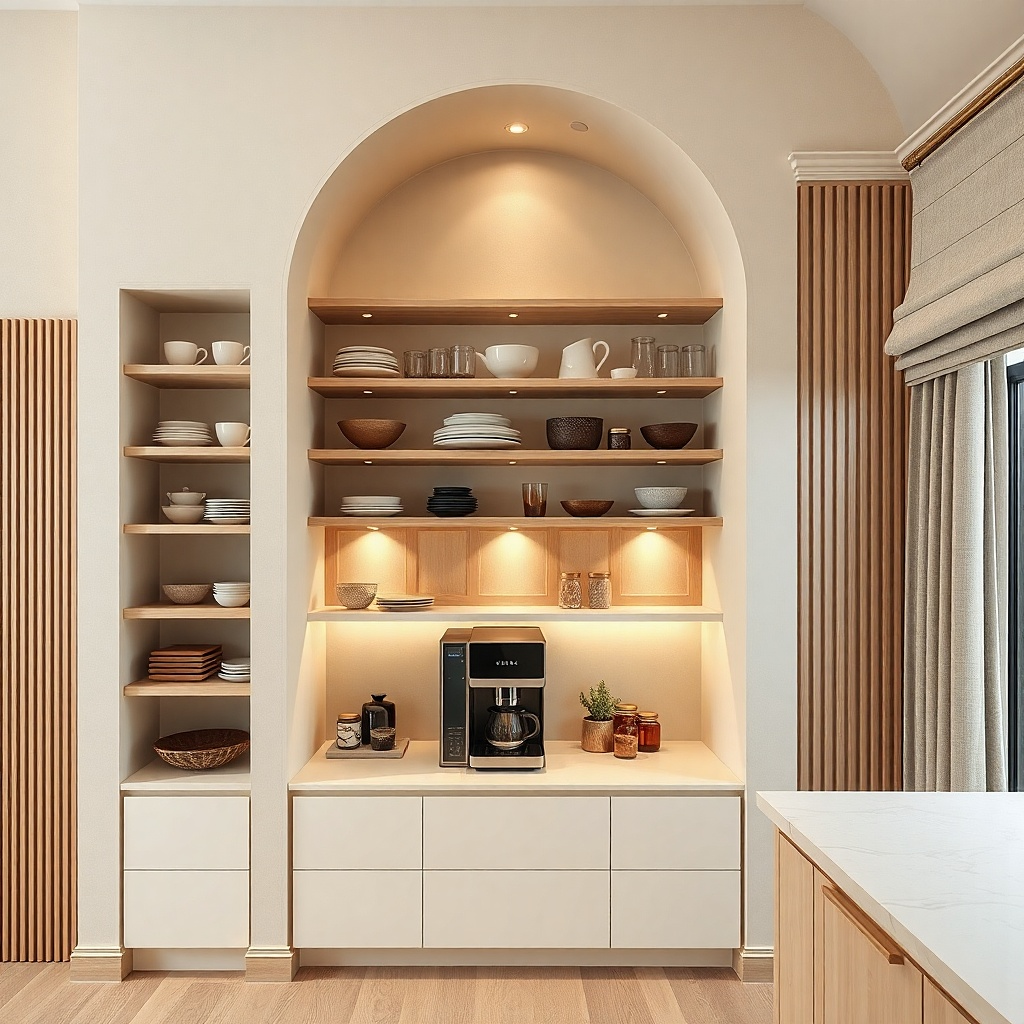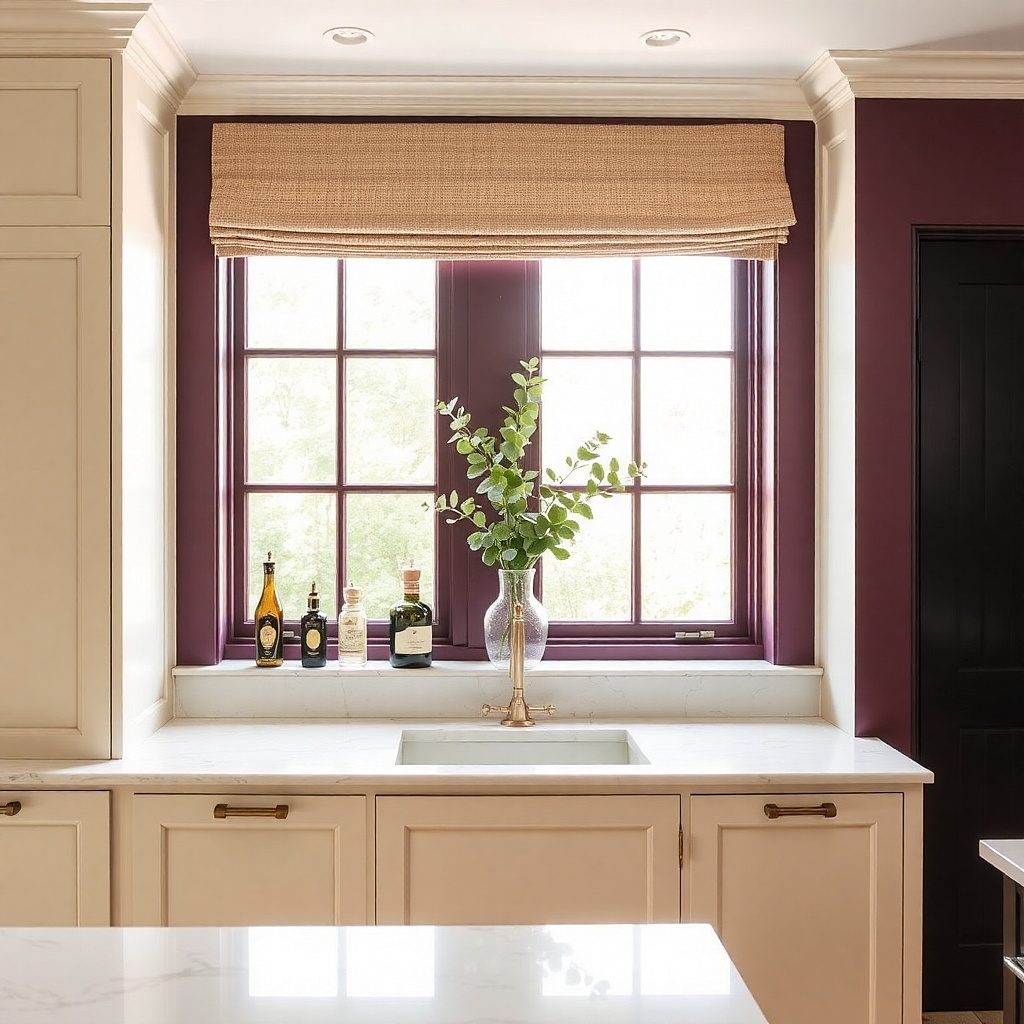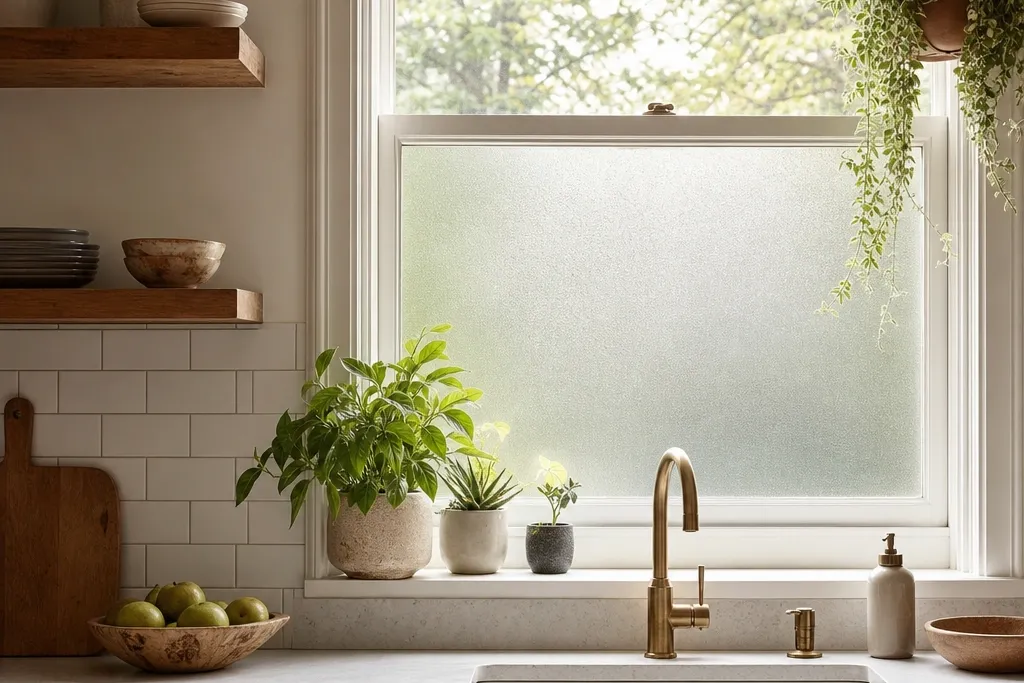
1. Frosted privacy film with a clear top band
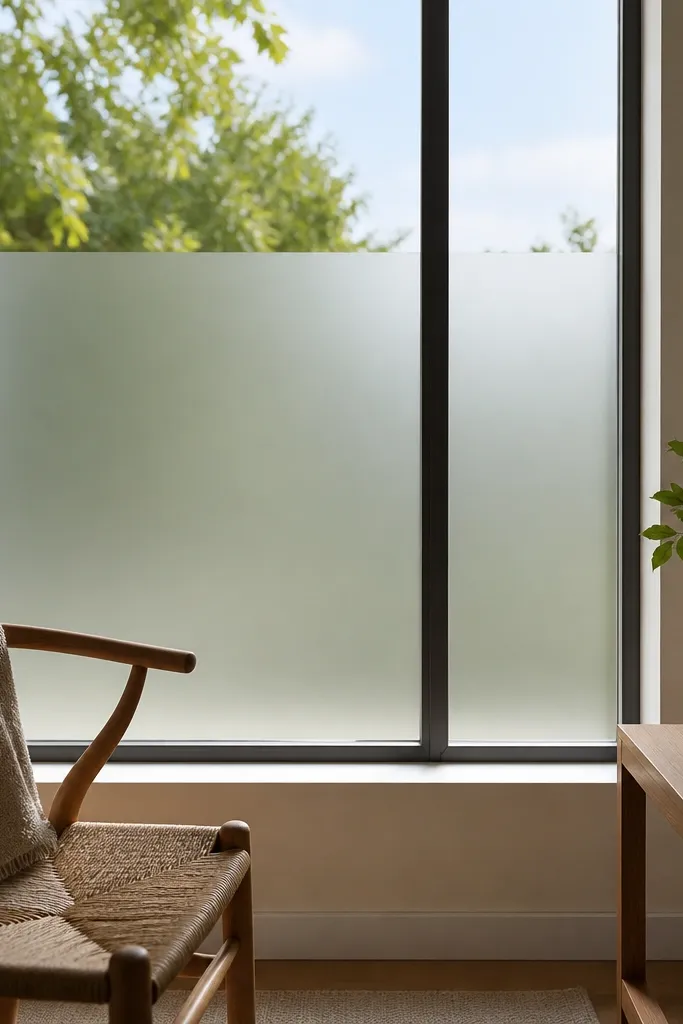
This is the cleanest “bright but private” move when your kitchen window faces a driveway, walkway, or close fence. Use privacy film that looks like frosted glass instead of a heavy opaque sticker; it diffuses direct sightlines while keeping a glow in the room. The clear top band matters because it preserves daylight and keeps the window from feeling boxy. Aim for a band that still stops people at typical standing height you’re blocking the view, not the sky.
Start by measuring the glass only, then cut film with a little extra (about 1/4 inch) so you can trim cleanly after applying. Clean the glass with a streak-free solution, spray the application side with water per the film instructions, and squeegee from the center outward to avoid bubbles. Apply the frosted portion to roughly the lower two-thirds of the glass, leaving a clear strip at the top that’s about 2 to 4 inches tall depending on your window height. Finally, trim edges with a sharp blade and let it set before you run the kitchen fan directly at it.
Choose a film with a subtle sparkle or micro-texture so it reads like real frosted glass rather than flat matte plastic.
Skipping a proper glass cleaning step is how you get peeling corners and a cloudy, patchy look.
2. Outside-mount linen curtains with 6-inch side overlap
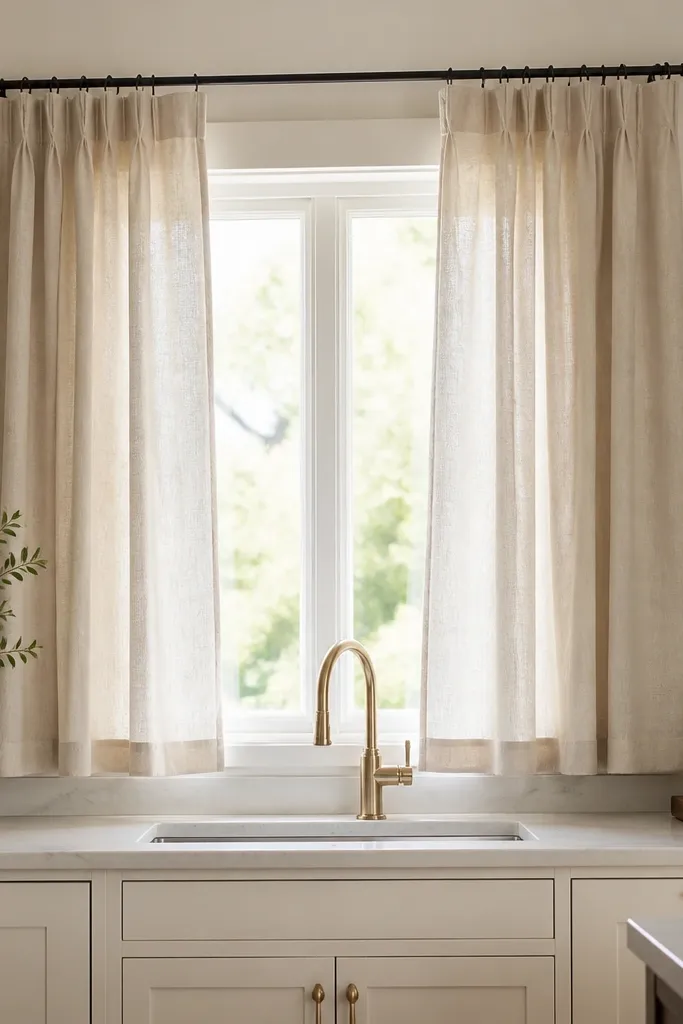
If you want privacy that looks tailored, outside-mount linen curtains are the most forgiving option. Linen has a soft, natural texture that still lets light wash through, and it looks expensive even when it’s simple. The key is overlap — fabric that extends past the window trim blocks the angled views that film can miss. Choose a light neutral (cream, oat, warm white) so the kitchen stays bright rather than turning into a dim room with “privacy” curtains.
Measure the window width and add at least 6 inches on each side for overlap; for a 30-inch window, plan for about 42 inches total curtain width minimum. Mount the rod 4 to 6 inches above the top of the trim so the fabric doesn’t skim the ceiling or look cramped. Use a double-rod or rings so the curtains hang straight; then hang the curtains so the hem sits about 1 to 2 inches above the sill or puddles lightly if you like a softer look. Steam or press the fabric once so folds look intentional, not wrinkled.
Use curtain fabric with a visible texture (slub linen) — it breaks up sightlines and looks good in daylight.
Mounting the rod inside the trim leaves side gaps that neighbors can still see through.
3. Top-down bottom-up cellular shade in white
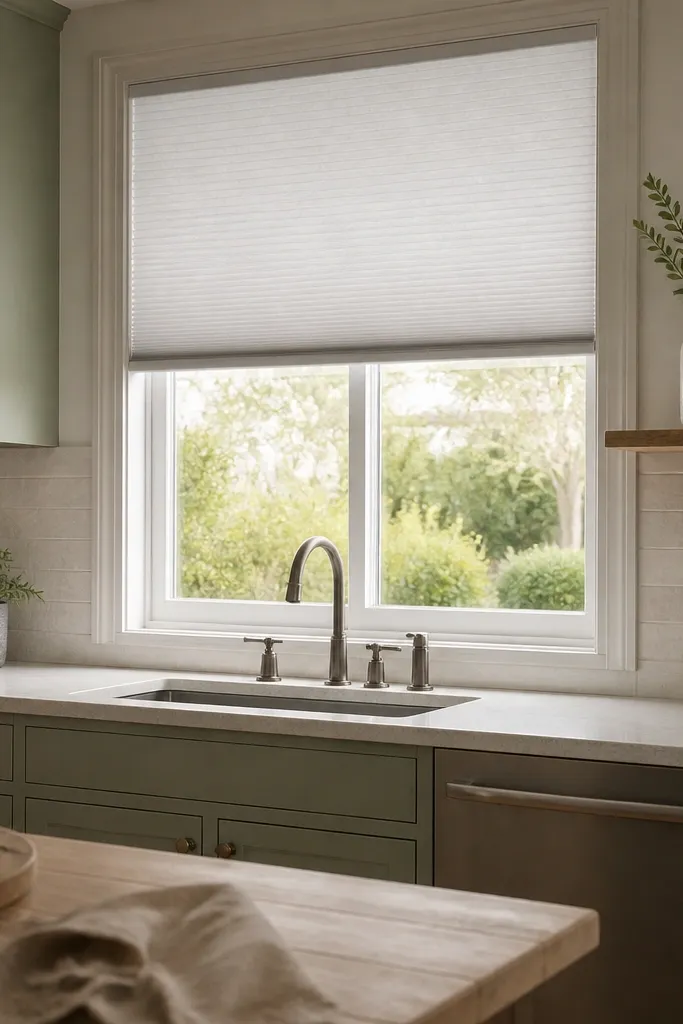
This is for people who want control all day: privacy when someone is outside, daylight when the street is quiet. Cellular shades add structure and insulate, but the look here is about the clean geometry — crisp white pleats that read modern, not bulky. Set the bottom section higher in the day to keep the sill bright, and lower it only when you need real privacy. The honeycomb texture diffuses direct sightlines without turning the window into a dark panel.
Try thisIf your window has a low sill, raise the bottom panel higher than you think; it keeps the room bright and still blocks line-of-sight.
Measure the inside window opening and order a shade that fits snugly, then confirm whether you have enough depth for the mechanism. Install the shade according to the bracket template, keeping the top edge perfectly level so it doesn’t warp the pleats. For the privacy position, start with the bottom panel raised so it covers roughly up to the middle of the window at chest height, then adjust in 2-inch increments until you can’t see the interior from the neighbor side. Use the lift cords or cordless control to set morning and evening presets.
Common mistakeChoosing a shade color that matches the wall too closely can make the window look “off” once the pleats shift.
4. Woven wood roller shade with light-filtering openness
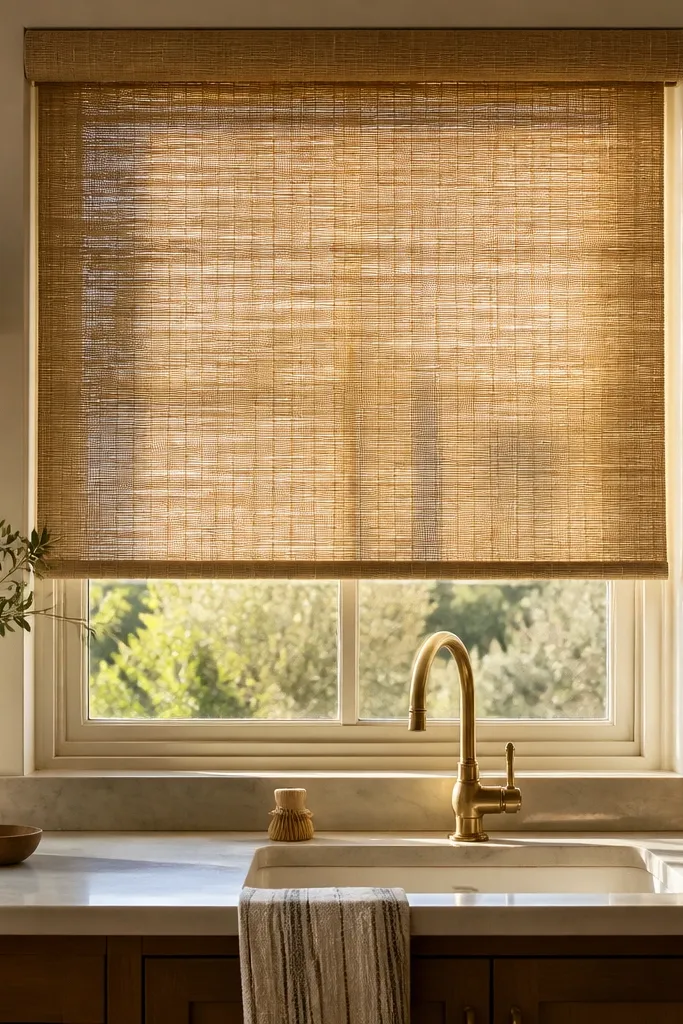
Woven wood roller shades look warm and architectural, and they do a good job of cutting direct viewing while keeping the kitchen bright. The trick is openness: pick a light-filtering weave with enough spacing that you still see daylight, not a thick, opaque blind that kills the window’s glow. In a kitchen, the texture also hides minor dust better than smooth blinds. Choose warm tones like natural tan, honey, or light oak for a bright, inviting look.
Measure the window glass width and mount depth, then order a roller shade sized for inside or outside mounting based on how much trim you have. Install brackets level, then roll the shade down and check sightlines from the neighbor side at two heights (standing and seated). If you can still see clear outlines, move to a tighter weave instead of adding more layers. Finally, clean with a dry microfiber cloth weekly and spot-wipe with a barely damp cloth only if needed.
Aim for a shade that rolls up smoothly; a roller that drags will pull the fabric unevenly and make the window look messy.
Picking a dark weave is how you end up with a privacy solution that makes the entire kitchen look dim.
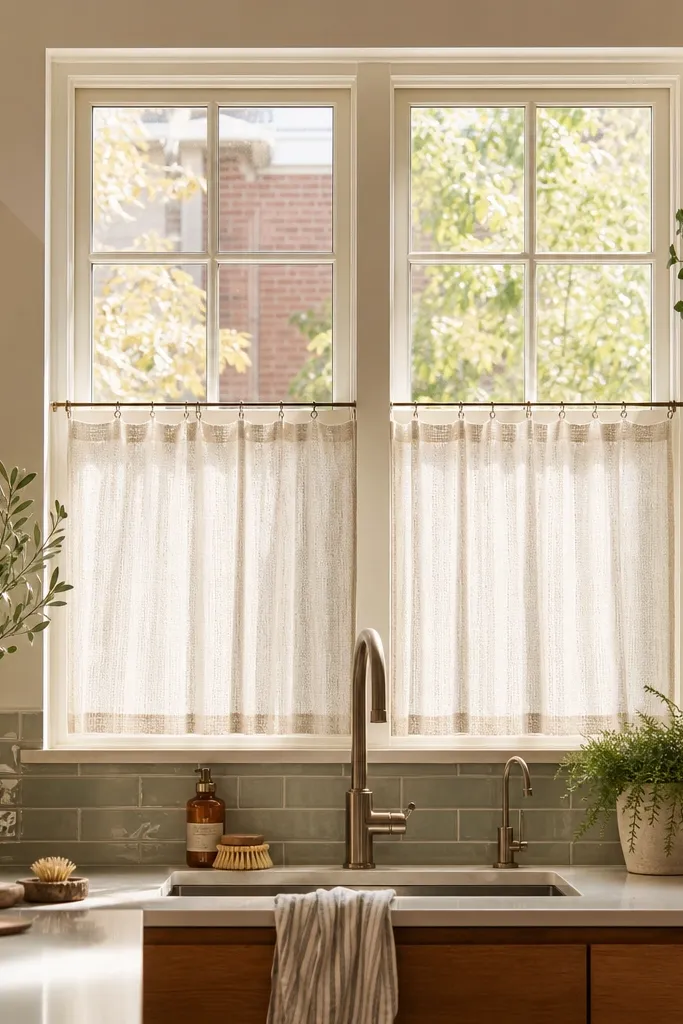
5. Half-moon sheer + micro-opaque panel combo
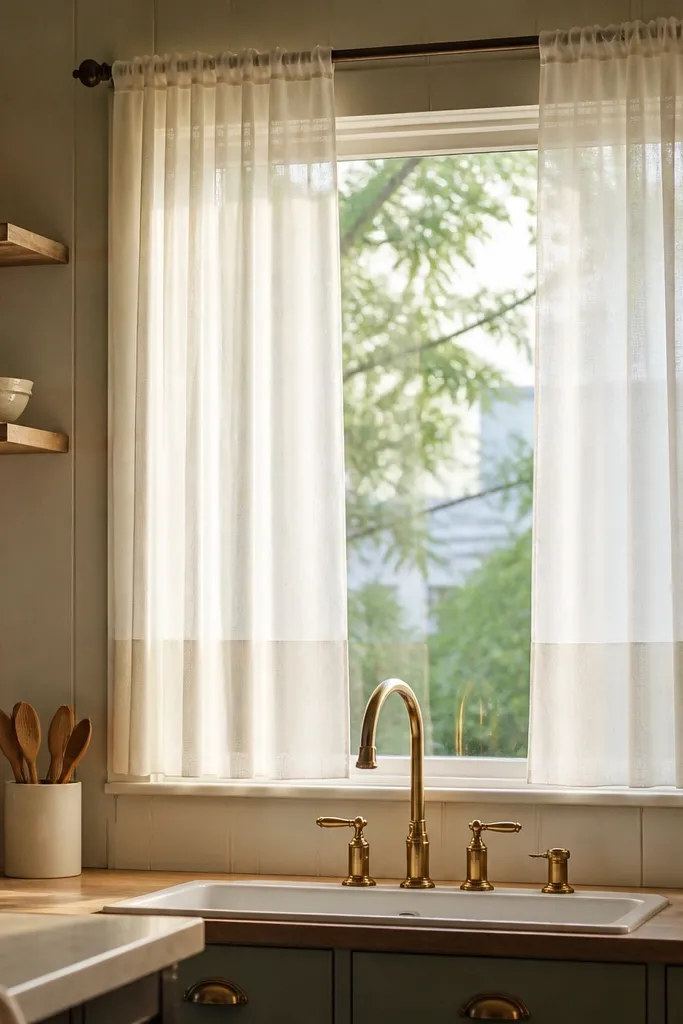
This combo gives you privacy where it’s needed and brightness where you want it. The sheer lets light in and creates a soft, airy look, while a small opaque panel at the lower portion blocks direct views at chest height. It’s especially effective for kitchens where the counter sits under the window — you don’t need to cover the entire glass to stop sightlines. Pick micro-opaque fabric (a dense weave that reads opaque from outside but still feels clean indoors).
Try thisChoose a sheer in a true white or warm white; gray sheers can look dirty next to warm wood cabinets.
Hang a sheer on an inside-mount tension rod or a slim rod so it covers the full window height. Then add a second, shorter privacy panel that covers the lower third to half of the glass — use a clip-on fabric panel or a simple removable track so you’re not sewing. Start with the opaque panel height at about 18 to 24 inches from the bottom of the window, then adjust after checking from the neighbor side. Keep the sheer slightly gathered so it doesn’t cling to the opaque panel and create awkward gaps.
Common mistakeLetting the opaque panel edges float without overlap — gaps at the sides defeat the whole purpose.
6. Roman shade in washable blackout-lining fabric
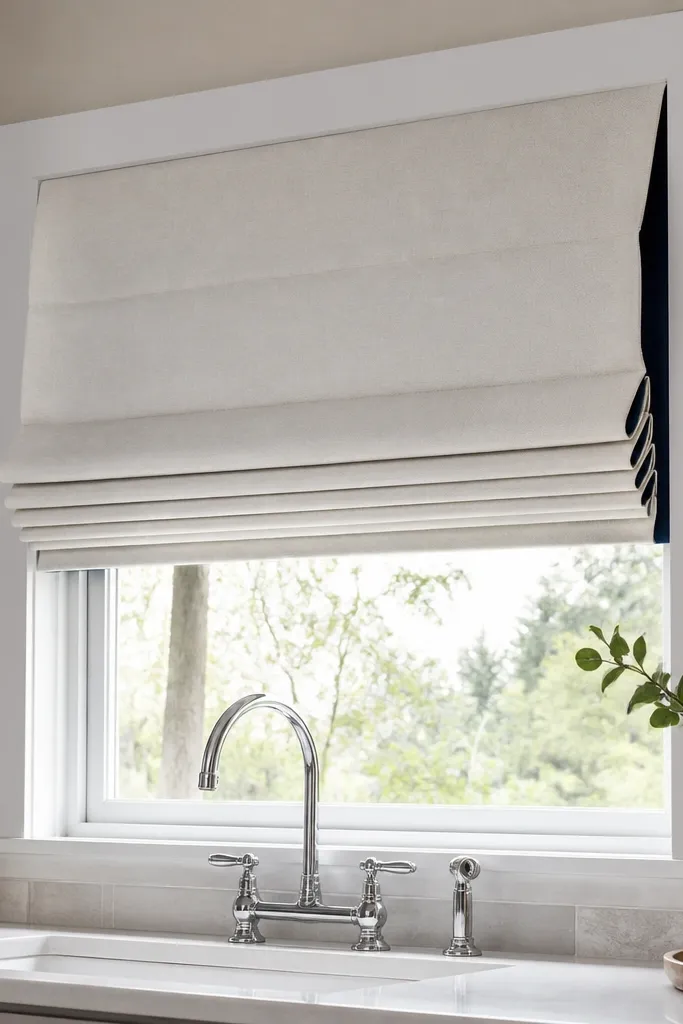
Roman shades look tailored when they fold neatly, and adding a blackout lining gives you real privacy without heavy darkness. Use a light outer fabric (linen blend, cotton, or textured weave) so daylight still bounces around the room. When the shade is down, the blackout layer blocks direct viewing; when you lift it, you get partial privacy while keeping brightness. This is a strong choice if you want one solution that handles both daytime neighbors and evening visibility.
Try thisPick a fabric with a visible texture and a matte finish so it doesn’t glare under overhead lighting.
Measure the window width and decide whether you want the shade inside the trim or slightly outside for side overlap. Order a washable roman shade fabric with a blackout lining, then install the mount brackets and cord system so the folds land evenly. Lower the shade to cover the glass up to the point where sightlines disappear — usually the lower two-thirds for kitchens. When it’s closed, check from the neighbor side for clear outlines; adjust the lift height so you don’t over-cover the window.
Common mistakeUsing a shiny satin fabric — it reflects the room and makes the window look more exposed.
7. Magnetic privacy panels for renters or weird trim
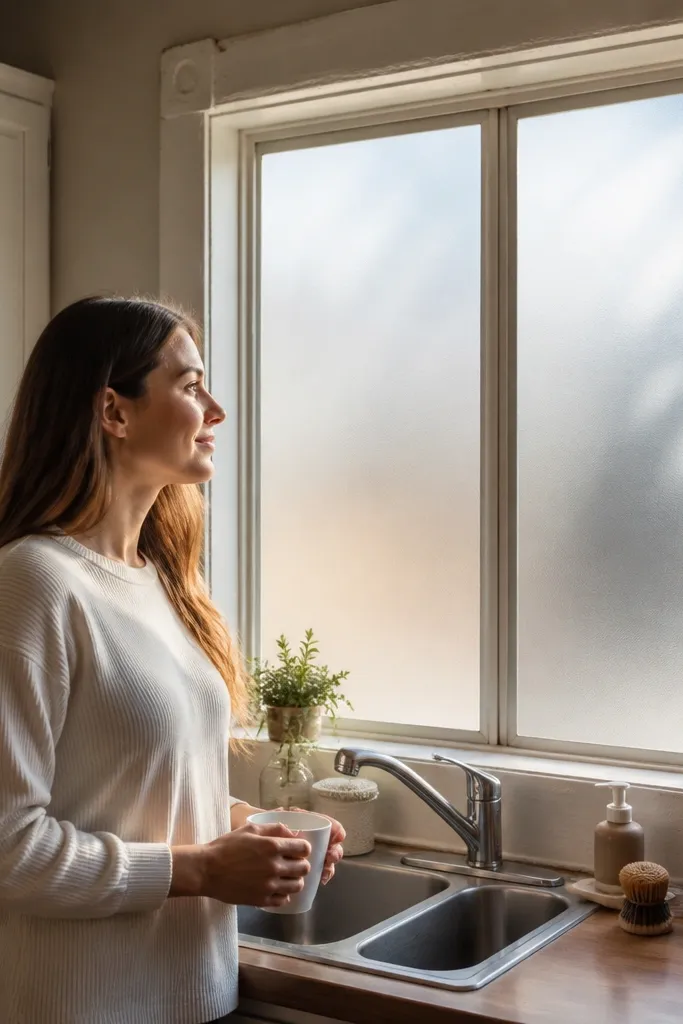
If you rent or you have a window that doesn’t play nicely with rods, magnetic panels are the most painless path to privacy. Choose a translucent panel that reads frosted or diffused from outside but still lets daylight in. The look is clean because you can align the panel edges to the frame and keep it uniform.
Try thisUse one larger panel set instead of many small pieces; fewer seams look calmer and block views better.
Measure the window frame opening and buy magnetic panel sheets sized to fit, then test fit before removing protective film from the magnets. Clean the frame with a degreasing wipe so the magnets stick firmly. Place the panels so they cover the lower two-thirds of the glass first, then add a second panel strip if you need more coverage. For a crisp edge, align the panel seams with the frame lines so it looks intentional.
Common mistakeRelying on magnets alone on dusty frames — the bond fails and you end up with shifting gaps.
8. Clear-to-frosted gradient film for a softer look
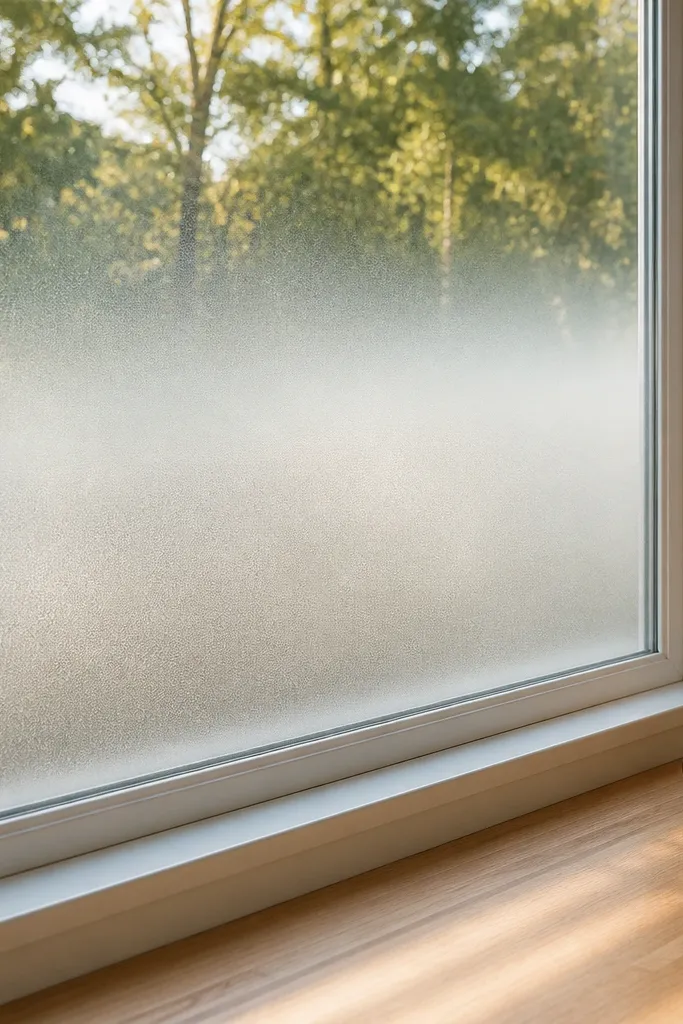
A gradient film keeps the upper part of the window bright while increasing privacy toward the bottom. This is more forgiving than a hard line because it looks natural — you aren’t staring at a stark “cutoff” between clear and frosted. It works well in kitchens where the window sits above a sink or counter and you still want to enjoy daylight. Pick a gradient that starts frosted around mid-height so neighbors can’t see straight through at typical standing height.
Measure the glass height and choose gradient film with a cut line that matches your window proportions. Clean the glass thoroughly, then apply the film from one edge, squeegeeing as you go to prevent bubbles. Align the gradient transition so the frosted area covers the lower half or slightly more. Trim edges with a sharp blade and let the film cure flat before you open curtains or operate blinds that might rub it.
If your kitchen faces east, test the gradient in morning light; the frosted area should still look evenly diffused, not patchy.
Applying the gradient too low — if the clear section overlaps chest height, you’ll still get direct line-of-sight.
9. Curtain track + two-way sheer panels for side-angle control
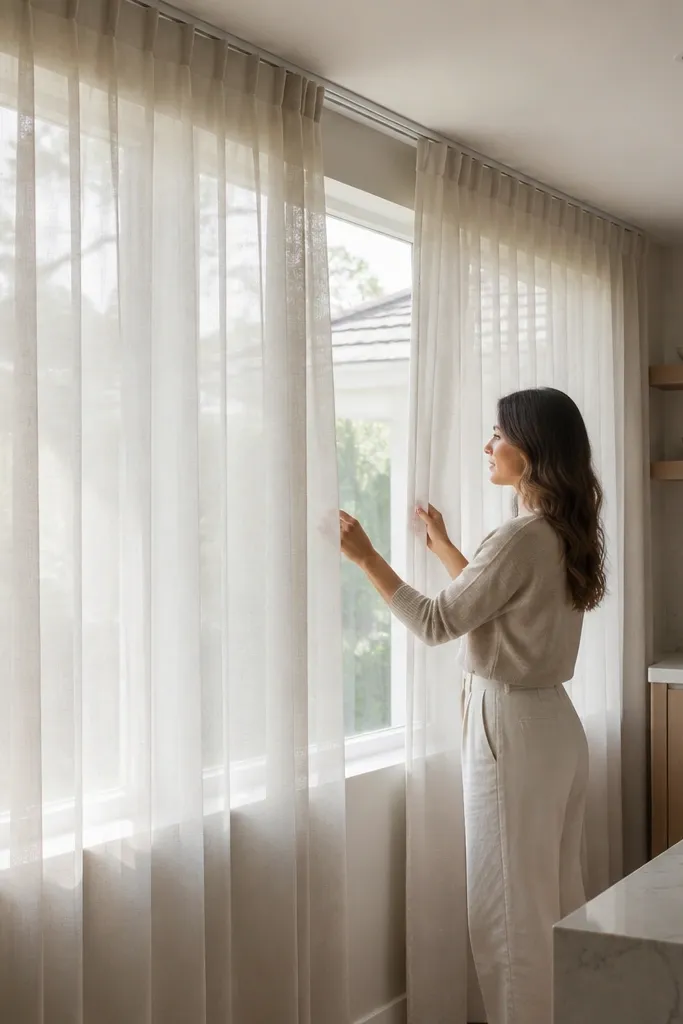
This is for windows where the neighbor angle hits from the side, not straight on. A ceiling-mounted track lets you pull sheers across the glass and overlap the edges, which is what actually blocks angled viewing. The sheers look light and pretty, but when you close them you get enough diffusion to hide interior details. Choose a sheer with a bit of body (not super thin) so it holds shape and doesn’t cling to the glass.
Try thisUse a track that rolls smoothly; jerky movement makes sheers bunch and creates view gaps.
Install a ceiling or top-of-trim track so it sits 2 to 4 inches above the window frame and allows full side overlap. Use two panels sized to meet in the center with extra width on each side (at least 4 to 6 inches overlap). Hang them so they fall straight; then pull them to cover the window when privacy is needed, leaving them open only when you’re not being watched. Adjust panel width until you don’t see light through the seam from the side angle.
Common mistakeUsing thin, clingy sheers that stick to the glass — they can create a clearer outline instead of soft diffusion.
10. Outdoor-ready roller shade with cleanable fabric
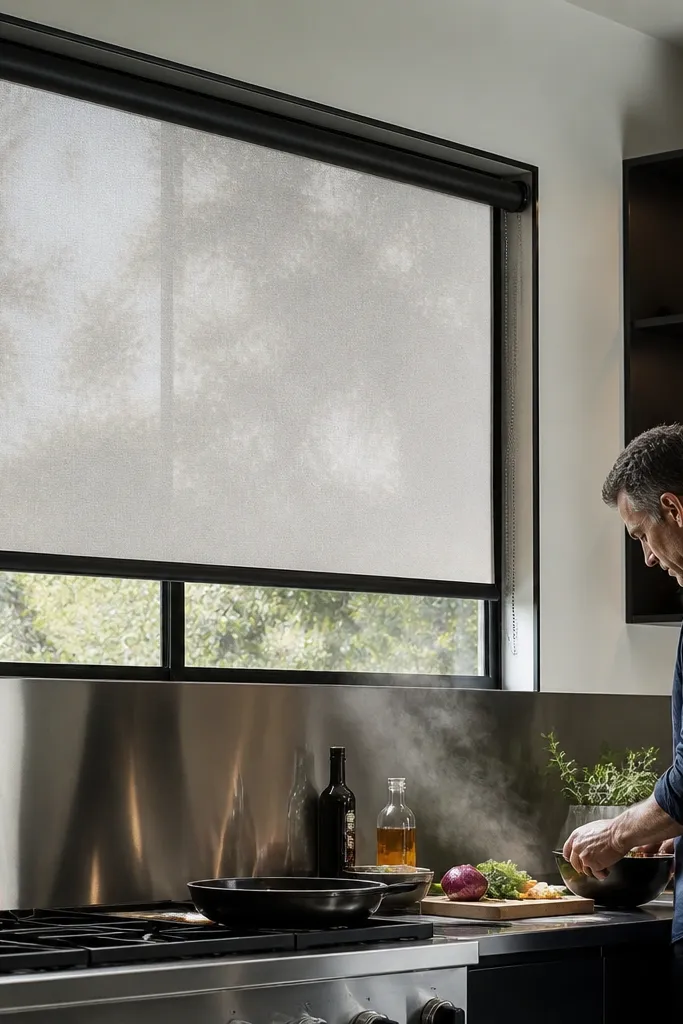
Kitchen windows take steam and splatter. A cleanable roller shade fabric lets you keep privacy without constant washing, and it gives a neat, modern look that works with both farmhouse and contemporary kitchens. Choose a light-filtering fabric that diffuses glare and blocks direct views — you’re aiming for “soft daylight,” not dimness. The bottom rail keeps the fabric flat, so you don’t get curling edges that create privacy leaks.
Try thisPick a shade color one shade warmer than your cabinets; warm light reads more flattering than cool gray.
Measure your window opening and choose a roller shade sized to cover the glass plus a small amount of overlap. Install the brackets level and attach the shade so the bottom rail sits straight. Test privacy from outside at two times of day — midday and early evening — because glare changes what’s visible. If you see outlines at night, switch to a slightly tighter weave or add a frosted film strip on the lower glass.
Common mistakeBuying a decorative roller shade fabric that can’t handle kitchen grime — it will look tired fast.
11. Lattice-look privacy panel film for a decorative grid
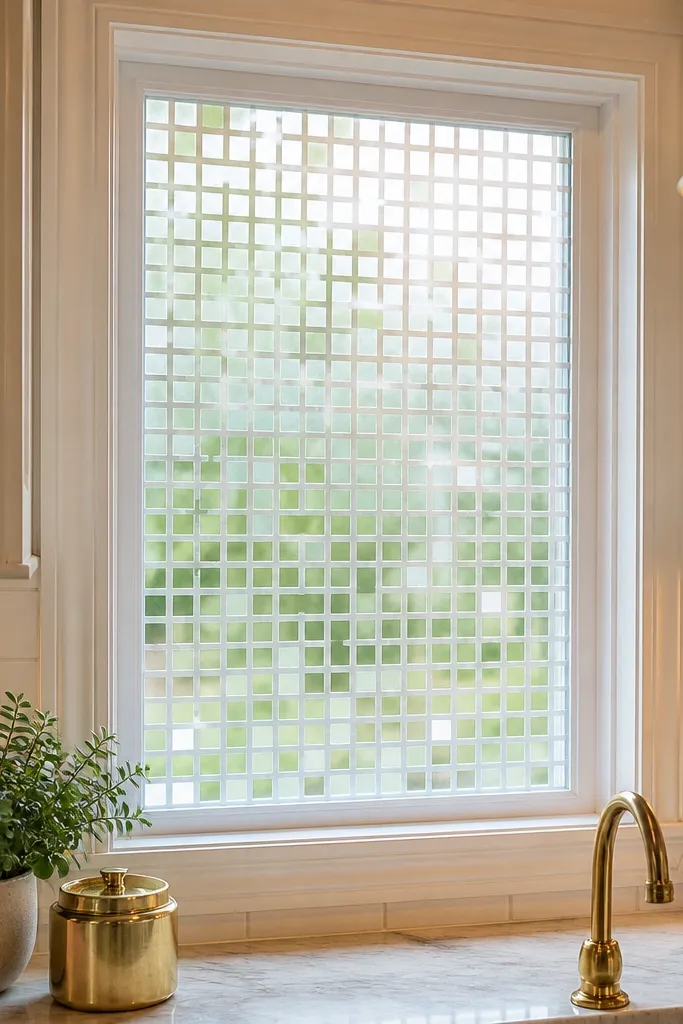
If you want privacy that looks like design, lattice-look privacy film is the move. The geometric grid breaks up direct viewing better than plain frosted, and it adds an intentional pattern that looks good with pendant lights and cabinet hardware. It’s also low-maintenance: wipe the glass like normal and you won’t need to wash curtains that get kitchen air on them. Keep the pattern scale medium — too fine looks like a cheap sticker, too bold can feel heavy.
Measure the glass and buy lattice privacy film that’s designed for windows, not generic craft film. Clean the glass and apply the film carefully with a squeegee, starting from the top edge to keep the grid aligned. Trim edges once it’s on, then check alignment from the street side to make sure the grid doesn’t feel crooked. For maximum privacy, apply it to the lower two-thirds and blend into clear or lighter diffusion at the top if you want brightness.
Choose a lattice pattern that matches your kitchen’s existing geometry diamond with diamond tile, straight grid with shaker lines.
Using overly dark lattice film — it can turn daylight into a gray grid that looks harsh.