1. Light Oak Shelf with a Linen Runner and Two Matching Stoneware Jars
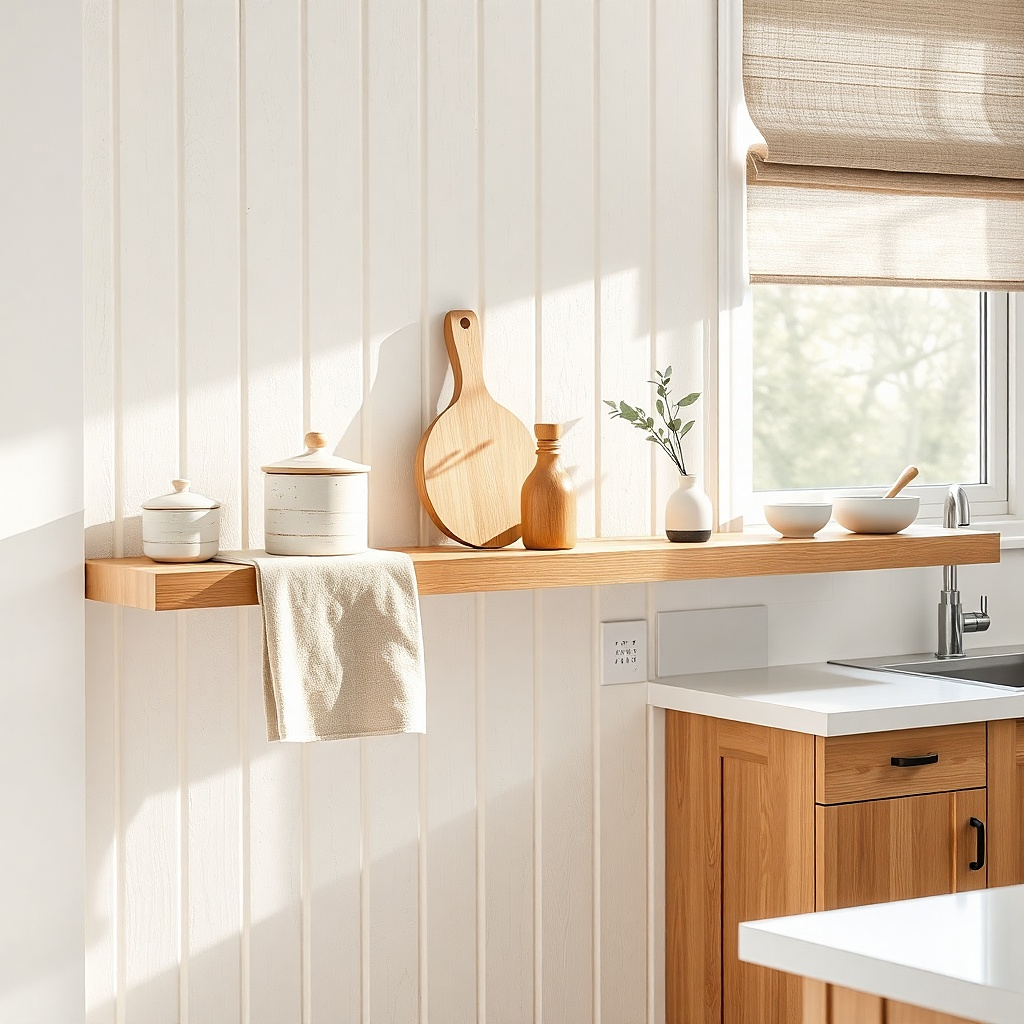
This setup looks styled because the runner creates a calm base and the jars give you symmetry without needing more objects. Choose a light oak shelf with a matte finish so it doesn’t glare under overhead lights. Use two matching stoneware jars in cream or off-white with a slightly speckled glaze; they read “kitchen” but still look like decor. Keep jar heights close aim for one about 6 inches tall and the other about 4.5 to 5 inches. The runner hides small messes like jar labels and makes the shelf feel intentional all year.
Start by centering a 12- to 16-inch linen runner on the shelf, leaving equal space on both ends. Then place the taller jar on the left and the shorter jar on the right, both with lids on. Finally, add one small neutral object in the middle back gap — a single ceramic spoon rest or a tiny bud vase — and stop there. This is a low-effort, low-clutter arrangement that costs less than adding more decor pieces because the runner does the visual work.
Try thisPress the linen runner flat and iron it; wrinkles on a shelf stand out more than you’d think.
Common mistakeDon’t add a third jar — three similar vessels on a small shelf turns into a countertop-staging look.
2. Matte Black Floating Shelf with a Stacked Cookbook Spine Color Block
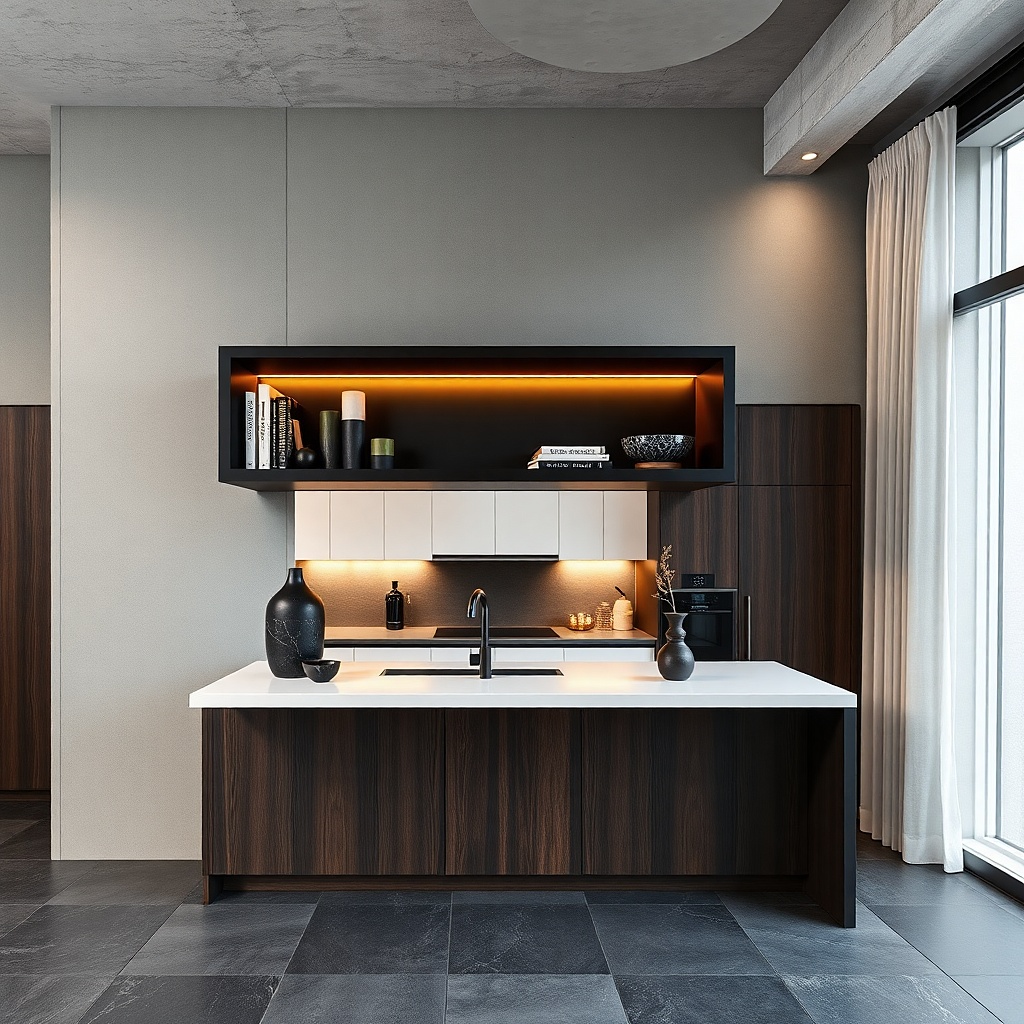
Matte black shelves look sharp in kitchens with white cabinets or cool-toned backsplashes. The trick is to use cookbook spines as the decor not as random clutter. Pick two cookbook stacks with spines that share one color family (cream, black, or muted blue), then stand them so the spines form a clean block. Add a single small bowl in brushed brass or blackened steel to catch light without adding visual noise. This works year-round because cookbooks don’t “go out of season,” and the spine colors stay steady.
Mount a matte black shelf about 18 inches long, centered above your coffee bar or between upper cabinets. Place a short stack of two books on the left and one taller stack on the right, angled slightly so spines face forward. Set a small bowl or shallow tray in front of the stacks, leaving a 1-inch gap from the shelf’s front edge. Finish with one small object — a matchbox-sized candle or a ceramic dish — then stop.
Try thisUse book covers that are mostly solid color; busy illustrated covers create visual static.
Common mistakeDon’t let book stacks touch the wall unevenly; crooked stacks read messy fast.
3. White Ceramic Tray with a Green Glass Bottle and One Brass Candle Holder
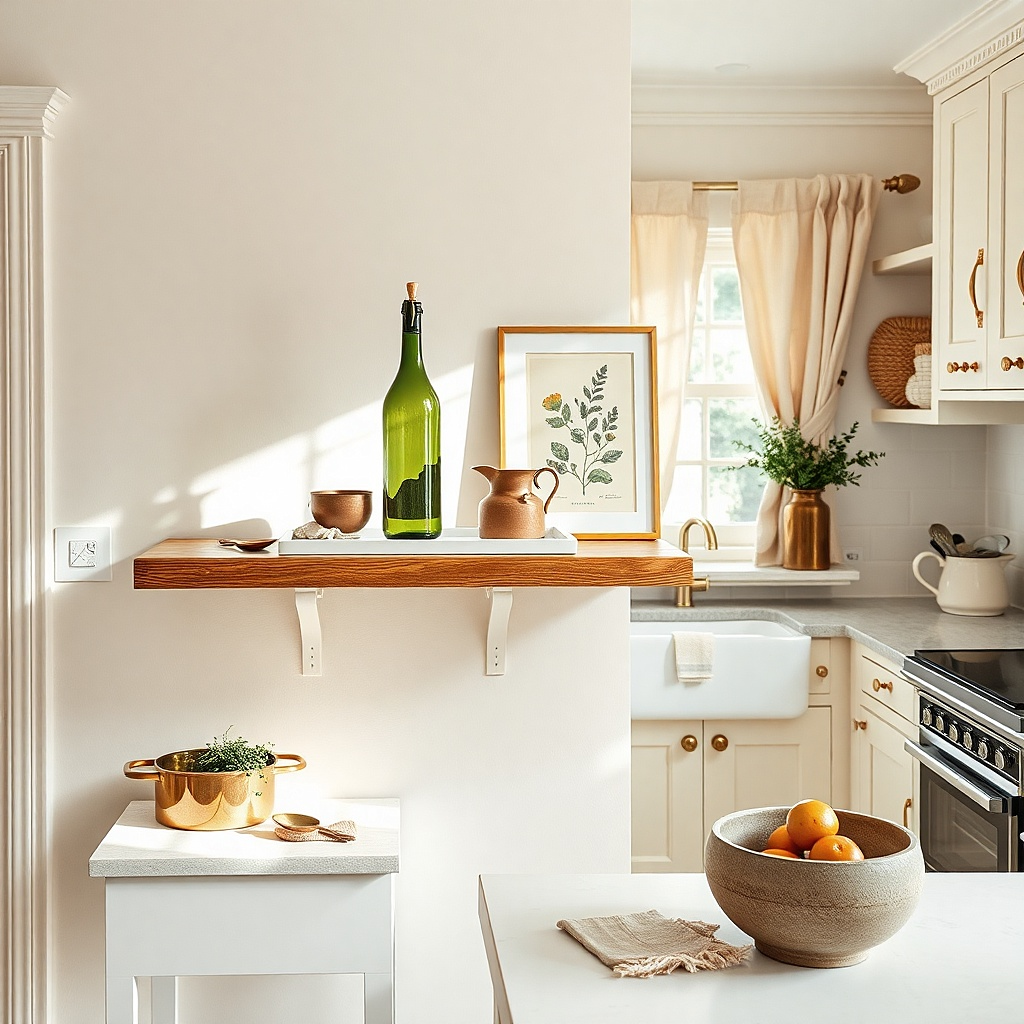
A tray is the easiest way to keep a shelf from feeling scattered. Use a white ceramic tray (matte or satin) as a boundary, then group one tall green glass bottle with one brass candle holder. The green bottle brings seasonal flexibility it reads fresh in spring and earthy in fall, and it still looks good in winter with bare branches. Choose a bottle with an olive or forest tint, and keep the brass candle holder small so it doesn’t overpower the shelf. This is clean, photogenic, and it looks like a deliberate styling choice.
Place the tray centered on the shelf and leave at least 2 inches of shelf space on both sides. Set the bottle slightly back and to one side of the tray so it creates a diagonal line. Put the candle holder on the opposite side of the tray and add one tiny filler object like a single dried herb bundle or a small ceramic dish. Use a tray size around 10 to 12 inches long; anything bigger eats the shelf.
Wipe the green glass with a microfiber cloth fingerprints ruin the look under kitchen lighting.
Skip mixed metals (brass plus chrome plus black) on the same shelf.
4. Small Rattan Basket Base with Two Kitchen Towels Rolled and Tucked
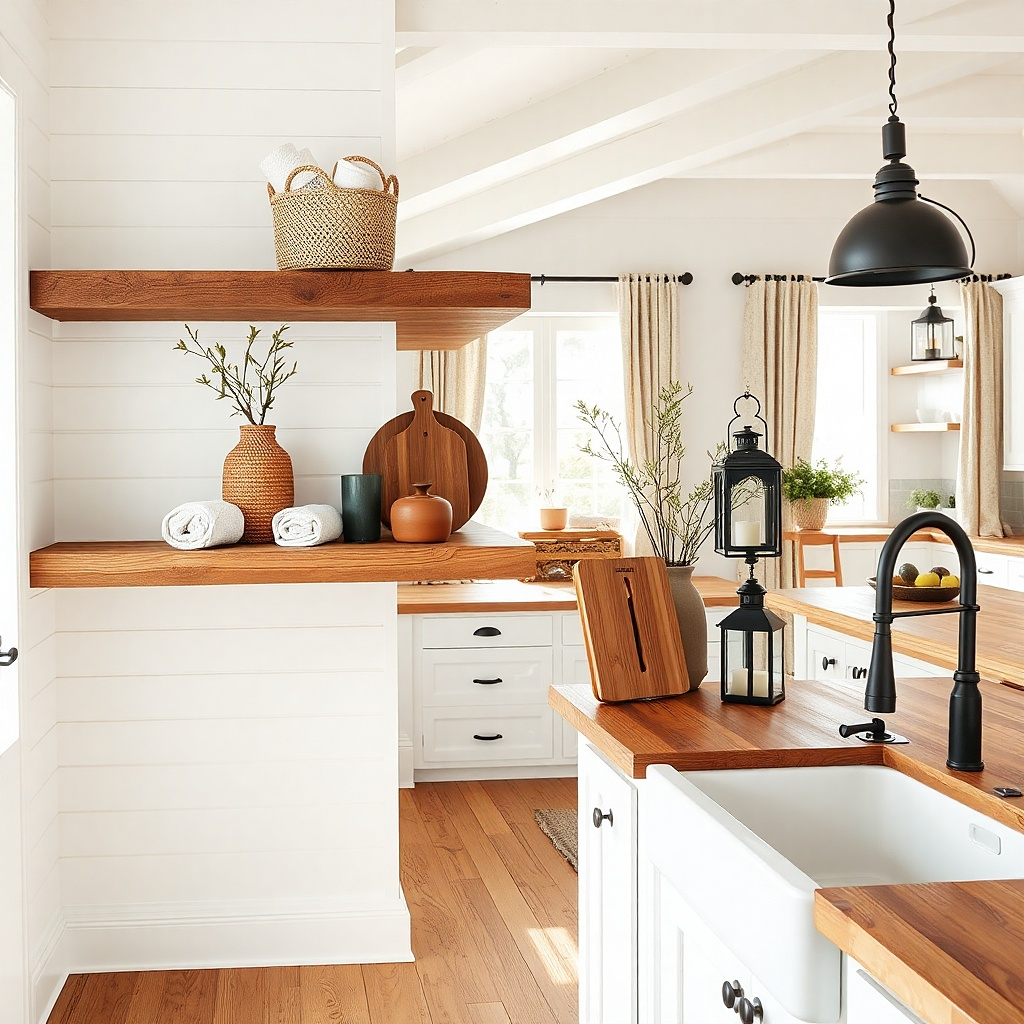
This idea uses texture to create interest without adding clutter. A small rattan basket on the shelf acts like a “container,” so you can store or display folded towels without visual chaos. Choose two rolled towels in coordinated neutrals: oatmeal and warm gray, or cream and sage. Tuck the rolls into the basket so they don’t spill out. Add one flat decor object on the shelf back edge a small ceramic plate or a thin cutting board and keep everything else inside the basket. It looks calm, and it stays year-round because towels are functional decor.
Set a rattan basket centered on the shelf, ideally 9 to 12 inches wide. Roll two towels into tight cylinders and tuck them into the basket so the ends peek out evenly. Add one thin ceramic plate behind the basket or lean it against the wall to create height. Keep the rest of the shelf empty; empty space is what makes the texture arrangement look intentional.
Use towel fabric with a visible weave (linen or waffle cotton); smooth towels look too flat on a shelf.
Don’t stack towels loose — loose stacks look like laundry, not decor.
5. Oversized Decorative Cutting Board as the Back Anchor
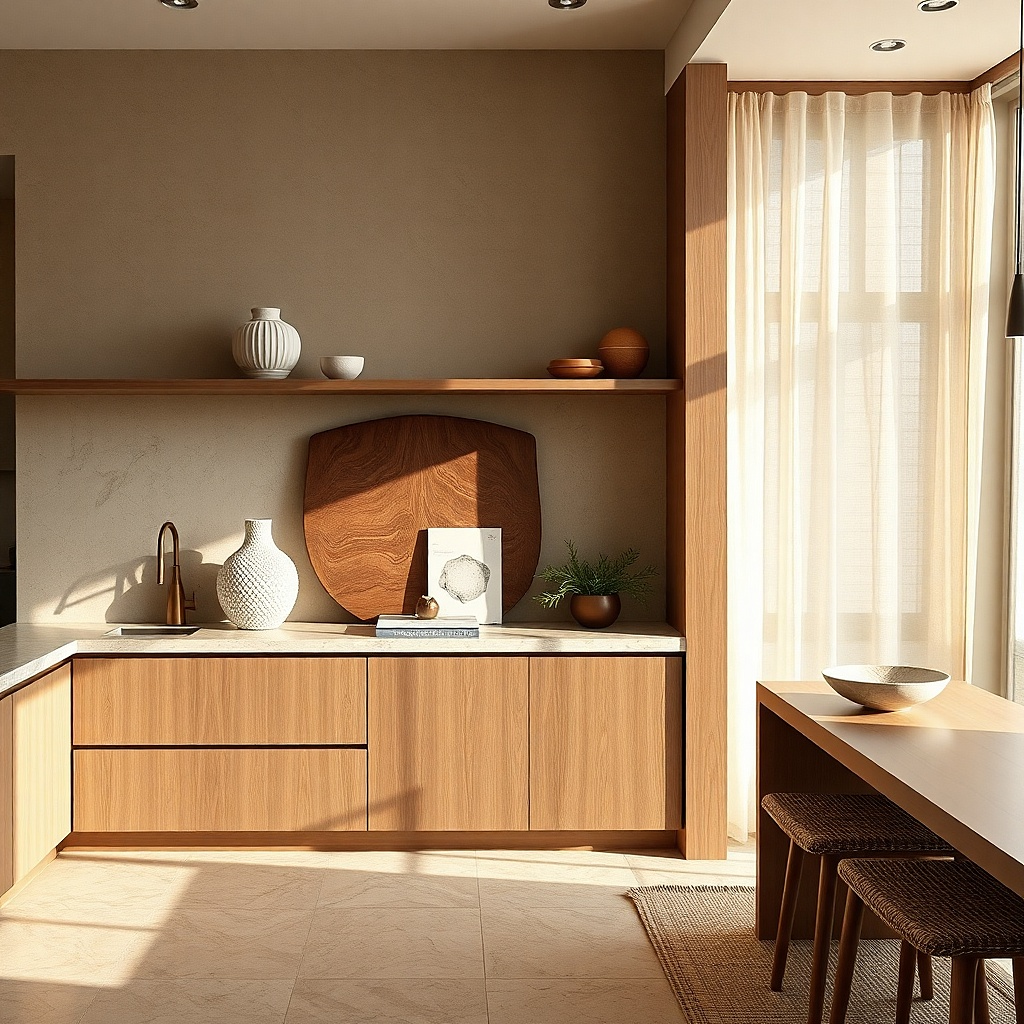
Leaning one statement piece behind everything instantly reduces clutter because it creates a backdrop. Use an oversized decorative cutting board in walnut or acacia with a visible grain, then place smaller items in front. The board should be taller than the items think 10 to 14 inches tall depending on your shelf. Add two small ceramic ramekins or a single jar and a spoon rest so the front layer stays simple. This works especially well in kitchens where the wall already has texture from backsplash grout lines; the board visually ties the shelf to the kitchen’s “work” vibe.
Choose a cutting board that fits the shelf width with 2 to 3 inches of overhang on each side. Lean it against the wall or against the back of the shelf using a small non-slip pad. Place one jar or ramekin in the front left and a spoon rest or small dish in the front right, keeping at least 1 inch between objects. Keep the shelf decor to 4 to 6 pieces total so the board remains the hero.
Try thisAdd a thin rubber mat under the board so it doesn’t slide when you bump the shelf.
Common mistakeDon’t use a board with a loud pattern if your backsplash already has busy color.
6. Two-Tier Look Using Staggered Heights with a Narrow Tray
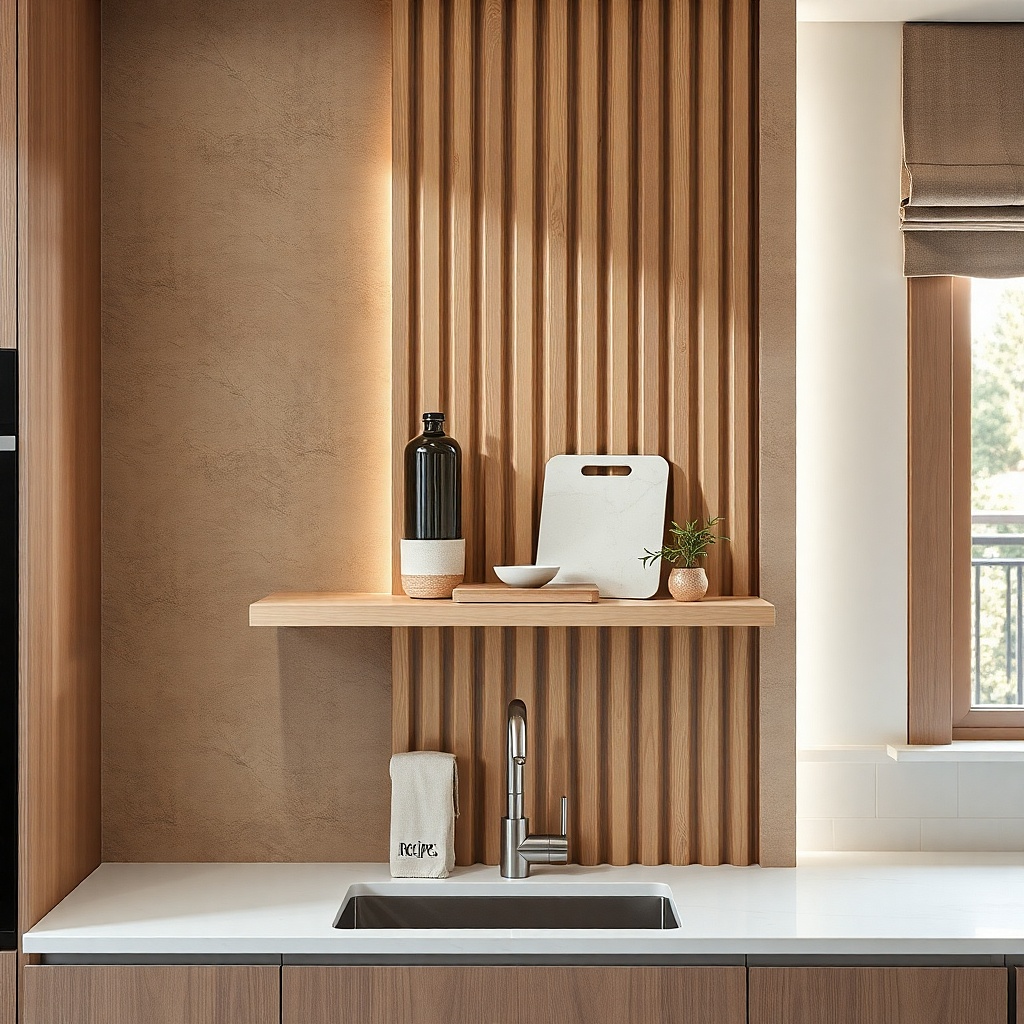
You don’t need two shelves to get a layered look. Use a narrow tray to create the base layer, then stagger object heights so the shelf reads like a styled vignette. Choose a tray in wood or matte ceramic, then put a low object (like a flat dish) on the tray and a taller object behind it (like a bottle or utensil crock). The key is spacing: leave breathing room on the left and right so nothing crowds the wall line. This is a strong year-round option because you can swap the taller object seasonally while the tray stays the same.
Center a narrow tray on the shelf, around 8 to 10 inches long. Place a low dish or candle base on the tray, then set a taller bottle or small vase behind it. Add one supporting item — a small ramekin or a folded napkin — but keep it smaller than the main vessel. Use 2 inches of empty space at each end of the shelf to prevent a cramped look.
Try thisMeasure the shelf length and stop at three “clusters” max tray cluster, taller object, and one small accessory.
Common mistakeDon’t place everything at the front edge; that flattens the shelf and makes it look crowded.
7. Vintage-Style Apothecary Jars with Labels Hidden Under Neutral Covers
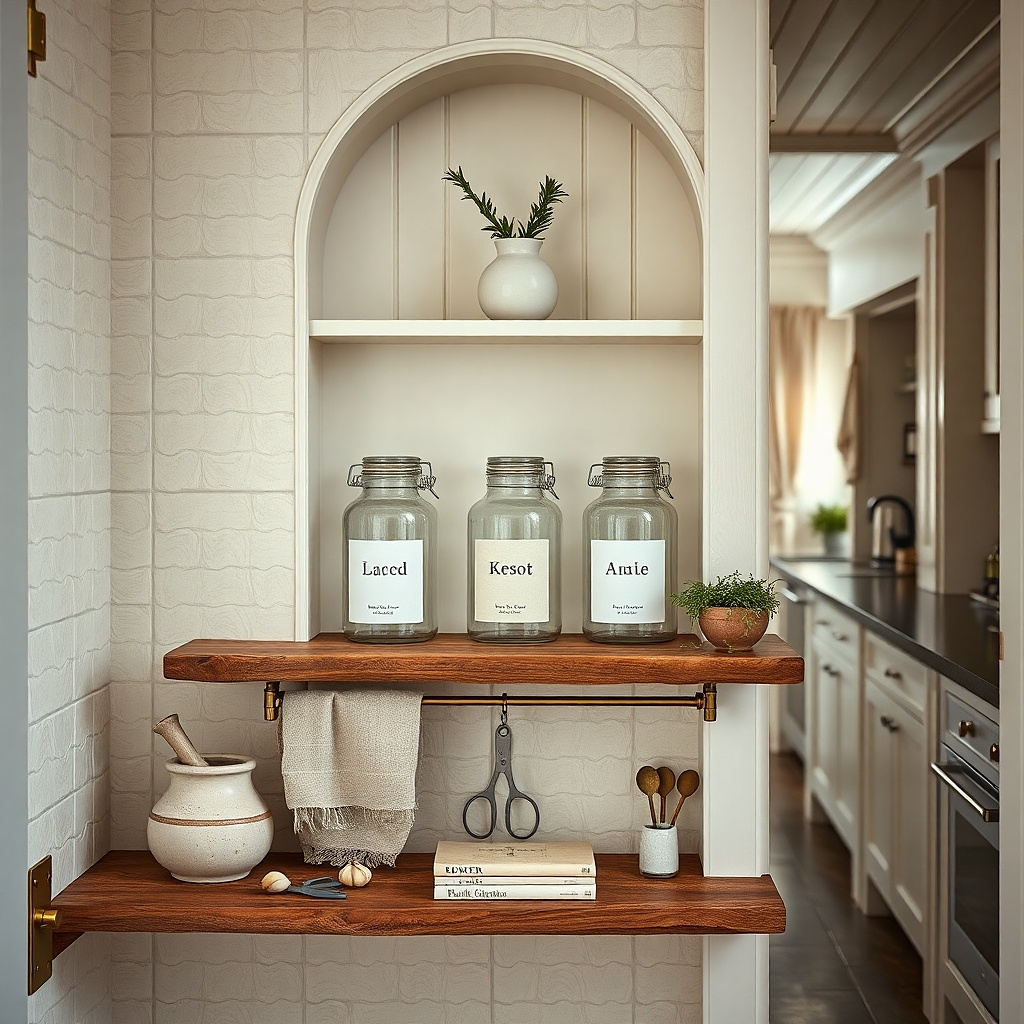
Apothecary jars look great, but labels can make them look messy. The fix is simple: use neutral label covers or swap to plain kraft labels in the same ink color. Pick three jars in a tight palette: clear glass with amber tint, or all off-white ceramic. Keep jar sizes different, but not extreme — a tall center jar with two medium side jars looks intentional. Add a tiny ceramic spoon rest or a small plant cutting in a small pot. This works year-round because jars are timeless, and label color stays consistent even when you rotate contents for seasons.
Choose three jars that share one material (glass or ceramic) and one label style. Place the tallest jar in the center back, then medium jars left and right, all with matching lid finishes. Set a small spoon rest in front of the center jar so the arrangement has a “front” anchor. Replace labels with consistent covers before you style — it takes 20 minutes and makes the whole shelf look cohesive.
Try thisIf you want color rotation, change what’s inside the jars, not the jar shapes or label fonts.
Common mistakeDon’t mix jar materials (wood lids plus chrome lids plus ceramic lids) on one shelf.
8. Ceramic Mini Planter + Neutral Book Stack + One Black Utensil Crock
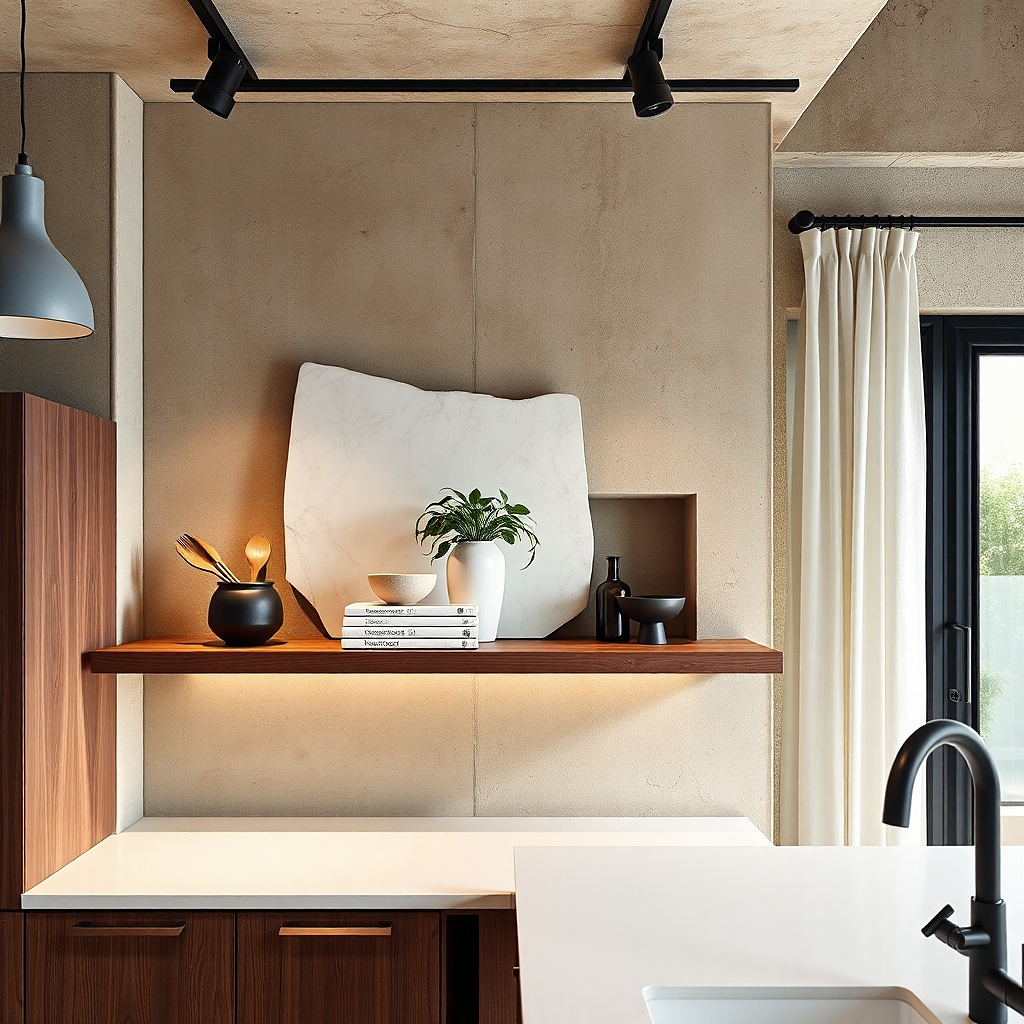
Greenery makes kitchens feel alive, but too many plants on a shelf look like a jungle. This version uses one mini planter as the green accent, balanced by a neutral book stack and a black utensil crock that ties into common kitchen hardware. Choose a small ceramic planter in white with a subtle speckle, and use a tiny plant like pothos or a faux herb if you want zero maintenance. The book stack gives structure and height, while the black crock adds a strong line. It’s year-round because the plant is contained and the rest stays neutral.
Place a small black utensil crock on the back right of the shelf and a short book stack on the back left. Position the mini planter in the center front, so it catches attention without blocking the view of the books. Add one small filler object — a single ceramic spoon rest — only if you have space. Keep the crock and books at the back edge so the front stays visually light.
Try thisUse a plant that stays compact; sprawling vines take over the shelf fast.
Common mistakeDon’t add multiple small plants — one is enough for a clean look.
9. Monochrome Ceramic Plates Displayed Flat with a Small Standing Frame
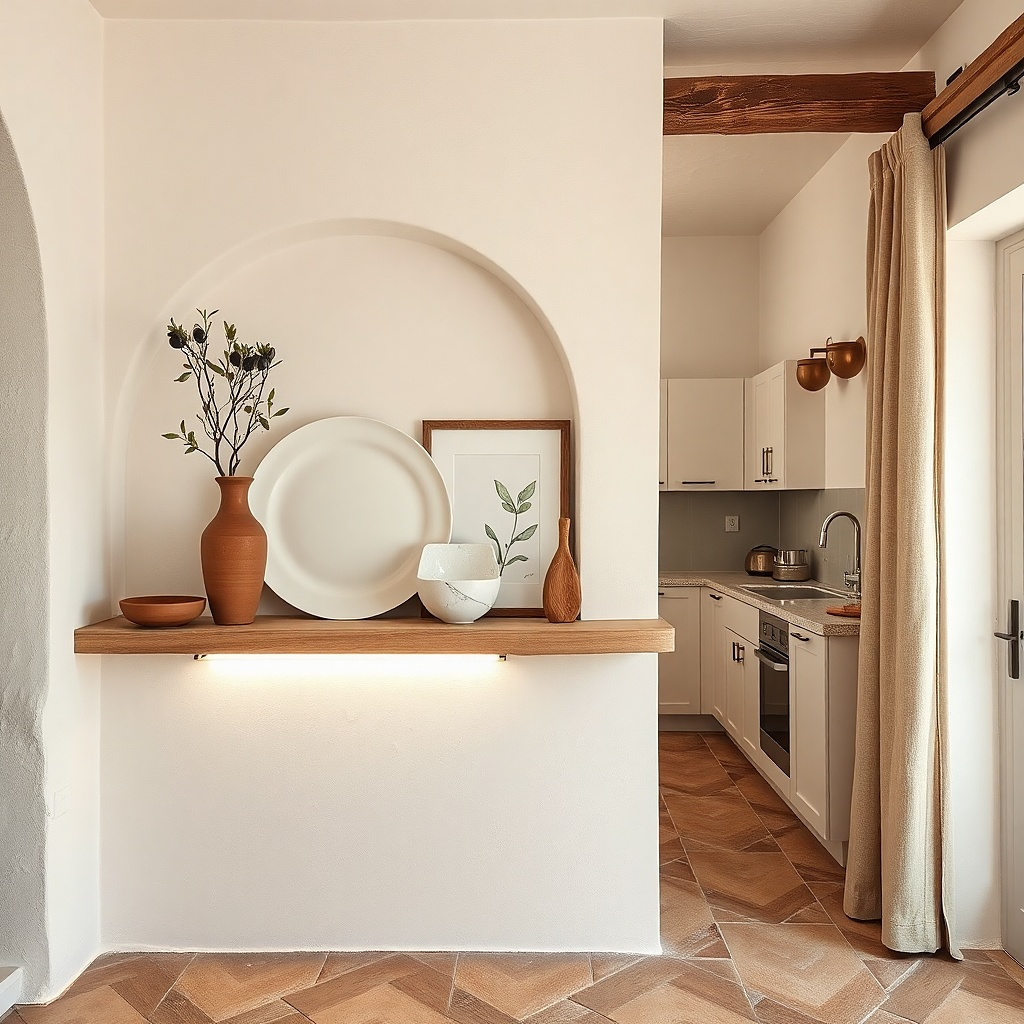
Flat plates on a shelf look sharp because they create a graphic pattern without adding height. Use two to three plates in the same color family — matte white, cream, or light gray — and space them evenly. Add one small standing frame or photo holder at the back center, but keep it minimal and neutral. Plates are a kitchen-friendly material and they read decorative even when they’re empty. This setup is perfect for people who want a styled look but hate cluttered objects.
Pick plates with a simple rim and matte finish so they don’t glare under lights. Lay the plates flat across the shelf, spaced about 2 inches apart. Stand a small frame or a thin ceramic tile upright behind the center plate. Keep the total number of objects to 3-5 so the plate pattern stays the focus.
Use felt pads under plates so they don’t slide and so the shelf surface doesn’t scratch.
Don’t use glossy plates with bright reflections; they can look messy in photos and under bulbs.
10. Half-Gallon Mason Jar Runner with Seasonal Dried Stems
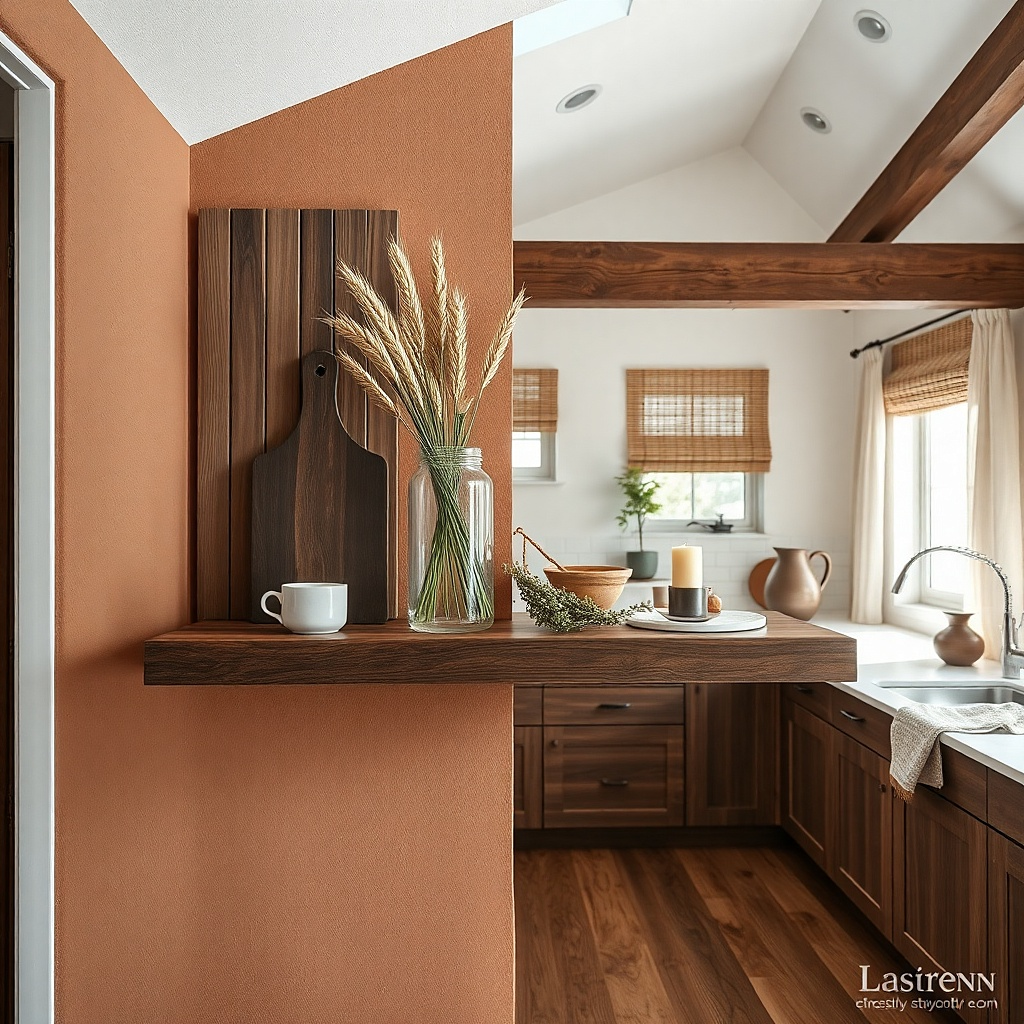
A mason jar “runner” is an easy way to add height and interest without stacking random decor. Use a line of two jars on the shelf, then anchor the bottom with a thin runner in burlap or linen. Add one dried stem bundle in the center wheat, dried hydrangea, or faux rosemary. The shelf reads seasonal because the stems change, but the jar layout stays constant, so the wall never looks different styles stitched together. This is also practical: jars can hold utensils or coffee stir sticks.
Center a burlap or linen strip on the shelf, then place two mason jars side by side on top of the runner. Fill them with dried stems so the height is controlled — keep stems under 10 inches tall. Add a small third jar or a flat ceramic dish only if your shelf is long enough (over 24 inches). Keep jar lids consistent and clean for a tidy look.
Try thisCut stems to uniform height so the silhouette looks intentional, not random.
Common mistakeDon’t use mixed jar sizes — the runner loses its clean line.
11. Pegboard-Style Shelf Back Panel with One Floating Shelf Vignette
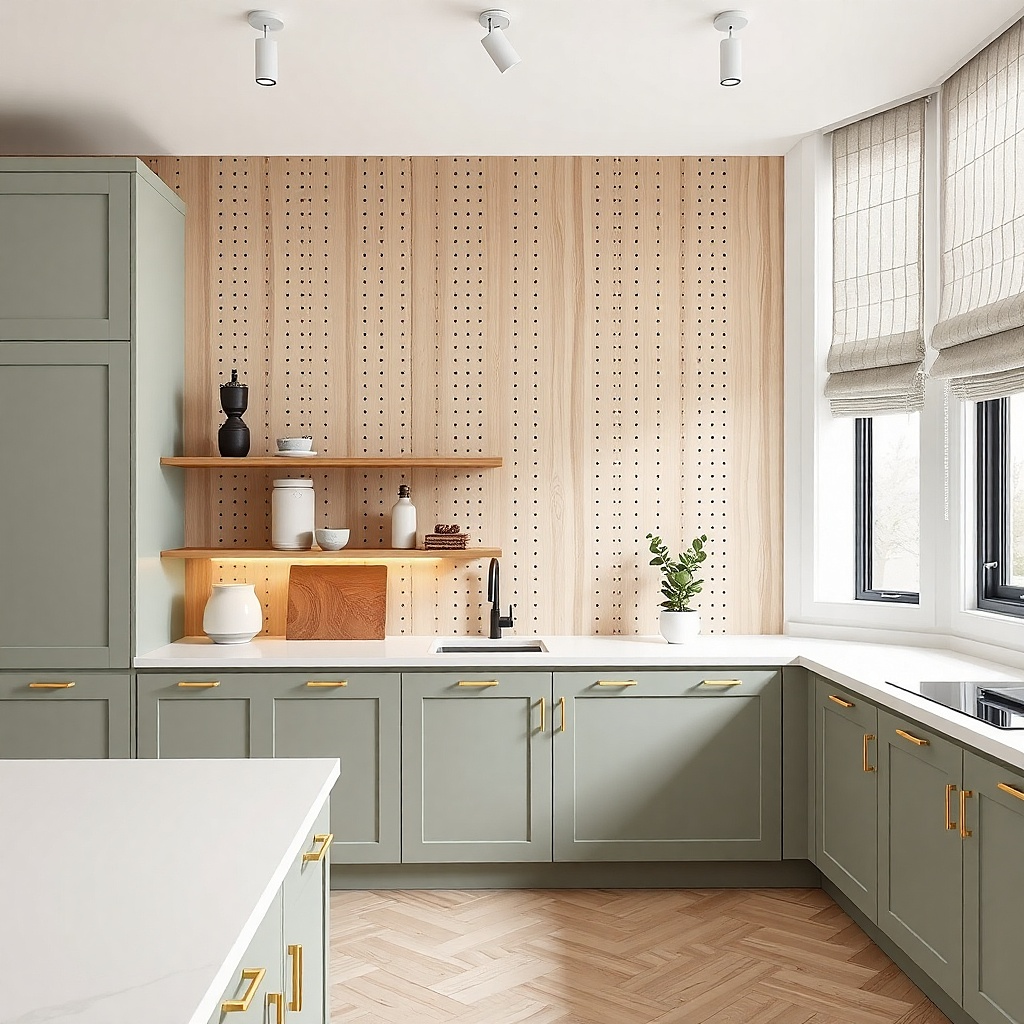
If your kitchen wall is plain, a shelf can look like it’s floating in emptiness. A pegboard-style backing behind the shelf creates structure and makes small decor look more intentional. Use a thin removable panel in light wood or white it adds texture without clutter. Then style with only a few pieces: one tall jar, one small tray, and one utensil accessory. This arrangement stays year-round because the backing is neutral and the decor layer is minimal. It’s also great for renters because you can remove it later.
Install a removable pegboard-style panel behind the shelf using adhesive hooks or light screws into wall studs. Place a small tray centered in front of the panel and set one tall jar on the back left. Add one small utensil crock or spoon rest on the back right. Keep the front layer empty so the panel texture does the visual work.
Try thisChoose a backing color that matches your shelf finish light wood with light oak shelf, white with white shelf.
Common mistakeDon’t add too many items to “fill” the new texture — the backing already adds visual weight.
12. Black-and-White Tile Coasters as a Pattern Base
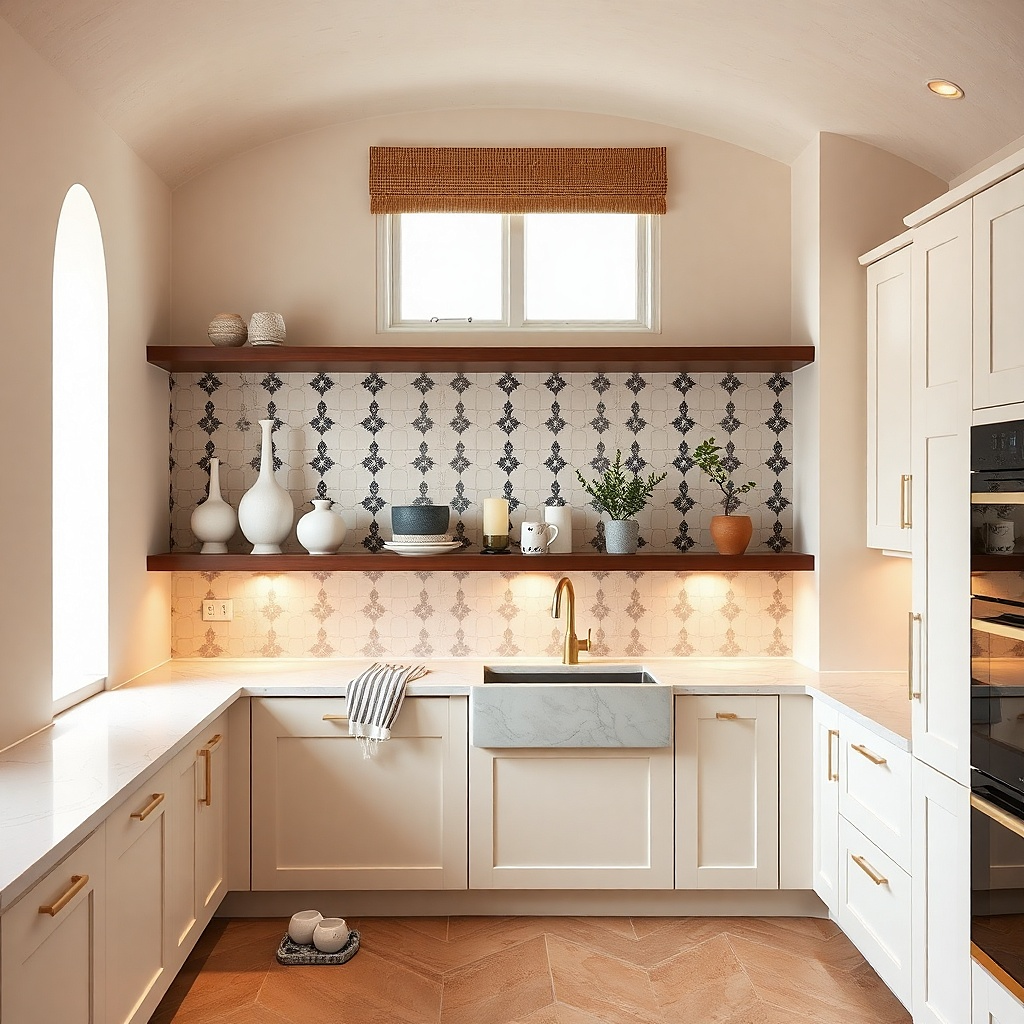
Pattern on a shelf is risky because it can become busy fast. This works because the pattern is controlled and flat. Use two to three black-and-white tile coasters as a base layer under a small vase and a jar. Keep the vase neutral (white ceramic) and the jar clear or cream so the pattern stays graphic, not chaotic. The tile coaster pattern gives you a “designed” look that reads clean in photos and in real life. It’s year-round because the pattern is constant and the accents swap easily.
Place the tile coasters where you want the visual center — usually under the jar and vase cluster. Set a white ceramic mini vase on top of the center coaster, then place a cream jar or small bowl on one side. Add one small greenery sprig or dried stem in the vase. Stop at 4-6 objects total so the tile pattern stays crisp.
Use coaster spacing so there’s at least 1 inch of blank shelf visible between coasters.
Don’t add more patterns (striped towels, patterned mugs) right next to the tile base.
13. Color-Blocked Glass Bottles with One Neutral Tray
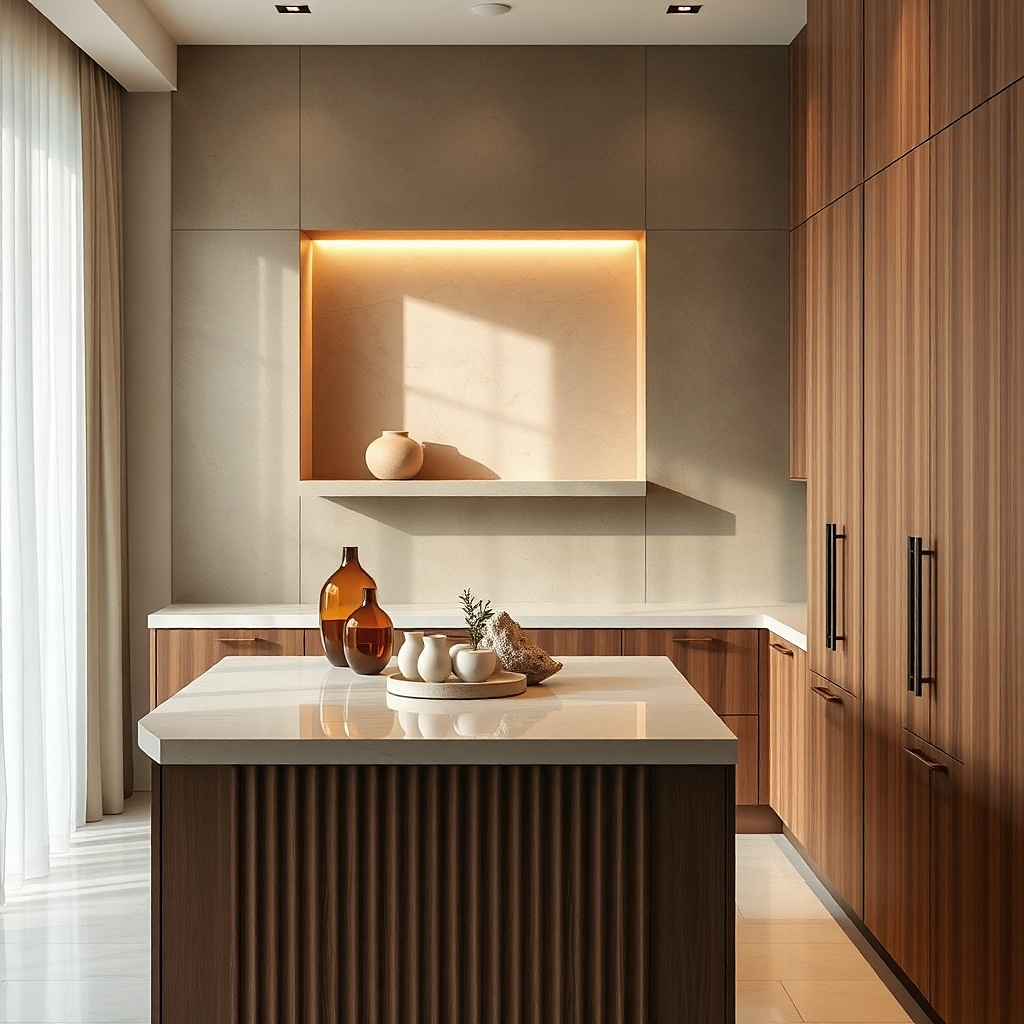
Color-blocking looks tidy when you control the number of colors and keep everything in the same container shape family. Use three bottles with similar silhouettes but different colors: clear, amber, and olive. Place them on a neutral tray in light wood or matte stone so the colors feel grouped, not scattered. The shelf looks styled because the bottles create a rhythm, and the tray gives you a boundary. This is one of the best “year-round” formats because you can swap bottle color by seas swap olive for deep green, or add a warm amber tone in winter.
Pick a tray about 10 to 14 inches long and place it centered on the shelf. Arrange three bottles in a straight line with consistent spacing — about 1.5 inches between bottle bases. Add one small object at the back center like a ceramic spoon rest or a tiny catchall dish. Keep bottle heights within 3 inches of each other so the shelf stays clean.
Choose bottles with similar neck thickness so the silhouette reads uniform.
Don’t use bottles that are too different in shape; the line becomes visually uneven.
14. Floating Shelf with a Single Oversized Candle and Two Small Relatives
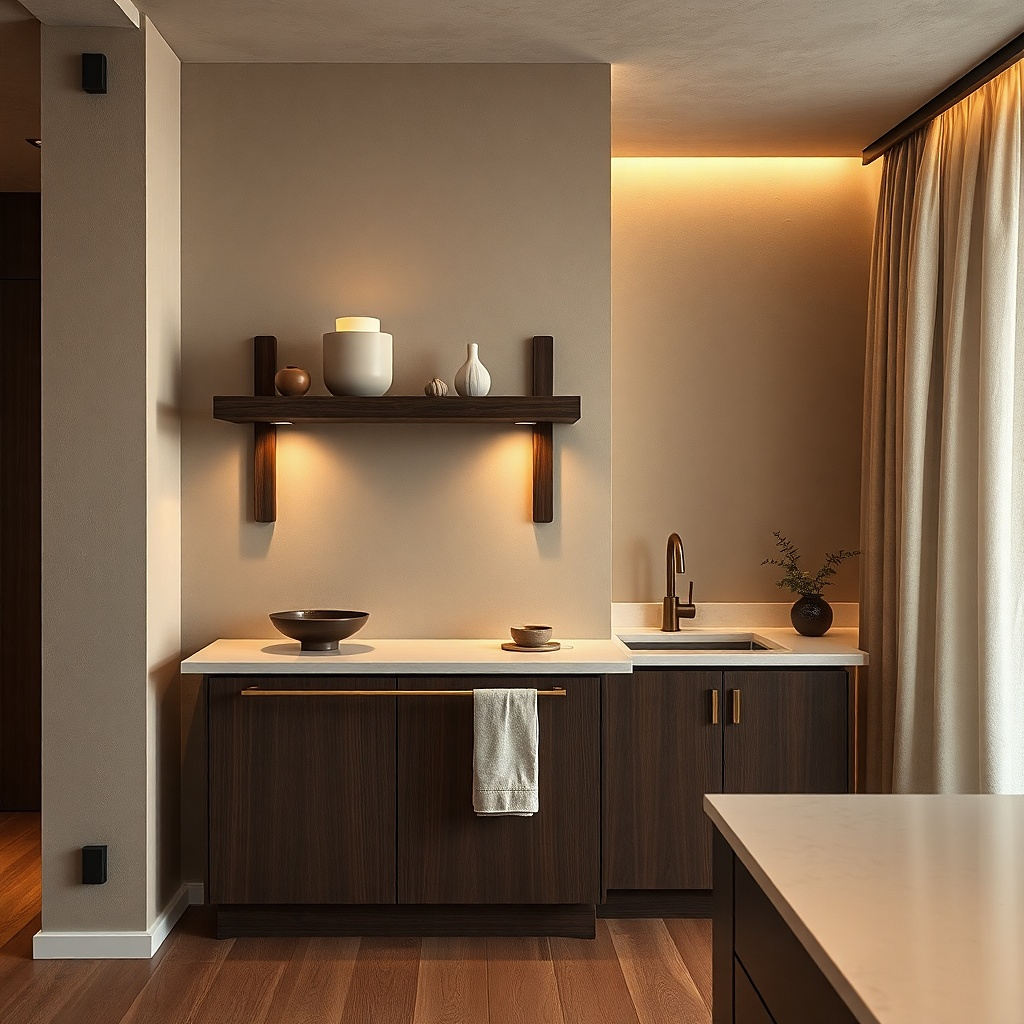
If you want the shelf to look expensive without buying a lot, use scale. One oversized candle in a clean glass or matte ceramic container anchors the shelf. Then add two smaller pieces that relate to it: one small dish for matches or rings, and one tiny vase or spoon rest. Keep all colors in one family warm white candle with cream and tan ceramics, or black candle with black/gray ceramics. This works year-round because candles fit every season, and you can swap scents and micro-accents without changing the layout.
Mount the shelf and center it so the candle is the focal point. Place the large candle in the center back and set two small dishes symmetrically left and right, each about one-third the candle’s width. Add one greenery sprig only if it doesn’t hide the candle label. Keep your item count low: 3 main pieces plus one optional tiny accent.
Wipe the candle container and keep the candle centered; off-center candles look accidental.
Don’t add lots of small decor around the candle — it defeats the scale trick.
15. Mini Ceramic Ramekin Set with a Rotating Seasonal Herb Accent
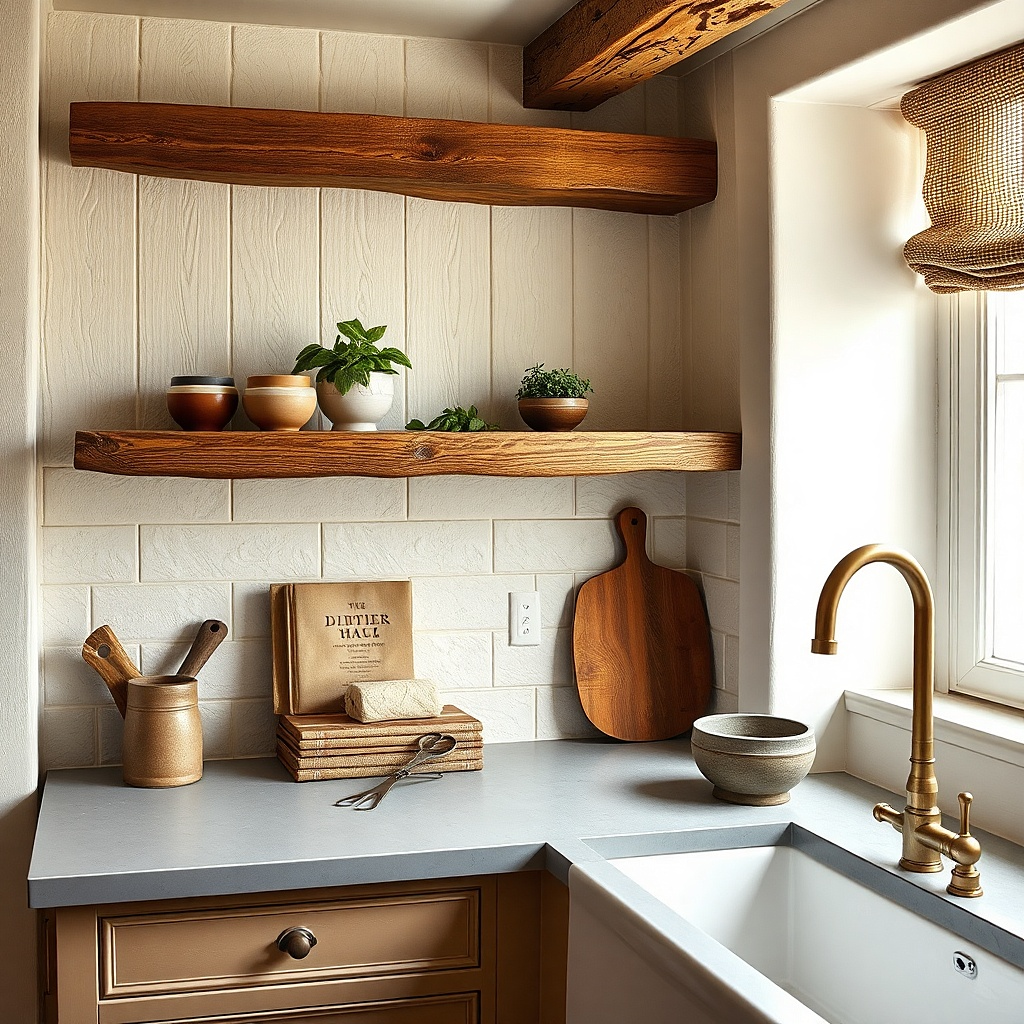
Ramekins make the shelf look styled because they’re uniform shapes, and uniform shapes read tidy. Use three matching ramekins white, cream, or light gray arranged in a triangle. Keep them empty or filled with simple items like cinnamon sticks or coffee beans in neutral tones. Then rotate one seasonal herb accent: rosemary sprigs in winter, basil in summer, or dried thyme in fall. The shelf stays year-round because the ramekins are constant and the herb changes are small and controlled.
Place three ramekins on the shelf with equal spacing, forming a triangle around 6 to 8 inches across. Put the seasonal herb accent in the center ramekin, so it becomes the focal point. If you need extra balance, add a tiny matching spoon rest near the rim of one ramekin. Keep the shelf width in mind: on short shelves, use only two ramekins plus one herb accent.
Try thisUse the same herb type of container size each season so the look doesn’t jump.
Common mistakeDon’t mix ramekin colors and textures; it makes the shelf feel like a grab bag.
16. Sculptural Utensil Holder with One Hanging S Hook Rack Detail
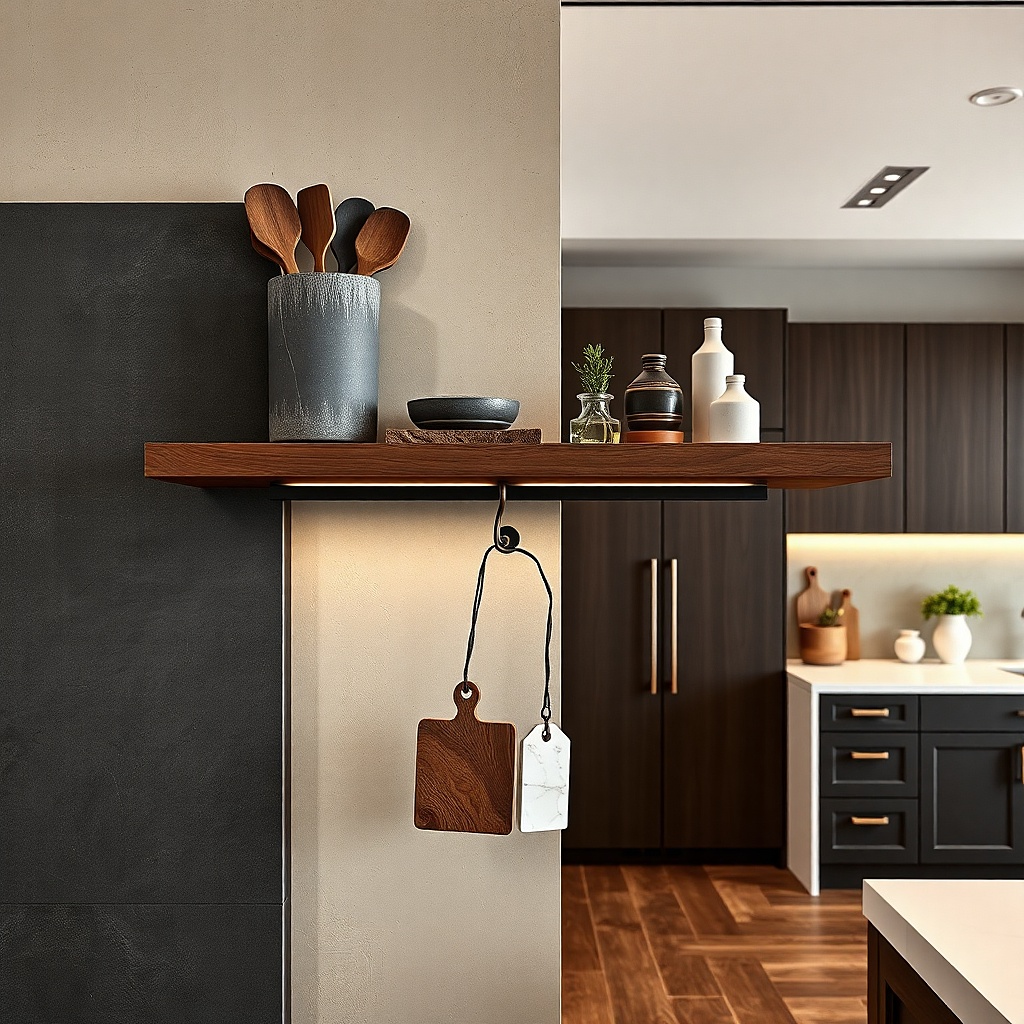
You can add visual interest without clutter by mixing a shelf object with a small wall detail. Place a sculptural utensil holder on the shelf think a matte ceramic crock or a slim stainless canister. Then add one small wall hook detail underneath or beside the shelf: an S hook holding a folded kitchen cloth or a single utensil like a wooden spatula. This creates a vertical moment that makes the shelf feel integrated with the wall. It’s year-round because the utensil holder stays and you rotate the cloth color seasonally.
Mount a shelf and place the utensil holder slightly off-center so it doesn’t look like a factory display. Install one small screw-in hook under the shelf line, about 1 to 2 inches below the shelf bottom. Fold a kitchen cloth into a narrow strip and hang it over the hook. Keep the shelf decor to 2-4 items: utensil holder plus one small accessory if needed.
Try thisChoose cloth colors that match your cabinet trim or backsplash grout it reads cohesive, not random.
Common mistakeDon’t hang multiple cloth strips; one is enough for a clean look.
17. Tray of Coffee Accessories with a Single Color Accent Mug
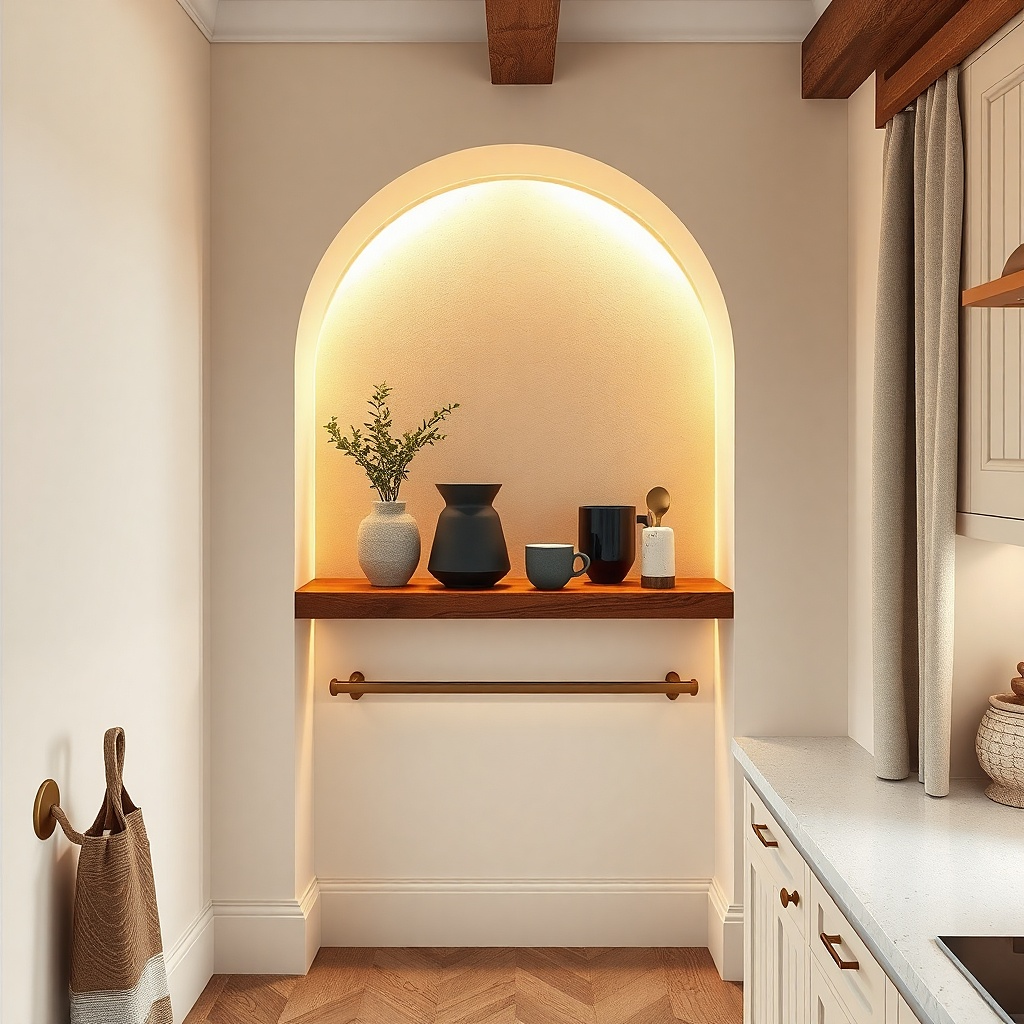
Coffee accessory displays look great because they’re functional and easy to keep tidy. Use a tray to hold small items like a sugar jar, a small scoop, and a napkin ring. Then add one single color accent mug standing upright on the back edge. Keep the mug color intentional muted terracotta, deep navy, or sage while the tray items stay neutral. This works year-round because coffee-themed pieces fit every season, and you can swap the mug color without changing the rest of the layout.
Place a tray centered on the shelf and load it with 3 small coffee items so they don’t touch the tray edge. Set the accent mug upright at the back center, with its handle facing outward. Add one small neutral item — like a spoon rest — only if you have space. Use a tray size around 10-14 inches to keep the cluster compact.
Keep jar lids aligned and wipe labels; the shelf looks instantly cleaner.
Don’t add a second accent mug; one color hit is what keeps it from looking cluttered.
18. Clear Acrylic Riser with Stacked Whites and One Warm Wood Piece
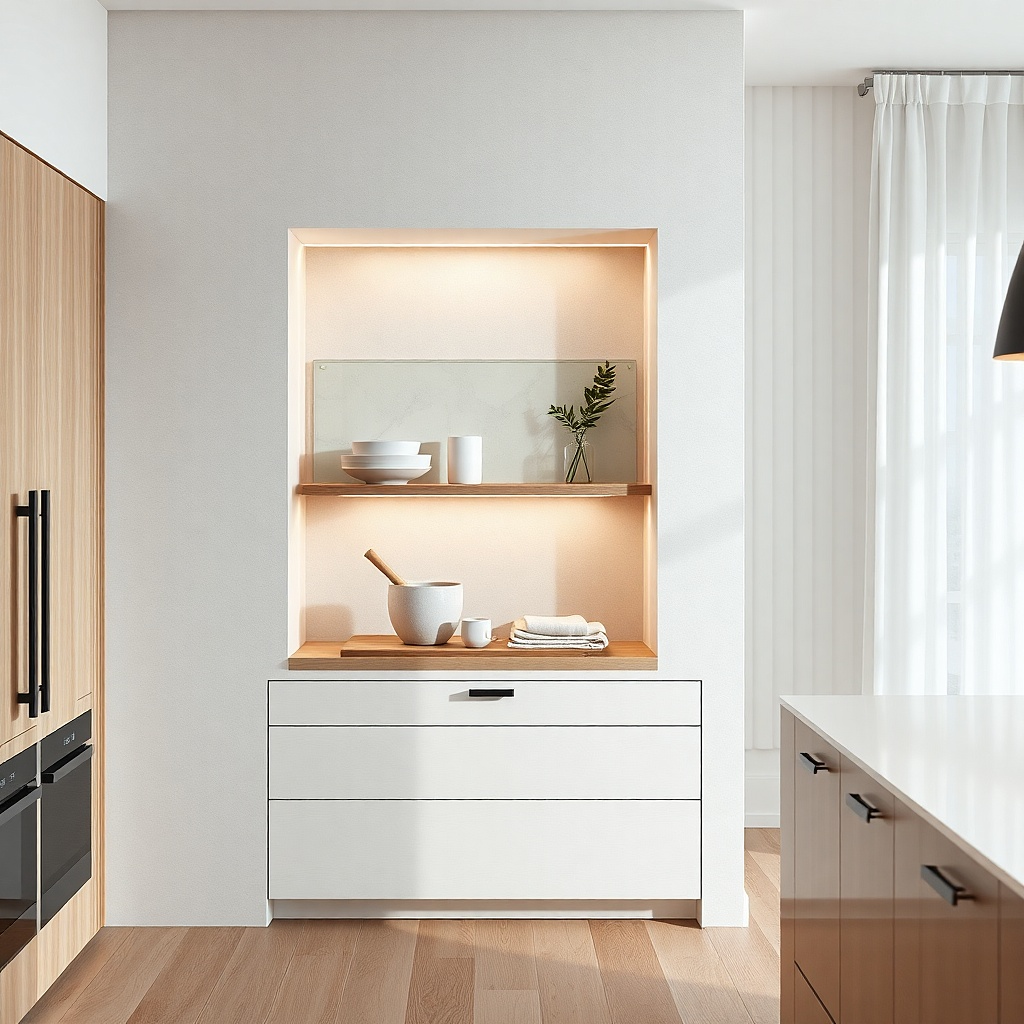
A clear acrylic riser lifts items without adding visual bulk, which is exactly what small shelves need. Stack mostly white pieces: white ceramic cups, a small plate, or a folded linen napkin. Then add one warm wood element like a small cutting board or a wooden spoon rest to keep it from feeling sterile. The acrylic makes the arrangement look airy, and the white stack gives you a clean, designed silhouette. This is a strong year-round approach because whites and warm wood work in every season.
Place a clear acrylic riser in the center of the shelf, then build a vertical stack on top. Use two to three white items — for example, a small plate on the bottom, a cup in the middle, and a tiny bowl on top. Add the warm wood piece on the shelf front edge so it grounds the acrylic. Keep the stack height under 10 inches so the shelf doesn’t look top-heavy.
Wipe acrylic with glass cleaner and a microfiber cloth; smudges show up fast.
Don’t stack tall items that wobble; instability makes the whole setup look careless.
19. Two Small Framed Prints Leaned Back-to-Back with a Single Tray
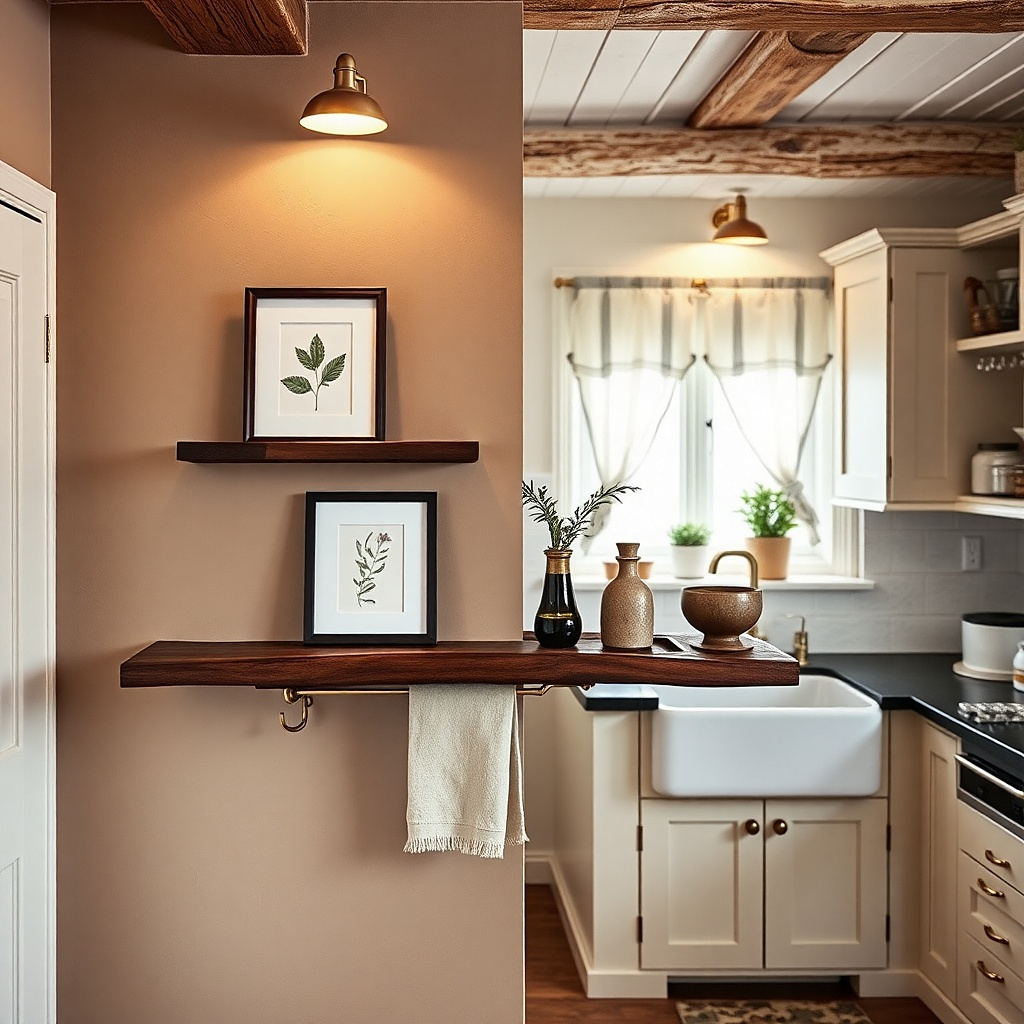
Framed mini prints can look good on shelves when you keep them small and centered. Lean two matching frames back-to-back behind a single tray so the wall decor has a clean backdrop. Choose frames in black or brushed wood to match your hardware and shelf color. The tray in front holds one or two items like a small candle or ceramic dish. This setup is photogenic because it creates a clear focal center and uses negative space around it.
Select two frames with the same size and finish, around 5x7 or 6x8. Lean them against the wall behind the shelf, then place a tray in front at the center. Add one candle or dish on the tray, leaving about 2 inches of tray edges visible. Keep the shelf decor to 3 main pieces so the frames stay readable.
Angle the frames slightly toward the room so reflections don’t wash out the prints.
Don’t use mismatched frame sizes; mismatched frames look like clutter on a shelf.
20. Vertical Cookbook Stand with a Narrow Runner and One Ceramic Vase
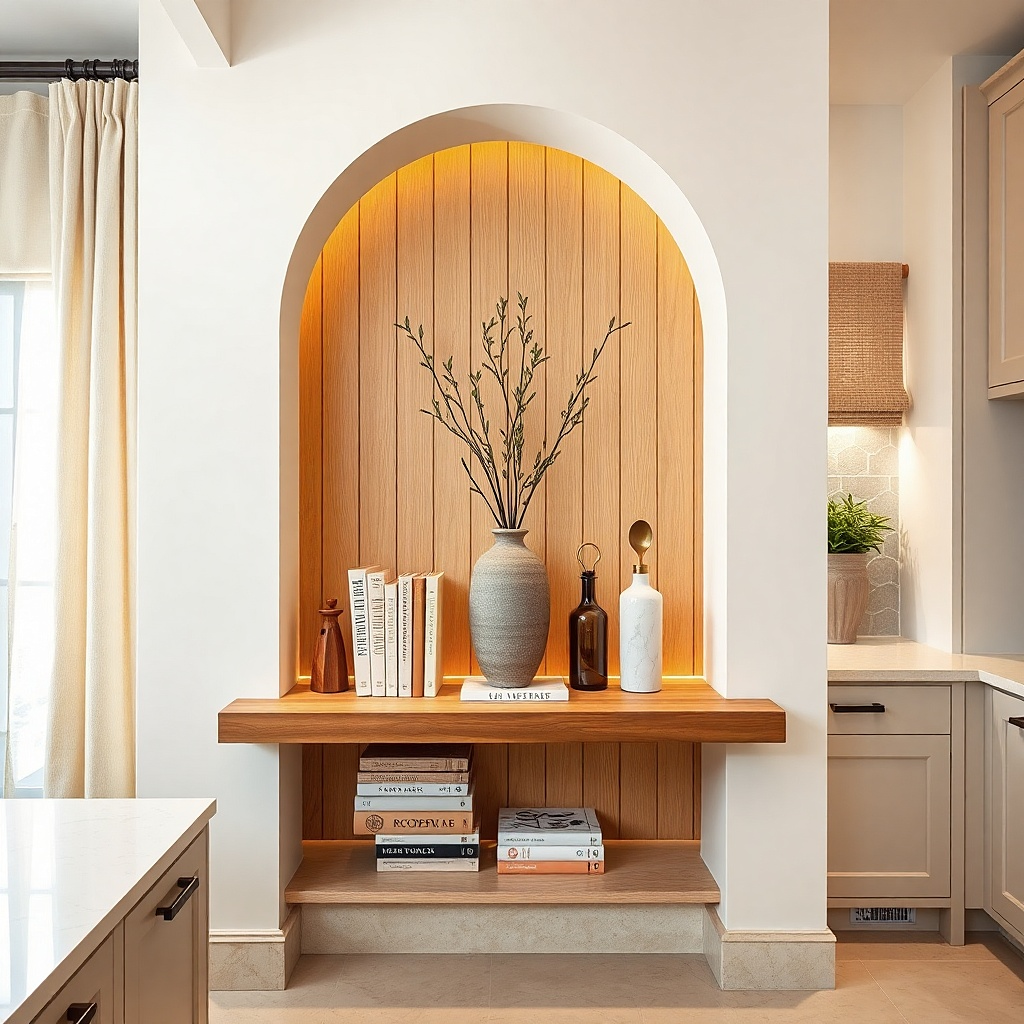
Vertical cookbook stands create height without adding a pile of objects. Use a vertical stack of two cookbooks as a back layer, then add a narrow runner in a solid neutral fabric. Place one ceramic vase in front — small neck, round body — so it reads as a single flower moment rather than a bouquet. This is clean and year-round because the cookbooks stay, the runner stays, and the vase can hold seasonal stems. Keep the vase color neutral so it doesn’t fight your backsplash.
Stand two cookbooks vertically toward the back center of the shelf, with spines facing forward. Lay a narrow runner underneath the front edge so it frames the books without covering the shelf. Place one small ceramic vase in front of the books, centered, and fill it with one stem bundle. Keep the stem height consistent (about 8 to 10 inches) so the look doesn’t change every time you swap seasons.
Try thisUse bookmarks or a ribbon marker in the books so the spines look aligned and purposeful.
Common mistakeDon’t lean cookbooks too far forward; they should look stable and straight.