1. The 18-inch sweet spot with a slim oak shelf
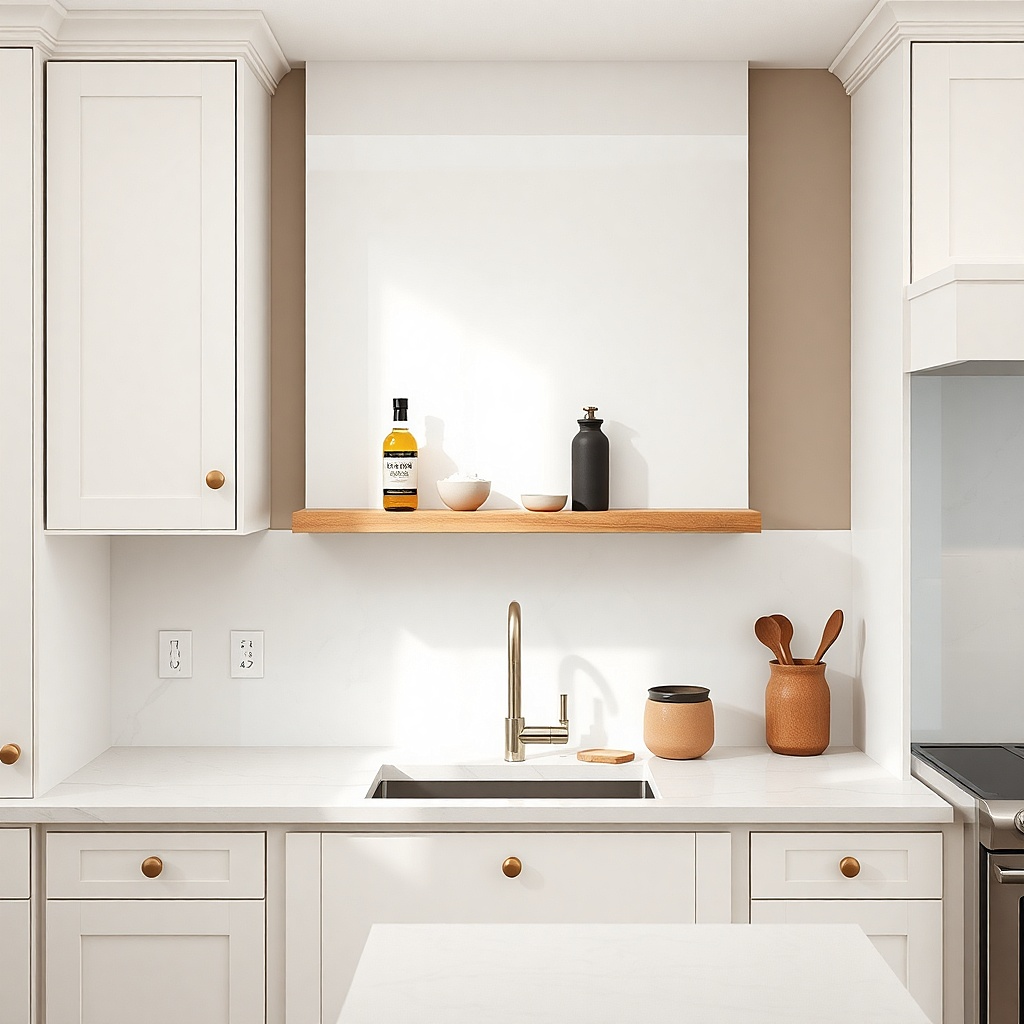
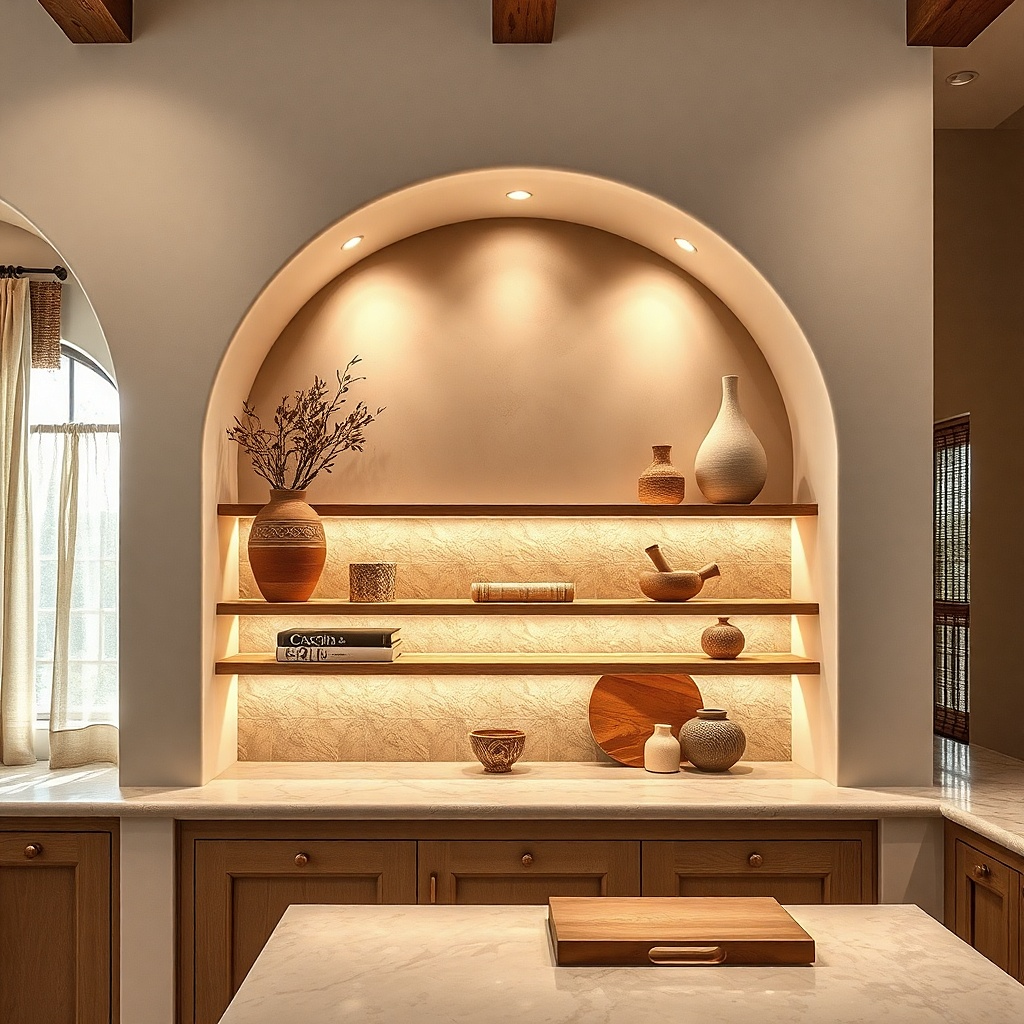
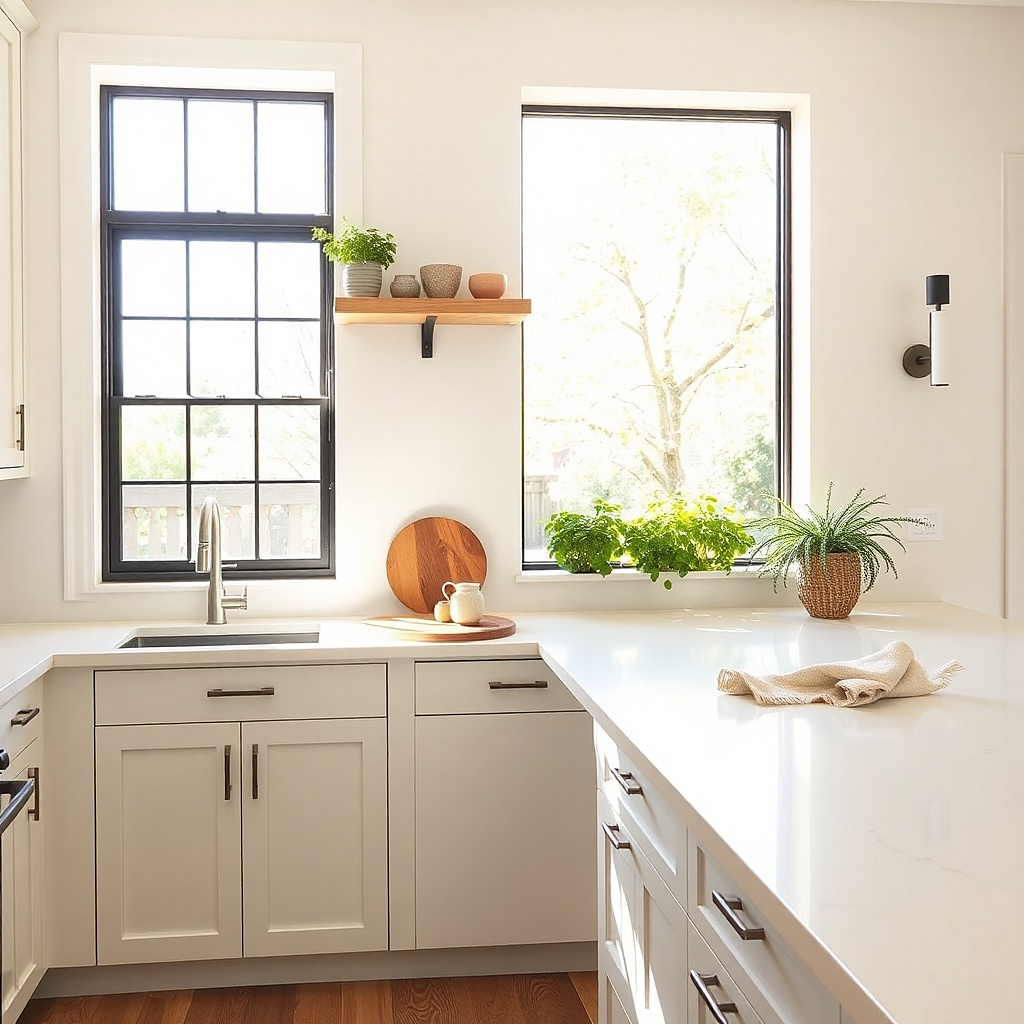
This is the safest recommendation for most kitchens. Keep 18 inches between the countertop and the upper cabinets, then add one slim oak shelf mounted 4 to 5 inches above the counter. The shelf should be 4 inches deep, not more, so it holds salt, pepper, oils, and a small crock without blocking prep space. Visually, the warm wood breaks up a run of painted cabinets and gives the wall a softer, custom look. It suits white, mushroom, sage, and pale gray kitchens especially well because the oak keeps the wall from looking flat.
Try thisUse white oak with a matte finish if your floor has warm undertones. It looks cleaner than glossy wood here.
Start by measuring from the finished countertop to the underside of the upper cabinets and confirm you have a true 18-inch gap. Then mount a 3/4-inch thick solid oak shelf with hidden brackets, keeping the shelf 4 inches above the counter and at least 2 inches back from the front edge of the countertop line. Finally, style it with short items only — oil bottles under 10 inches tall, a low ceramic crock, and one stack of small plates. Expect about $80 to $180 for a good shelf and bracket set, plus basic tools like a drill, level, tape measure, and stud finder.
Common mistakeDo not install a 7- or 8-inch-deep shelf in this gap unless you want your forehead to find it.
2. A 20-inch coffee station gap with a brass rail
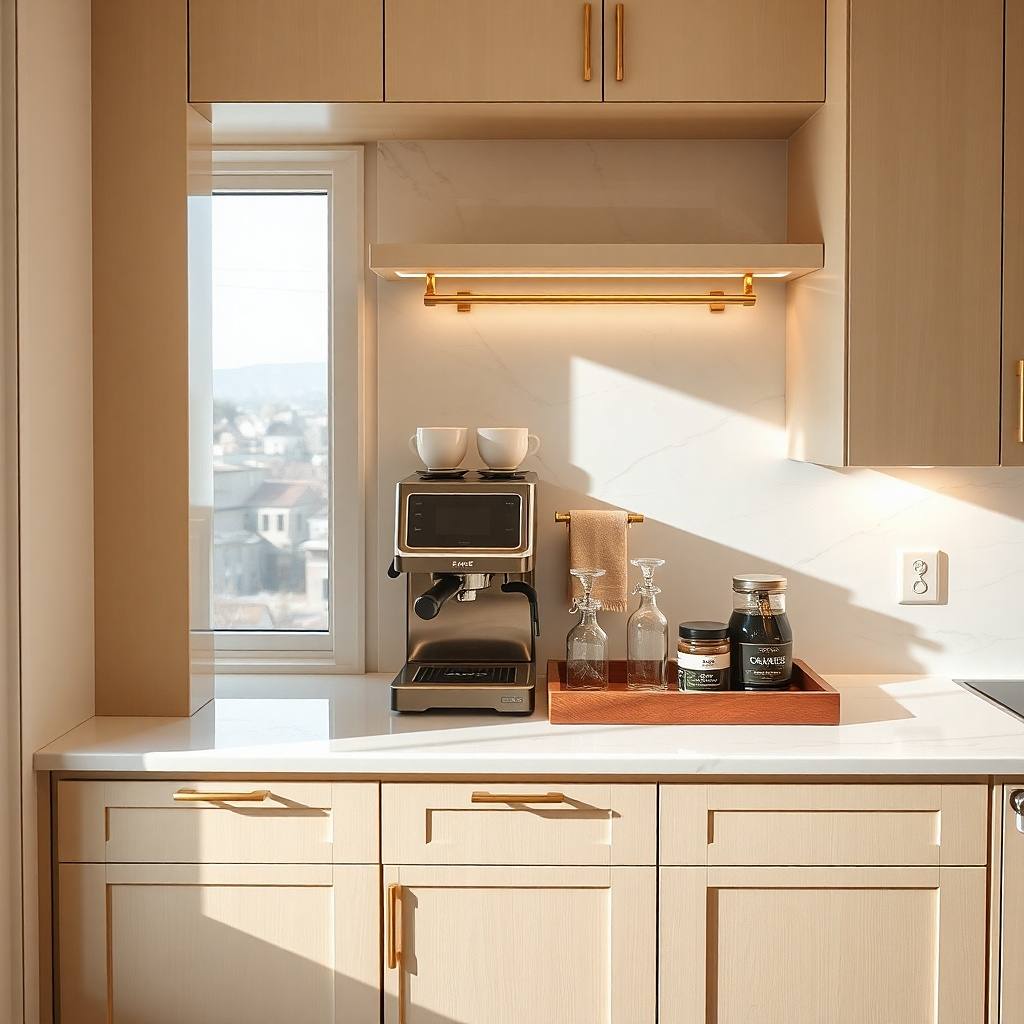
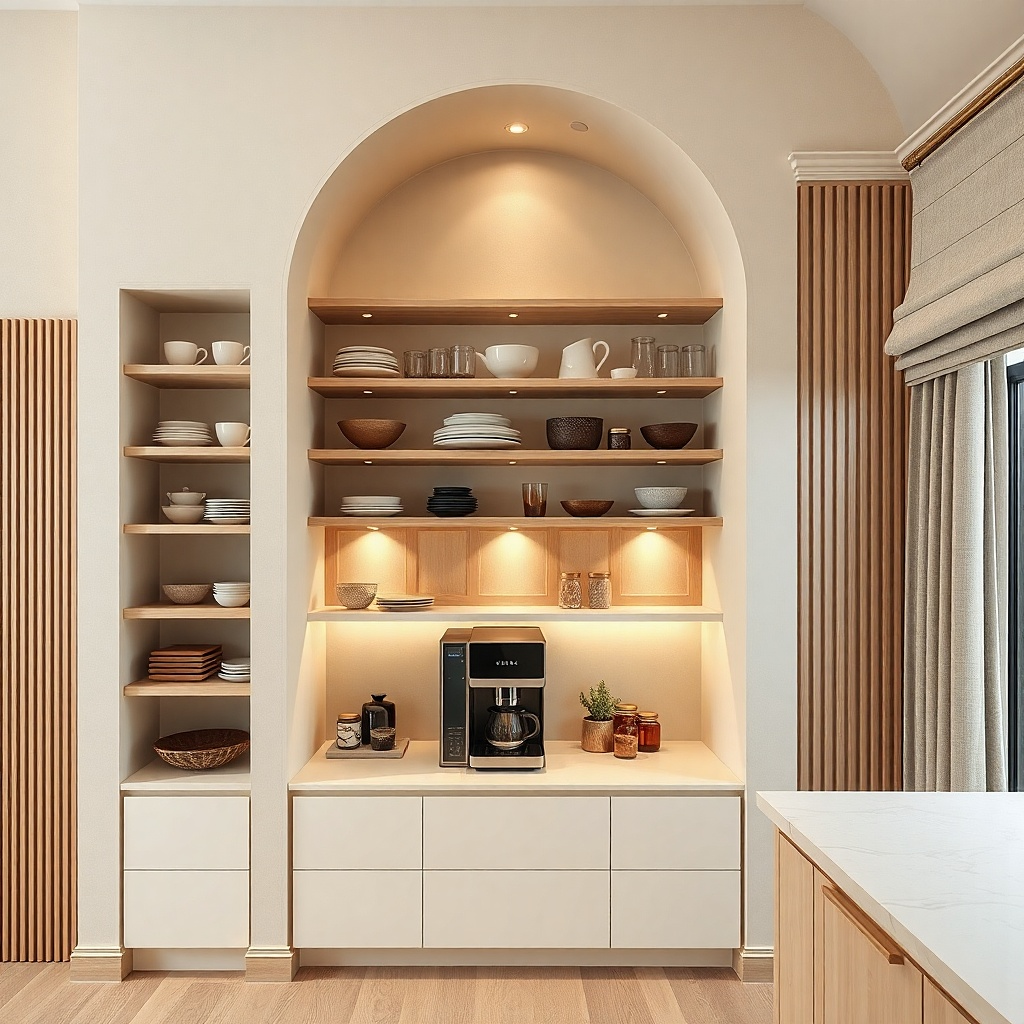
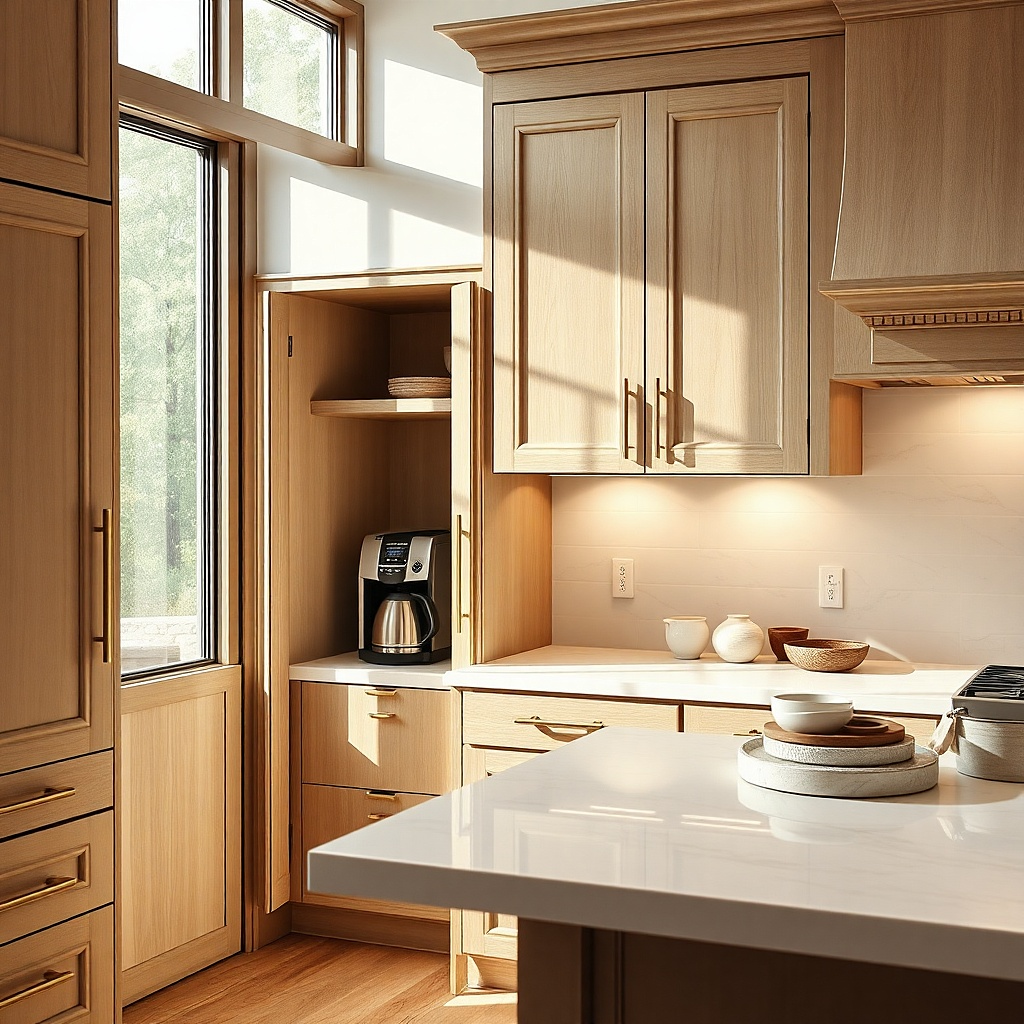
If one section of counter holds an espresso machine or tall drip coffee maker, raise the gap to 20 inches in that zone. That extra 2 inches stops the area from feeling jammed and leaves room for steam, cup filling, and daily wiping. A brass rail mounted on the backsplash keeps mugs, spoons, and a small milk frother off the counter without eating depth. The brass catches light and gives this setup a polished, collected look. This works best in a dedicated beverage nook rather than across the full kitchen.
Start by checking the height of your coffee machine with the water tank open or removable lid in place. Then keep 20 inches of clear space to the uppers and mount a brass rail 6 to 7 inches above the counter, with S-hooks for two to four mugs and one basket for pods or tea bags. Finally, add a tray under the machine so the station reads as one unit instead of loose appliances scattered on stone. A solid brass rail kit costs about $40 to $120, and installation takes an hour with screws, anchors, a level, and a drill.
Match the rail finish to the cabinet pulls exactly — brushed brass with brushed brass, not mixed yellow gold and antique brass.
Skip hanging six heavy mugs on a short rail; it starts to look like a gift shop display.
3. The 16-inch tight-gap fix with recessed storage
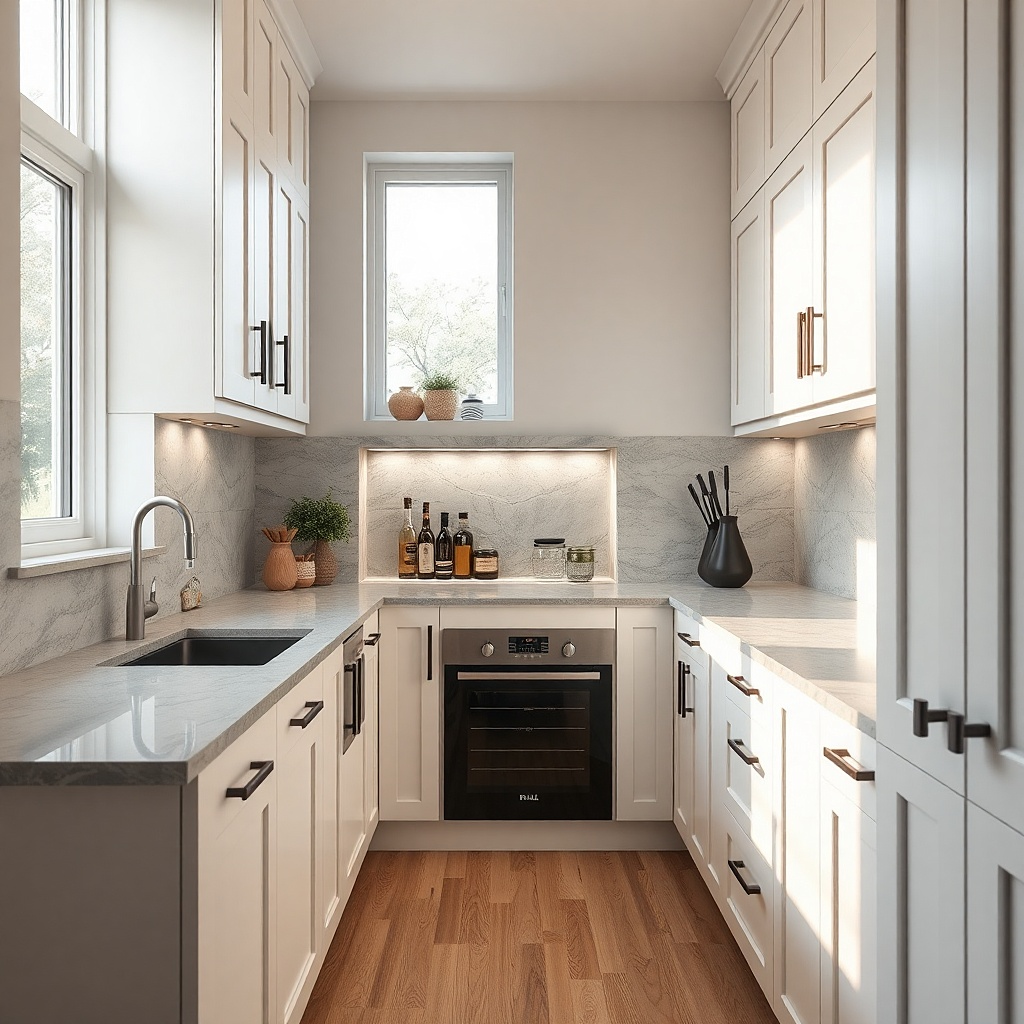
A 16-inch gap is tight, but it still works if the storage goes into the wall instead of out from it. A recessed spice niche between studs keeps the counter clear and avoids the boxed-in look that shelves create in a shallow space. Tile the inside of the niche in the same material as the backsplash for a built-in effect, or use a contrasting zellige tile if you want the opening to read like a small focal point. This is one of the few ways to add storage in a compact kitchen without making the work zone feel mean and crowded. It suits galley kitchens and older homes where uppers already sit low.
Start by confirming the wall is not packed with plumbing, venting, or wiring where you want the niche. Then cut a stud-bay opening about 14 1/2 inches wide and 18 to 24 inches tall, frame it cleanly, and add two or three thin shelves inside with a 2 1/2- to 3-inch depth. Finally, tile and grout the niche before the backsplash trim goes on so the edges look built in, not tacked on. Materials land around $150 to $400 if the wall is clear and you already have backsplash work planned.
Paint the inside of the niche the same color as the cabinets if you want it to disappear and keep the wall calm.
Do not add a proud face frame that sticks out past the backsplash plane.
4. The 24-inch airy section with stacked plate ledges
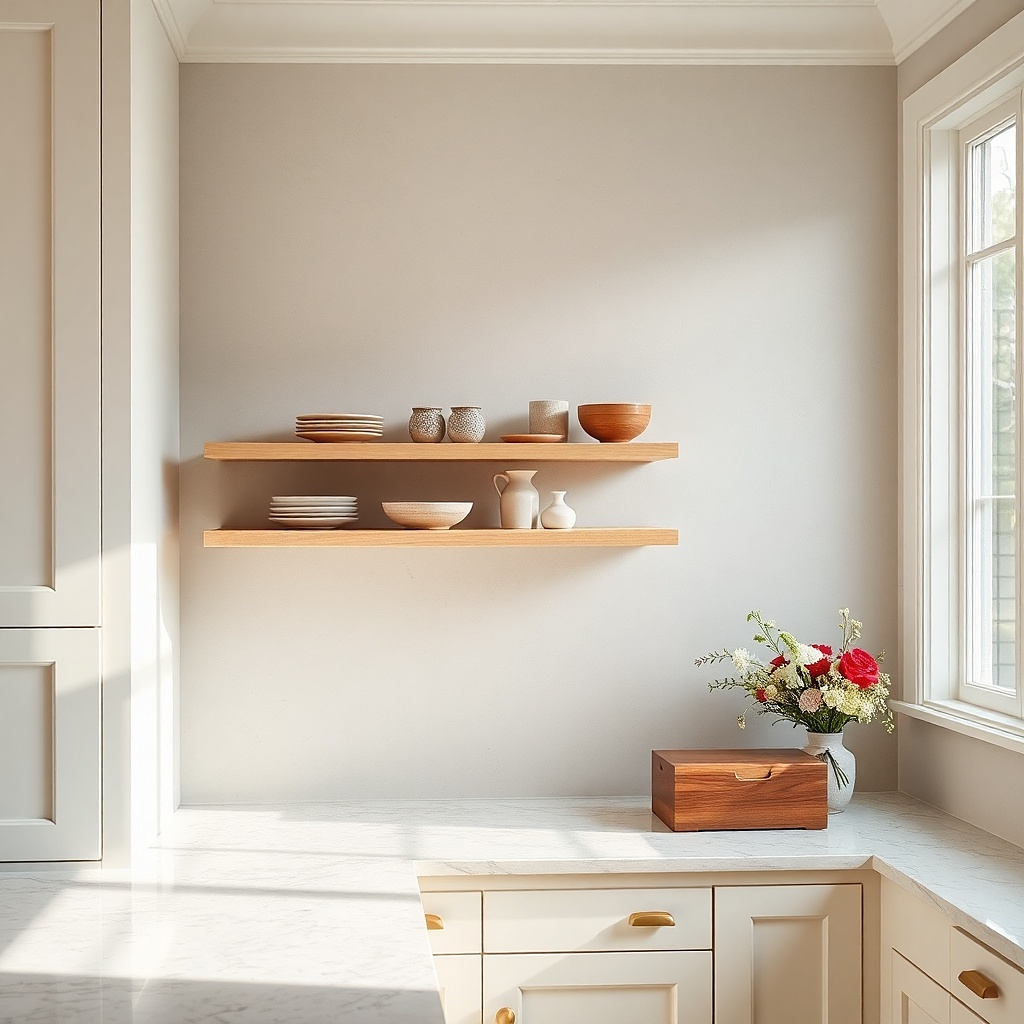
A 24-inch gap works when you want one section of the kitchen to feel open and styled instead of fully built in. Two stacked plate ledges, each 3 1/2 to 4 inches deep, turn the wall into practical display storage for dessert plates, small bowls, and framed recipe cards. The extra height gives the eye a pause between the counter and the uppers, which is especially good next to a window or in a breakfast area. This look is photogenic because the negative space matters as much as the objects. It belongs in a low-splatter zone, not right behind the main cooktop.
Start by using this only on one run of cabinets or one short section, since 24 inches across a whole kitchen can make uppers feel disconnected. Then install the first ledge 8 inches above the counter and the second ledge 8 to 9 inches above the first, keeping both ledges aligned to cabinet width for a tidy line. Finally, fill each ledge halfway, not edge to edge, with cream stoneware, smoked glass, or one repeated ceramic finish. A pair of quality wood ledges costs about $100 to $250 depending on length and finish.
Use museum putty under leaning plates if the ledges sit near a back door or a hard-closing pantry.
Skip bright packaging and random pantry goods here; this look falls apart the second it turns into open grocery storage.
5. An 18-inch marble backsplash with a hidden utensil channel
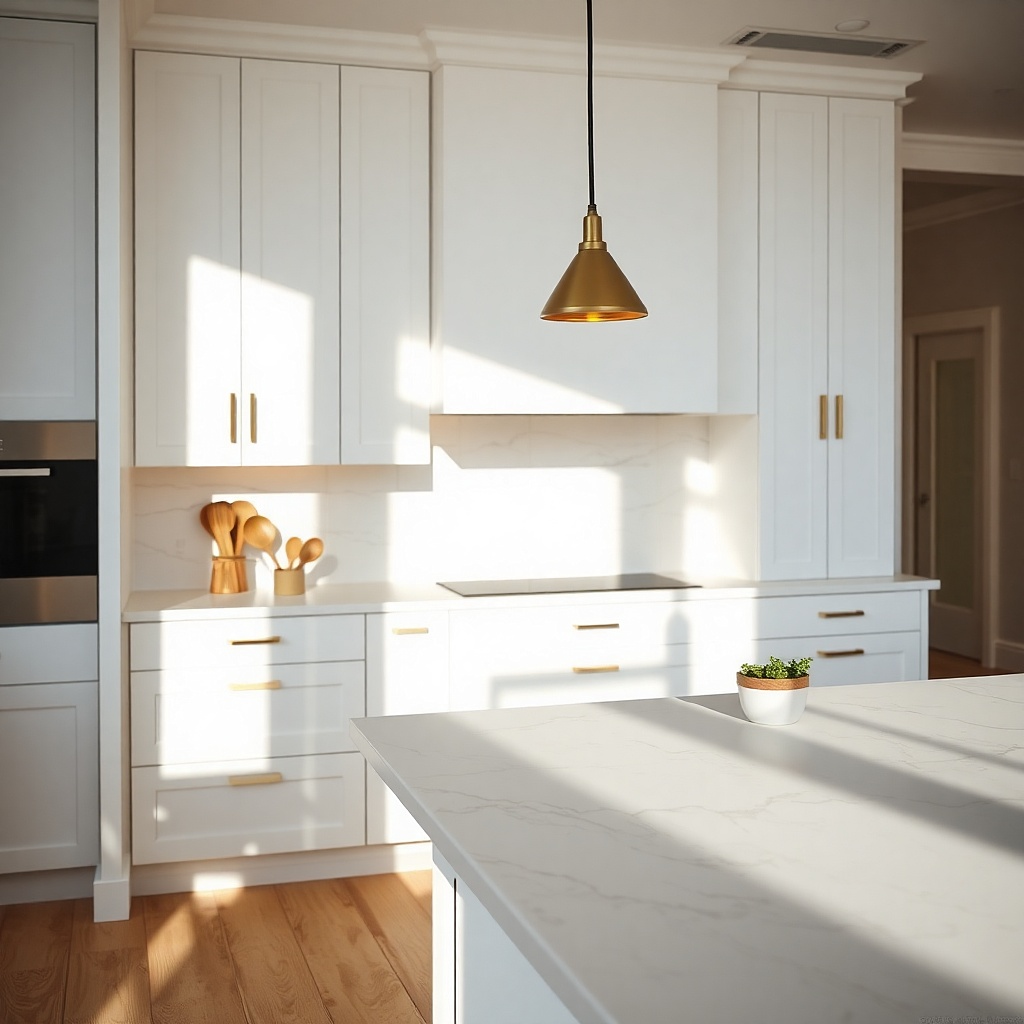
This idea keeps the wall almost bare, which is exactly why it looks expensive. Hold the standard 18-inch gap, run a full-height slab backsplash, and add a narrow integrated channel at the back of the countertop for knives, wooden spoons, and a soap bottle. The storage sits low and nearly disappears, so the stone stays the star. This is the strongest choice if your kitchen already has dramatic veining, a bold quartzite, or a soft honed marble that deserves open sightlines. It suits modern kitchens and quiet transitional kitchens that need function without visual noise.
Start by asking your fabricator for a rear countertop channel or removable stone-topped trough, about 3 inches wide and 2 1/2 to 3 inches deep, set against the backsplash. Then keep the wall free of shelves and rails so the 18-inch opening reads clean and uninterrupted under the upper cabinets. Finally, add under-cabinet strip lighting with a warm 2700K output so the stone gets a soft glow at night. This is a fabrication upgrade rather than a weekend project, and the added cost usually lands between $250 and $700 depending on stone and labor.
Choose honed stone over polished if you want this zone to look calmer and hide water spots better.
Do not pair a strong marble slab with chunky wall storage; the wall starts fighting itself.
6. A 19-inch shaker kitchen with a painted peg rail
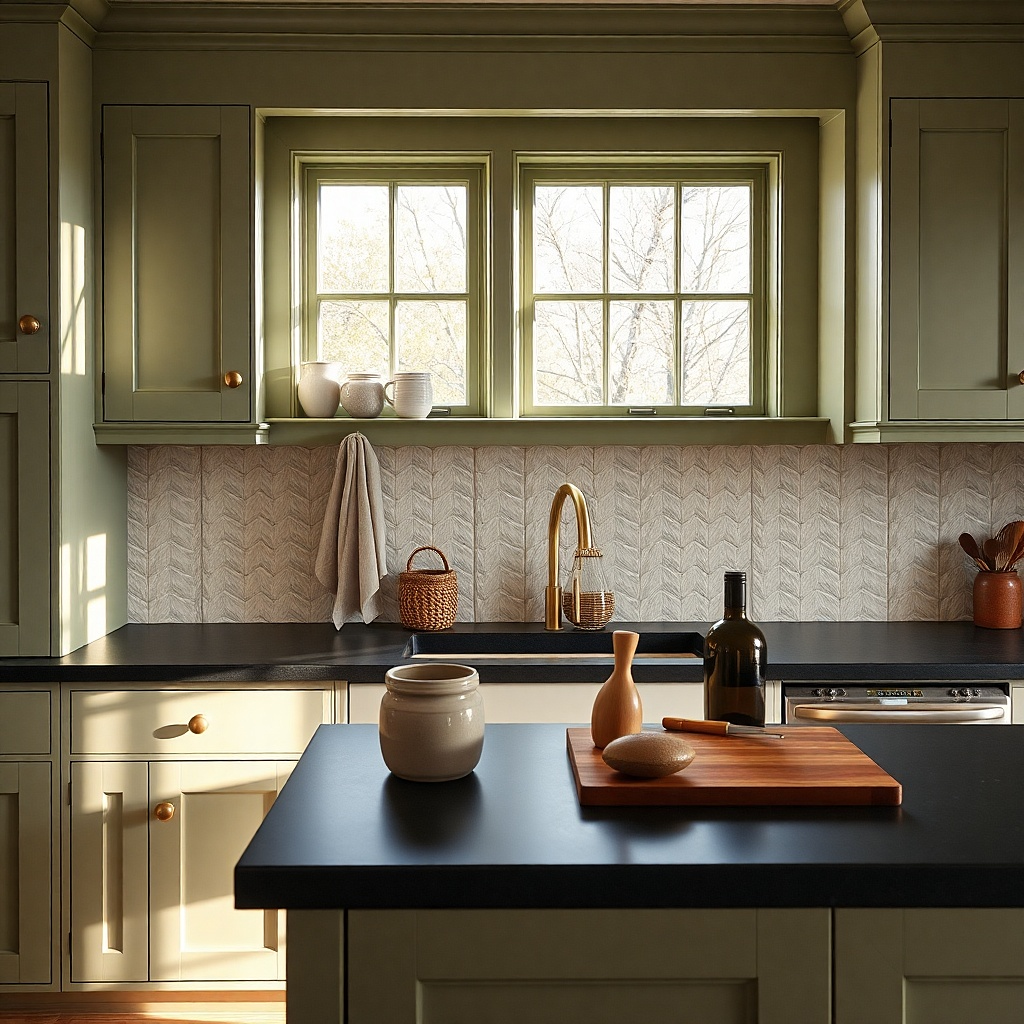
A peg rail gives old-house kitchens a lot of charm, but it needs a little more breathing room than a metal rail. Set the gap at 19 inches so mugs, hand towels, and a market basket have space without brushing the countertop. Paint the rail exactly the cabinet color so it reads as millwork instead of accessory clutter. This look works best with inset or shaker doors, unlacquered brass, soapstone, or butcher block. It feels warm and useful, not precious.
Try thisSpace pegs 4 inches apart. Tighter spacing looks busy fast.
Start by mounting the peg rail 7 to 8 inches above the countertop and keep the pegs short — around 2 inches projection. Then limit the hanging items to a few daily pieces such as two mugs, one linen towel, and one small handled basket for garlic or tea. Finally, add a simple backsplash like white square tile, pale green beadboard, or limewashed plaster so the rail has a quiet background. A wood peg rail costs about $30 to $90 unfinished, plus paint and screws.
Common mistakeDo not hang heavy cast iron utensils from a decorative wood rail with weak anchors.
7. The 18-inch under-cabinet cubby strip for spices
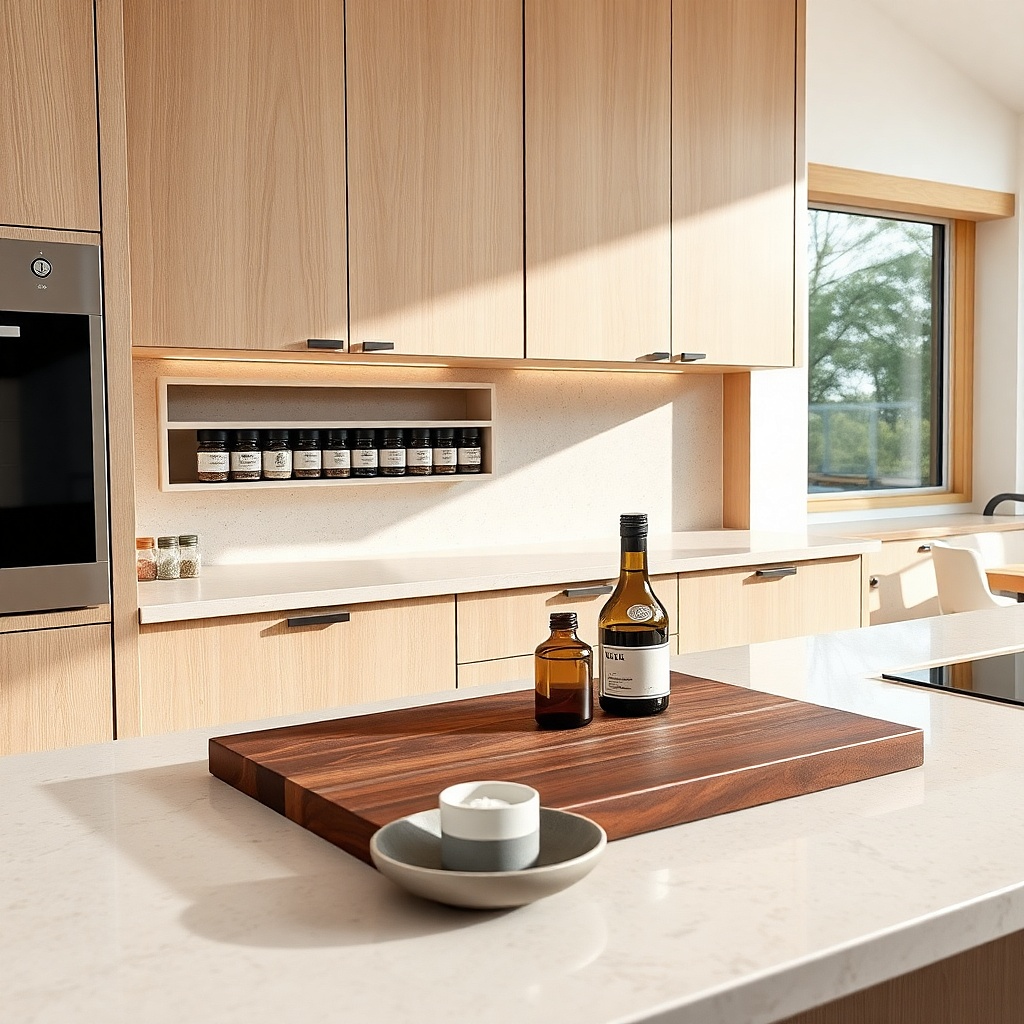
This is storage hidden in plain sight. Keep the full 18-inch gap, then add a slim cubby strip attached to the underside of the upper cabinets, just behind the face line. The cubbies hold spice tins or small jars lying on their sides, which frees drawer space and keeps labels easy to read. From standing height, the strip nearly disappears, so the kitchen still looks clean. It is especially smart in small kitchens where every drawer is already claimed.
Try thisAdd a tiny lip, about 1/4 inch, at the front of each cubby so jars do not slide out when cabinet doors slam.
Start by building or buying a strip 3 inches high and 3 1/2 inches deep, sized to the width of one cabinet bay. Then screw it into the cabinet bottom from inside the cabinet box so no fasteners show underneath, and paint it to match the cabinets exactly. Finally, decant spices into matching tins or short square jars so the line stays orderly. This is a low-cost project at about $50 to $160 depending on whether you build it or buy custom.
Common mistakeSkip mixed bottle heights and bright retail labels; they ruin the whole point of concealed storage.
8. A 21-inch baking zone with a single metal shelf
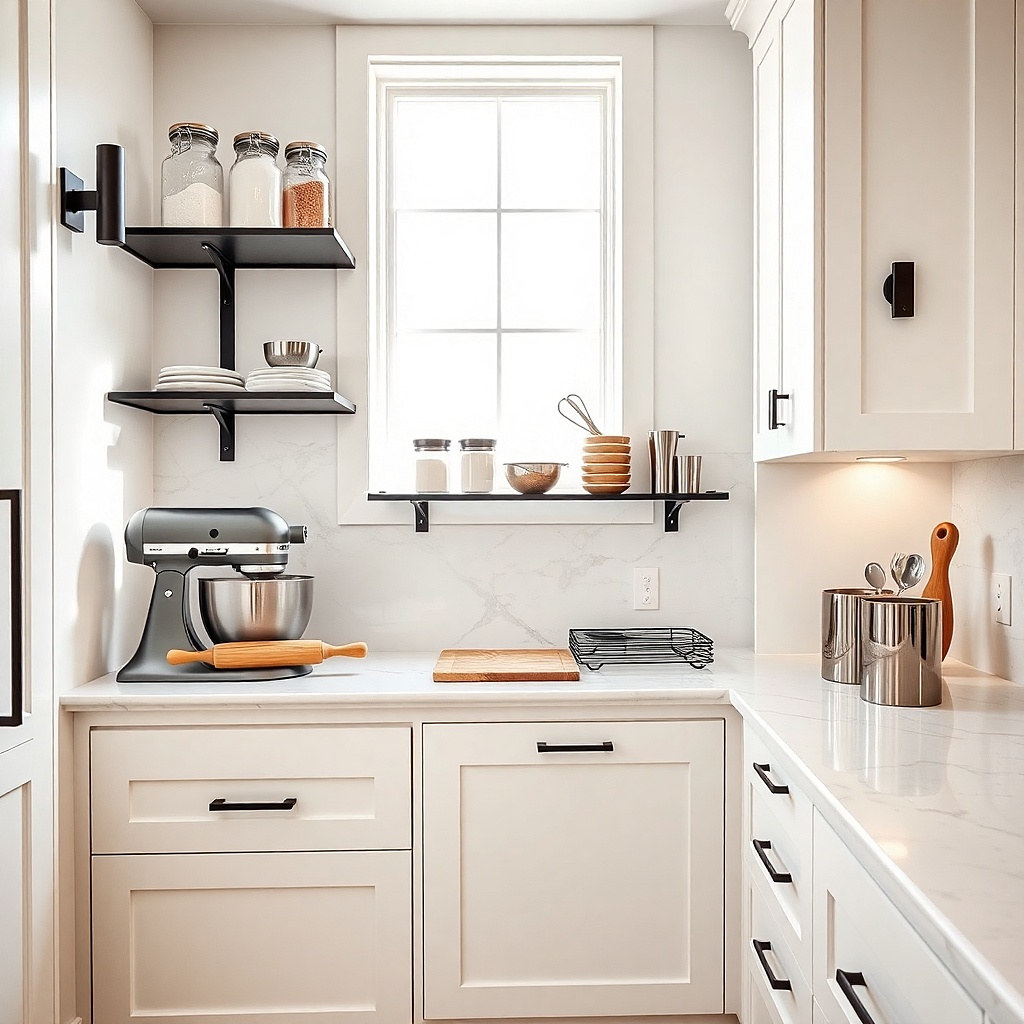
Baking zones need headroom. A stand mixer with the head tilted up, a flour canister, and a tray of cooling cookies all compete for vertical space, so a 21-inch gap makes sense here. One blackened steel shelf with a 5-inch depth gives you storage for cocoa, vanilla, and measuring cups without swallowing the wall. The darker metal gives pale cabinets some edge and keeps the setup from looking sugary or over-themed. Use this on one hard-working stretch of counter, not the entire kitchen.
Start by measuring the tallest appliance in the baking zone with all moving parts open, then leave at least 3 inches above that point. Then mount the metal shelf high enough that the bottom of the shelf sits around 12 inches above the countertop, which leaves room below for canisters and room above for low ingredients. Finally, use magnet labels or etched glass jars so flour, sugar, and cocoa stay easy to identify. A powder-coated steel shelf runs about $90 to $220 depending on length and bracket style.
Choose a shelf with a folded front edge. It looks thinner and stiffer than flat bar stock.
Do not add two shelves in a baking zone unless the gap is much taller than standard; one shelf is the limit before it starts crowding your hands.
9. The 18-inch glass shelf that keeps a small kitchen light
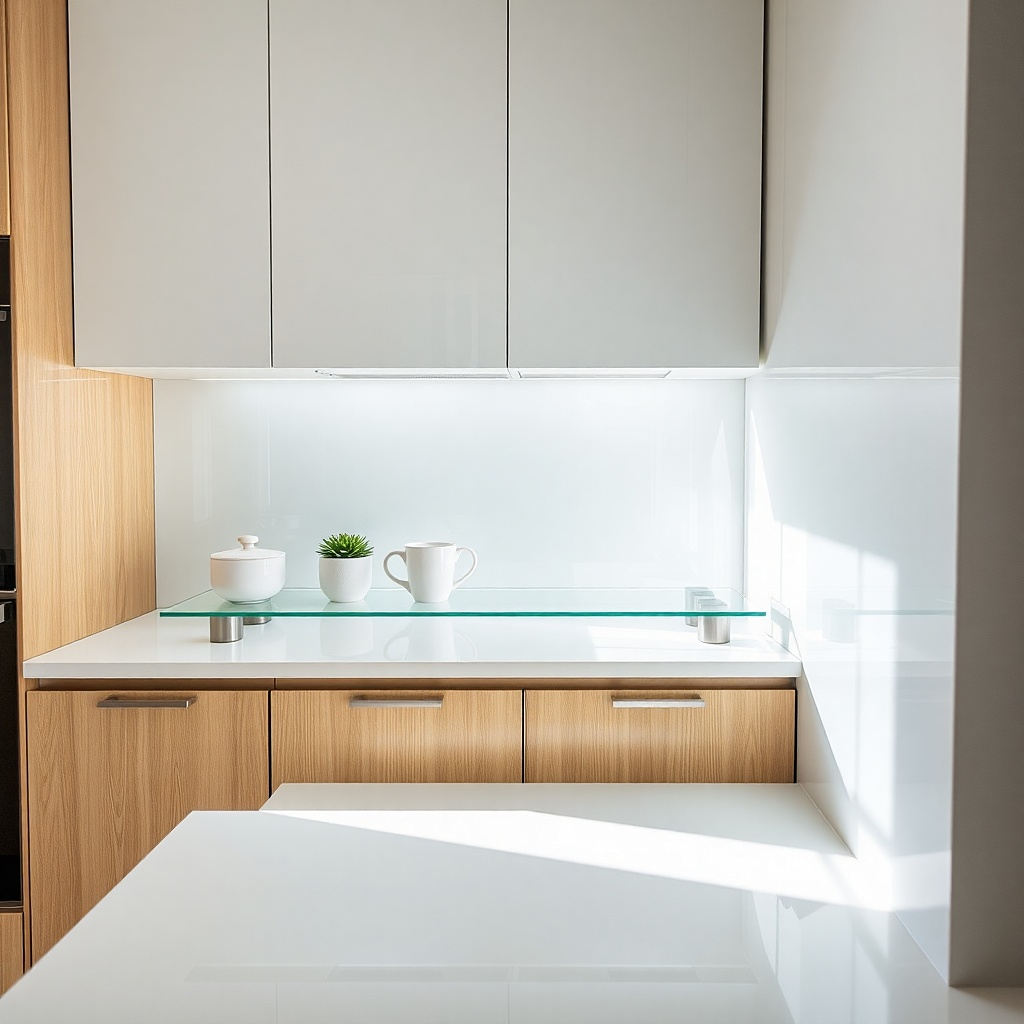
A glass shelf is the answer for a small dark kitchen that still needs a little storage. Keep the standard 18-inch gap and install one low-iron glass shelf with polished edges and slim metal pins. Because the shelf barely blocks light, the backsplash and under-cabinet lighting still read clearly, and the wall feels less bulky than it would with wood. This works best for pretty, low-profile items such as tea tins, a sugar bowl, and two everyday glasses. It looks sharp in apartments, narrow kitchens, and spaces with little natural light.
Start by ordering tempered low-iron glass at 3/8-inch thickness so the edge stays crisp and the glass does not read green. Then place the shelf 5 to 6 inches above the countertop and keep the depth to 4 inches, using sturdy metal supports rated for kitchen use. Finally, clean the shelf often because fingerprints and dust show quickly on glass. Expect about $120 to $300 for custom tempered glass and hardware.
Use brushed nickel or chrome pins if your faucet is cool-toned. Warm brass under a cool faucet looks off here.
Do not crowd a glass shelf with ten tiny objects; it turns transparent storage into visible clutter.
10. A 17-inch farmhouse run with a narrow plate rack
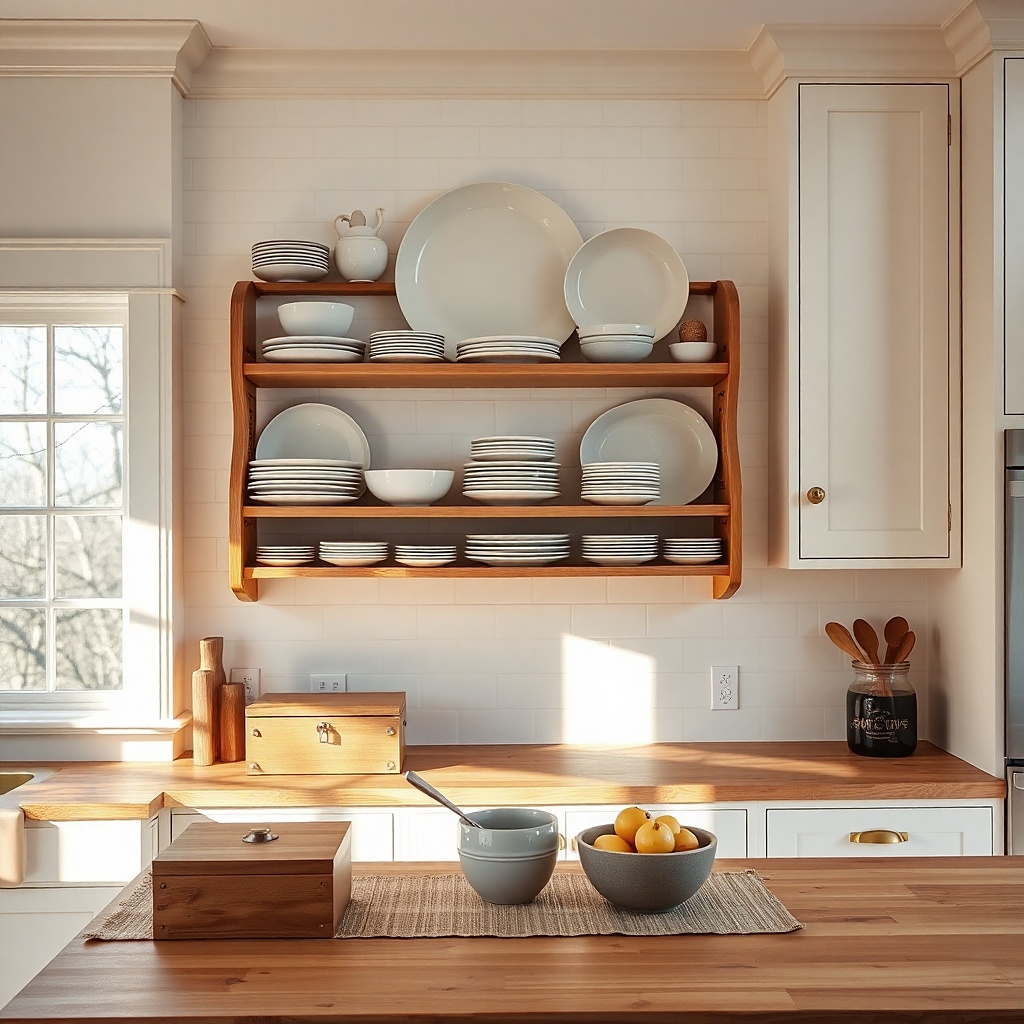
A narrow plate rack works in a slightly reduced gap if the pieces stored there are flat. At 17 inches, you still have enough room for hand movement and wiping, but the wall feels a bit more tucked in and cozy than the standard 18-inch setup. Choose a rack only 3 inches deep and use it for salad plates, cutting boards, or tray lids. Painted wood in cream, putty, or muted green keeps the look soft. This suits farmhouse kitchens, English-style kitchens, and sink walls where you want a little character without a full open-shelf look.
Try thisUse felt pads where plates meet wood if you hate the click of ceramic against the rack.
Start by placing the bottom of the rack 8 inches above the countertop so plates sit safely above splashes. Then anchor it into studs or a solid wood backing strip because stacked ceramic has real weight even in a shallow rack. Finally, keep the plate palette tight — white ironstone, toast-colored stoneware, or one repeated blue pattern. A handmade narrow rack costs around $70 to $180 depending on length and finish.
Common mistakeSkip a deep country plate rack with turned spindles in a tight gap; it steals too much room and looks heavy.