1. Pegboard Behind the Bar With Matching Baskets
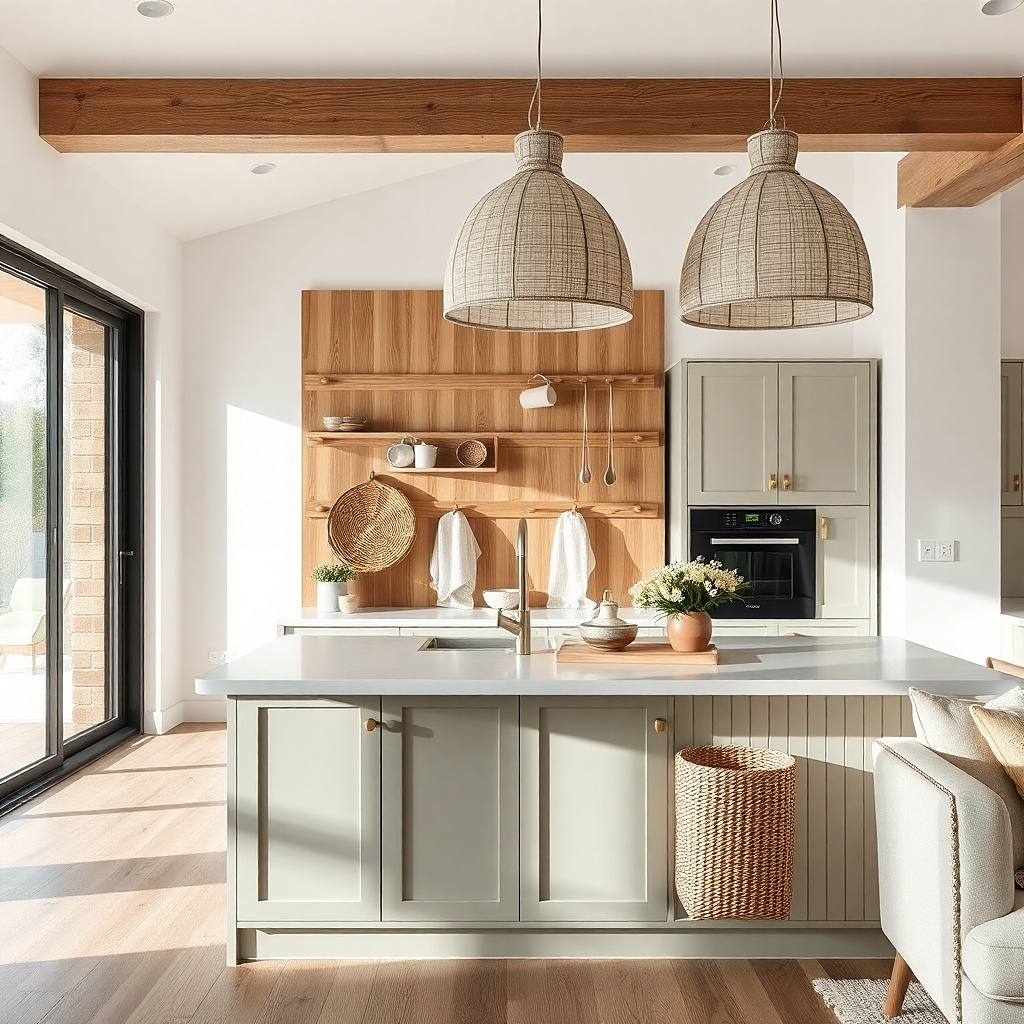
This setup works because pegboard is storage that still looks designed. You get vertical organization for the things you actually touch — mugs, towels, and a few daily-use utensils — and the baskets hide the “random” items like extra wraps or tea packets. Use light wood pegboard with brass hooks to keep the color warm and bright against white or pale cabinets. It flatters most kitchen palettes because it adds wood grain without turning the space dark. Keep it social-friendly by placing it behind the bar, so someone sitting at the stools can see it and feel like the kitchen is styled, not cluttered.
Try thisUse two basket sizes only — one for tea/coffee packets and one for towels — so the wall stays tidy even when you’re busy.
Start by measuring the wall area behind the bar and choose a pegboard size that leaves at least 2 inches of trim space on each side. Mount the pegboard so the bottom edge sits about 36 inches from the floor for easy reach, then add hooks for mugs at eye level. Install a shallow ledge or two basket hooks at around 12 inches from the bottom so baskets sit flat and don’t wobble. Style in layers: ceramic canisters on the top shelf, mugs on hooks, then folded towels in the baskets. Finish by repeating the same two colors in your ceramics so the wall reads intentional from the dining side.
Common mistakeSkipping a consistent hook and basket style makes the pegboard look like hardware store leftovers.
2. Under-Shelf Spice Drawer Inserts
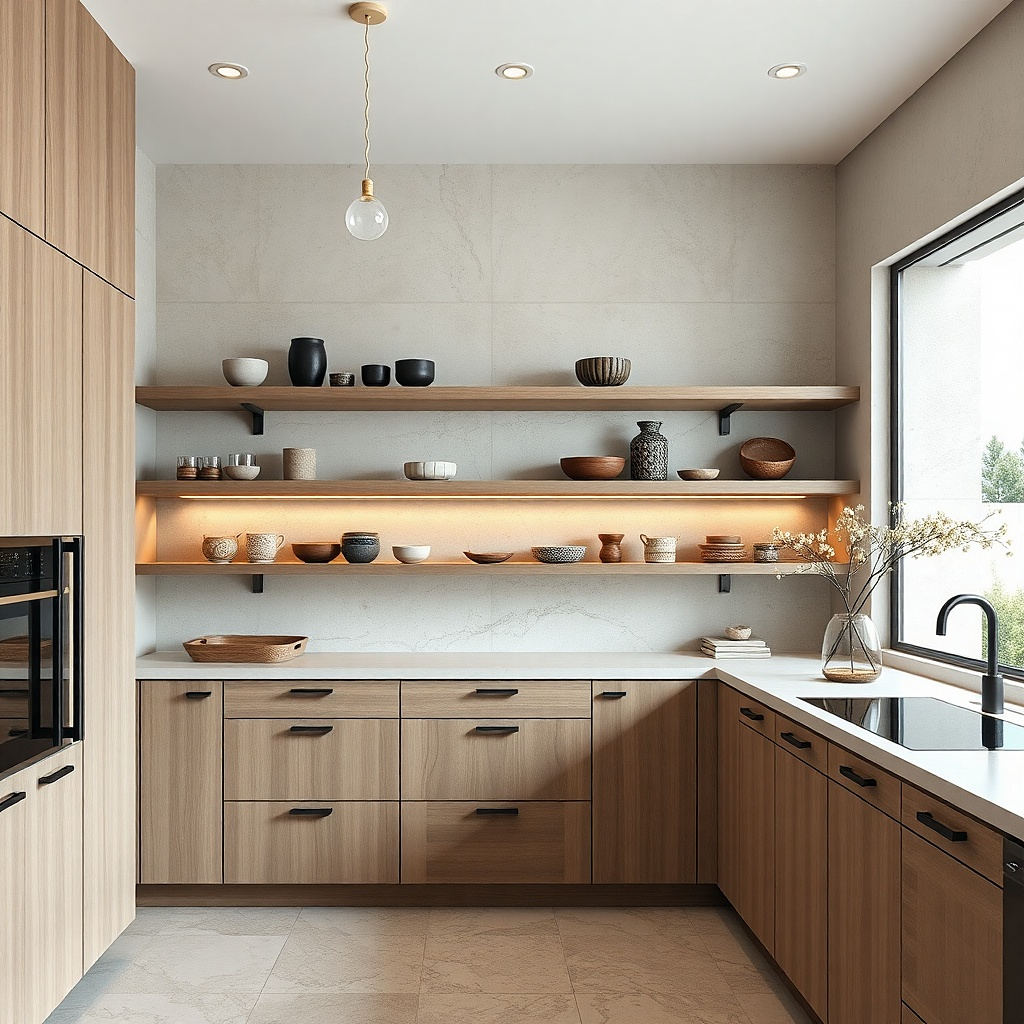
This is the kind of “invisible storage” that makes a small open kitchen feel cleaner immediately. You keep spice jars off the counter, but you still have quick access when you’re cooking. I like using under-shelf drawer inserts because they don’t fight with shelf styling — your visible shelf can stay curated with a few pieces. Choose matte white or clear acrylic trays so they don’t visually crowd the shelf. It flatters kitchens with open shelving because it reduces the clutter that usually builds around the stove area. If you have darker cabinets, the light inserts brighten the sightline without changing your whole kitchen color scheme.
Try thisGroup spices by cooking frequency: keep salt, pepper, chili flakes, and paprika at the front so you don’t dig.
Start by removing one shelf and measuring the underside clearance so the pull-out insert fully extends without hitting the back panel. Purchase a slim insert system sized for your shelf depth, typically designed for 10 to 12 inch deep shelving. Install the rails level — I use a 4-foot level and mark pencil lines on both sides so the tray pulls straight. Label jars with a simple black marker on white tape so you can find them fast without extra decor. Style the top shelf with only three to five items — like a stack of bowls, a cutting board, and one utensil crock — then let the spices live in the pull-out.
Common mistakeLeaving loose jar lids on the shelf top turns the area into a “spill zone” the minute you cook.
3. Corner Shelf Unit With a Rotating Lazy Susan Base
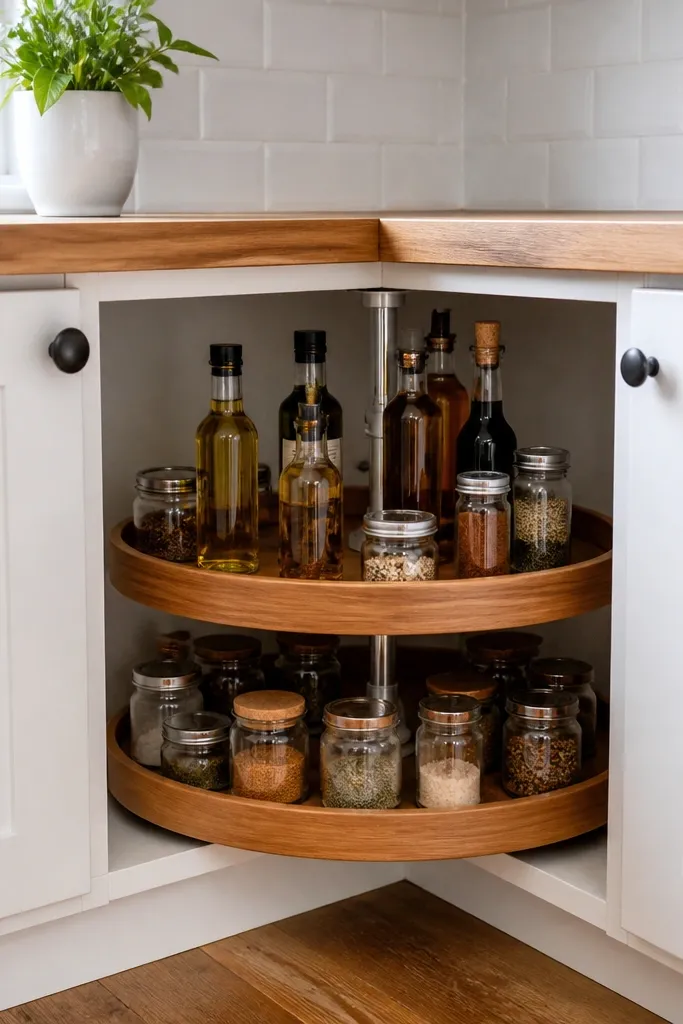
Corners waste space in small kitchens, and open kitchens show that waste from multiple angles. A rotating base turns a dead corner into usable storage while keeping items visible enough to feel like decor. I like a white shelf with a warm wood rotating tray because it stays bright and doesn’t look heavy. The effect is practical and pretty: you can spin it, grab what you need, then close it back into a tidy circle. It flatters kitchens with L-shaped counters, where one corner usually becomes a dumping ground for bags, bottles, and takeout containers. It also helps social gatherings because guests see an organized corner instead of a mess they’re forced to step around.
Try thisUse two tiers: bottles and oils on the rotating tray, and a single decorative bowl above so the corner never looks empty or cluttered.
Start by clearing the corner and measuring the widest point, including any baseboard or outlet protrusions. Choose a rotating tray system that fits within the corner footprint — aim for a diameter that leaves at least 1 inch clearance from walls. Mount a small shelf above the rotating base so the top surface can hold only one “hero” item like a large ceramic bowl for produce. Place tall bottles on the rotating tray’s outer ring and keep flat items like plates in the inner section. Style with one metal tone for bottle caps and one color for labels, then rotate the tray so the front always shows the same tidy arrangement.
Common mistakeOverloading with too many bottle types — it turns the corner into a chaotic pharmacy.
4. Magnetic Knife Strip With Linen Knife Wraps
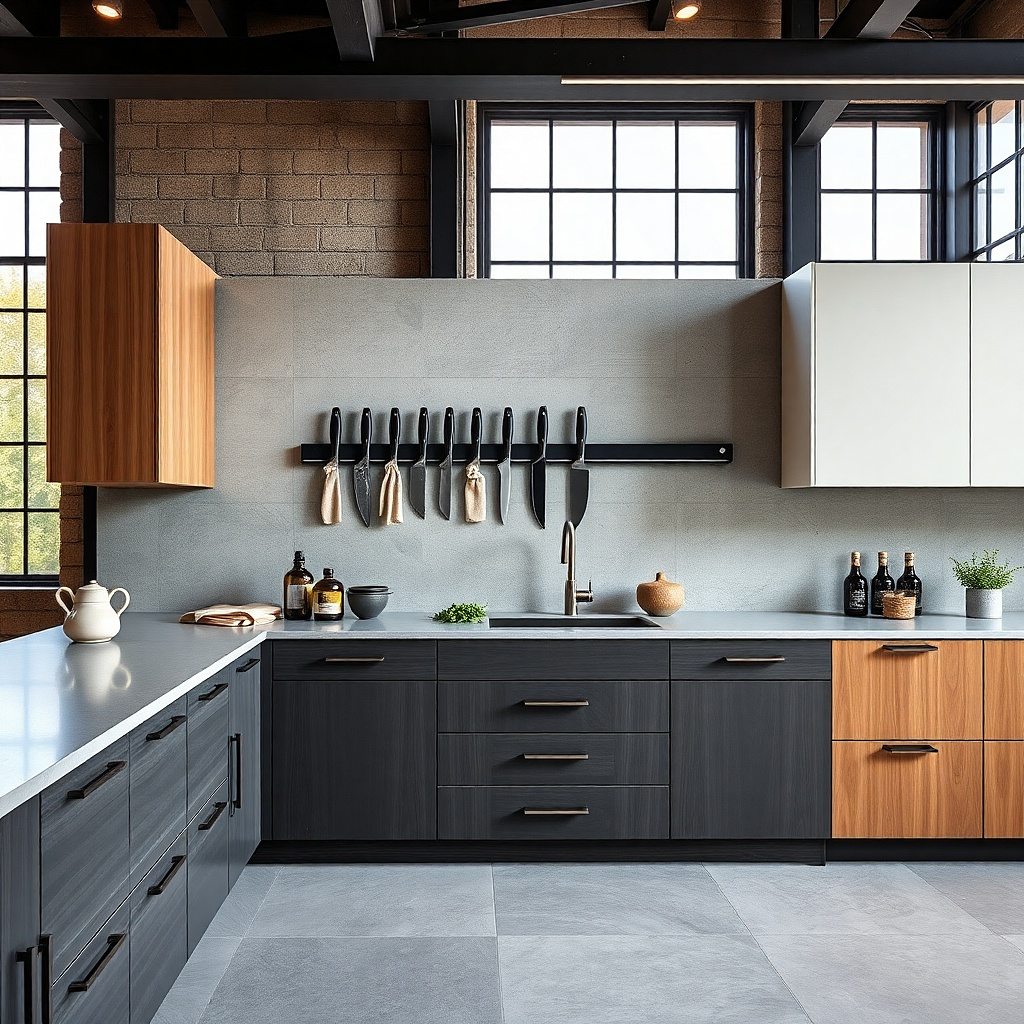
A magnetic knife strip looks clean because knives are long and vertical, so they don’t crowd the counter. In a small open kitchen, that matters — you reduce the “pile” effect where knives, peelers, and gadgets spread out. I like pairing the strip with linen knife wraps because it adds warmth and gives you a place to store extras like a second set of knives or a chef’s towel without hiding everything in a drawer. Sand beige linen works with almost any cabinet color and keeps the backsplash from feeling too cold. This setup flatters compact kitchens because it makes the cooking zone feel intentional, not cramped. It also works for people who cook often and need quick access without opening multiple drawers.
Try thisUse a damp microfiber cloth to wipe the strip after cooking — fingerprints show on stainless and make the whole wall look messy.
Start by finding a backsplash section with solid mounting points and measure the strip length so it fits your knife sizes without hitting cabinet doors. Mount the magnetic strip so knives hang with about 1 inch of clearance from the counter surface. Install a small hook rack or wall pocket below for linen wraps, keeping it within reach of the cutting area. Place one wooden cutting board on the counter and keep it sized so it covers the “empty” space where knives would otherwise sit. Roll the linen wraps and tuck them into the hooks so they look like decor, not storage bins. Keep only the knives you use daily on the strip; store the rest in the wrap station.
Common mistakeMounting the strip too low — it forces splatters and steam to hit the knives.
5. Slim Console Storage at the Dining Edge
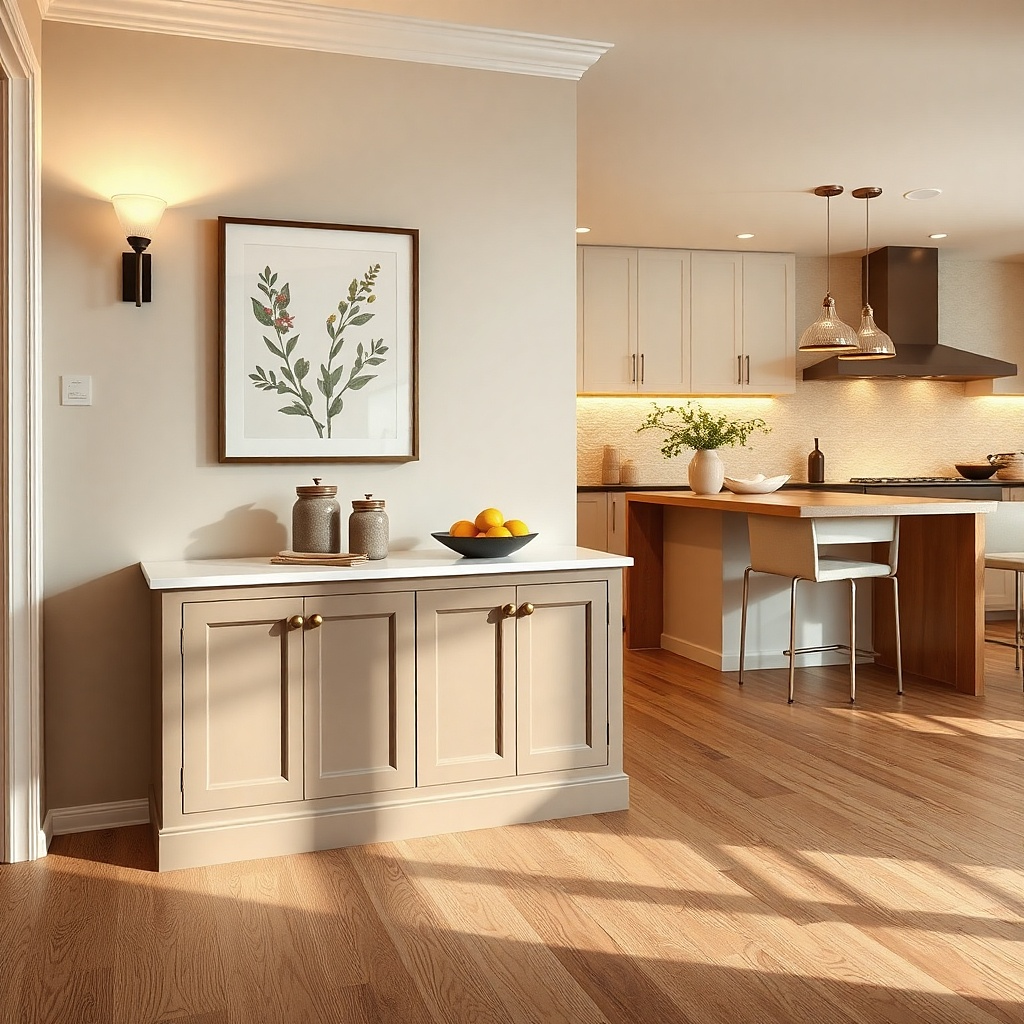
Open kitchens feel social because you can see them from the dining side. A slim console at the edge gives you a “landing zone” for items that otherwise land on the counter — napkins, drink accessories, and extra place settings. The key is choosing a console that’s narrow enough to keep walkways clear, but has real storage like drawers or a closed lower cabinet. I prefer light oak or painted white with simple hardware because it blends with kitchen cabinetry. This setup flatters small spaces because it adds storage without adding clutter to the cooking zone. It also keeps hosting easier — you can plate and set up drinks without crossing the kitchen every time.
Start by measuring the distance between the console and the kitchen counter so you have at least 36 inches for comfortable walking. Choose a console depth around 12 to 16 inches so it doesn’t stick out toward the kitchen traffic. Place the console so the top surface aligns with the bar height or slightly lower, then add a large ceramic tray on top to corral napkins and coasters. Put the canisters near the center so they don’t tip visually to one side. Use the drawers for small items like serving spoons and the cabinet for bulky things like extra napkins. Finish by matching tray and canister finishes — ceramic with matte glaze and one metal accent.
Store one “hosting kit” in the cabinet: 12 napkins, a bottle opener, and a small stack of coasters.
Putting a clutter pile on the console top — the kitchen will look messy even if counters are clear.
6. Open Shelving With Plate Rail and Matching Stacking Rules
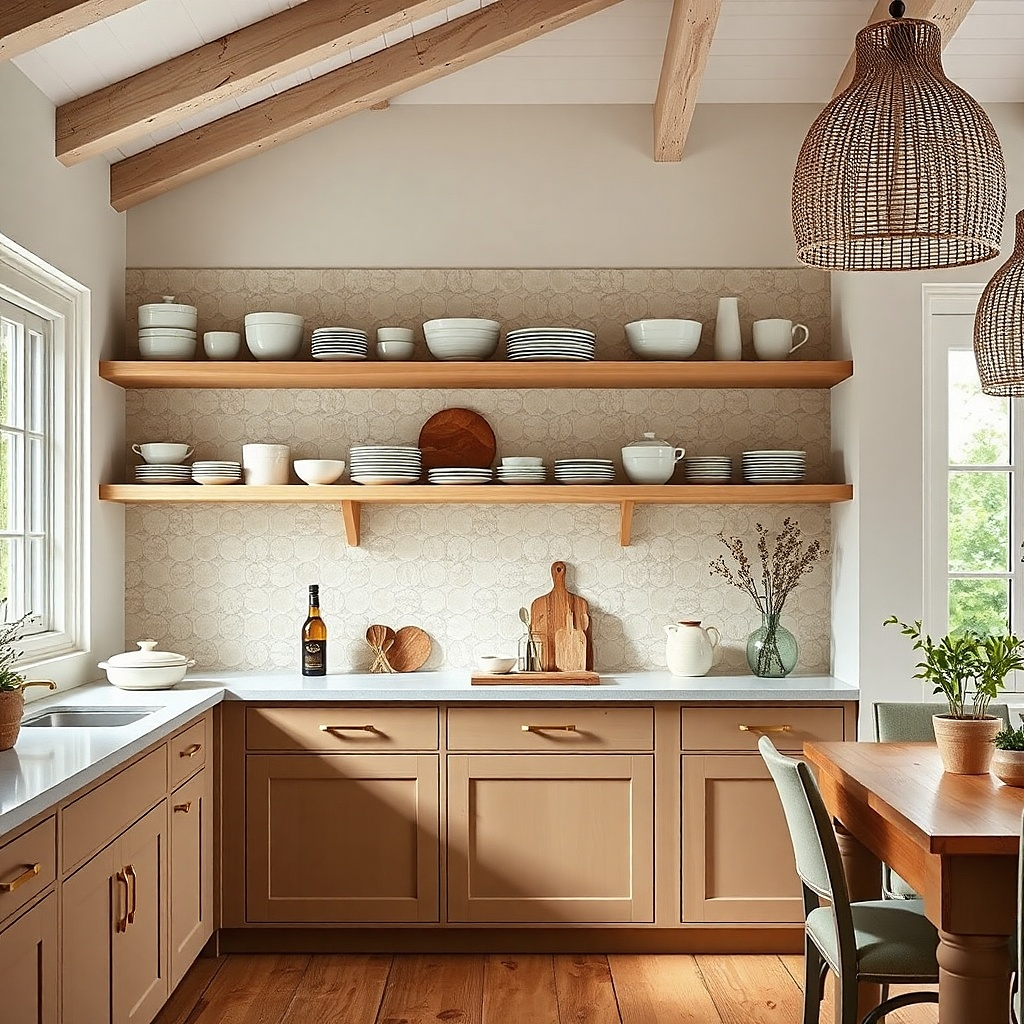
Open shelving looks good when you control vertical height and repetition. A plate rail gives you a clean line for big items, and it stops plates from becoming a visual mess. I’ve found that matching plate color — like all matte white or all off-white — makes the shelf look bigger because the eye reads one block. The baskets below handle “ugly storage” like extra wraps, so the shelf stays pretty even when you restock. This idea flatters small kitchens because it turns wall storage into a calm background instead of clutter. It also makes the kitchen feel more social because guests can glance at the shelves instead of scanning for storage bins.
Try thisIf your plates are different patterns, group them by color and keep each grouping to two patterns maximum.
Start by spacing shelves so plates hang without touching the countertop — leave at least 12 inches clearance for dinner plates. Install a plate rail on the top shelf and hang plates so the rim lines up evenly. Use two stacking rules: plates stack in one spot only, and bowls stack in one spot only. Keep the bottom shelf for baskets — choose woven baskets with the same weave color and size. Style from the top down: plates, then a small stack of bowls, then one utensil crock. Leave one “breathing gap” of empty shelf space so the arrangement doesn’t feel packed.
Common mistakeMixing too many plate sizes — it makes the rail look uneven and cheap.
7. Drawer Divider Inserts for Utensils and Small Tools
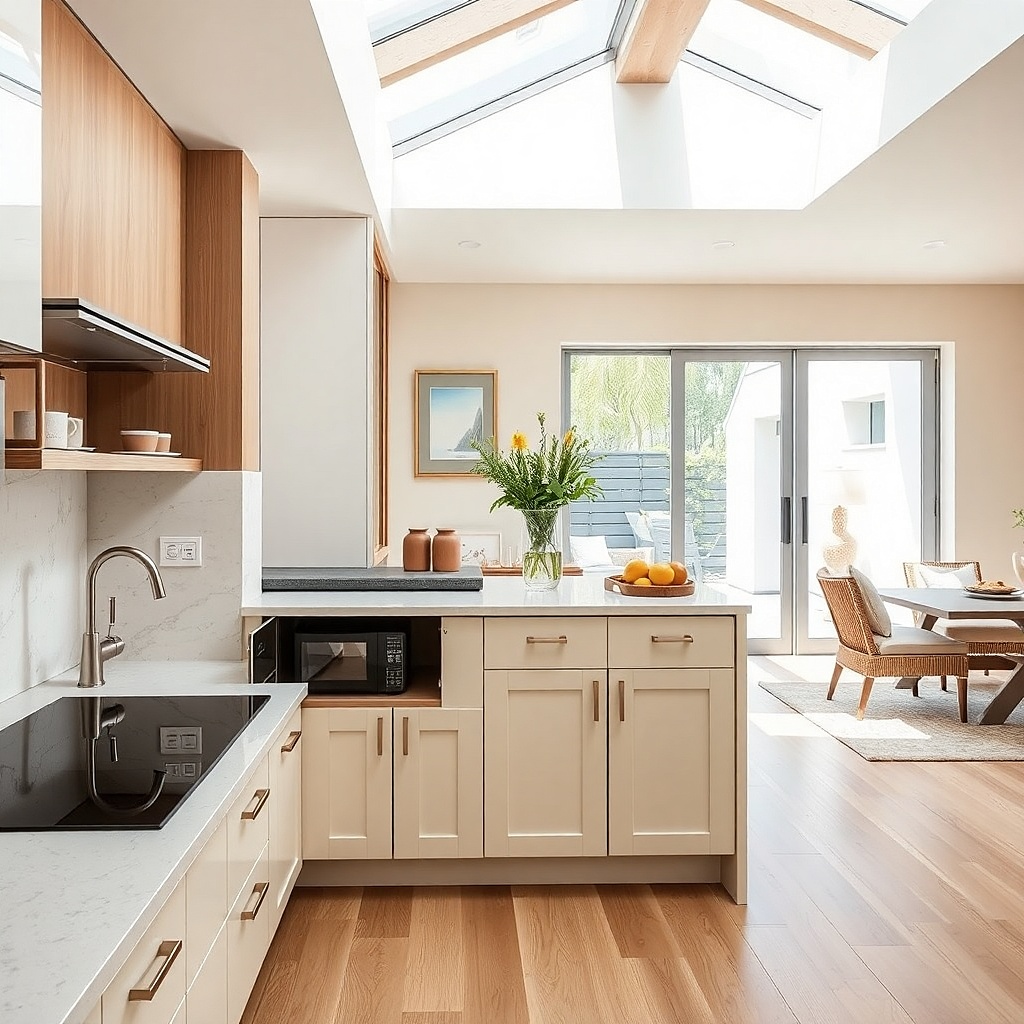
This is the storage decor people ignore, and it’s exactly what fixes a small open kitchen. When utensils are scattered, you end up putting them on the counter because the drawer feels “too annoying.” Drawer divider inserts make the drawer look neat, and neat drawers stop counter clutter. I like dividers with adjustable compartments because you can size them to your real utensils, not what the packaging assumes. For aesthetics, choose neutral divider colors like gray, cream, or clear — they don’t fight with cabinet paint. This works for almost everyone, but it’s especially good if you cook daily and own more than one set of tools. It also helps hosting because your cooking zone stays clear while people chat nearby.
Start by emptying the drawer completely and laying your utensils on a towel by size — long tools, small tools, and flat tools. Install dividers after you’ve measured the widest utensil, then set compartments so each tool stands without tipping. Keep tall tools in one row and small tools in one row so the drawer opens looking organized. Add a narrow front tray for things you grab fast like measuring spoons or clip-on thermometers. Put frequently used tools closest to the front edge, and store backup tools toward the back. Close the drawer and check the drawer face — if you see a crowded “wall” of handles, split the compartments again.
Use a roll-up utensil organizer for the drawer if you have a lot of wooden tools; it keeps handles aligned.
Leaving odd gaps — they tempt you to toss random items into the drawer again.
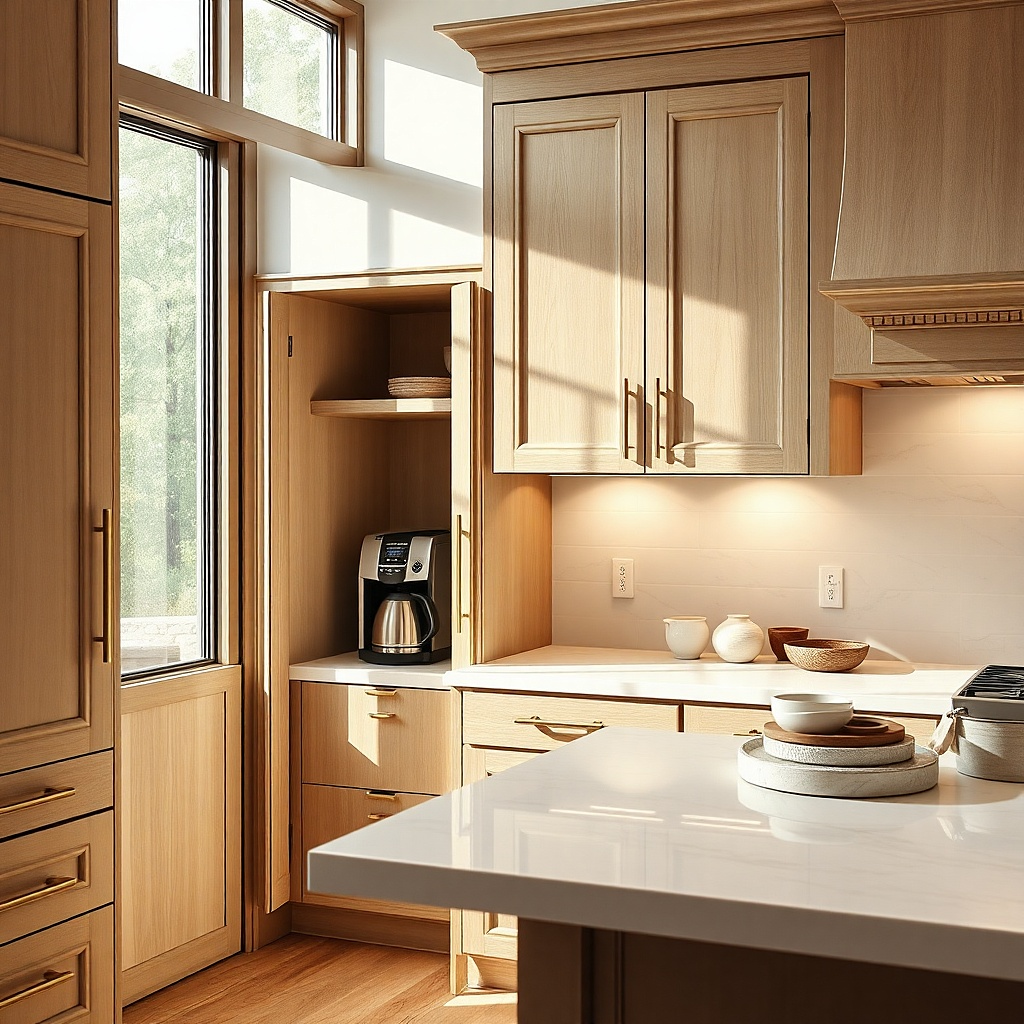
8. Countertop Appliance Garage With a Swing Lid
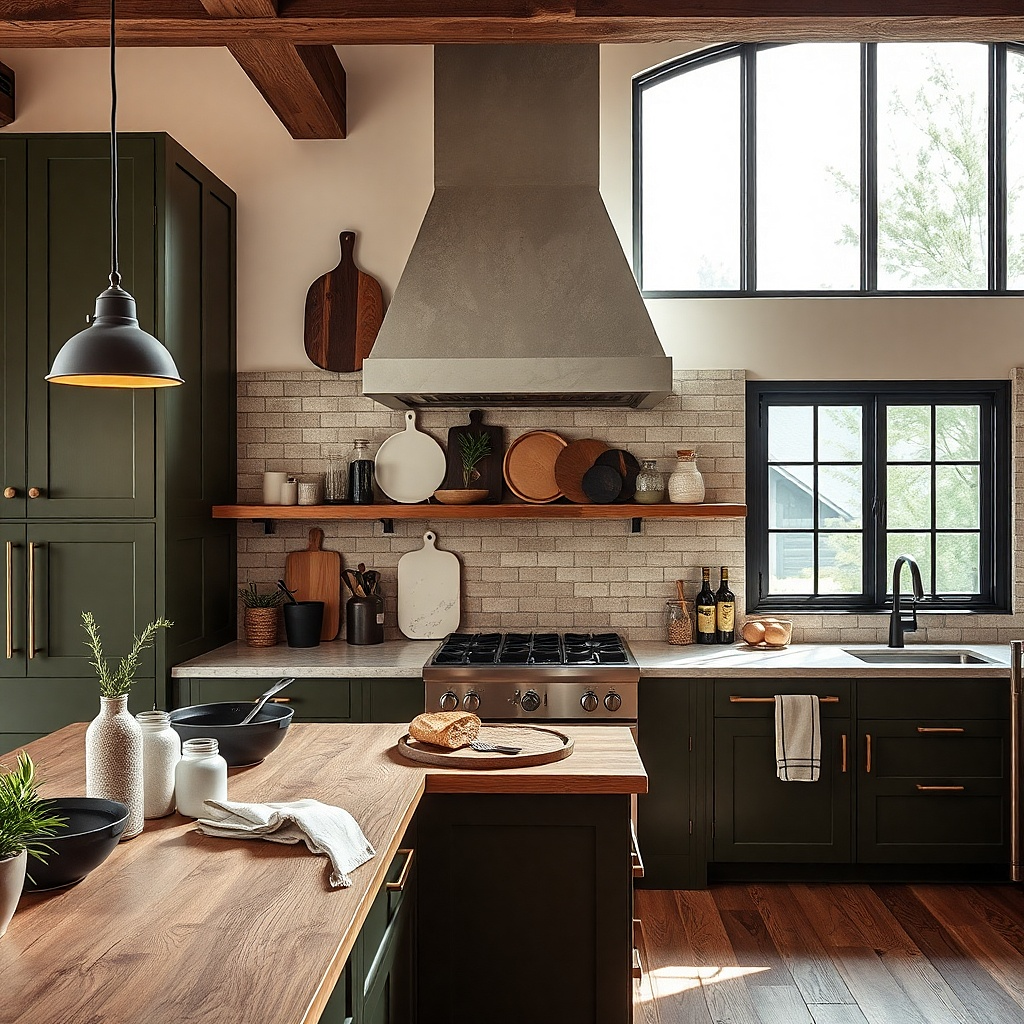
In a small open kitchen, countertop appliances become the loudest visual objects. A countertop appliance garage is decor because it makes the counter look finished when appliances are out of sight. I prefer a swing lid because it’s faster than sliding doors when you’re cooking. Use a garage in the same finish as your cabinetry — painted white with a wood handle works well with neutral kitchens. Inside lining matters too; light gray or off-white fabric reduces scratches and keeps the interior from looking grimy. This idea flatters small kitchens where you want a clean backdrop for dining guests. It also helps people who host frequently and don’t want every surface to turn into a cooking station.
Try thisKeep the lid open only while you’re actively using the appliance — closing it instantly makes the whole kitchen look pulled together.
Start by measuring the tallest appliance height and add 1 inch clearance for the lid and airflow. Choose a garage width that matches your appliance footprint, then place it near outlets so you don’t run cords across the counter. Position it so the handle faces the kitchen, not the walkway, for easier access. Line the inside with a washable fabric or removable liner so crumbs don’t stain. Store only the appliances you use weekly; keep rarely used items in a cabinet to avoid making the garage feel like a junk drawer. Style the outside front area with one small tray holding mugs or a couple of coffee filters.
Common mistakeBuying a garage that’s too tight — you’ll leave it open because it feels annoying.
9. Stove-Adjacent Wall Shelf for Cutting Boards
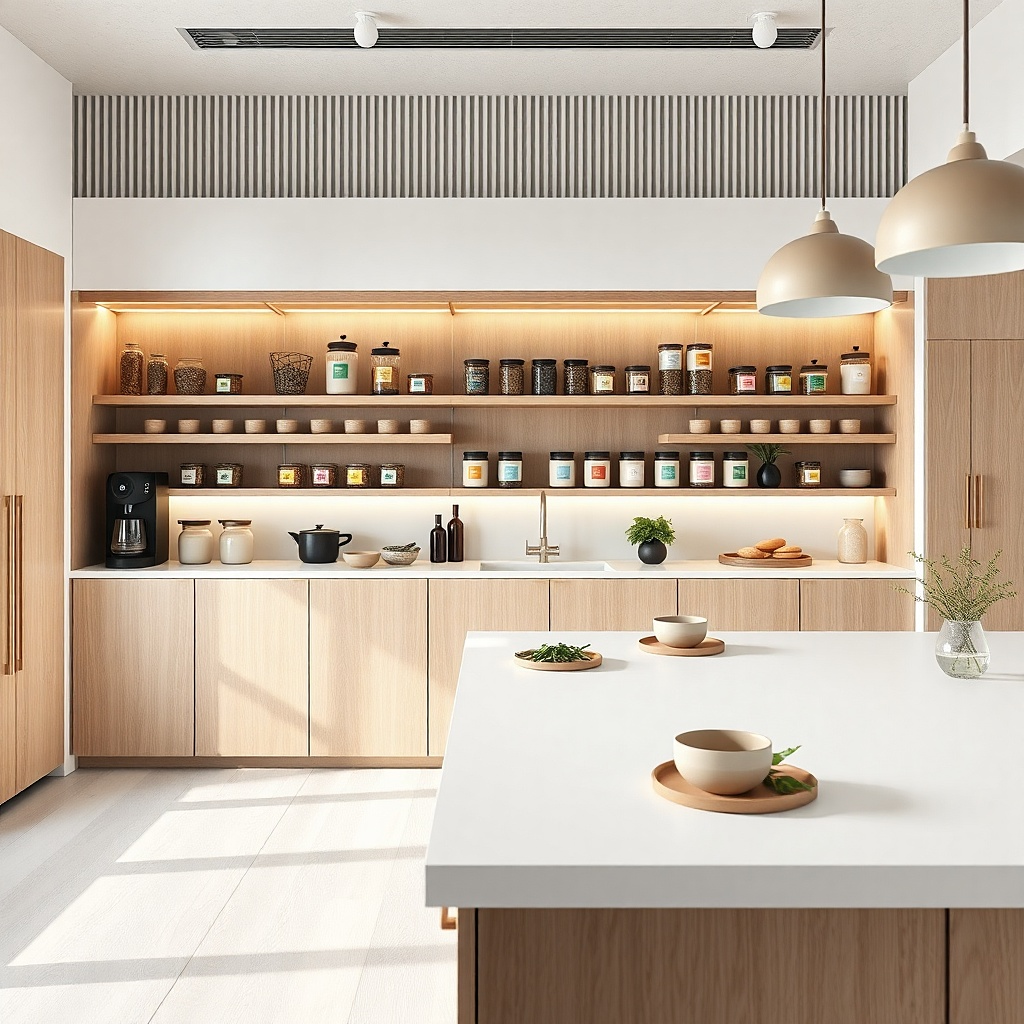
Cutting boards are practical, but they also look great when they’re displayed in a controlled way. A wall shelf next to the stove keeps them off the counter and reduces the “stack” mess that forms during meal prep. I like mixing one wood board with one darker board and one ceramic board so you get warmth plus a clean wipeable surface. The shelf placement is important — it should sit near the prep zone, not over the dining side, so it doesn’t feel like clutter when you’re entertaining. This works especially well in narrow kitchens where cabinet space is limited. It also flatters people who bake or cook in batches because boards stay accessible without digging through drawers.
Try thisUse felt pads under boards that touch the shelf to prevent scuff marks and noise when you move them.
Start by measuring the board sizes you own, especially thickness. Choose a shelf with a depth around 8 to 10 inches so boards rest without sliding. Mount the shelf so the bottom edge sits around 60 inches from the floor, then test with one board before final tightening. Place the largest board on the center, then angle the second and third boards slightly so they don’t look like a flat pile. Add a small hook bar beside the shelf for one ladle and one towel so you get functional storage. Keep the rest of the counter clear and use a single tray on the counter for salt and pepper only.
Common mistakeStacking boards too high — it makes the shelf look crowded and blocks sightlines.
10. Lidded Canisters for Dry Goods With Color-Blocked Labels
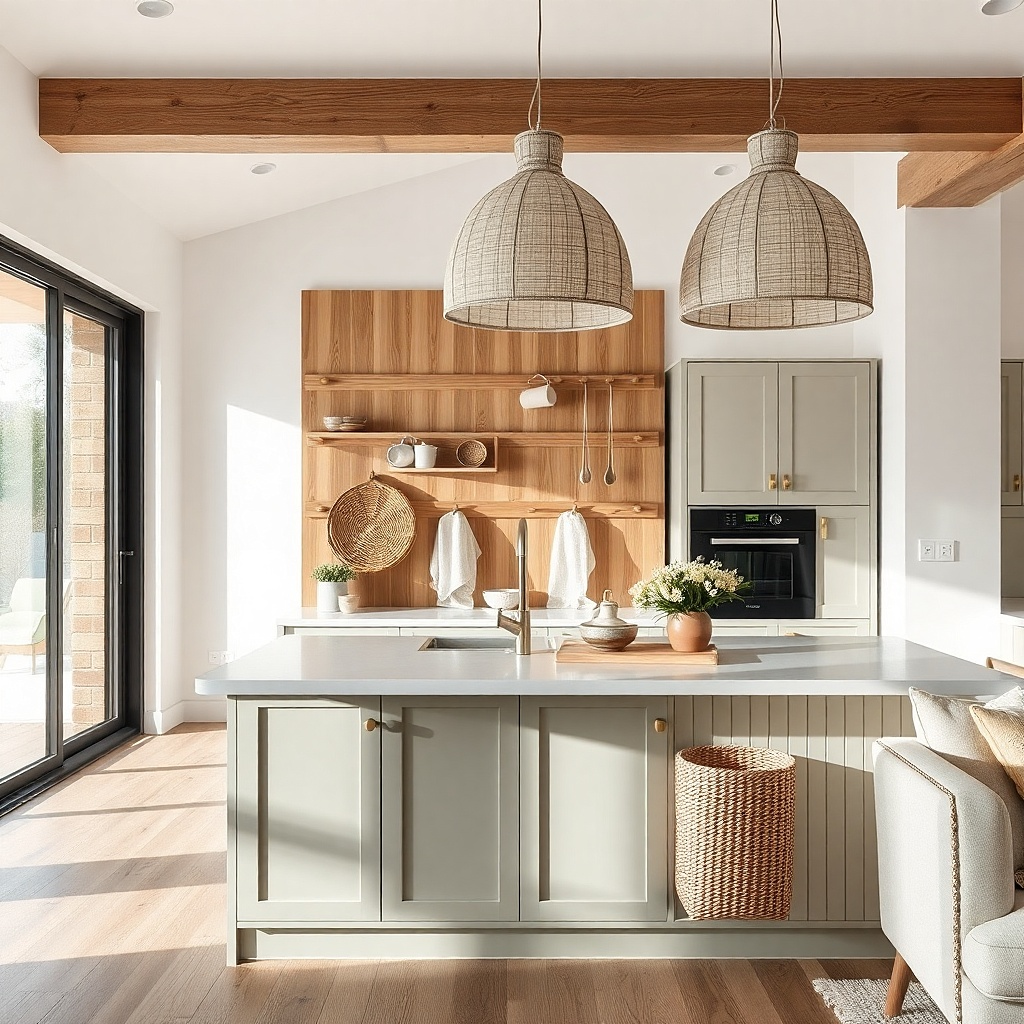
Dry goods containers are decor only when they look consistent. Lidded canisters stop bags from showing their logos, and they remove the “open pantry” visual noise that makes small spaces feel cluttered. I like a mix of glass for visibility and ceramic for warmth, but keep the lids all the same finish. Color-blocked labels help you find things fast while keeping the shelf visually calm. This idea flatters kitchens with open sightlines because the shelf reads intentional instead of like a storage shelf. It also helps people with dietary routines — you can label by use, not by brand.
Start by emptying your dry goods and checking jar sizes so the canisters fit your actual products. Choose canisters with similar height so your shelf looks like one line, then place them with lids facing forward. Label with a simple method: white tape, black marker, then a small color block in a corner for category. Keep categories to four or fewer on the shelf so it doesn’t become a rainbow. Style the shelf with one accessory only — like a ceramic bowl for snacks — and keep the rest blank. Wipe canister lids weekly so fingerprints don’t turn the shelf into a smudged mess.
Put the heaviest canisters at the back of the shelf so the front line stays neat and level.
Using every different jar style from around the house — it looks like you’re out of storage.
11. Tall Pantry Cabinet Inserts With Pull-Out Waste and Recycling
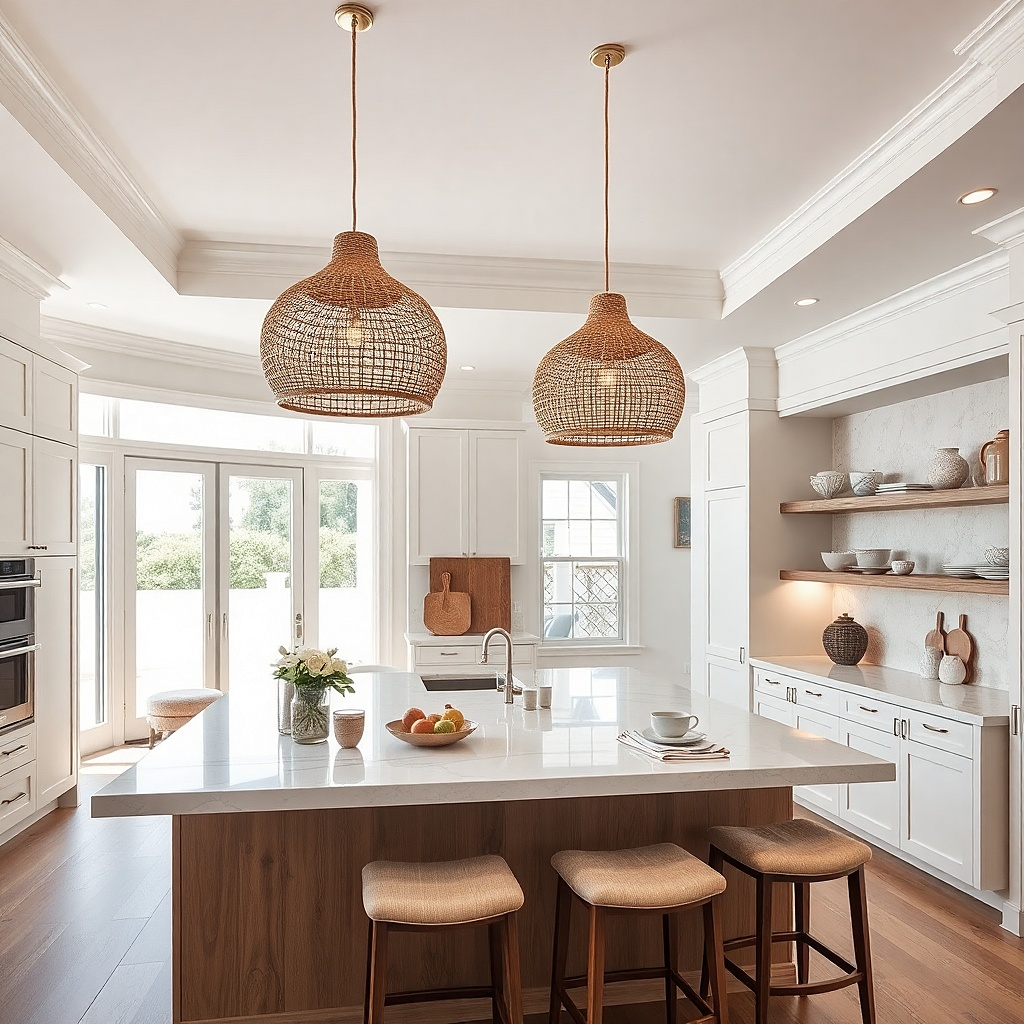
Waste and recycling are the first things that ruin the look of a small open kitchen because the bins are bulky and ugly. Pull-out bins inside a tall pantry cabinet hide the mess, so the kitchen looks like decor even after dinner. I like waste systems that pull forward smoothly so you don’t have to wrestle bags out through narrow gaps. Keep the bins in a neutral finish and use labeled fronts so the area stays organized even when you’re rushing. This idea flatters tight layouts because it uses vertical cabinet space instead of taking up floor space. It also keeps hosting calm because guests don’t see trash bags near the dining edge.
Try thisKeep one roll of liners on a small hook inside the cabinet door for quick restocks.
Start by measuring the cabinet interior width and height and decide where the bins will sit — bottom for waste, middle for recycling, depending on your cabinet layout. Install rail systems so the bins slide without scraping the sides, then test with empty bins before filling. Use a removable liner or washable bin cover so spills don’t stain. Add shelf dividers above for cleaning cloths, extra bags, and gloves. Label the bin fronts with simple icons or black marker so you can sort quickly. Style the cabinet top shelf with only one tidy item — like a small ceramic canister — so the open kitchen side stays clean.
Common mistakeLeaving trash bins in a visible corner — it turns the kitchen into a storage zone.
12. Pendant Lighting Over the Bar With a Storage-Wise Cord Plan
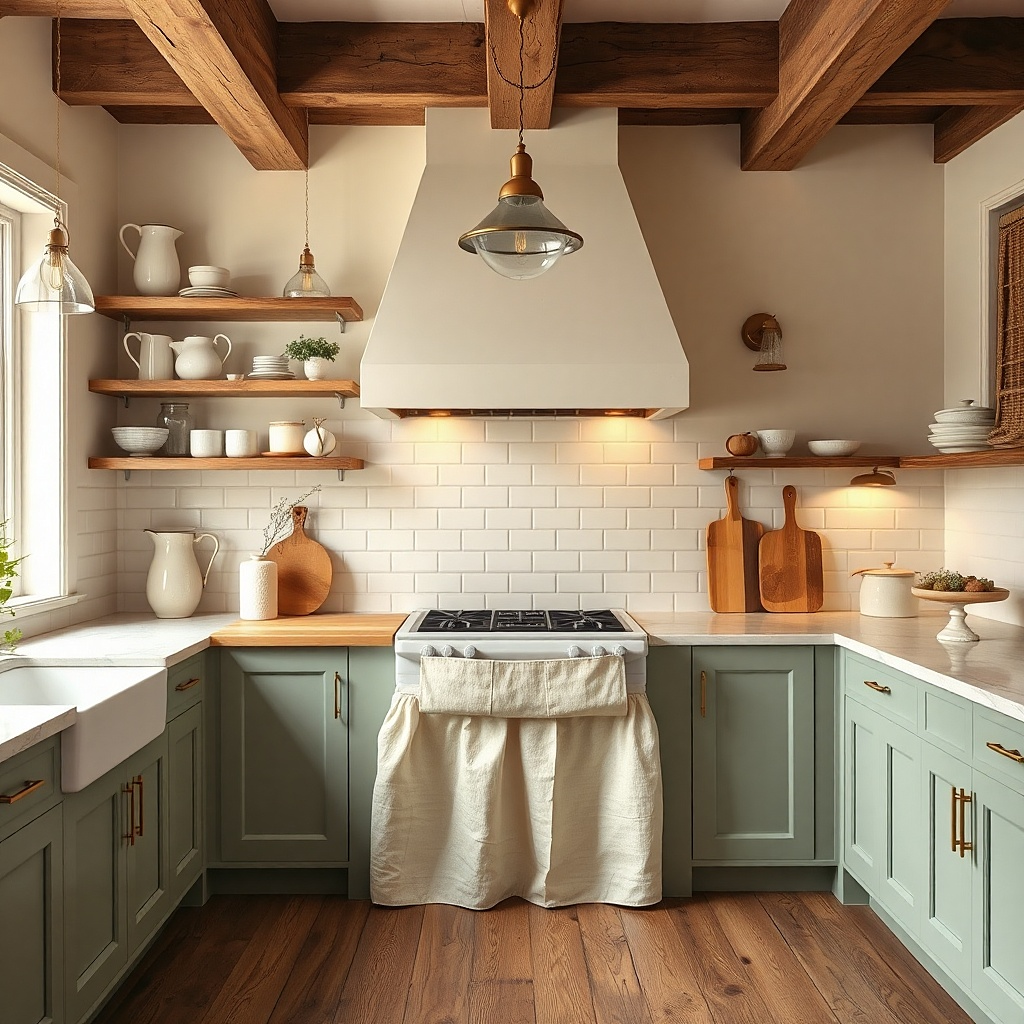
Lighting is decor in open kitchens because it controls how the whole room reads. Two pendants over the bar make the space feel intentional and social, and it also changes how shelves look — warm light makes wood and ceramic look softer. The storage-wise part is planning the cord route so it doesn’t interfere with shelf placement or create visual clutter. I like using dimmable bulbs at 2700K because the kitchen looks inviting at night without making white cabinets look blue. This idea flatters small kitchens by focusing attention on the gathering area instead of the cramped perimeter. It also helps with hosting because the dining side feels like it has its own “moment,” not just the kitchen passing through.
Try thisChoose matte shades, not glossy, so the light doesn’t bounce and highlight clutter.
Start by choosing pendant shades with a diameter around 10 to 12 inches for a small bar, then hang them so the bottom sits about 30 to 32 inches above the countertop. Shorten cords during installation and use a cord cover to keep the line straight and clean. Place the pendants centered over the bar so the light hits the middle of the seating area. Add a dimmer switch if you can, then test brightness during the day and at night. Keep the bar top styled with one tray and one small vase so the pendants have something neat to frame. If you have open shelves nearby, avoid placing bright reflective items right under the light — they can glare.
Common mistakeHanging pendants too high — it makes the bar feel unfinished and the kitchen looks dim.
13. Woven Sink Skirt and Drawer Front Tray System
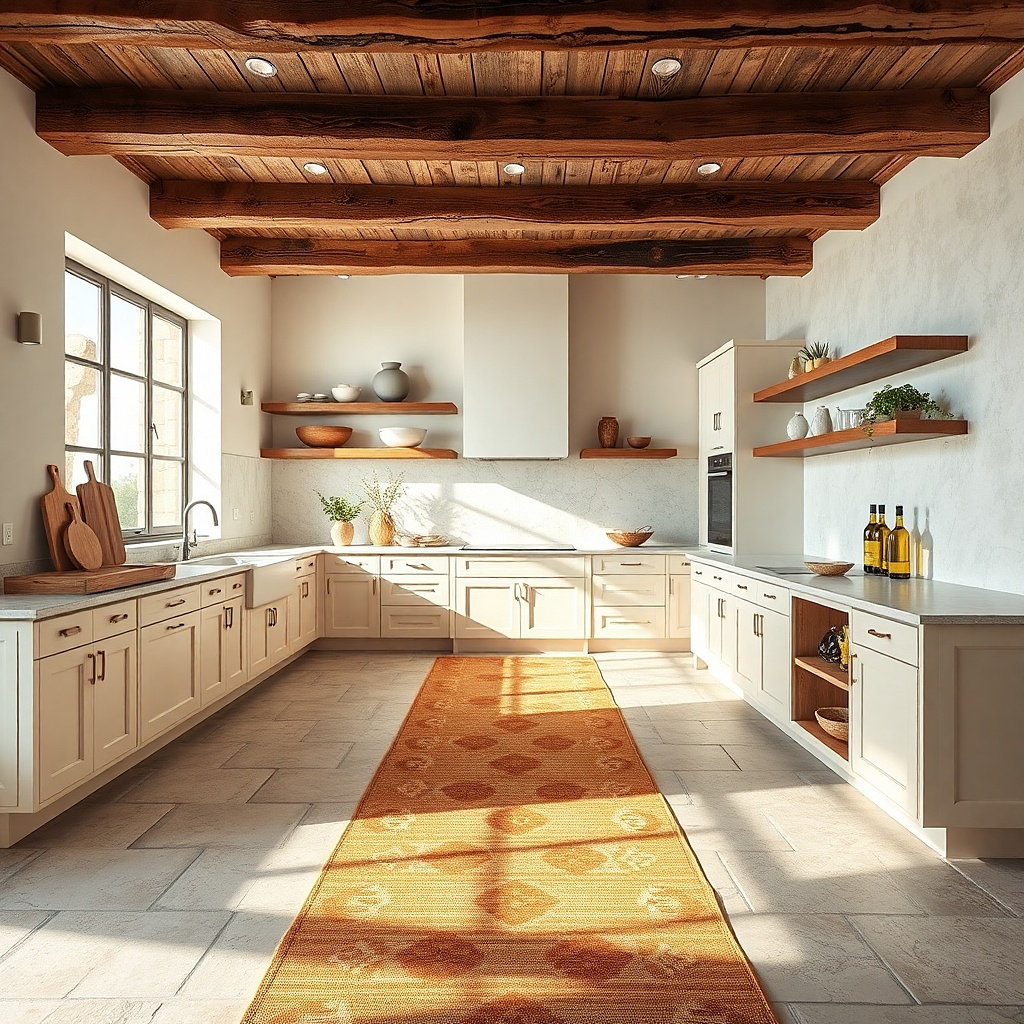
This is a small change that makes a sink area look finished, especially in open kitchens where the sink is visible from the dining side. A woven sink skirt hides ugly cleaning storage without taking up counter space, and it softens the look of stainless appliances. I also like building a tray system in the drawer near the sink because it keeps daily tools from spilling onto the counter. Use natural woven textures like jute or cotton blend in a light tan; it warms up cool materials like stainless and stone. This works for kitchens that feel too “hard” or modern and need softness. It also flatters people with small counters who need cleaning tools ready but not on display.
Start by measuring the sink cabinet opening and choosing a skirt length that reaches just above the floor, around 2 to 3 inches clearance. Create a cleaning caddy inside the cabinet and keep it stable so the skirt doesn’t sag. Install a drawer tray near the sink — typically a shallow tray that fits the front half of the drawer. Place sponges in one section, scrub brush in another, and keep a small bottle of dish soap upright. Add one matching cloth or small towel nearby so the sink area looks styled. Check the visual from the dining side — the skirt should hide the cabinet contents completely.
Wash the cloths weekly and rotate colors — the sink area stays bright instead of looking grungy.
Using a dark sink skirt with light cabinets — it makes the sink area look heavier.
14. Corner Window Seat Storage With Lift-Up Tray
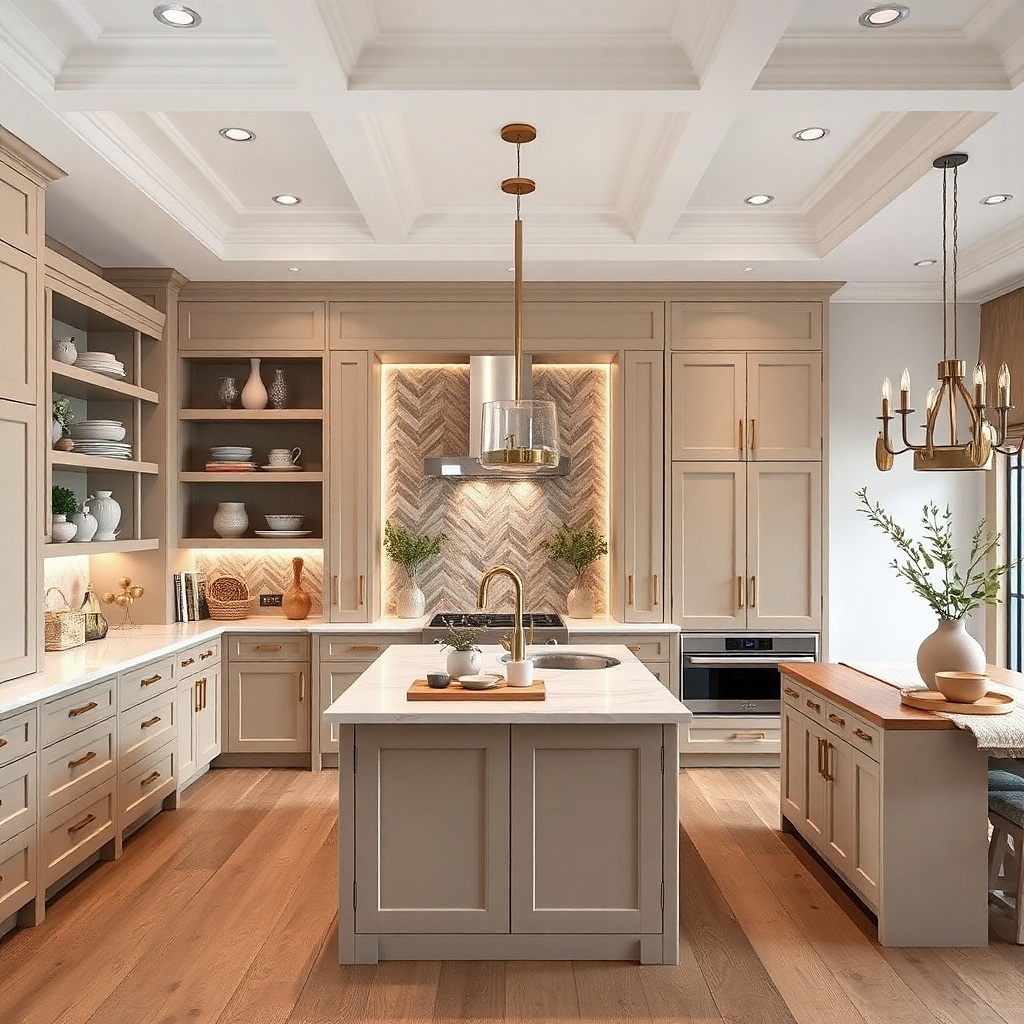
If your small open kitchen has even a tiny window corner, a window seat storage bench changes everything. It gives you a place for table linens, extra napkins, and seasonal items without adding clutter to counters or shelves. The lift-up tray keeps the storage hidden but still accessible when you’re prepping for dinner. I like neutral cushions with removable covers in textured fabric like linen blend, because they look warm and hide minor stains. This idea flatters kitchens with a natural light source because it turns that corner into a social nook, not empty space. It also helps hosting because you can move from cooking to serving without leaving guests staring at messy storage.
Try thisPut your most-used napkin set in the front of the storage so you grab it fast during dinner prep.
Start by measuring the window nook and confirming you have enough clearance for opening blinds or curtains. Build or buy a bench with lift-up storage sized for folded linens — aim for the seat depth to be at least 14 inches. Add a cushion that sits about 1 to 2 inches above the bench edge so it looks intentional. Place a narrow tray on top with two mugs and one small decorative item so the bench never looks bare. Store linens inside the lift-up compartment and keep the top surface minimal. If you add baskets inside the bench, match their color — either all natural or all white — so it looks tidy when you open it.
Common mistakeOverstuffing the bench with random items — the storage hides clutter, but the top still reads messy.
15. Bar Stool Side Table With Pull-Out Drawer for Coasters
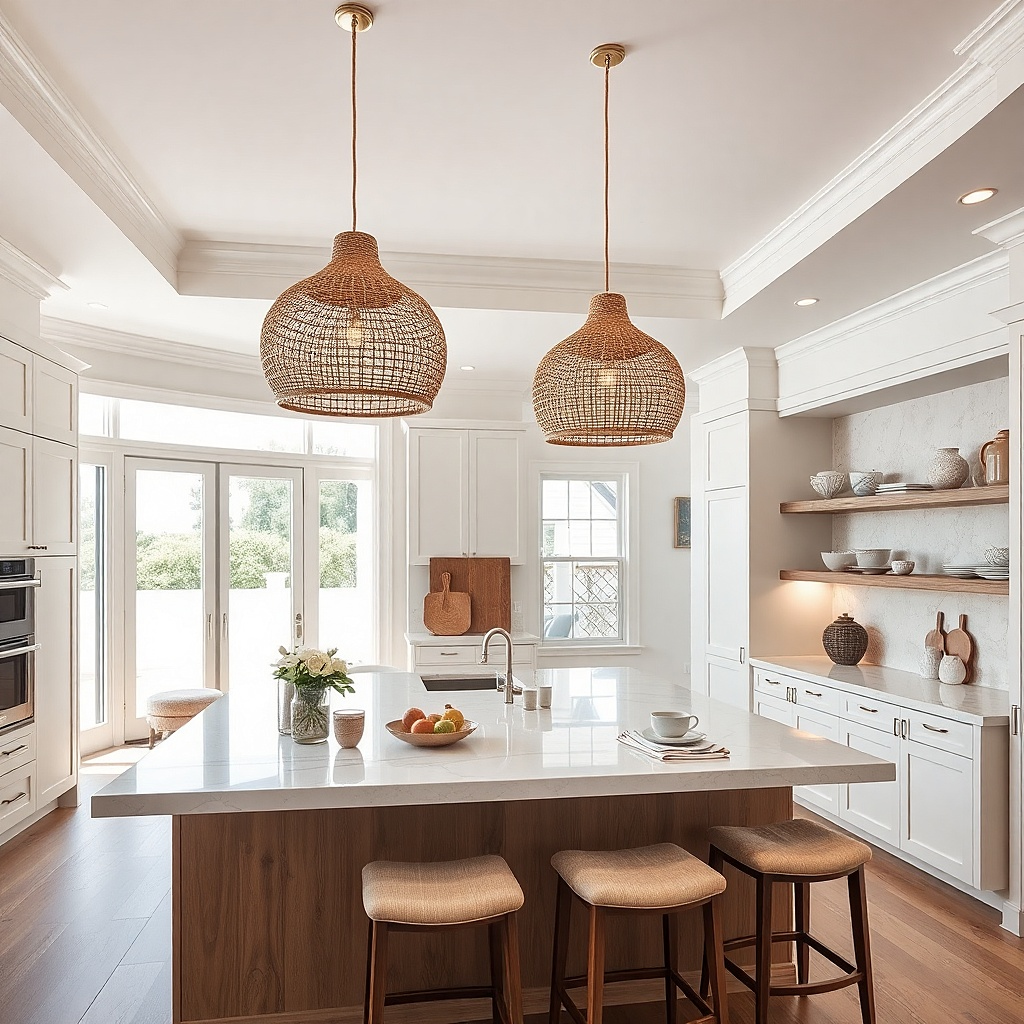
A small kitchen gets messy during hosting because drinks and snacks move around. A bar stool side table with a drawer gives you a dedicated “social station” that keeps coasters, openers, and napkin rings in one spot. I like rolling tables only when your walkway is wide enough; otherwise choose a fixed table. The aesthetic comes from matching finishes — if your bar stools are black metal, pick a black frame or black drawer pulls. This idea flatters small open kitchens because it adds function without eating counter space. It also helps you control mess: guests can grab from the table, and you don’t have to chase items across the kitchen.
Try thisStore a spare roll of paper towels in the table base for quick cleanup during parties.
Start by measuring the space between stools and the nearest cabinet so a side table doesn’t block movement. Choose a table height that aligns with the bar — usually around 28 to 30 inches. Add a drawer divider set for coasters and small accessories, then keep the top surface styled with one tray only. Place the drawer station near the side where you set drinks so you can refill without crossing the kitchen. Use a tray with raised edges so spills stay contained. Keep the table top in one color family and avoid mixing too many patterns — small spaces read busy quickly.
Common mistakeLeaving the side table empty except for random items — it stops being a station and becomes clutter.
16. Matte Black Peg Hooks on Cabinet Doors for Towels and Bags
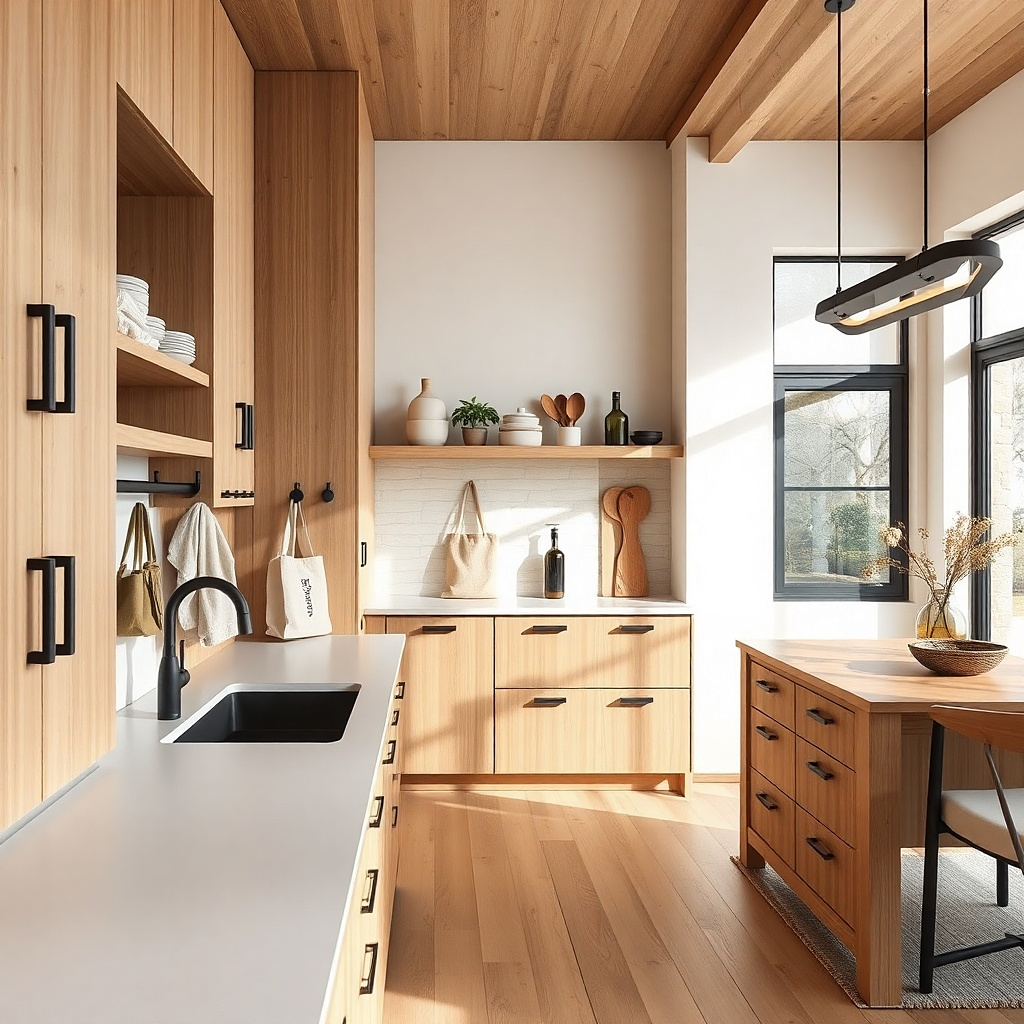
When towels and bags live on counters, a small open kitchen looks chaotic even if the rest is tidy. Hooks on cabinet doors keep daily items off surfaces and close to the work zone. Matte black hooks look clean against white or light cabinets, and they match common hardware tones without extra shopping. I like this approach because it’s fast — you can set it up in an afternoon, and you instantly gain usable “storage decor” space. It flatters kitchens with traditional or modern styles because the hook shape is simple and doesn’t fight your design. It also helps families because everyone knows where the towel goes.
Try thisUse a single towel size for the hooks so it always hangs the same way and looks tidy.
Start by choosing a cabinet door near the sink or stove — the items you hang should be the ones you use most. Install hooks using the right screws for the door material, and keep spacing about 3 inches apart so towels don’t drag. Hang one towel folded neatly and one tote or oven mitt on separate hooks so it doesn’t become a knot pile. Add a small clip hook for lightweight items like reusable produce bags. Keep the color limited — one towel color and one bag color — so the door doesn’t become a patchwork. Finally, check the view from the dining side and adjust hook placement so it stays aligned and visible, not random.
Common mistakeUsing bulky hooks that stick out too far — they hit when doors open and make the setup look messy.
17. Dining Shelf Wall With Built-In Nook for Serving Trays
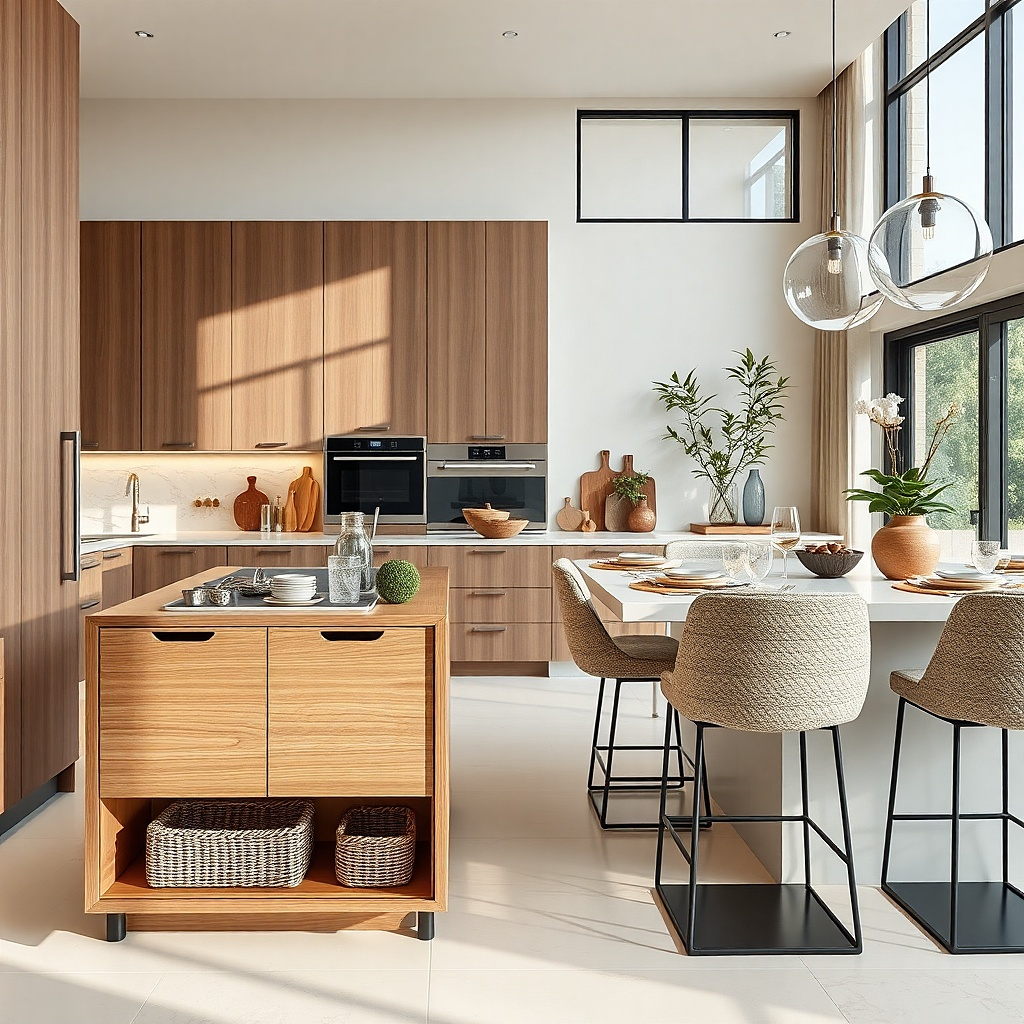
Serving trays are where clutter goes during parties. In a small open kitchen, they end up leaning on cabinets or taking up counter space because there’s nowhere dedicated for them. A built-in nook or dedicated tray shelf keeps trays upright and ready, and it makes the dining side feel styled. I like a nook depth that matches tray thickness so trays don’t slip, and a shelf above that holds one small decorative item only. This idea flatters open kitchens because it creates a clear storage area that looks like decor. It’s also great for people who host casually and want quick access without rummaging through cabinets.
Start by measuring the largest serving tray you own, including handle width. Build or install a tray nook with depth about 2 inches deeper than the tray thickness so it sits comfortably. Place the nook at a height where you can grab it without crouching — around 45 to 50 inches from the floor. Add a second tray in a matching color family so the nook looks intentional. Style above the nook with one vase or one bowl and keep it small so the wall doesn’t feel crowded. Use a tray liner or felt at the bottom of the nook to prevent scratches and reduce noise when you move trays.
Keep the trays clean and lightly oiled if they’re wood — a fresh sheen makes them look decorative, not stored.
Cramming multiple trays in one spot — it makes them look messy and hard to grab.
18. Kitchen Runner Rug With Non-Slip Back and Color Repetition
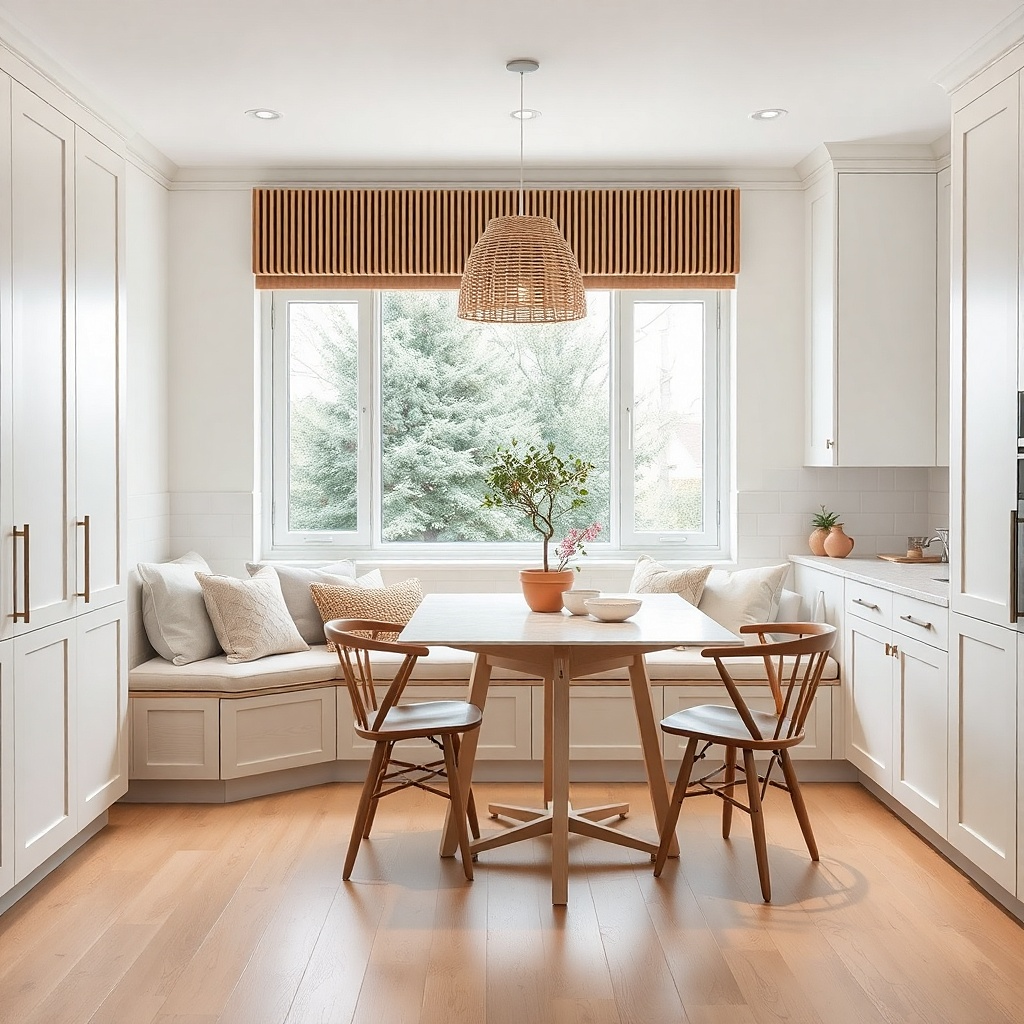
A runner rug is decor that changes how people feel in a small open kitchen. It defines the walking path and reduces the “everything is on the floor” clutter look, especially when you have a small dining zone. I choose rugs with a flat weave or low pile because they don’t snag on stools or get trapped under foot traffic. Color repetition matters: if your ceramics are cream and terracotta, pick a rug with those tones so it feels connected. This idea flatters small kitchens because it adds warmth without blocking storage. It also helps with social spaces — guests naturally step into the defined area instead of wandering into the cooking zone.
Try thisPut a rug pad under the runner; it makes the floor look more even and the rug stays crisp underfoot.
Start by measuring the walkway width and length so the runner sits with at least 4 inches clearance from both sides. Use a non-slip backing or rug pad so it stays flat — I’ve learned this the hard way with curled edges. Choose a pattern that’s tight enough to hide crumbs but not so busy that it competes with open shelving. Place the runner parallel to the counter line and center it so the dining side looks balanced. Add one accessory that repeats a rug color — like terracotta canisters or a ceramic bowl on a shelf. Vacuum the rug weekly and spot-clean spills quickly to keep it from looking tired.
Common mistakeBuying a high-pile rug — it traps crumbs and looks messy in a working kitchen.
19. Ceramic Wall Planters for Herbs Above a Prep Zone
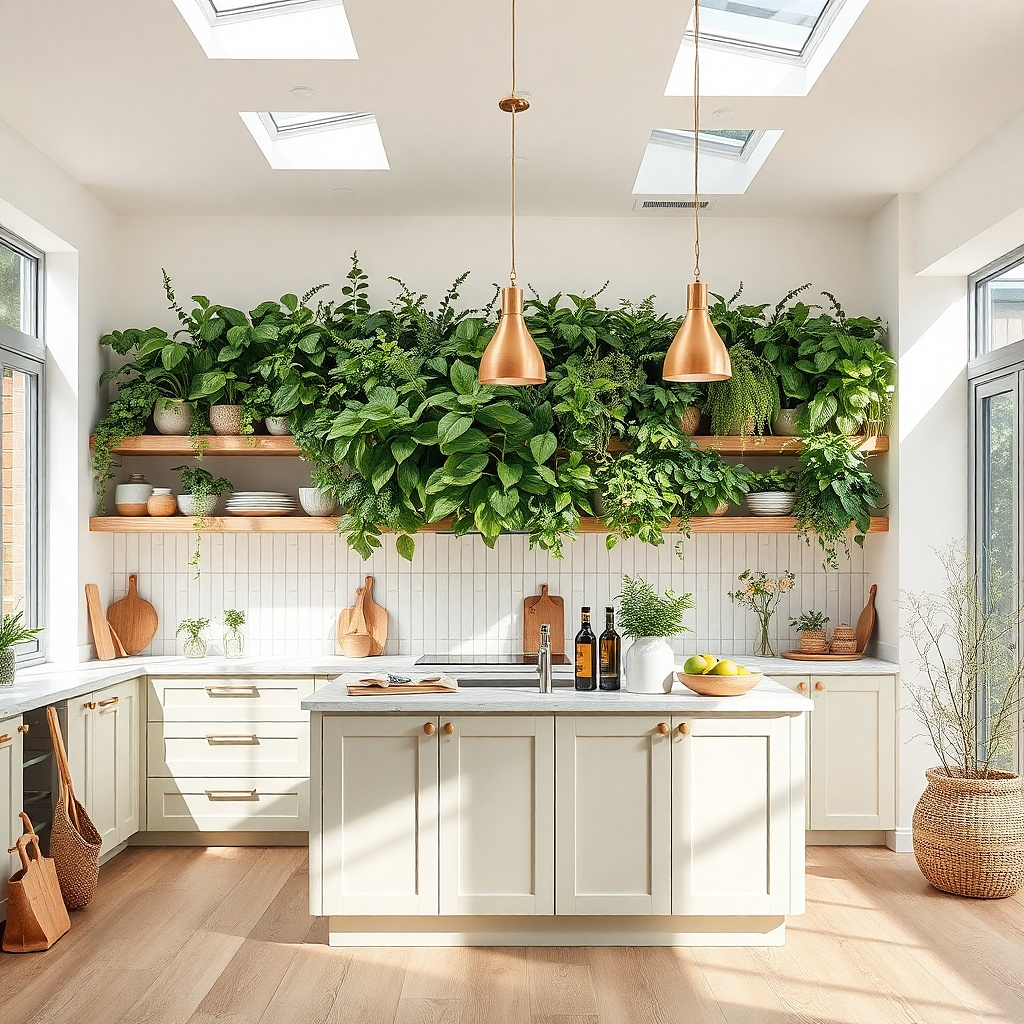
Herb planters are the best kind of decor for small open kitchens because they’re useful and they add color without taking counter space. Ceramic planters look clean and wipeable, and the white and sage palette keeps the wall feeling bright. Position them above a prep zone — not above the stove where grease can build. This idea flatters kitchens with limited natural light because you can choose hardy herbs and keep a simple care routine. It also makes the kitchen feel more social because guests see living plants instead of storage containers. When the herbs are within reach, cooking becomes less of a scramble and more of a flow.
Try thisRotate the planters every week so plants grow evenly and the wall doesn’t look lopsided.
Start by choosing planters with drainage and matching wall anchors that can hold weight when soil is wet. Mount them so the bottom of the smallest planter sits around 55 to 60 inches from the floor. Group three planters in a vertical line or a slight triangle so it looks intentional. Fill with a light potting mix and plant hardy herbs like basil only if you have strong light; otherwise go for chives or thyme. Keep a small tray on the counter nearby for scissors and a spray bottle so you’re not dragging tools around. Style the rest of the shelf or counter with minimal items so the planters stay the focus.
Common mistakeMounting planters too close to the stove — steam and grease create a grimy look fast.