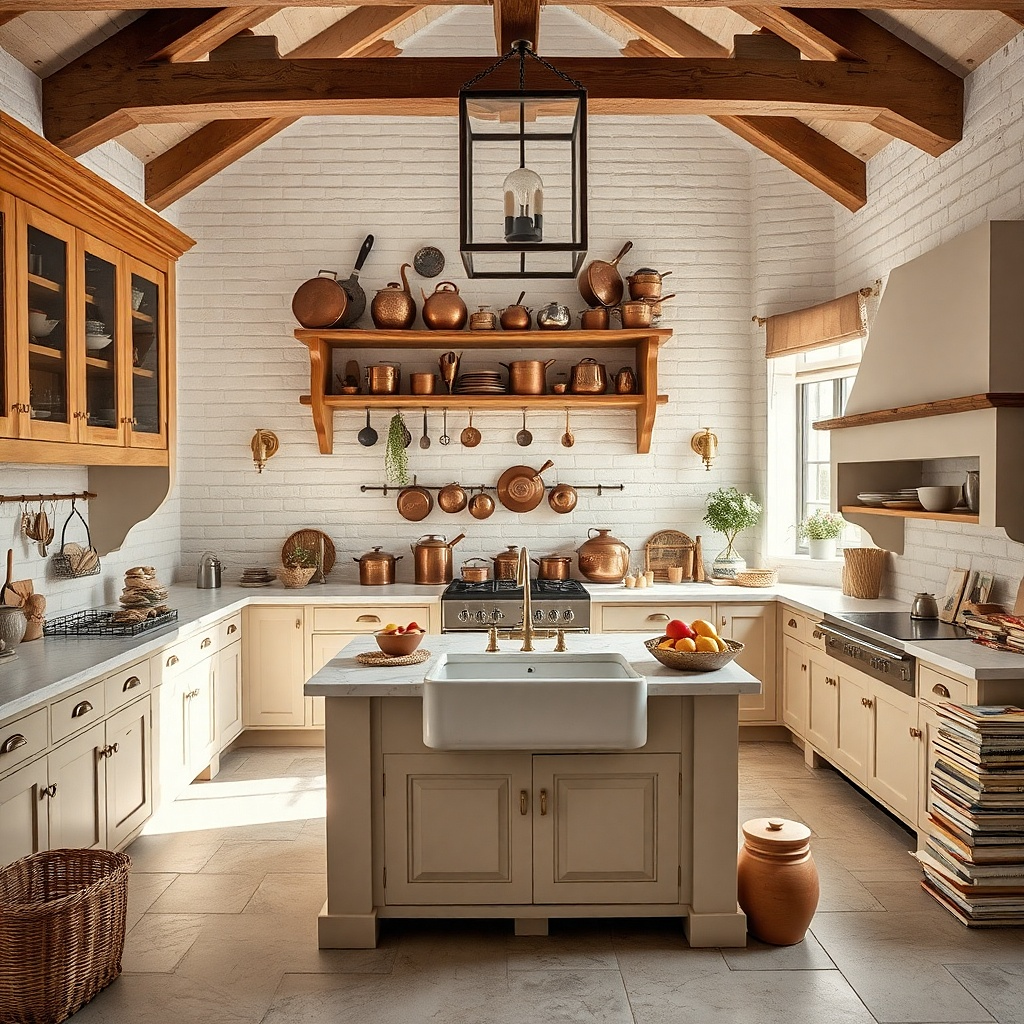
1. Reclaimed Wood Plank Sign With Rope Light Outline
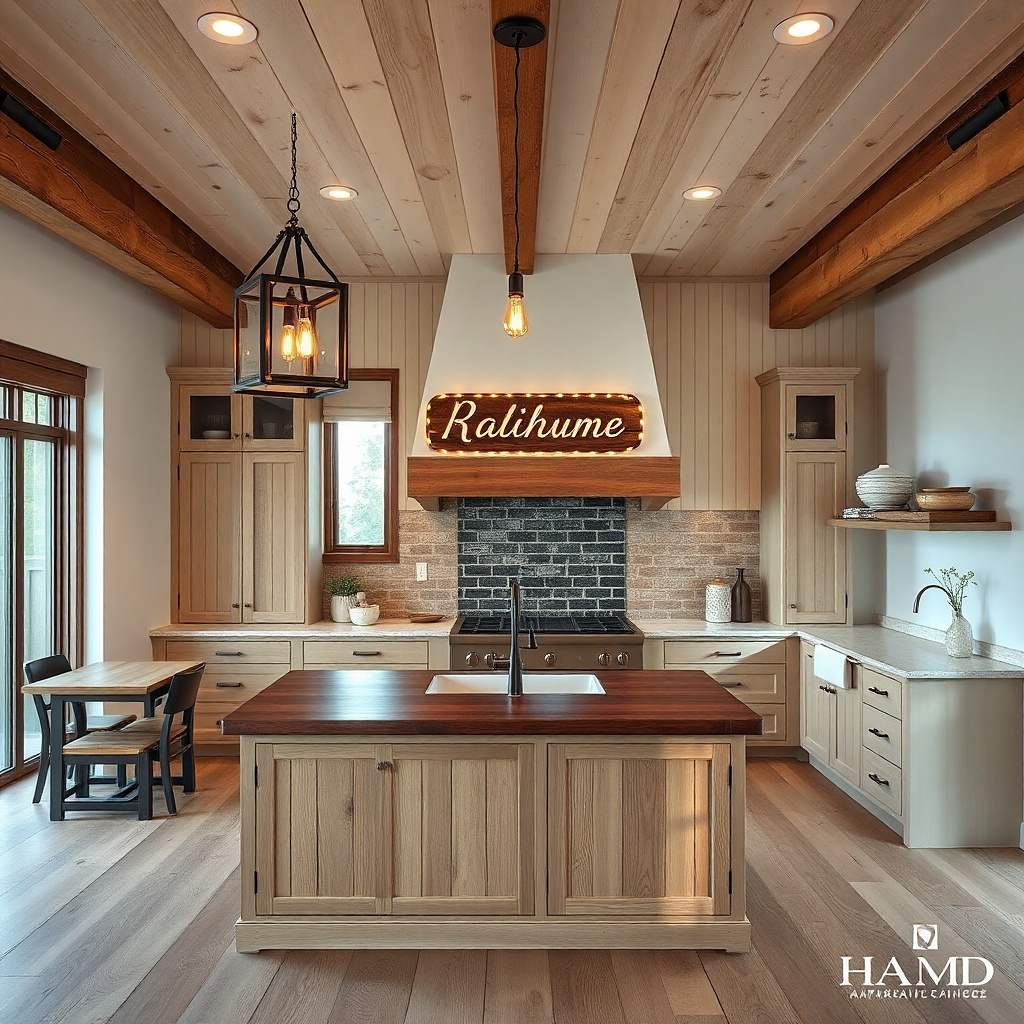
A reclaimed wood plank sign with a rope light outline gives you rustic warmth without visual clutter. The wood grain reads cozy in daylight, while the rope light makes the sign glow like a soft storefront at night. Choose a sign shape with clean geometry — rectangle or arched top — so the light edges look intentional. This works especially well above a dining table or on a wall where you want one clear focal point. Keep the palette tight: honey oak, walnut stain, and black iron hardware look best together.
Try thisUse matte black screws and washers so the hardware disappears during the day and doesn’t fight the glow at night.
First, pick a plank size that matches your wall. For most dining walls, use roughly 24-36 inches wide and 6-8 inches tall for the sign face area, then outline the perimeter with rope lighting. Mount the sign so the top sits around 66-70 inches from the floor, and aim the glow downward toward the table line. Install 5V or 12V LED rope lights with a diffuser cover if you can, then run the cord through a small wall plate or route it along a corner trim. Finish by testing brightness at night and adding a dimmer inline if the kit supports it.
Common mistakeDon’t use cool-white LEDs; they make the wood look gray and the whole wall feel colder.
2. Lantern Sconce Pair Over the Dining Table
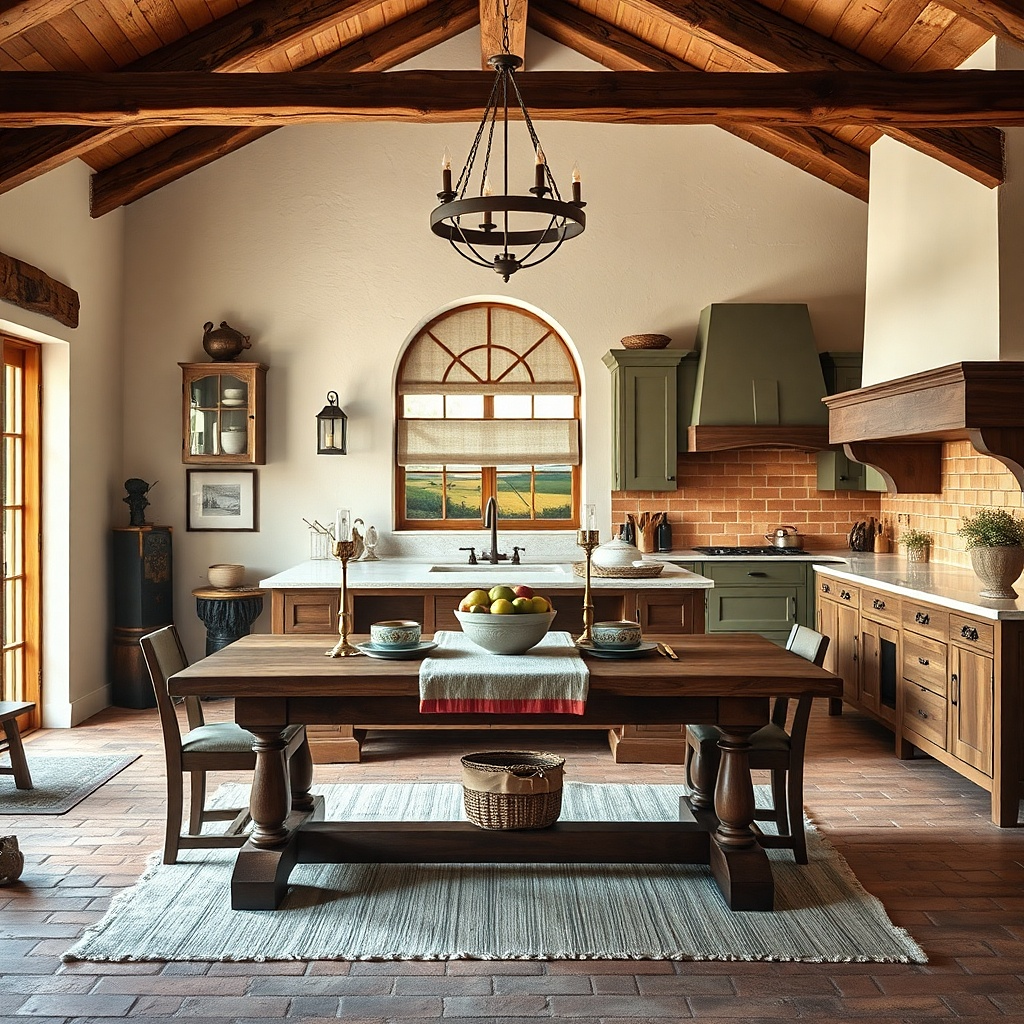
Two matching lantern-style sconces create instant symmetry, which makes a kitchen wall feel designed even when the rest of the decor is simple. Rustic lanterns add texture through metal bars and glass panels, and warm bulbs turn that glass into a gentle glow. This idea is strong for kitchens with a dining table centered on the wall, because the sconces frame the space like brackets. Choose black, oil-rubbed bronze, or dark weathered brass for a rustic look that also pairs with stainless appliances. The light spreads across the wall and tabletop edge, which helps the room feel warmer without extra clutter.
Try thisPick lanterns with open bottoms or clear glass rather than heavy frosted covers if you want more warm light on the wall.
Start by marking the table centerline and measuring out to the desired sconce spacing. A common spacing is 24-30 inches between each sconce center, depending on table width; mount so the bottom of the fixture sits about 62-64 inches from the floor. Use LED bulbs labeled 2700K and 6-8W equivalent for a steady glow. Install mounting plates into studs when possible, and run wiring neatly up into the junction box behind a trim plate. After mounting, check that the lantern glass isn’t directly in the line of sight from seated eye level.
Common mistakeAvoid mixing sconce finishes on the same wall; the mismatch reads accidental in rustic kitchens.
3. Backlit "Farmhouse Market" Letter Board in Soft Linen Frame
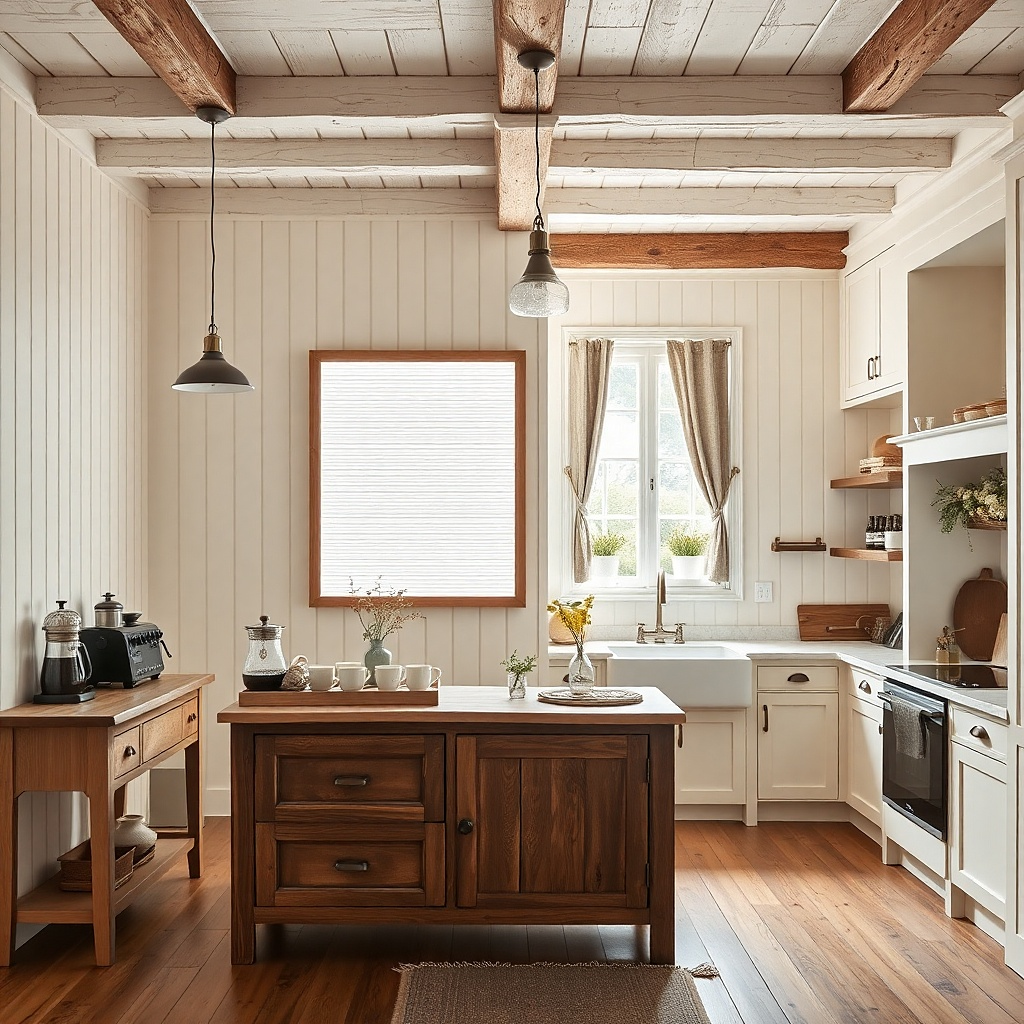
A backlit letter board in a linen frame gives you rustic charm with a clean, readable message. During the day, linen softens the look and keeps the board from feeling like holiday decor. At night, the backlight turns the letters into a warm focal point without harsh spots. This is ideal when you want the wall to look cozy but you also like changing seasonal wording — “Market Fresh,” “Gather Here,” or “Coffee & Tea.” Keep the letter style simple and the colors muted: cream letters on warm amber glow look best.
Try thisUse cream or off-white letters, not bright white, so the glow stays warm against the linen.
First, choose a board size around 18-24 inches wide so it’s readable from the dining area. Mount it at the same 58-60 inch center height guideline so it doesn’t feel too high. Install the board with a linen-covered frame or build a fabric cover around a backing panel, then route the power cord through a small cord channel. Use warm backlight settings if the board has them; target 2700K. Finally, set the message and test at night to ensure the glow doesn’t wash out the letters.
Common mistakeDon’t use glossy satin fabric around the light source; it creates glare and makes the board look cheap.
4. Wood Shelf With Under-Shelf Puck Lights and Ceramic Jars
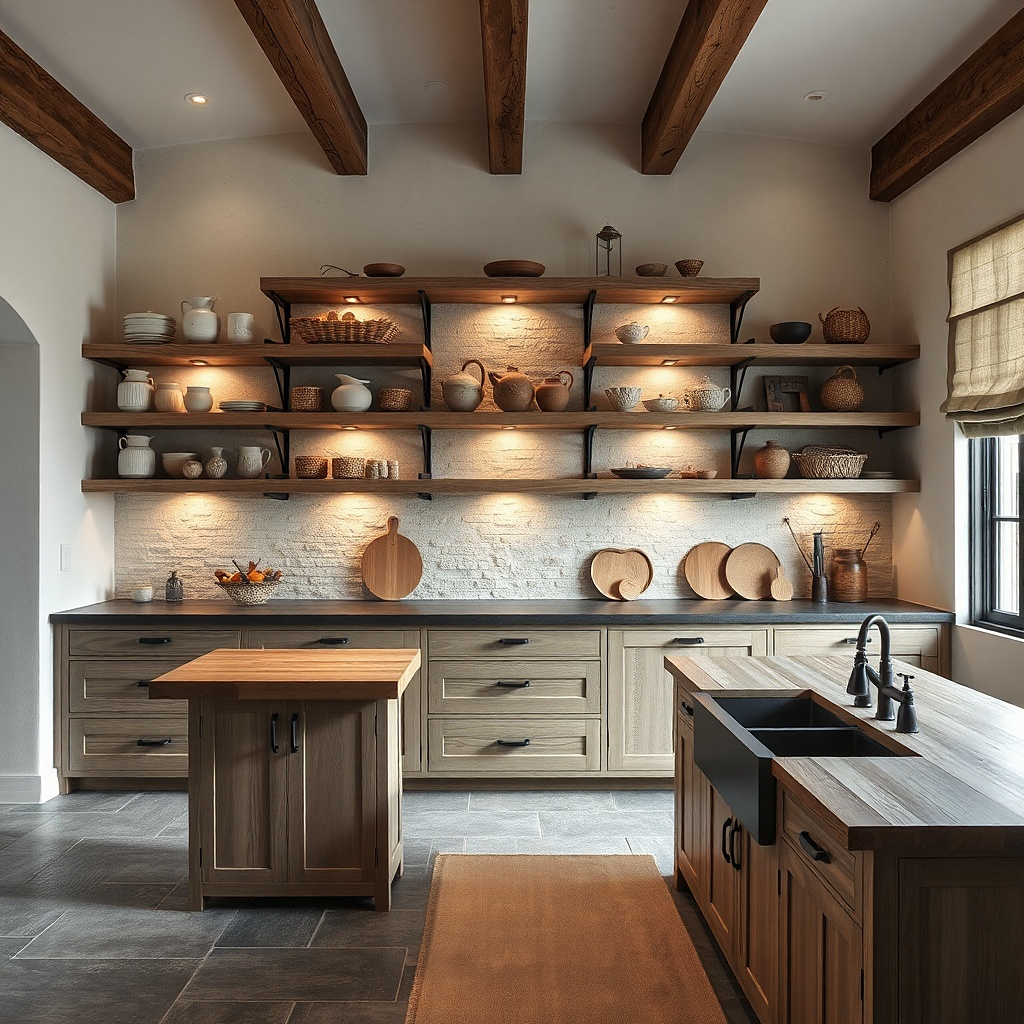
A shallow rustic shelf with under-shelf puck lights is one of the most practical ways to add warmth because it creates light where your eyes naturally land. Ceramic jars, small stoneware pitchers, and woven trivets look better when light comes from below rather than above. The shelf also solves the "empty wall" problem because it gives you a place to style without hanging lots of separate pieces. Choose a shelf in reclaimed oak or walnut stain, and keep jar colors in cream, oatmeal, muted sage, and speckled clay for a cohesive look.
First, pick a shelf length of 30-48 inches depending on wall width, and keep depth around 6-8 inches so the jars don’t stick out too far. Mount at roughly 65-68 inches from the floor for the shelf surface. Install 2-4 LED puck lights under the front lip, spaced evenly and wired to a hidden switch. Place 3-5 jars along the shelf — vary heights by using one taller pitcher at the ends. Turn it on at night and adjust jar spacing so the lights skim across the ceramic textures.
Use small command hooks or thin nails behind jar handles only if needed; keep cords invisible so the shelf reads clean.
Don’t overcrowd; too many jars kill the warm, curated glow and make the wall look busy.
5. Iron Grid Wall With Hanging Herb Planters and Mini String Lights
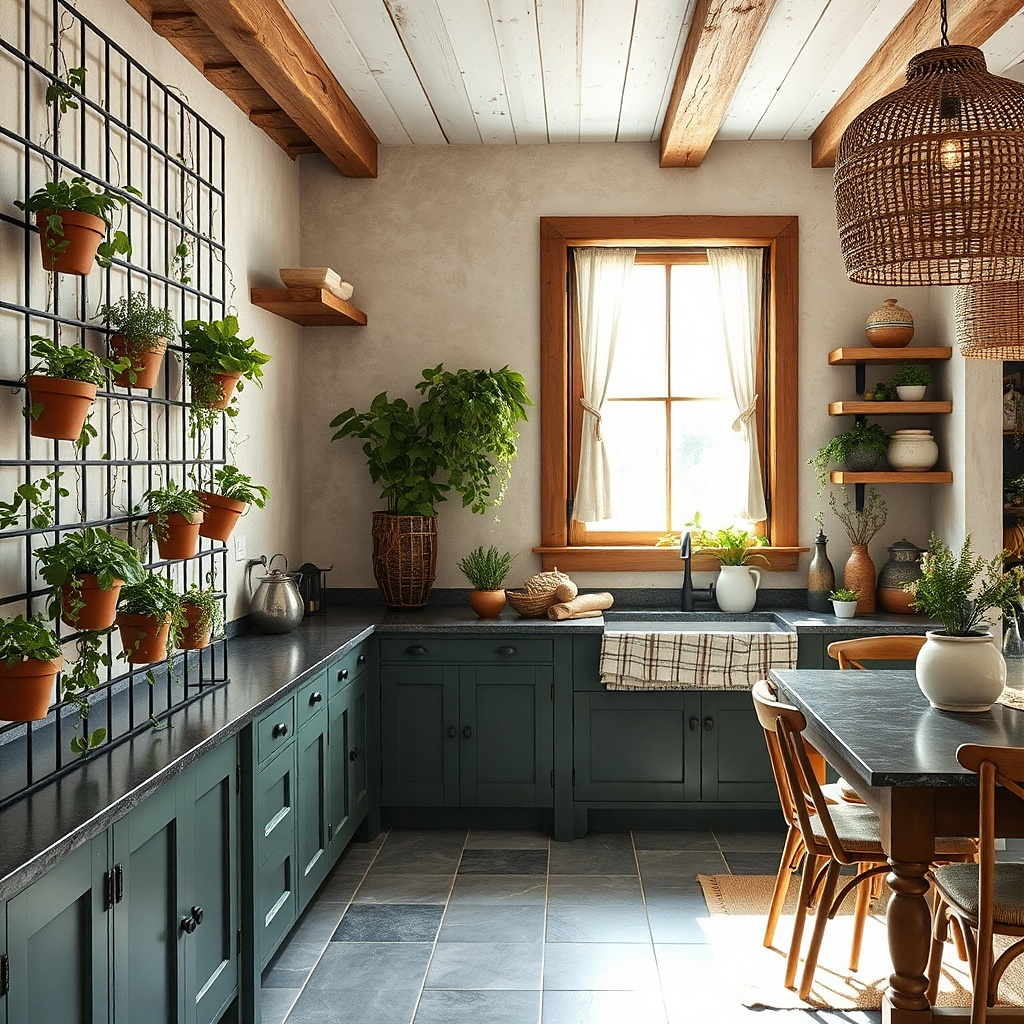
An iron grid wall adds structure, and hanging herb planters give you vertical texture that reads rustic without needing a big sign. Add mini string lights clipped along the grid rails, and the whole arrangement glows like a greenhouse corner. This works best on walls that already have plants elsewhere or kitchens with lots of natural wood. Keep planters in matte terracotta or weathered gray metal. The grid makes the lights look intentional because they follow a pattern rather than hanging randomly.
Try thisUse cord routing clips at the grid corners; it keeps the wire straight and the glow tidy.
Start by choosing a grid panel around 24x36 inches for a dining wall accent or 30x48 inches for a larger blank area. Mount it using wall anchors into studs if possible, then hang 3-6 planters at different heights. Clip warm LED string lights (2700K) along the grid — tuck the wire behind the bars so the only visible part is the bulbs. Add a small timer so the glow turns on automatically in the evening. Style with herbs or faux greenery, but keep leaf shapes consistent so the grid doesn’t look chaotic.
Common mistakeAvoid mixing silver planters with black grid; the metal clash makes the rustic theme feel forced.
6. Reversible Galvanized Tray Wall With Candle-Style LEDs
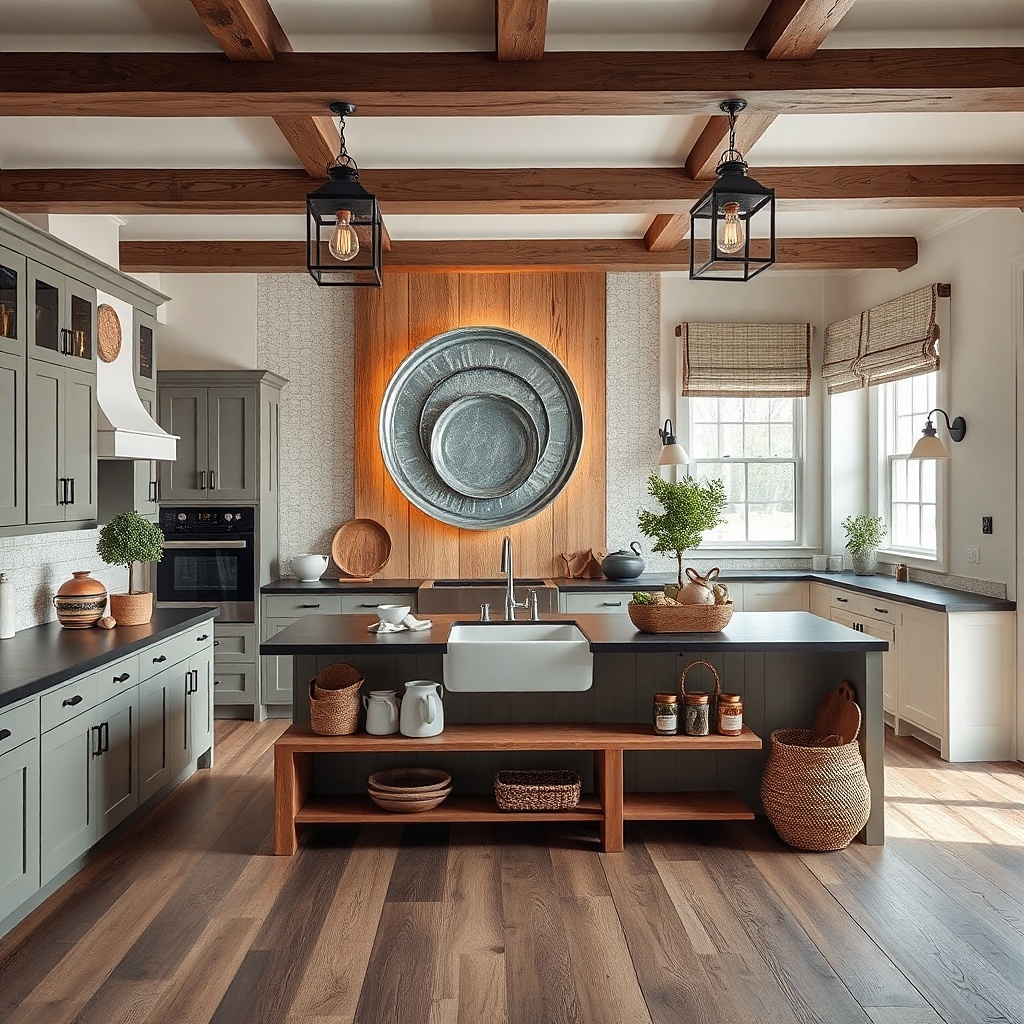
Galvanized trays bring that farm-kitchen metal texture that looks great with warm light. When you mount 2-3 trays in a staggered pattern and add candle-style LEDs inside, the wall becomes a soft-lit vignette. This is a smart option if your kitchen has a lot of hard surfaces — tile, laminate, stainless — because the trays add visual warmth and the LEDs avoid the mess of real candles. Use distressed silver trays and place them over a neutral wall color like warm white, oatmeal, or light greige.
Try thisUse warm-white LEDs with a diffuser cover or thick candle sleeves so the glow looks like flame, not a bare bulb.
First, choose 3 trays with different sizes, roughly 10-14 inches, 14-18 inches, and 18-22 inches wide. Mount them with hidden hooks so their top edges sit between 62-72 inches from the floor. Place battery candle LEDs inside each tray, aiming for 2700K and a flicker mode if the candles have it. Use a small tray filler like dried eucalyptus, faux wheat, or cinnamon sticks so the glow has something to catch. Finally, step back and check that trays don’t overlap too much; leave 2-4 inches of breathing room between them.
Common mistakeDon’t use clear glass battery candles; they look like plastic ornaments on galvanized metal.
7. Wooden Country Map Cutout With Backlight Through Burlap
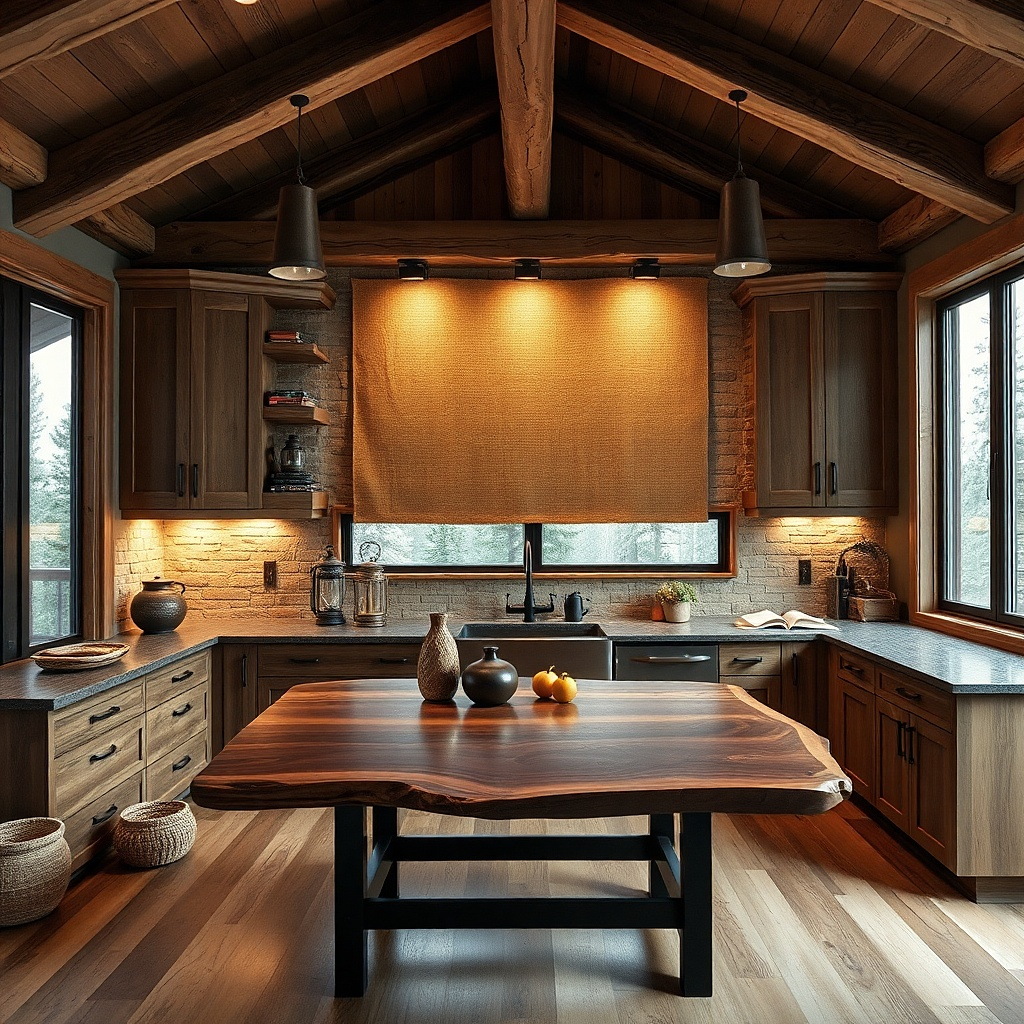
A wooden map cutout behind burlap gives you rustic character without the “busy shelf” look. The burlap acts like a diffuser, turning a single backlight into a warm halo that flatters the texture. This idea works well in kitchens that already have a lot of pattern — gingham curtains, plaid runner, or patterned tile — because the map shape is graphic but not cluttered. Keep the map in a natural wood tone and the burlap in undyed tan. The glow makes the wall feel cozy even when the rest of the kitchen is bright.
Start by selecting a map cutout size around 24-30 inches wide so it reads from the dining area. Mount it with standoffs so there is a small air gap behind it, then attach burlap over the backboard. Place an LED backlight panel or a strip light behind the burlap, centered so the glow spreads evenly. Wire to a hidden switch or timer, then test brightness and adjust by moving the light slightly closer or farther. Finish by adding 2-3 small rustic hooks nearby for keys or a single utensil so the wall feels functional.
Stretch burlap taut and trim the edges clean; loose burlap makes the light look uneven.
Avoid thin white burlap; it shows pinpoints of LED and kills the soft glow effect.
8. Peg Rail With Hanging Mixing Tools and Warm LED Tape
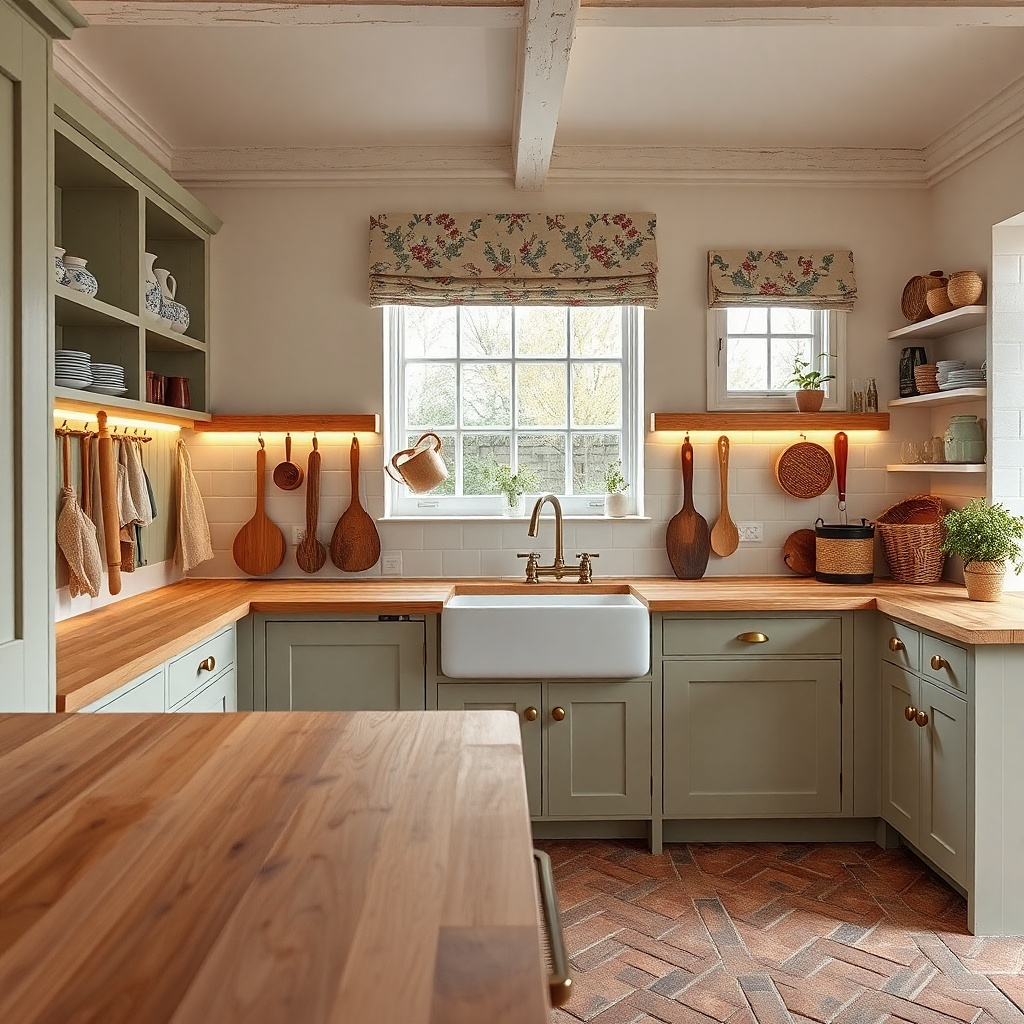
A peg rail in rustic iron or dark stained wood turns everyday tools into wall decor, and adding warm LED tape makes it feel curated rather than utilitarian. This look is great for kitchens where the counter is crowded and you want functional storage that also looks good in photos. The warm light should come from behind or under the rail so it highlights tool silhouettes and wood handles. Stick with a consistent metal finish — black iron pegs with matte black hooks — and add wood-handled utensils in honey or walnut tones.
Try thisUse binder clips or small zip ties behind the rail to keep the LED tape wire straight and out of sight.
First, mount a peg rail at least 2-3 inches above where you’d reach naturally so tools don’t feel cramped. Use a level and locate studs; if you can’t, use heavy-duty anchors rated for the load. Install warm LED tape under the rail lip, running along the underside and hiding the tape behind the wood face. Hang tools in a pattern: larger items at the ends, smaller utensils in the center. Plug it into a switch or dimmer rated for LED strips, then test spacing so the light doesn’t shine directly into eyes.
Common mistakeDon’t hang mismatched finishes like chrome hooks; the rustic vibe breaks instantly.
9. Stoneware Tile Accent Wall With Edge Lighting
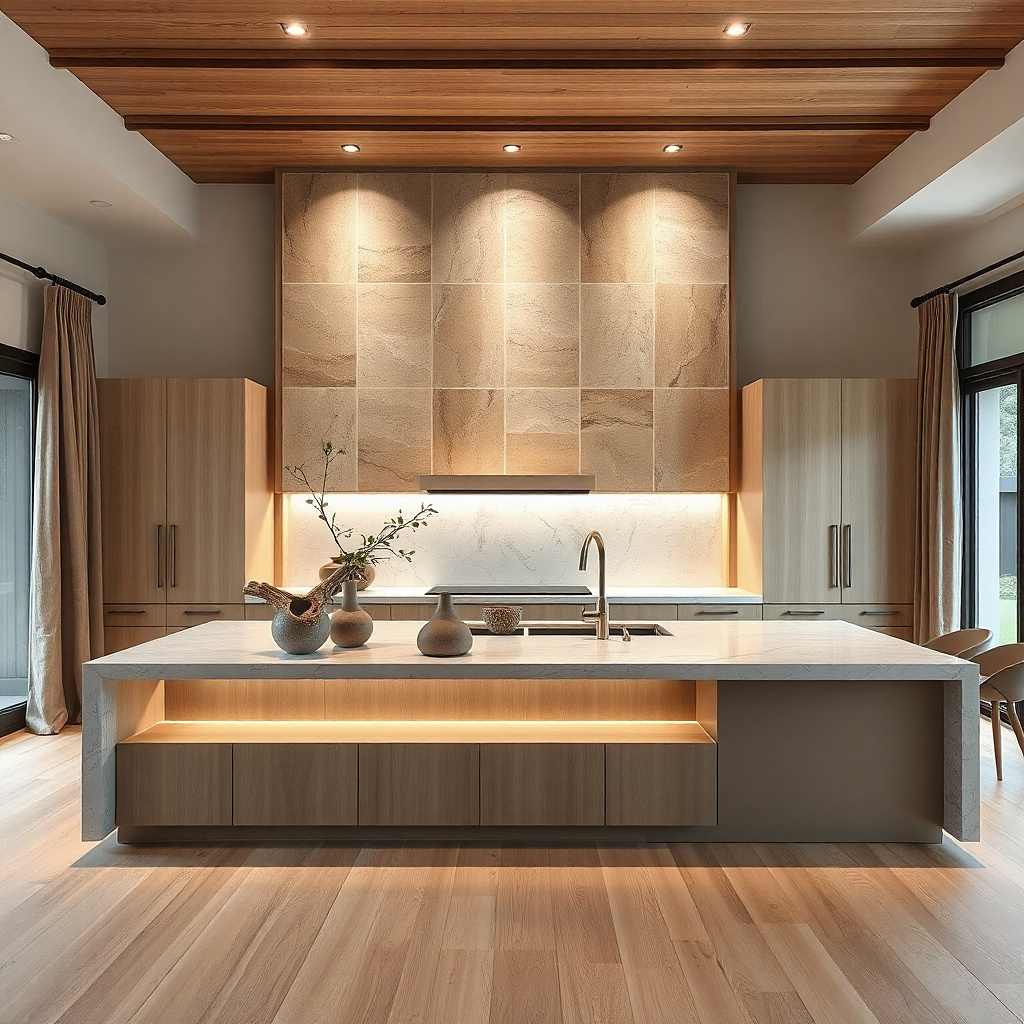
A small stoneware tile accent panel with edge lighting turns a kitchen wall into a warm focal point without needing a big shelf. The tile texture catches light along edges, which makes it look richer than a flat painted wall. This works best on a plain wall near the dining area or coffee corner where you want warmth but don’t want more clutter. Choose tiles in creamy white with speckles, soft gray, or muted terracotta. The edge lighting keeps the glow controlled — it outlines the panel instead of washing the entire wall.
Try thisUse a matte grout color close to the tile base; shiny grout creates harsh highlights under LEDs.
First, choose a tile panel size around 12-24 inches wide and 12-24 inches tall so it’s a clear accent. Install a backer board, grout the tiles, and let it cure as directed. Then mount a thin LED channel or edge-light strip around the perimeter, using warm 2700K LEDs. Wire to a hidden switch, and keep the strip inside a recessed channel so the LED source doesn’t show. Finish by sealing grout and cleaning tile thoroughly so the light reflects cleanly.
Common mistakeAvoid bright cool-white edge strips; they make speckled tile look dingy.
10. Vintage Market Sign Trio With Battery Backlights
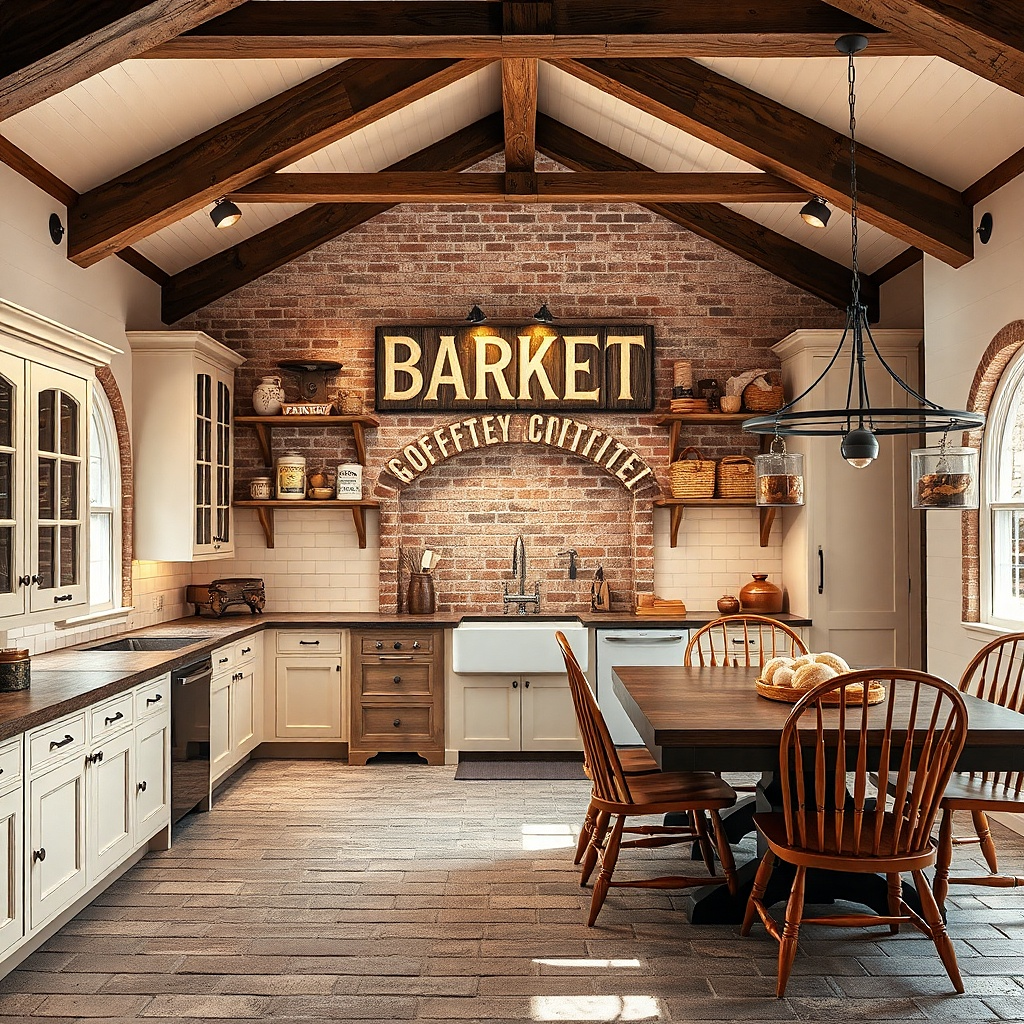
A trio of vintage-style rustic signs creates a layered look that feels like a curated collection. Battery backlights behind each sign keep the glow soft and manageable, and the trio format prevents the one sign looks small issue. This works well above a breakfast nook, in a kitchen hallway, or on a wall that’s too long for a single anchor piece. Use weathered wood signs, black iron hooks, and warm tan paper inserts. Keep text simple BAKERY, COFFEE, PANTRY so the wall stays readable and warm.
Try thisChoose signs with thick frames so the backlight doesn’t leak around edges and look patchy.
First, pick three signs sized about 10-14 inches wide, 12-16 inches wide, and 14-18 inches wide. Lay them out on the wall before mounting to confirm the spacing — aim for 2-4 inches between signs. Install hook mounts or picture rail hooks, then add the backlight packs behind each sign. Use warm 2700K backlights and test each one separately so brightness matches. Finally, stagger heights slightly: center sign highest, side signs lower, keeping the overall centerline aligned with the room’s eye level.
Common mistakeDon’t pick paper inserts that are too thin; they show LED hotspots.
11. Woven Basket Wall With Micro Spotlights
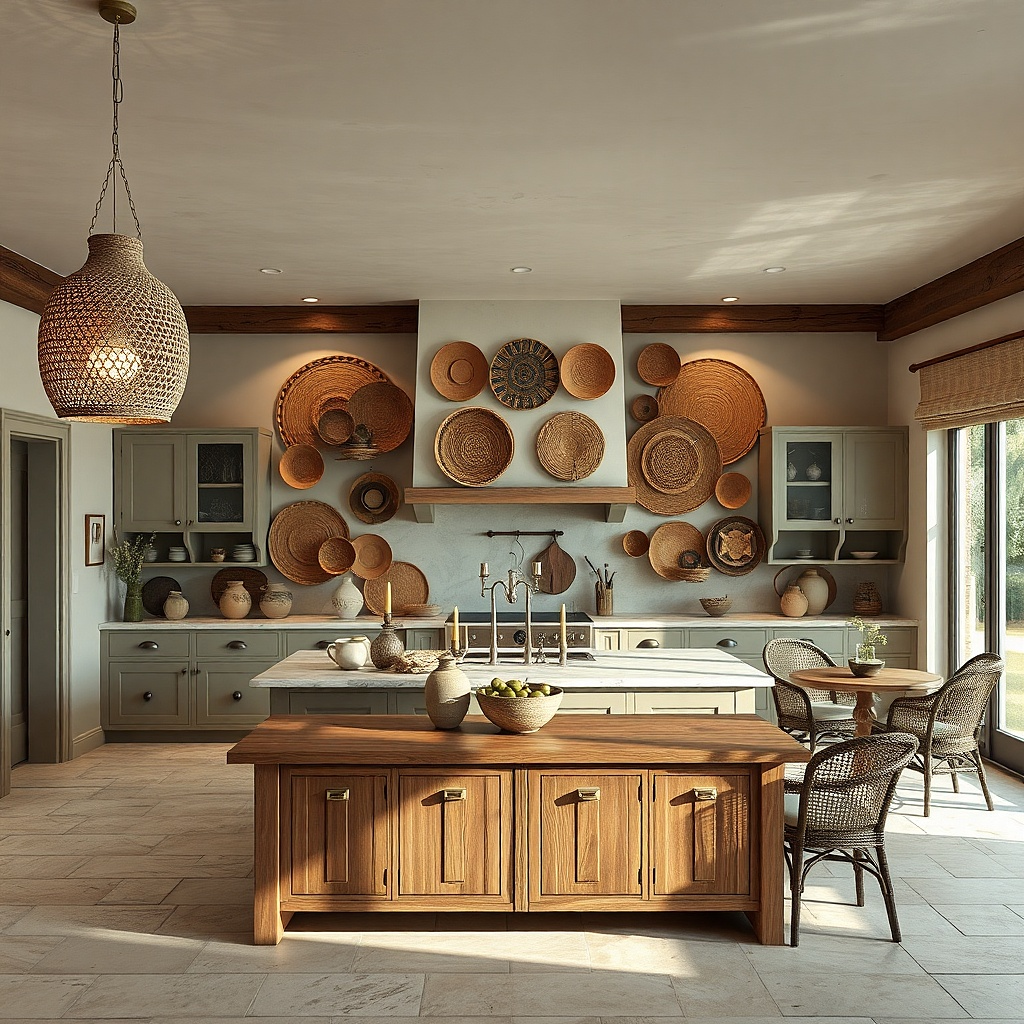
Woven baskets look warm in daylight, but micro spotlights make them glow like a curated shelf without taking up counter space. This is a strong choice for kitchens with boho-rustic touches like jute rugs or rattan bar stools. Mount baskets in a cluster so they form a shape a rectangle cluster works better than a random scatter. Choose baskets in natural tan, light caramel, and one darker walnut-toned basket to anchor the cluster. The micro spotlights should aim across the basket weave so texture pops.
Try thisUse spotlights with a narrow beam; broad beams wash out basket texture.
First, select 5-7 baskets with similar weave styles, sized roughly 8-12 inches, 10-14 inches, and 14-18 inches. Mount them with screws into studs or use heavy-duty anchors, spacing them so edges don’t overlap. Install 2-4 warm micro spotlights with adjustable heads, aiming at the weave rather than straight down. Keep cable runs hidden behind a cord cover painted to match the wall. Turn on lights at night and adjust angles until you see texture highlights on the basket rims.
Common mistakeAvoid clusters that include too many different basket shapes; the glow won’t unify them.
12. Rustic Window Frame Shadow Box With Fairy Lights
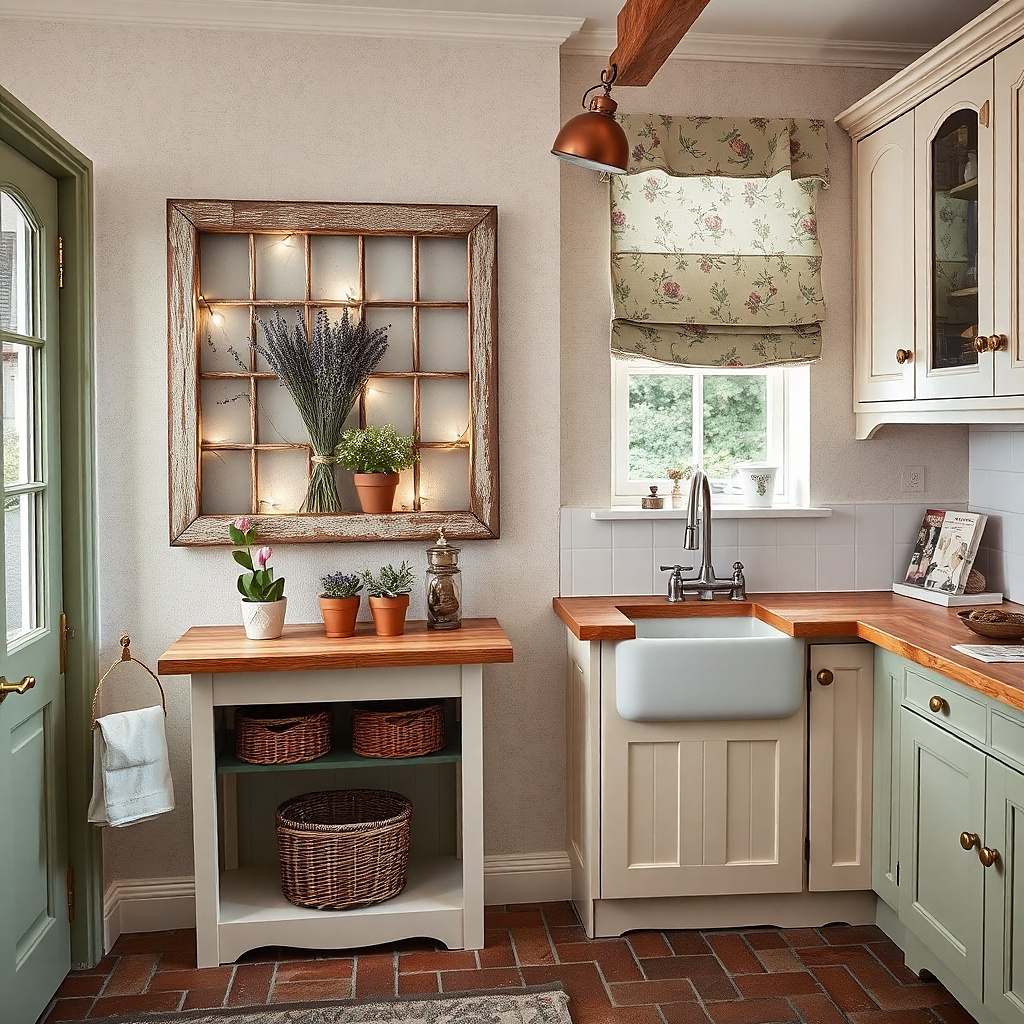
A rustic window frame shadow box makes a kitchen wall feel like a scene. Fill it with faux greenery, dried herbs, or small ceramic pieces, then add warm fairy lights to create depth. The window frame gives you a clear boundary so the lights look intentional instead of stringing along a random wall. This is best for kitchens that need softness around a hard dining set or a bright backsplash. Choose a distressed wood frame and keep the inside palette limited to cream, sage, and terracotta.
Try thisAdd a thin backing board inside the frame in off-white so the lights reflect evenly.
First, find a window frame size around 24-36 inches wide so it reads as a main focal point. Mount it with two heavy-duty brackets so it sits securely; keep the center around 58-60 inches. Use warm 2700K fairy lights with a plug-in transformer if possible, then weave the lights behind the decor so bulbs aren’t in direct view. Add 3-5 elements inside — one taller dried branch, one cluster of herbs, and a ceramic pitcher. Test the glow from standing and seated positions so the bulbs aren’t too bright.
Common mistakeDon’t overload the interior; dense decor blocks light and makes the glow look dim.
13. Corrugated Metal Panel With Warm LED Tube Lights
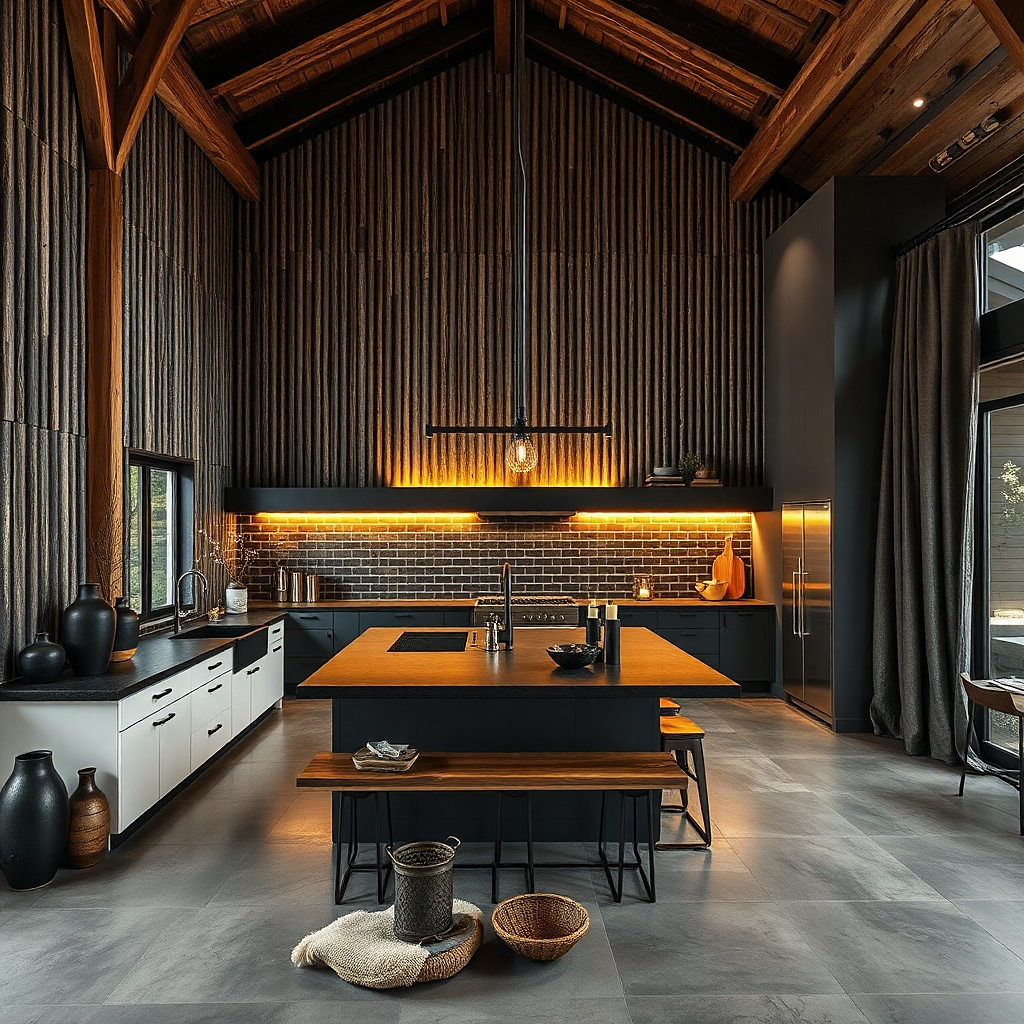
Corrugated metal brings that industrial-rustic contrast that looks sharp in kitchens with modern fixtures. When you mount corrugated metal as a wall panel and place warm LED tube lights behind it, the light creates a striped warmth across the wall. This is a great answer for a long, blank kitchen wall where you want something graphic but not cluttered. Choose corrugated panels in dark gray or weathered black, and keep the rest of the decor simple so the glow stays the star. The result reads cozy because the light is warm and the texture is tactile.
First, pick a panel size around 24-48 inches wide and mount it on a backing board so it stays flat. Install it at the dining wall height so the top edge lands around 70-74 inches. Place LED tube lights behind the panel, spaced evenly and wired to a wall switch. Use 2700K tubes or warm LED strips if the tube shape is too bulky. Finally, seal or paint exposed edges to prevent sharp metal contact and keep the look clean.
Use a translucent spacer behind the corrugated metal so the LED source doesn’t show as bright lines.
Avoid placing the panel too high; the striped glow should hit eye level and tabletop edges.
14. Shiplap Corner Shelf With Rope Light Behind the Shelf Face
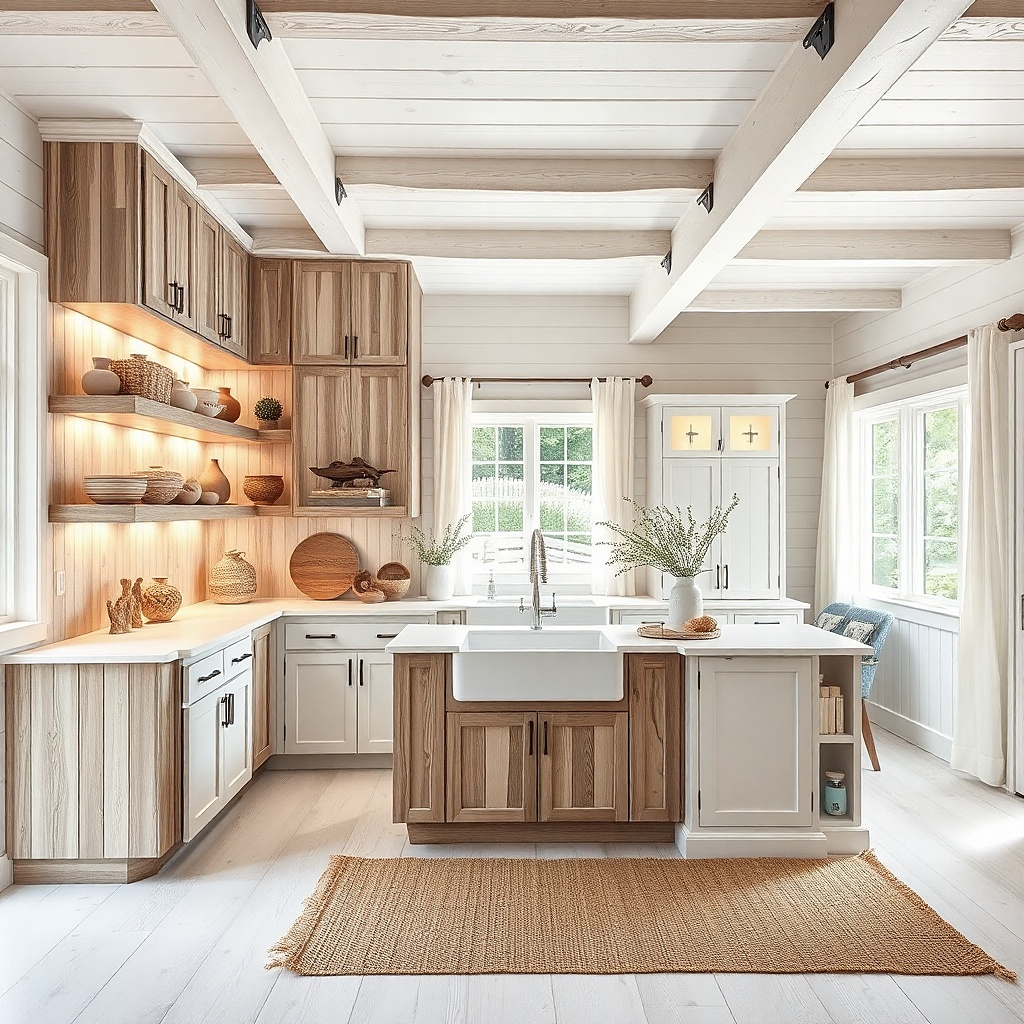
A shiplap corner shelf with rope light behind the shelf face makes a corner feel finished and warm. Corners are where kitchens often look unfinished because the eye doesn’t have a clear focal point. The rope light behind the shiplap adds a gentle glow that outlines the architectural line, which looks great with rustic dishes and small wood decor. Keep the shelf small corners can get crowded quickly and style with 2-4 items like a ceramic vase, a wooden tray, and a folded linen. Warm white glow makes shiplap look clean and inviting.
First, build or buy a small shiplap shelf section sized about 18-24 inches along each wall side. Mount it so the bottom sits around 68-72 inches from the floor. Install rope lighting behind the shiplap — on the inner face — so the LEDs are not visible from the front. Run the cord through the corner trim and connect to a plug-in transformer with a timer. Style the shelf using height variation: one tall vase at the back, one tray in front, and one small ceramic piece to balance weight.
Paint the backer board a warm off-white so the rope light reflects and softens the glow.
Don’t use a shelf depth over 8 inches in a corner; items will block the light effect.
15. Vintage Recipe Card Wall With Lighted Clipboard Frames
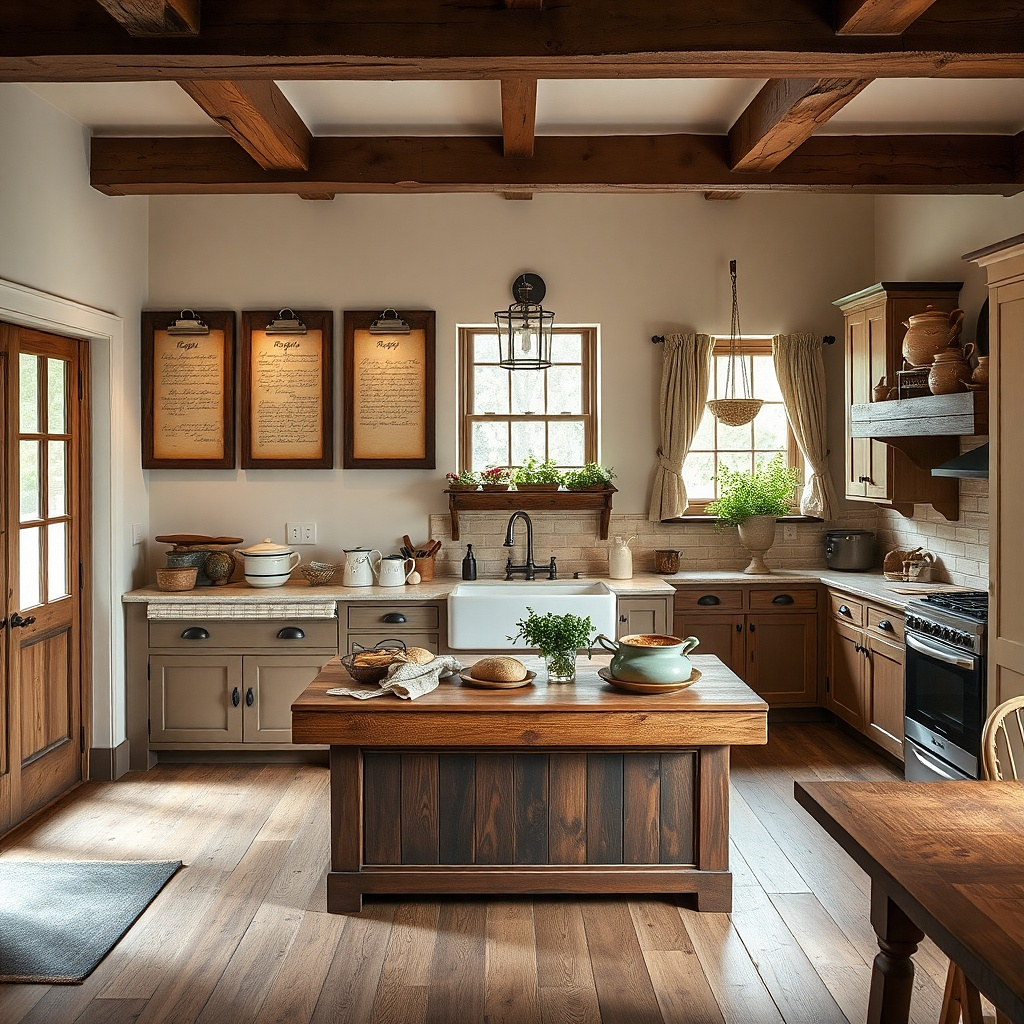
Lighted clipboard frames make kitchen walls feel personal without clutter. The recipe cards bring a rustic theme tied directly to food, and the small built-in lights create warm pools of glow around each card. This idea works when you want the wall to look styled but you don’t want big signs or heavy shelves. Choose frames in distressed black or dark walnut, and keep card layouts consistent: two portrait cards and one landscape card in the center. In daylight, the paper texture looks charming; at night, the lights turn the wall into a cozy reading spot.
First, choose 3 clipboard frames sized roughly 8x10 inches, 8x10 inches, and 10x12 inches. Mount them in a gentle triangle pattern with the center frame about 60 inches from the floor. Use warm 2700K LED panels built into each frame if available; otherwise install a small battery backlight behind the card. Replace cards seasonally and keep fonts readable by using darker ink cards. Finally, route power cords into a single outlet or use a small multi-outlet adapter hidden behind the lowest frame.
Use aged parchment-style cards, not bright modern paper; the glow looks warmer against parchment tones.
Avoid overcrowding with too many cards; three lighted frames look intentional, eight looks like a bulletin board.
16. Ceramic Plate Rack With LED Strip Under the Top Rail
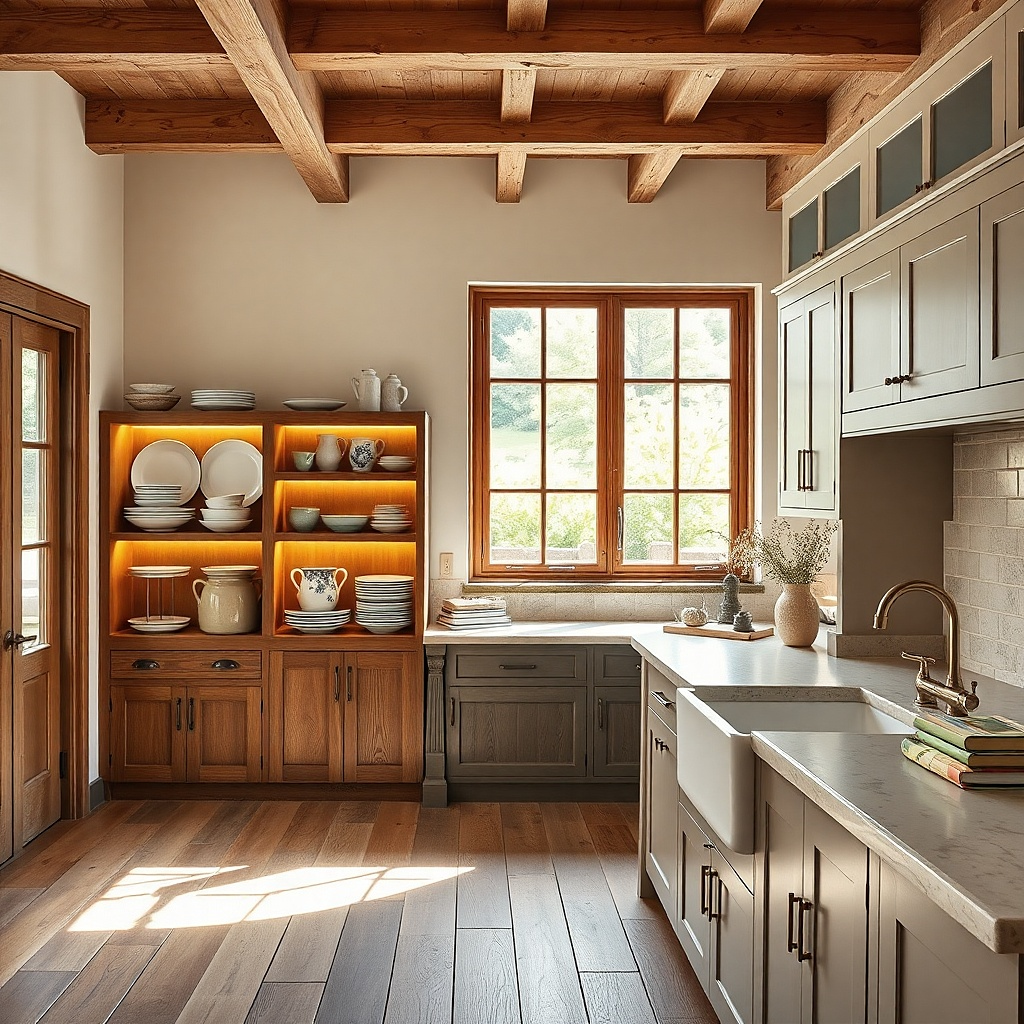
A ceramic plate rack is rustic by default, but the LED strip under the top rail makes it look like a lighted display. Plates catch the light along their edges, which adds warmth without needing extra decor. This works well on walls where you already have a plate collection or where your kitchen style includes farmhouse dishes. Choose a rack in stained oak or dark wood, then hang plates in a mix of cream, speckled stone, and muted blue or sage. The glow helps the wall feel cozy even if your kitchen lighting is bright.
Try thisUse plate hangers with felt backing so plates don’t clack and the wall stays quiet-looking.
First, mount the plate rack so its top rail sits around 72-76 inches from the floor, keeping the center of the plates around 60-65 inches. Install an LED strip under the top rail, angled slightly downward so it lights the plate fronts. Use warm 2700K LEDs and choose a strip with a diffuser cover to avoid visible dots. Arrange 6-10 plates so you have a top row and a bottom row; vary sizes but keep colors cohesive. Plug into a dimmer if the strip and driver support it so you can dial the glow down for evening.
Common mistakeAvoid plates with heavy glossy glaze; under LEDs they reflect harsh hotspots.
17. Rustic Chalkboard Menu With Wall-Mounted LED Sconce
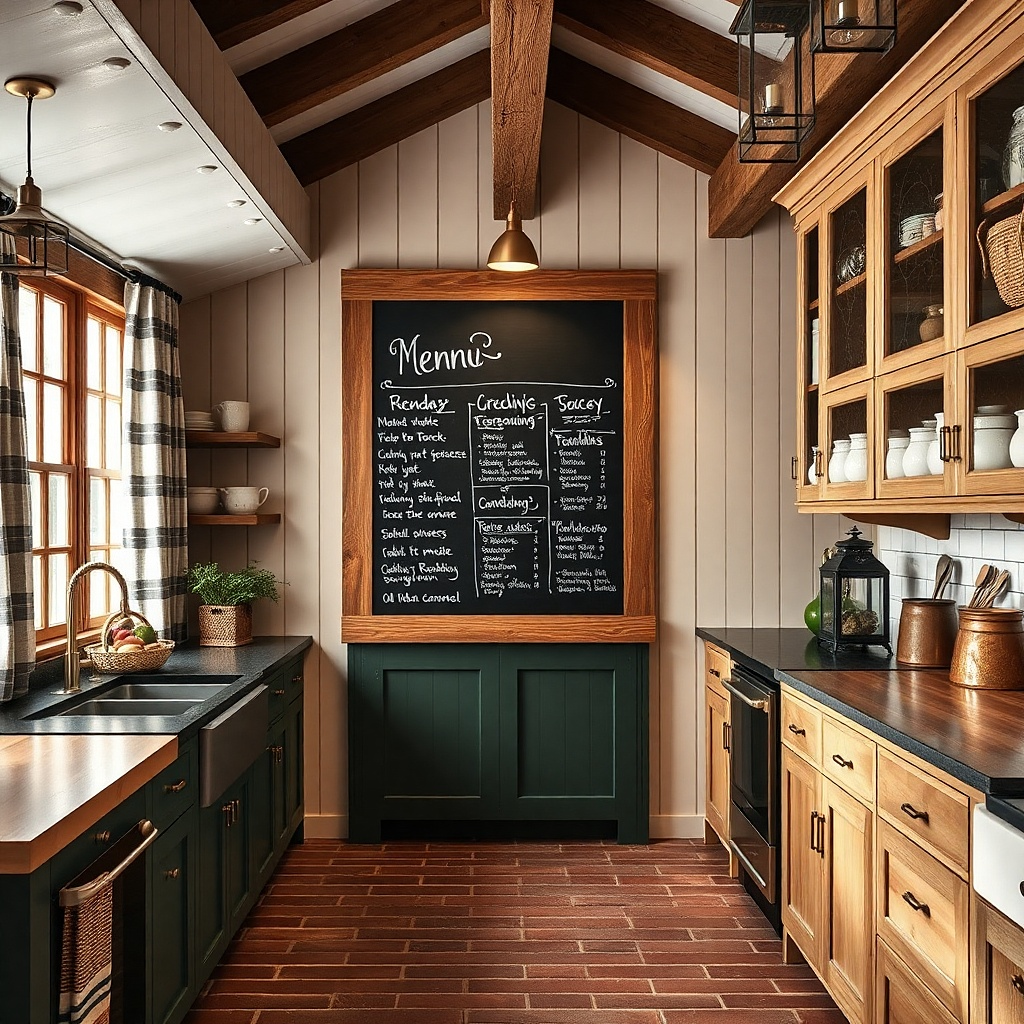
A chalkboard menu framed in rustic wood looks cozy in a kitchen, and adding a wall-mounted LED sconce above it turns it into a night-friendly focal point. The sconce gives controlled light that keeps the chalk text readable without making the whole wall glow. This is ideal for kitchens with a coffee station, breakfast nook, or a wall you want to feel welcoming when guests arrive. Pick a frame in distressed oak or blackened wood, and use warm chalk colors like white on dark slate for high contrast. Keep the writing limited fewer lines reads better and looks cleaner.
Try thisUse chalk markers for the main headings; they stay crisp under warm sconce light.
First, choose a chalkboard size around 18-30 inches wide depending on wall space. Mount it so the chalk surface center sits around 60-62 inches from the floor. Install a wall sconce above with a warm bulb (2700K) and aim it downward so light hits the board evenly. Use a dimmer switch if possible so the glow doesn’t feel harsh at night. Write your menu with simple typography and leave margins so the board looks intentional.
Common mistakeDon’t place the sconce too close; if it’s within 6 inches of the board, you’ll get glare spots.
18. Galvanized Pipe Shelf With Hanging Utensil Lights
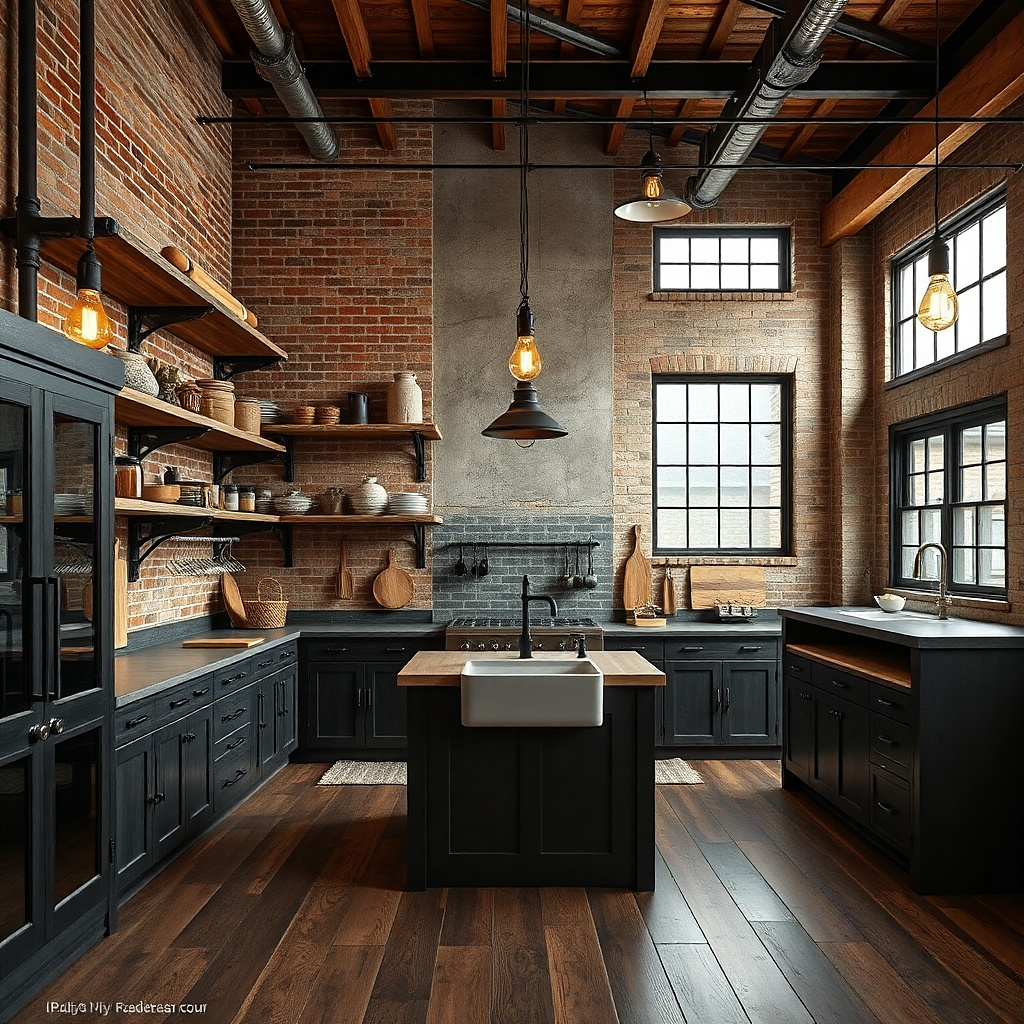
A galvanized pipe shelf is pure rustic-industrial, and hanging utensil decor makes the wall feel lived-in. Add warm Edison-style bulbs with small shades or diffusers, suspended from the shelf rails, and you get cozy task-like light. This is a strong choice above a prep zone or near a coffee bar where you want function plus atmosphere. Keep the pipe finish consistent galvanized or black pipe and choose utensils in wood and iron for a coordinated look. The lights make the utensils silhouette, which adds visual depth.
Try thisUse brown cloth cord or black cord so the wiring blends into rustic metal tones.
First, mount a pipe shelf with a working depth around 8-10 inches so it doesn’t feel bulky. Place it so the shelf bottom sits around 60-66 inches from the floor. Install the warm bulbs using small hanging sockets clipped to the shelf rails, and keep bulbs at least 18 inches above the utensil handles to avoid looking crowded. Hang 6-10 utensils — wooden spoons, ladles, and a whisk — spaced evenly across the rail. Wire to a nearby outlet or switch, then test at night to ensure bulbs don’t shine directly into seated eyes.
Common mistakeAvoid using bright daylight bulbs; the rustic metal looks cold under 4000K.
19. Rustic Wreath Backdrop With Warm LED Net Lights
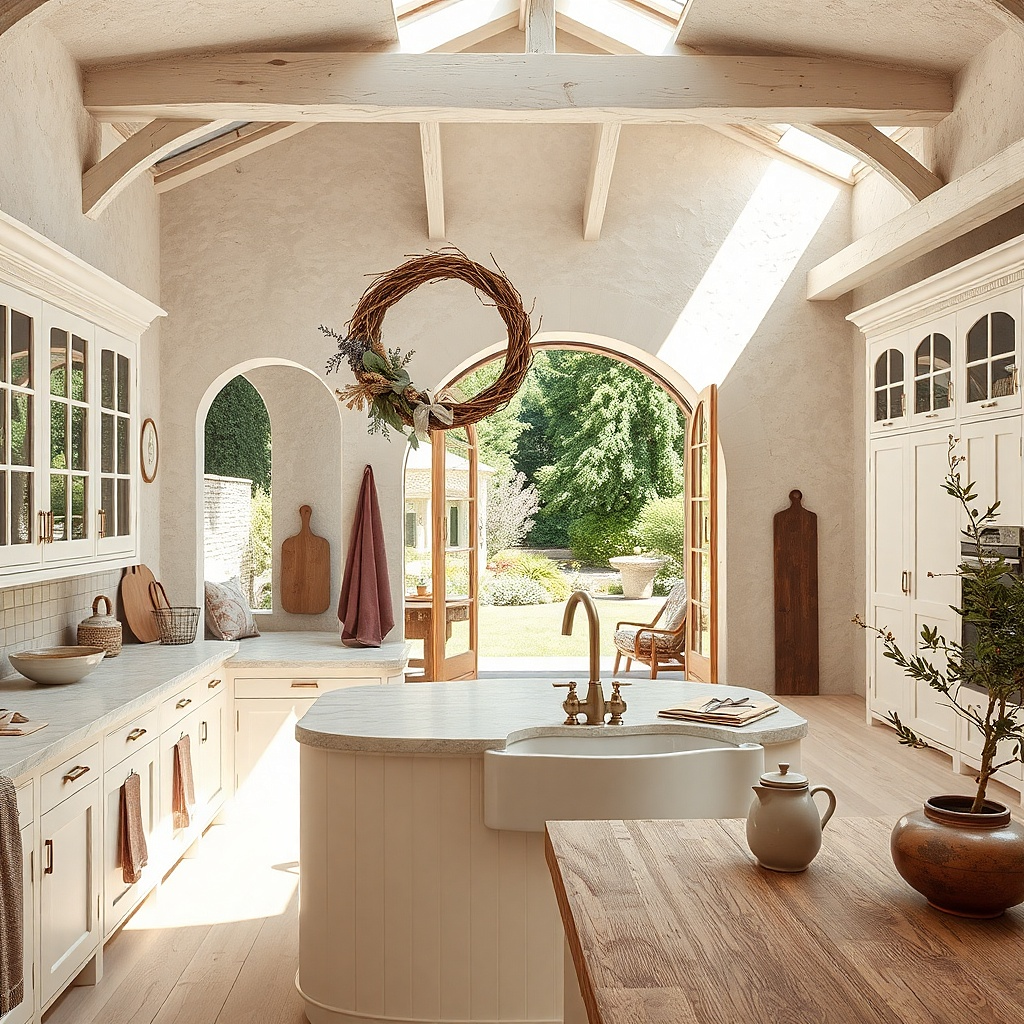
A wreath as a backdrop gives you a circular rustic anchor, and LED net lights behind it create a gentle halo effect. This option is great when you want seasonal charm that still looks warm year-round. Use a simple wreath base grapevine or dried herb wreath and keep the light warm so it looks like soft candlelight. The net light spreads evenly behind the wreath, so you avoid bright hotspots that happen with loose fairy strings. Place this on a wall near the entry to the kitchen or above a small console where guests can see it clearly.
First, choose a grapevine wreath around 18-24 inches wide and mount it with a sturdy hook and two support points if needed. Add warm 2700K LED net lights behind the wreath, securing the net to the back with small zip ties. Keep the net tight enough that bulbs are evenly spaced around the wreath silhouette. Plug into the transformer and set the light mode to steady glow if you want a calmer look. Finally, adjust wreath placement so it sits at about 60 inches center height for a balanced view.
Use dried eucalyptus or neutral greenery so the light reads warm, not greenish.
Avoid placing net lights directly against reflective metal wall paint; it creates glare patches.
20. Wood Frame Mirror With Edge Glow and Hanging Hooks
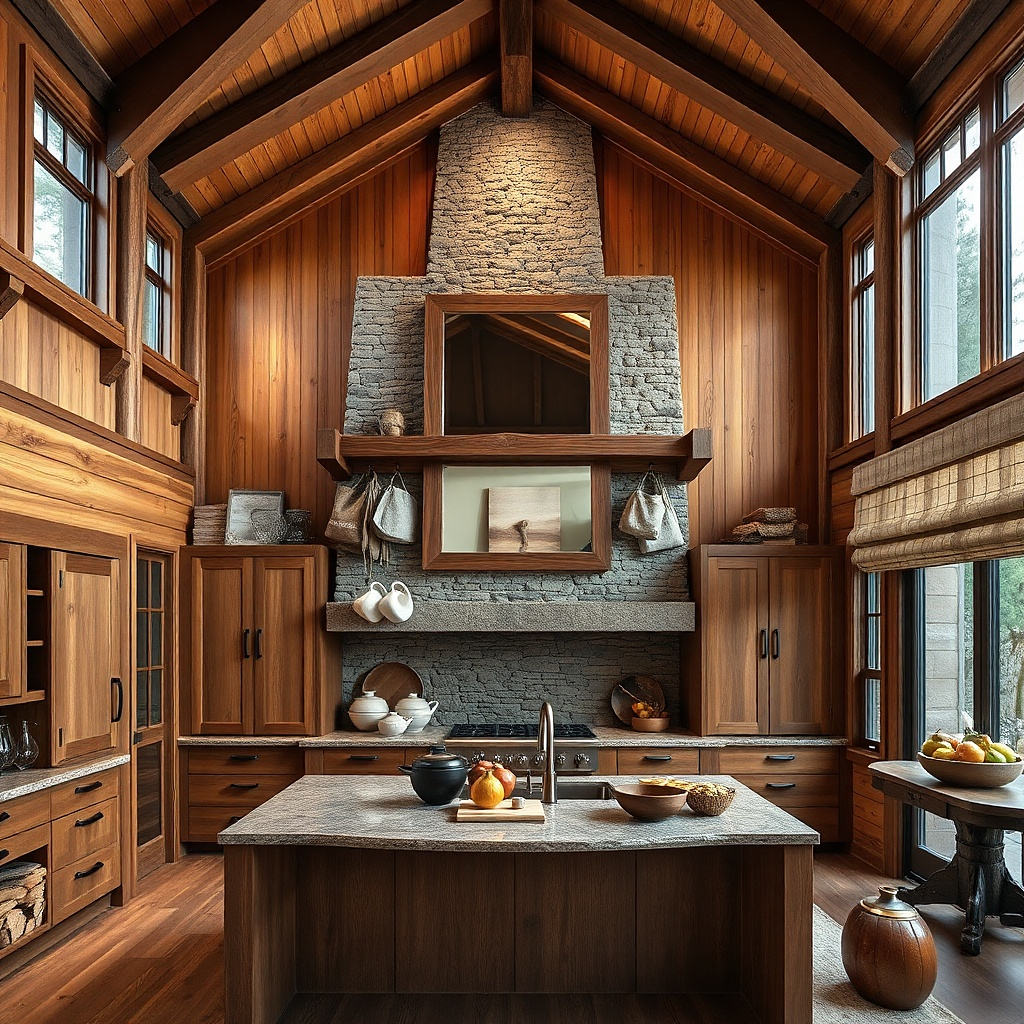
A rustic wood frame mirror with edge lighting is an underrated kitchen-wall move because it makes the room feel brighter while still warm. Add a row of small hooks beneath for mugs or utensils, and the wall becomes both decorative and useful. The edge glow is subtle but powerful it creates a warm outline that makes the kitchen feel cozy even when you’re not lighting candles. This works well in kitchens that feel tight or narrow, where reflections help visually expand. Choose a mirror frame in dark walnut or weathered oak and keep hooks in black iron.
Try thisUse matte mugs for the best look; glossy mugs throw highlights that compete with the edge glow.
First, pick a mirror size around 20-30 inches wide so it doesn’t overwhelm the wall. Mount it so the mirror center sits around 60-64 inches from the floor, and install hooks beneath at 68-72 inches depending on mug height. Use an edge-lit mirror or add a recessed LED channel around the mirror perimeter with a warm 2700K strip. Wire through a wall outlet and add a switch/dimmer so the glow isn’t too bright. Hang 4-6 mugs or a mix of mugs and small utensils, keeping the color palette consistent.
Common mistakeDon’t hang heavy items directly under a mirror edge-lit panel; keep load on hooks, not the mirror frame.
21. Weathered Barn Door Shadowbox With Warm Halo LED
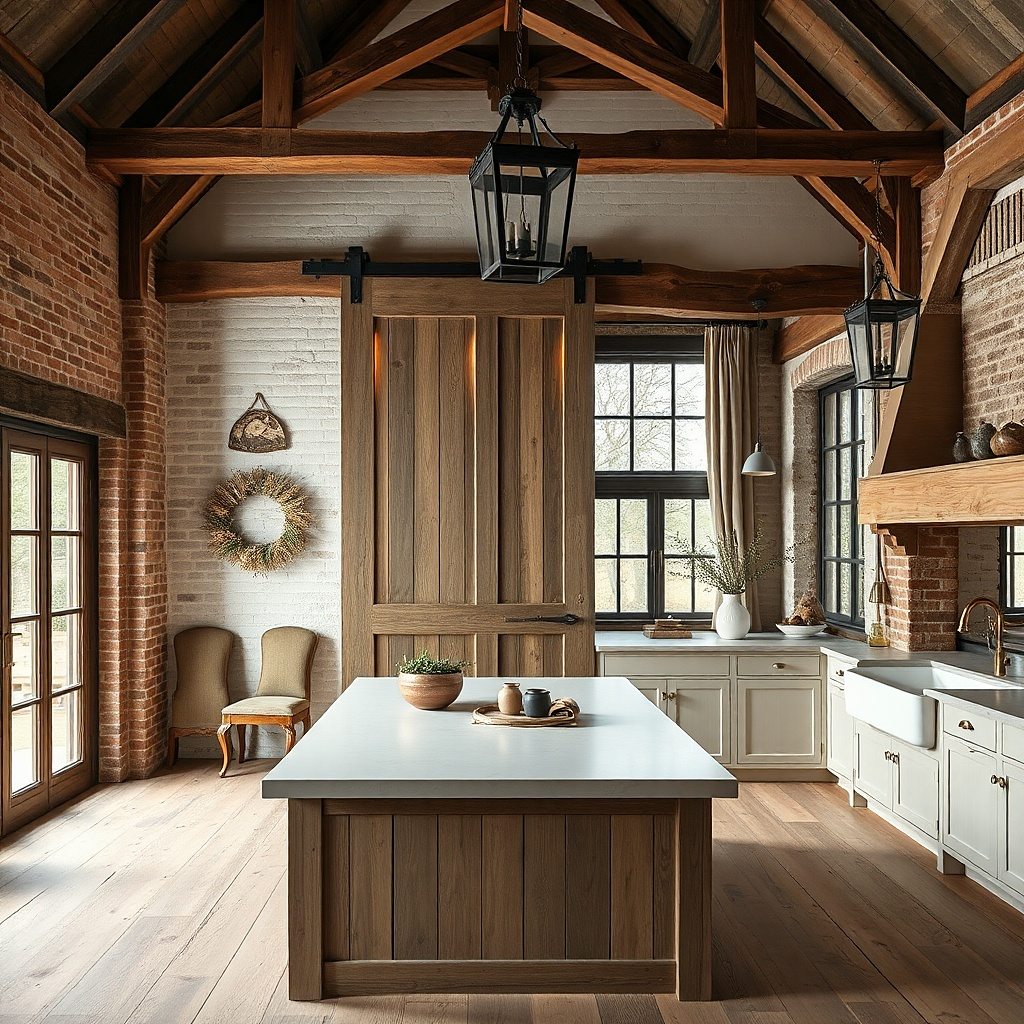
This one brings warmth without clutter because it creates a single, bold focal shape on a kitchen wall. The weathered barn door frame reads rustic from across the room, and the warm halo LED behind the inner panel gives that soft, amber glow that makes the whole wall feel inviting at night. Use it when your kitchen wall decor looks flat or you need more visual depth above a counter, buffet, or open shelving. The key materials are a thick reclaimed-wood frame, a recessed inner backing in linen or burlap, and an LED strip or puck system set back so the light blooms instead of showing bright points. It fits the 18 themed Kitchen Wall Decor Ideas with Lights goal because the lighting is part of the design, not an afterthought.
Step 1 — Build the frame and recess. Use reclaimed pine or oak with a 1.5-2 inch thickness for the “door” look, and cut a rectangular inner opening that leaves 2.5-3 inches of wood border on all sides. Add a backing panel (linen, burlap, or off-white canvas) sized to sit 1-1.25 inches behind the front frame so the LED has room to glow. Step 2 — Add the halo light. Wrap a warm LED strip (2700K) in a circle or near-oval path on a thin MDF mounting ring, then mount it to the back so the light sits behind the inner panel and never directly faces the room. If you prefer simpler wiring, use 2-4 puck lights with diffusers placed evenly around the inner opening, then cover the puck faces with a thin translucent vellum or frosted acrylic so the glow looks continuous. Step 3 — Finish and mount. Stain the frame in a medium walnut tone, then dry-brush with a gray-brown glaze for age and wipe it back so edges stay darker. Mount at eye level — center of the inner opening about 60-66 inches from the floor — with 2 heavy-duty wall anchors or a French cleat. Budget $120-$250 depending on whether you buy the reclaimed frame or build it and whether you add a light dimmer.
Add 3 small still life pieces inside the shadowbox a mini cast-iron whisk, a wooden spoon, and a short herb bunch and keep them in the center so the halo glow reads as the hero.
Avoid placing the LED right behind a clear or glossy panel; it will create visible hot spots and make the rustic frame look cheap.