1. A cutting board anchor behind the daily essentials
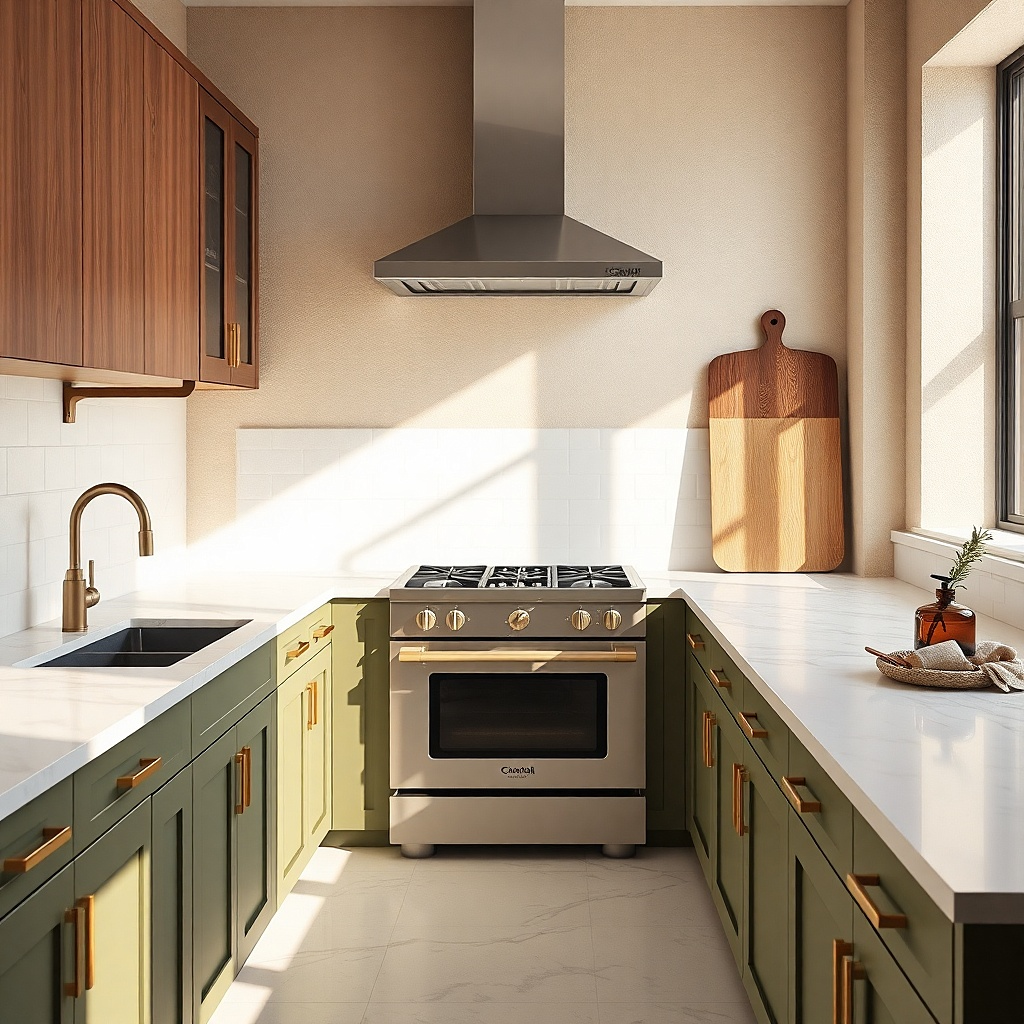
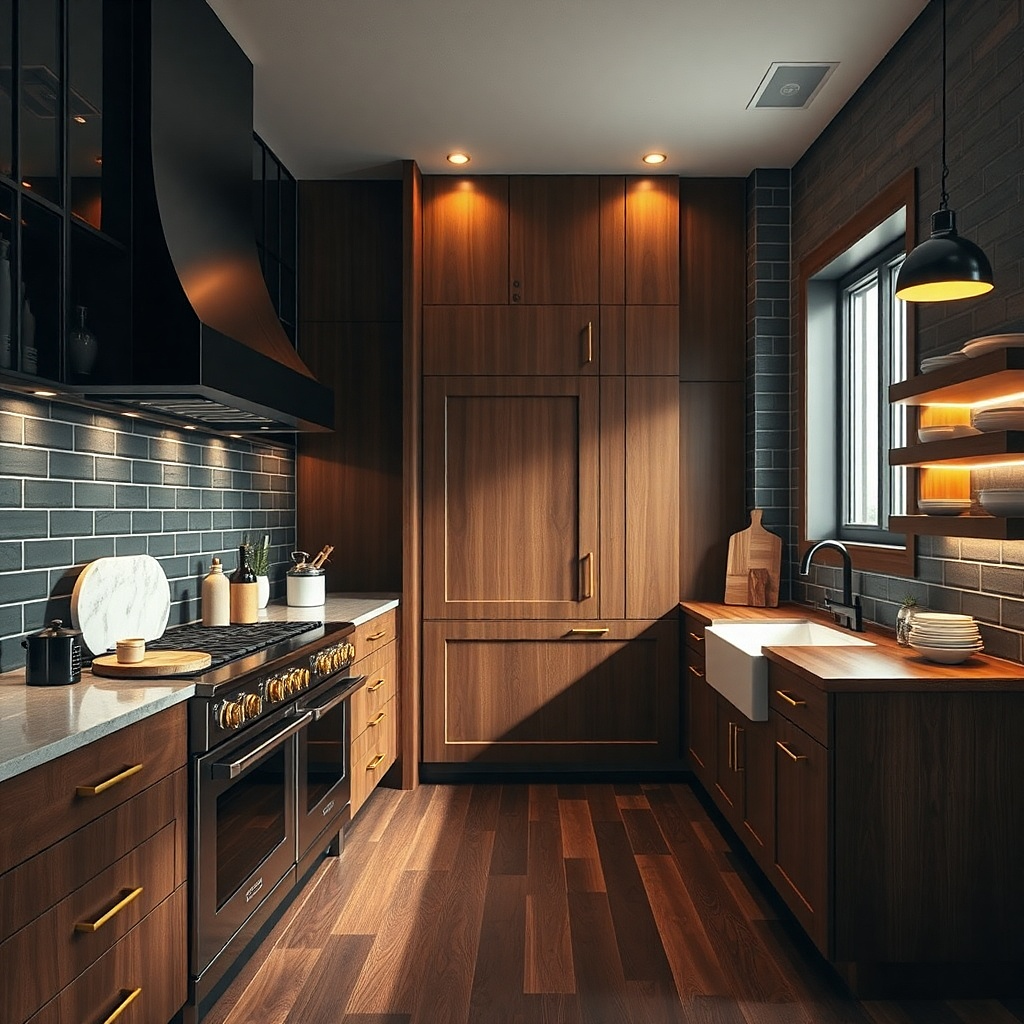
This is the fastest fix for a counter that looks scattered. A tall cutting board gives the eye one clear backdrop, so soap, oil, or a utensil crock in front of it stop looking like random objects left out after cooking. Choose a board 10 to 14 inches tall and at least 7 inches wide in walnut, oak, or black-stained wood depending on your cabinets. It works best beside the stove, next to the sink, or in the short stretch of counter between them. The effect is immediate: more height, less visual noise, and no real loss of workspace.
Start by placing the board flat against the backsplash with the handle turned to one side, not centered, so the setup feels less stiff. Then set one practical item in front — a 6 to 8 inch ceramic crock, a soap dispenser, or a pepper mill — and stop there or add one low object like a small bowl. Keep the group within a 12 inch footprint so it stays compact. This takes about 5 minutes if you already own the pieces, and even a new board from a home store can stay in the $20 to $40 range.
Try thisUse a board with some thickness, around 0.75 to 1 inch, so it stands with presence instead of disappearing against tile.
Common mistakeDo not line up three boards of different shapes in the same spot unless your kitchen is very large — it reads like storage, not decor.
2. A tray that turns sink clutter into one neat station
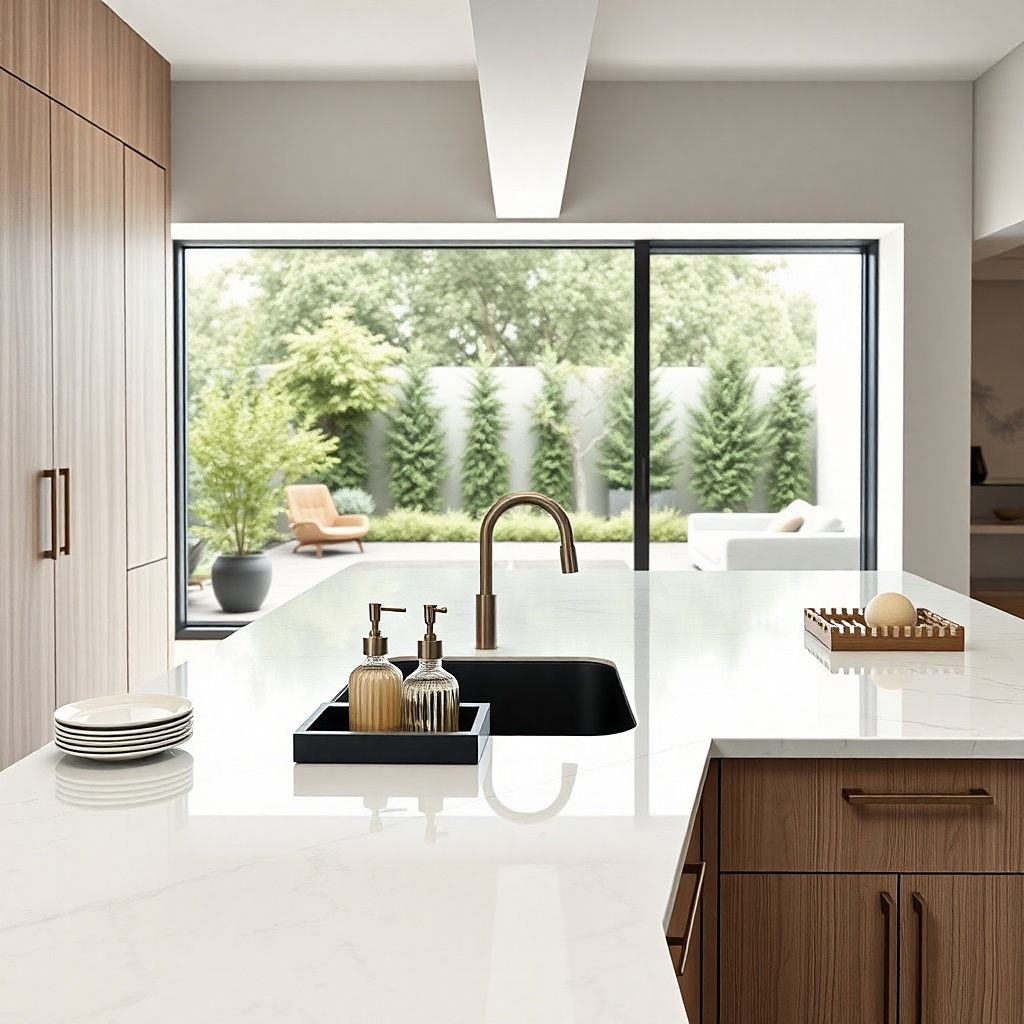
The sink is where counters lose the plot. A tray fixes that because dish soap, hand soap, a scrub brush, and even a sponge suddenly read as one setup instead of four separate bits of mess. Use a tray 10 to 12 inches long in stone, sealed wood, melamine, or powder-coated metal so water does not ruin it. This suits busy family kitchens, small apartments, and open-plan spaces where the sink is always visible from the sofa. It looks pulled together because every loose item gets a border.
Start by decanting bright branded soap into refillable bottles in glass, matte white, amber, or stainless steel. Then place both bottles on the tray with one upright brush holder or a small dish for the sponge. Leave at least 2 inches of empty tray visible so it does not look packed. This takes about 10 minutes, and if you buy a tray plus two dispensers, expect about $25 to $50.
Try thisMatch the pump finish to your faucet — brushed nickel with brushed nickel, matte black with matte black — for an easy custom look.
Common mistakeSkip oversized trays by the sink because they collect drips and take over the one area you need clear.
3. A fruit bowl that is low, wide, and actually useful
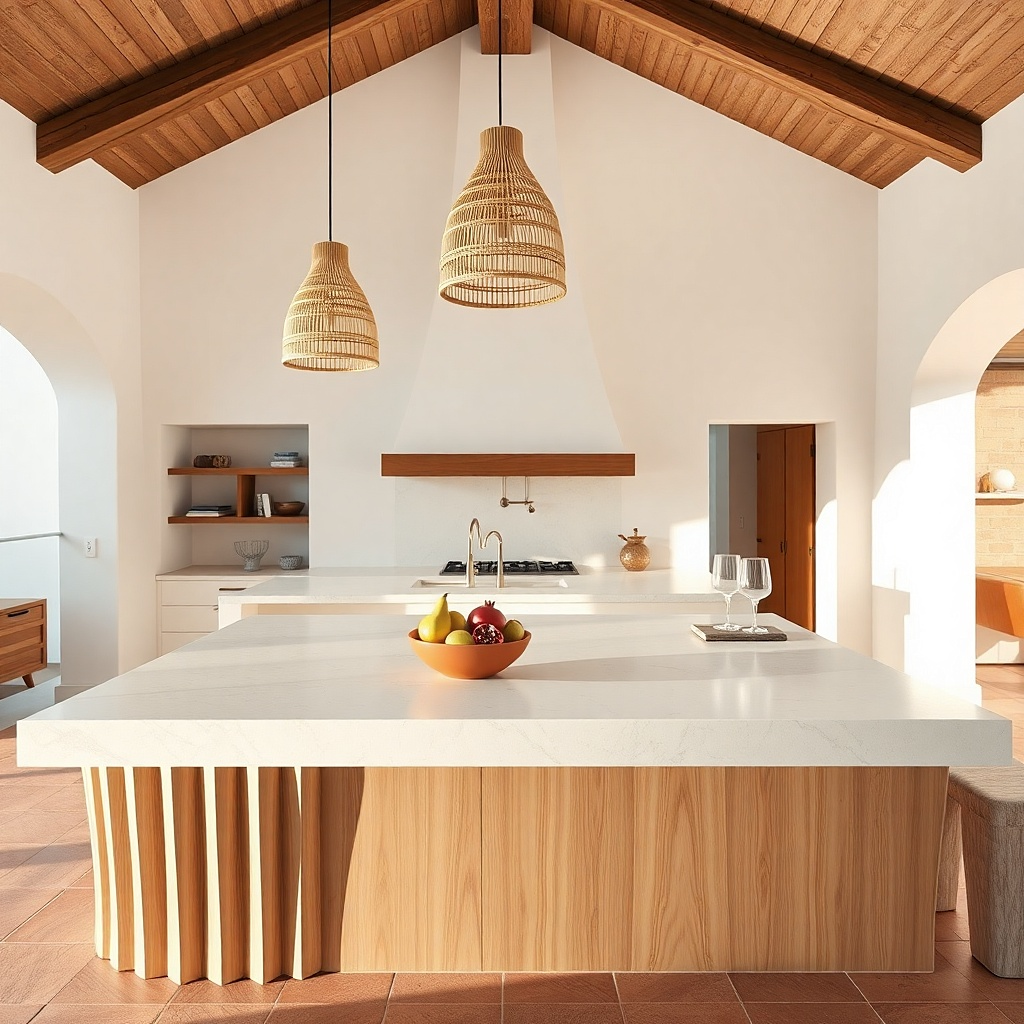
A fruit bowl works only when the bowl shape is right. Deep bowls become a heap of bruised bananas and grocery clutter, while a low bowl spreads fruit out so the color looks intentional and the counter stays tidy. Pick a bowl 10 to 13 inches wide and under 4 inches tall in ceramic, marble, or woven seagrass for a softer look. Lemons, green pears, and red apples look cleaner than mixed packaged snacks and loose receipts. This is best on an island or a long counter that needs one center point but still needs room around it.
Start with a bowl large enough to hold 6 to 10 pieces of fruit in a single layer or close to it. Then limit the contents to one or two fruit types so the bowl looks edited instead of stuffed from a grocery bag. Place it at least 8 inches from the edge of an island and away from the main chopping zone. This takes 5 minutes and costs almost nothing if you already have the bowl.
Try thisFor a cleaner look, keep bananas elsewhere and use the bowl for sturdier fruit with smoother shapes and less visual bulk.
Common mistakeDo not fill the bowl with mail, keys, snack bars, and fruit all at once — that turns decor into a junk catcher.
4. A corner lamp for warmth after dark
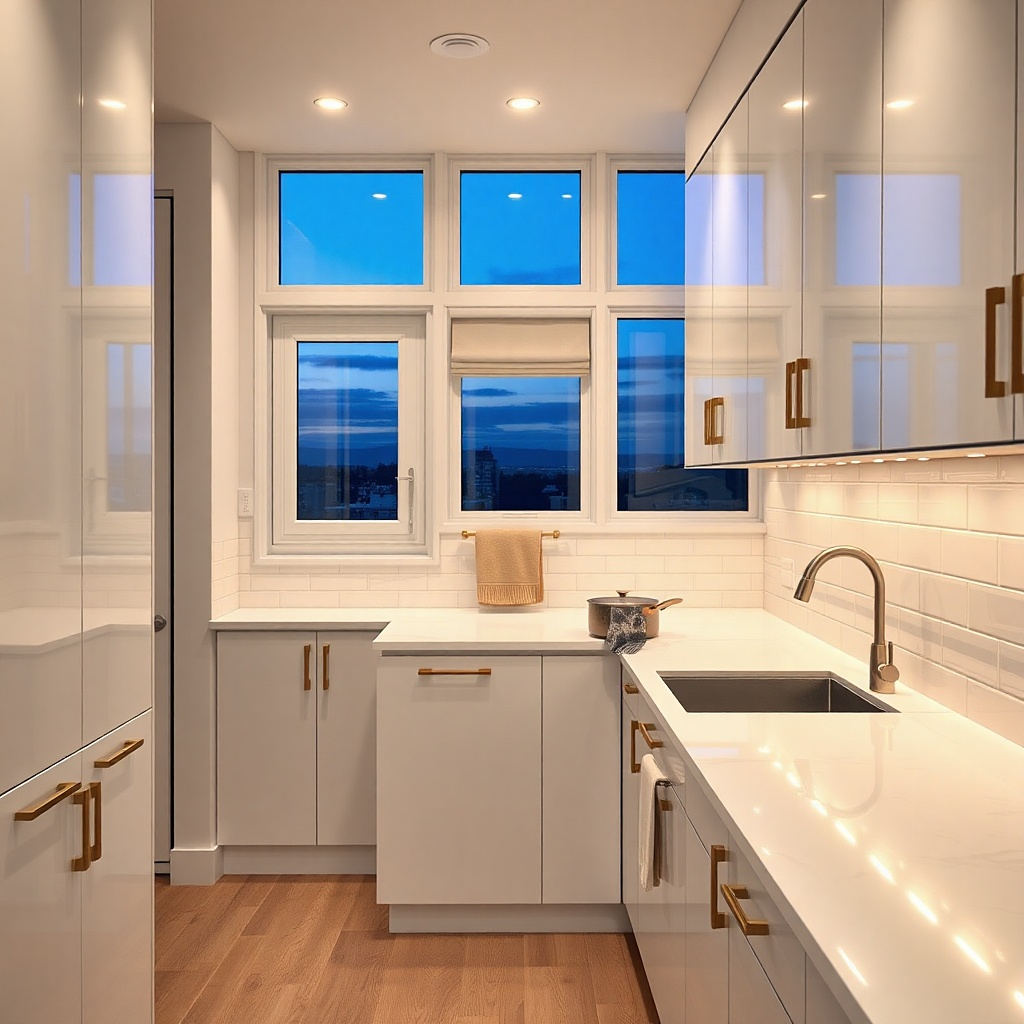
A small lamp on the counter is one of the smartest upgrades for a kitchen that feels cold at night. Overhead ceiling lights flatten everything, while a lamp creates a warm pool of light that makes the room look finished even when nothing else changed. Choose a lamp around 12 to 18 inches tall with a small footprint, under 7 inches wide at the base, so it fits a back corner without stealing prep space. Linen shades, pleated shades, and ceramic or antique-brass bases work especially well in kitchens with white cabinets and stone counters. This suits breakfast nooks, coffee corners, and any dark counter end that looks dead after sunset.
Start by plugging the lamp into the least visible outlet on the counter run, then hide excess cord with a short white or black cord clip along the backsplash. Use a warm bulb around 2200K to 2700K, not bright daylight white, so the light feels soft. Place the lamp in a corner with one simple object beside it, such as a board or bowl, and leave the rest of that section open. Setup takes about 10 to 15 minutes, and a good small lamp can land between $30 and $80.
Try thisA rechargeable lamp works best if your outlet sits in an awkward spot or if you hate visible cords.
Common mistakeDo not use a lamp with a huge drum shade on a short counter — it looks top-heavy and blocks sightlines.
5. One big branch instead of a fussy bouquet
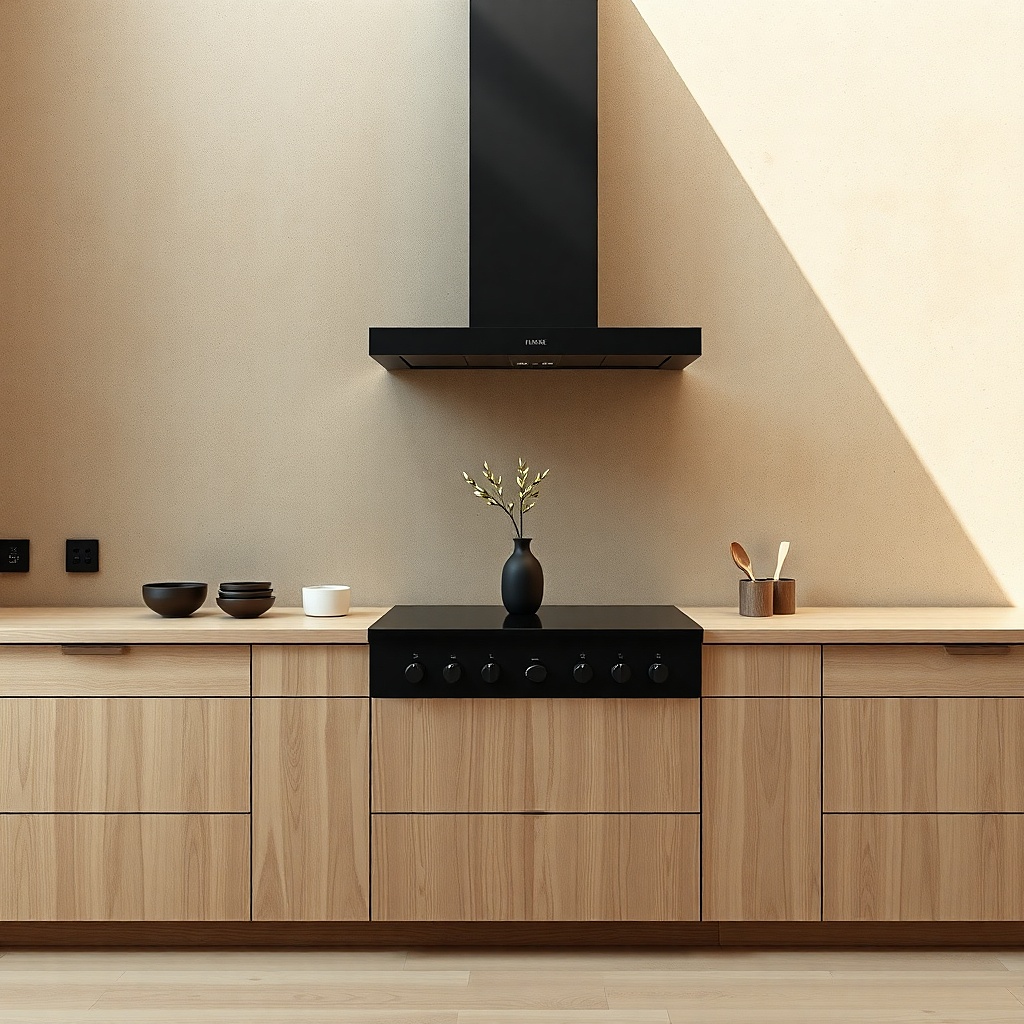
A single branch or two stems with real height look sharper than a supermarket bouquet chopped short in a jar. The shape is cleaner, the color is calmer, and the counter gets one strong vertical line instead of lots of little flower heads. Use a vase 8 to 12 inches tall with a narrow neck and place in olive branches, eucalyptus, magnolia leaves, or one hydrangea stem depending on the season. This works best in a corner, on an island end, or beside a range hood where the eye needs one taller note. It gives a kitchen life without reading precious.
Start with a heavy vase in ceramic, stoneware, or smoked glass so the branch does not tip it. Then trim the stems so the arrangement stands about 18 to 28 inches high, depending on ceiling height and cabinet scale. Angle the branch slightly instead of keeping it dead center. This takes about 10 minutes, and clipped yard branches make it nearly free.
Try thisChoose leaves with matte texture over shiny plastic-looking faux stems if you want the arrangement to blend with the kitchen instead of shouting for attention.
Common mistakeSkip tiny mixed flowers in a small vase on a busy counter — they disappear and just add visual specks.
6. A coffee corner contained on one board
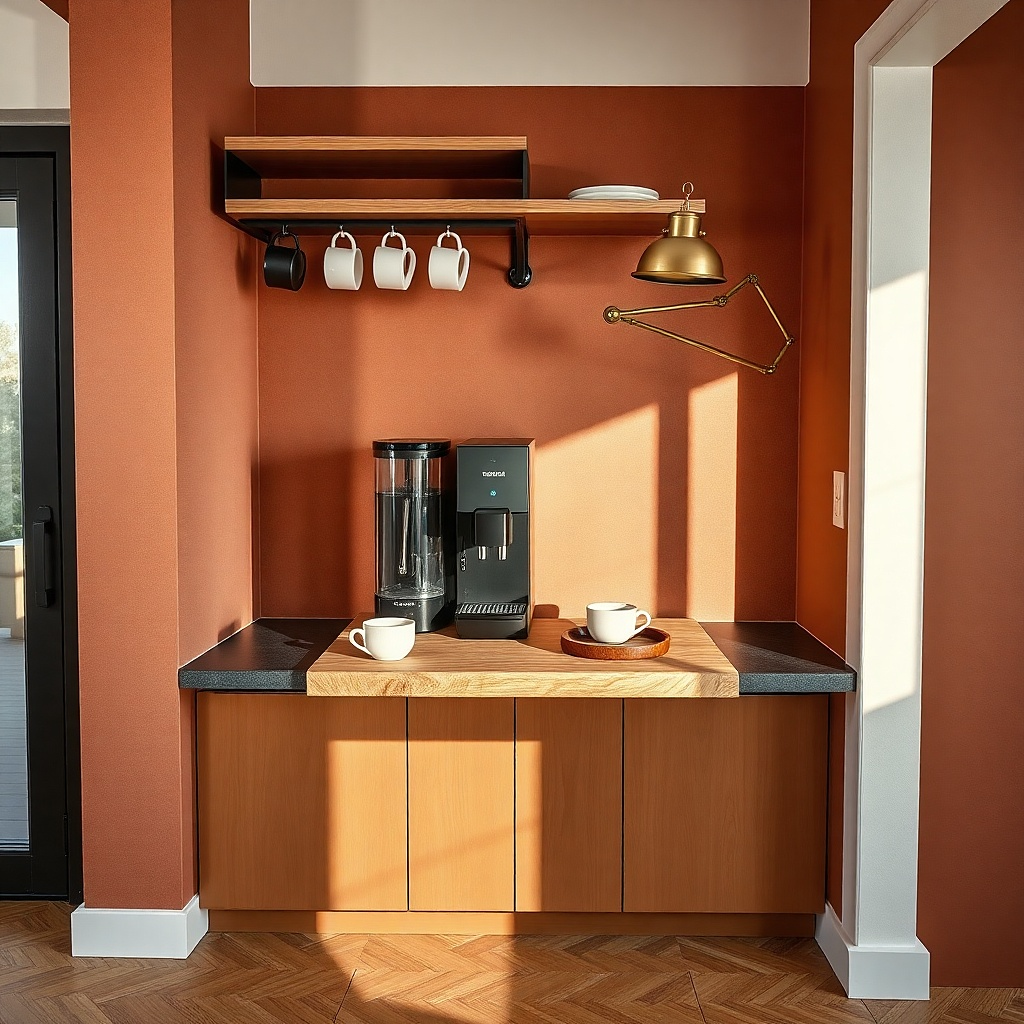
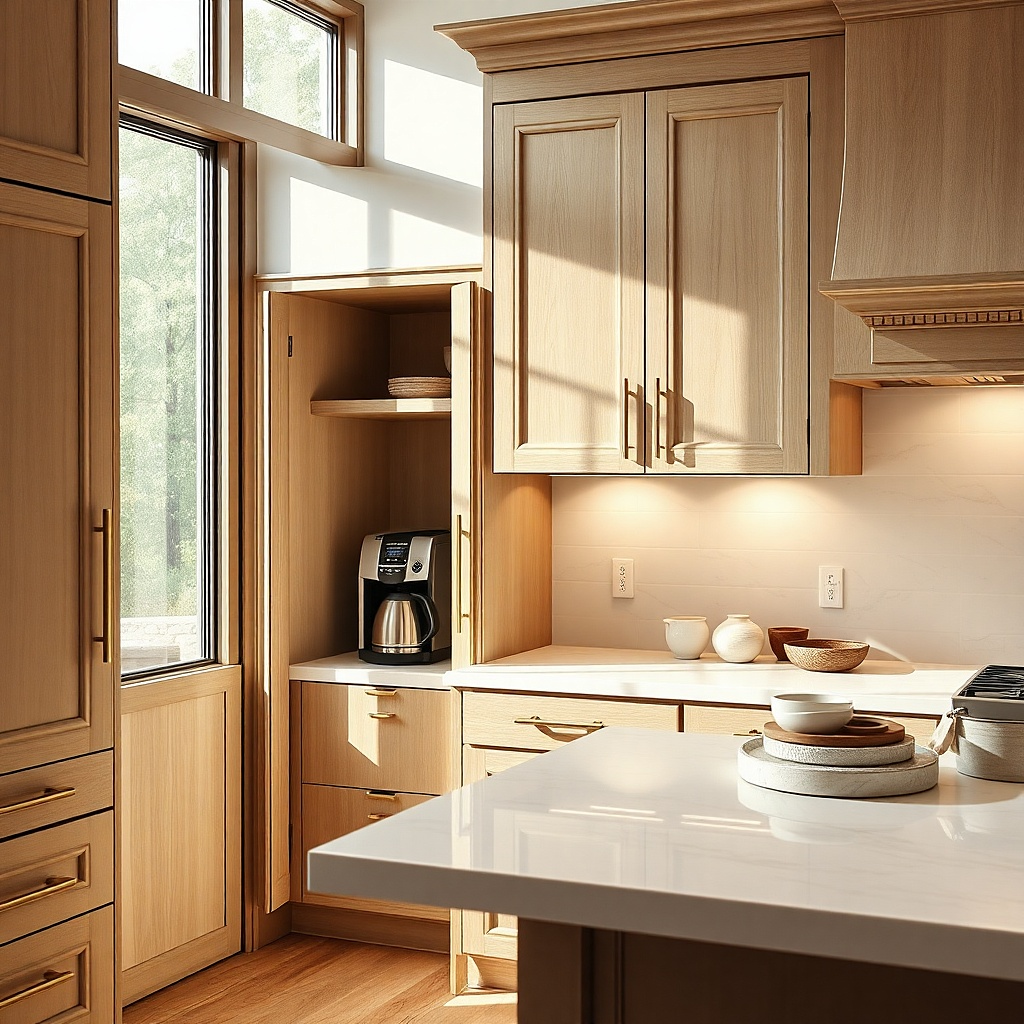
Coffee gear sprawls fast. Pods, sugar, spoons, syrups, and mugs spread out until the whole counter feels busy. A board under the machine and accessories pulls the setup into one defined area and makes the rest of the counter look cleaner by contrast. Use a board or tray 14 to 18 inches wide, then keep only the machine, a sugar jar, and one mug stack or spoon cup on it. This is best for kitchens where the coffee maker stays out every day and needs to look deliberate instead of temporary.
Start by sliding the coffee machine onto the board with at least 1 inch of border showing around it. Then add one canister for sugar or pods and one small vessel for spoons, keeping the tallest item in back. Wipe away any extras like flavored syrup bottles unless they are used daily. This takes 15 minutes because the real work is editing, not decorating.
Use clear jars only if you are willing to keep them full and tidy; opaque canisters are kinder to real-life coffee clutter.
Do not add a sign, plant, mug tree, syrup rack, and canisters all in one coffee corner — that turns one station into retail display.
7. A matched soap pair that fixes the sink instantly
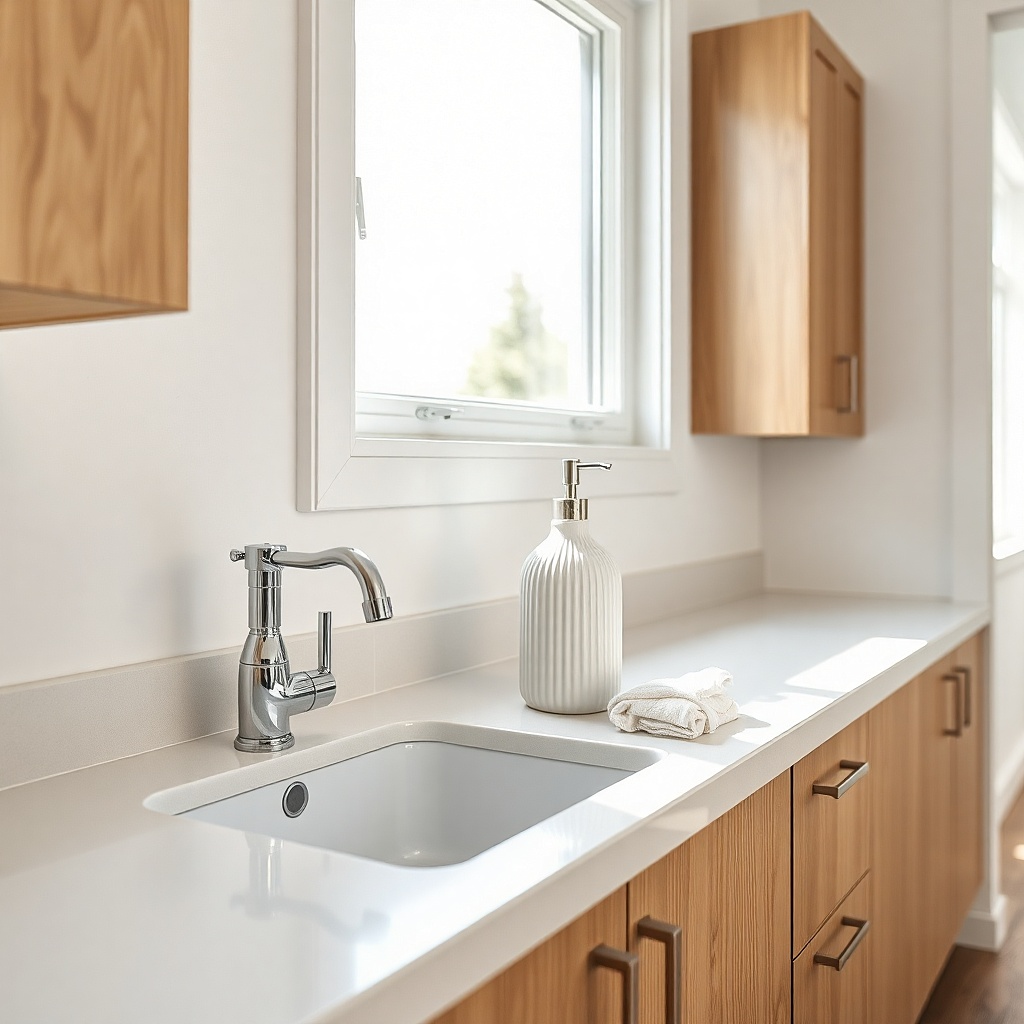
Sometimes the fastest decor move is replacing ugly packaging. A matched hand soap and dish soap pair makes the sink area look thought through in under five minutes, especially if the bottles are squat, simple, and in a finish that fits the kitchen. Amber glass works well with wood and brass. Matte white ceramic works well with black, chrome, or marble. This tiny change suits renters, small kitchens, and anyone who wants the counter to look cleaner without adding extra objects.
Start by choosing bottles around 6 to 8 inches tall with pumps that are easy to press one-handed while washing dishes. Fill one with dish soap and the other with hand soap, then place them side by side or on a small dish if your counter gets wet. Keep labels minimal or remove them entirely if the bottles are easy to tell apart. Total time is about 5 minutes, and a pair of refillable dispensers usually costs $15 to $35.
Try thisUse one ribbed bottle and one smooth bottle if you want to tell them apart without printed labels.
Common mistakeSkip novelty bottles with script fonts or bright colors unless that exact style already runs through the whole kitchen.
8. A cookbook stand with one open page
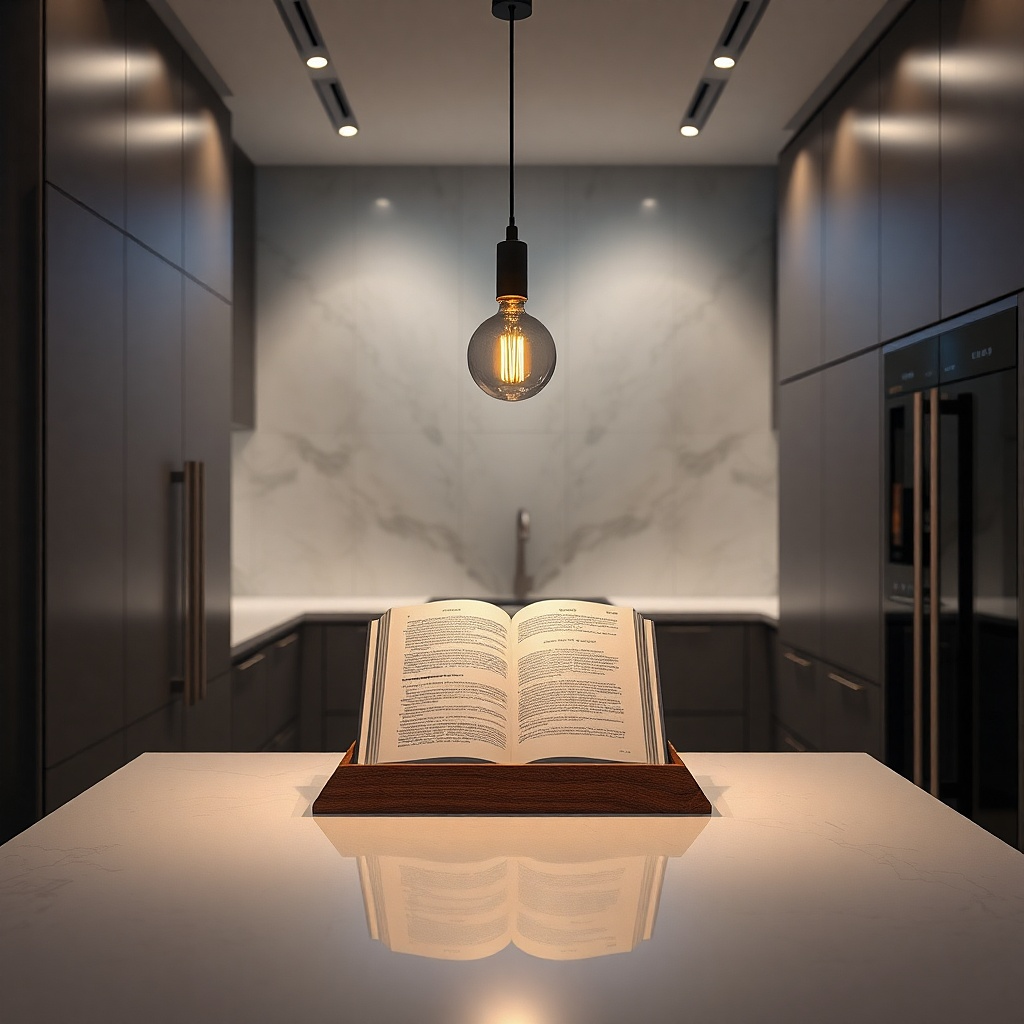
A cookbook stand gives a blank stretch of counter a purpose without adding clutter. It brings in height, a little warmth, and one clear focal point, especially in kitchens that feel flat because everything is stainless steel and stone. Choose a simple wood or black metal stand and use one book with a good cover or one attractive open spread. This works best near the range, on a short counter by the breakfast area, or at the end of an island. It reads as lived-in, but still neat.
Start by picking one stand around 10 to 13 inches tall so it is visible but not oversized under upper cabinets. Then place one cookbook on it and turn to a page with clean photography or a calm cover, not a bright busy spread full of text. Set a small bowl or salt cellar beside it only if the area still feels bare. This takes about 5 minutes and uses something you likely already own.
Try thisIf your backsplash is patterned, choose a stand with a solid silhouette so the setup does not fight the background.
Common mistakeDo not stack three cookbooks flat beside the stand unless you have a large open shelf look elsewhere in the room.
9. A utensil crock edited down to the tools you actually use
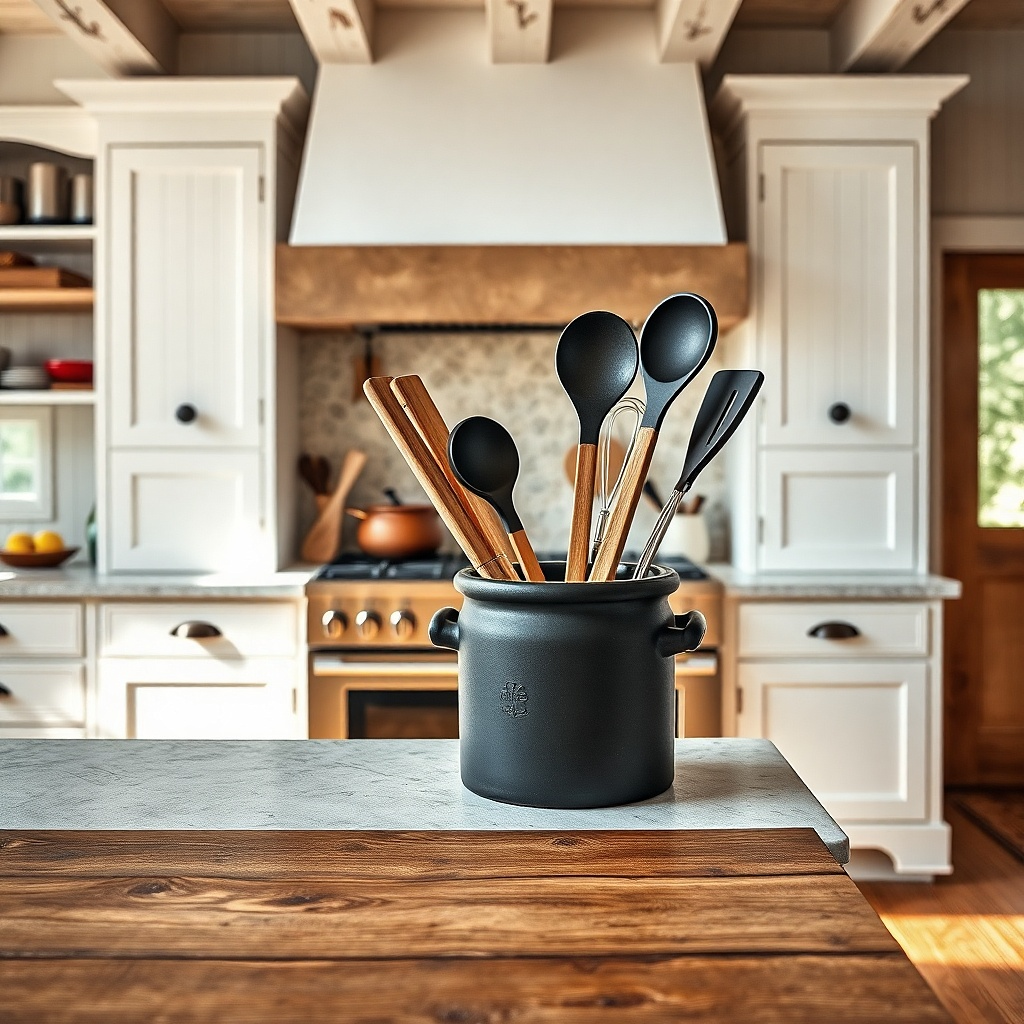
A utensil crock is practical, but most of them are stuffed with every spatula in the drawer. That is why they look messy. A crock with five to seven tools, all with similar handles, feels deliberate and keeps the counter from reading as storage overflow. White stoneware, matte black ceramic, and warm beige pottery all work, with wood or black silicone tools looking the cleanest. This idea suits any kitchen where the stove area needs a little softness but still has to function.
Start by emptying the crock and putting back only the tools used every week — one spatula, one wooden spoon, tongs, a whisk, a ladle, and maybe kitchen shears. Then turn the best-looking handles forward and place the crock slightly off-center in front of a board or beside oil bottles. Keep the crock under 7 inches wide so it does not dominate the counter. This takes 10 minutes and costs nothing if you edit what you have.
Try thisMatching wood tones on the tools makes even a cheap crock look more intentional.
Common mistakeSkip bright multicolor utensil sets unless your kitchen already leans playful and graphic.
10. A pair of pantry jars for the ingredients you reach for daily
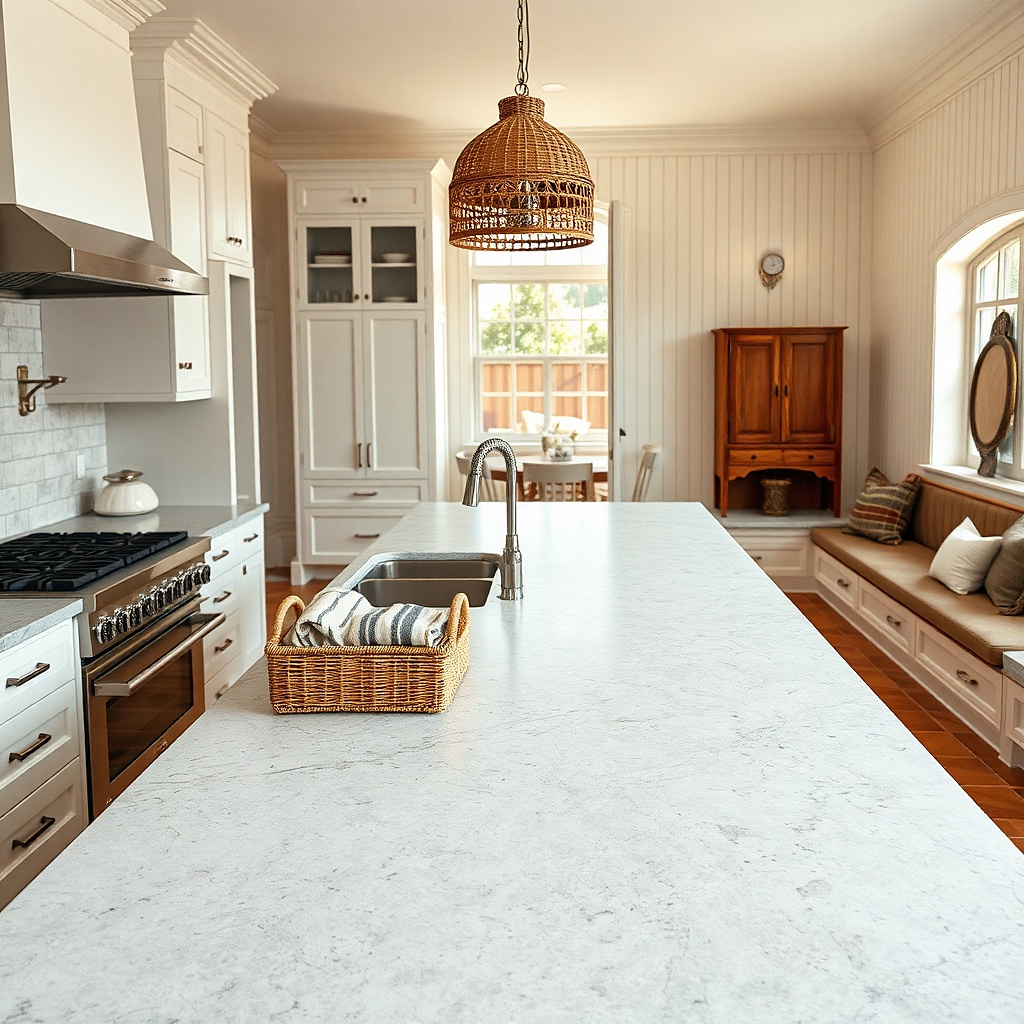
Two jars are enough. Flour and sugar, coffee beans and pods, or pasta and rice — pick one pair you use all the time and keep them on the counter in matching containers. The point is not to turn the counter into a pantry. The point is to make one practical zone look ordered. Clear glass works in cleaner modern kitchens, while opaque ceramic canisters work better if your ingredients look messy or your pantry staples are not visually appealing.
Start with two matching jars between 7 and 10 inches tall so they read as a pair without blocking a backsplash. Fill them neatly, wipe the outsides, and place them side by side on a tray or directly on the counter with about 2 inches between them. Put them near the coffee maker, mixer, or baking area where they make sense. This takes about 15 minutes if you decant and label them.
Use short simple labels in one spot on both jars, about one third up from the base, so they look aligned instead of homemade in a rushed way.
Do not line up six jars across the counter unless you want the kitchen to look like a dry-goods aisle.
11. A marble or wood board under oils and salt by the stove
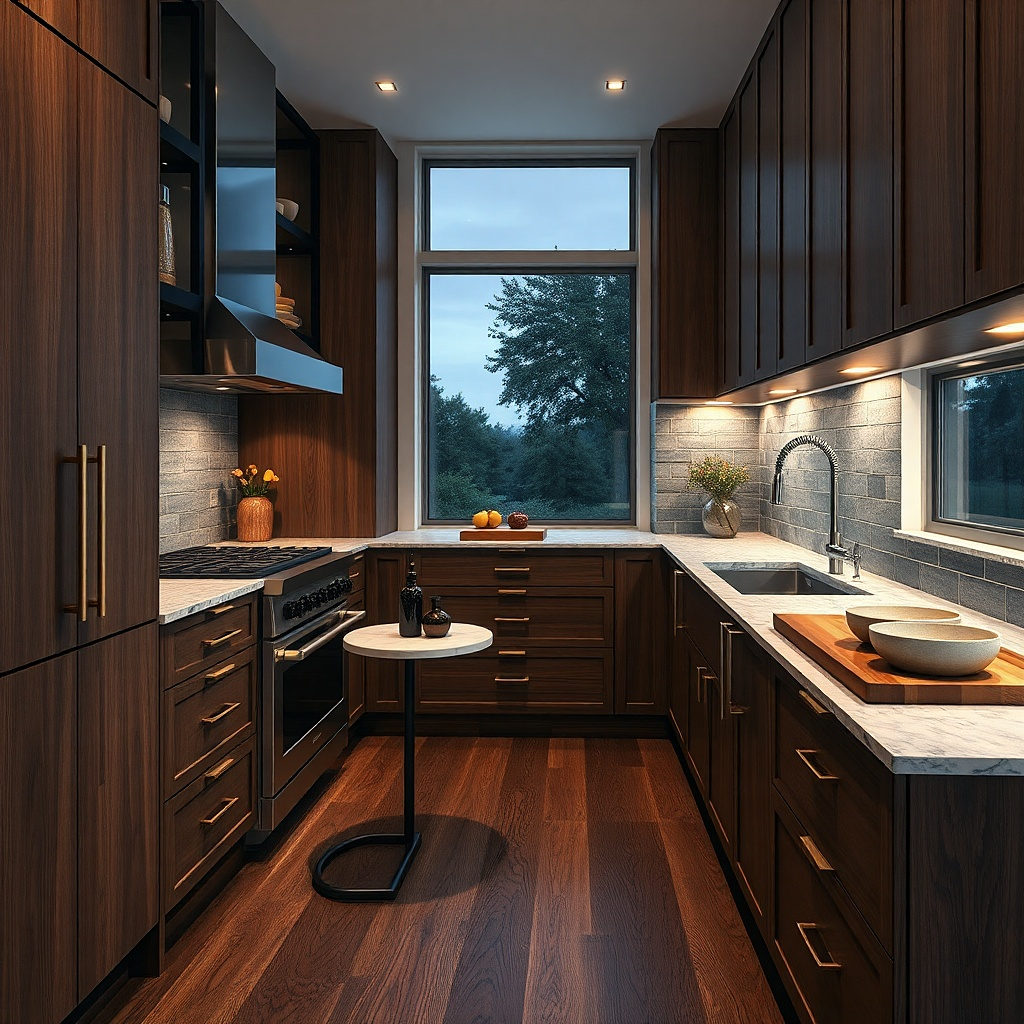
Cooking basics left loose by the stove look messy fast, especially if bottles have different labels and heights. Put them on a small board and they become a proper cooking station. A round marble board, a rectangular walnut board, or a shallow stone tray all work. Keep the setup to an oil bottle, a pepper mill, and a salt cellar or small pinch bowl. This is best for serious cooks who want the kitchen to look neat without hiding the things they use every day.
Start with a board around 8 to 12 inches wide so it sits beside the stove without crowding the landing space. Then decant oil into one good bottle if the store bottle is ugly, and place the tallest piece in back with the salt in front for easy reach. Wipe the board weekly because oil splatter dulls the look quickly. Setup takes 10 minutes, and the result looks far more intentional than three loose items.
Try thisA lidded salt cellar looks cleaner than an open pinch bowl if your stove area catches grease.
Common mistakeSkip specialty oils, vinegar bottles, spice shakers, and grinders all together in one cluster unless you have a large range alcove.
12. A shallow bowl for the things that always land on the counter
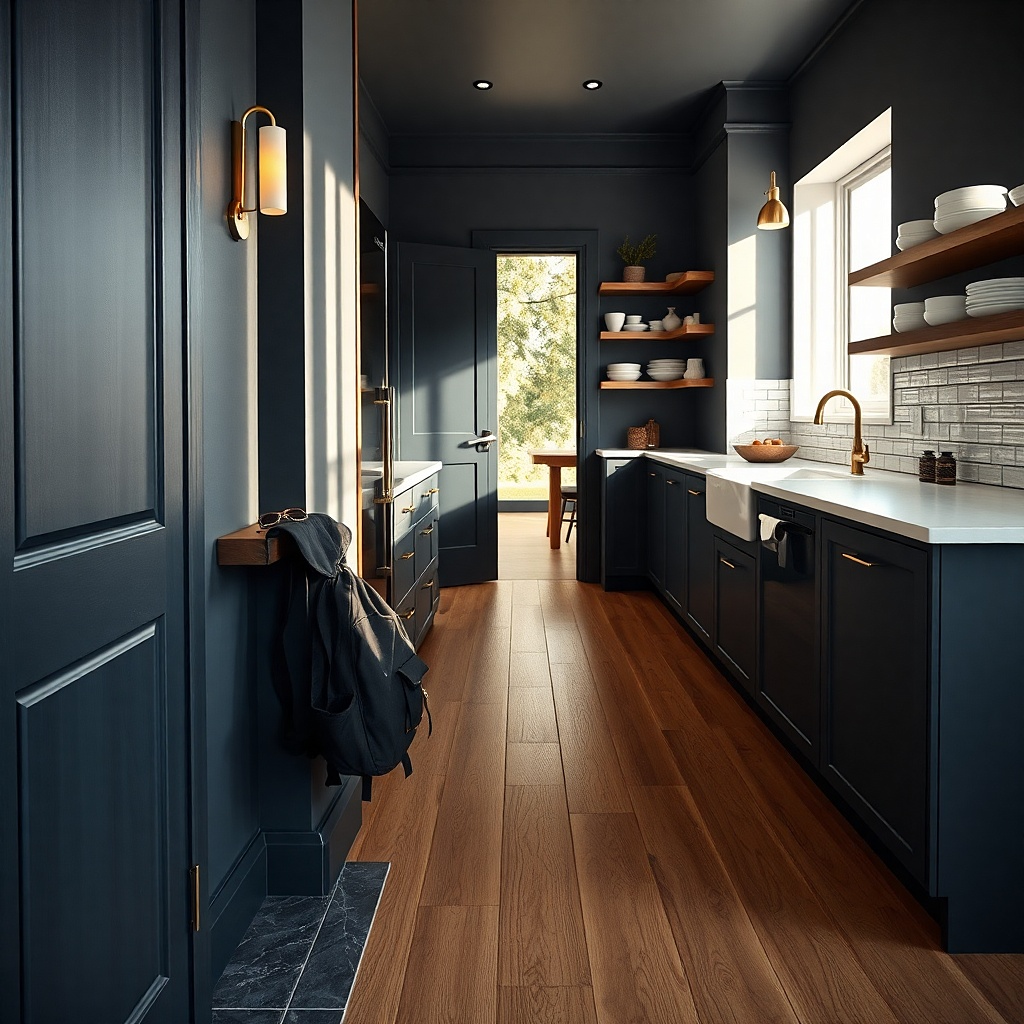
Some kitchens become a landing strip no matter how hard you try. Instead of pretending that habit will vanish, give the clutter one exact place. A shallow bowl near the entry side of the kitchen catches keys, glasses, lip balm, and loose change before they spread. Choose stone, ceramic, or wood, around 6 to 8 inches wide, and keep it away from the food prep zone so it reads as a drop spot on purpose. This idea works especially well in apartments and family homes where the kitchen is the first room people hit.
Start by picking the least disruptive spot, usually the far end of a peninsula or the outer edge of an island. Then place the bowl there and nothing else around it except maybe one lamp or board to make the area feel anchored. Empty it every evening or every other day so it stays a controlled catchall instead of a permanent pile. This takes 5 minutes and solves a real problem fast.
Try thisA dark bowl hides visual mess better than a white one if the contents change all the time.
Common mistakeDo not put the drop bowl beside the stove or sink where everyday pocket clutter mixes with cooking tools.
13. One appliance left out, the rest hidden
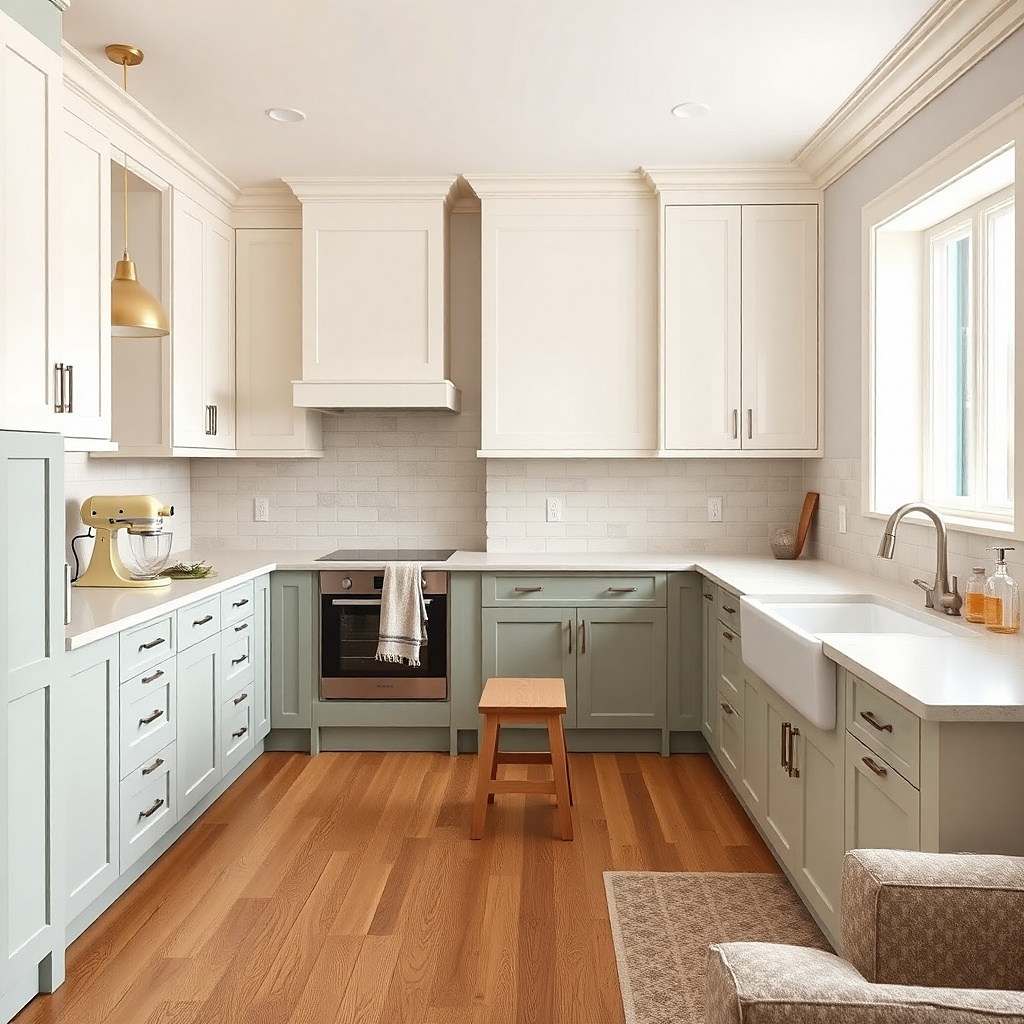
This is decor by subtraction, and it works. Most kitchens look chaotic because the toaster, air fryer, blender, kettle, and coffee grinder are all visible at once. Pick one appliance to stay out based on weekly use and visual appeal, then clear the rest. A stand mixer in cream, black, or stainless steel can hold a section of counter on its own, while a cheap plastic toaster never will. The room looks more polished because the eye gets one object to settle on instead of five competing shapes.
Start by unplugging and storing every small appliance you do not use at least four times a week. Then leave one appliance on a clean stretch with at least 6 inches of breathing room on both sides. If the counter still feels bare, place a board or bowl nearby, but keep the setup spare. This takes 15 to 20 minutes and costs nothing.
Try thisIf you need the toaster out daily, park it on a tray so it still looks assigned to one zone instead of drifting.
Common mistakeDo not keep out multiple black plastic appliances on a short counter — they flatten the whole room.
14. A mini stack of linen towels in a basket by the breakfast spot
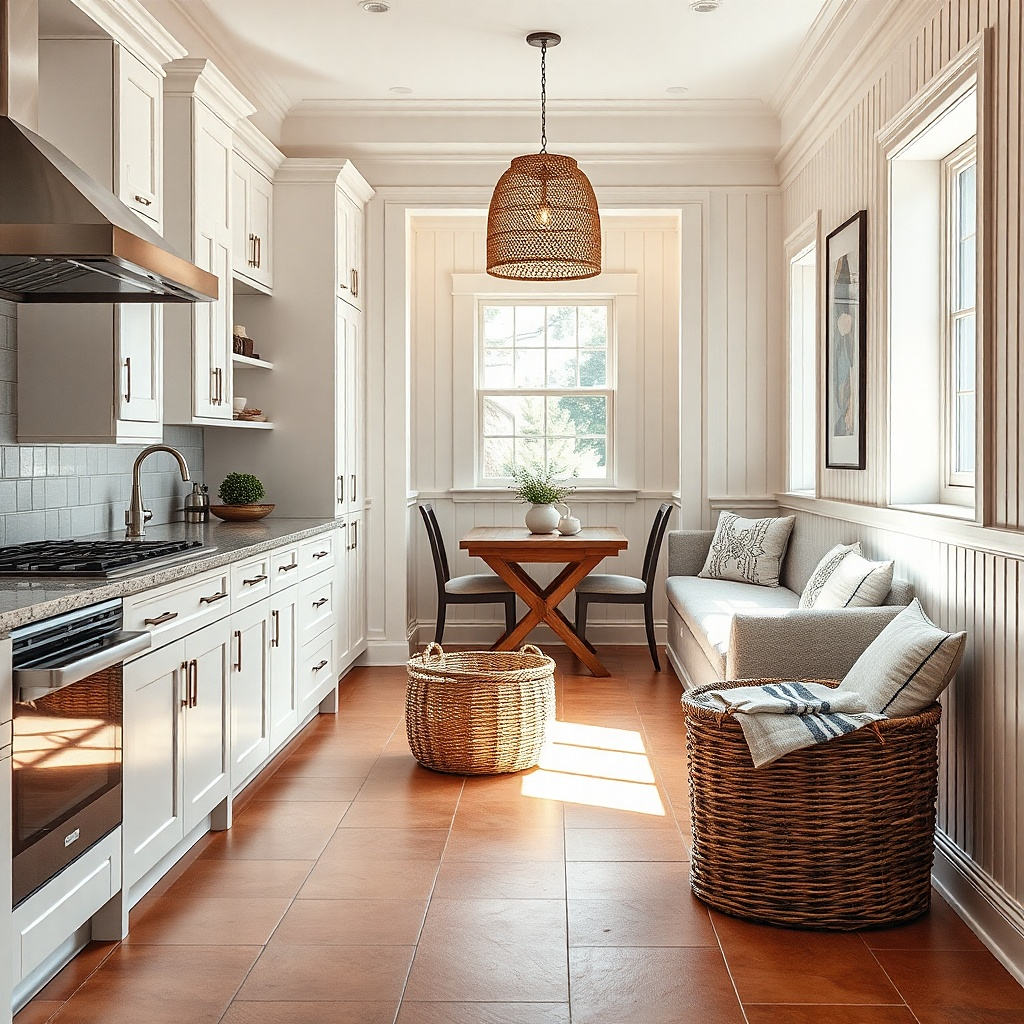
A tiny basket with folded towels gives a kitchen softness in a way ceramic and metal cannot. It also helps if your breakfast area or coffee station needs one touch that feels domestic instead of utility-only. Choose two or three towels in flax, cream, charcoal, or thin ticking stripe, then fold them into a low handled basket or tray. This works best on an open counter near a banquette, a coffee station, or a hutch edge where the kitchen meets the dining area. It is a quiet styling move, not a loud one.
Start with a basket or tray under 10 inches wide so the towels stay compact. Fold two or three towels to the same size, stack them neatly, and place the stack with the clean folded edge facing out. Add nothing else unless the basket is large enough for one small jam jar or honey pot used at breakfast. This takes about 5 to 10 minutes and works well with items already in the linen drawer.
Try thisUse washed linen or cotton with a little texture so the folds look relaxed, not stiff like store display stock.
Common mistakeSkip bright novelty tea towels with big sayings if the goal is a more pulled-together counter.
15. A single sculptural bowl on a bare island end
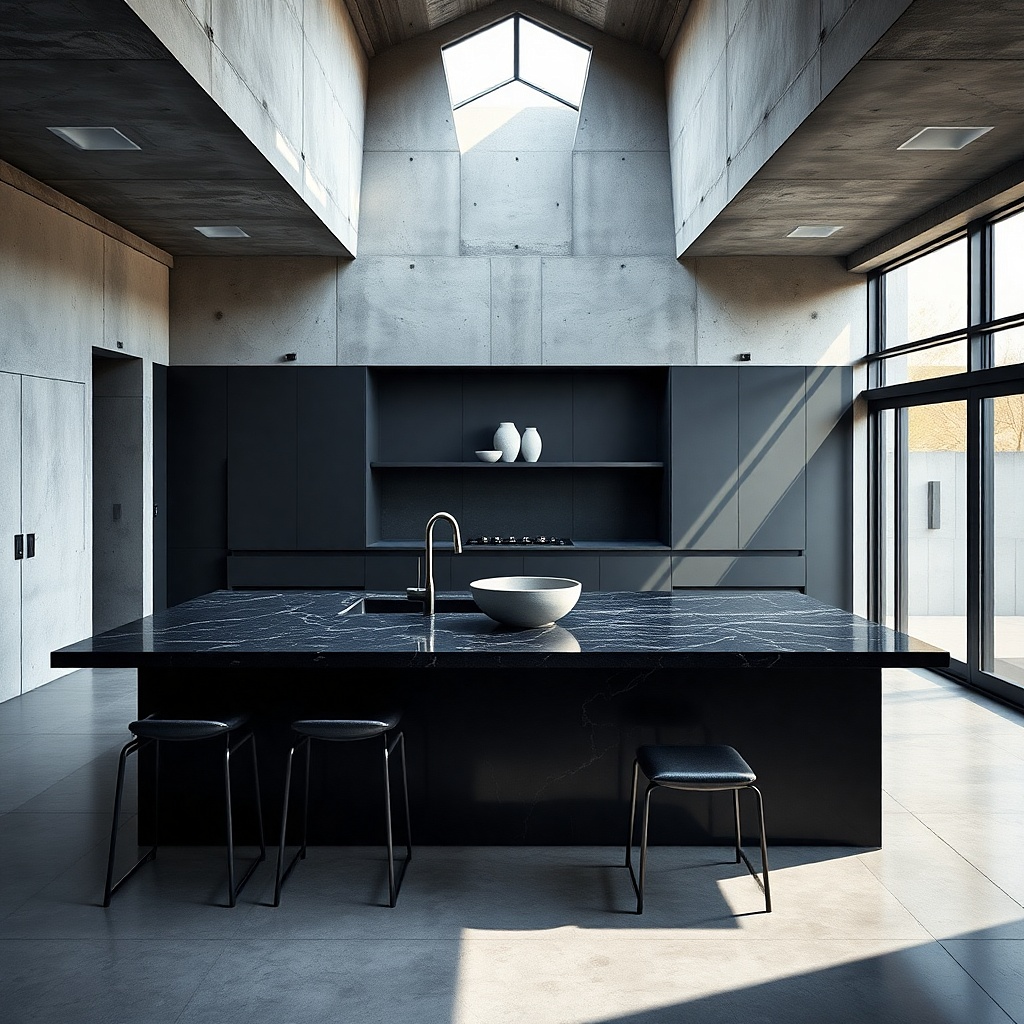
Sometimes one object is enough. If your island end looks awkwardly empty but you do not want clutter, place one large sculptural bowl there and stop. The key is scale. It should be big enough to hold the space — around 12 to 16 inches wide — with a shape that catches light, such as hand-thrown ceramic, fluted stoneware, or matte black metal. This works best in modern kitchens, minimal kitchens, and long islands that need visual weight at one end.
Start by centering the bowl on the last third of the island, not in the middle of the whole surface. Then leave it empty or place three to five lemons or artichokes inside if you want a little color. Keep at least 12 inches clear around it so it feels like a chosen object, not something waiting to be put away. This takes under 5 minutes if you already own the bowl.
Choose a bowl with a matte or chalky finish if your countertops are glossy so the contrast feels intentional.
Do not pair this with extra candles, beads, or small filler objects nearby — that weakens the clean statement.