1. Satin White Floating Shelf with Clear-Jar Line
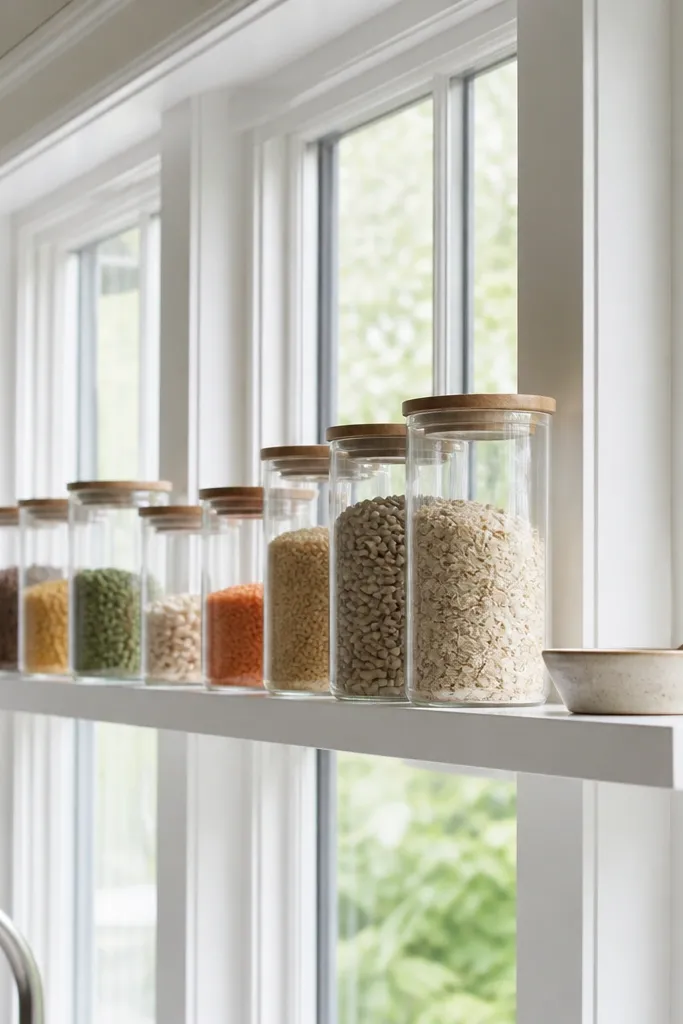
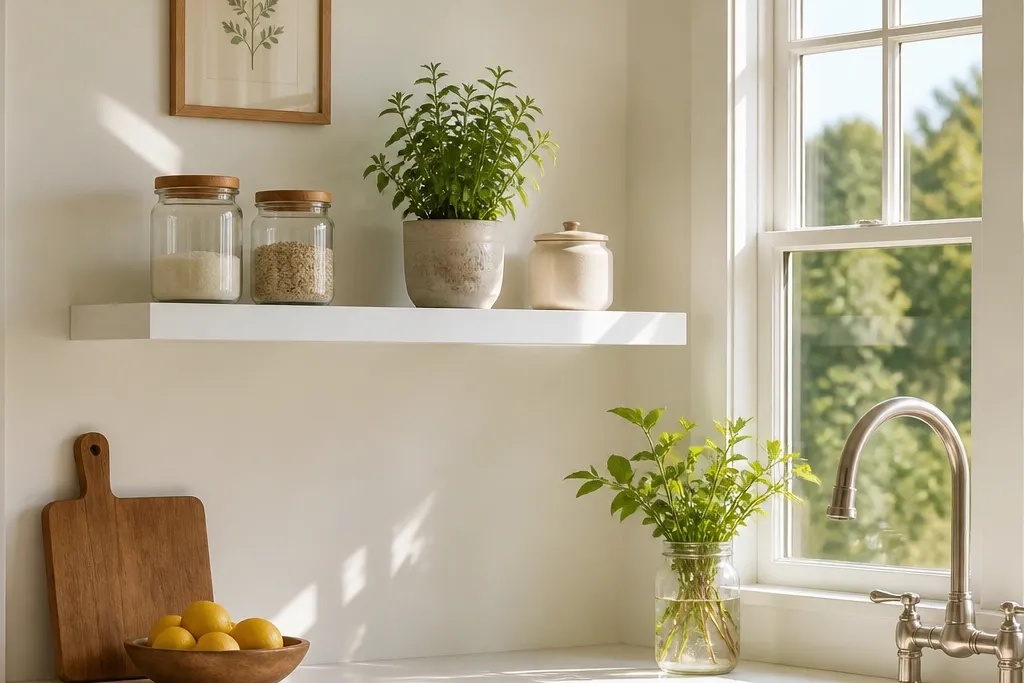
This look is clean, bright, and fast because the shelf almost disappears satin white matches most trim, so your window stays the hero. Use a floating shelf with a smooth front edge and no bulky brackets; the daylight hits your contents, and the shelf reads like part of the window wall. Fill it with a straight line of clear jars in two sizes so the shelf has rhythm instead of clutter. The colors inside should be limited to pale labels, black lids, and one green element for contrast. It adds storage for dry goods, coffee filters, or small baking supplies while keeping the glass area visually open.
Try thisUse matching lid colors (all black or all brushed metal) so the jars look like one system, not random containers.
Measure the window sill height and mark a level line for the shelf underside. Install the shelf with hidden brackets rated for the weight of jars — use a stud finder and fasten into studs when possible, otherwise use appropriate anchors for your wall type. Keep the shelf depth around 6 inches and place it so the jar line sits about 1 inch away from the window frame. After mounting, wipe the jars and align them — start with the largest jar at the ends, then fill the middle with the smaller ones.
Common mistakeDon’t stack mixed-height items directly against the window frame; it makes the shelf look crowded and blocks light.
2. Warm Oak Ledge Shelf with Black Metal End Brackets
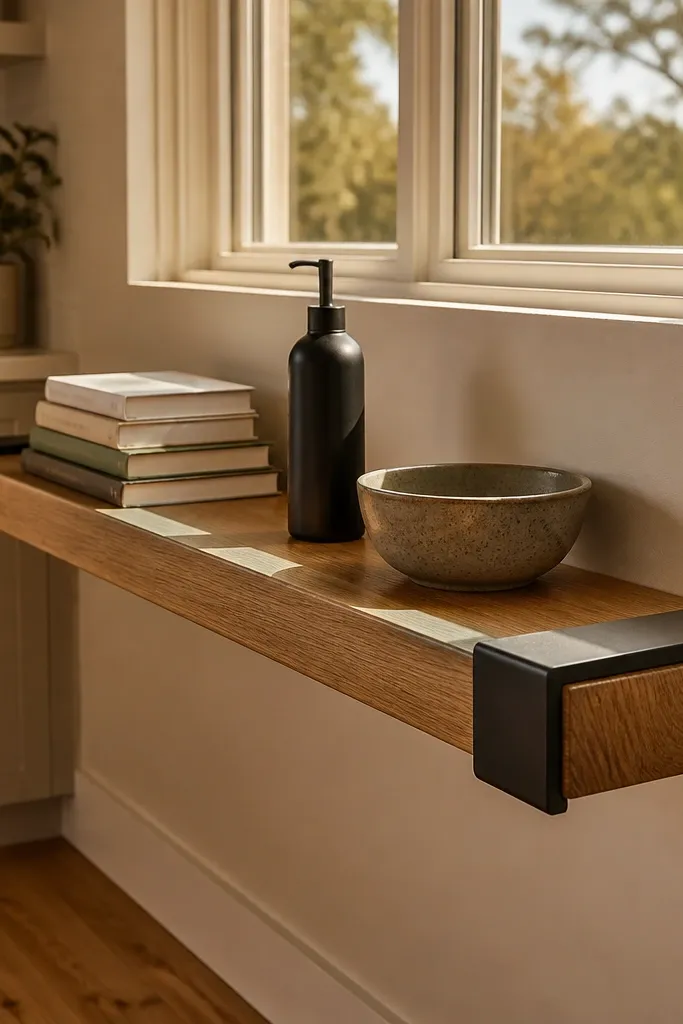
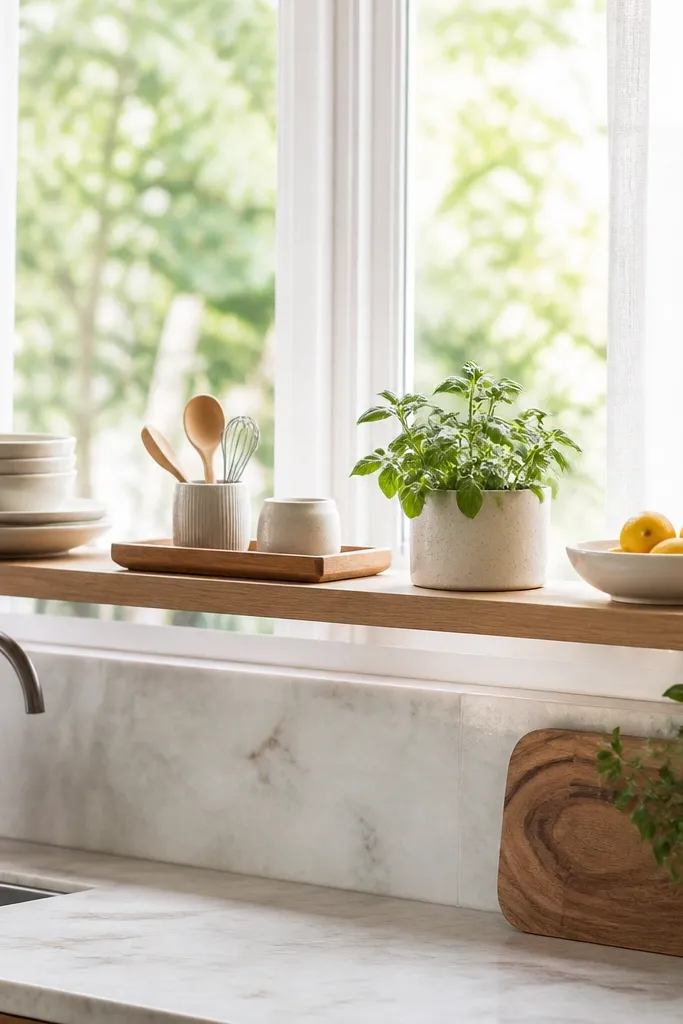
If your kitchen has warm floors or wood accents, this shelf makes the window area feel designed instead of added. A warm oak ledge shelf has enough thickness to look substantial in daylight, and the black end brackets add a crisp contrast that reads modern even in farmhouse spaces. The ledge shape is ideal for a small tray, a couple of stacked cookbooks, and one plant — it gives you storage without needing a lot of items. Keep the palette tight: oak shelf, black hardware, and neutral containers like cream or clear. This style works especially well when the window trim is white and your countertop has black or dark accents.
Try thisAdd a thin felt or rubber pad on the ledge where a tray sits so it doesn’t slide when you open the window.
Pick a shelf board that’s 1 inch thick and about 5-6 inches deep, then choose two end brackets that match your kitchen hardware finish. Mount the brackets first — use a level and keep the shelf front edge flush so it doesn’t twist visually. Place the shelf so it clears any curtain rod and still leaves at least 1 inch between the shelf items and the window frame. Finish the oak with a matte oil or clear satin to prevent glare in photos and keep it easy to wipe down.
Common mistakeDon’t use thin, glossy wood — it reflects light harshly and makes the shelf look cheap.
3. Reclaimed Wood Shelf with Two-Tier Jar Steps
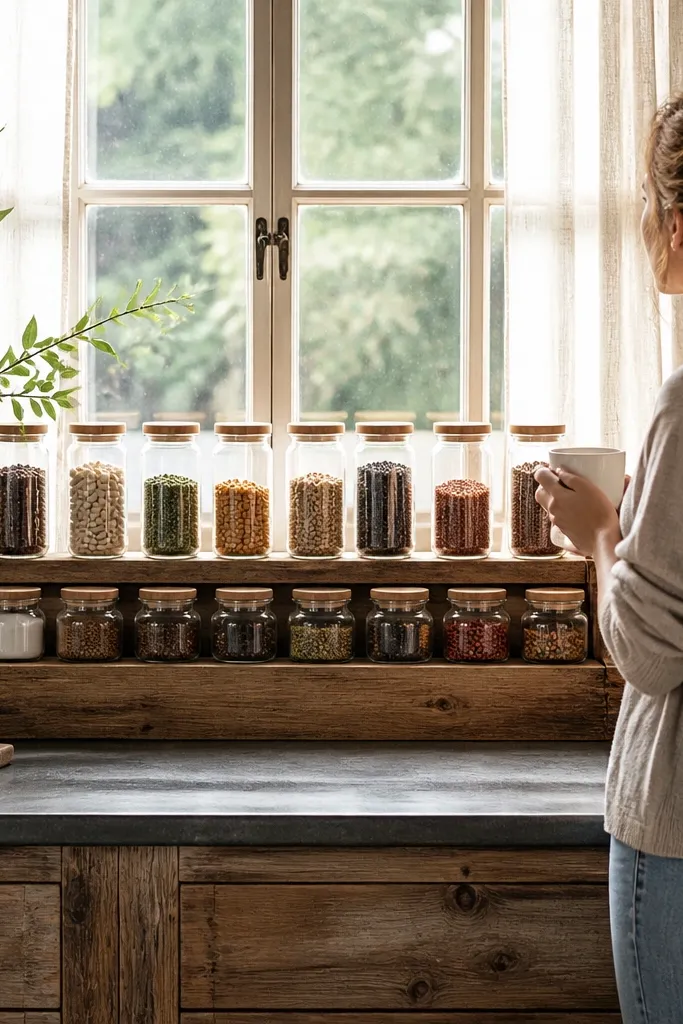
A reclaimed wood shelf brings texture that looks great in natural light, and it’s a smart way to make the window area feel cozy without adding bulk. The two-tier look is what keeps it from being “just one shelf” you use two levels by adding a narrow second rail or a small step insert on top of the main shelf. This lets you store taller bottles on the back row and shorter jars in front without hiding the window. Keep the jars consistent in glass type so the reclaimed texture is the star, not mismatched packaging. Works best in kitchens with visible wood beams, butcher block counters, or a rustic backsplash.
Choose a reclaimed shelf board about 6 inches deep and at least 3/4 inch thick so it doesn’t warp with humidity. Install the main shelf on brackets into studs, then add a second, narrower ledge or rail that sits 3-4 inches higher at the back. Place tall items at the rear row and keep the front row to low jars so the window still feels open. Use sandpaper to smooth rough edges and apply a matte clear coat for durability and easy cleaning.
Group jars by height, not by product two heights reads intentional and looks better in daylight.
Don’t overfill the front row; the window gets visually crowded fast.
4. Black Floating Shelf with Vertical Cookbook Stack
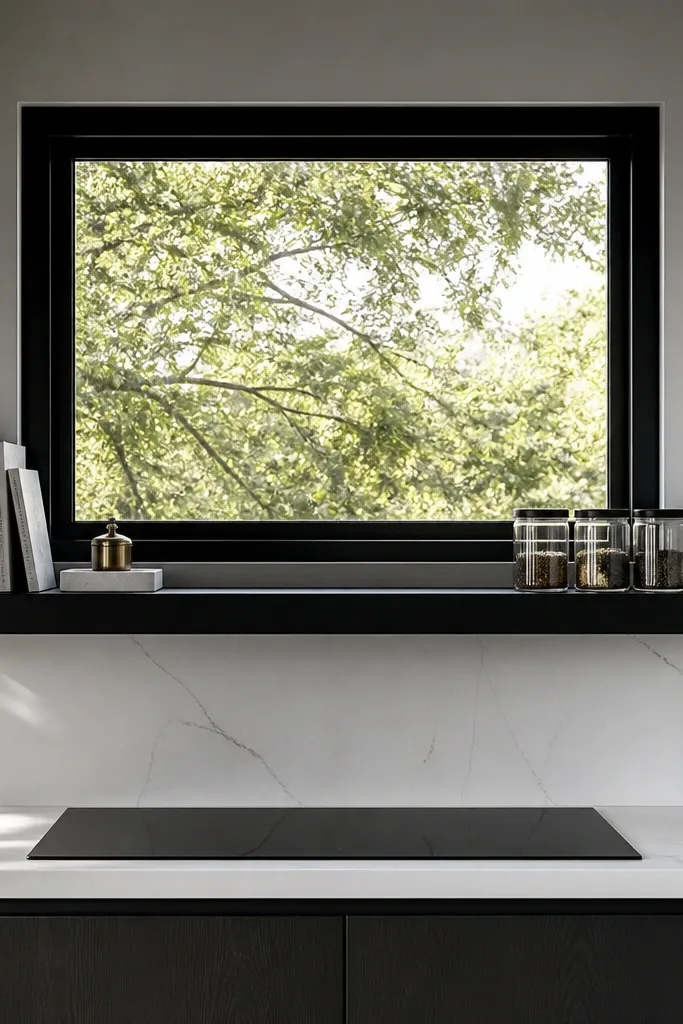
This is the cleanest “decor + storage” combo for kitchens that feel too plain. A black floating shelf gives a modern frame to your window, and a vertical cookbook stack adds height without taking horizontal space. The books also create a visual boundary so small jars don’t look scattered. Choose one accent object — a ceramic cup, a small plant, or a brass utensil holder — and keep everything else in neutral glass or white containers. It’s especially good when your kitchen has black faucets, black cabinet hardware, or dark grout lines.
Select a black shelf with a matte finish and keep depth around 5-6 inches. Mount with hidden brackets and keep the underside aligned with the window trim line so it looks built-in. Stack cookbooks vertically at the back edge so the covers don’t block the window view; then place 2-3 jars in front, leaving a 1 inch gap from the window frame. If you need more storage, add a slim tray at the very front for small items like packets or measuring cups.
Pick books with matching spine colors or dust-jacket tones so the stack reads like decor.
Avoid glossy black shelves — they glare and make the window area look washed out.
5. White Shaker Window Valance Shelf (Cabinet-Style)
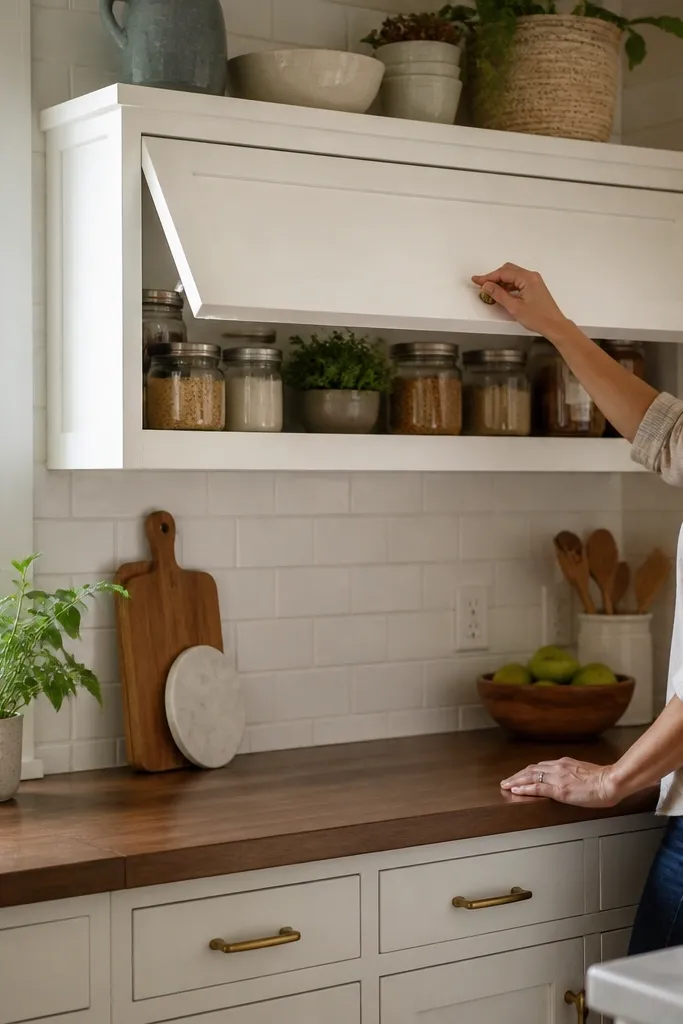
If your kitchen window area always looks messy by day two, cabinet-style shelves are the answer. A shaker-style valance shelf uses a front frame and doors or a drop-front panel, so you store items out of sight while still getting a light, bright look. The shelf sits at window height, so you’re adding storage where you already have wall space. Use it for less photogenic items like tea packets, extra sponges, or baking tools you don’t want on display. Because the face is structured, it photographs clean even with fewer “decor” pieces.
Measure the window width and choose a valance-style cabinet that fits with at least 1/2 inch clearance on both sides of the frame. Install it level, anchored into studs — aim for two mounting points at the top corners. Inside, add a simple divider shelf or small tray to separate tea, filters, and everyday items. Keep the front open only if you’re using a top hinge or drop-front; otherwise choose doors that stay closed and wipe clean.
Use matching canisters inside the cabinet so when you open it, everything looks coordinated.
Don’t make the cabinet too deep; doors that stick out block the light and snag curtains.
6. Narrow Wall Rail with Removable Baskets
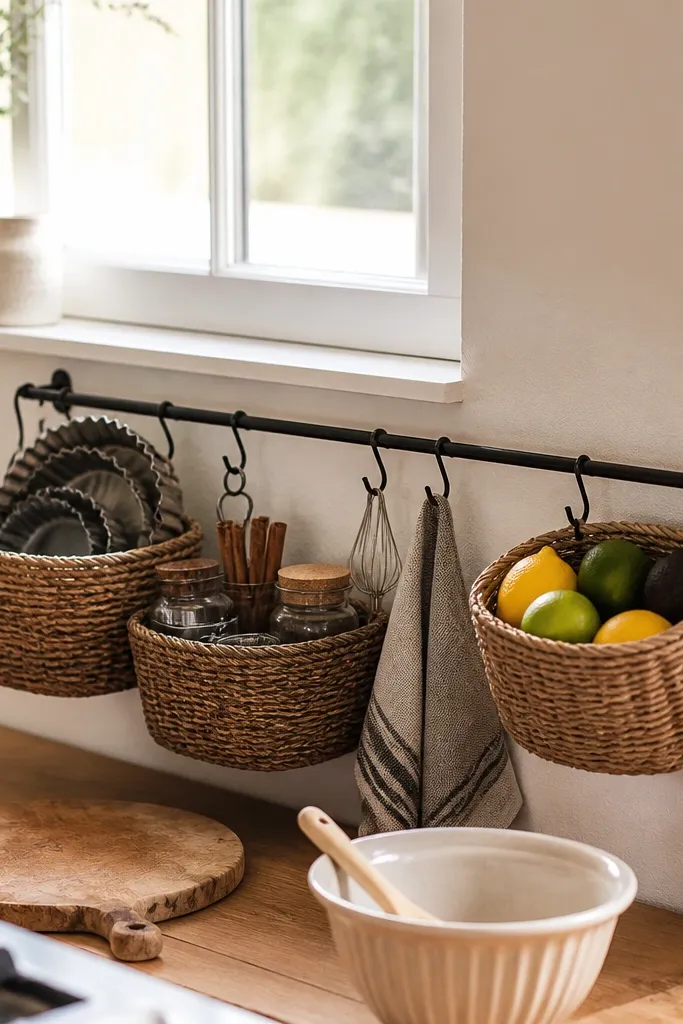
This is storage you can change without remounting anything. A narrow rail system mounted under the window lets you hang or set removable baskets, which keeps the window area flexible for seasons — baking in winter, fruit bowls in summer. The baskets add texture and depth, but because the rail is slim and the baskets are shallow, the window still stays bright. Choose baskets in matte black, woven natural, or white-coated metal so they don’t look heavy against the glass. It’s ideal for kitchens where you want a “quick and easy” update rather than a permanent shelf display.
Install a slim rail (about 1 inch wide) under the window, aligned with the trim so it looks intentional. Use mounting into studs; if you can’t, use anchors rated for the rail weight plus basket load. Choose basket sizes that sit 4-6 inches deep and leave at least 1 inch clearance from the window frame. Load the baskets with one category — tea and coffee in one, small produce in another — and swap seasonally.
Label baskets with small white tags or simple chalk markers so the system stays neat even when you’re busy.
Don’t hang deep baskets; they block light and make the window feel smaller.
7. Glass Shelf with Brass Rod Supports
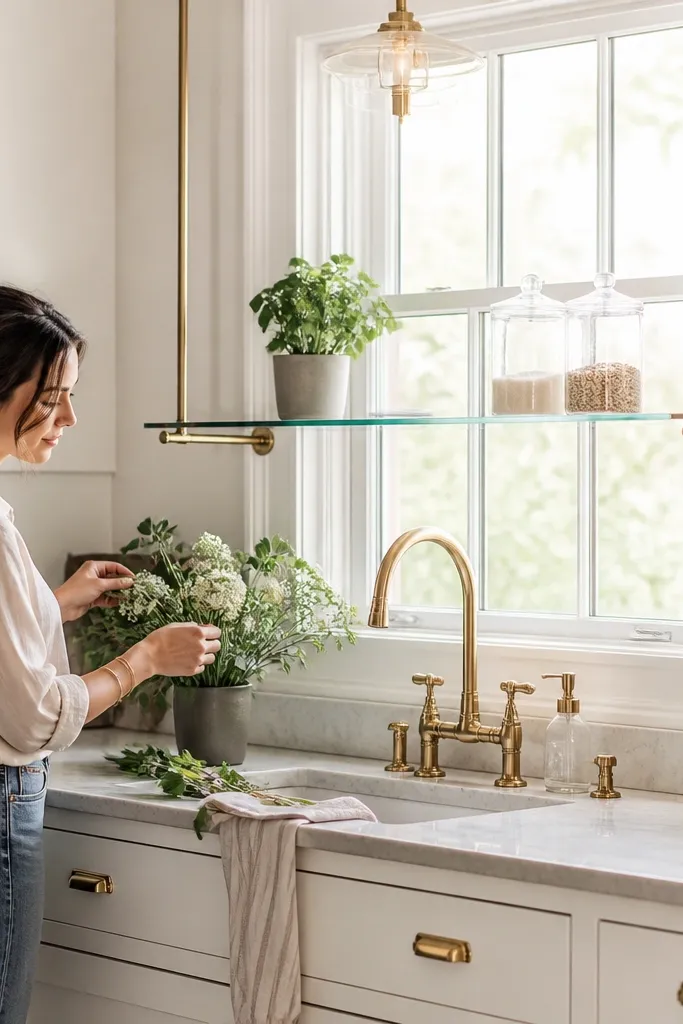
For kitchens where you want maximum light and minimal visual weight, a glass shelf is a smart choice. The shelf top stays transparent, so the window light passes through and your countertop area feels open. Brass rod supports add warmth and coordinate with brass faucets, light fixtures, or cabinet pulls. This look is photogenic because the jars and ceramics float above the rods, and the brass catches sunlight along the window line. It works best when you keep items curated — 3-5 pieces max so the transparency doesn’t make clutter visible.
Try thisWipe glass shelf edges with a microfiber cloth; fingerprints show fast in window light.
Pick a tempered glass shelf with a smooth edge and plan for 5-6 inches depth. Install brass rod brackets at the ends and, if needed, one center support for stability; use a level and mark mounting points into studs. Place the glass shelf so it clears any blinds and stays about 1 inch away from the window frame. Load with clear or neutral-toned jars and a small tray so you’re storing, not scattering.
Common mistakeDon’t use a foggy or heavily tinted glass — it kills the airy look.
8. Tile-Top Shelf with White Grout Lines
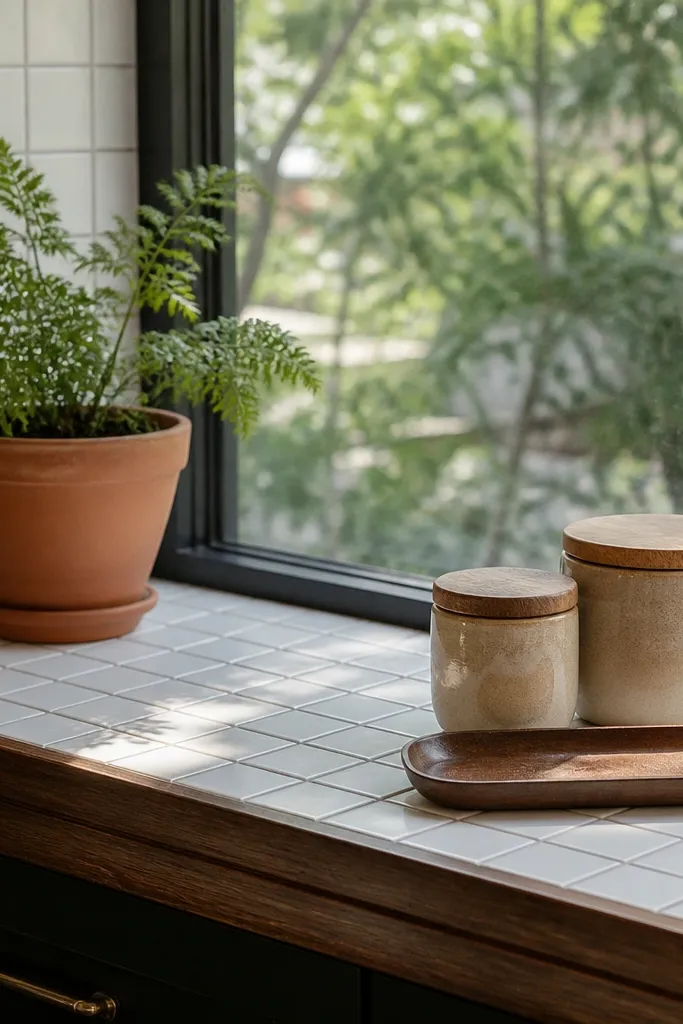
Tile-top shelves look built-in and handle kitchen mess better than most materials. The white grout lines create a built grid that makes the shelf feel intentional, even with simple items like a plant and a couple of jars. Choose a shelf base in wood or metal, then add a tile top in a small format like 2x2 or 3x3 — the scale looks right under a window. This is a strong option if your kitchen has tile backsplash or a white-and-cream palette and you want the window area to match it. It also solves the “open shelf stains” problem because tile wipes clean.
Try thisUse a grout sealer so the shelf stays bright — window light makes grout discoloration obvious.
Build or buy a shelf base that’s 6 inches deep and sturdy enough to support tile weight. Apply a tile top using proper thinset or adhesive rated for tile on your base material, then grout after cure time. Install anchors into studs and keep the shelf underside level with the window trim. Style with one plant in a glazed pot and two matching jars — keep the front edge clear so the window feels open.
Common mistakeDon’t pick large-format tile; it looks bulky at window height.
9. Floating Ledge + Curtain-Safe Spacers
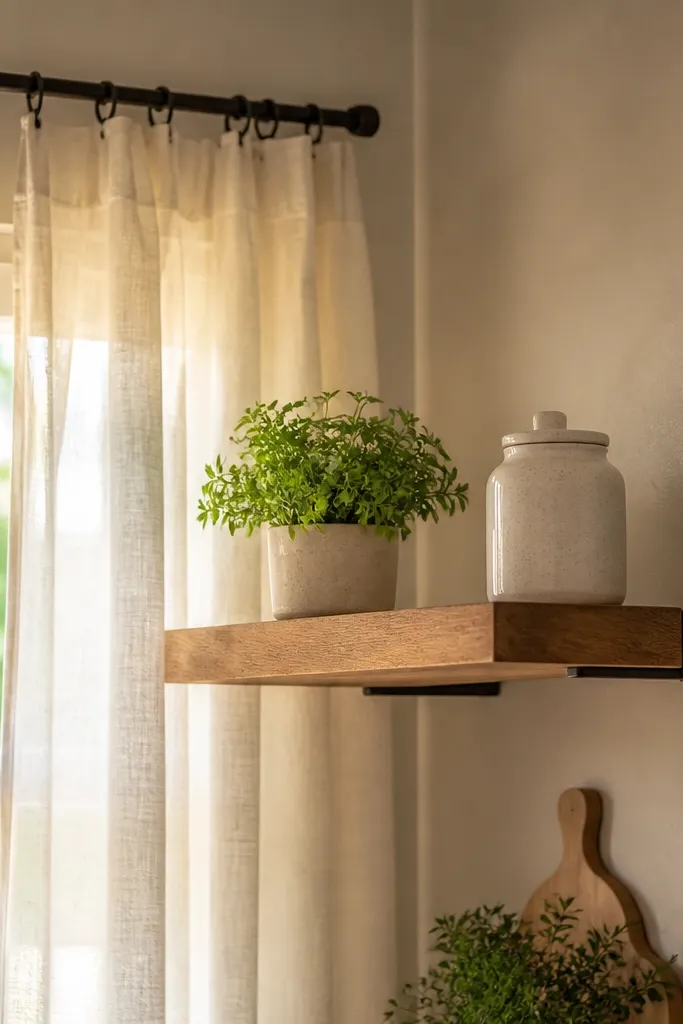
This is for kitchens where curtains or blinds get in the way. A floating ledge shelf works, but the real win is adding curtain-safe spacers and placing the shelf at a height that never rubs fabric. When the shelf is too close to a curtain rod, it looks messy and can snag — your window area becomes annoying instead of pretty. With proper clearance, you get the photo-friendly look of open shelving while keeping the window treatment smooth. Use neutral containers and a single tray so the shelf reads calm behind moving fabric.
Try thisHang curtains slightly wider than the window so they frame the shelf without leaning into it.
Decide whether you’re using curtains, roman shades, or blinds, then test the maximum open/close movement before mounting. Mark shelf height so there’s at least 1 inch clearance between shelf front and any fabric when it pulls taut. Install the shelf on brackets into studs and add spacers if your bracket alignment interferes with the window trim or rod. After mounting, style with low items only — jars and a tray — so nothing catches on fabric.
Common mistakeDon’t mount the shelf first and hope curtains will adjust — rubbing fabric looks sloppy fast.
10. Stainless Shelf with Line-Up Canisters
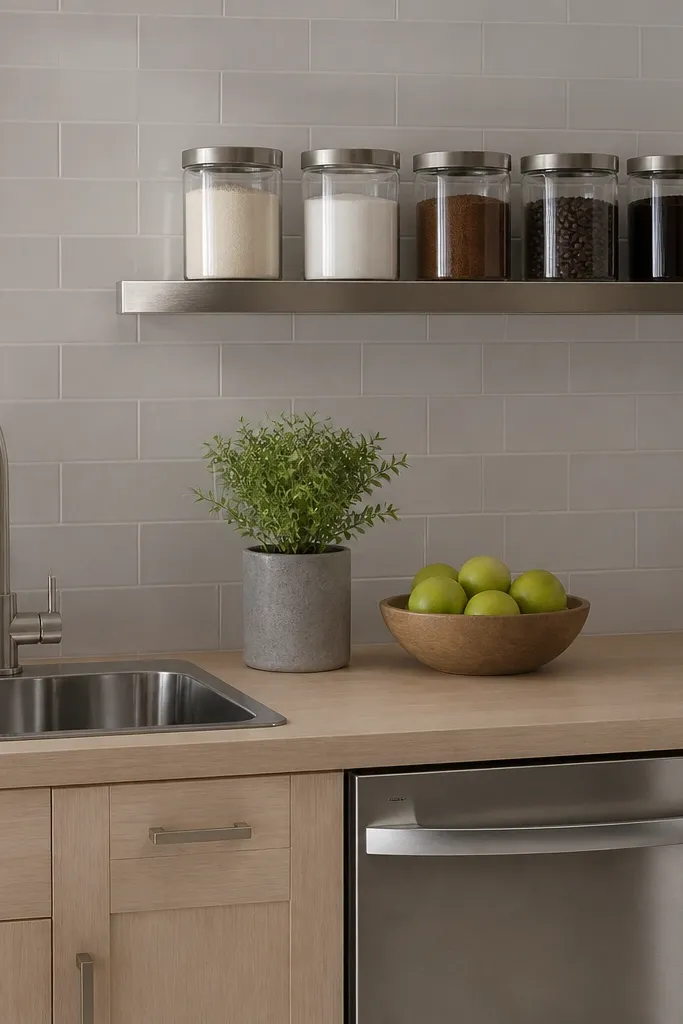
If your kitchen has stainless appliances or a stainless sink, a stainless shelf gives a crisp, “pro kitchen” look that still works in everyday homes. The visual trick is the line-up: use canisters with matching shapes and lid finishes so they look like a set. Stainless also hides minor wear and wipes clean instantly, which matters when the window area gets splashed by cooking. Keep the shelf depth around 5 inches so it doesn’t feel like a ledge that blocks light. This style is great for coffee storage, flour and sugar canisters, or spices you want reachable.
Choose a stainless shelf with simple, straight edges and 5-6 inches depth. Mount it level into studs using the manufacturer brackets, then check clearance for blinds and any window crank. Place canisters in a tight row with 1-2 inches between them so labels stay readable. Add one metal tray at the front for small items like spoons or a salt cellar so the shelf stays styled, not cluttered.
Use one matte tray and one glossy canister finish — the contrast looks intentional in daylight.
Don’t mix too many lid finishes; stainless shelves make mismatched hardware look chaotic.
11. Corner Window Shelf with Angled Ends
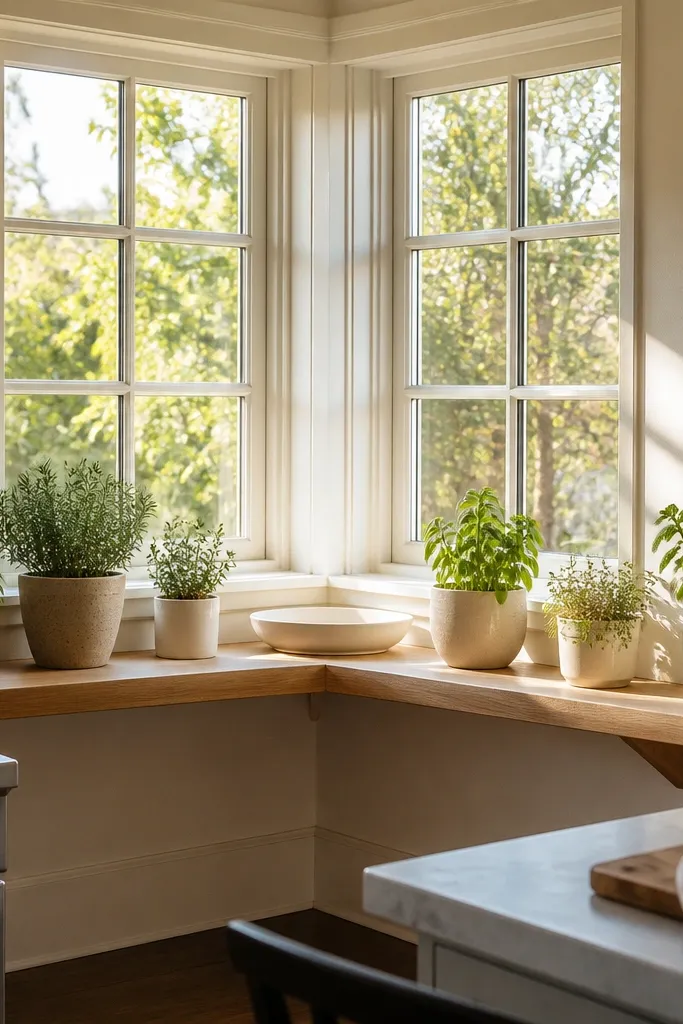
Corner windows waste space because two walls meet at an angle, and regular straight shelves either block the window or look awkward. An angled-end shelf solves that by following the corner geometry, so the shelf reads like a single clean plane under both sides of the window. Keep the depth consistent on both sides, around 5-6 inches, so the light doesn’t look obstructed. Style with a plant and a couple of jars on the longer side, then a small tray on the shorter side to balance the composition. This look is especially photogenic because corner angles create a natural frame for the window area.
Try thisUse one pot shape for the plant (cylinder or square) so it looks consistent from both viewing angles.
Measure the corner window opening and sketch the shelf outline, then decide on a single shelf board with angled cuts at each end. Mount using two wall brackets per side, aligned into studs; keep the shelf level across both planes. Allow 1 inch clearance from the window frame on the inside corner so it doesn’t interfere when you open the window. After mounting, place the plant at the back corner where it gets the most light and add jars that match in color so the angled shelf doesn’t feel busy.
Common mistakeDon’t place tall items on both sides — the corner window already creates height, and it gets top-heavy.
12. Layered Frame Shelf with Backboard and Peg Hooks
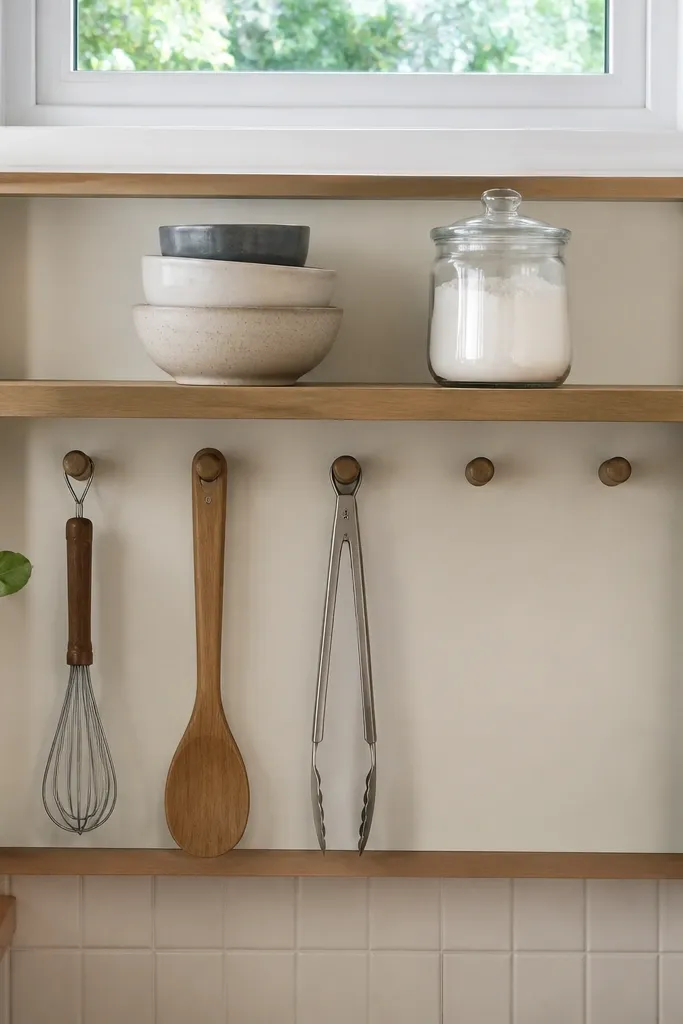
This is the most functional look on the list because it adds storage plus a place for hangable kitchen tools. A framed shelf with a backboard gives you a clean background so small items look purposeful, and peg hooks keep everyday tools visible without piling them on the shelf. Use a neutral backboard like off-white painted wood or light oak so daylight makes it feel warm, not harsh. The shelf front frame also helps the shelf look architectural, which is what makes it feel built-in rather than temporary. It’s perfect if you want quick and easy kitchen window shelf ideas that also solve the “where do these go?” problem for measuring spoons, mini spatulas, or oven mitt hooks.
Build or buy a framed shelf unit with a backboard and install it level under the window, anchored into studs. Keep the shelf depth around 6 inches so the hooks don’t stick out into the light path. Add 2-4 peg hooks spaced so tools hang without touching each other; then place flat items like a small cutting board or tray on the shelf top. Style with one small plant or a jar cluster on the left side to balance the hanging tools on the right.
Hang tools by size largest at the bottom, smallest at the top so the arrangement looks sorted at a glance.
Don’t overload hooks; too many tools turn a neat system into visual noise.