1. Waterfall marble pastry run with a walnut mixer garage
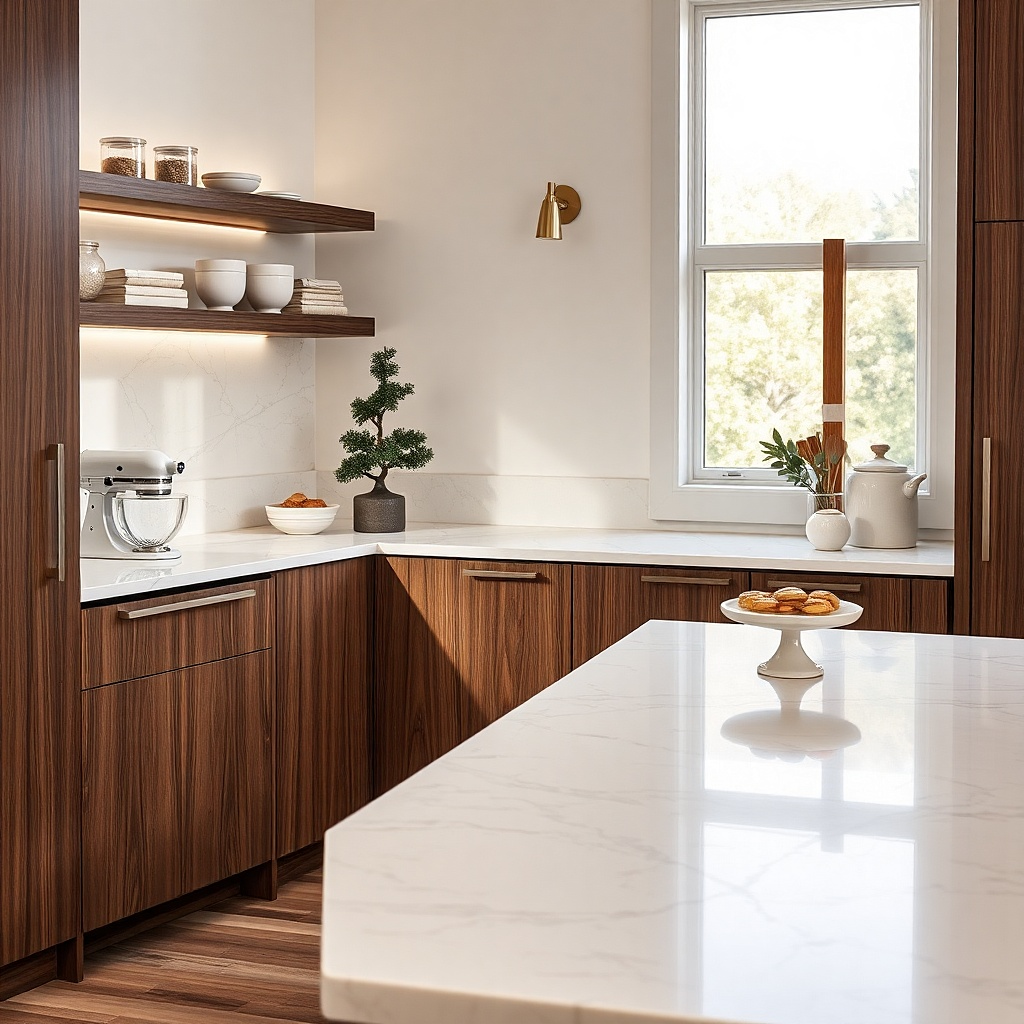
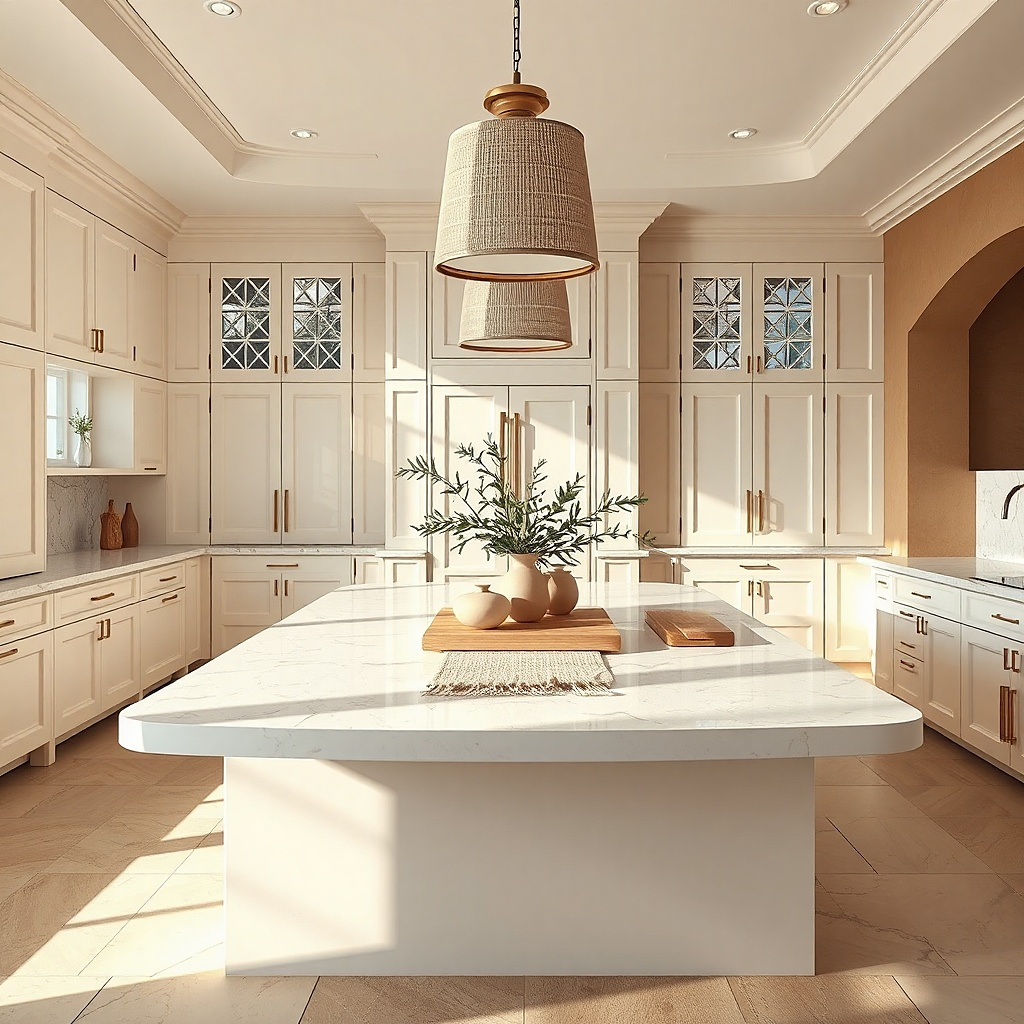
This is the polished, magazine-clean option for serious bakers who still want the kitchen to feel warm. Use a white or pale gray marble slab with soft veining for a 48-inch counter run, then frame one side with a walnut appliance garage sized for a stand mixer. The marble gives you a cool surface for pie dough and laminated pastry, and the walnut keeps the station from looking sterile. A waterfall edge on one exposed end turns a simple work zone into a focal point. This layout suits an open kitchen where the baking station stays visible from the dining area.
Start by planning a 48- to 60-inch section of counter near the oven, with at least 24 inches of clear work space in front of the mixer garage. Then use 2-centimeter marble with a eased edge and carry the slab down one side panel if the station ends at an aisle. Build the walnut garage about 18 to 20 inches deep, 20 inches high, and 16 to 18 inches wide so a tilt-head mixer fits without scraping the door. Finish with a pocket door or tambour door, plus a single outlet inside the garage. Expect this to sit in the higher budget tier because natural marble fabrication and walnut cabinetry add up fast.
Use honed marble instead of polished marble. It reads softer, hides light etching better, and looks calmer under under-cabinet lighting.
Skip bright orange walnut stain or busy marble with heavy gold veining because both pull attention away from the clean work surface.
2. Honed quartz baking alcove with a slab backsplash and brass rail
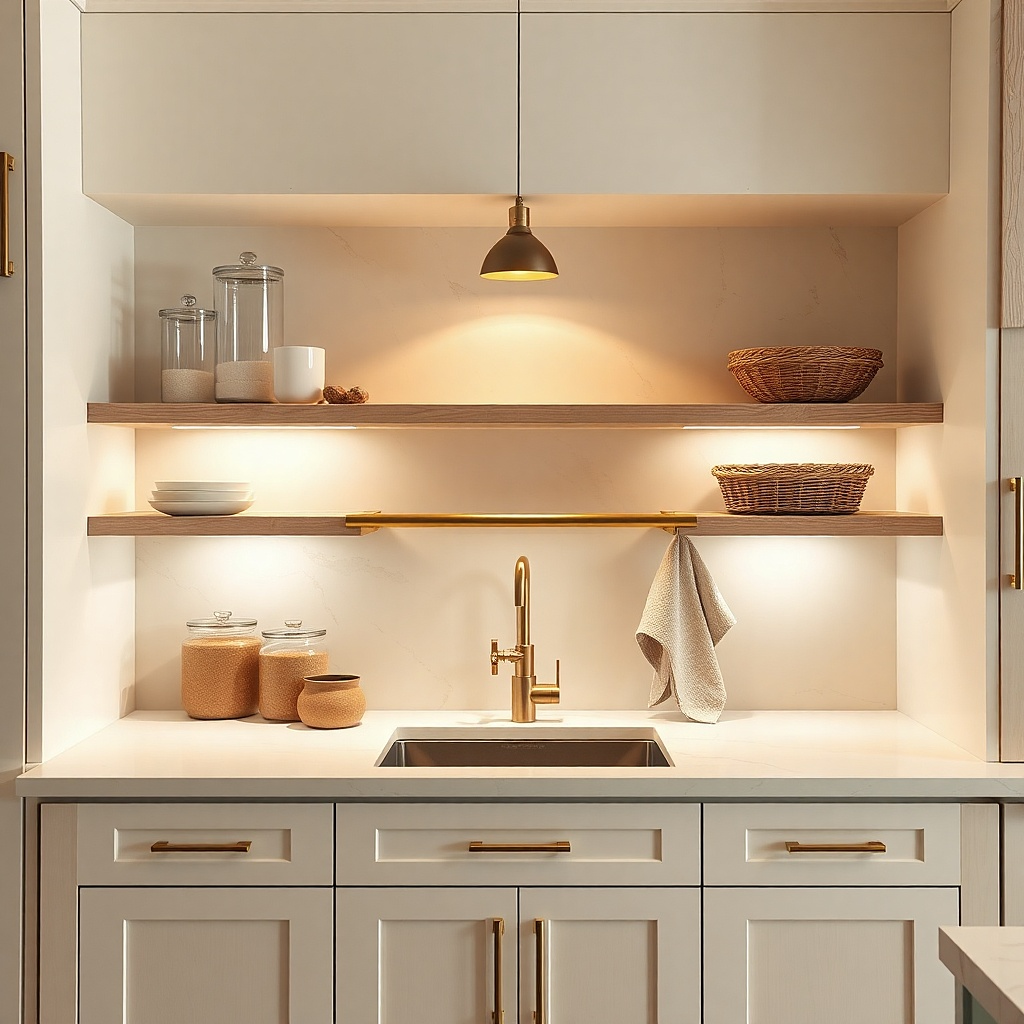
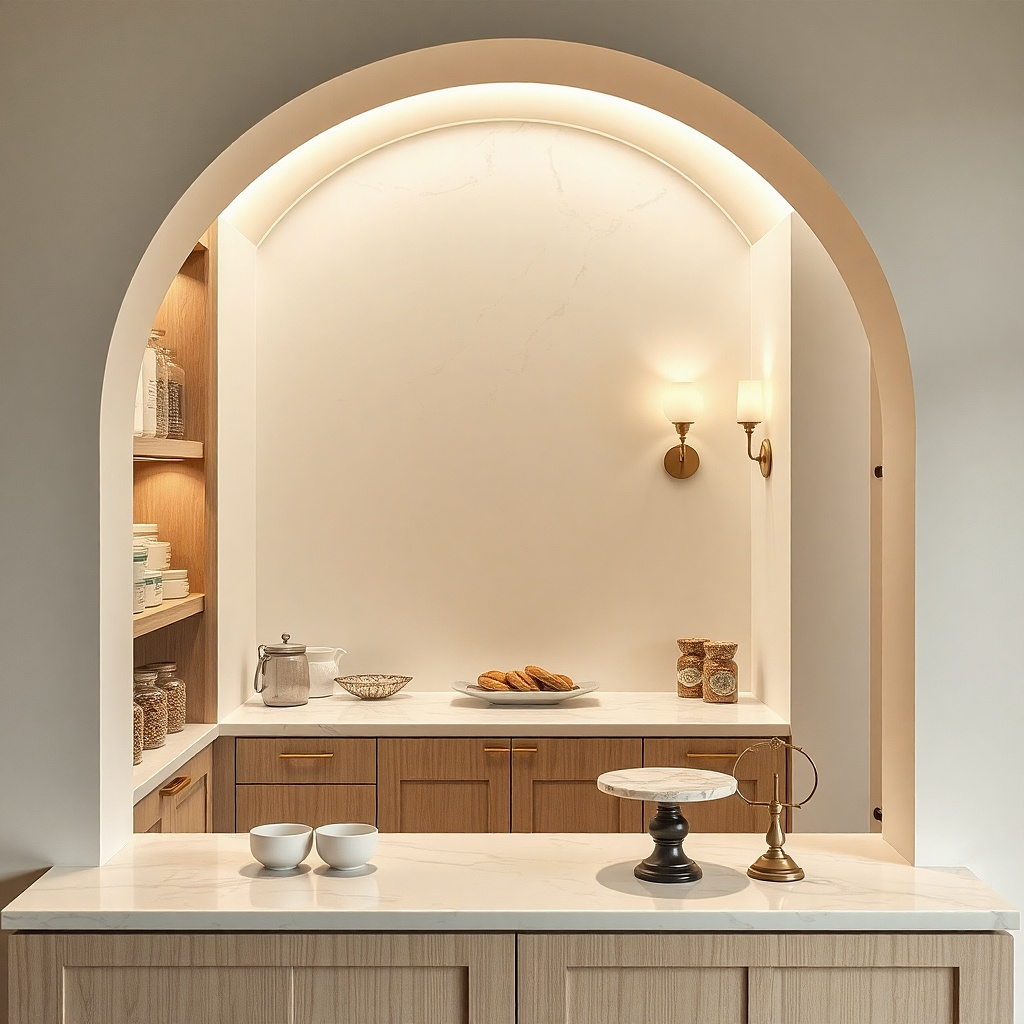
Start with an alcove or recessed wall section about 42 inches wide, or create the same effect between two full-height cabinet towers. Then run the quartz counter 18 to 20 inches deep and continue the same slab 18 to 24 inches high up the wall for a clean vertical plane. Mount the brass rail about 8 inches above the counter so it stays usable without crowding the backsplash. Add one shallow drawer below for measuring tools and one deeper drawer for mixing bowls. Material cost stays below marble in many markets, and installation is simpler because honed quartz does not need sealing.
A baking alcove feels expensive because it reads as one contained zone instead of random storage spread across the kitchen. Use a warm cream honed quartz on both the counter and backsplash so the entire niche looks monolithic and calm. Add a slim unlacquered brass rail on the backsplash for two measuring cup hooks and a linen towel, then stop there. The quartz handles flour, sugar, and food coloring with less drama than marble, and the slab backsplash means no grout joints collecting grease. This is a smart move for households that bake every week and want a luxury look without babying the surface.
Common mistakeDo not mix a slab backsplash with a patterned tile side wall in the same baking alcove.
Try thisKeep the rail short. A 24-inch rail looks deliberate, while a full-width rail starts to read like commercial kitchen storage.
3. Soapstone counter with integrated tray slots underneath
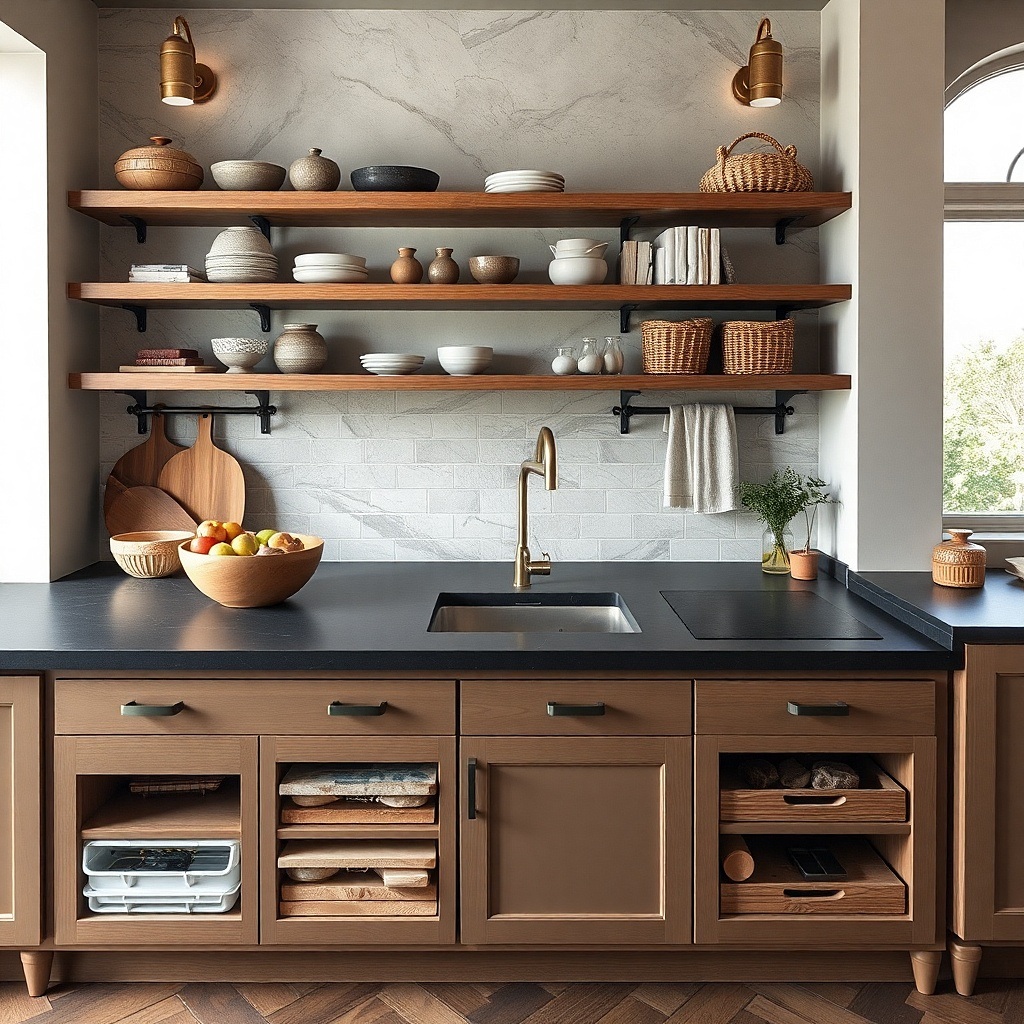
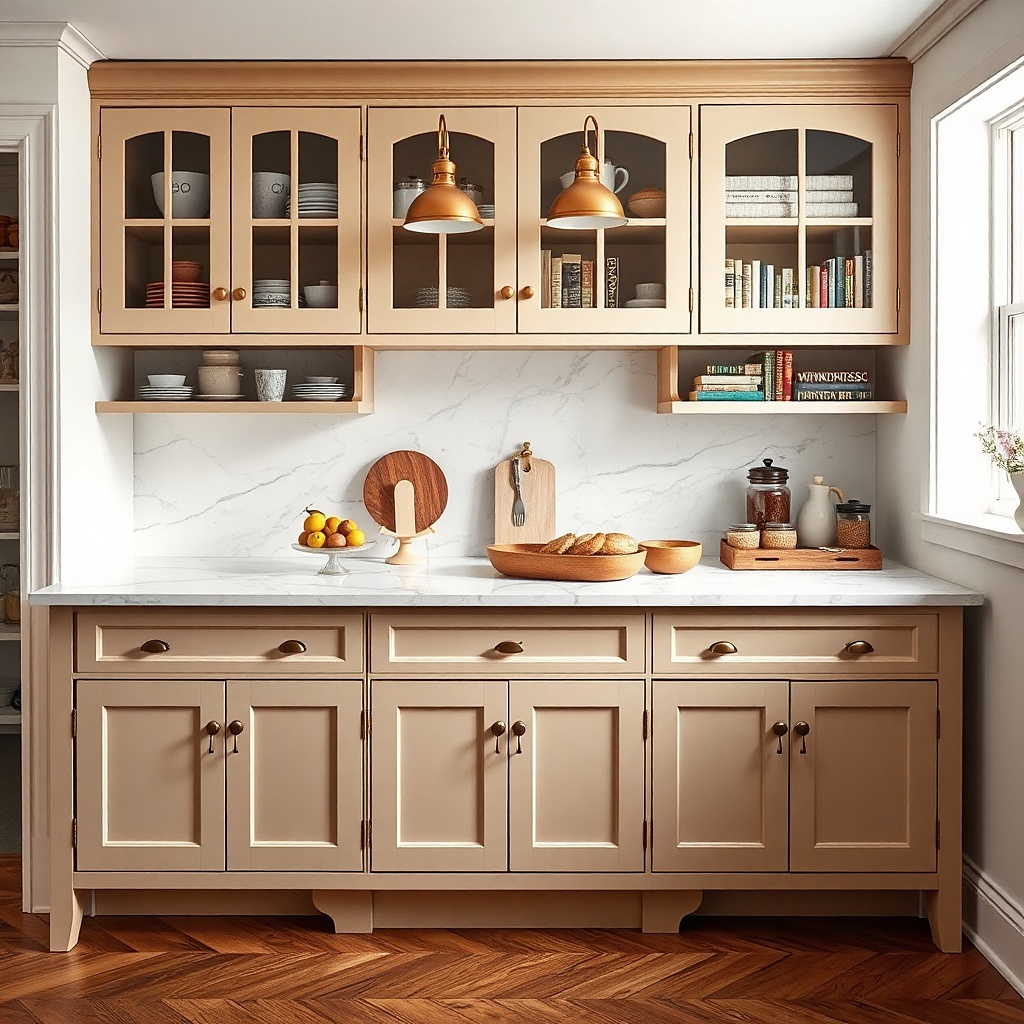
Soapstone gives a baking station weight and depth that lighter counters do not. The matte charcoal surface hides flour streaks surprisingly well, feels cool to the touch, and looks better with age than glossy stone that shows every scratch. Pair it with vertical tray slots built into the base cabinet below so sheet pans, cooling racks, and cutting boards slide in upright instead of stacking in a loud metal pile. The dark counter also makes pale dough and parchment stand out clearly while you work. This setup suits kitchens with painted cabinetry in putty, mushroom, or warm white where the station needs contrast.
Start with a 36- to 48-inch soapstone section and support it with a sturdy plywood subtop because soapstone is softer than quartz. Then divide the cabinet below into 1 1/2-inch to 2-inch vertical slots using sealed maple or walnut dividers so half-sheet pans fit without wobbling. Keep the top drawer shallow for parchment, bench scrapers, and offset spatulas, and place the tray slots directly under the main rolling area. Oil the soapstone after installation if you want a deeper black tone, or leave it dry for a chalkier gray look. Labor is straightforward, but the stone itself sits in the premium bracket.
Use black or dark bronze outlet covers nearby so they disappear against the soapstone instead of chopping up the wall visually.
Do not choose soapstone if you want a perfectly crisp, untouched surface forever because it picks up small marks and that is part of its look.
4. Butcher block inset framed by quartz perimeter counters
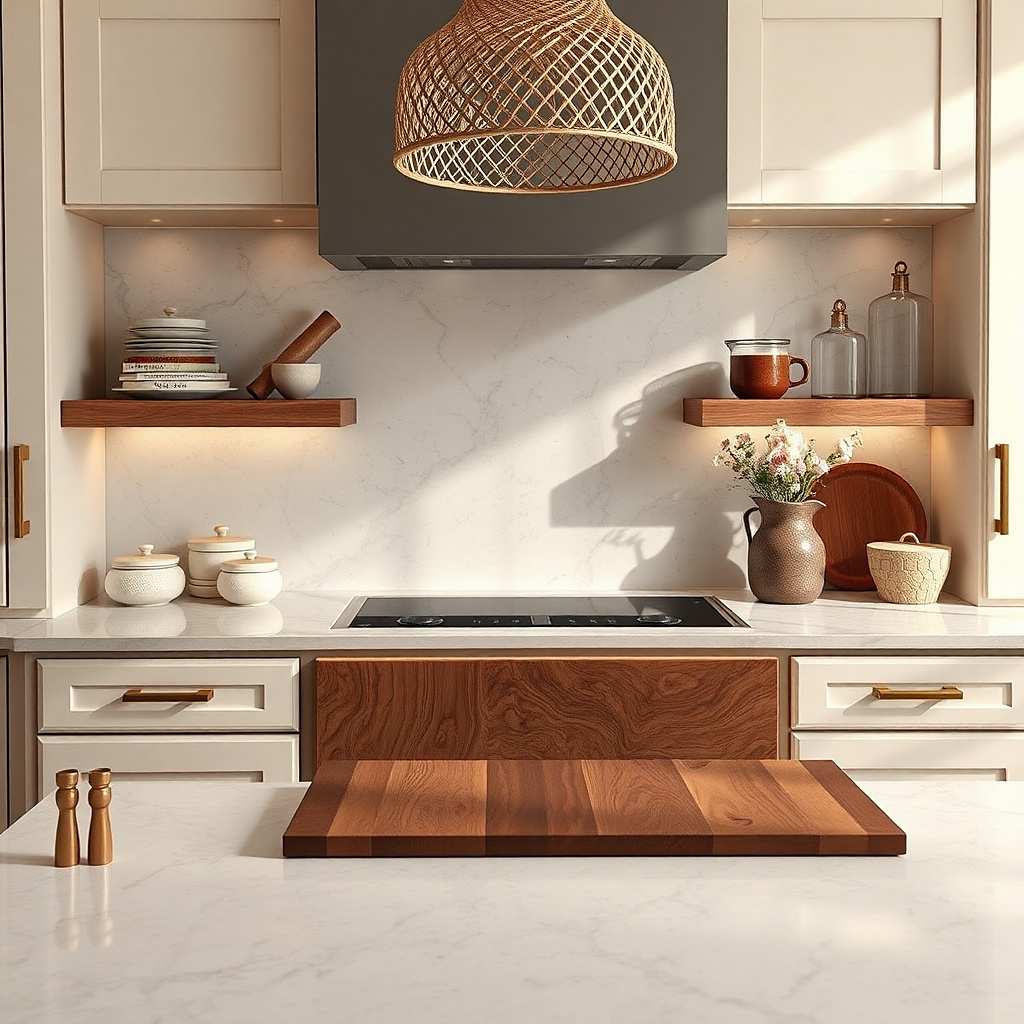
Start by choosing a wood section at least 30 inches wide, though 40 to 48 inches works better if you roll dough often. Then have the fabricator and cabinet maker coordinate the thickness so the butcher block sits perfectly flush with the quartz on both sides. Seal the wood with a food-safe hardwax oil and recoat it on schedule, especially around the front edge where hands and damp towels hit most. Place a drawer below with peg storage for mixing bowls so the station keeps its clean top. This is less expensive than a full marble run but needs more upkeep than quartz.
This layout gives you one warm, tactile work zone without turning the whole kitchen rustic. Use durable white or pale greige quartz on the main counters, then interrupt one 40-inch section with a thick walnut or maple butcher block inset dedicated to baking prep. The contrast looks expensive because it feels planned, especially if the wood sits flush with the quartz and lines up exactly with cabinet seams below. Wood softens a hard kitchen visually and gives cookie dough, bread shaping, and room-temperature pastry work a friendlier surface than stone. It suits homes that want a softer, furniture-like kitchen instead of a slick all-stone look.
Common mistakeSkip red-toned cherry butcher block because it clashes with most white quartz and reads dated fast.
Try thisPick end-grain or edge-grain with a quiet, straight pattern. Wild cathedral grain looks busy next to clean quartz.
5. Fluted oak island end cap with a pull-out stone pastry shelf
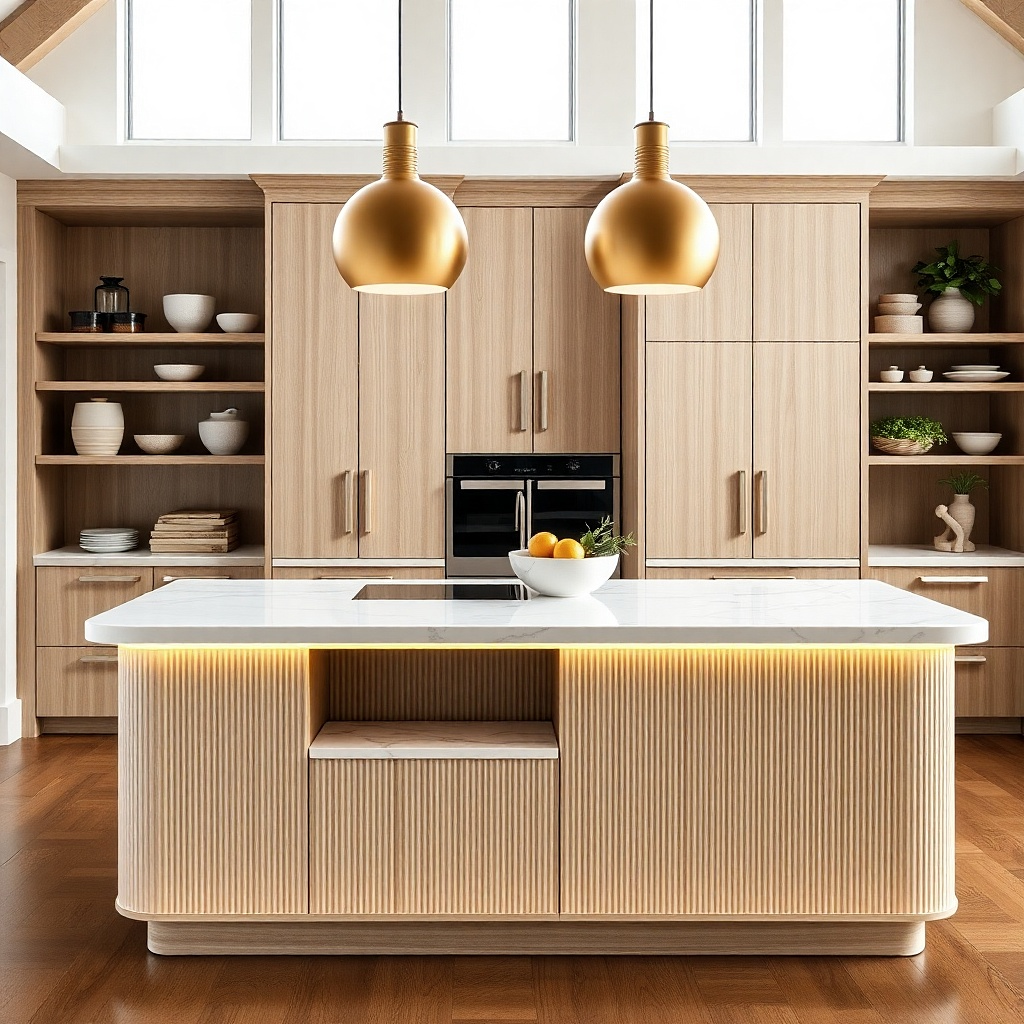
If you do not have room for a full second counter run, use the end of the island. A fluted oak end panel gives the island a furniture look, and a pull-out stone pastry shelf hidden behind it creates dedicated baking space only when you need it. The shelf should be topped in marble or quartzite so it stays cool and stable for dough work. Closed, the island looks tailored and uncluttered. Open, you gain a serious prep ledge without sacrificing the main island for every baking project.
Start with an island end cabinet at least 24 inches wide and deep enough to hold heavy-duty pull-out hardware rated for stone. Then install a 20- to 24-inch-deep shelf with a 2-centimeter stone top and a solid plywood base, keeping the finished shelf height close to 30 inches if you want a comfortable seated pastry station or 36 inches if you prefer standing height. Face the unit with fluted oak panels in a natural matte finish so the mechanism disappears when closed. Pair it with a nearby drawer for tools because the shelf itself should stay clear. This takes custom cabinet work, but it solves a small-space problem beautifully.
Add a narrow leather pull or touch-latch so the front stays clean and the fluting remains the star.
Do not use cheap drawer slides here because stone is heavy and sagging hardware ruins the whole idea.
6. Cream lacquer baking hutch with a pocket-door counter niche
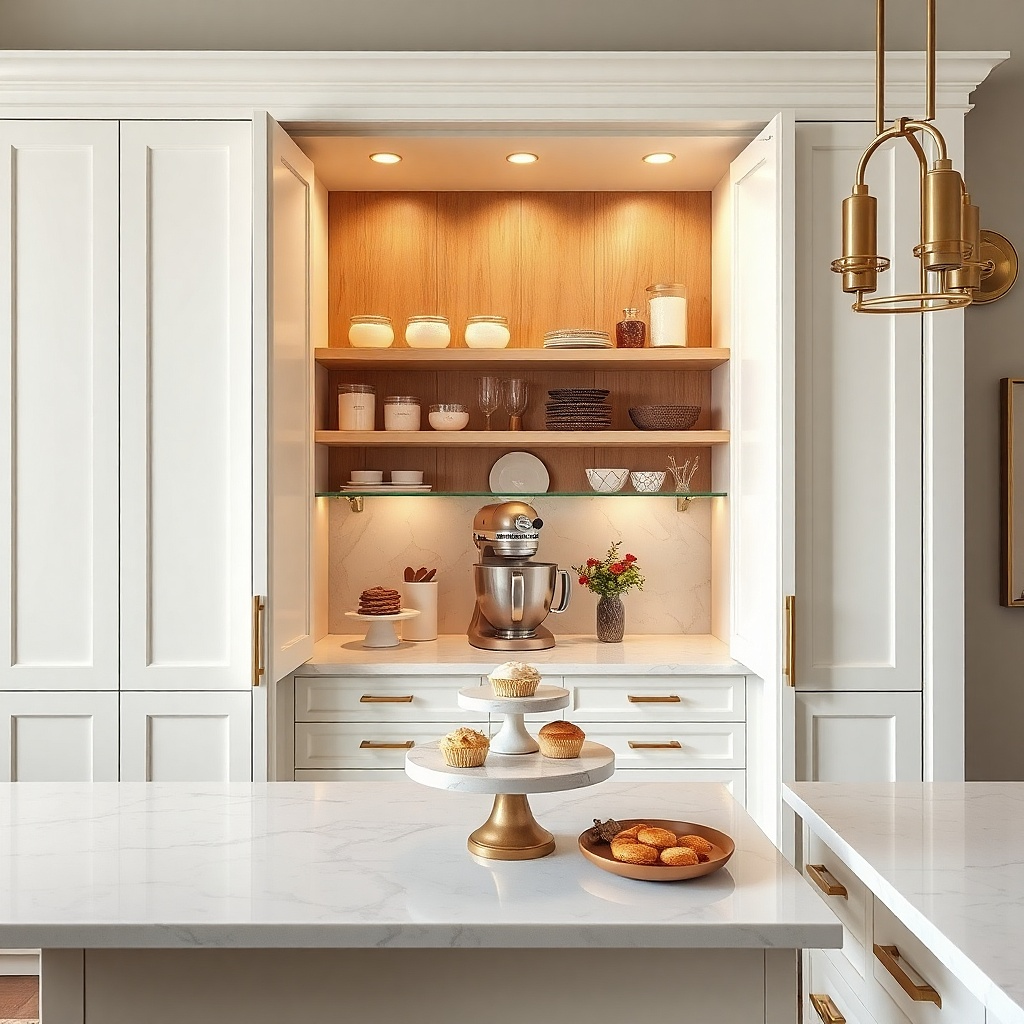
Start with a cabinet run about 60 to 72 inches wide so the center niche still has breathing room after the side storage is added. Then make the niche 36 to 42 inches wide, 20 to 22 inches deep, and lit with a warm 2700K LED strip tucked under the top panel. Fit pocket doors with quality hardware and keep the interior finish the same cream lacquer or a light oak so the station feels intentional, not like a closet. Put one outlet at counter height inside the niche for a mixer and another higher up for a scale or charging point. This is a custom millwork project, but it gives the cleanest before-and-after look.
A baking hutch works best for people who want their tools hidden at the end of the day. Think of it as a built-in cabinet wall with a dedicated counter niche in the center, framed by tall cream lacquer doors that slide back into pockets. Inside, use a pale marble-look quartz counter, two slim shelves for jars, and drawers below sized for baking gear instead of generic utensils. Closed, the wall looks calm and formal. Open, you have a complete station that keeps visual clutter off the kitchen at all other times.
Common mistakeDo not make the niche too dark, or it will look like a shadowy cabinet cavity instead of a luxury work zone.
Try thisUse antique brass knobs on the outer doors and skip extra hardware inside so the niche stays visually quiet.
7. Quartzite counter under a brass picture light for a jewel-box station
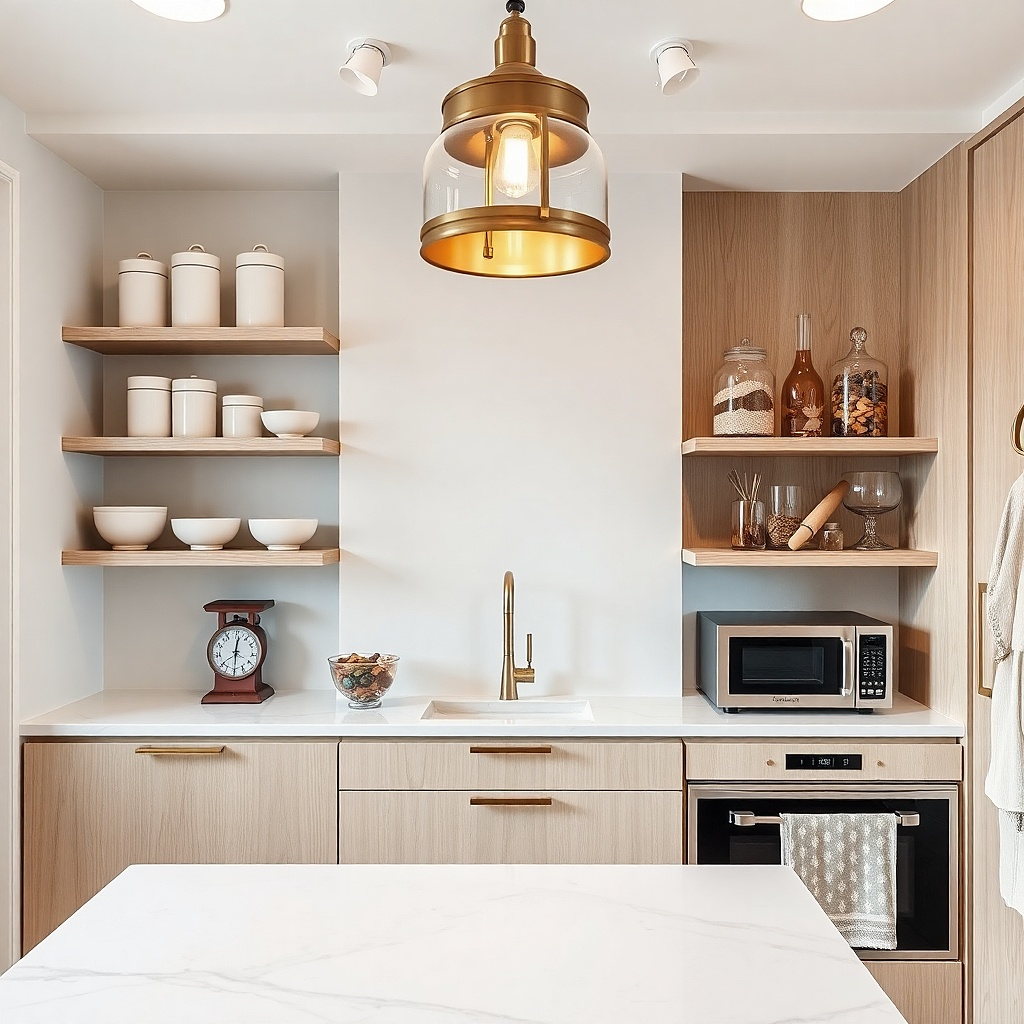
This idea is about turning a small baking station into a standout detail. Use a pale quartzite with soft movement, then install a brass picture light above the backsplash instead of standard under-cabinet strips. The light throws a warm wash across the stone and makes flour jars, ceramic canisters, and brass scales look edited rather than random. Quartzite takes hard use better than marble while still giving you that natural stone depth. This suits a small but visible section of kitchen where beauty matters as much as function.
Start with a compact station around 36 inches wide and keep the decor restrained — one crock, two glass jars, one mixer. Then mount a hardwired picture light 10 to 14 inches above the backsplash, centered over the counter, with a projection deep enough to wash the slab evenly. Choose a low-sheen quartzite and a simple backsplash in the same material or a limewashed plaster wall if the area stays dry. Add one drawer below with custom inserts for measuring spoons and small tools. The lighting cost is modest compared with the stone, and the visual payoff is immediate.
Use warm bulbs around 2700K so the brass reads soft and the stone does not turn icy.
Skip cool white LEDs here because they flatten the stone and make the brass look harsh.
8. Double-height station with a lowered marble kneading counter
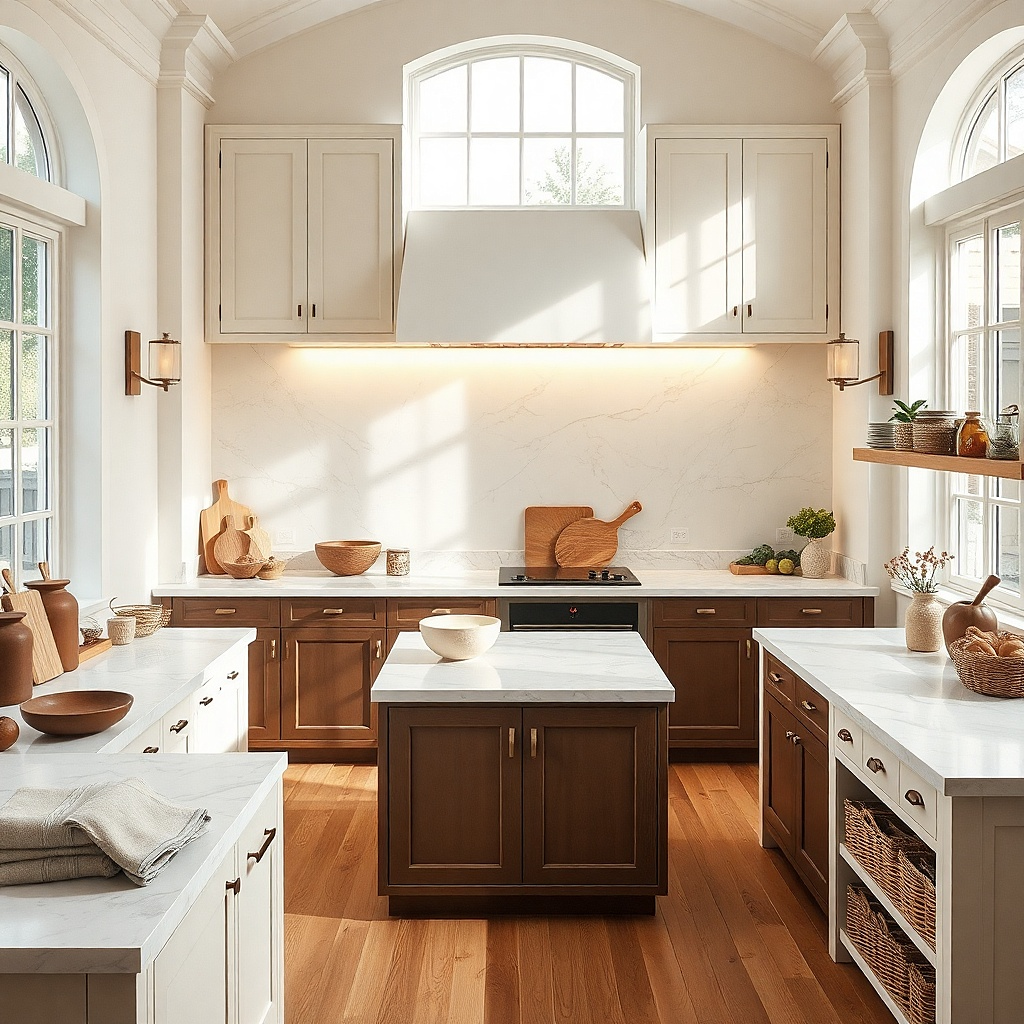
A lowered section is one of the smartest baking upgrades because standard 36-inch counters are high for kneading and rolling. Drop the baking surface to 30 or 32 inches and top it with marble, then keep the surrounding counters at normal height. The change in level looks custom and gives the station a furniture feel, almost like a built-in pastry table. It also creates a natural boundary, so the baking zone stays distinct from everyday meal prep. This works especially well for bread bakers and anyone who wants less shoulder strain during long prep sessions.
Start by carving out a 36- to 48-inch section near the end of a cabinet run where the height change looks deliberate. Then build a lowered base cabinet and top it with a 1 1/4-inch marble slab with softly rounded corners so the height break feels refined instead of abrupt. Add deep drawers on one side for flour bins and linens, and keep a 15- to 18-inch landing area beside the lowered top for trays or ingredients. If you have kids who bake, the lower surface also makes the station more usable without a stool. Cabinet modification takes planning early in a remodel, but the result feels genuinely custom.
Paint the lowered cabinet section one shade darker than the perimeter cabinets so the level change reads intentional.
Do not drop the counter in the middle of the busiest prep run where everyone will bang hips into the height change.
9. White oak counter wall with reeded glass uppers and a pale stone slab
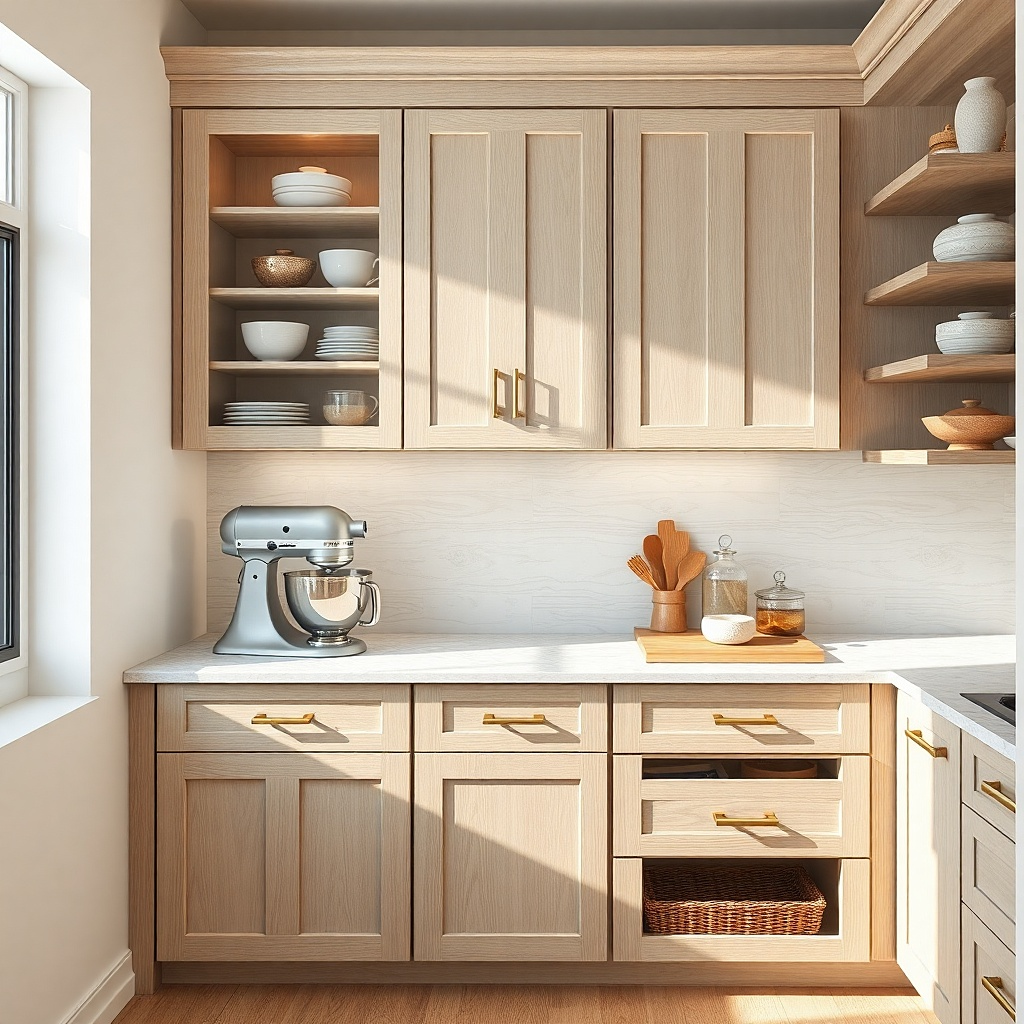
Start with a 48-inch wall section and divide the uppers into two balanced cabinets so the station feels symmetrical. Then fit adjustable shelves behind the reeded glass for stacked cake stands, mixing bowls, and labeled dry-goods jars, keeping the most attractive items at eye level. Below, use one full-width drawer for baking tools and one deep drawer for flour and sugar bins with scoop access. Choose a slab backsplash if the budget allows because it keeps the wall clean behind the oak grain. This look depends on restraint, not volume.
This is the prettiest option for readers who want a styled baking station without visual chaos. Use flat-panel white oak lowers, reeded glass uppers, and a pale limestone-look quartz or quartzite slab below. The reeded glass blurs the contents just enough, so jars and bowls read as texture instead of clutter. Add interior cabinet lighting and keep the palette tight — oat, ivory, pale gray, brushed brass. The result feels soft and architectural, with enough storage to keep the counter mostly clear.
Common mistakeDo not pack the reeded glass cabinets with bright packaging or mismatched plastic containers.
Try thisUse matching oak grain direction across all lower fronts. Random grain breaks the calm, tailored look.
10. Blackened steel shelf brackets over a warm stone counter for a studio look
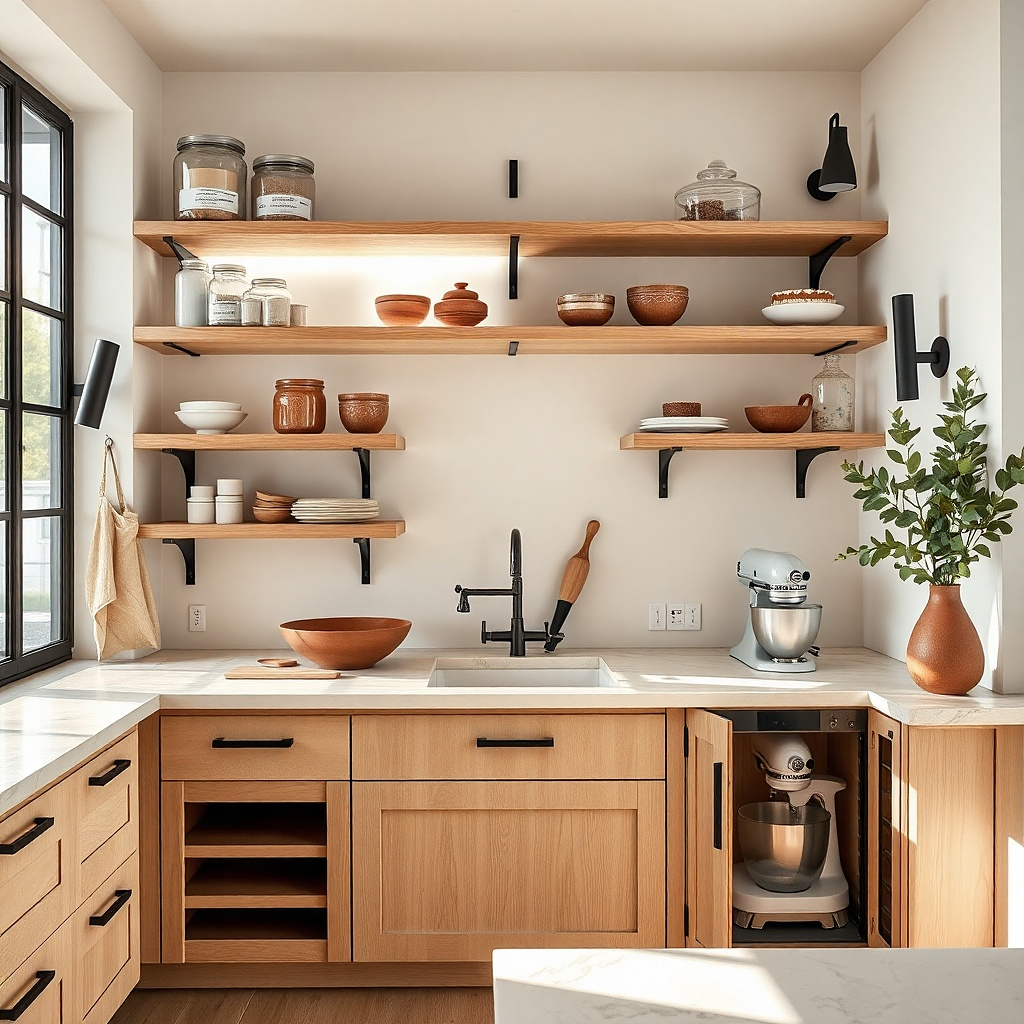
Start with a 40-inch counter section and mount two 10-inch-deep oak shelves, spaced about 14 inches apart, into wall studs with real steel brackets. Then use matching containers for flour, sugar, and oats, and keep labels small and simple so the shelves stay clean-looking. Put closed drawers below for the ugly stuff — silicone mats, food coloring, cupcake liners, spare attachments. If you choose porcelain slab instead of natural stone, ask for a matte finish so the station still feels soft. This is one of the easier upgrades if you already have a free wall section.
A studio-style baking station works in lofts, modern farmhouses, and kitchens that need a little edge. Use a warm beige quartzite or travertine-look porcelain slab for the counter, then hang thick oak shelves on blackened steel brackets above. The open shelves keep essential baking items within reach, but the trick is limiting what stays there to a few ceramic canisters, a scale, and two or three cookbooks. The contrast between soft stone, warm wood, and dark metal reads sharp and deliberate. It is organized because every visible item needs to earn its place.
Common mistakeSkip thin floating shelves loaded with heavy jars because sagging shelves kill the crisp studio look.
Try thisKeep at least 18 inches of clear counter under the shelves so the station still works for rolling and mixing.