1. Painted white café shutters with 2-inch louvers
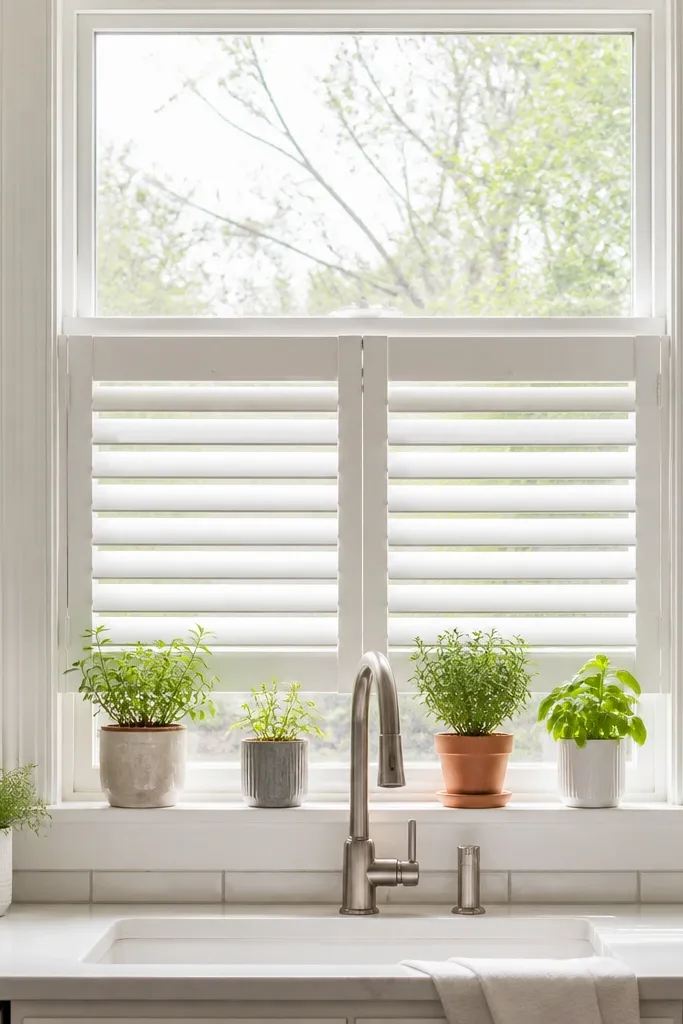
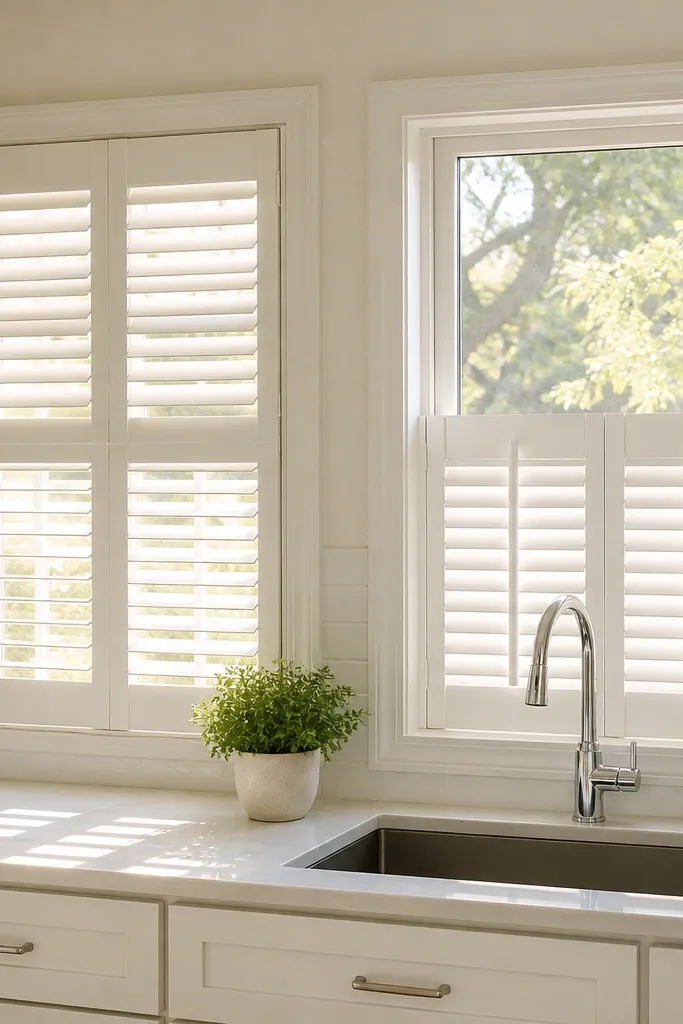
Measure the window height and decide your café split point, usually 18-24 inches from the sill for most kitchens. Order or install the shutter so the top rail lands at that split, leaving the upper glass uncovered. Choose 2-inch louvers and a sealed paint finish, then mount the side rails into the trim or wall studs so the louvers don’t flex when you adjust them. Finally, set the louvers to a slightly open angle for daytime privacy and a more closed angle when you want tighter coverage.
Café shutters cover only the lower half of the window, so you get privacy where people look — at countertop and seated eye level — while the upper glass stays clear and bright. Use painted white slats with 2-inch louvers for a clean, airy look that still feels intentional. The white finish reflects light into the room, which matters in kitchens that already lose brightness from cabinets and pendant shadows. This setup works best when your kitchen window has neighbors across from it or a porch directly opposite, but you still want daylight on the counter.
Common mistakeAvoid dark paint on a café split — it will make the lower half feel heavy even when the top glass is open.
Try thisKeep the shutter hardware in a warm white or brushed nickel so it doesn’t look cold against warm cabinetry.
2. Soft off-white board-and-batten shutters above the sill line
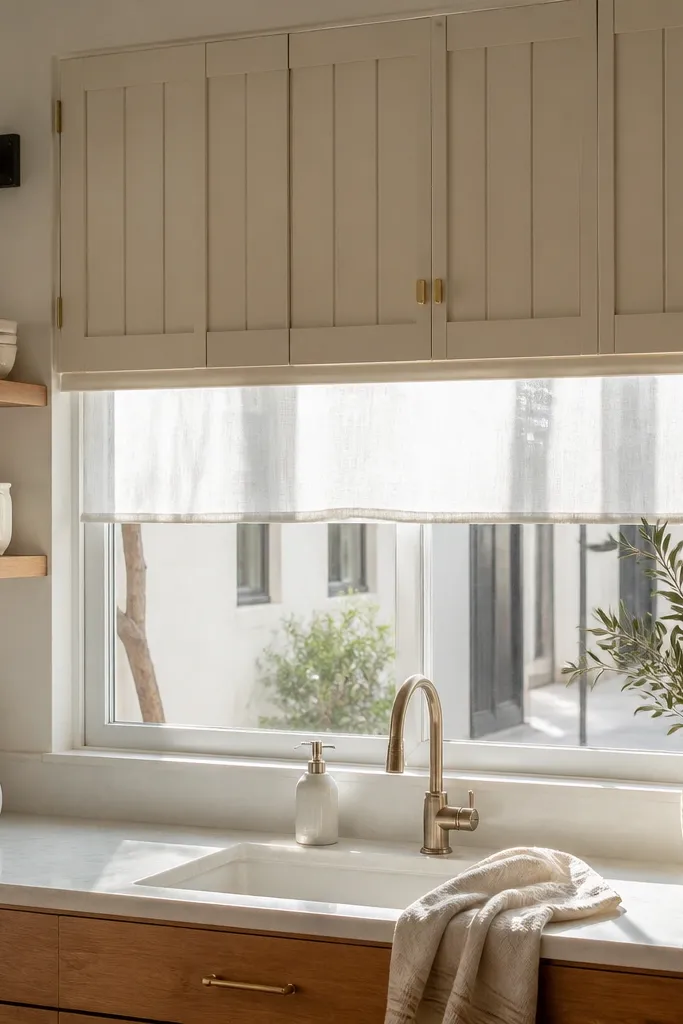
Pick an off-white that matches your trim or slightly warms it, then measure the visible glass height you want to keep open. Install the board-and-batten shutter so its bottom rail sits above the typical sightline at the counter, usually 30-40 inches from the floor depending on your cabinetry height. Use a sealed wood or engineered panel system so steam from dishwashing doesn’t warp the boards. Mount with a level line and shims if the trim is uneven, then paint or seal edges before final attachment to prevent moisture absorption.
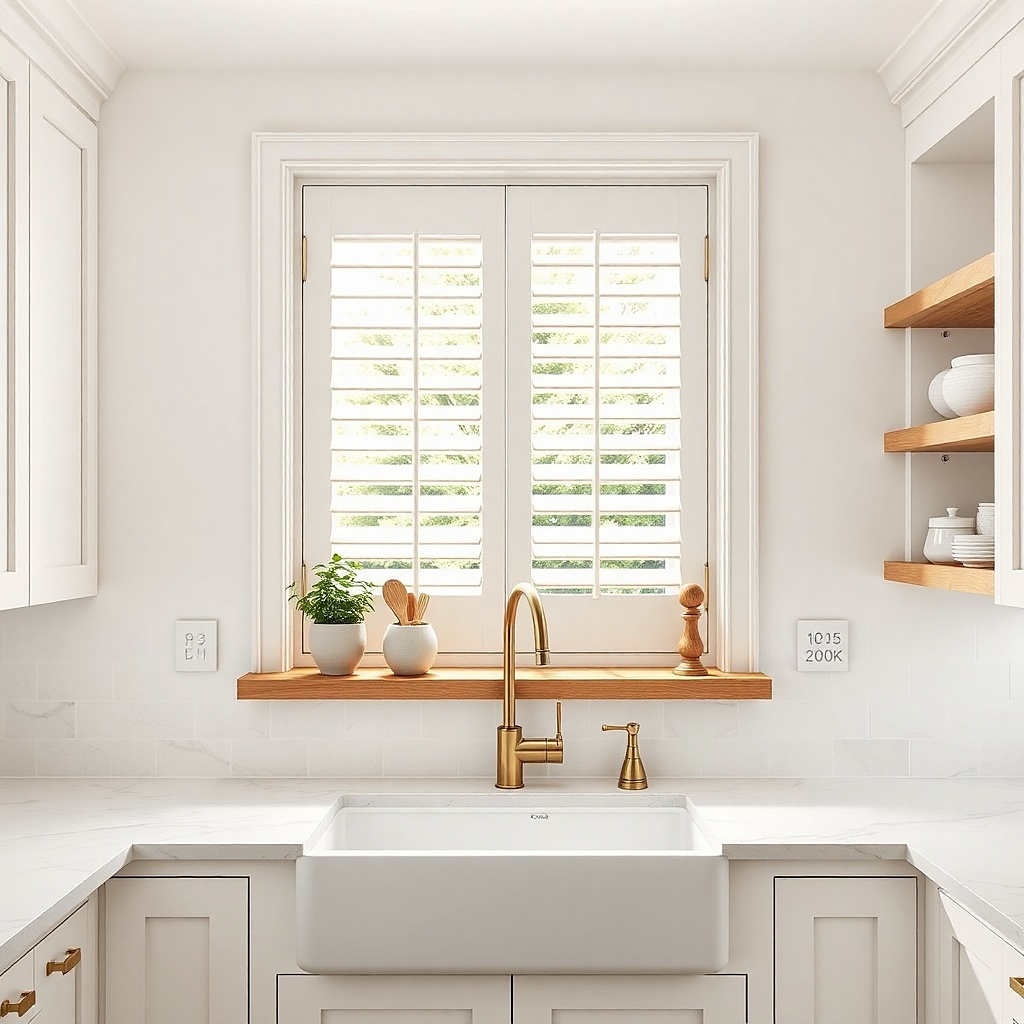
If your window faces a side alley or you mainly need privacy when you’re standing at the sink, board-and-batten panels can look bright and architectural when they’re placed above the sill line. The trick is keeping the opening light: leave the lower portion uncovered or use a sheer privacy layer inside the frame. A soft off-white finish (not crisp pure white) reduces harsh contrast, which keeps the kitchen feeling calm instead of stark. This works well in cottage-leaning kitchens with light walls and open shelving, where you want the shutter look without turning the whole window into a dark block.
Common mistakeSkip thick, high-contrast black frames — they read heavy even with an off-white panel.
Try thisUse a slim top mount and keep the shutter frame narrow so you don’t steal extra daylight from the glass.
3. Light oak plantation shutters with hidden tilt control
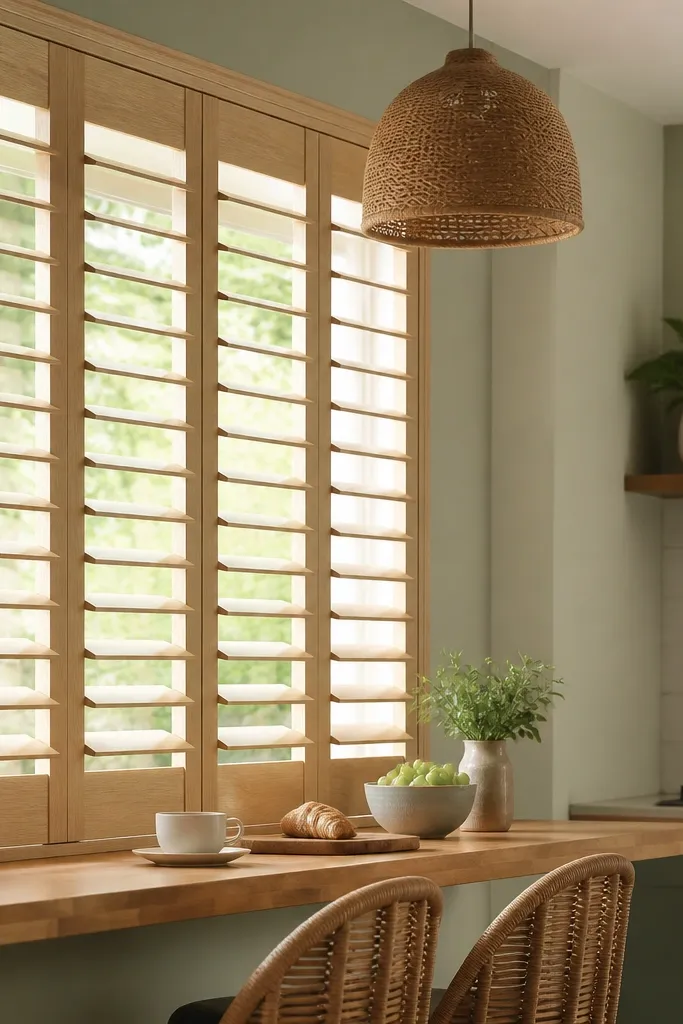
Measure the window opening and confirm your trim depth, since plantation shutters need solid mounting points. Choose a light oak stain or paint-washed oak finish and a satin clear topcoat, then order louvered panels with adjustable tilt. Install the frame square to the trim, not the wall, so the louvers close evenly. Finally, set a privacy baseline by testing louvers at eye level from inside and outside, then mark the tilt angle you like for daytime.
Plantation shutters look best in kitchens when the wood stays light and the louvers are adjustable. Light oak gives warmth without the brown heaviness that makes kitchens feel shadowy, and the larger visual structure makes the window look finished even if your walls are plain. Choose a slat width around 2.5 to 3.5 inches for that classic plantation look, and keep the finish satin so it reflects daylight gently. Hidden tilt control is a smart aesthetic choice: it keeps the front clean and makes the window look less mechanical.
Common mistakeAvoid deep walnut or espresso stains if your kitchen has limited daylight — the louvers still block light when closed.
Try thisUse a white or light greige wall color near the window so the oak reflects rather than absorbs light.
4. White vinyl shutters with narrow 1.5-inch louvers
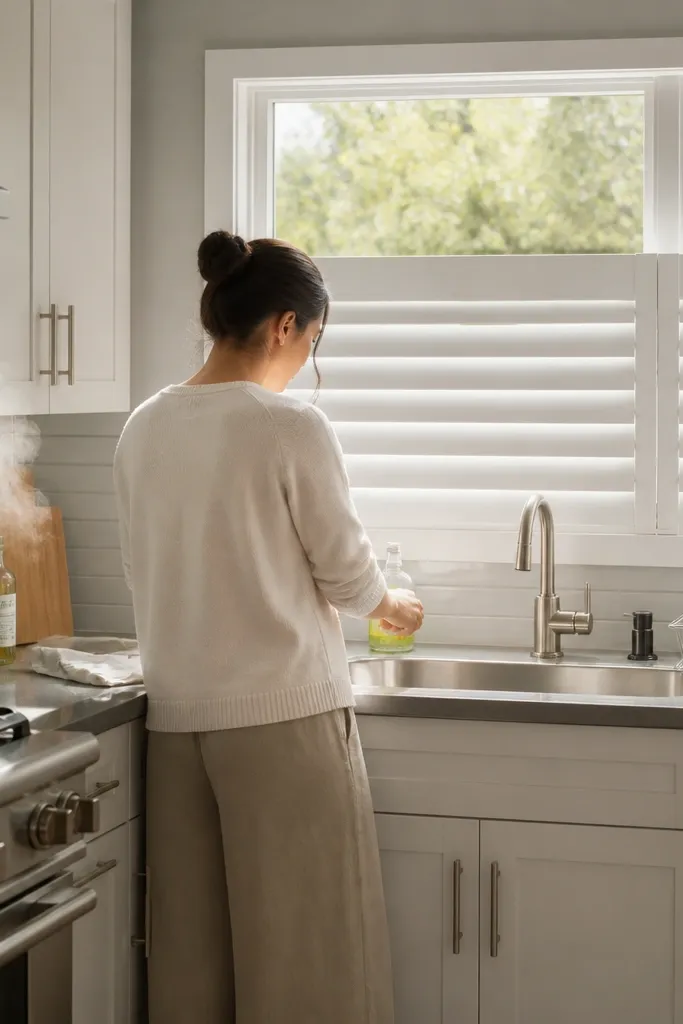
Narrow louvers keep the shutter look refined and airy, especially when the finish is bright white. Vinyl also holds up well near kitchen steam and cleaning chemicals, which matters if you wipe the window often. The 1.5-inch louvers let you tilt for privacy without closing the window fully, so daylight keeps washing the backsplash and countertops. This idea looks great in modern kitchens with crisp lines, white subway tile, and metal fixtures where the shutter needs to look sleek rather than rustic.
Choose vinyl shutters rated for interior humidity and a smooth white finish, then measure the inside or outside mount option based on your trim. For bright results, mount tight to the trim so the shutter doesn’t protrude into the window space. Set the shutter height so the top rail sits close to the window casing and the bottom doesn’t block light onto the counter. Finally, test louvers at two angles: one for daytime privacy and another for evening coverage.
Clean with a gentle non-abrasive spray and microfiber — vinyl can scratch and dull if you use strong brushes.
Don’t pick off-white vinyl if your cabinets are truly white — mismatched tones can make the window look dirty even when it’s clean.
5. Painted greige shutters with 2.25-inch louvers for warm kitchens
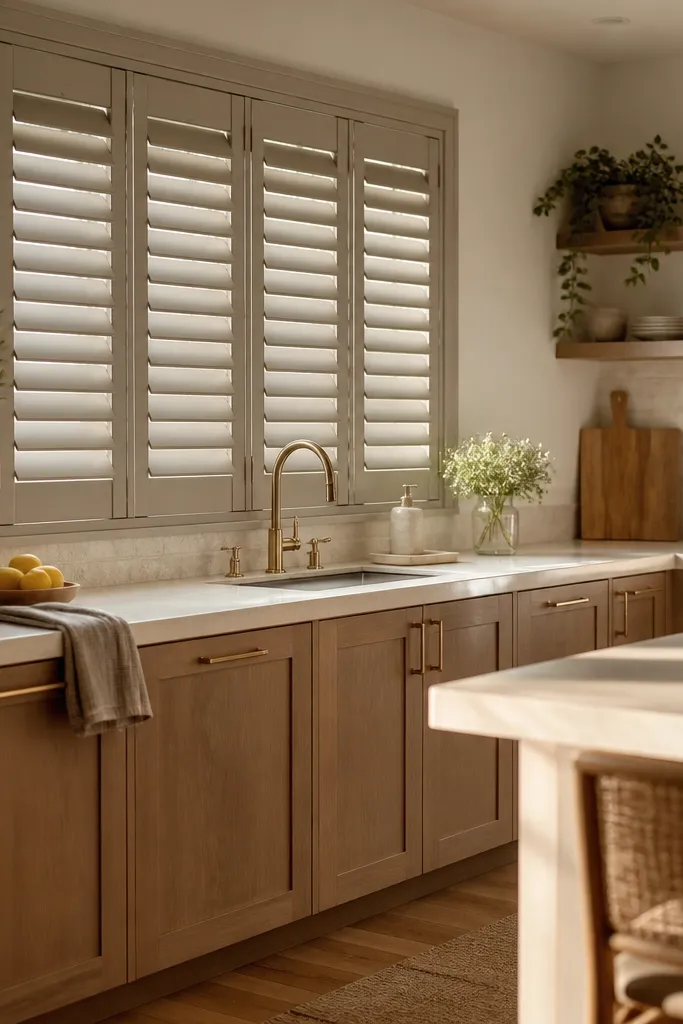
Pick a greige paint matched to your window trim or the closest wall tone, then order shutters in that finish with sealed edges. Measure the window width and decide whether you want a full-height shutter or a split that keeps the upper glass open. Install the frame so it sits flush — gaps between frame and trim cast shadows and make the window darker. After installation, adjust louvers to a half-open privacy angle and check from the street at dusk to confirm sightline control.
Greige shutters are the move when your kitchen has warm woods or creamy countertops and you don’t want pure white. The color sits between beige and gray, so it reads soft in daylight and still looks crisp at night. Use 2.25-inch louvers for a balanced look: wide enough to feel classic, narrow enough to avoid the shutter looking bulky. This works especially well if your window gets direct sun and you want the shutter to look steady, not washed out or overly cool.
Common mistakeAvoid dark bronze or black hardware with greige if you want brightness — it visually deepens the window.
Try thisUse satin paint, not flat — flat greige shows dust and makes the slats look chalky under kitchen lighting.
6. Two-tone white top panels with warm beige bottom louvers
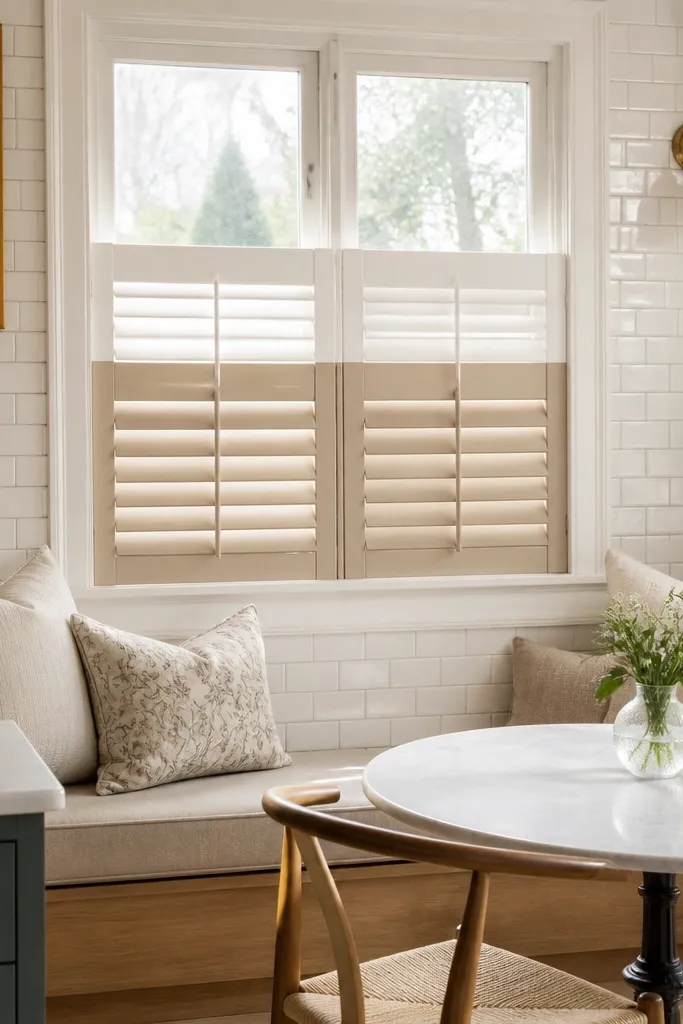
Decide your split based on where privacy is needed most, typically 24-36 inches from the sill. Order a shutter system that supports two finishes, or customize a split-panel design with separate sections. Install first the upper frame so it lines up with the casing, then mount the lower louver section so it closes cleanly over the glass. Finally, tune the louvers: keep them slightly open during the day to brighten the counter and close them more at night.
Two-tone shutters look bright because the upper portion stays visually light, while the lower portion handles privacy. Use white or creamy off-white for the top panels and a warm beige for the louvers or lower section, so the shutter reads layered instead of heavy. This is a smart solution for kitchens where the window sits above a counter: people see the lower portion more, but you still want daylight to flood the room. The warm beige also hides minor scuffs from kitchen cleaning better than pure white.
Common mistakeSkip a high-contrast white/black combo — it can create a harsh banding effect that makes the window look darker.
Try thisMatch the beige tone to your cabinet hardware or countertop edge trim, so the two-tone looks deliberate.
7. Matte white shutters with linen-look overlay panels on the upper half
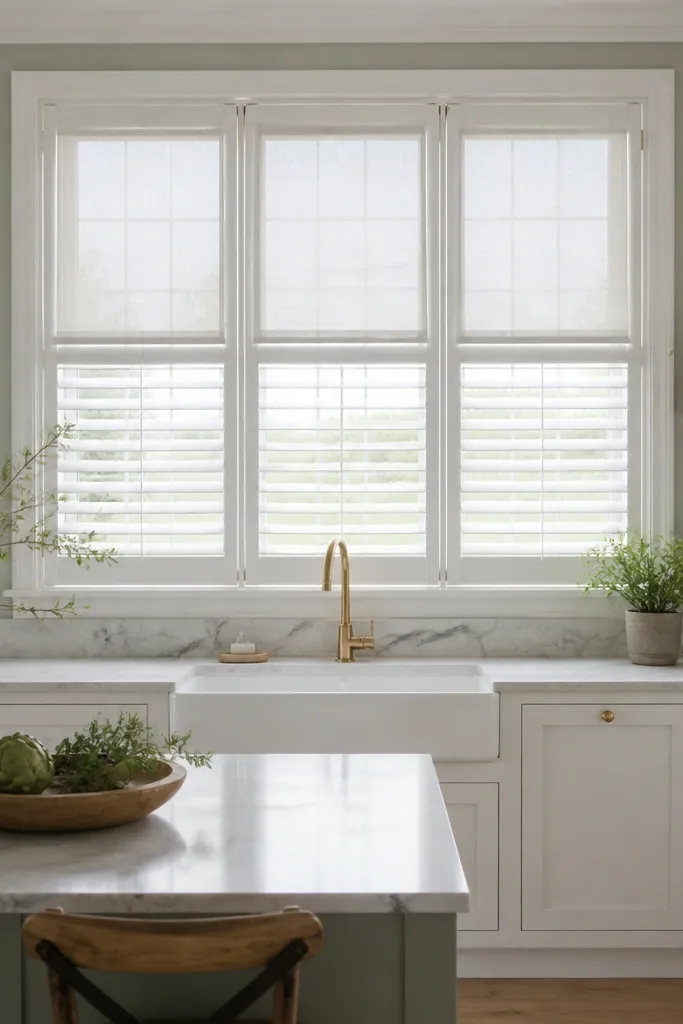
This is for kitchens that need privacy but also want a soft, light-filtered look. Keep the shutter frame matte white, then add an upper-half overlay panel with a linen-look texture that diffuses sightlines without creating a solid dark block. The lower half can stay louvered for adjustable privacy, so you get control where it counts and brightness where it matters. Matte finishes hide fingerprints and grease smears better than glossy paint, which is a real kitchen advantage.
Choose a matte white shutter system and an overlay panel material that is washable or wipeable, not fabric that traps oils. Mount the shutter so the louver area sits on the lower half, then fix the overlay to the upper frame with removable clips or screws for cleaning access. Keep the overlay light in color (ivory, oatmeal, or very pale sand) so it doesn’t dim the room. Adjust louvers after install and check visibility from outside at two times: late afternoon and evening.
Use a slightly translucent overlay, not opaque — opaque reads like a shade and will darken the kitchen quickly.
Avoid deep charcoal overlay panels — texture plus darkness equals a cave effect.
8. Bright white full-height shutters with 3-inch louvers and slim frames
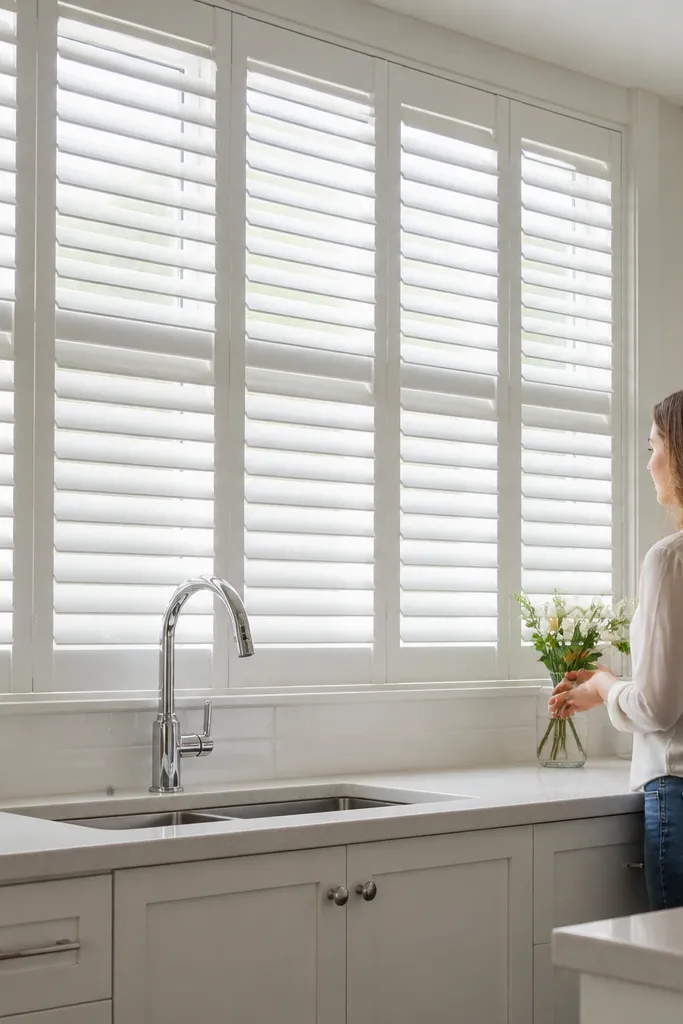
Measure from top casing to sill and confirm your window height can handle full-height panels without blocking wall lighting or hardware. Order full-height shutters with slim frame profiles and 3-inch louvers, then mount into trim or studs with level alignment. Keep an even reveal around the frame so it doesn’t cast a dark border. After installation, set louvers at a half-open angle for daylight and fully closed only when privacy is needed.
Full-height shutters can still keep a kitchen bright if you keep the frame slim and the finish bright. Choose 3-inch louvers for a clean, structured look that doesn’t feel too busy, and use bright white with a satin sheen so light bounces across your walls and backsplash. Slim frames reduce the amount of trim shadowing inside the window opening. This option fits kitchens with taller windows, high ceilings, and light cabinetry where you want the shutter to look built-in rather than added.
Common mistakeDon’t use thick, traditional frames in small kitchens — they steal light by creating wider shadow lines.
Try thisMatch the shutter paint to your window trim, not to your cabinet doors, so the brightness stays consistent around the opening.
9. Fresh white shutters with open-slat top rail and privacy louvers below
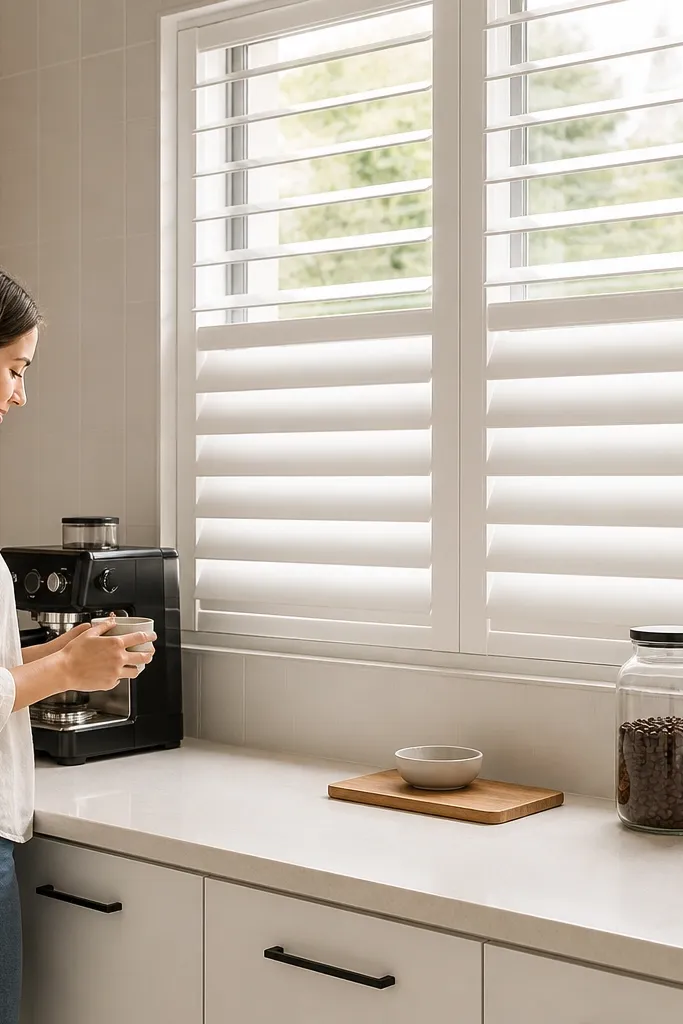
Pick a shutter system that supports an open top rail design, then measure the window so the open portion covers the upper glass area only. Install the top rail first, keeping it level and flush to the casing, then mount the louver section below with adjustable tilt. Use a bright white finish with satin protection so cleaning stays easy. Adjust louvers to a daytime angle that blocks direct line-of-sight but still lets light reach the counter surface.
This style keeps the kitchen feeling open by letting light through at the top while using louvers where privacy is needed most. The open-slat top rail reads airy and modern, especially with a crisp white finish and clean lines. Below, privacy louvers handle sightlines at standing and seated eye level. It’s a great choice when your backsplash and countertops sit under the window and you don’t want the shutter to cast a shadow band across them.
Common mistakeAvoid overly dark finishes on the louver section — you’ll create a shadow band even if the top stays open.
Try thisUse a light curtain panel inside the frame only for emergencies, like party nights, so the shutter remains the main bright look.
10. Warm white shutters with raised-panel look and 2-inch adjustable louvers
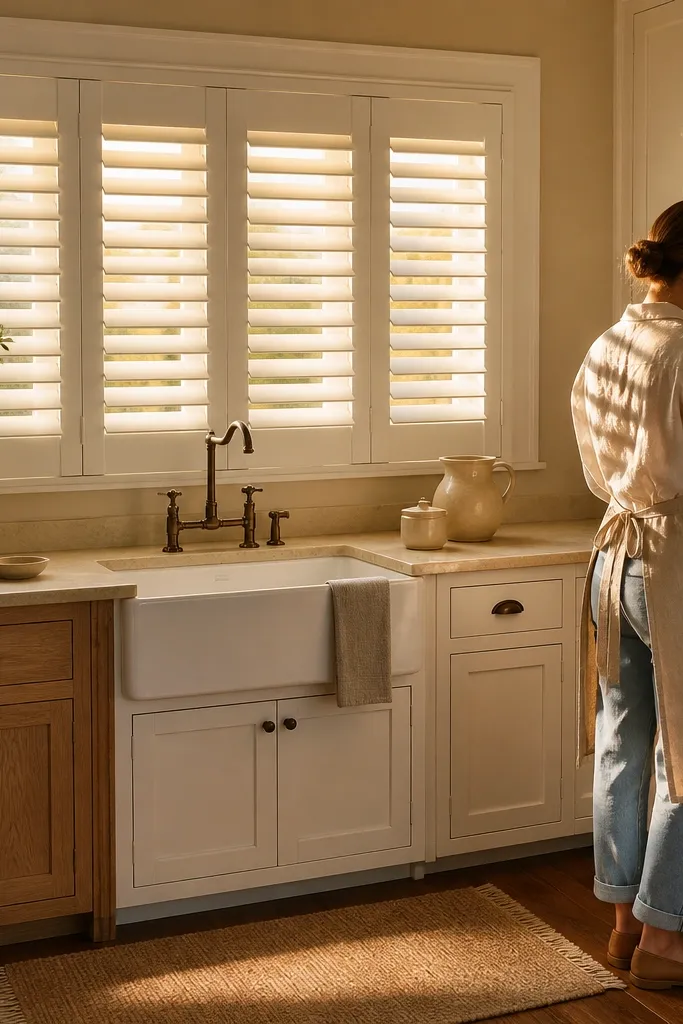
If your kitchen leans farmhouse or traditional but you still want a bright window, raised-panel detail can work when you keep it warm white and pair it with adjustable louvers. The raised look adds depth and makes the shutter read high-end, but the warm white finish keeps it from feeling heavy. Use 2-inch adjustable louvers so you can tilt for privacy without closing off daylight. This is especially good when you want the shutter to blend with cabinetry that has molding or raised doors, where flat shutter panels can look too plain.
Choose shutters in warm white with a sealed finish that matches your trim undertone, then confirm the louvers are adjustable. Measure the window opening and decide whether you want full-height panels or a split that keeps some upper glass light. Mount the frame tightly to avoid interior gaps that look darker in daylight. Once installed, set louvers at a consistent daytime tilt and verify privacy from outside at eye level.
Add a light-colored valance or no valance at all; heavy fabric above the shutter kills the bright effect.
Skip dark stain and skip distressed finishes — they absorb light and make the raised panels look even deeper.