1. Oversized framed print with a white mat
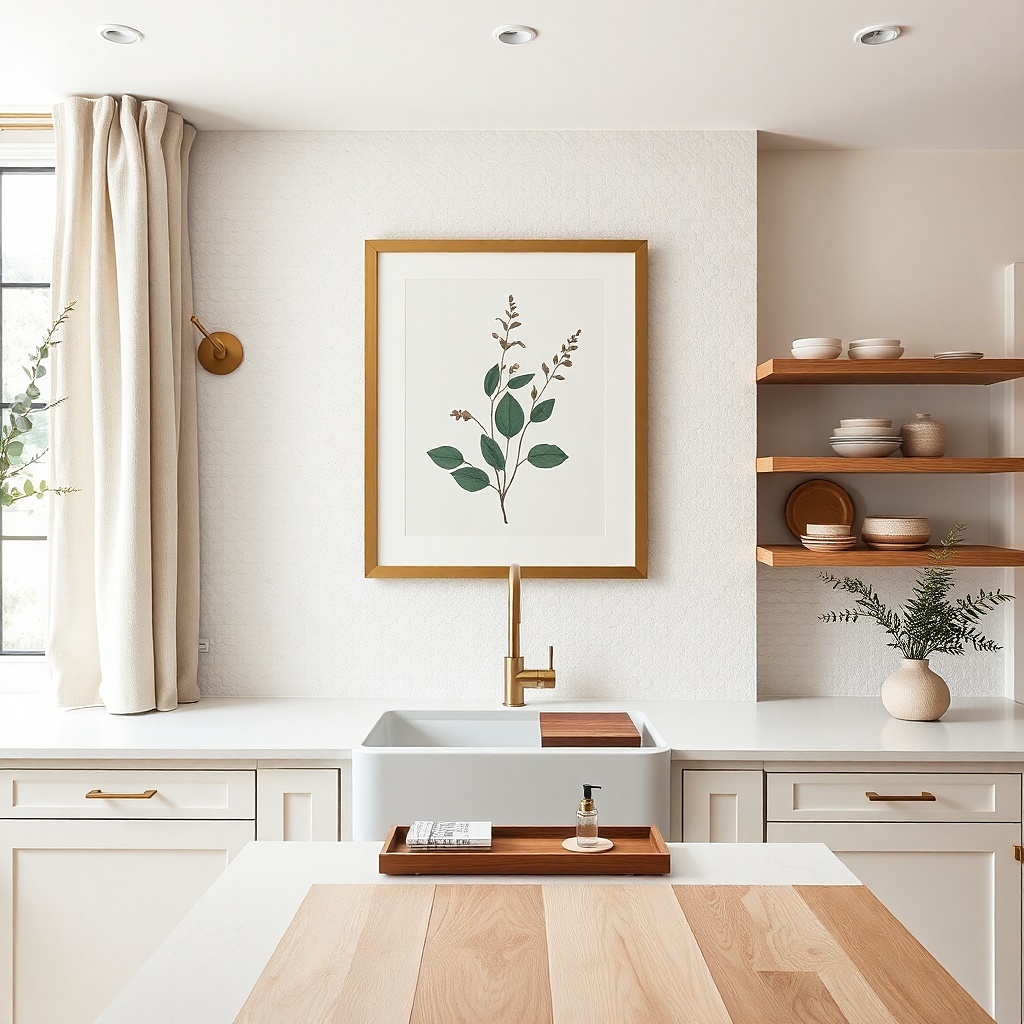
This works because blank sink walls look unfinished from across the room, and a larger-than-you-think frame fixes that immediately. Go for a print that uses colors already in your kitchen — warm beige, soft sage, or a deep charcoal — and keep the background light so it doesn’t fight your backsplash. A white mat creates a clean buffer between the frame and the wall, which makes the art read crisp even when the kitchen has busy tile. Place it so its bottom edge sits about 2-4 inches above the counter line. The result looks intentional without turning the wall into a collage.
Measure the wall strip above your counter and choose a frame that spans at least 60% of that width. Use a level and mark two pencil dots for hanger placement, then install wall anchors if you hit drywall. Center the frame over the sink or over the window, and keep the bottom edge 2-4 inches above the counter. If you’re using a standard 16x20 or 18x24 frame, expect roughly $40-150 depending on frame quality and print stock.
Try thisUse glass or acrylic over the print if your sink gets heavy steam; it keeps the art looking new.
Common mistakeDon’t hang a tiny frame — small art above a sink looks like it was forgotten.
2. Two matching narrow frames stacked vertically
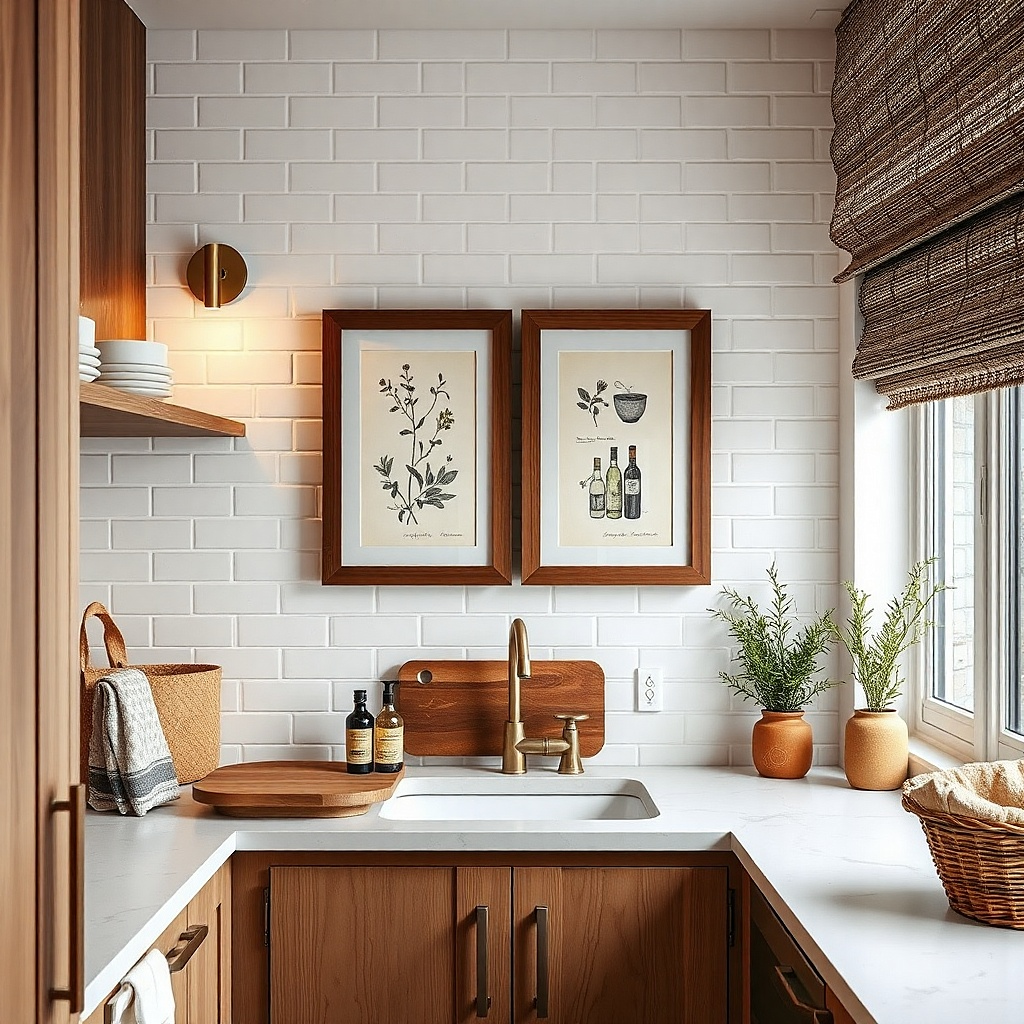
When you don’t have much horizontal space, vertical stacking gives you height and balance without crowding the backsplash. Pick two matching frames with the same color — black, walnut, or brushed brass — and use prints that share one common theme like botanical line art or neutral typography. This look also plays nicely with open shelving because the frames add structure while staying narrow. Keep the spacing between frames tight, about 1-2 inches, so the pair reads like one unit. It’s a clean way to add personality without making the sink wall feel busy.
Choose two frames that are the same width and roughly 10-14 inches wide; tall frames work best here. Lay them out on the counter so you can decide the vertical gap, then mark the wall for a double-hung setup or separate hang points. Install the top frame first, then use a level to align the second so the pair looks perfectly straight. Expect $60-200 depending on frame finish and print quality.
Try thisMatch the frame color to your faucet or cabinet hardware for an instant “pulled together” effect.
Common mistakeDon’t mix frame colors or mat tones; it turns the pair into random clutter.
3. Kitchen wall mirror with black metal frame
A mirror above the sink makes the wall feel done because it adds both function and light. Black metal frames are a strong choice when you have black fixtures, matte black cabinet pulls, or dark grout lines; the contrast looks crisp against light walls. The mirror also helps kitchens feel brighter because it bounces daylight from the window area. Choose a shape that matches your kitchen geometry: oval for softer, round lines, or rectangular for modern straight edges. Keep it slightly wider than the sink cabinet opening, so the reflection doesn’t look awkwardly small.
Pick a mirror that’s about 24-30 inches wide for most sink walls. Decide the placement by centering it over the sink or centered between the window and adjacent cabinets, then mark hanger points. Use anchors if you’re mounting into drywall; if you can hit studs, do that for extra security. Budget $80-250 depending on frame thickness and whether it’s anti-fog.
Wipe the mirror with a microfiber cloth and water-only cleaner; streak-free glass looks better than “shiny” glass.
Don’t choose a mirror that’s too small — it looks like decoration, not design.
4. Floating wood shelf with two ceramic canisters
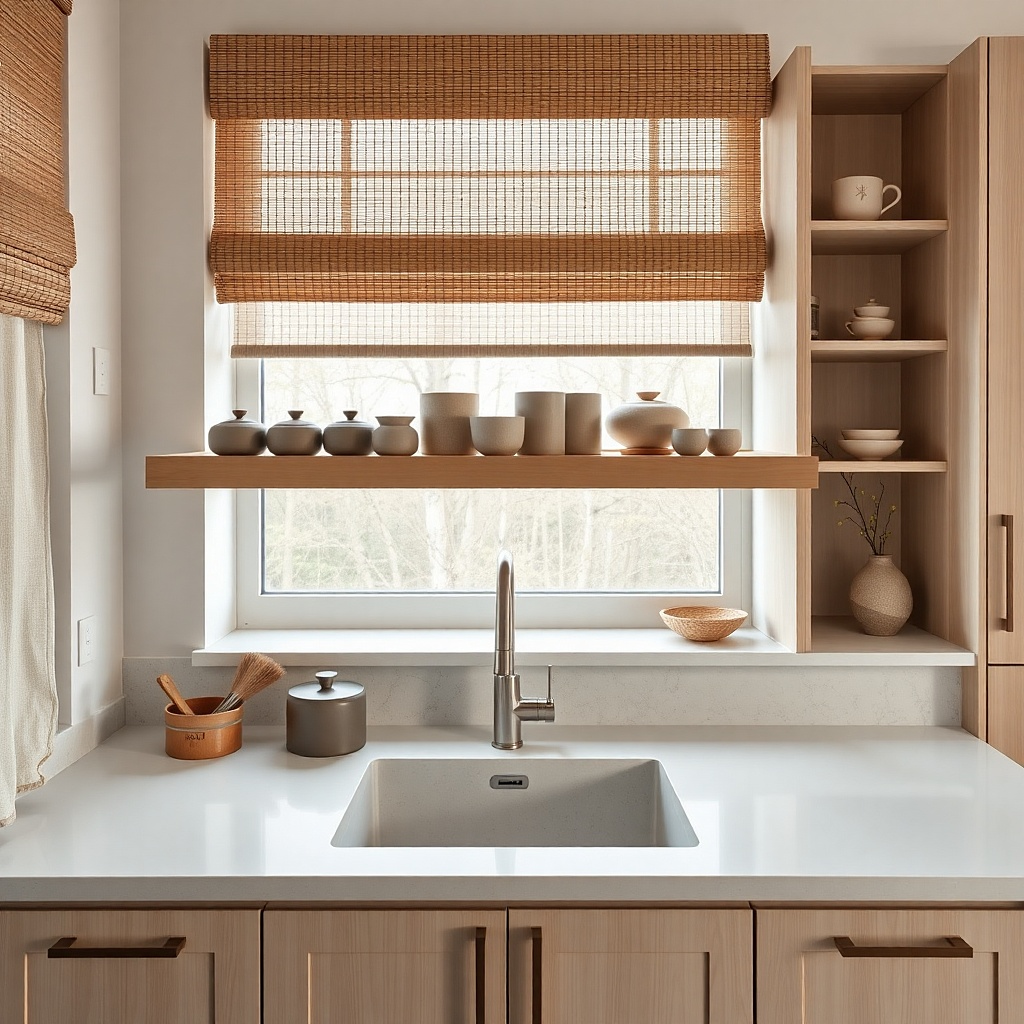
A short floating shelf turns the sink wall into a working display instead of a blank surface. Wood shelves soften hard tile and make the kitchen feel warmer, especially with light counters and white cabinetry. Use two ceramic canisters with matching glaze tones — matte white, speckled cream, or sea-glass green so the shelf looks intentional. The shelf should sit high enough that steam doesn’t constantly hit the items, and low enough that it’s visible when you stand at the counter. This setup also gives you a place to store everyday items like coffee filters or tea bags without adding clutter across the counter.
Choose a shelf depth of about 5-6 inches so it doesn’t stick out into the workspace. Mount it with a level and two studs or anchors, then place canisters on the back edge so they don’t look crowded. Space canisters 2-3 inches apart and add one small accent like a folded linen towel tucked beside them. Plan $60-180 for shelf hardware plus $25-80 for canisters.
Use canisters with lids that close fully; it keeps the look tidy and prevents dust near the sink.
Don’t overload the shelf with mismatched jars; two matching pieces look cleaner.
5. Peg rail with 6 hooks and one utensil wall moment
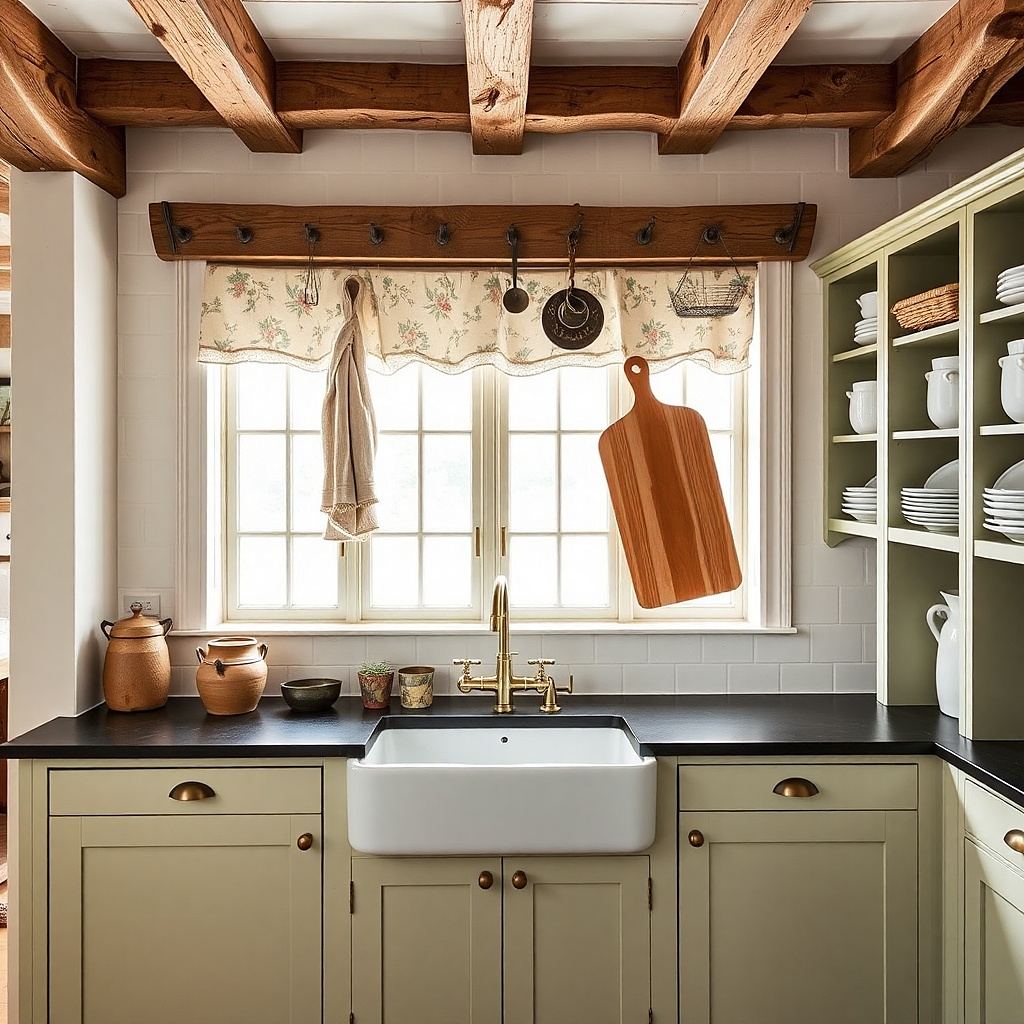
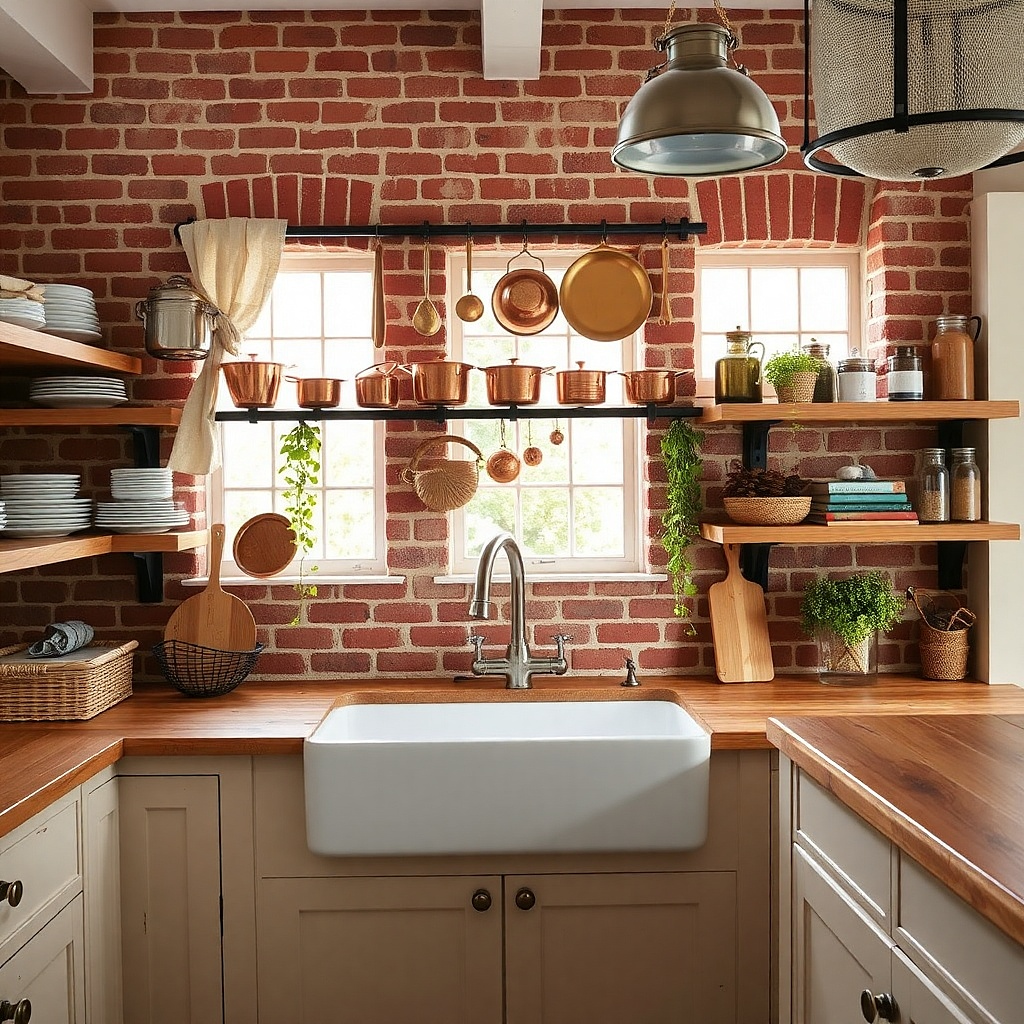
If your kitchen feels practical but unfinished, a peg rail makes it look designed. The rail creates a straight line that visually organizes the wall, and hooks let you hang one curated set: a ladle, a whisk, and a spatula in matching finishes. Choose a rail in brushed steel or matte black depending on your faucet and cabinet hardware. Keep the display minimal so it doesn’t read as storage. The best part is how the wall becomes useful without adding a single extra surface item on the counter.
Pick a peg rail length that spans about half the width of your sink wall — usually 18-30 inches. Mark two mounting points and install with wall anchors rated for the rail weight. Hang 4-6 hooks and use only utensils that share a finish or color; keep handles facing the same direction. Cost runs $25-90 for the rail plus $20-80 if you need new matching tools.
Use the same hook spacing for each utensil so the silhouettes line up neatly.
Don’t hang every tool you own; the line looks messy fast.
6. Large farmhouse-style letter board in a neutral frame
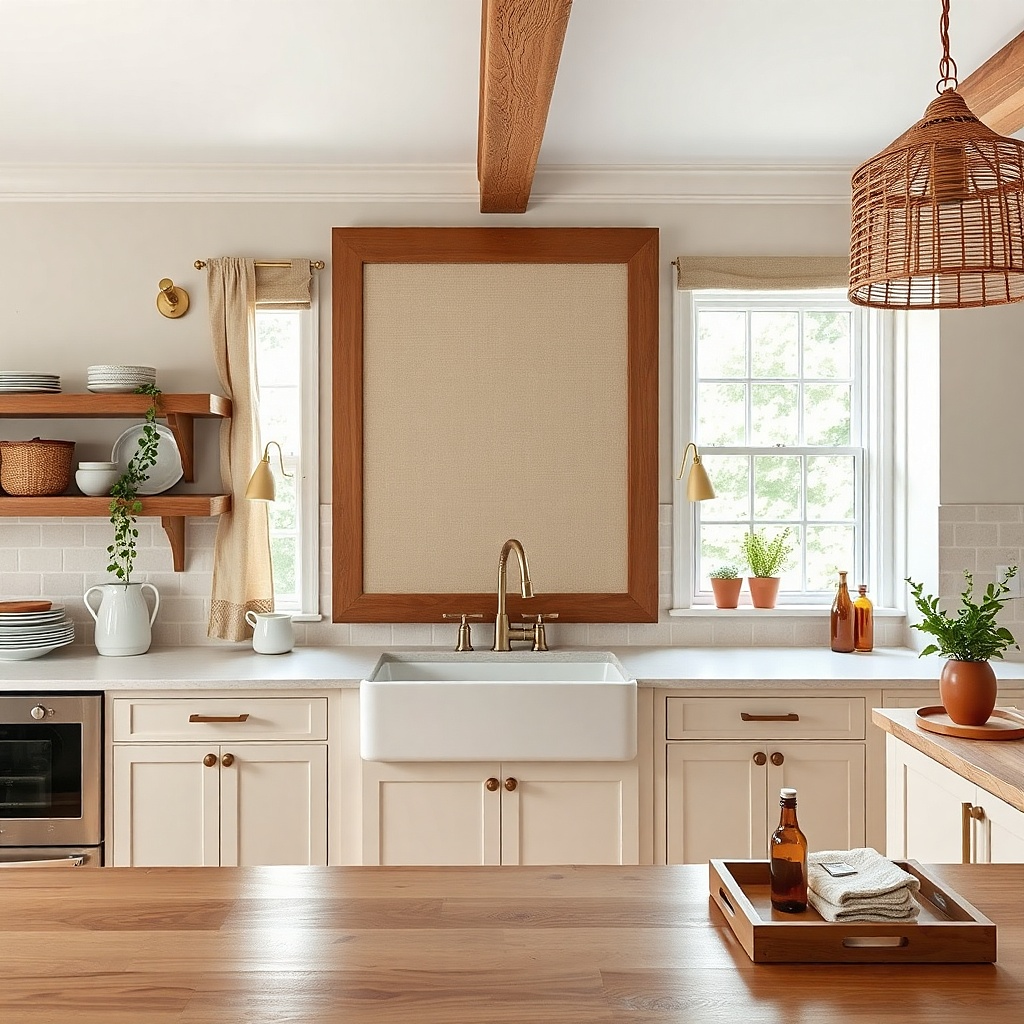
A letter board is photogenic because it adds a strong typographic block, but it works best when the text stays simple. Put it above the sink so it becomes the visual anchor for the wall, not a cluttered message board. Choose a neutral frame in black, white, or natural wood and use short phrases that match your kitchen palette. Keep the lettering to 8-12 words total, and avoid bright neon colors that clash with tile and grout. This is a quick way to make the wall feel “alive” while still looking styled from a distance.
Choose a board width around 18-26 inches so it reads from across the room. Level it above the counter, leaving 2-4 inches of clearance from the backsplash edge if you have one. Use wall anchors for safety, then arrange letters in two lines max to keep it balanced. Budget $35-120 for the board and $10-30 for letter sets if needed.
Try thisStick to two font colors on the board so the board looks designed, not busy.
Common mistakeDon’t update it with long paragraphs — the wall loses its clean look.
7. Ceramic wall plate set of three in a staggered row
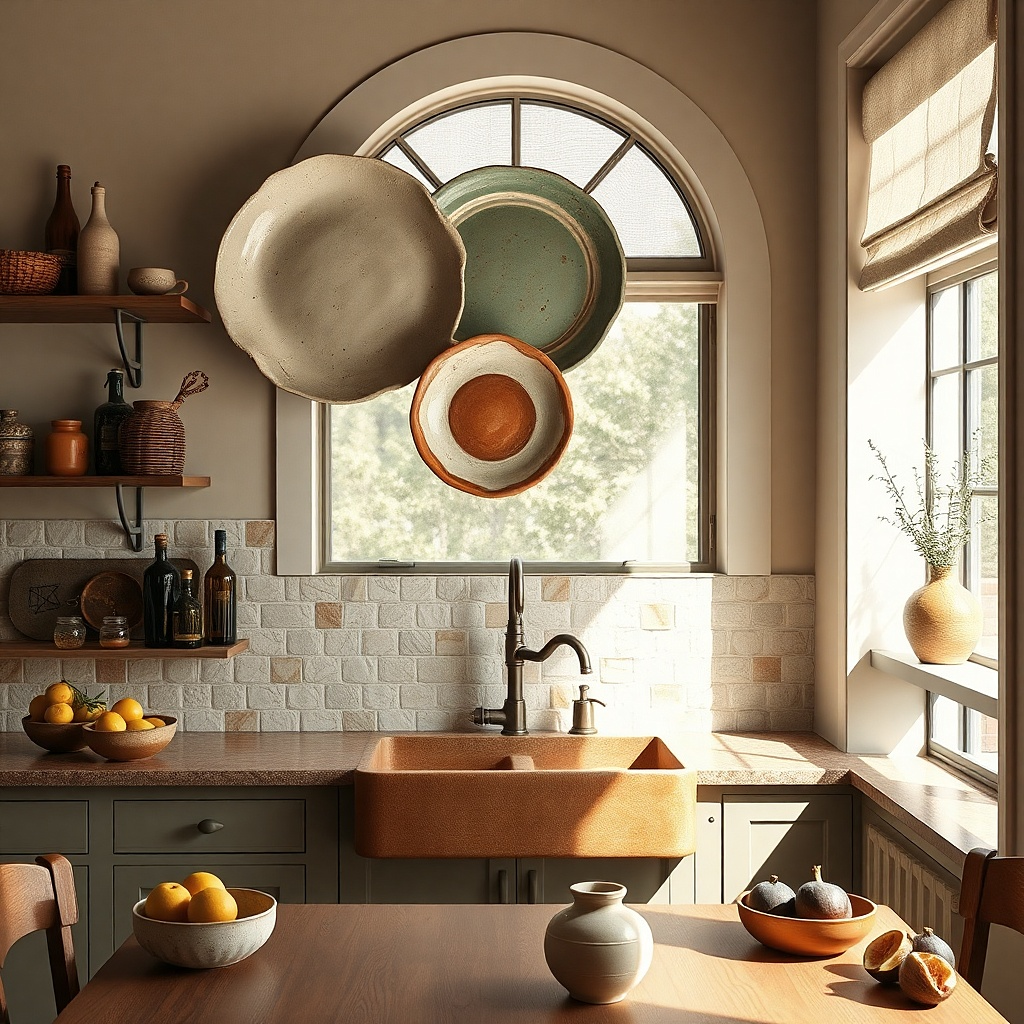
Three plates read as art because they have shape, shine, and color, but they still fit a kitchen wall without feeling like a gallery wall. Use a set of three ceramic plates with a shared glaze family: glossy off-white with tan speckles, or muted blue with a cream rim. Mount them in a staggered row so the middle plate sits slightly higher, creating a subtle diagonal that looks lively in photos. This works especially well on plain walls or simple backsplashes where you need texture without adding patterns. It also hides minor wall imperfections because plates bring their own visual depth.
Buy three plates that are the same diameter, usually 8-10 inches, and ensure they’re intended for wall mounting. Use plate hangers (wired or rubber-tipped) and mount them into studs or use heavy-duty anchors. Space the plates about 2-3 inches apart horizontally and stagger the center plate up by 1 inch. Expect $60-200 depending on plate style and mounting hardware.
Try thisWipe plates before mounting so you don’t trap dust behind the hangers.
Common mistakeDon’t mix diameters; it makes the row look accidental.
8. Slim tray-ledge with two small vases
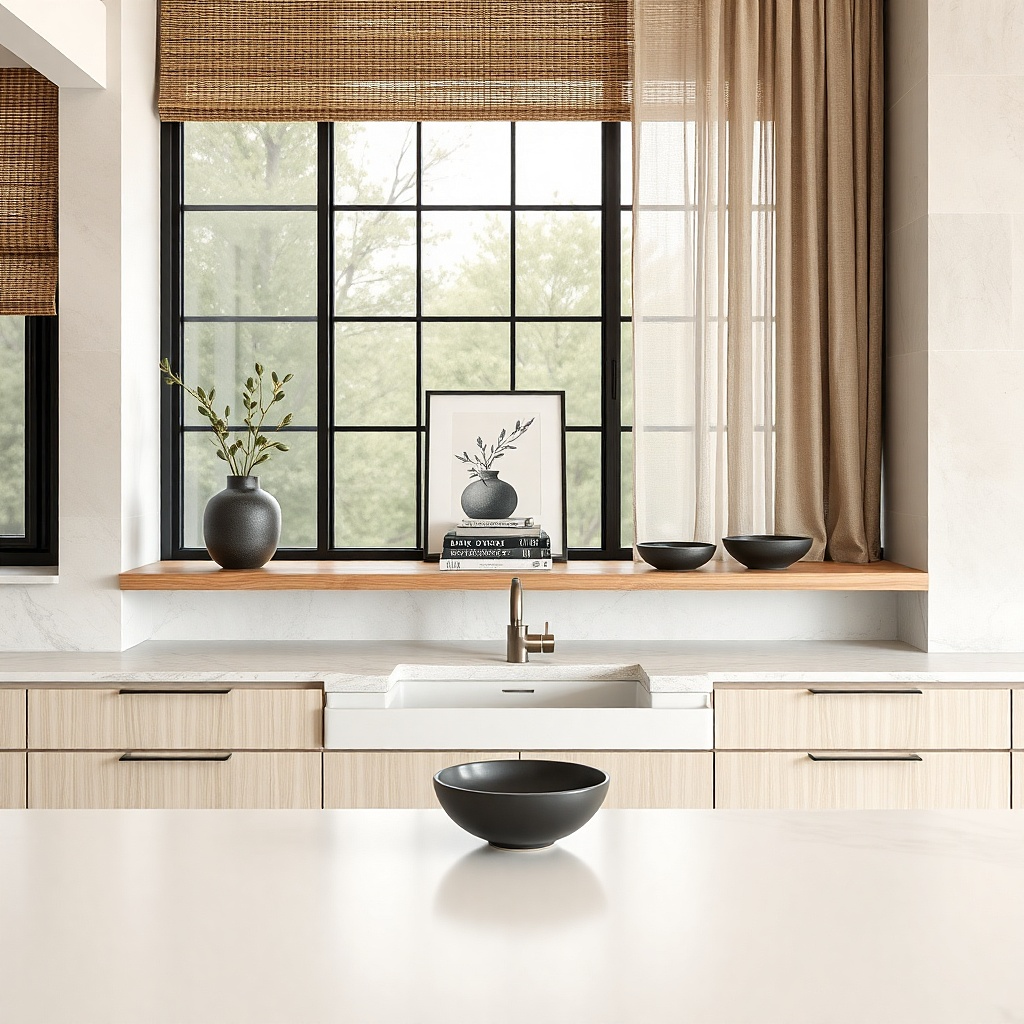
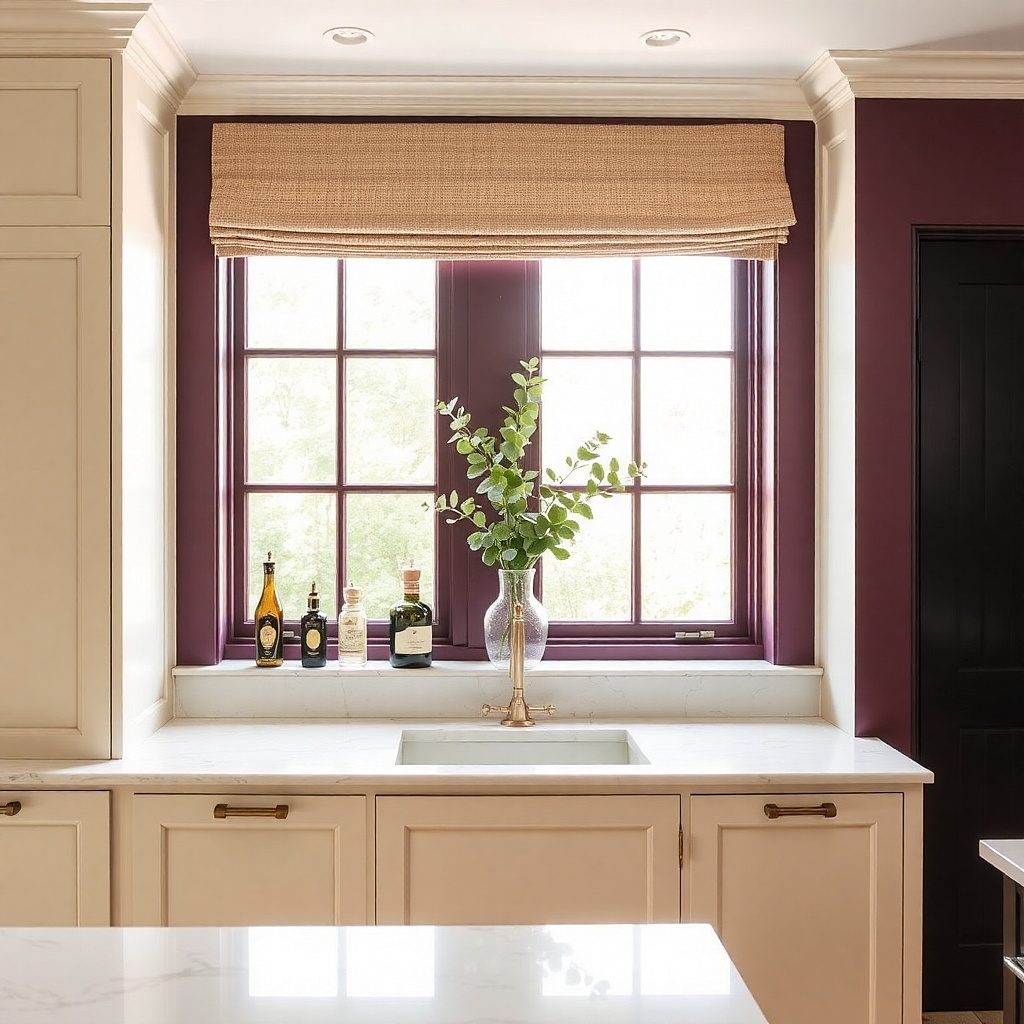
A slim tray-ledge turns the sink wall into a styled surface without adding bulk. The key is choosing a ledge that’s shallow enough to keep the look light, then placing only two vases and one tray. Go for matte ceramic vases in white and warm clay, or glass in amber with a frosted finish. The tray gives you a grounding block so the vases don’t look like they’re floating. This is a strong option if you have a window above the sink because it fills the vertical space while staying tidy.
Choose a ledge depth of about 4-5 inches and measure so it fits between cabinet edges. Mount it with a level, then place a flat tray centered first. Add two vases with the same height or within 1-2 inches of each other, spaced 3-4 inches apart. Budget $25-90 for the ledge plus $20-80 for vases and tray.
Use dried stems in neutral tones like wheat, olive, or eucalyptus; they look good longer than fresh greens.
Don’t use tall vases that reach the backsplash — they look cramped.
9. Black-and-white tile-look framed art panel
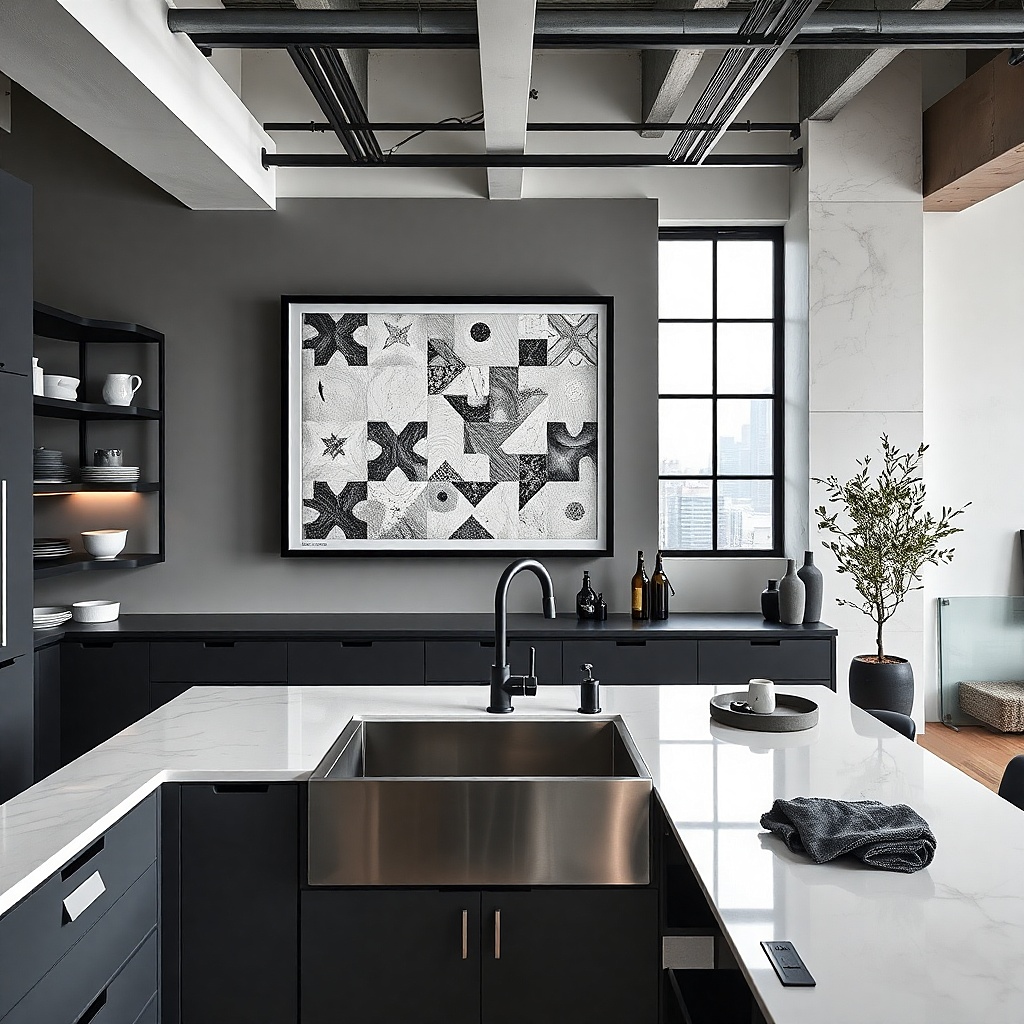
If your kitchen backsplash is busy, you want wall decor that echoes the pattern without competing. A black-and-white framed panel with a tile-like grid gives you visual rhythm while staying monochrome. The look is photogenic because it creates crisp lines that contrast against smooth paint or light tile. Choose a frame finish like matte black to match faucet hardware. Keep the art at a similar scale to the backsplash pattern so the wall feels cohesive rather than patched together.
Pick a framed panel about 20-32 inches wide depending on your sink wall width. Hang it centered over the sink, and keep the top edge around 3-6 inches above the window trim or counter line. Use glass or acrylic cover so cleaning is easy near splashes. Budget $50-180 for framed prints or custom panels.
Match the line thickness in the art to the grout lines in your backsplash for a calmer look.
Don’t add colored art if your backsplash already has multiple colors.
10. Corner shelf with a small plant and a ceramic dish
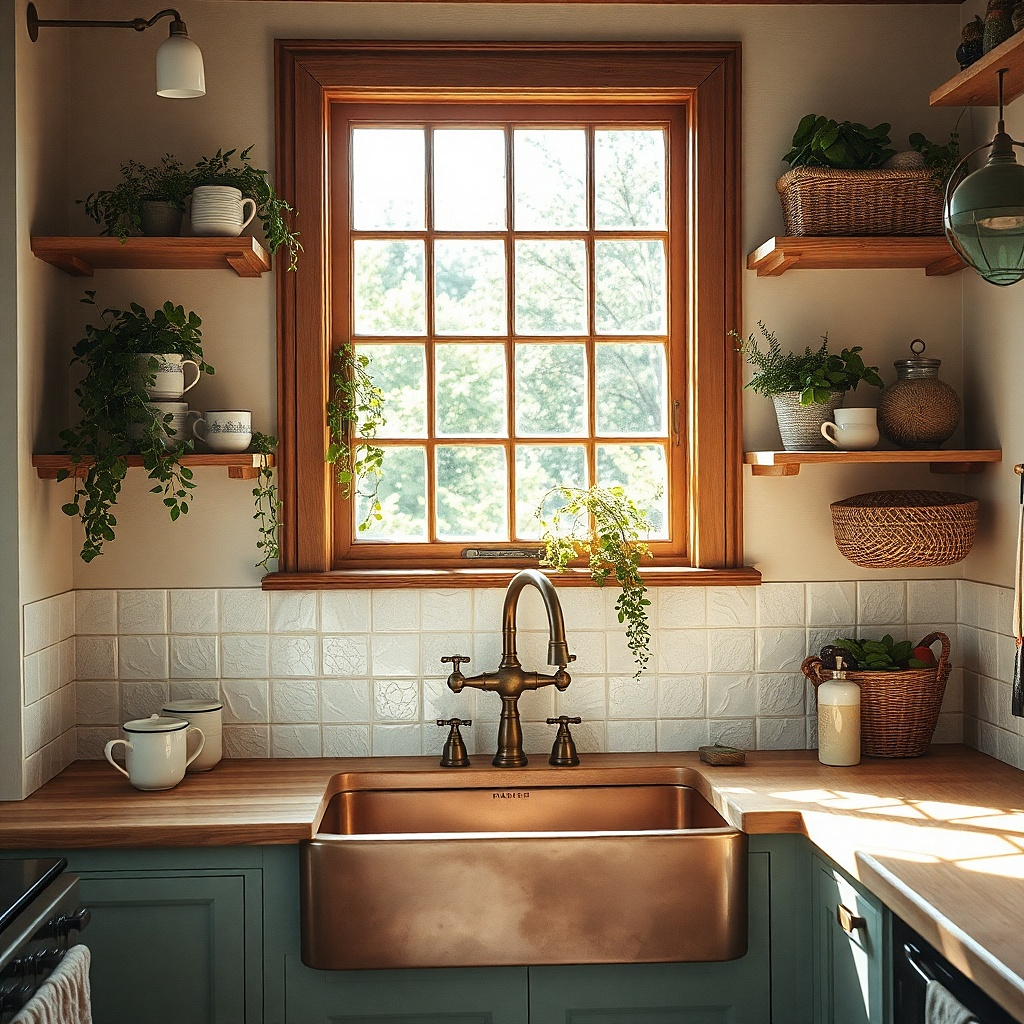
Corner placement makes the sink wall feel used without covering the main backsplash area. A small corner shelf is great if you have awkward plumbing pipes, a window corner, or a wall that’s hard to center. Use a plant with a low footprint like a pothos in a matte pot, plus a ceramic dish that matches your other ceramics. The plant adds life, while the dish keeps the composition grounded. Choose a light wood or white shelf so it doesn’t look heavy against the wall.
Measure the corner space and choose a shelf that’s about 8-12 inches on each side. Mount with the included corner brackets into studs when possible. Place the ceramic dish first, then set the plant so it doesn’t touch the wall behind it. Expect $25-70 for the shelf and $15-40 for pot and plant.
Try thisRotate the plant every two weeks so the leaves keep a balanced shape for photos.
Common mistakeDon’t put a big plant on a tiny shelf; it looks top-heavy.
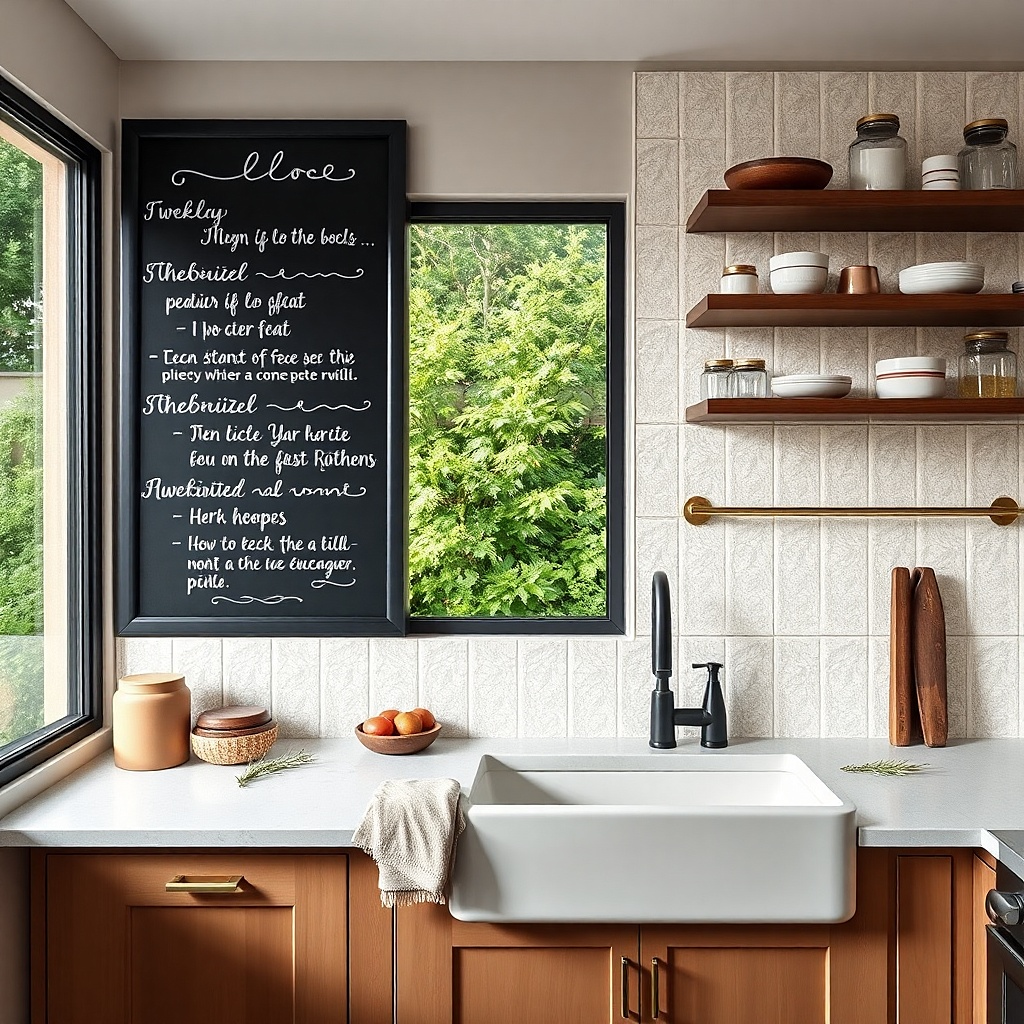
11. Kitchen chalkboard in a black frame with clean borders
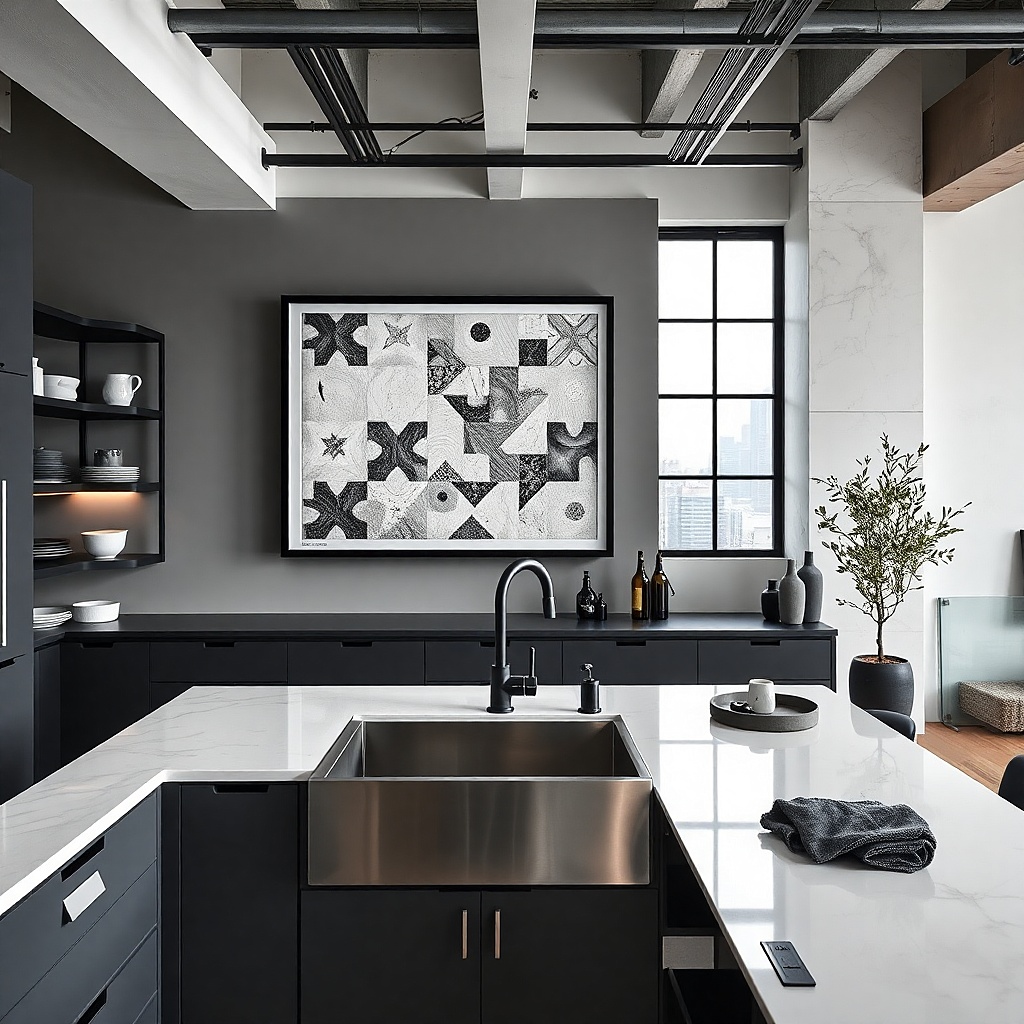
A chalkboard can look sharp in kitchens when the layout is controlled. Use a black-framed chalkboard with a clear border and keep the text to one short line plus a small icon like a coffee cup. It’s a good option if you want seasonal changes, but you’ll get the best look by keeping the chalk color to white or a single cream tone. Hang it so it’s readable but not so low that steam hits it directly. This works best on plain painted walls where the board becomes the focal block.
Choose a chalkboard size around 16-24 inches wide. Level it over the sink or over the counter center, leaving 2-4 inches above the backsplash edge if needed. Use chalk markers meant for chalkboards so the lines stay crisp, then seal the surface with chalkboard wax if the board is new. Budget $40-130 for the board depending on frame style.
Try thisDraw a thin border with chalk so the board looks designed, not random writing.
Common mistakeDon’t use chunky colored chalk that clashes with your cabinet paint.
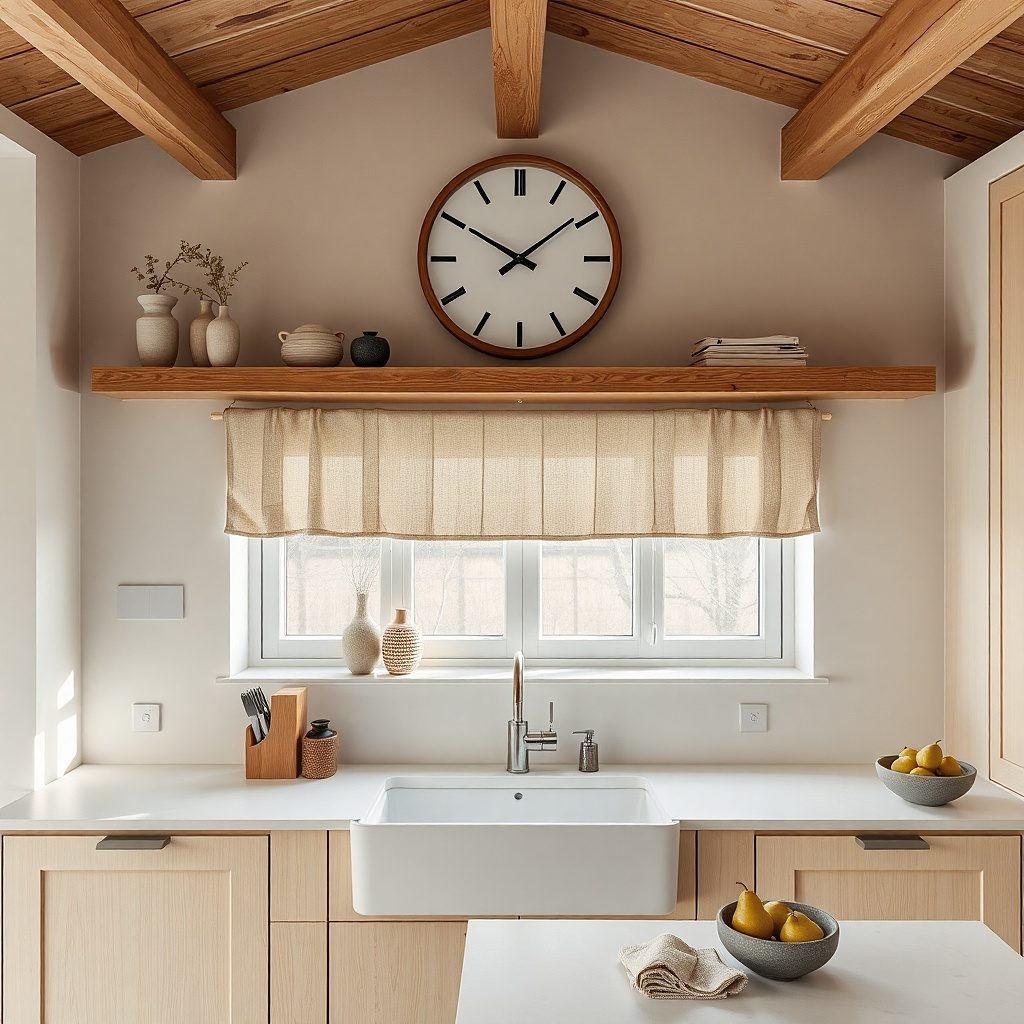
12. Minimal wall clock with wood face
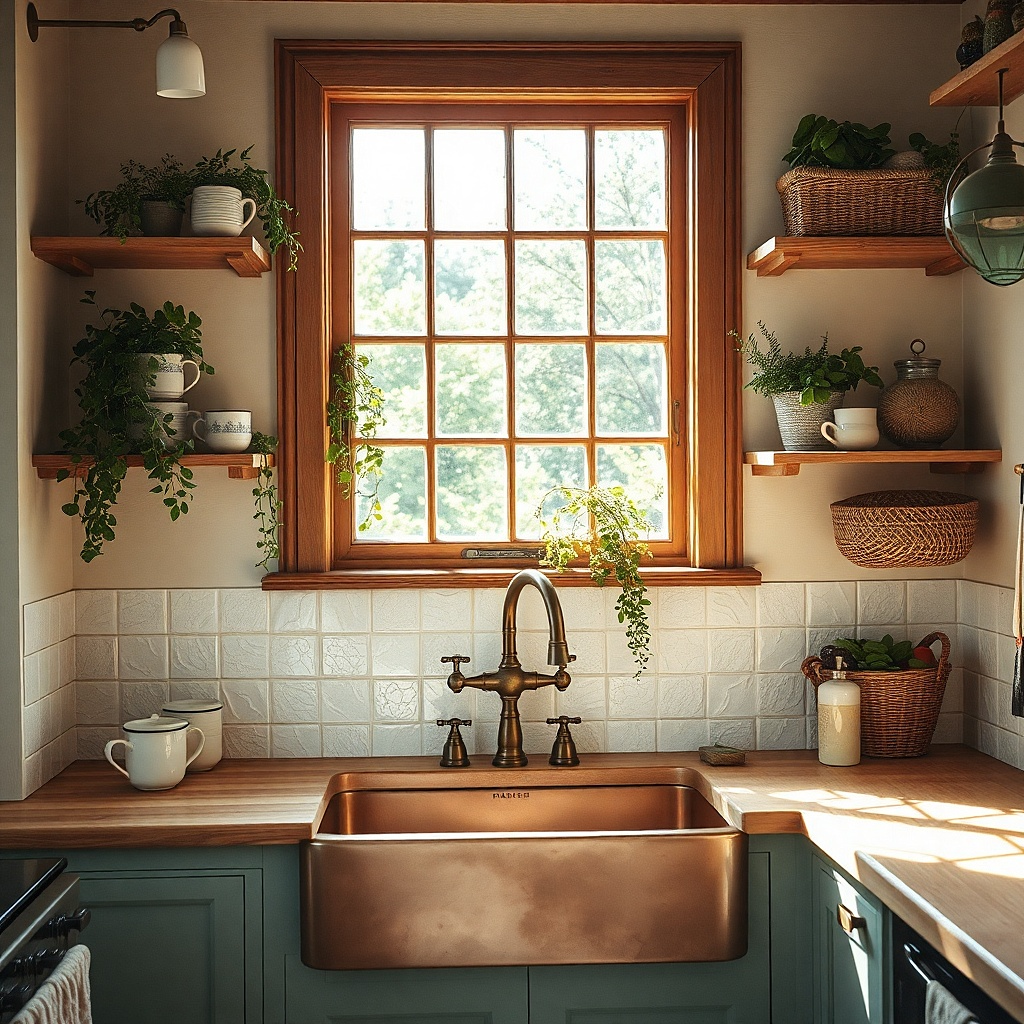
A wall clock gives you a functional focal point, and wood faces look warmer than shiny plastic in kitchens. The clock also solves the blank-wall problem because it has built-in symmetry and a clear central element. Choose a clock with simple hands and a clean dial, not a busy pattern. Place it above the sink so it balances the window or the range hood area in the frame of the kitchen. Keep the clock size around 12-16 inches so it reads clearly without taking over the whole wall.
Pick a clock with a wood face and minimal markers, sized 12-16 inches. Mark the center point and mount using the included bracket, anchoring into studs when possible. Set it so it’s centered over the sink or centered between the sink and dishwasher. Cost is usually $25-120 depending on brand and finish.
Try thisIf your cabinets are warm wood, choose the clock face in a similar undertone (honey vs gray-brown).
Common mistakeDon’t choose a clock with too many numbers; it competes with kitchen details.
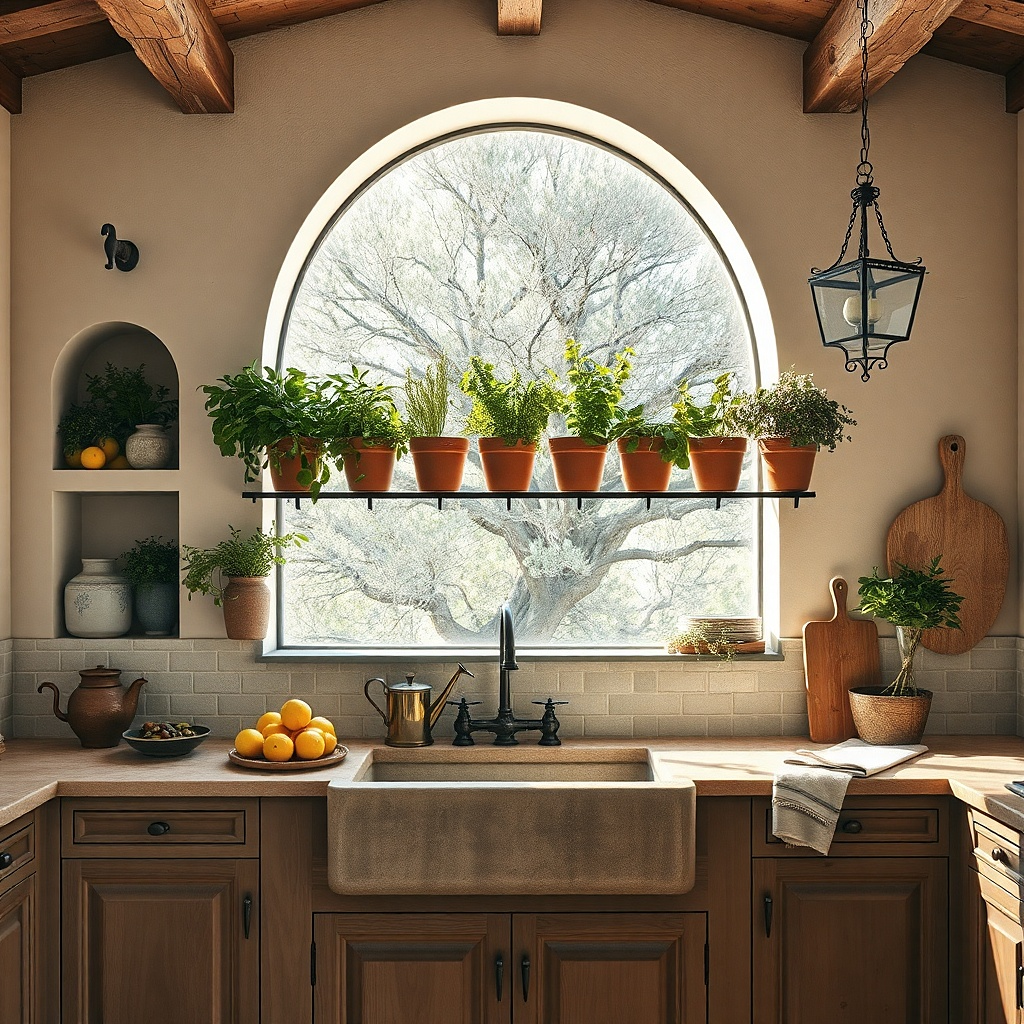
13. Hanging herb planters with a matching rail
Hanging planters look great above a sink because they bring movement and color without taking counter space. Use a matching rail and three planters in one finish so the wall looks styled rather than improvised. Choose herbs that stay compact in indoor light, like basil varieties you can trim regularly, chives, or thyme. The key to making this look good in photos is uniformity: same planter shape, consistent spacing, and a rail that sits level. This also helps if you want the kitchen wall to feel “intentional” without art prints.
Install a small wall rail or two mounting brackets with a horizontal bar at a height that keeps planters about 6-10 inches above the counter. Hang three planters spaced about 6-8 inches apart, and use drip trays or liners to protect the wall. Fill with a lightweight potting mix and use saucers so water doesn’t splash onto tile grout. Budget $45-150 for rail and planters depending on size.
Try thisUse labels on the planters with muted ink so the wall looks tidy and readable.
Common mistakeDon’t choose planters that vary wildly in shape; it reads messy fast.
14. Staggered set of three utensil hooks with a linen towel
This is a practical wall decor idea that looks styled because it repeats one material and one color story. Use three hooks in one finish matte black or brushed steel then hang one utensil each: whisk, ladle, and a small spatula. Add a linen towel in a neutral color like oatmeal, flax, or light gray. The towel provides softness against hard surfaces, and the utensils create a clean vertical rhythm. Keep it above the sink area but not directly in the steam path. It looks good from a distance and also feels useful up close.
Mount a small hook strip or individual hooks in a staggered vertical layout across 2-3 inches so the silhouettes don’t line up too rigidly. Use wall anchors if you can’t hit studs, and keep the towel rod portion aligned for a straight hang. Hang utensils so handles point down and towels fold evenly. Budget $20-70 for hooks plus $15-40 for a good linen towel.
Try thisWash and lightly starch linen so it hangs with crisp folds instead of flopping.
Common mistakeDon’t hang heavy wet utensils right over the towel; it stains.
15. Textured wall panel behind a small framed print
If your sink wall is painted flat and looks a little lifeless, add texture without adding clutter. A thin textured panel behind a framed print creates depth that shows up in photos and adds warmth. Choose a panel material like wood slats, cork, or a plaster-look sheet in warm white or light oak. The framed print stays simple one botanical illustration or one black-and-white line drawing so the texture does the heavy lifting. Mount the panel so it’s centered above the sink and sized about 18-28 inches wide depending on wall width. This makes the whole spot look designed, even with minimal decor.
Buy or cut a textured panel sized to fit your sink wall strip, usually 18-28 inches wide and 12-20 inches tall. Mount the panel using construction adhesive made for walls plus two screws into studs if possible. Center a framed print on the panel and hang it using the frame’s hardware or a picture rail. Budget $60-220 depending on panel material and frame.
Keep the frame color neutral and let the texture be the star; it looks more expensive.
Don’t pick a loud texture and a loud print together.
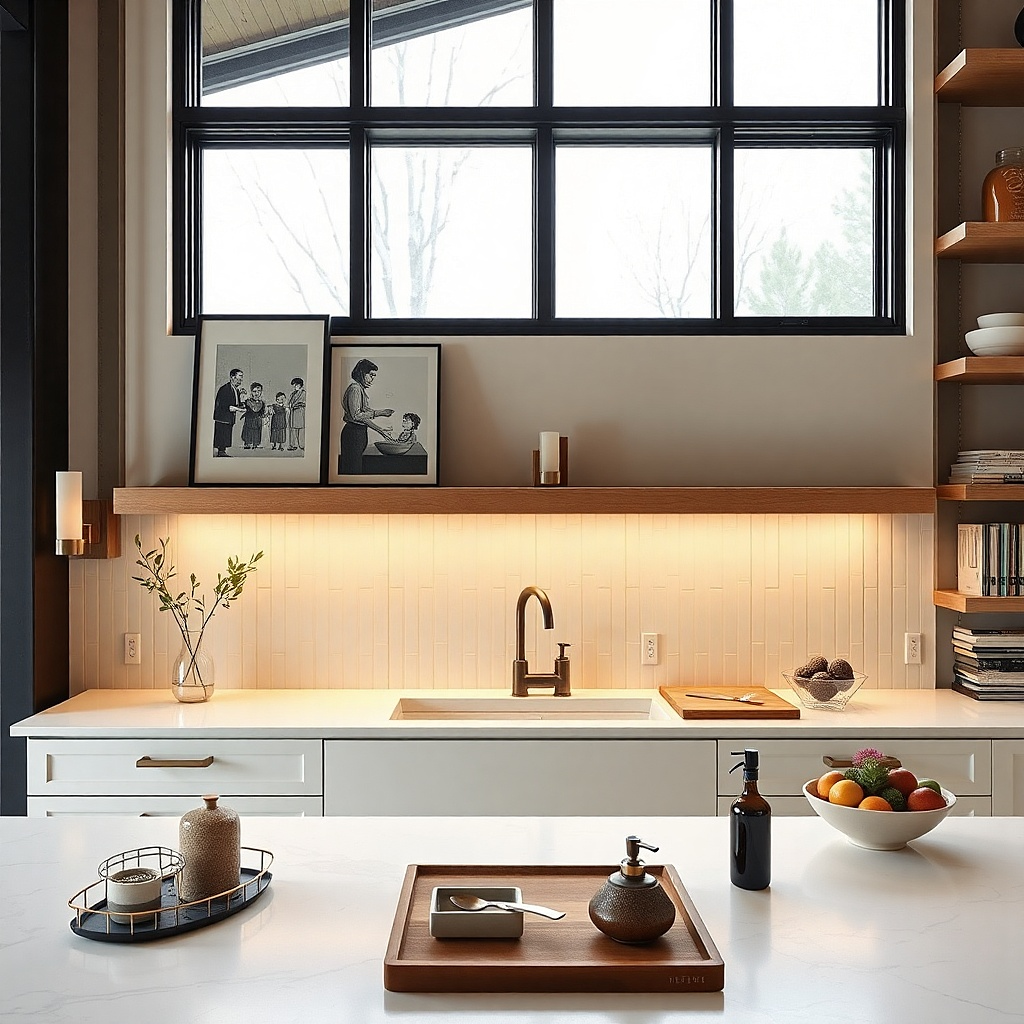
16. Small gallery ledge with two photos and one thin vase
Leaning frames and a thin vase create a styled tabletop look on the wall, without the permanence of a full gallery wall. This works best when your sink wall has a window nearby because the ledge can echo the window’s horizontal line. Use two small frames with the same width and a thin vase in between, or one vase plus one small object like a ceramic spoon rest. Choose prints with lots of whitespace so the wall stays light. The ledge itself should be narrow so you’re not crowding the backsplash zone.
Choose a wall-mounted ledge about 18-24 inches wide with a depth of 4-5 inches. Mount it level above the counter, leaving 2-4 inches of clearance from the backsplash edge if needed. Lean two frames on the back edge and place a thin vase between them; keep the vase height under 10 inches. Budget $30-120 for the ledge and $40-150 for frames and vase.
Try thisUse frame glass or acrylic so the prints don’t warp if the kitchen gets humid.
Common mistakeDon’t use heavy frames that tip; keep them light and stable.
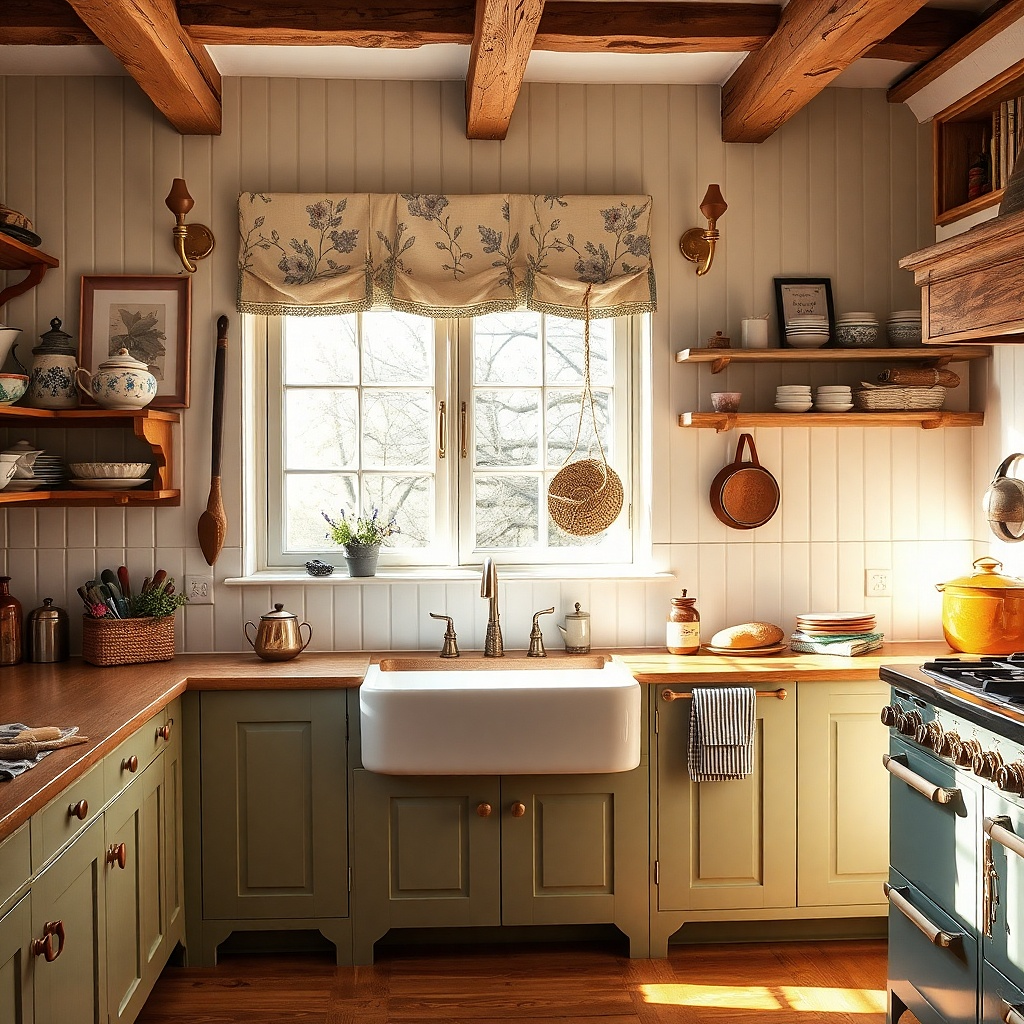
17. Oversized woven basket + slim wood ledge combo
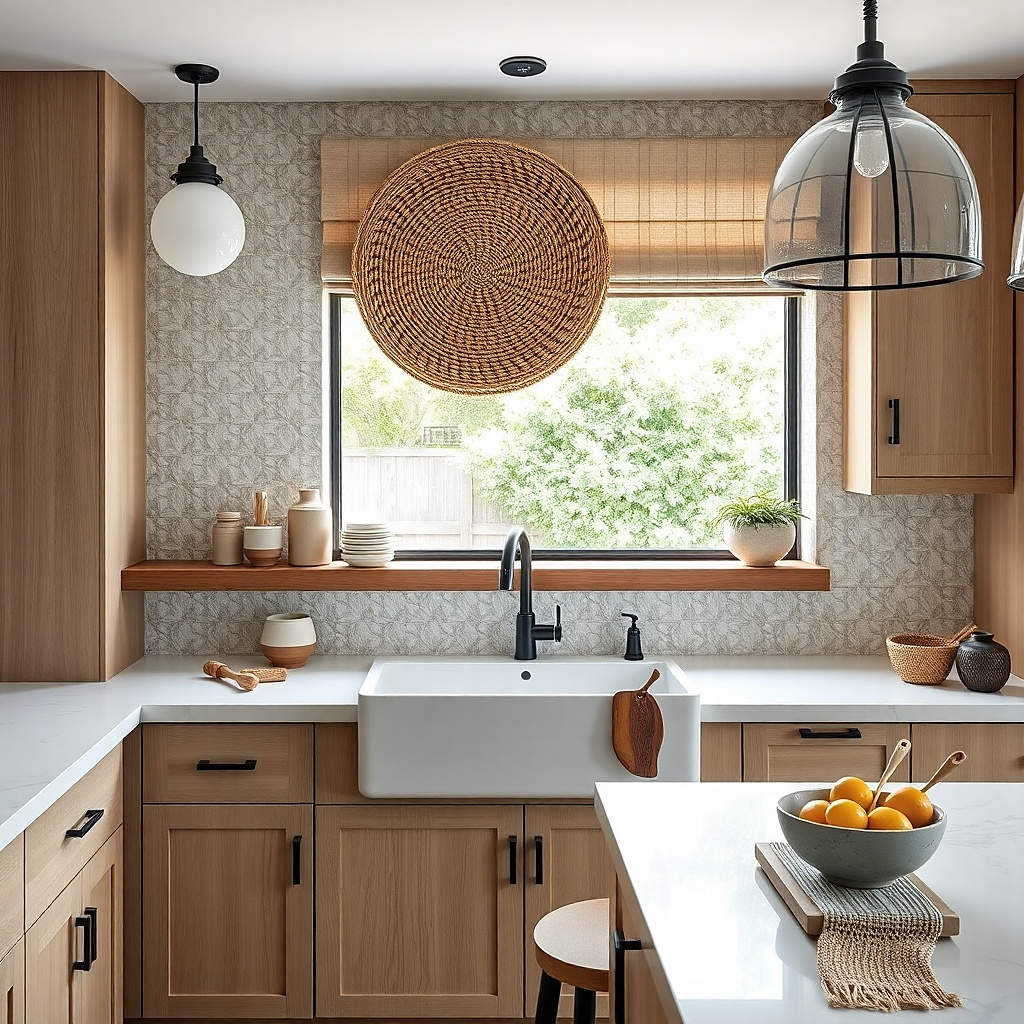
A big woven basket over the sink wall gives you texture where the eye expects nothing, and it hides the clutter that usually shows up around the kitchen sink. Choose a basket with a flat back and a diameter around 18-22 inches so it reads as intentional wall decor, not a loose accessory. Pair it with a slim wood ledge below it in a warm, medium oak or walnut finish so the whole setup feels grounded and practical. This works best for Kitchen Wall Decor ideas simple quick because you’re using two real objects that already look finished and you’re not fighting a busy background behind the sink. Keep the palette tight natural tan basket, warm wood, and one small accent in black or cream and it will look cohesive even if your countertop is busy.
Step 1 — Mount the ledge first. Install a 4-5 inch deep wood ledge (pre-finished oak or walnut) with a level line placed about 6-8 inches below where the basket will sit; use two wall anchors spaced 16-20 inches apart, then screw through the bracket holes or directly through the ledge’s back support strip if it has one. Step 2 — Mount the basket. Use a basket with a flat back or add a thin plywood backing inside the basket, then attach two picture hooks or small L-brackets to the backing; center the basket so its bottom edge lands roughly 4-6 inches above the ledge. Step 3 — Style it with low-height items. Put one ceramic or glass canister on the ledge and keep everything else out of sight inside the basket.
Match the basket’s tone to your cabinet hardware if your hardware is black, use a black tray or small black ceramic on the ledge to tie it together.
Avoid hanging a tall, round basket that swings — it will look accidental and it will fight steam and splashes behind the sink.