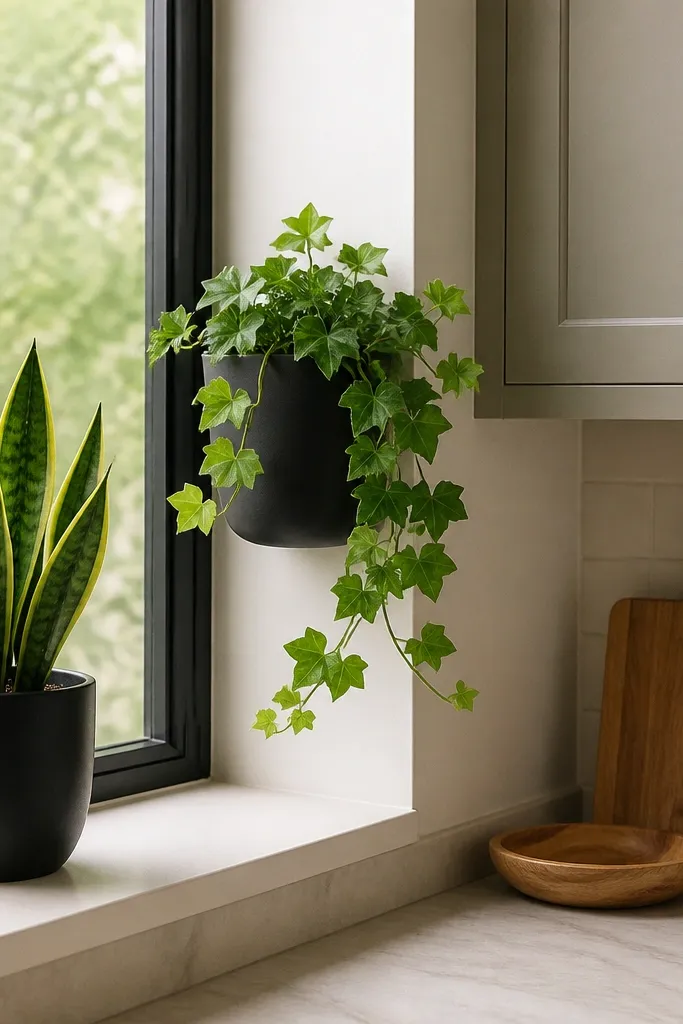
1. Single matte-black snake plant in a tall cachepot
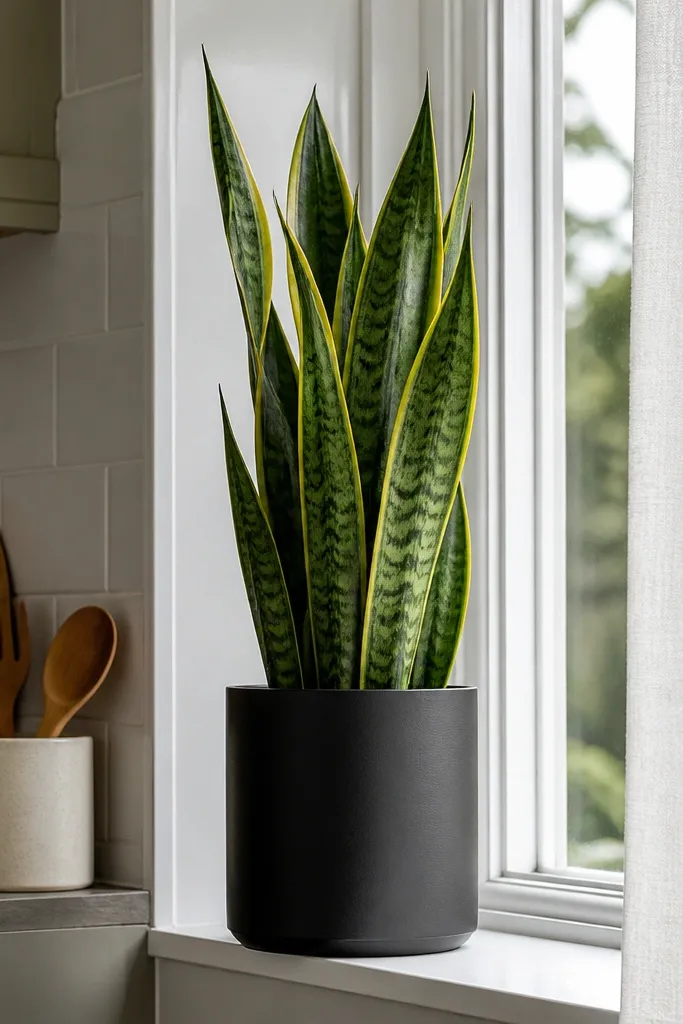
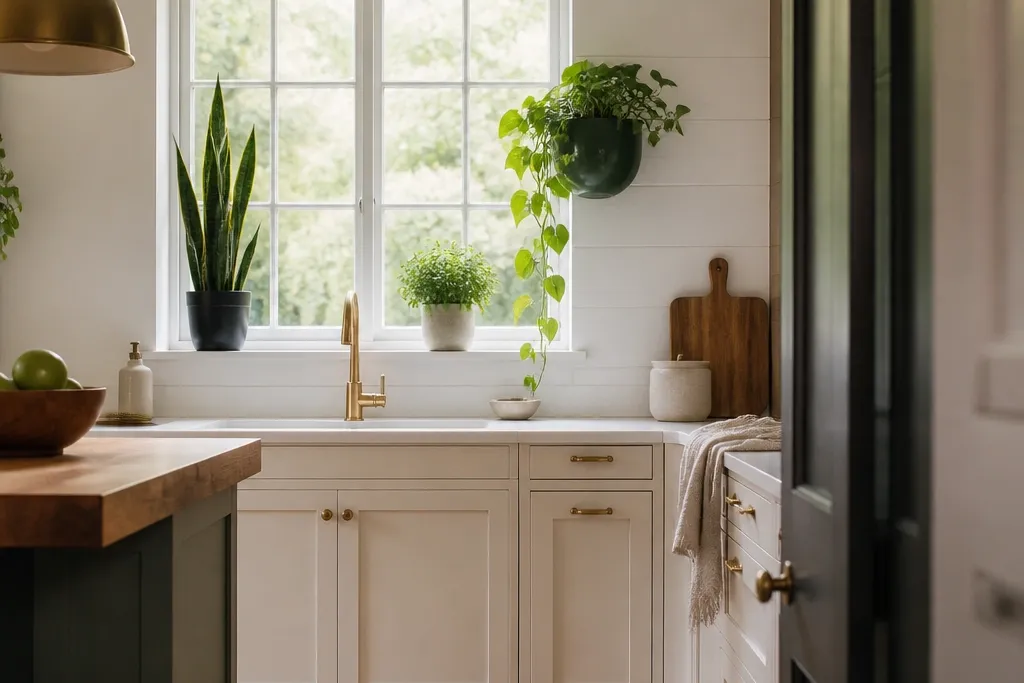
A snake plant is the cleanest choice for a kitchen window because the leaves stand up like architectural lines. In a tall, matte-black cachepot, it reads modern and tidy even when growth is slow. Put it on the sill where its tips line up with your eye level across the room — that gives you the “styled” look without adding clutter. It also tolerates inconsistent watering, which matters in kitchens where you’re busy and sometimes forget. Use a pot that drains well, then hide the nursery pot inside the cachepot so the window stays visually sharp.
Measure your sill depth first; aim for 6-8 inches of clearance behind the pot so airflow isn’t blocked. Start by placing the snake plant nursery pot centered in the cachepot and check that the leaf tips clear the window frame by at least 2 inches. Fill around the nursery pot with potting mix only if needed for stability, then top with a thin decorative layer like coarse gravel or small pebbles. Water until it drains, then empty the saucer so the roots don’t sit in water.
Try thisRotate the pot 1/4 turn every two weeks so leaves don’t lean toward the window.
Common mistakeDon’t use a wide, shallow planter; it makes the plant look floppy and messy.
2. Two-tier herb window with a slim hanging rack
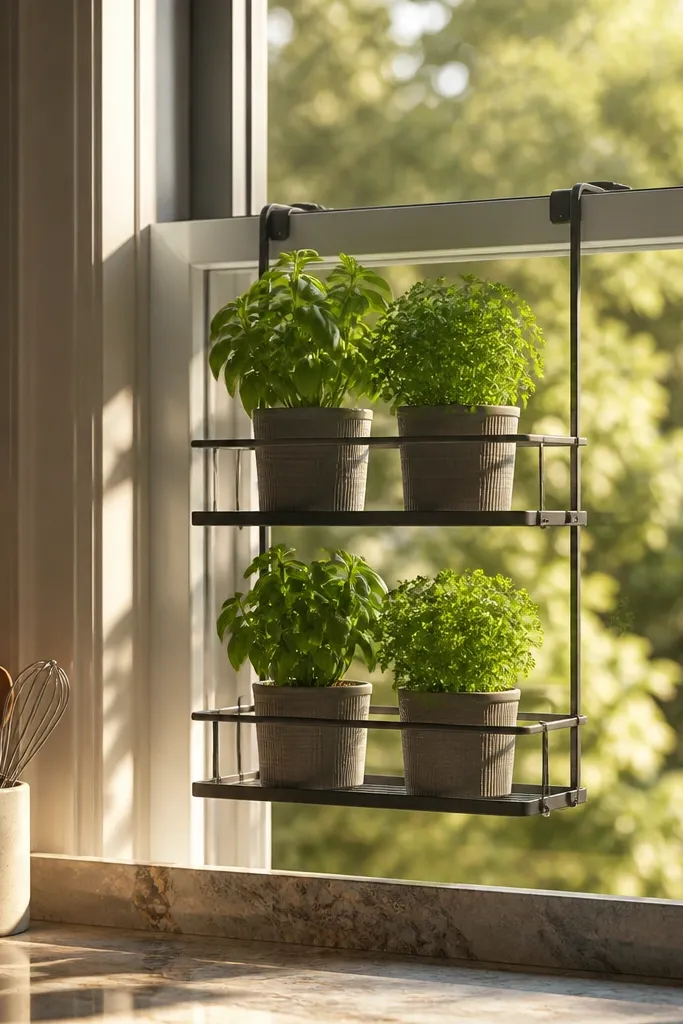
If you want good-looking kitchen Window plants ideas that still feel practical, herbs are the easiest way to make the window look useful. A slim hanging rack creates a second planting level without taking counter space, and it keeps foliage visible from inside the kitchen. Choose compact herbs that don’t sprawl: Thai basil stays tidy longer than classic sweet basil, and chives look neat with their upright tufts. The window also gives you consistent light, so the plants look freshly green instead of dull. Use matching ceramic pots or identical plastic nursery pots hidden in the same style cachepots for a cohesive look.
Mount a slim rack under or beside the window frame using the included hardware, keeping the bottom level at least 10-12 inches above the sill. Place 3-4 small pots (about 4-5 inches wide each) in a line on the rack, spaced 2 inches apart so leaves don’t tangle. On the sill, add one extra herb pot as an anchor so the composition isn’t top-heavy. Water when the top inch of soil dries, and trim regularly: cut above a node to keep plants compact.
Try thisUse a clear tray or drip mat behind the pots so any runoff stays off the frame and looks clean.
Common mistakeDon’t crowd pots so tight that leaves rub; it turns into tangled, ugly growth quickly.
3. Trailing pothos in a glazed wall planter
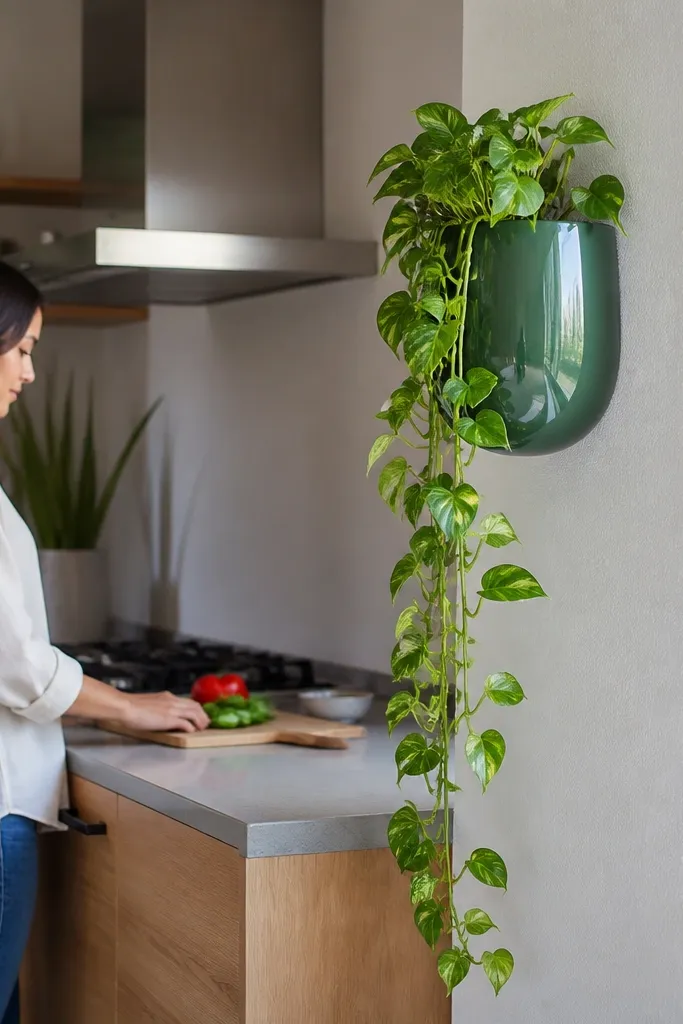
Pothos is a guaranteed look when you want trailing movement without constant fuss. A glazed wall planter keeps the pot out of the sill clutter and gives the vines a clean drape line. The glazing reflects light softly, so it photographs well and doesn’t look like a random hanging plant. Position the planter near the window so the vines trail down in front of the glass that framing makes the whole window feel intentional. Choose a green-and-gold pothos if your kitchen has warm metals; choose a darker, more uniform pothos if your kitchen is cooler-toned.
Pick a planter with a mounting bracket or a wall hook system and install it so the pot bottom is about 4-6 inches above the sill. Plant in a well-draining mix and set the vines so they start trailing immediately, not after weeks of training. Water until it drains, then let it drip fully before closing the window area. Train the first 6-10 inches of vine by gently tucking it where you want the fall line, then re-adjust every week.
Pin the first few vine loops with small plant clips so the drape stays symmetrical.
Don’t let vines hit the countertop; that creates a messy, wet-looking line.
4. Compact kalanchoe cluster in matching cream pots
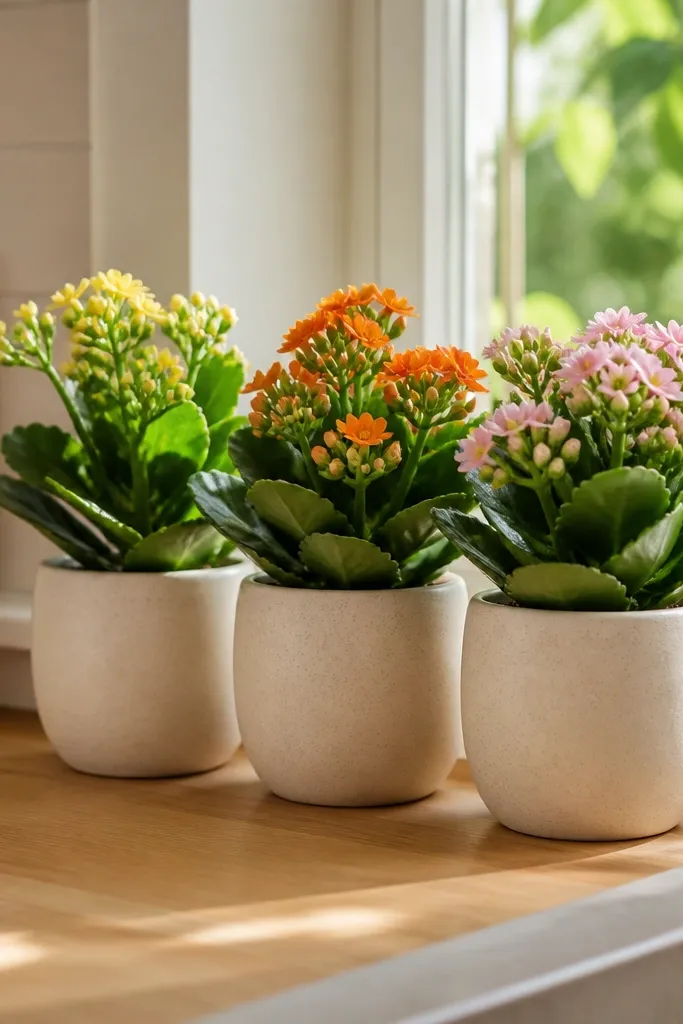
Kalanchoe is one of the best “pretty from across the room” window plants because it stays dense and tidy. In a cluster of matching cream pots, it looks like a small floral display, not a collection of random plants. Choose varieties with solid leaves and small blooms or no visible blooms if you prefer a green-forward window. The thick leaves resist drying, so it stays photogenic even if your kitchen window care routine is inconsistent. This setup also works in kitchens where you don’t want constant trimming or climbing vines.
Use three pots no wider than 5-6 inches each and arrange them in a triangle so the tallest plant is slightly back from the window edge. Place them on a tray so spills don’t stain the sill. Keep the soil lightly moist but never soggy; water when the top inch is dry. Rotate the pots weekly to keep growth even and prevent one side from leaning toward the light.
Try thisWipe leaves with a damp cloth once a month; kitchen windows collect film and dust fast.
Common mistakeDon’t use oversized planters; kalanchoe in too much soil tends to get leggy.
5. Window box style: one long planter with a mix of upright and trailing
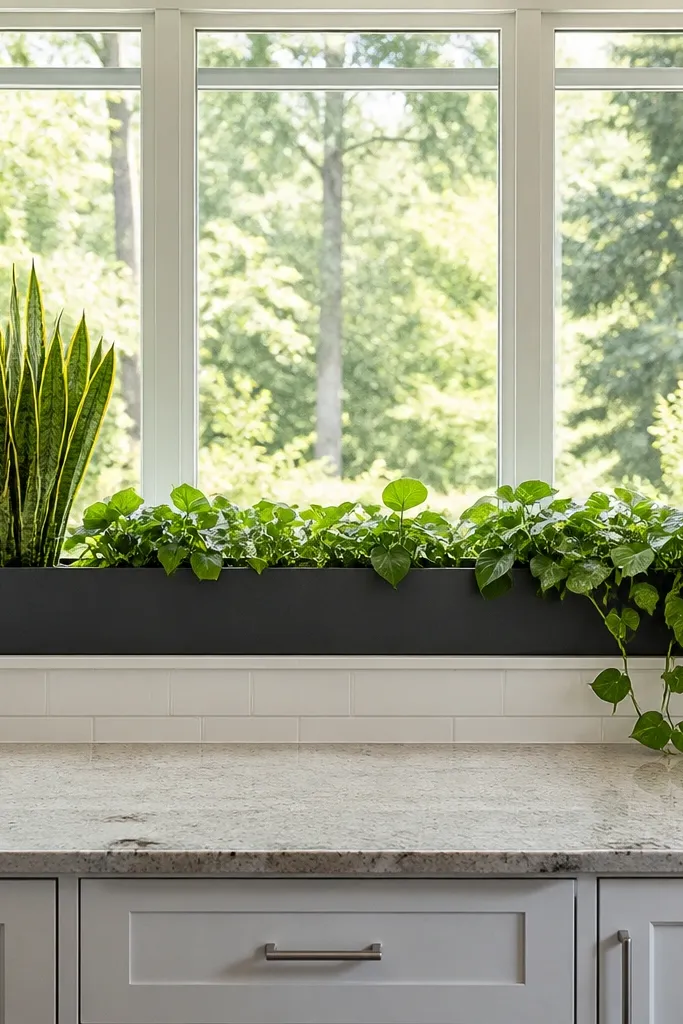
A long planter box makes the window look designed because it creates a single horizontal “stage.” Combine one upright plant with one trailing plant so the window has both height and a soft edge. Use a snake plant or small dracaena for the upright anchor, and a pothos or ivy geranium for the trailing accent. The long shape also prevents the “too many separate pots” look, which is what usually makes kitchen windows feel cluttered. This is also a good choice for wide sills where you want a clean line rather than scattered containers.
Choose a planter that fits your sill with 1-2 inches of clearance on both sides and has drainage holes. Add a thin layer of potting mix, set the upright plant first centered, then place the trailing plant so its vines can drape over the front edge. Backfill around each plant so crowns sit at the right height, then water thoroughly once. After a week, adjust the trailing vines so the fall line is even and doesn’t tangle.
Use one consistent pot color along the whole length it makes the mix look intentional.
Don’t mix plants with wildly different watering needs; it ruins the look when one starts drooping.
6. Faux-stem look: indoor grass in a narrow urn planter
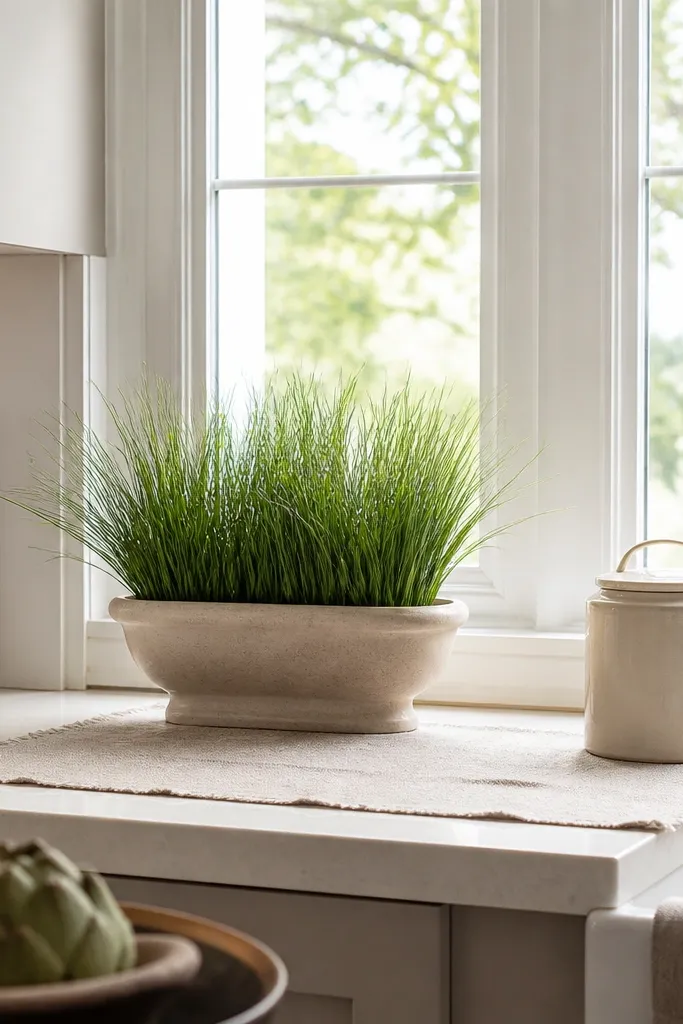
If you want good-looking kitchen Window plants ideas that feel airy instead of heavy, tufted indoor grass gives you movement and softness without a sprawling mess. A narrow urn planter keeps the clumps compact and makes the grass read like a decorative sculpture. Place it where the window light hits — the thin blades catch brightness and look crisp in photos. This works in kitchens with clean lines, because the grass adds texture without taking over. Choose a grass variety that stays clumping instead of aggressive runners so it doesn’t turn into a tangled mat.
Use an urn planter 8-10 inches wide and deep enough for roots, usually 10-12 inches. Center one clump, then tease it slightly apart so you see multiple blades rather than one lump. Water when the top inch dries, and empty any saucer water. Trim only the browned tips with scissors so the shape stays sculptural.
Try thisGroup the urn with one small pot on the opposite side of the window so the composition feels balanced.
Common mistakeDon’t put grass in a shallow dish; it dries too fast and goes patchy.
7. Swiss cheese plant in a clear glass cachepot with a drip tray
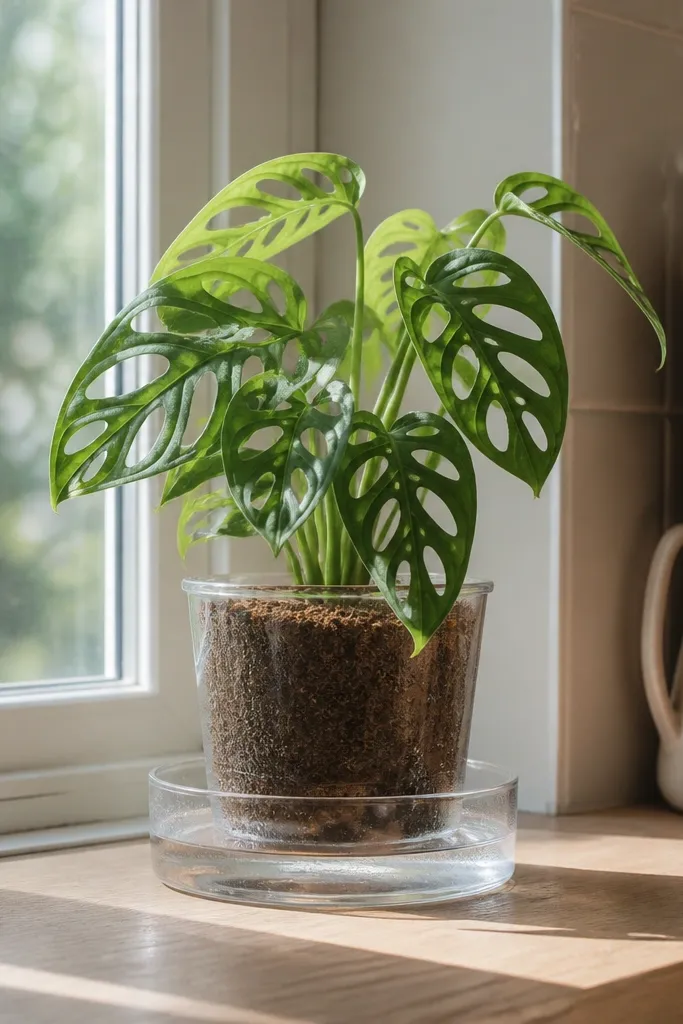
Monstera adansonii (or a smaller Swiss cheese plant) looks like modern art in a window because the leaves have natural cutouts that catch light. A clear glass cachepot gives you a sleek, airy look, and the plant’s leaf lace pattern stays readable even from across the room. Add a drip tray under it so you don’t get water spots on the sill. This setup is best in kitchens with bright indirect light since the leaves look their best when they’re not stressed. It’s also a good way to get “plant drama” without needing a lot of floor space.
Pick a glass cachepot with drainage or use an inner plastic pot inside the glass so excess water stays contained. Place the plant on the sill where it gets bright light but not harsh afternoon burn. Water until it drains out the inner pot, then let it sit on the tray for 10 minutes before moving it back. Wipe the glass rim weekly; fingerprints and mineral spots show up fast.
Use a small stake if leaves start leaning; keep the stems upright for a cleaner silhouette.
Don’t skip the tray — glass shows every drip and makes the window look neglected.
8. Aromatic rosemary in a terracotta pot with a pebble top layer
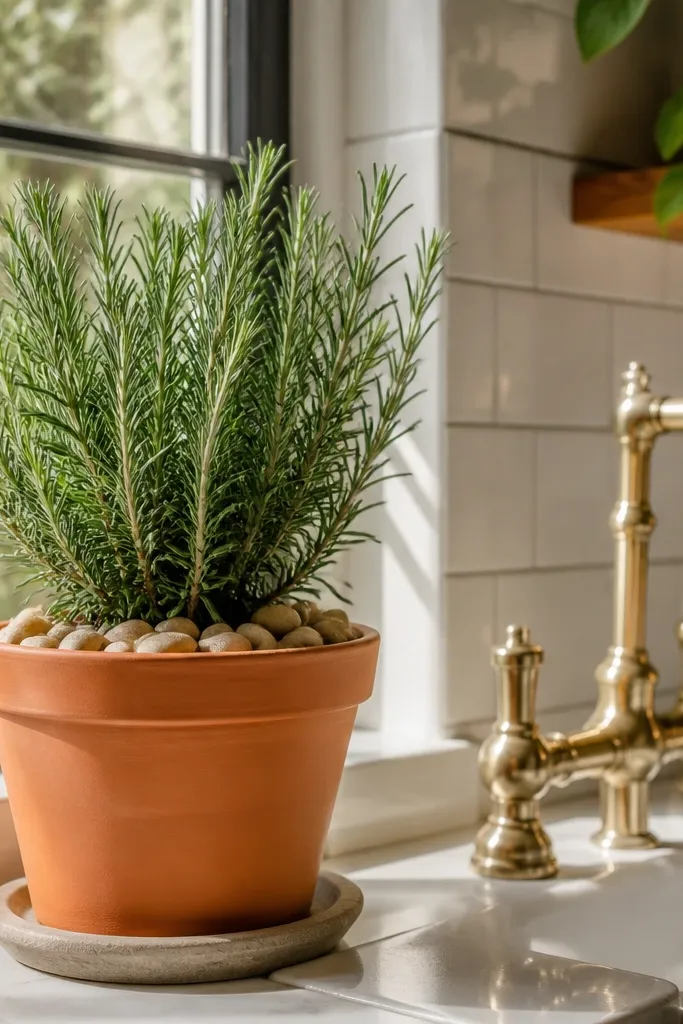
Rosemary gives you a plant that looks great and smells like cooking, and terracotta makes it look even more “kitchen appropriate.” The matte orange pot and the silvery-green needles read warm and textured, especially in kitchens with wood or brass. A pebble top layer makes the soil look neat and reduces the messy look of splashed water. Place it where it gets strong light so the plant stays upright and doesn’t stretch. This option is ideal if you want good-looking kitchen Window plants ideas that also pull double duty for chopping.
Choose a terracotta pot with a drainage hole sized so the plant has 1-2 inches of space around the root ball. Plant in a gritty potting mix, then add a thin layer of pebbles on top. Put the pot on a tray and water deeply until it drains, then wait until the top 1-2 inches are dry before watering again. If the rosemary gets leggy, trim the tips above a node to encourage branching.
Try thisRotate the pot every week so the plant doesn’t lean and look lopsided.
Common mistakeDon’t water on a strict schedule; rosemary hates consistently wet soil.
9. Fiddle-leaf fig mini in a tall ceramic pot with a leaf-cleaning routine
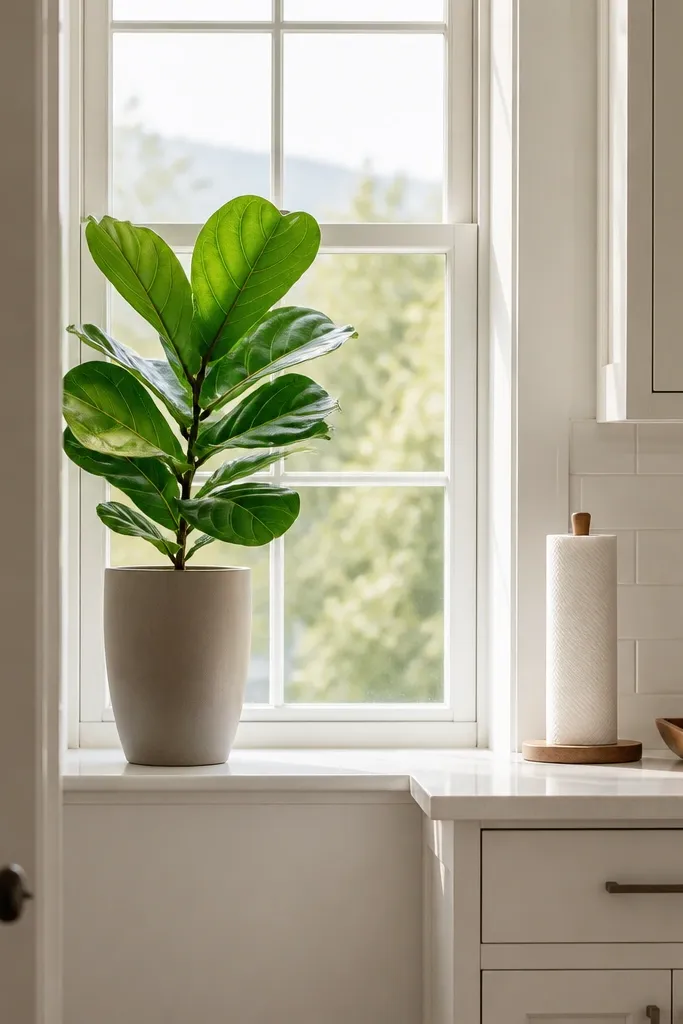
A mini fiddle-leaf fig turns a plain kitchen window into a statement because its leaves are big, glossy, and easy to read in photos. Put it in a tall ceramic pot with a matte finish so it looks grounded and not top-heavy. This works best in bright windows where the plant can hold its leaf shape without stretching. The key to keeping it “good-looking” is leaf cleanliness and stable light — dusty leaves look dull fast, especially near cooking areas. If your kitchen has a clean, modern style, this is the plant that makes the window look like it belongs in a magazine.
Select a pot that is no more than 2 inches wider than the root ball and has drainage. Center it on the sill so the leaves don’t brush the glass, and keep the plant at least 6 inches from direct hot sun if your window gets intense afternoon light. Wipe leaves with a damp microfiber cloth every two weeks, then dry with a dry cloth to prevent spots. Water when the top 2 inches of soil are dry, then drain fully.
Try thisDust is the enemy of shine; a quick leaf wipe keeps it looking polished.
Common mistakeDon’t crowd it with other pots; the fig needs visual breathing room.
10. Hanging macramé pot with a trailing ivy geranium
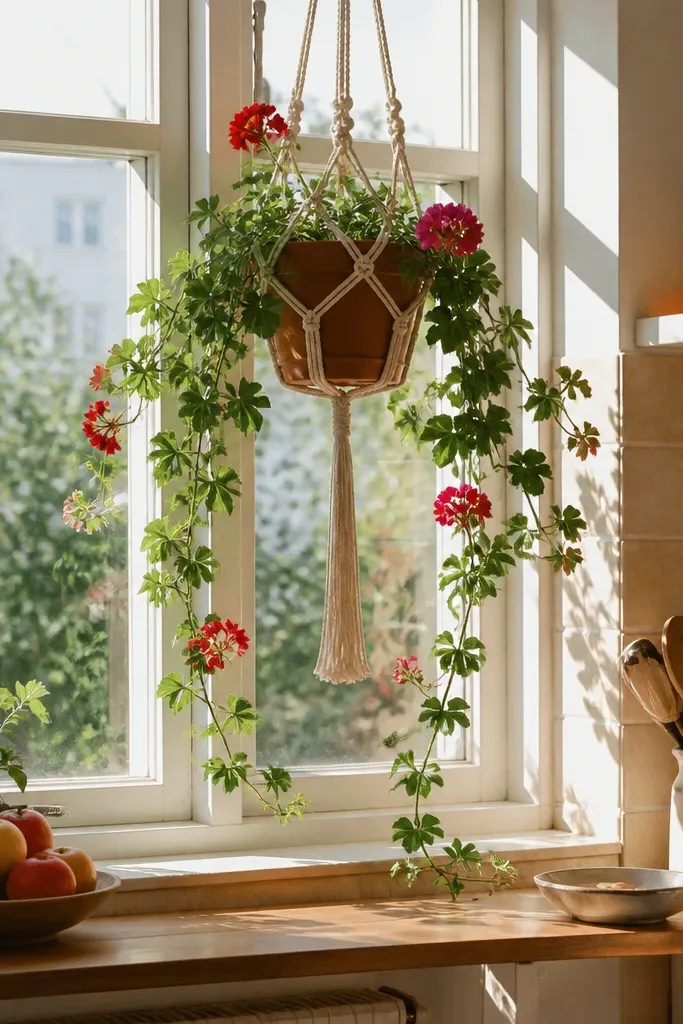
For kitchens where counter space is tight, hanging plants solve the problem by moving greenery out of the way while still filling the window view. Ivy geranium is a strong pick because the leaves stay neat and the trailing habit looks tidy instead of stringy. A macramé hanger adds texture and warmth, and it frames the plant against the window so it reads as décor. Choose a planter color that matches your kitchen — off-white cords look good with light walls, and black cords look sharp with modern finishes. This is one of the best good-looking kitchen Window plants ideas for people who want movement without clutter.
Install a ceiling hook or window beam hook so the bottom of the pot hangs 8-12 inches above the windowsill. Use a lightweight hanger so the plant isn’t pulling the cord unevenly. Fill with a well-draining potting mix and water until it drains, then let it drip before putting it back in place. Train the first few stems to trail outward so the plant forms a rounded curtain rather than a messy tangle.
Pin the trailing ends with a small plant clip to keep a clean outer edge.
Don’t let the pot swing into the window frame; leaf rub makes it look worn.
11. Small orchid in a clear glass cube holder
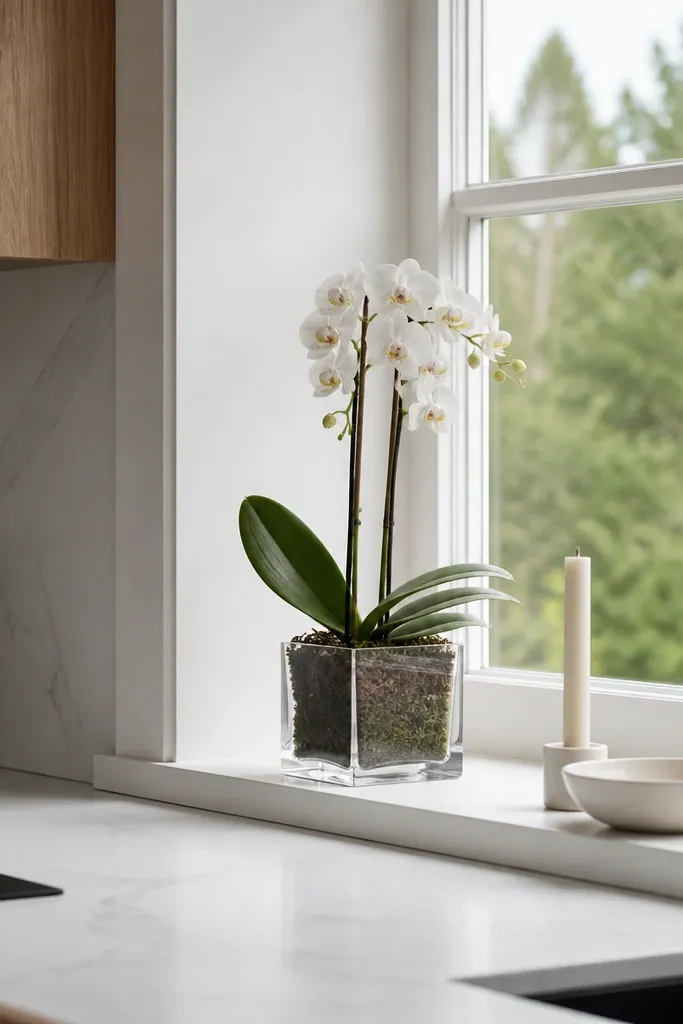
A small orchid looks high-end without taking up space, and the flowers read instantly from across the kitchen. A clear glass cube holder makes the setup feel intentional and keeps attention on blooms and leaf structure. This is a good-looking kitchen Window plants idea for people who want a “special” look that stays neat between watering. Use orchids if your window has bright indirect light; direct harsh sun can scorch leaves. The glass holder also makes the plant feel lighter and more decorative than a standard pot.
Use an orchid pot inside the glass holder so drainage stays safe; orchids should never sit in standing water. Place the holder on a tray and keep the orchid in bright indirect light, ideally with morning sun. Water by soaking the inner pot for 10-15 minutes, then drain completely. Rotate the orchid weekly so blooms don’t tilt toward the light and the plant stays symmetrical.
Keep the glass clean with a quick wipe — mineral spots show up fast around windows.
Don’t use a cachepot that traps water; root rot makes orchids look sad fast.
12. Paperwhite-style bulb look: amaryllis or paperwhite in a tall planter
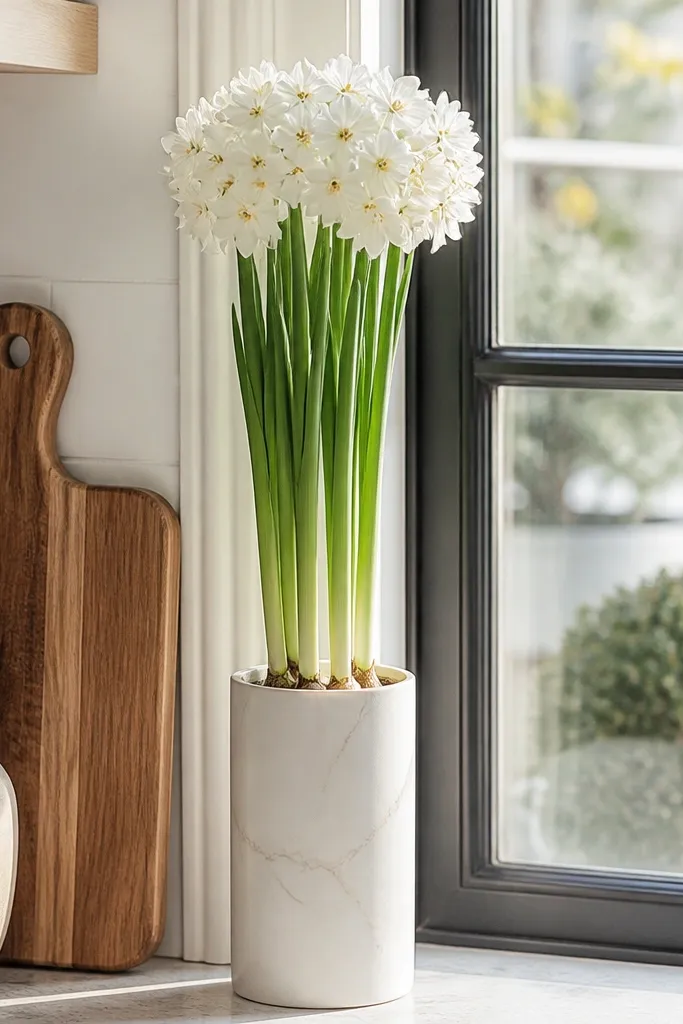
If you want a window plant that looks good immediately, bulbs are the fastest route. Paperwhites and similar bulb plants create clean white stems and flowers that look crisp in bright kitchen light. Put them in a tall, narrow planter to keep the stems upright and prevent the “flopped” look. This setup is photogenic because the white blooms contrast with green leaves and look styled even when the pot is simple. It also solves the problem of slow-growing houseplants because you get visual payoff quickly.
Use a tall container with drainage or a bulb-specific liner system depending on the bulb type you buy. Arrange bulbs tightly at the recommended spacing and cover only as directed by the bulb instructions so the stems grow correctly. Place the container in bright light and rotate every few days so growth stays straight. When watering, follow the bulb method: keep moisture consistent without soaking the whole container if your setup uses gravel or a liner.
Try thisChoose a pot color that matches your window hardware so the flowers look like part of the décor.
Common mistakeDon’t under-support tall stems; flopping ruins the clean look.
13. Succulent trio in a shallow tray planter with a single tall accent
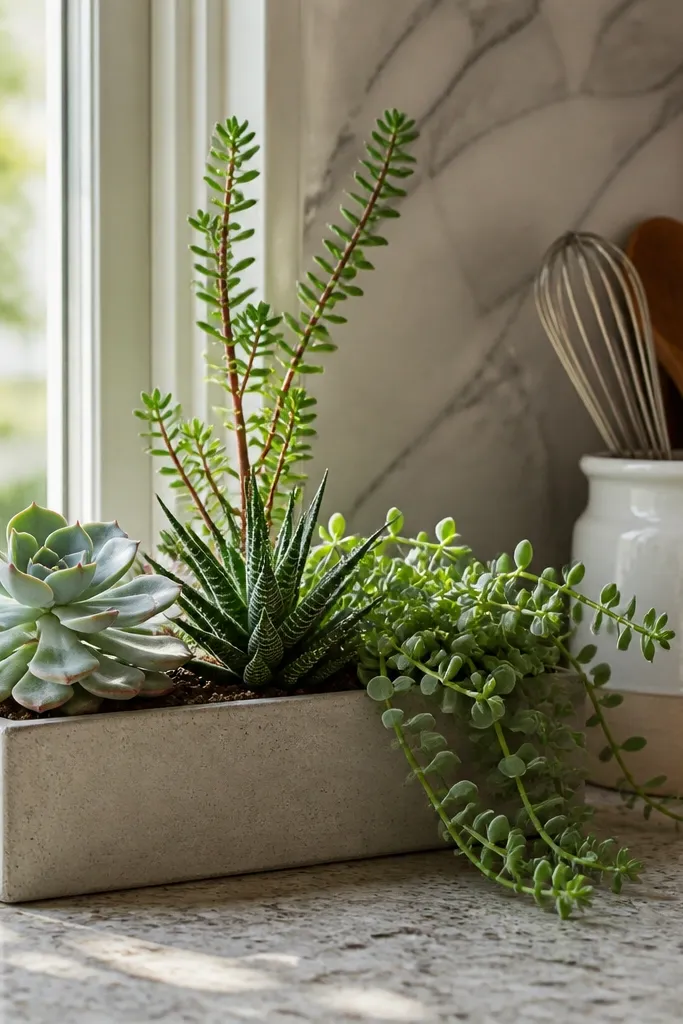
Succulents look good in kitchens because they stay compact and don’t demand constant attention. A shallow tray planter gives you a neat, landscape-like composition, but you need a single tall accent so it doesn’t look flat. Choose three complementary textures: one rosette, one upright spiky shape, and one trailing edge plant. Use a tray with drainage and a gritty mix so roots don’t sit wet. This is a great option when you want good-looking kitchen Window plants ideas that stay tidy and don’t outgrow the space quickly.
Pick a shallow tray with drainage holes or a removable inner pot. Fill with gritty cactus mix, then set the tall accent in the back center and place rosette and spiky plants in the front corners. Leave 1 inch between plants to avoid leaf rubbing and soil mess. Water lightly — soak the inner mix until it drains, then wait for the mix to dry fully before watering again.
Use a decorative top dressing like fine gravel in one color to hide soil and make it look styled.
Don’t use rich potting soil; succulents in it rot and look dull.
14. Red aglaonema in a glazed pot with a bold leaf backdrop
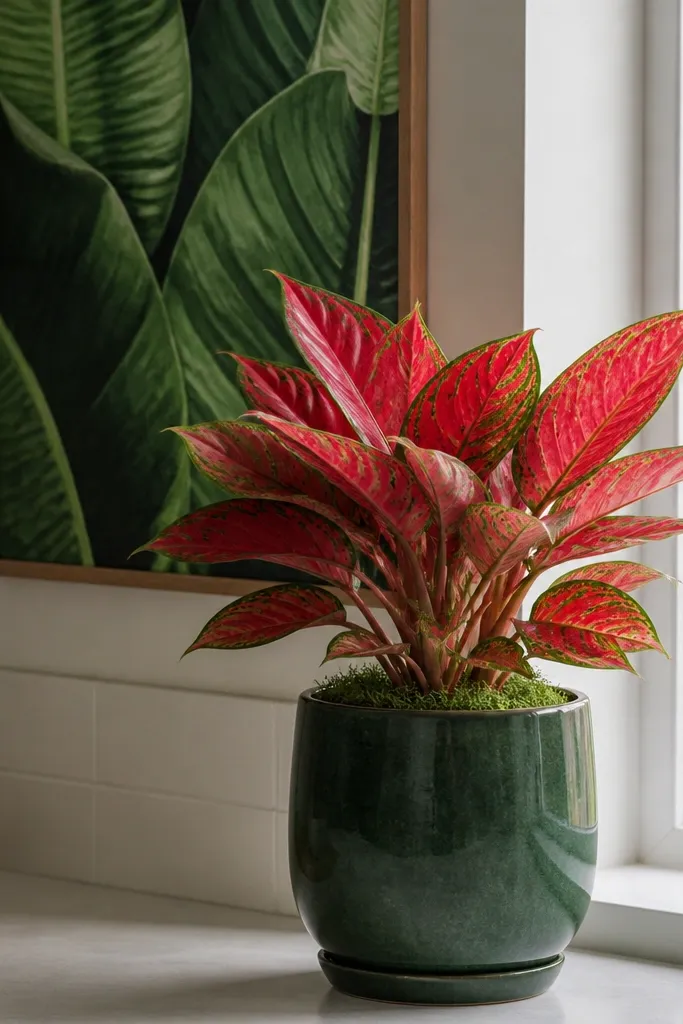
Aglaonema is a strong kitchen window plant because it holds color and shape without needing dramatic care. A red or pink aglaonema cultivar looks especially good against neutral kitchen walls because the leaf patterns read clearly in daylight. Use a glazed pot in a solid tone deep green glaze or warm off-white both photograph clean. Place it slightly back from the window edge so leaf patterns aren’t cut off by the frame. This setup works in bright indirect light and stays attractive even when you’re not trimming or repotting.
Choose a pot with drainage that’s about 1-2 inches wider than the root ball. Set the plant centered, then top with a thin layer of decorative bark or small pebbles for a tidy look. Keep it in bright indirect light and rotate every two weeks so the plant stays upright. Water when the top inch of soil dries; empty any saucer water after 10 minutes.
Try thisIf your window has blinds, angle them so light hits leaves at a diagonal patterns look sharper.
Common mistakeDon’t place it in harsh direct sun; leaf edges scorch and the look falls apart.
15. Window-sill terrarium look with a vented glass container
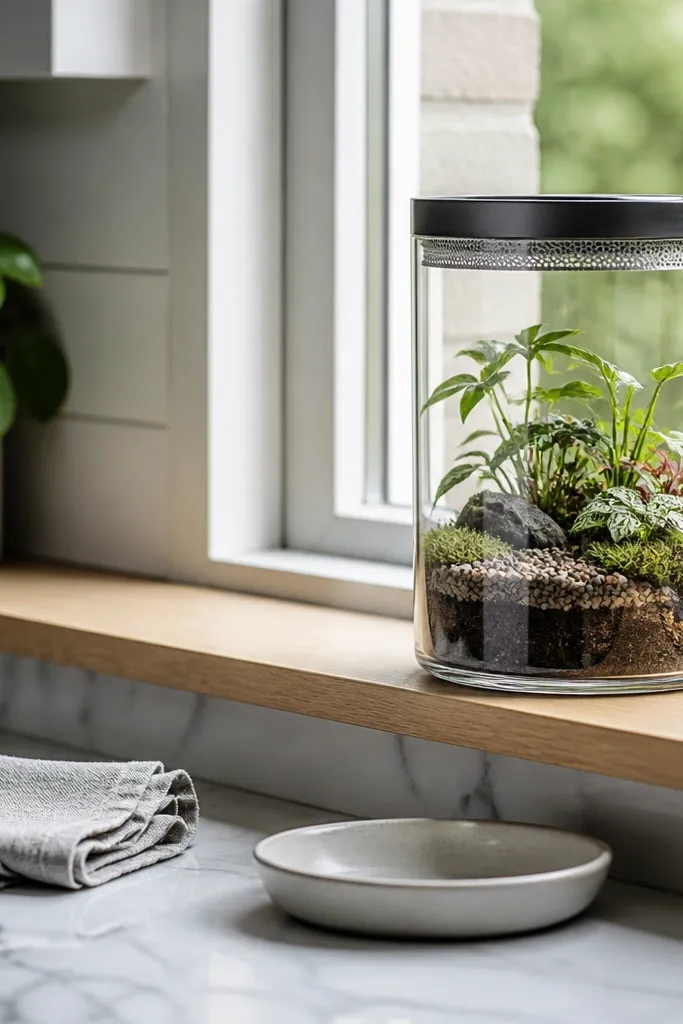
A small vented terrarium gives you a controlled, styled look that stays neat on a sill. The glass makes it photogenic, and the contained layout keeps soil from looking scattered or messy. For kitchens, choose a terrarium with ventilation so you avoid constant condensation and moldy-looking surfaces. Pick plants that like humidity but don’t need constant soaking: small fittonia varieties, mini pilea, or moss with a few compact companions. This is one of the best good-looking kitchen Window plants ideas when you want a decorative object that happens to be alive.
Buy a small glass container with vents or a lid that doesn’t seal airtight. Add a drainage layer with activated charcoal, then a small amount of moistened substrate — don’t soak it like a swamp. Place plants gently and keep taller leaves near the back so the front stays clean. Mist lightly only if the terrarium dries out; watch for condensation patterns and adjust light accordingly.
Try thisKeep the terrarium small enough that you can rotate it weekly; it prevents one-sided growth.
Common mistakeDon’t pack too many plants; crowded terrariums look messy fast.
16. Two small pots with a shared stone tray for a clean pair look
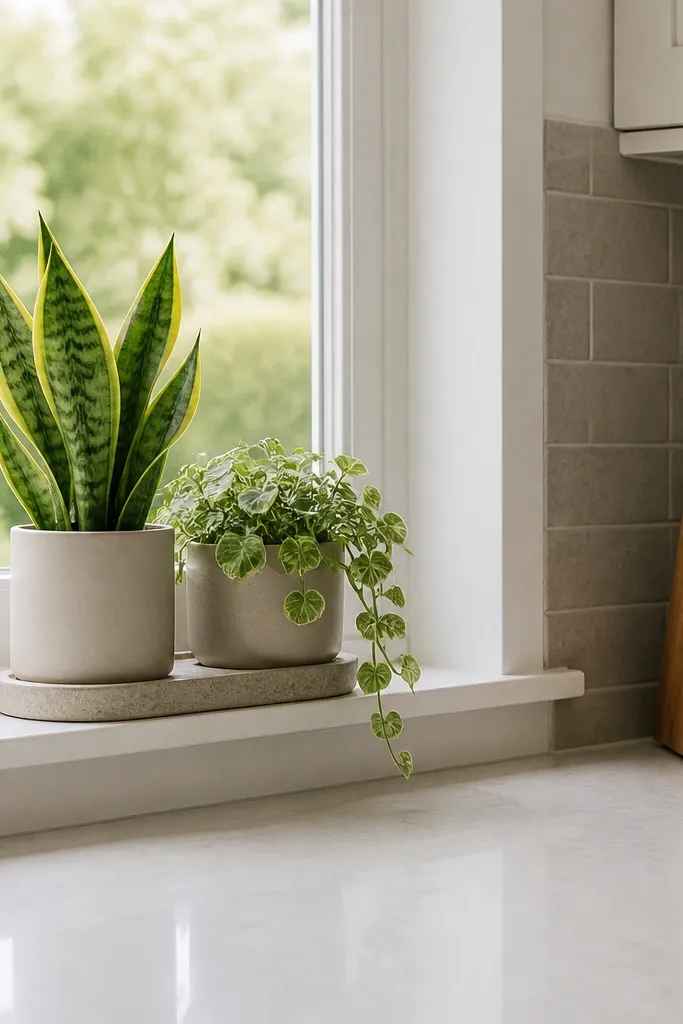
A coordinated pair is the fastest way to make a kitchen window look styled without adding height that blocks sightlines. Put two small plants in matching pots on one shared stone or ceramic tray, and you instantly get a “set” look. Choose one plant with upright structure and one with a softer habit: snake plant mini plus a small pothos cutting, or a compact fern plus a rosette succulent. The shared tray ties everything together visually and catches any drips so the sill stays clean. This setup works in narrow sills where you can’t fit a long planter but still want more than one pot.
Pick a tray that spans most of the sill width but leaves 1-2 inches of clearance at each end. Place the upright plant first on one side, then the softer plant on the other, keeping 3-4 inches between pot edges. Water each plant separately in the sink, then return them only when no runoff remains. Rotate both pots every two weeks so the pair stays balanced instead of leaning.
Try thisChoose one repeating color in both pots same glaze or same metal finish makes the window look deliberate.
Common mistakeDon’t use mismatched trays; random materials make the whole setup look accidental.
17. Color-block window: green pothos in a terracotta pot with a white macrame shade
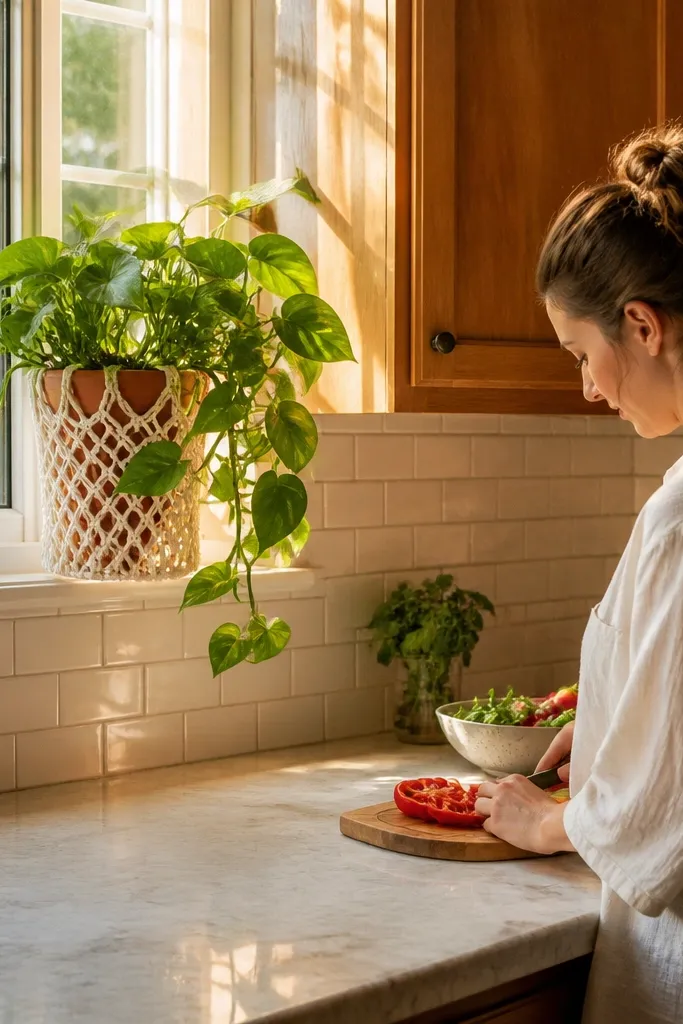
This is a strong look if your kitchen feels too plain or too uniform. Terracotta warms the window, while a white macrame shade or cover adds texture without adding more pots. The pothos spill gives you softness, and the combination makes the window feel styled rather than “just plants.” Keep the pothos leaves visible and let only the vines trail; that prevents the messy, overgrown look. Place it near the window where light hits the leaves and makes the variegation pop.
Select a terracotta pot that fits your window sill or attach a hanging macrame cover to a standard pot size. Put the pothos in a well-draining mix and ensure the pot has drainage. Position the pot so the main crown sits near the center of the macrame cover and the vines can fall naturally. Water until it drains, then let it drip for 10 minutes before returning it to the cover so the inside doesn’t stay wet.
Trim vines back to 6-10 inches from the pot edge if the spill starts getting stringy.
Don’t choose a macrame color that clashes with your wall paint; it makes the window look chaotic.