1. Linen café curtains in warm ivory with brass rings
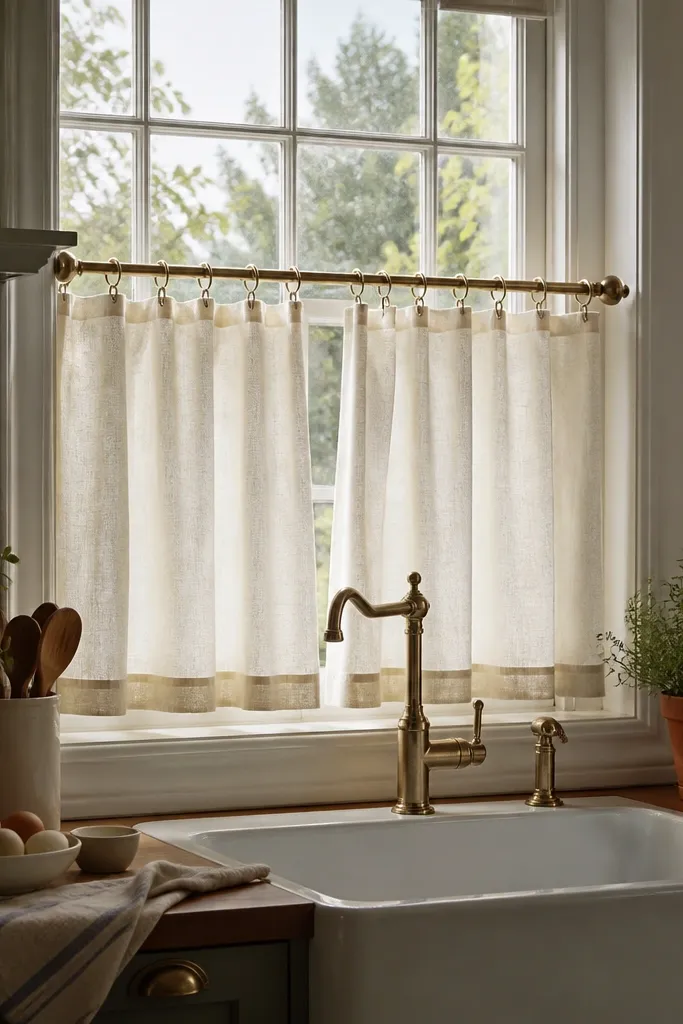
This is the easiest cozy small kitchen window idea that actually brightens. Linen in warm ivory diffuses daylight instead of absorbing it, and the café cut keeps the upper window area open so light bounces onto the wall. Brass rings or clips add a warm metallic note that matches kitchen hardware and makes the window feel intentional. Keep the fabric weight medium so it falls softly and doesn’t cling to the glass. It’s a strong pick for sink-front windows where you need privacy but still want the light to reach the counter.
Hang the café rod 1-2 inches above the window trim so the fabric starts higher than the opening. Choose a linen panel width that covers 1.5-2x the window width for soft folds, and aim for a height that ends around the middle of the lower sash. Use rings or clip-on tabs so the fabric isn’t bunched at the top. Press the panel edges lightly so they sit straight, then check that the fabric clears the sill by at least a couple inches. Plan for about $40-120 depending on fabric width and how many panels you buy.
Pair the curtains with a light-toned roller shade behind them if the window is overlooked at night.
Avoid black or charcoal café curtains on a small window — they shrink the perceived brightness.
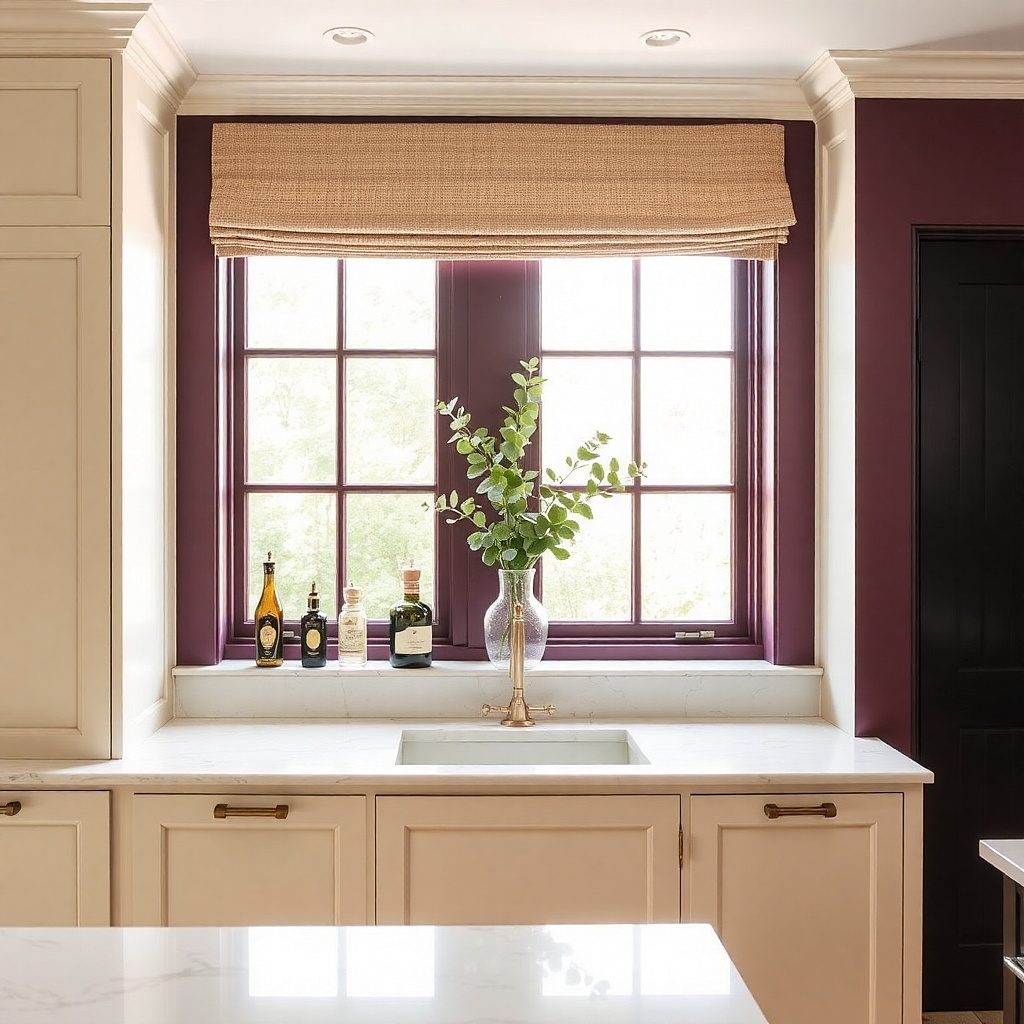
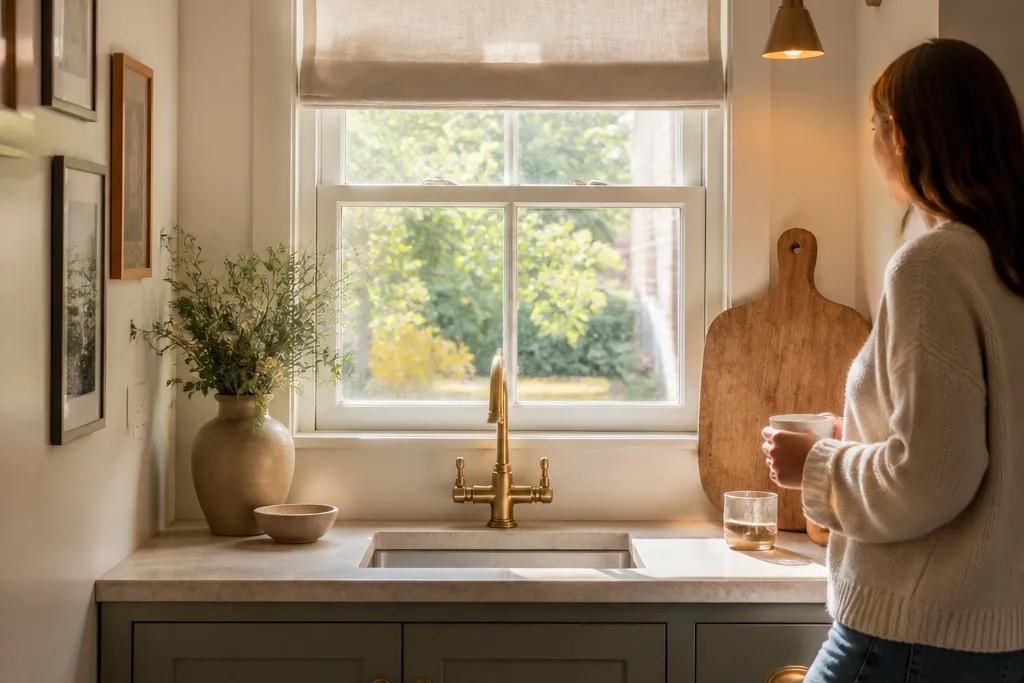
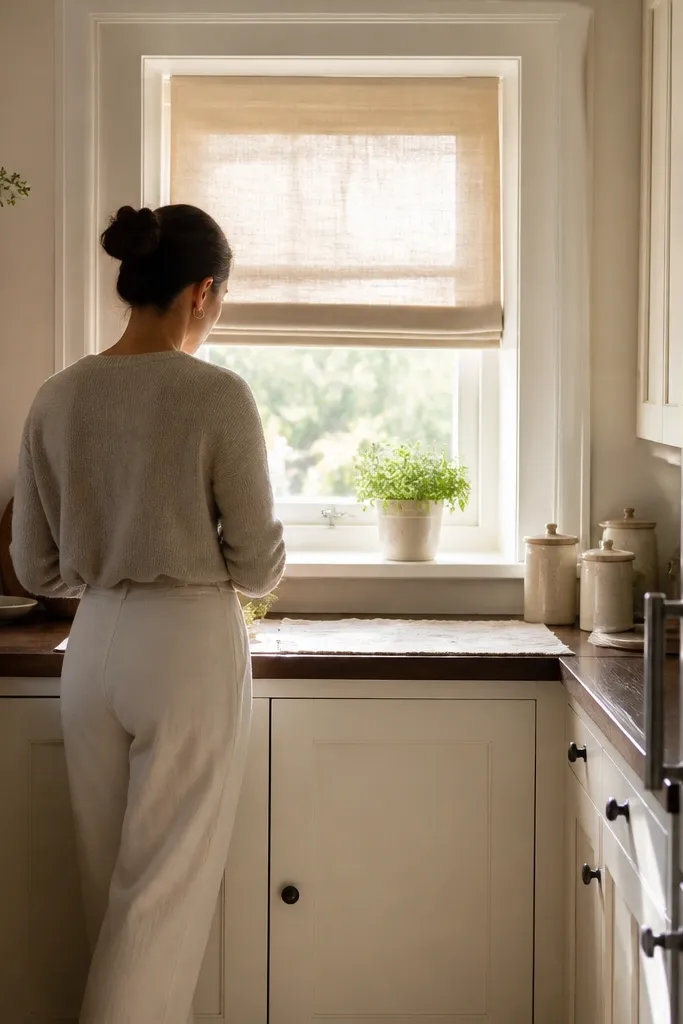
2. Roman shade in oat linen with a light-filtering liner
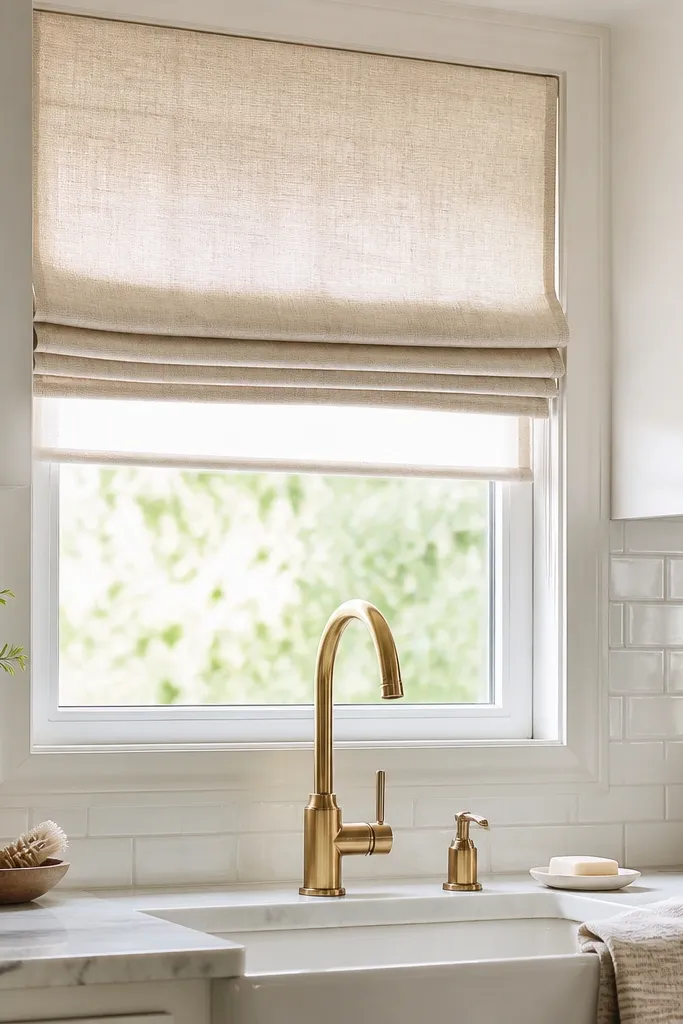
Measure the inside or outside mount width and add 1-2 inches for a snug, finished look. Install the shade so the bottom edge sits just above the sill when fully lowered. Pick a Roman shade with a light-filtering liner, not a blackout, so you still get daytime glow. Raise and lower a few times before final placement to confirm the folds stack evenly and don’t drift. Expect $120-260 depending on size and brand.
A Roman shade gives you clean lines and cozy texture without the bulk of full curtains. Oat linen reads warm under morning light and doesn’t create harsh contrast like stark white. Add a light-filtering liner so you get brightness during the day while still softening glare. When it’s raised, the folds stack neatly and keep the window opening feeling taller. This works well for kitchens where you want a tidy look around the window and you don’t want fabric moving around the sink area.
Common mistakeAvoid thick blackout Roman shades if your priority is more daylight.
Try thisChoose a shade that lifts from the center or uses a cord wand so the folds stay even and photogenic.
3. Sheer panel + blackout roller combo for day-to-night comfort
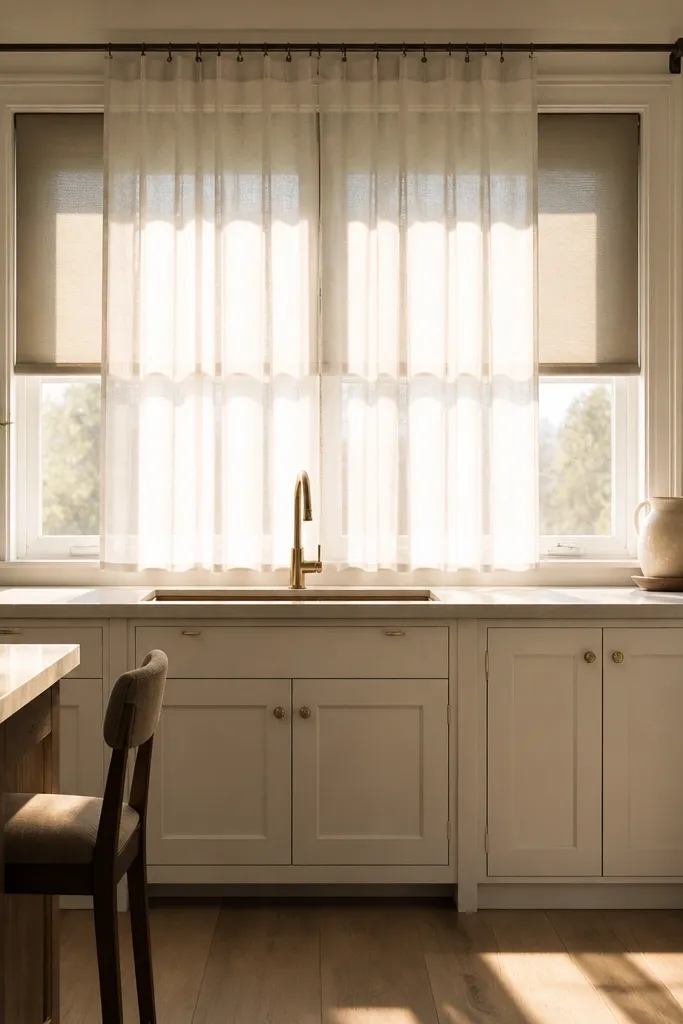
This layer trick keeps the window airy and cozy during the day, then gives you real privacy after dark. The sheer panel diffuses sunlight so the room feels brighter, and the blackout roller behind it prevents streetlight glare at night. Use a sheer with a subtle slub or light texture so it doesn’t look flat in photos and real life. The roller blind stays compact, which matters in small kitchens where every inch near the window counts. It’s a smart choice for street-facing kitchens where you want daylight without sacrificing nighttime comfort.
Mount a roller blind inside or just outside the window trim so it sits close to the glass. Add a sheer café panel on a separate rod placed slightly higher than the roller’s top. Size the sheer so it overlaps the edges by 2-3 inches to stop side light leaks. Test the roller’s drop height so it fully covers the lower half when you want privacy. Cost is usually $80-200 for roller plus $30-100 for panels depending on fabric and width.
Match the roller blind color to the trim, then let the sheer be the only feature color.
Avoid letting the sheer and roller fight — keep them on separate mounts so they don’t tangle.
4. Frosted peel-and-stick film with a soft gradient
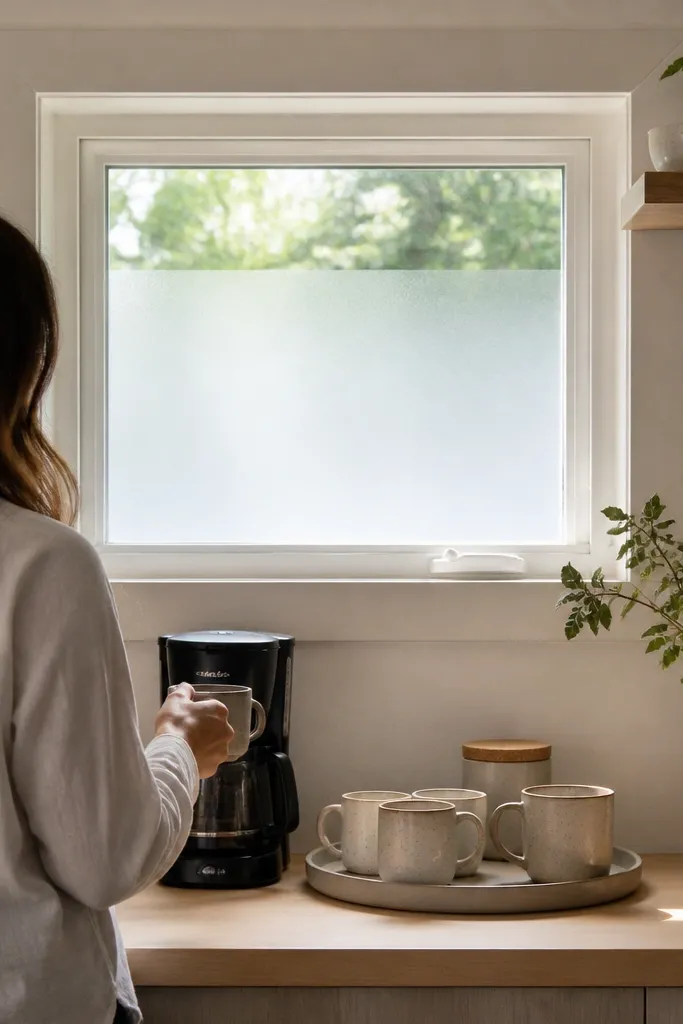
If privacy is your main issue, frosted film is a better-looking fix than heavy curtains. A soft gradient (more frosted at eye level, clearer at the top) keeps the upper light moving while blocking direct sight from outside. Choose a warm white frosted finish so it doesn’t turn the room blue-gray. The result looks clean and modern, and it reads cozy because it doesn’t feel like “covering” the window. This is ideal for ground-floor kitchens, or when your sink area is directly overlooked.
Clean the glass with a streak-free glass cleaner and let it dry completely. Measure the window area and cut the film slightly larger so you can trim edges after application. Apply using the wet method with a spray bottle and a squeegee, pushing air bubbles outward. Trim the final edges with a sharp craft knife against the frame. Plan on $20-60 for a typical small window kit.
Put the clearer part of the film in the top third so daylight stays strong.
Avoid fully opaque frosting — it kills the whole point of small window brightness.
5. Top-only valance in textured cotton with a 2-inch drop
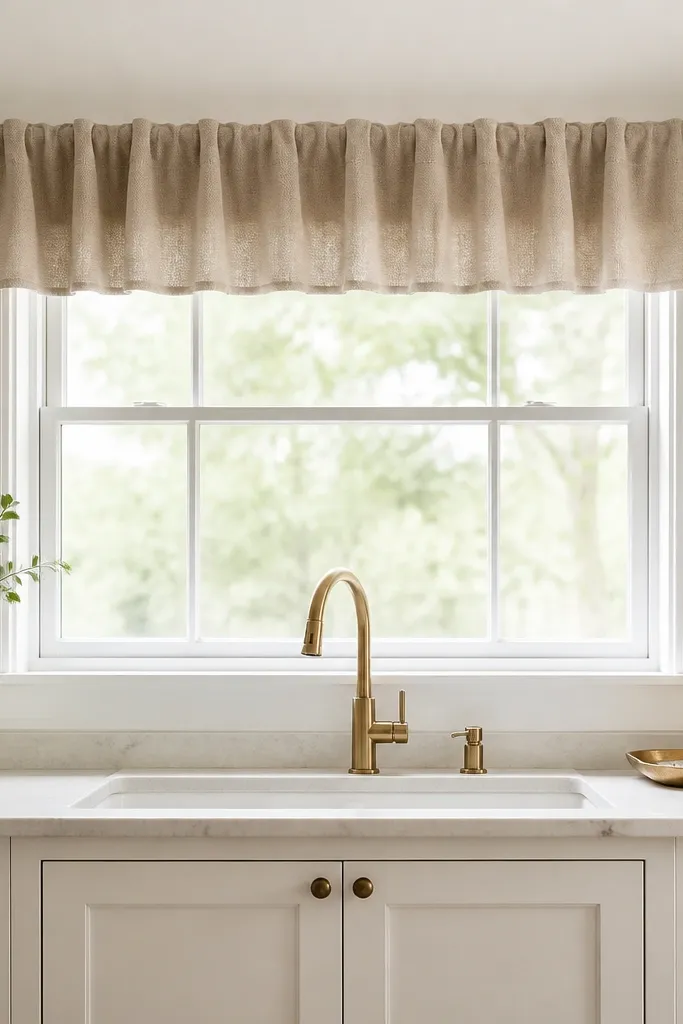
A short valance is a quiet way to add softness without blocking the light path. Use textured cotton, not shiny fabric, and keep the drop around 2-3 inches so the light still hits the wall. Neutral greige or warm sand makes the window feel cozy while staying bright. This look is especially photogenic because it frames the window without covering the opening. Best for kitchens where you don’t need full privacy and you want the window to look bigger.
Measure the window width and add 6-10 inches so the valance overhangs the sides slightly. Mount it high — about 1 inch above the trim — to create vertical lift. Use a rod pocket or clip-on valance depending on your hardware, then press the fabric flat so it drapes evenly. If the window has a sill ledge, make sure the valance doesn’t sag down too far when the fabric warms. Expect $25-90 depending on length and fabric quality.
Add a thin white sheer behind it only if you need daytime privacy.
Avoid long valances that fall into the top half of the window opening.
6. White-painted interior trim + matching inner sill paint
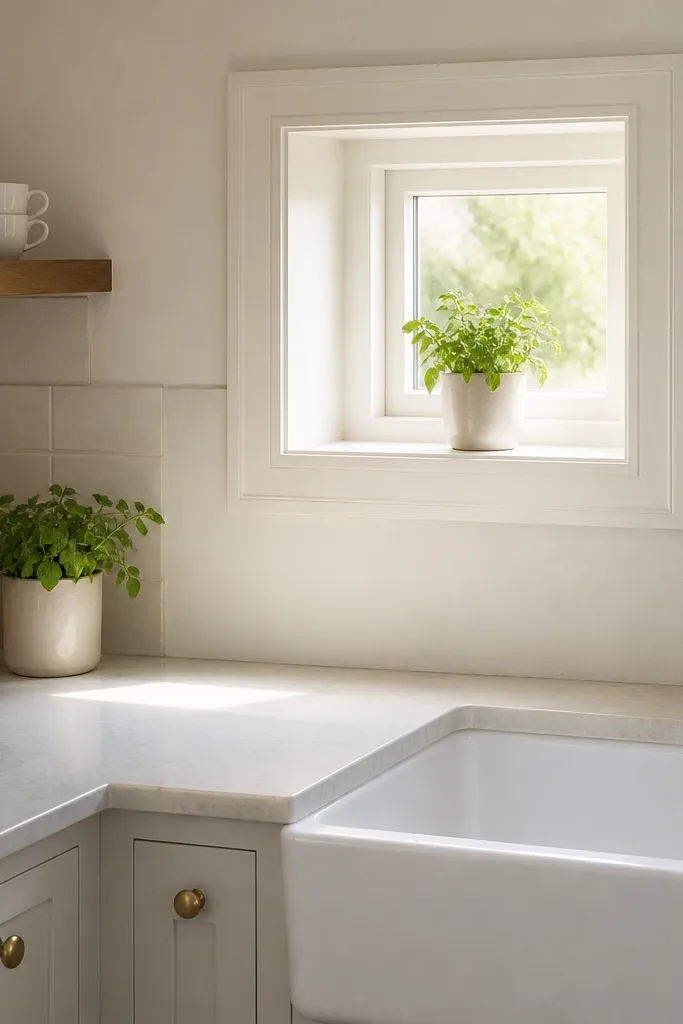
Clean the trim and lightly sand with 220-grit so paint sticks. Use a semi-gloss or satin trim paint in a warm white tone, and apply two thin coats with a small angled brush for crisp edges. Paint the inner sill too, then let it cure fully before adding hardware. If you can’t paint, use removable white trim contact paper on the inner frame. Plan for $20-80 for paint supplies and a few hours of work.
This is the most cost-effective brightness boost because it fixes the light loss around the frame. If your interior trim is dark or even medium-toned, the window looks smaller and dimmer. Painting the inner trim and the inner sill the same warm white (not icy white) bounces light back into the room. It also makes any curtain or shade look cleaner because the background is consistent. This works in nearly every small kitchen, especially if you already have a workable treatment and just need more glow.
Common mistakeAvoid pure bright white if your kitchen has warm wood or honey undertones — it can look stark.
Try thisWipe the painted surface with a tack cloth before the final coat so you don’t get tiny specks under daylight.
7. Roll-up bamboo shade with a sheer underlay
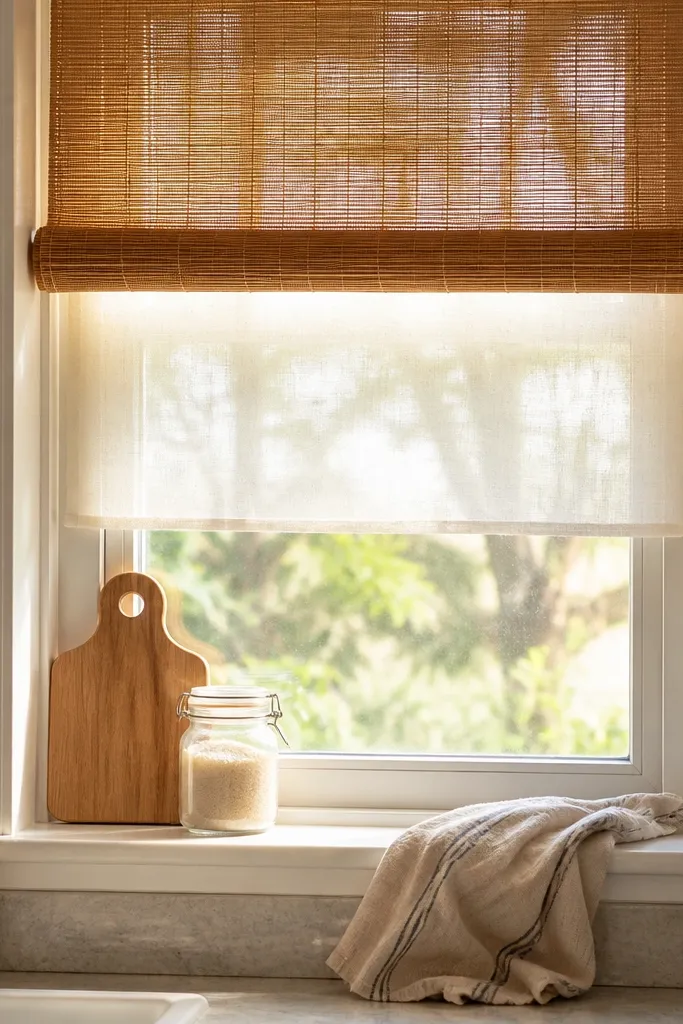
Bamboo shades look warm and cozy, and when you add a sheer underlay you keep the window from turning into a dim grid. Choose light bamboo in a honey or natural finish so it reflects more light than dark woven shades. The sheer underlayer softens glare and keeps the room bright even when the bamboo is partially down. This look has a natural texture that works with farmhouse kitchens, modern kitchens, and anything with light wood. It’s a great choice when you want warmth but still need daylight near the sink.
Mount the bamboo shade so it sits close to the window opening, and choose a size that covers the full glass area when lowered. Install a sheer underlay on a second tension rod or inside-mount track so it stays flat. Adjust the sheers so they don’t bunch — smooth them with gentle steam if needed. Test how much daylight you get at different heights, then leave it at the level that brightens your counter. Cost is usually $60-180 for bamboo plus $20-50 for a sheer panel.
Choose a shade with a clean roll mechanism so it stacks tight and looks neat in daylight.
Avoid dark, tightly woven bamboo on small windows — it reads heavy fast.
8. Sheer side panels that stop at the radiator or sill line
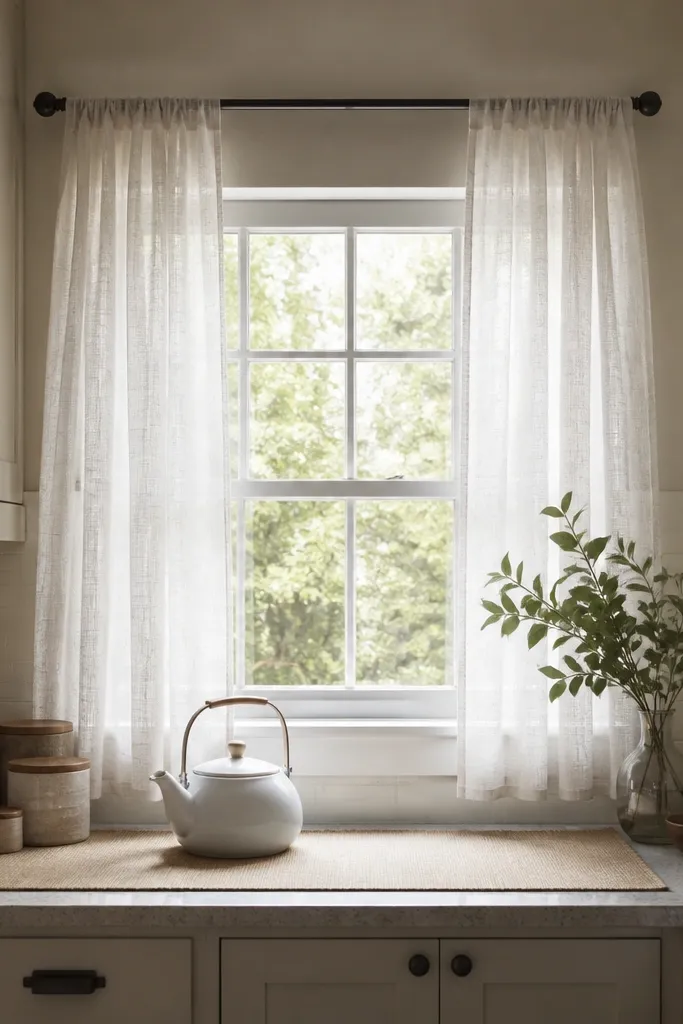
Side panels make a small window look dressed without covering the actual opening. Hang sheers on both sides so they frame the window like a soft picture border, and keep them to the height of the radiator or sill line. That gives you a cozy, airy look while keeping the center light path open. Use a slightly textured sheer so it catches light and doesn’t look see-through in a boring way. This works best when you already have a blind or need daytime privacy but want something prettier.
Mount two side rods or a single track system, positioned 1-2 inches outside the window trim. Cut sheers to stop around 6-12 inches above the sill line so they don’t drift into the workspace. Use fabric width around 2x the sides so you get gentle folds, not flat panels. Secure tiebacks with small fabric loops so the sheers stay open when you want maximum light. Plan on $30-90 depending on how many panels and how wide your window is.
Use the same warm white as your trim so the sheers look intentional, not random.
Avoid hanging side sheers too low — they can brush counters and look messy.
9. Dual-color roller shades with a light top half
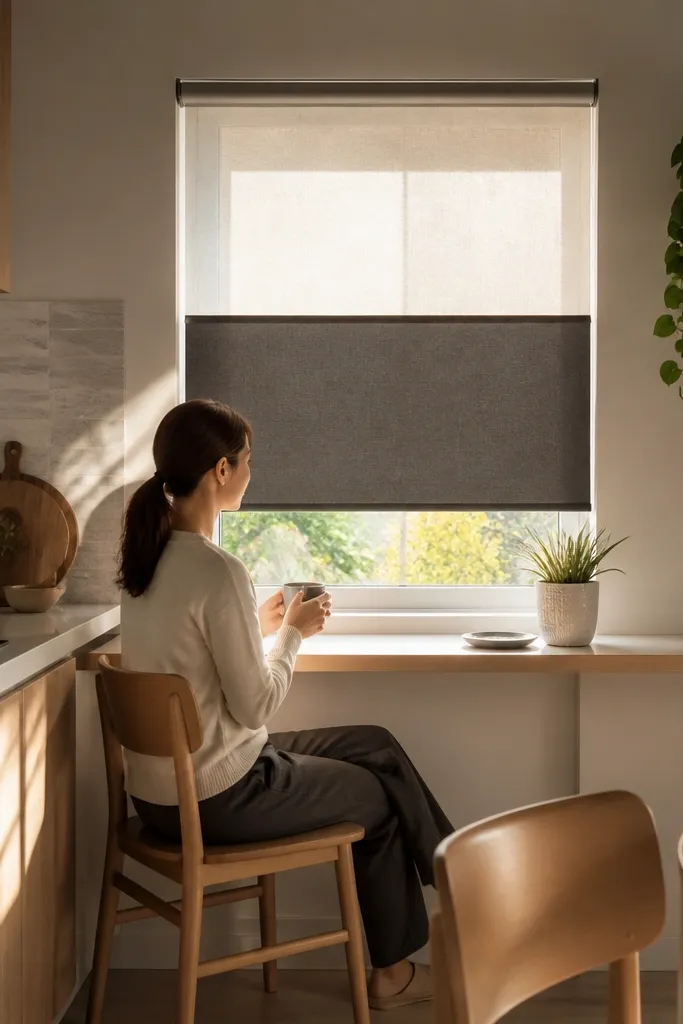
A dual-color roller shade creates a visual trick: the top half reads bright, and the bottom half can handle privacy. Pick a light color for the upper section to keep daylight moving across your wall, then use a slightly deeper neutral below so the window feels grounded. This look is clean, modern, and practical because roller shades sit close to the glass. It’s a strong option for small kitchens where you want less fabric near cooking zones. The visual payoff is that the window looks taller and lighter even when the shade is down.
Choose a shade system that supports two-tone panels or a top/bottom split design. Mount it so the top edge sits flush with the trim and the split aligns with the upper third of the window. Order to your exact width so you don’t get gaps where light leaks. When installing, level the roller housing so the split line stays straight. Budget $120-300 depending on custom sizing and fabric.
Keep the top color close to your cabinet color, then let the bottom color match your countertop tone.
Avoid a dark upper half — it cancels the light-bounce effect.
10. Curtain + board-and-batten pocket valance for a built-in look
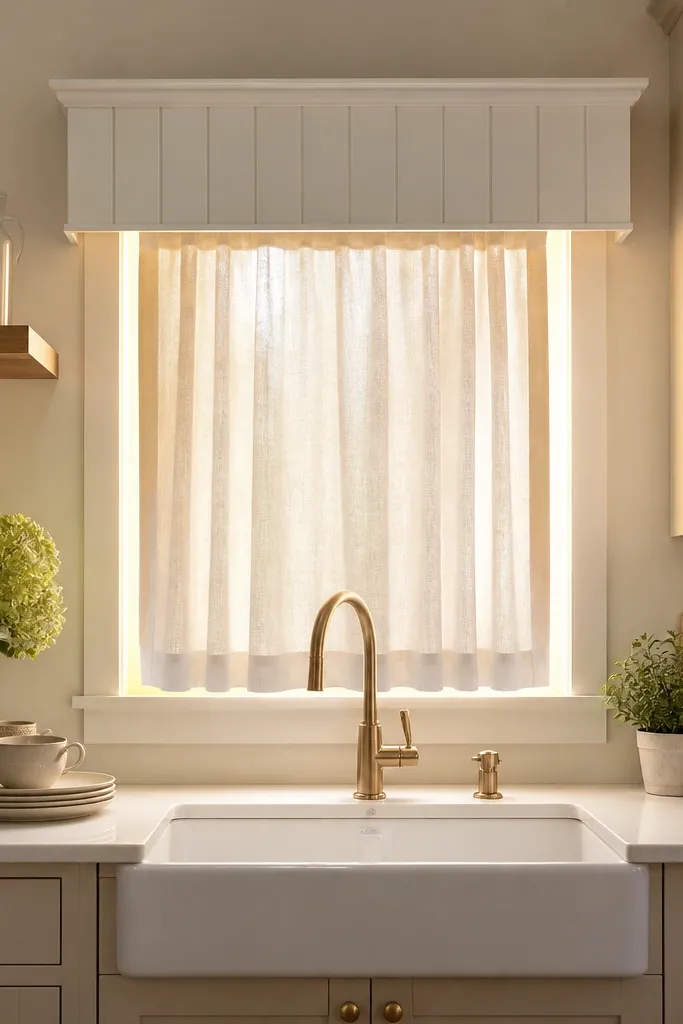
If you want cozy and architectural, build a shallow “pocket” valance that hides the top hardware and makes the window feel custom. Use white board-and-batten style trim for the pocket, then hang a light curtain inside it. The pocket keeps the curtain aligned and prevents it from sagging, which matters in smaller windows where sag looks messy fast. It also improves how light looks because the upper area is framed in clean white. This works well over a sink window where you want it to look finished without changing the actual window.
Measure the window width and add 4-6 inches total so the pocket overhangs slightly. Build or buy a shallow valance box that is 3-4 inches deep and paint it warm white. Mount the pocket 2-3 inches above the trim, then attach a curtain track inside the pocket. Use a lightweight curtain panel that hangs freely without touching the glass. Expect $80-250 depending on whether you build or buy components.
Use a track inside the pocket so the curtain opens smoothly and stays centered.
Avoid deep valance boxes — they block the light path in small kitchens.
11. Crisp white cafe curtains with a narrow patterned band
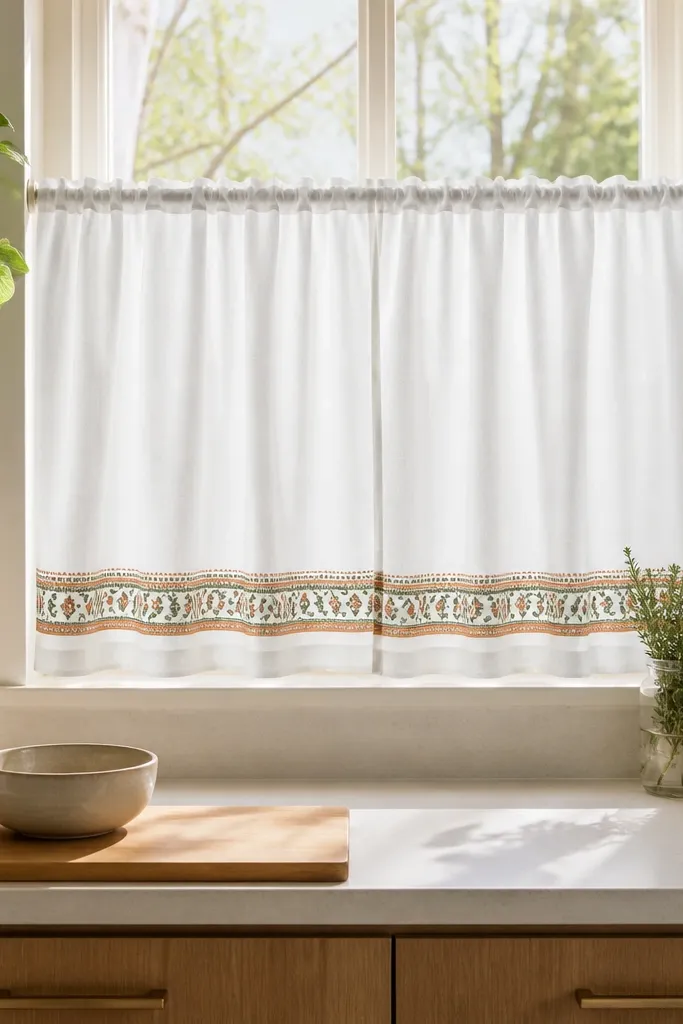
This look keeps the window bright but adds visual interest where your eye naturally lands the lower third. Use white café curtains as the base so the window stays a light source, then add a narrow patterned band at the hem in a warm neutral like clay, olive, or soft navy. The pattern reads cozy without taking over the room. It’s ideal if your kitchen has a lot of solid surfaces and you want one photogenic detail that doesn’t shrink the window. You’ll get light diffusion plus character.
Pick curtains that are white with a banded hem, or buy plain panels and sew a band yourself. Mount a café rod so the curtain ends in the same band line height on both sides. Choose band width around 1.5-2 inches so it’s noticeable but not heavy. Steam the panels and align the pattern so it doesn’t look crooked next to the window frame. Cost is $35-100 for ready-made, or $15-40 in fabric if you’re adding the band.
Match the band color to one small element in the kitchen like dish towels or a utensil crock.
Avoid large, high-contrast patterns — they reduce the bright, airy effect.
12. Clear glass + film-safe cleaning routine for maximum clarity
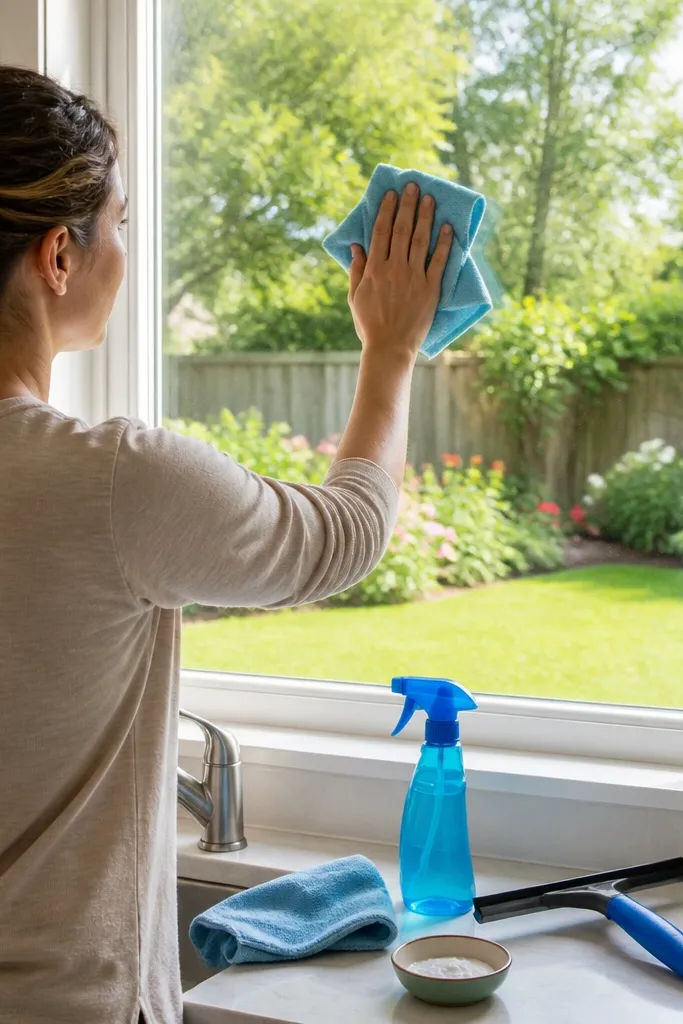
Wipe the window first with a microfiber cloth and warm water to remove loose grime. Then use a glass cleaner that is safe for any film you might add later, and buff with a clean microfiber. Finish with a dry cloth to remove streaks so light doesn’t scatter. If there’s baked-on kitchen grease, use a paste of baking soda and water for a short scrub, then rinse and dry thoroughly. Spend $8-25 on supplies and 15-25 minutes per window.
This one is boring but it works: dirty glass steals daylight, and kitchens get greasy fast. If your window looks slightly hazy, even the prettiest curtains won’t help. Use a streak-free routine that cuts grease without leaving residue, because residue scatters light and makes the room feel dim. When the glass is truly clear, daylight hits your backsplash and cabinets more evenly, which reads brighter on camera and in real life. It’s the baseline upgrade before any treatment.
Common mistakeAvoid paper towels; they leave lint that shows up as haze in strong daylight.
Try thisClean the inside glass too that’s where cooking aerosols build up.
13. Matching curtains in two lengths for a tidy, layered look
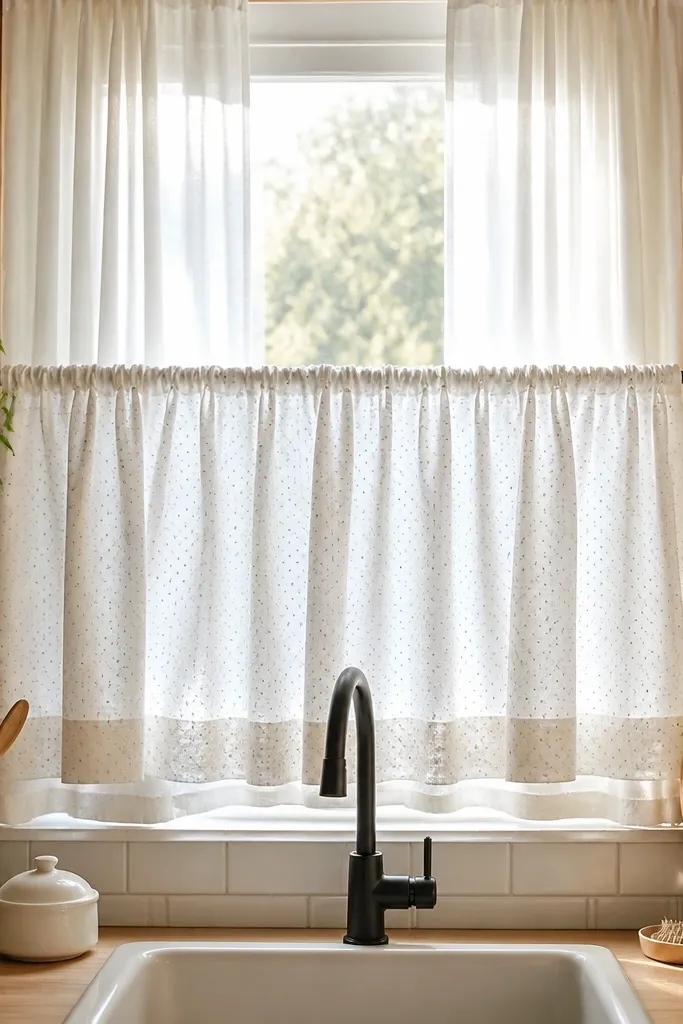
Hang the café panel on a rod at the sill-mid height, then install a second rod 1-2 inches above for the back layer. Choose the back layer length so it ends 2-6 inches below the café panel hem, avoiding floor pooling. Use fabric with similar weight so the layers don’t fight; a sheer behind a linen café panel looks best. Steam or press both panels so the hemlines sit straight. Budget $60-200 total depending on how many panels you buy.
Layering with two lengths creates depth without turning a small window into a heavy curtain situation. Use a short café panel in the front layer and a second sheer or light curtain behind it that falls just slightly longer. The front panel controls the light and privacy, while the back layer adds softness when light hits it. Keep both layers in the same color family so it looks deliberate, not mismatched. This is a great option when you want cozy texture and a styled look but still need the window to feel open.
Common mistakeAvoid mixing thick blackout layers with very light sheers if you want brightness — it usually looks dim.
Try thisUse the same tieback style for both layers so the window looks symmetrical even when open.
14. Satin white roller shade with a reflective side trim
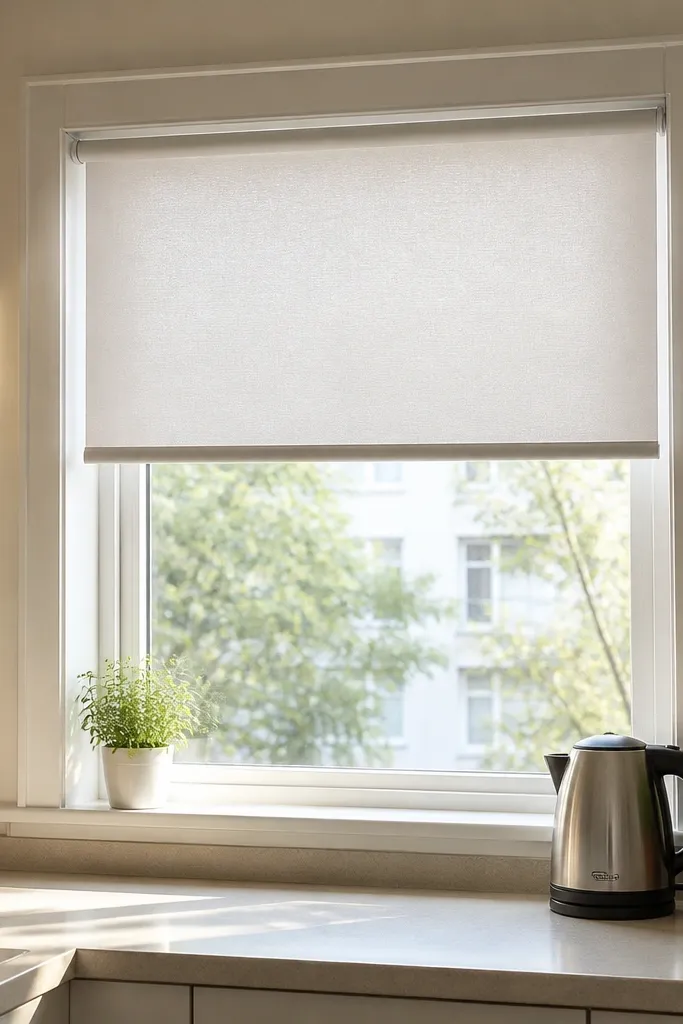
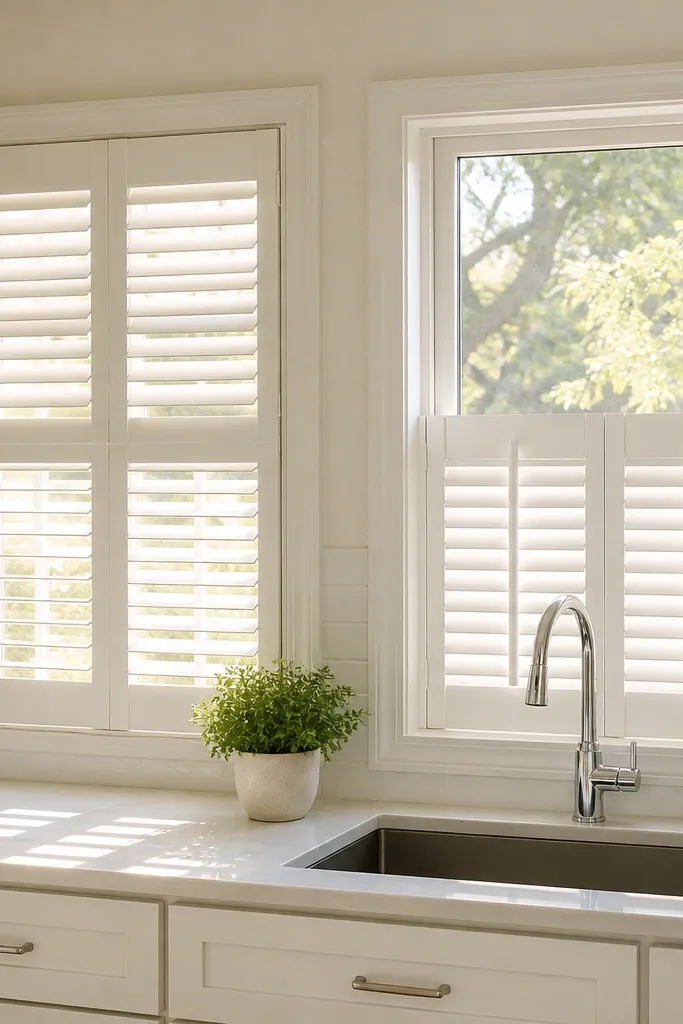
If you want a bright, clean look that still feels cozy, satin white on the shade is a strong move. Satin reflects more light than matte, so the window reads brighter even when the shade is partially down. Add reflective side trim or a thin strip of glossy white board around the window opening to bounce light back in. Keep the shade color consistent with the trim so the window blends into a bright frame. This suits small kitchens where you want minimal fabric and maximum daylight control.
Install a roller shade with a satin white fabric, sized to fully cover the opening. Then add reflective side accents using glossy white trim pieces or a thin mirrored acrylic strip on the side walls (not where it can glare you directly). Mount the shade so it sits centered and doesn’t leave gaps at the edges. Test opening height to confirm your counter gets light, not just the wall behind it. Expect $90-220 for the shade plus $10-40 for trim materials.
Angle the reflective side slightly inward so it bounces light toward your backsplash instead of into your eyes.
Avoid high-gloss mirrors directly facing the room — the glare looks harsh.
15. Double-hung window insert with a light wood sill lip
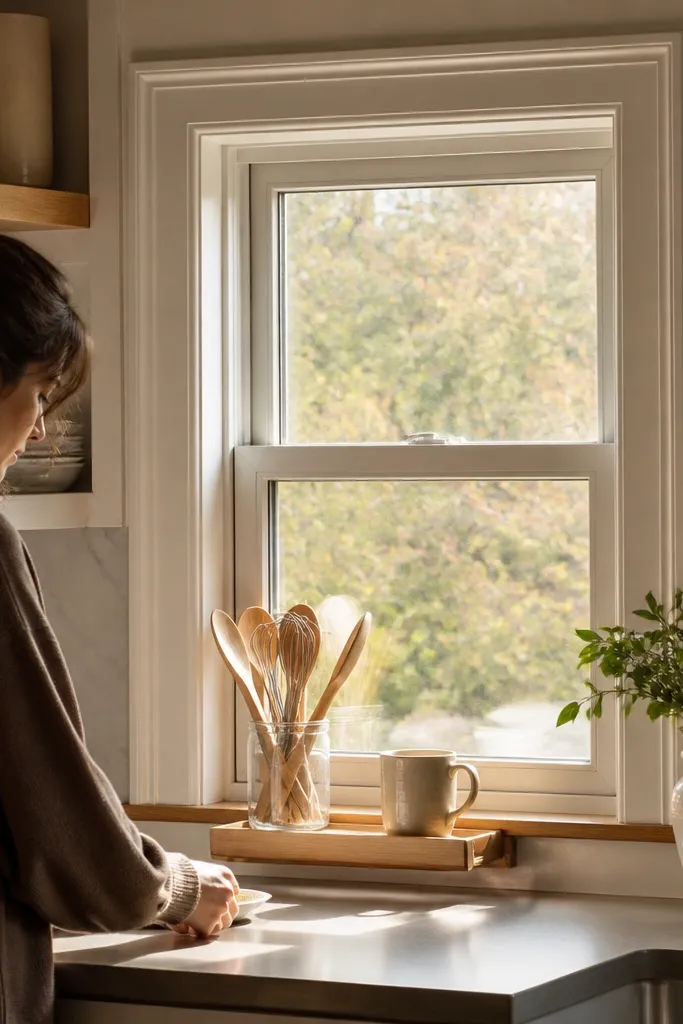
Measure the window sill depth and pick a removable wood sill tray or custom-cut board that sits flush without blocking drainage or any hardware. Sand and seal with a clear matte or satin finish so it doesn’t glare under sun. Place it centered under the window and secure with non-slip pads if it’s removable. If you’re adding a permanent lip, use paint-safe wood and attach with small screws from underneath for stability. Plan on $25-120 depending on whether you buy a tray or make it.
A small sill lip in light wood makes the window feel warmer and improves how light lands on the counter. Even if you keep your existing treatment, adding a slim wood ledge (or using a removable wood sill tray) creates a cozy surface that catches daylight. The goal is to replace cold-looking surfaces with a warm tone that reflects light gently. Choose light oak or ash so it doesn’t look orange next to white cabinets. This is especially good for kitchens where the sill area is bare or painted too dark.
Common mistakeAvoid dark stained wood — it turns the sill into a shadow line.
Try thisKeep the tray color light and the finish matte; it photographs softer than glossy wood.