1. Thin silicone bead for a hairline gap
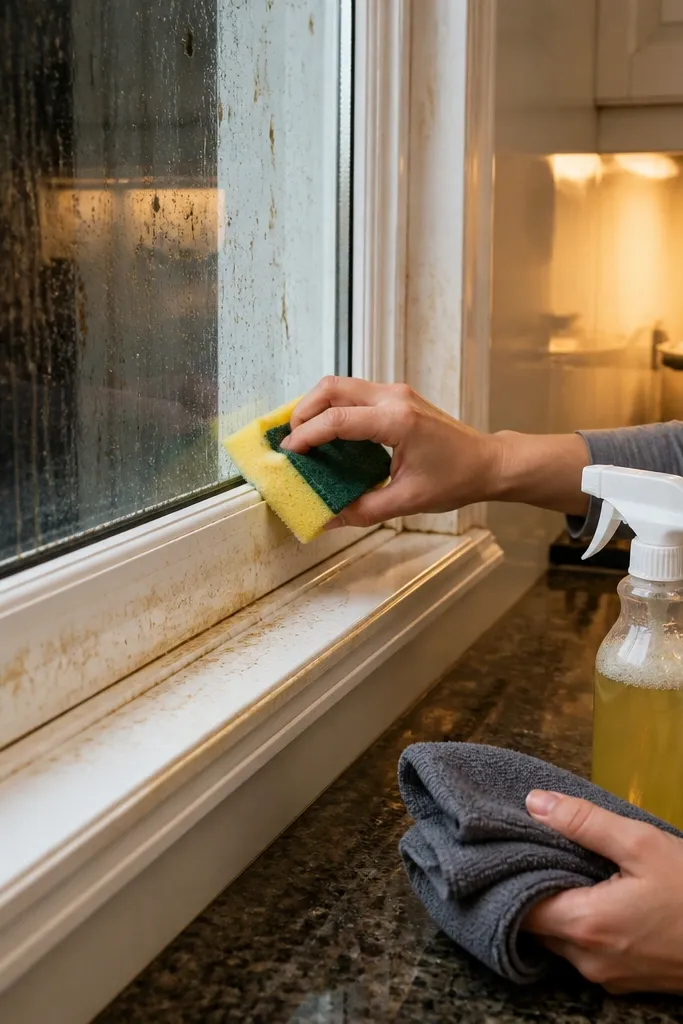
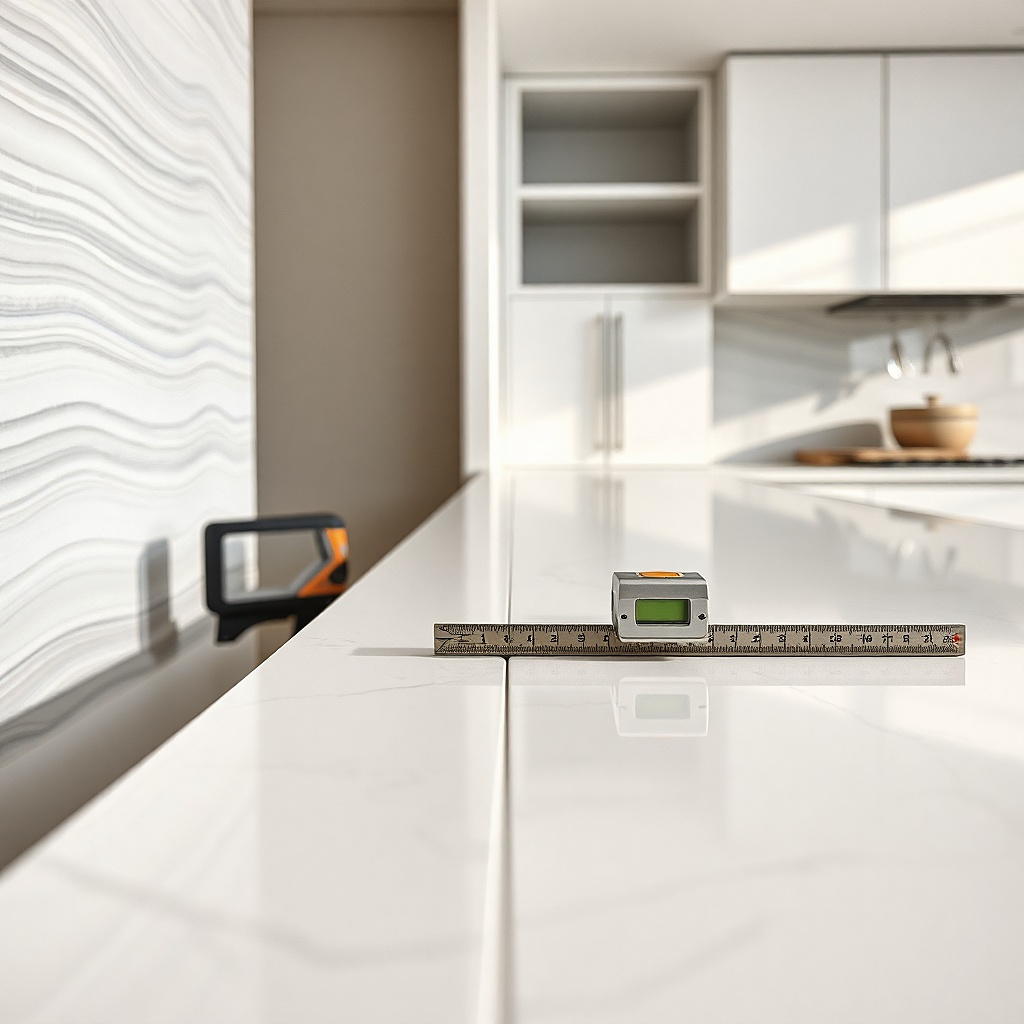
Start by cleaning out the seam with a plastic scraper and rubbing alcohol, then let it dry fully. Tape both sides of the gap with painter’s tape, leaving a channel about 1/8 inch wide, and cut the caulk tip even smaller than you think you need. Run one steady bead, smooth it once with a wet fingertip or caulk tool, and pull the tape immediately for a sharp line. This takes about 15 minutes of work and one tube of silicone, which keeps the cost low.
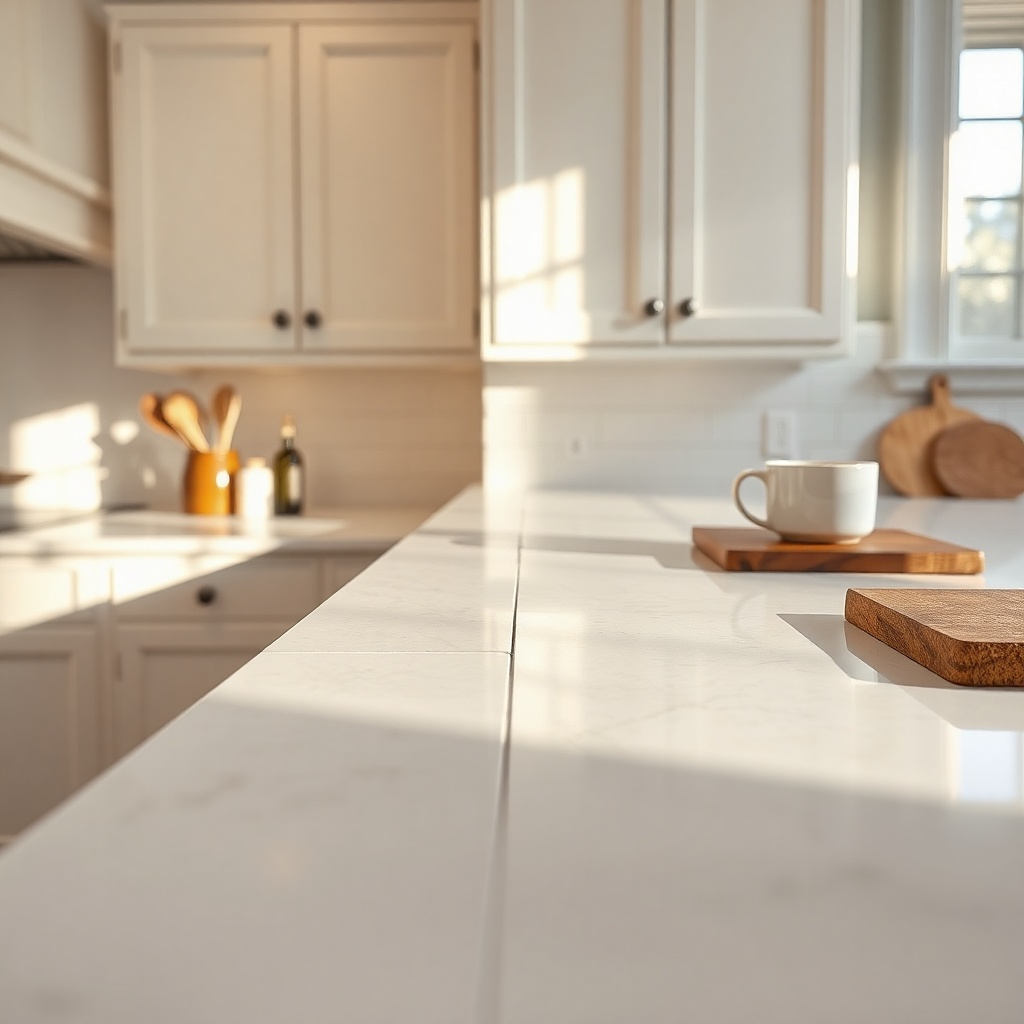
This is the best fix for a gap under 1/8 inch where the wall and countertop are already close. A narrow bead of kitchen-and-bath silicone seals crumbs and splash water without adding bulk. It suits quartz, laminate, butcher block, and solid-surface counters, especially along a back wall with no dramatic waviness. The finished line should be barely there. Pick bright white only if the wall and counter are both true white; otherwise use almond, biscuit, gray, or clear with care because clear shows dirt faster.
Common mistakeDo not use a fat bead to hide a tiny gap because it leaves a gummy ridge that catches grime.
Try thisWarm the caulk tube in a bowl of warm water for five minutes first. The bead comes out smoother and needs less pressure.
2. Backer rod plus caulk for a wider seam
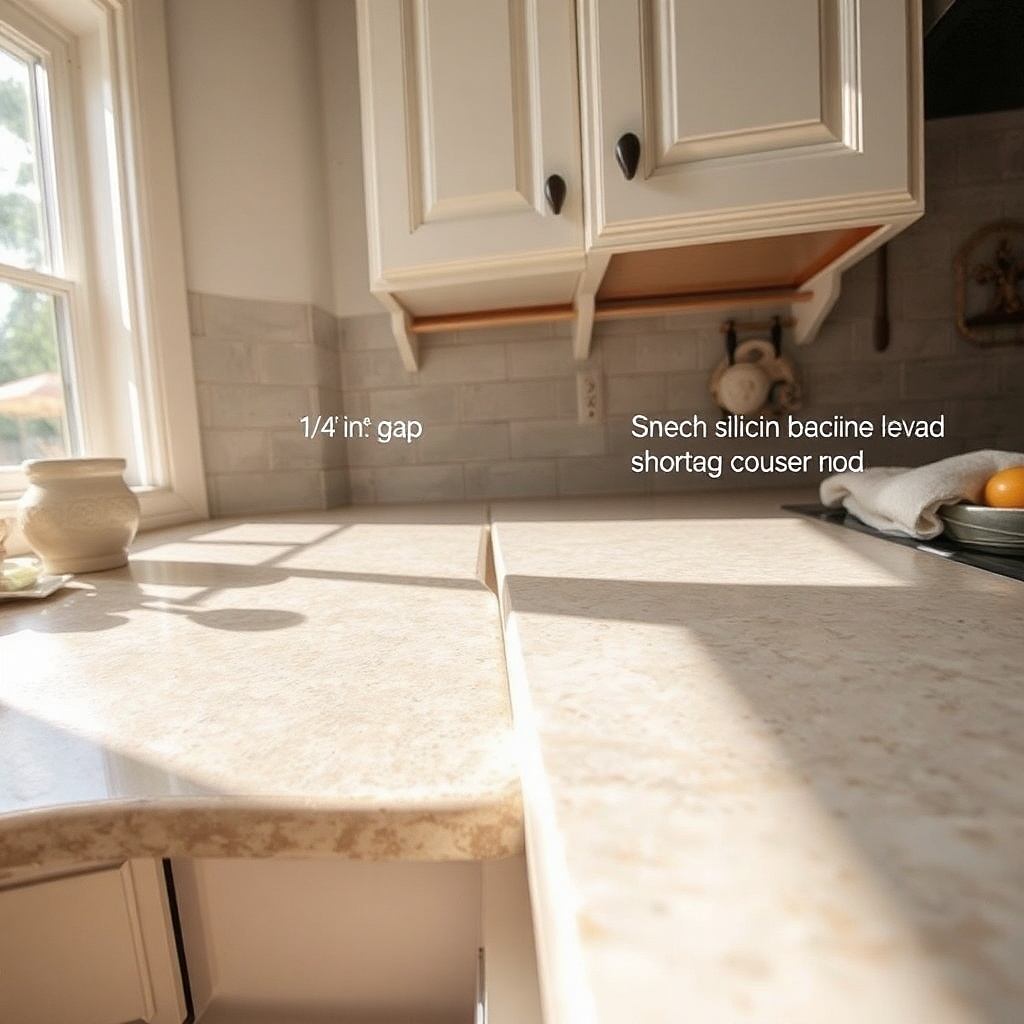
Start by cutting the backer rod to length with scissors, then press it into the gap with a putty knife until it sits about 1/8 inch below the surface. Next, tape the seam and apply silicone or paintable caulk over the rod in a single pass. Smooth the bead so it bridges the gap from countertop to wall without sinking. This takes about 20 to 25 minutes and works especially well on long back runs behind a range or prep zone.
For gaps from 1/8 to 3/8 inch, backer rod under caulk is the neat answer. The foam rod fills depth so the caulk stays on the surface where it belongs instead of slumping into the void. This matters most behind laminate counters and older walls that dip in the center. The result looks flatter, cleaner, and far less patchy than trying to pump half a tube of caulk into an open crack. Use closed-cell foam rod in a size slightly larger than the gap so it presses in snugly.
Common mistakeDo not shove the rod too deep or you will end up using too much caulk anyway.
Try thisChoose a rod that compresses slightly. A loose rod pops back out while you caulk.
3. Paintable caulk where the wall line shows
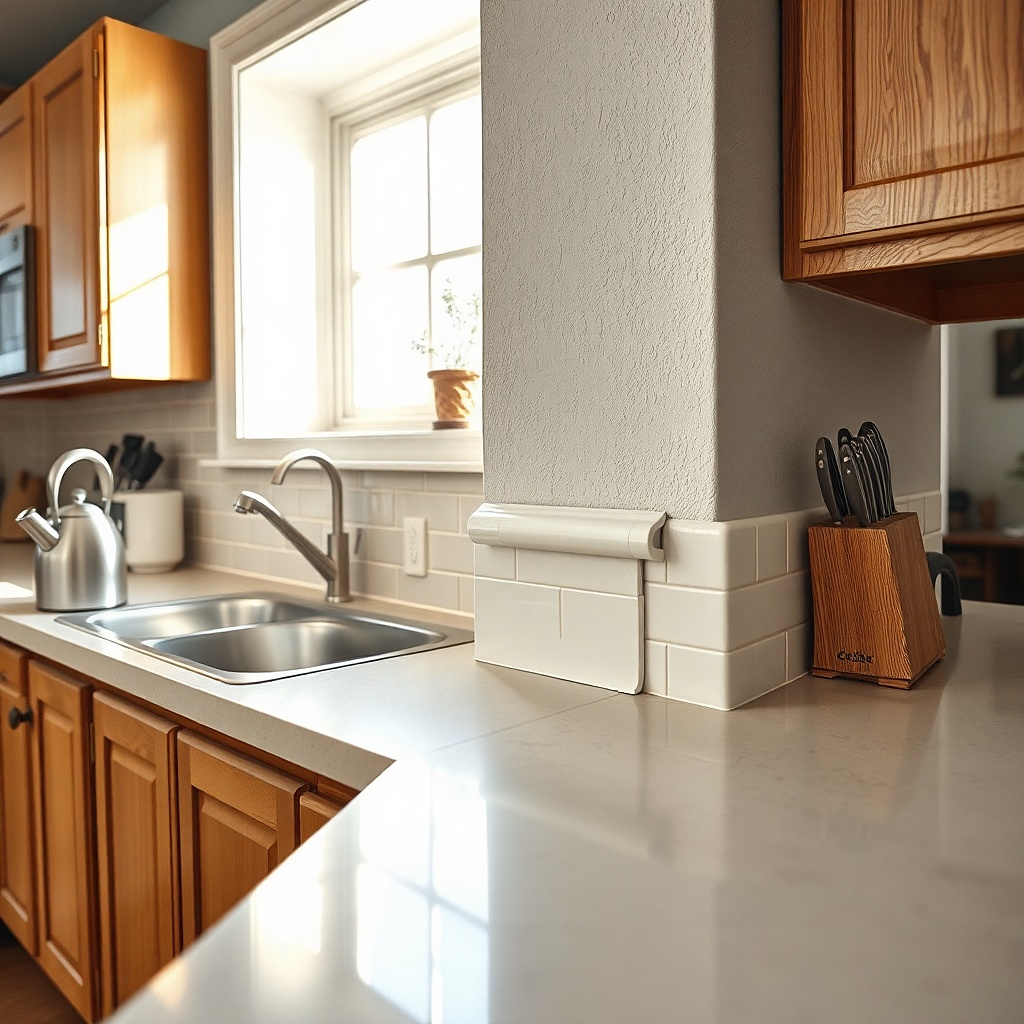
Start by cleaning the seam and taping a narrow line on the countertop side for control. Apply a slim bead of paintable caulk, smooth it, and let it dry according to the label before touching it with paint. Then feather on the exact wall color with a small angled brush so the seam disappears into the wall. Expect about 30 minutes of active work, plus drying time before paint.
Paintable latex caulk is the better pick when the repair sits on a painted wall and the area stays dry. It hides the seam well because you can brush wall paint right over it after it cures. This works near breakfast nooks, side counters, and pantry runs where there is no sink spray. The look is softer than silicone because the caulk and wall become one surface. Use it only where water is not a daily issue.
Common mistakeSkip this near the sink because latex caulk breaks down faster under repeated water exposure.
Try thisKeep the paint brush almost dry. A heavy swipe leaves a shiny patch that gives the repair away.
4. Quarter-round trim for a crooked wall
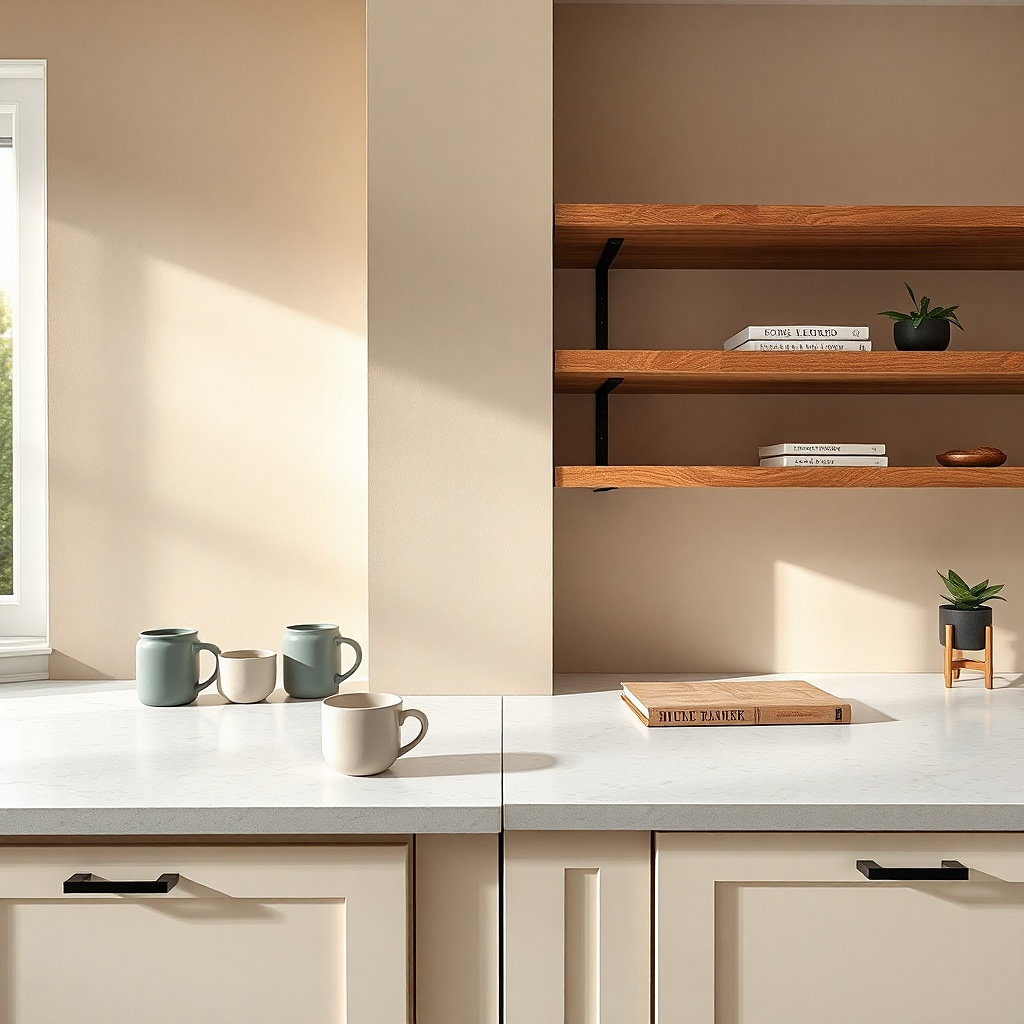
When the wall bows or the gap changes from 1/16 inch to 1/2 inch, trim hides the mess better than any bead of caulk. A small quarter-round or shoe molding strip covers the uneven line and creates a tidy border at the back of the counter. This suits laminate counters especially well because the trim looks natural there, almost like a built-in backsplash edge. Paint it to match the wall for a quiet finish or the cabinets for a more framed look. For a cozy kitchen, soft white or warm putty paint keeps it from looking like a leftover construction patch.
Start by measuring the counter run and cutting the trim to length with a miter box if you need a corner join. Dry-fit it first, then run a thin line of construction adhesive along the back and press it into place; add a few 23-gauge pin nails if the wall is stubborn. Caulk the top edge lightly where trim meets wall, then paint if needed. This takes about 35 to 45 minutes for a short run and gives the biggest visual improvement on visibly uneven walls.
Use the smallest trim that covers the widest point of the gap. On most counters, 3/4-inch quarter-round is enough.
Do not pick chunky baseboard-style trim because it makes the countertop edge look heavy and dated.
5. Flat scribe trim for modern counters

A flat scribe strip is cleaner than quarter-round if your kitchen has slab doors, simple hardware, and a straight-edged quartz or granite counter. It covers the gap without the rounded profile that can read traditional. This is a strong fix for a 1/8- to 1/4-inch uneven seam where you want a low-profile finish. Painted wood, PVC, or matching laminate strips all work. Keep the strip narrow — around 3/4 inch to 1 inch tall — so it looks intentional instead of like a mini backsplash.
Start by cutting the strip to length and sanding the edges smooth if you use wood. Test it against the wall, then glue it in place with construction adhesive or a grab adhesive rated for kitchens, and tape it until it sets. Finish with a tiny bead of caulk at the wall edge for a built-in look. This is a 30-minute fix for one counter run once the strip is cut.
PVC trim is the easiest choice behind a sink because it does not swell if water gets behind it.
Do not leave raw cut ends visible at an exposed side because they make the repair look unfinished.
6. Peel-and-stick backsplash strip for a fast cover-up
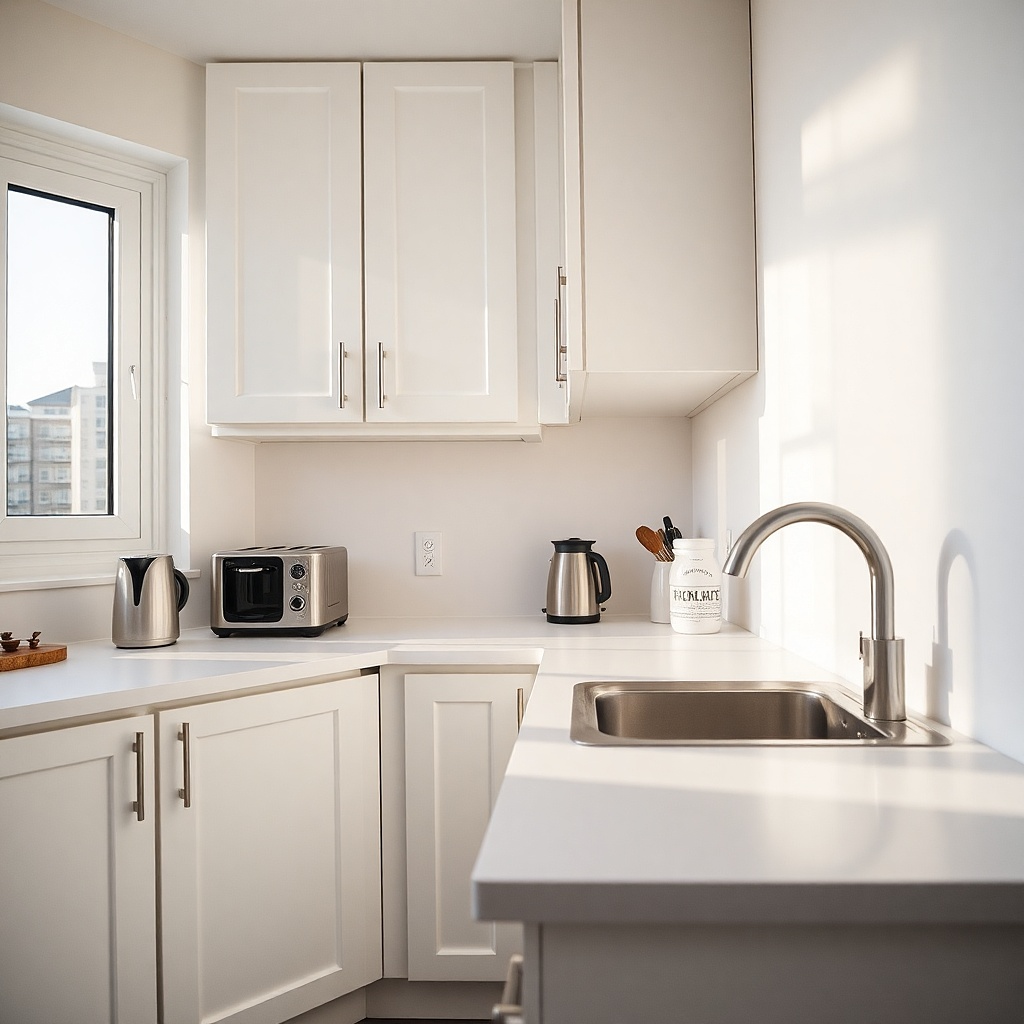
Start by degreasing the wall and countertop edge thoroughly because adhesive strips fail fast on kitchen film. Cut the strip to length with scissors or a utility knife, peel the backing, and press it down from one end to the other while smoothing out bubbles with a credit card. Seal the top edge with a tiny line of clear silicone if the area gets splashed. This takes about 10 to 15 minutes and needs no special tools.
A peel-and-stick backsplash strip works for renters, quick refreshes, and ugly seams you need gone today. It covers the gap and adds a finished top line in one step. This works best on smooth walls and laminate counters where you do not want to cut wood trim or wait for paint. Choose a strip in white, matte black, brushed nickel, or a faux stone tone that matches the counter edge. Narrow is better — around 1 to 2 inches tall — so the fix stays subtle.
Common mistakeDo not stick these over loose old caulk because the strip will lift at the weakest spot.
Try thisBuy one extra strip. The first cut around an outlet or corner is where most people waste material.
7. Flexible PVC cove trim behind a sink
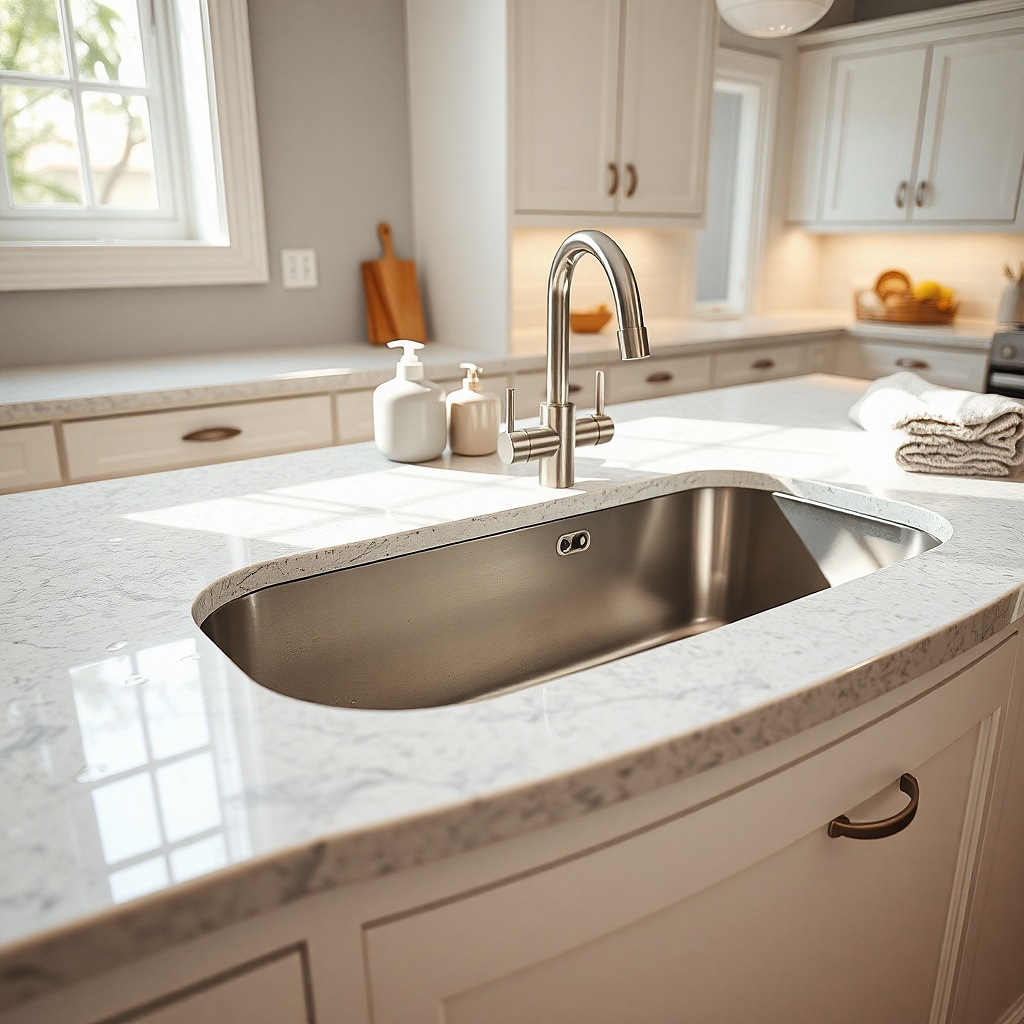
Start by cutting the PVC trim to length and dry-fitting it along the sink run to check how it sits in the corners. Apply a continuous bead of waterproof adhesive or silicone to the back, press it into place, and tape it until cured if the strip wants to spring away. Finish by sealing the top edge with a thin silicone line. Set aside about 25 minutes of work plus cure time.
Behind a sink, water resistance matters more than a perfect invisible seam. Flexible PVC cove trim creates a small curved transition from counter to wall that sheds splashes better than flat trim or paintable caulk. It is especially useful where the wall is slightly uneven and the sink gets daily use. The curve also catches less grime than a sharp inside corner. White is the cleanest choice in most kitchens, but beige and gray work with warmer counters.
Common mistakeDo not use unfinished wood trim behind a sink because repeated moisture stains it and can swell the edge.
Try thisMiter inside corners carefully with sharp shears or a utility knife so the joint closes tight and does not trap water.
8. Matching countertop side splash for end gaps

Start by measuring the depth of the countertop and buying or cutting a matching side splash piece. Dry-fit it, then run adhesive on the back and a thin bead of silicone along the bottom edge before pressing it to the wall. Wipe excess immediately and seal the vertical edge with color-matched silicone. This takes about 20 to 30 minutes if the piece is pre-cut.
If the gap sits at the side where the countertop meets a wall, a short side splash looks more built-in than a random caulk line. This is the clean fix for bathroom-style end walls in kitchens, coffee bars, and small apartment layouts where the counter tucks between two walls. Stone, laminate, and solid-surface counters all have matching side splash options. Height matters. A 3- to 4-inch piece looks standard and hides wall waviness far better than a bead of filler at the end seam.
Common mistakeDo not leave a raw stone or laminate edge exposed at the front corner without a finished end.
Try thisIf your counter has a pattern, line up the side splash so the veining or speckle direction does not look flipped and random.
9. Wood batten strip for a warmer cottage look

Start by cutting the batten to fit and sanding the corners lightly so they do not feel sharp at the counter edge. Stain or paint it first, let it dry, then attach it with a thin bead of construction adhesive and tape it in place. Finish with a very fine line of caulk at the wall if needed. This is a 30- to 40-minute fix, plus drying time for stain or paint.
A slim wood batten gives the seam a softer, warmer look than white trim, especially in kitchens with oak shelves, butcher block, brass hardware, or shaker cabinets. This is a smart choice when you want the repair to feel like part of the decor instead of a hidden patch. Use a strip around 1/4 inch thick and 3/4 inch tall in oak, maple, or poplar. Keep the finish matte. Glossy polyurethane on a tiny strip looks plastic fast.
Common mistakeDo not use a thick rustic board because it steals workspace and reads like a trim mistake.
Try thisMatch the wood tone to one other thing in the kitchen, like floating shelves or stool legs, so the strip looks planned.