1. Oversized rectangular mirror above the dining sideboard
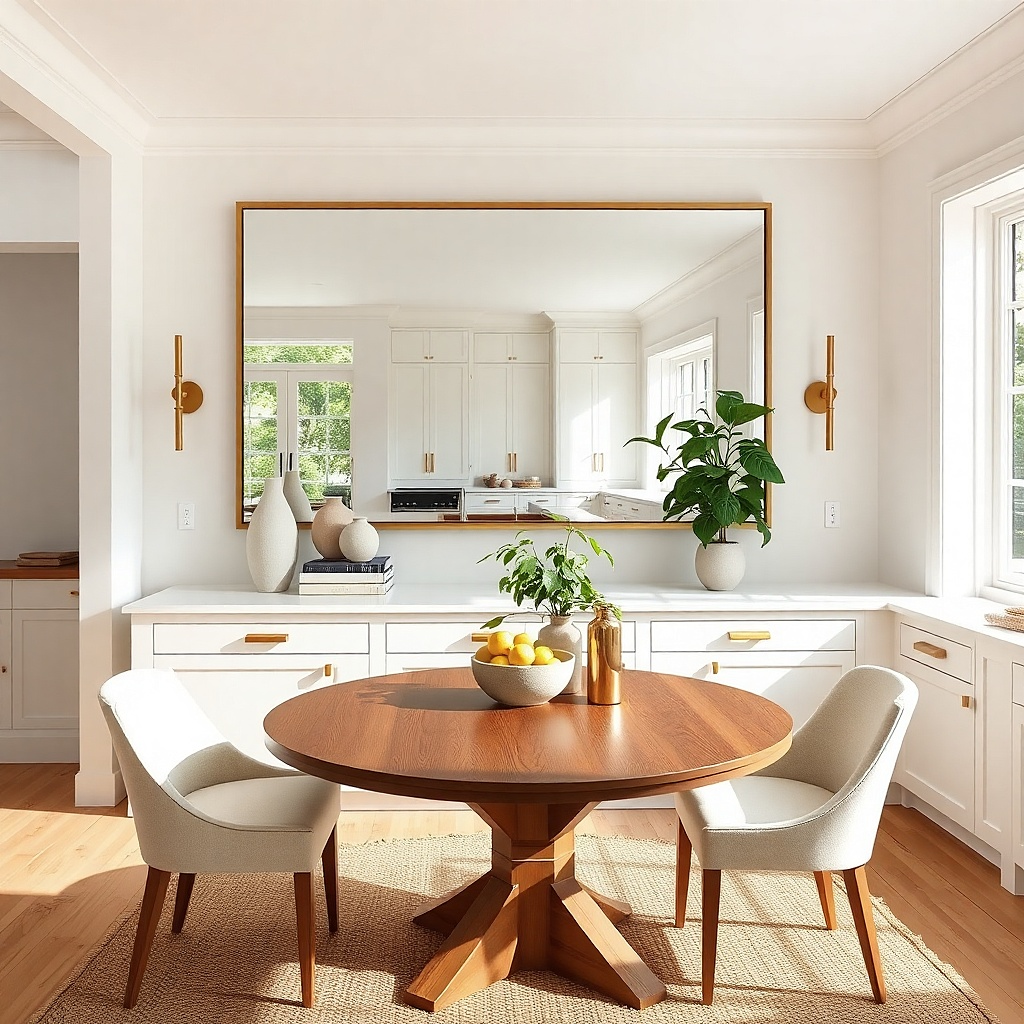
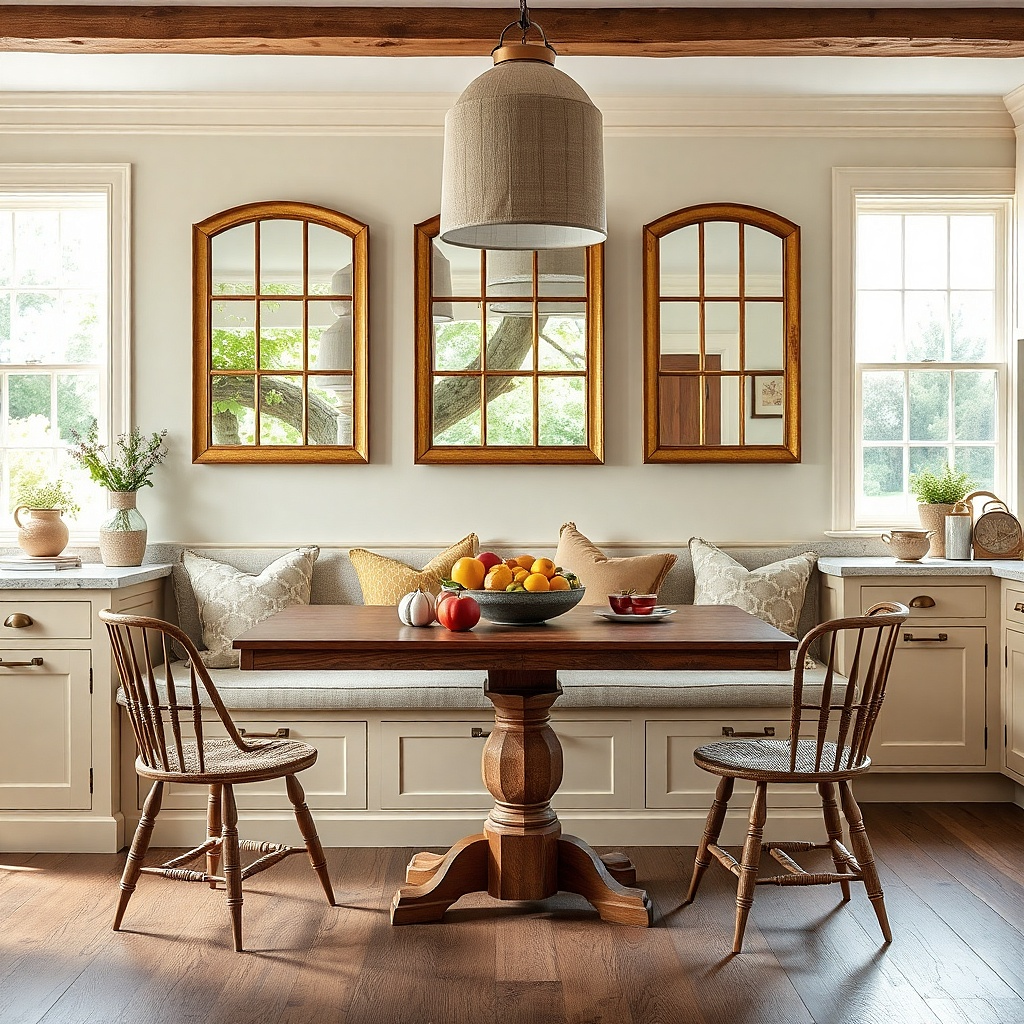
This is the make the whole kitchen feel brighter move. A large rectangular mirror above a sideboard reflects light horizontally across the room, which helps a dining corner feel open instead of boxed in. Use a frame in matte black, brushed nickel, or warm brass so the mirror looks like part of the kitchen palette. Keep the mirror’s width close to the sideboard width within 2 to 6 inches so the reflection feels anchored, not floating. It also hides wall awkwardness: if your wall has outlets or uneven paint patches, the mirror becomes the clean focal point.
Measure the sideboard width first. Choose a mirror width that lands within about 2 to 6 inches less than the sideboard, and place it so the centerline aligns with the center of the sideboard. Mark two mounting points using the mirror’s hanging hardware and install into studs when possible; if you can’t hit studs, use heavy-duty wall anchors rated for the mirror’s weight. Plan for the bottom edge to sit around 60 to 66 inches from the floor, then level it before tightening the final screws.
Try thisPair the mirror with one slim sconce on each side, or just one centered sconce don’t stack three light sources near the reflection.
Common mistakeAvoid a mirror that’s less than half the sideboard width — it reads like decor, not architecture.
2. Round mirror over a small breakfast nook table
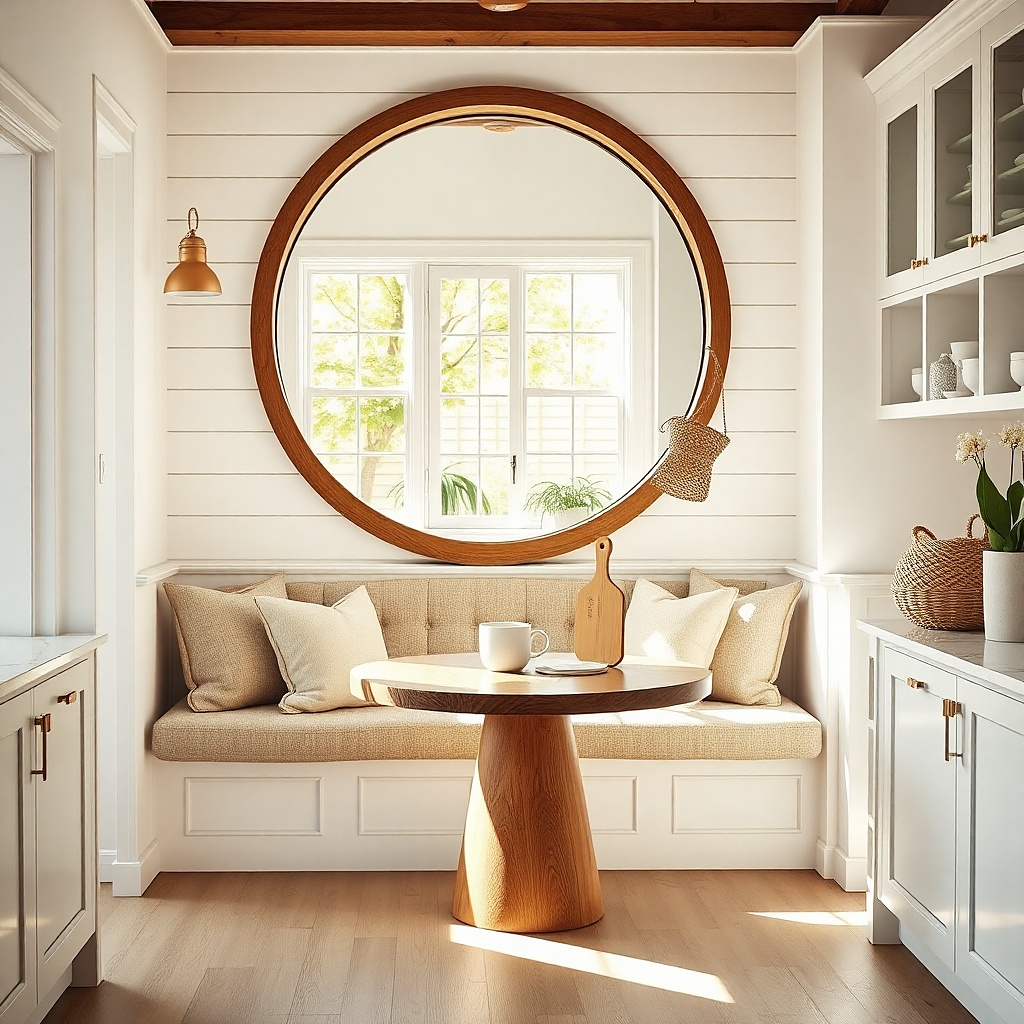
Round mirrors brighten by bouncing light in a softer, less rigid way. They’re especially good behind small breakfast nook tables because round shapes visually relax tight corners and reduce the “grid” feel from cabinets and tile. A light wood frame or oak-toned frame adds warmth that keeps the reflection from feeling cold. The reflected light also looks more flattering when the mirror isn’t too tall — it spreads the glow across the wall without making the ceiling look lower. This works when your kitchen has a lot of straight lines like shaker cabinets, subway tile, or a long runner rug.
Find the wall center behind the table and measure the table width. Pick a mirror diameter that’s about 60 to 75 percent of the table width, then position the mirror so it’s centered and level. Hang it with the bottom edge around 62 inches from the floor for most nook heights, adjusting up or down until the reflection sits above any seat backs. Use a stud finder and mount at least one anchor into a stud; round mirrors can tip if you rely only on drywall mounts.
Try thisAdd a narrow tray or vase on the table that repeats the mirror frame color it ties the reflection to the rest of the room.
Common mistakeSkip a mirror that’s too big and overlaps window trim — you want the reflection, not clutter.
3. Tall vertical mirror to lift a galley-style kitchen wall
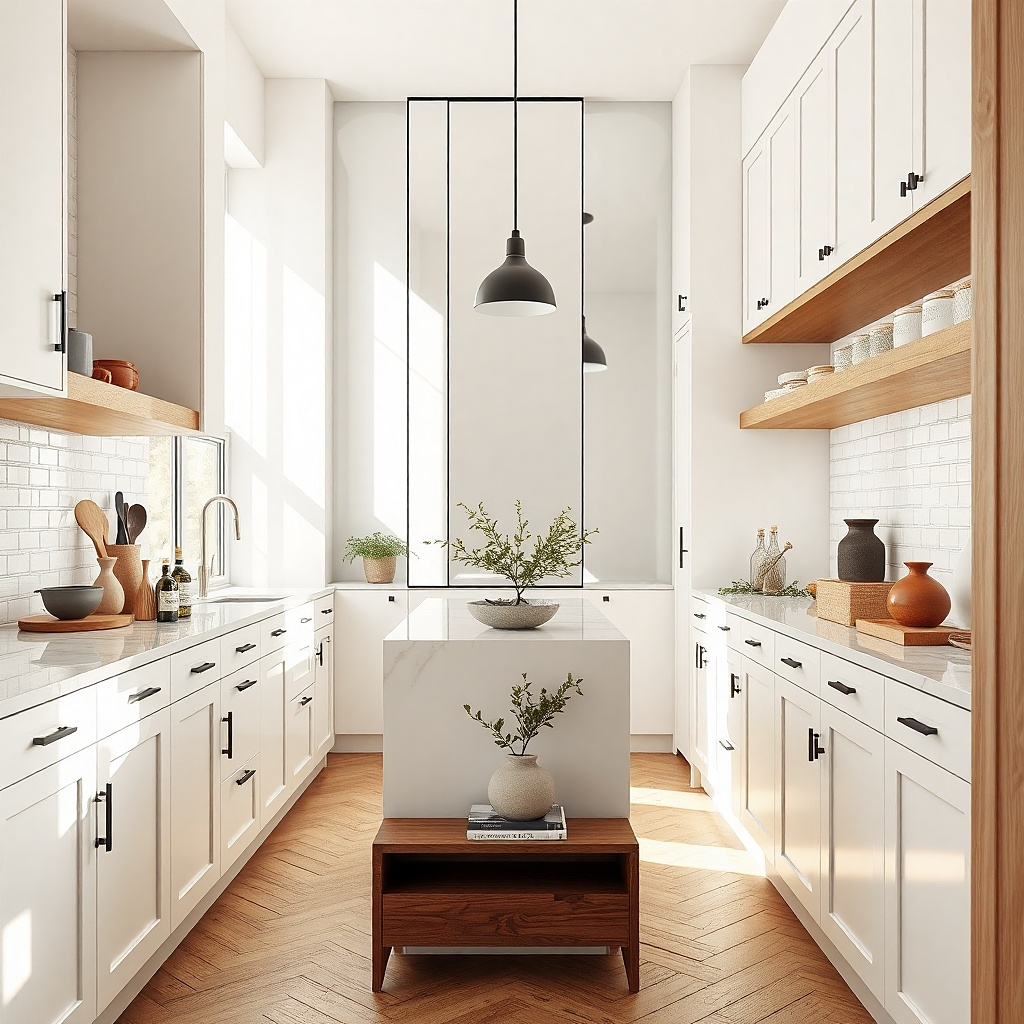
In a galley kitchen, vertical space is the easiest way to make the room feel less narrow. A tall, narrow mirror reflects light while drawing the eye upward, which visually “stretches” the wall without adding visual clutter. Go for a frame with clean lines thin black metal, brushed nickel, or a simple wood edge so it doesn’t compete with cabinets. This idea is best when you have one clear stretch of wall between the kitchen pass-through and a doorway. The mirror also helps when the wall is bare but you can’t place a shelf because it would interrupt circulation.
Measure the wall segment you want to use and choose a mirror height that leaves at least 6 inches of clearance from any ceiling molding or upper cabinet soffit. Keep the mirror width under about 18 to 24 inches so it stays “vertical” rather than turning into a block. Mount the mirror so the centerline lands around eye level — roughly 60 inches — then anchor into studs or use rated anchors. If the mirror has a beveled edge, check it visually from the dining side to ensure it reflects the right light source.
If you have a pendant over the hall path, align the mirror so it catches that light brightness is the whole point here.
Don’t hang it too low; a short mirror in a galley makes the space feel chopped up.
4. Mirror + thin picture ledge for layered kitchen wall styling
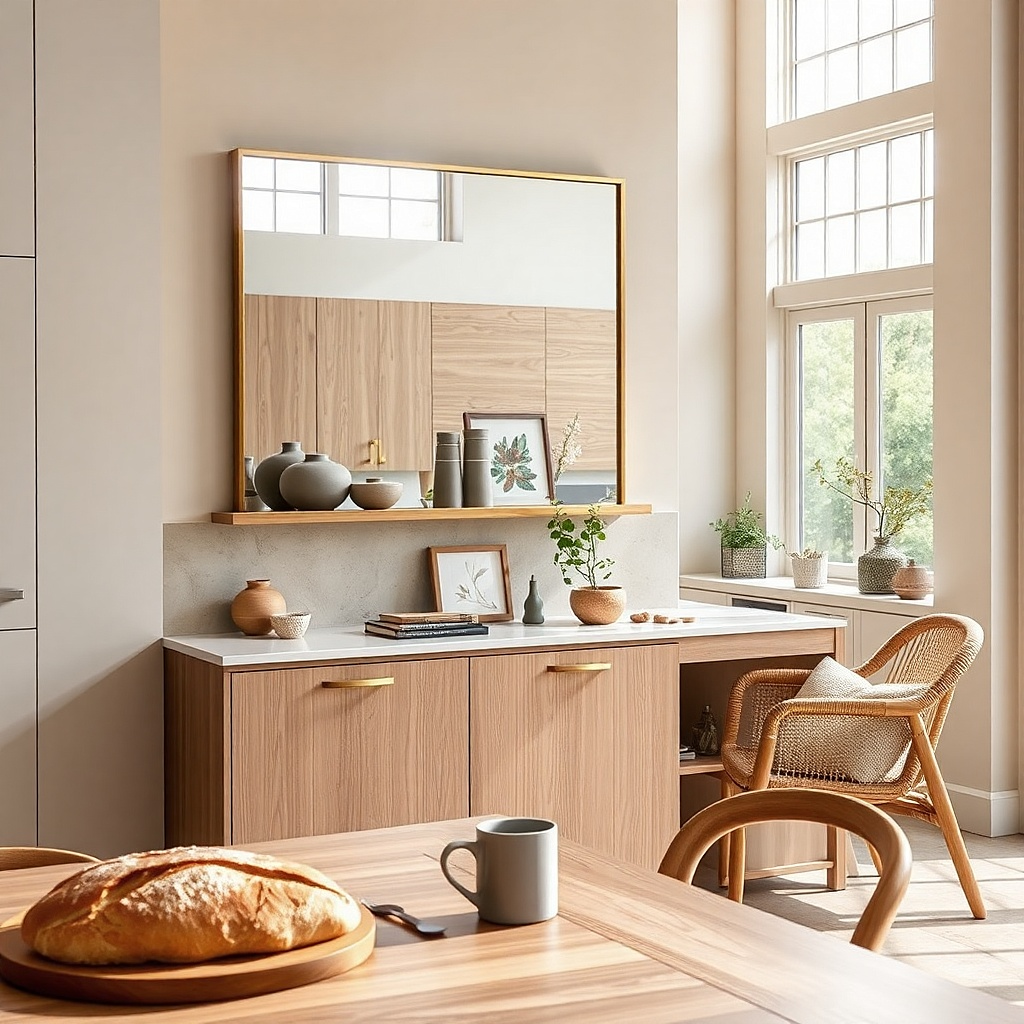
This is for people who want mirror brightness plus actual styling. A mirror centered on the wall, with a thin floating picture ledge beneath it, gives you a place for small ceramics, a salt-and-pepper set, or a simple vase. Keep the mirror frame finish consistent with your kitchen metals, then match the ledge color to cabinetry or trim for a clean look. The effect is photogenic because the wall has movement: the mirror reflects light while the ledge adds texture and color without piling on bulk. It also solves the “mirror-only looks empty” problem.
Choose a mirror sized to the wall first — aim for about 24 to 36 inches wide for many kitchen dining walls. Add a floating ledge directly under the mirror, leaving 3 to 5 inches of space between the mirror bottom and the ledge top so the items don’t look cramped. Install the ledge into studs using the bracket pattern from the ledge kit, then attach the mirror centered above. Style with 2 to 4 objects max on the ledge: one taller piece, one small object, and an optional tray. Check the height from the dining seat so the ledge doesn’t block the mirror reflection.
Try thisUse matte ceramic pieces for the ledge; glossy items throw sharp highlights that can fight the mirror glare.
Common mistakeAvoid cluttering the ledge — too many objects makes the mirror reflection look messy.
5. Two small mirrors flanking a kitchen window
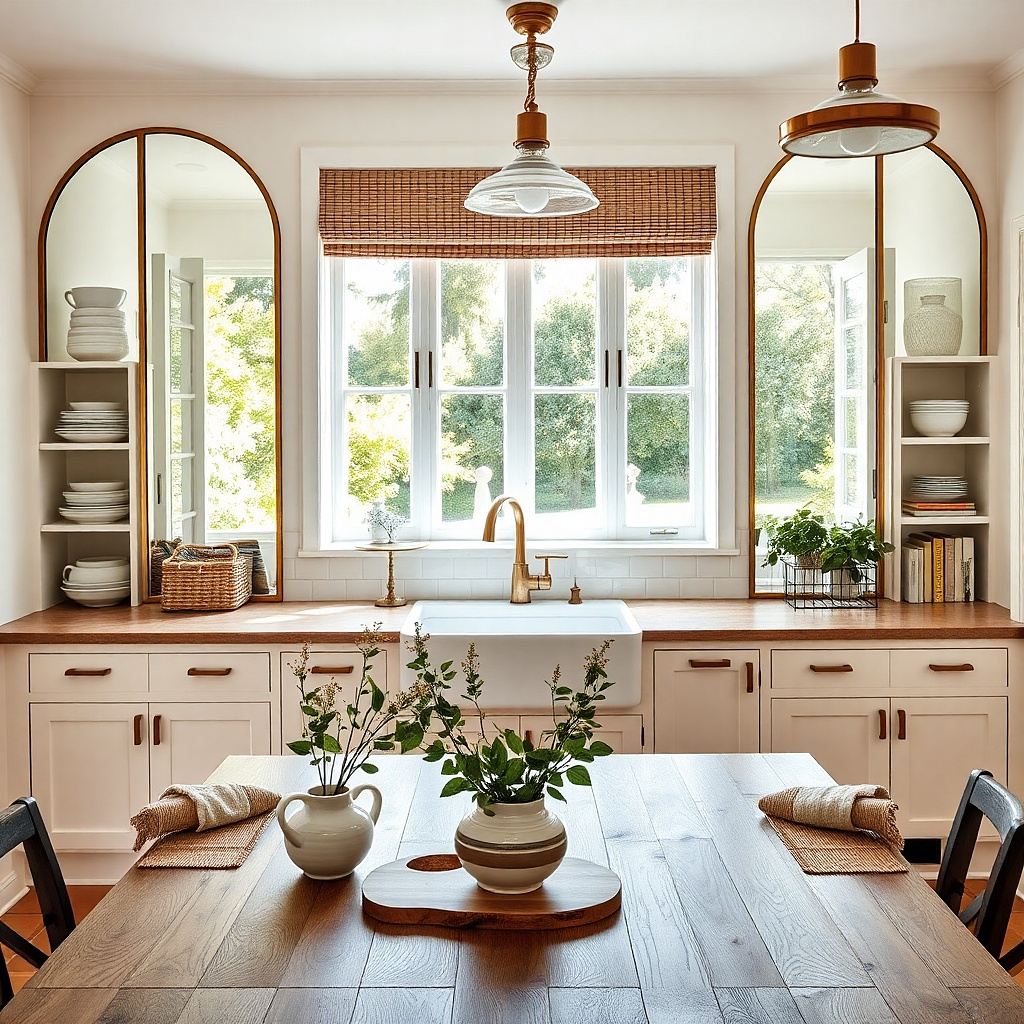
When you have a window on the kitchen wall, you can turn it into a brightness engine. Two small mirrors flanking the window bounce daylight back into the room from both sides, which is more effective than one mirror if your wall has multiple light angles. Use the same frame style for both mirrors so the pair reads intentional. Round or softly arched mirrors look best because the window already adds a strong shape. This setup also makes symmetry without feeling formal it looks designed even in casual kitchens.
Pick mirror sizes that are about 30 to 45 percent of the window width each, and keep them centered at the same height on both sides. The bottom edge of each mirror should land roughly 58 to 64 inches from the floor depending on the window sill height and your seat height. Mark the wall for level placement, then install hooks or mounting hardware into studs when possible. If you can’t reach studs, use anchors that match the mirror’s weight and frame material; light frames are easier to secure than heavy glass-with-thick-wood frames. Step back and confirm the mirrors reflect the same light source, not just wall color.
Try thisChoose frames in the same finish as your window hardware or curtain rod so the pair looks like a single design.
Common mistakeDon’t center the mirrors too low — low placement can make the window feel smaller.
6. Beveled edge mirror for extra sparkle without adding clutter
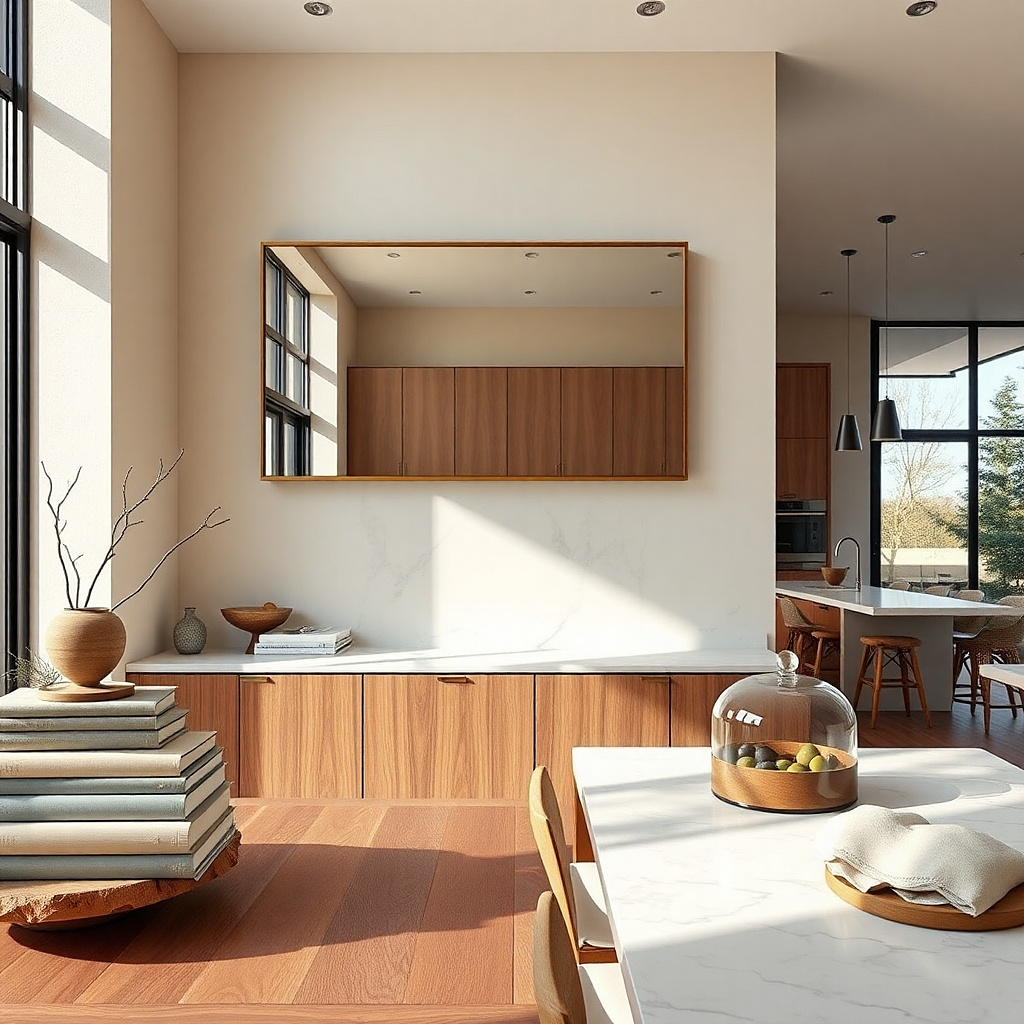
A beveled edge mirror adds light-catching detail that reads premium on camera and in real life. The glass bevel fractures the reflected light into softer highlights, which brightens a kitchen wall without adding more objects. Keep the mirror frame simple — thin gold, brushed brass, or satin black — so the bevel does the work. This option is great when you want brightness but your kitchen already has shelves, art, or a backsplash that’s doing a lot. The mirror becomes the “one clean focal point” that still feels special because of the bevel.
Choose a mirror that’s big enough to be the focal point: at least 24 inches wide for most dining walls. Confirm the bevel is visible from across the room; a very shallow bevel won’t show much. Mount it centered over a blank stretch of wall or above a buffet, then set the bottom edge about 60 to 66 inches from the floor. Use mounting clips or a Z-bar bracket if the mirror is heavier, and check level twice because bevelled mirrors show skew quickly. Style the surrounding wall with one element only — a single framed print or a small sconce — so the bevel doesn’t compete.
Try thisInstall it so it reflects a light source, not a dark cabinet face; the bevel shines when it has something bright to catch.
Common mistakeSkip thick, ornate frames with a busy kitchen — it turns into visual noise fast.
7. Sunburst mirror behind a round dining table
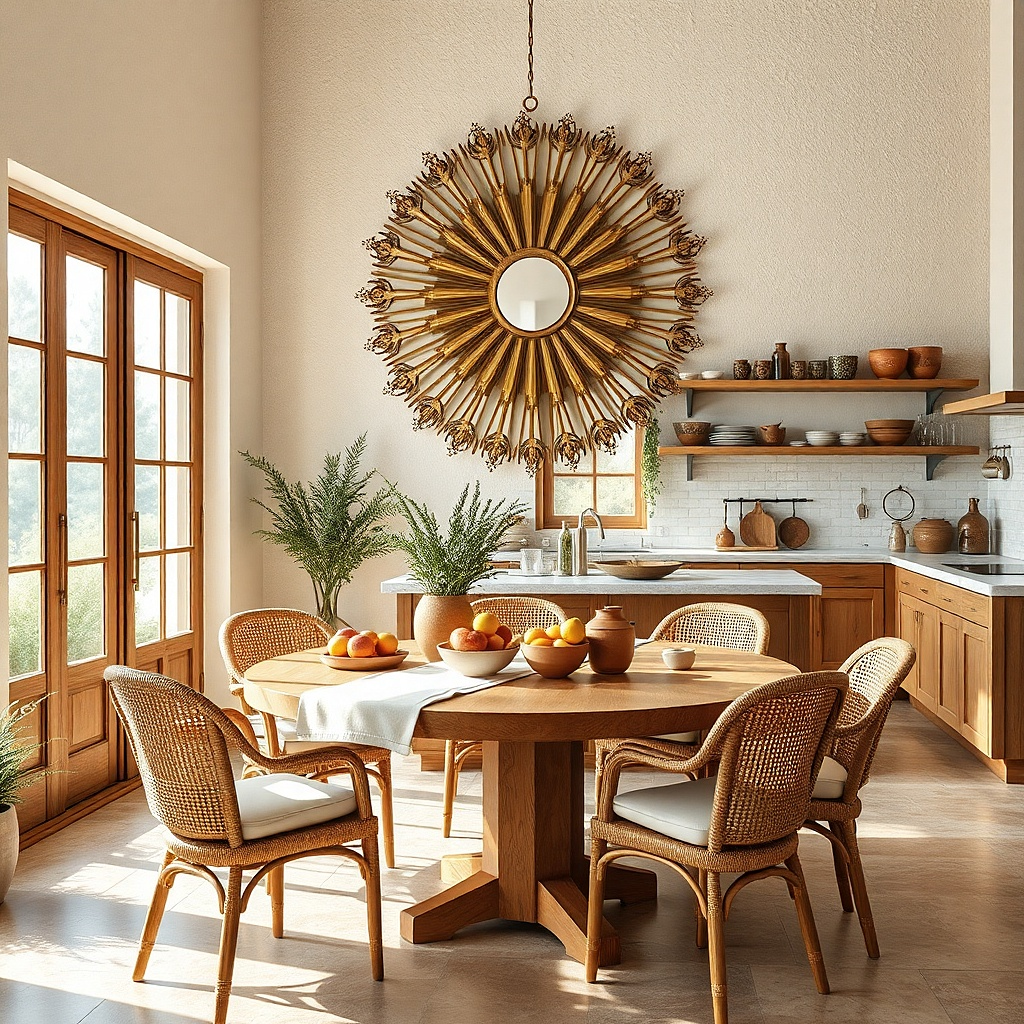
A sunburst mirror is the quickest way to make a kitchen wall look styled, not empty. The rays create a burst effect that looks great behind a round table because the shapes harmonize instead of fighting. Choose a finish that matches your hardware, like brushed brass or aged gold, and keep the mirror size medium-large so the rays fill the visual space behind the table. This works best when your wall is otherwise simple plain paint, minimal wall clutter, and a single pendant or chandelier above. The mirror brightens too, because the reflective rays catch light at multiple angles rather than one flat reflection.
Measure the wall behind the dining table. Select a sunburst mirror with a diameter or widest span that’s about 65 to 80 percent of the table width. Center it on the wall and mount so the bottom edge sits around 62 to 66 inches from the floor. Use a stud finder and mount into studs if you can; sunburst mirrors can be heavier because of the frame structure. Keep the surrounding decor minimal: one small vase or a single tray on the tabletop so the wall design stays the star.
Try thisUse a warm light bulb in the pendant (2700K) if possible; the sunburst finish looks more flattering under warm tones.
Common mistakeDon’t pair a sunburst mirror with too many competing patterns on the wall — it will feel busy.
8. Grid mirror panels for a modern, bright kitchen wall
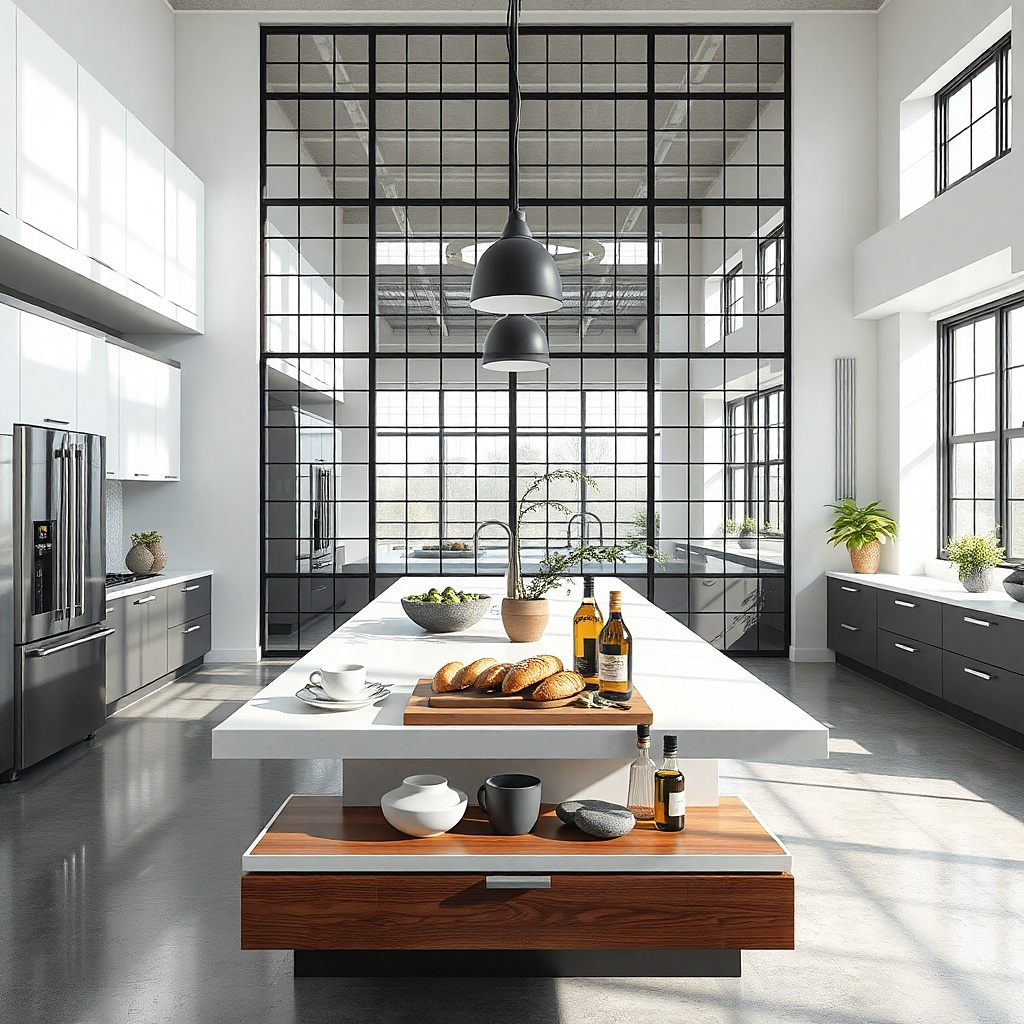
Grid mirrors add brightness through repetition. Instead of one big reflection, you get multiple smaller reflections that make the wall feel lively without adding clutter. This is a strong choice for modern kitchens with white walls, clean lines, and simple cabinet fronts. The grid also helps when your wall is wide and you can’t decide between one large mirror or a cluster the panel grid solves the how do I fill this space problem cleanly. Pick frames in matte black or brushed nickel so the grid reads crisp rather than ornate.
Measure the wall width and decide how many squares you want. For most kitchen dining walls, a panel cluster that spans 36 to 60 inches wide works well. Choose mirror panels with consistent spacing so the grid looks intentional; mismatched spacing reads sloppy. Mount the set using the manufacturer’s mounting points, then level the entire panel cluster before securing. If the grid includes separate pieces, dry-fit them on the floor first and mark the wall with painter’s tape to keep spacing even.
Try thisPlace it where it can reflect a window or bright pendant; grid mirrors look dull if the only light comes from overhead glare.
Common mistakeAvoid mixing grid mirrors with heavy, dark wood frames elsewhere — the wall can feel too heavy.
9. Arched mirror for a softer dining corner
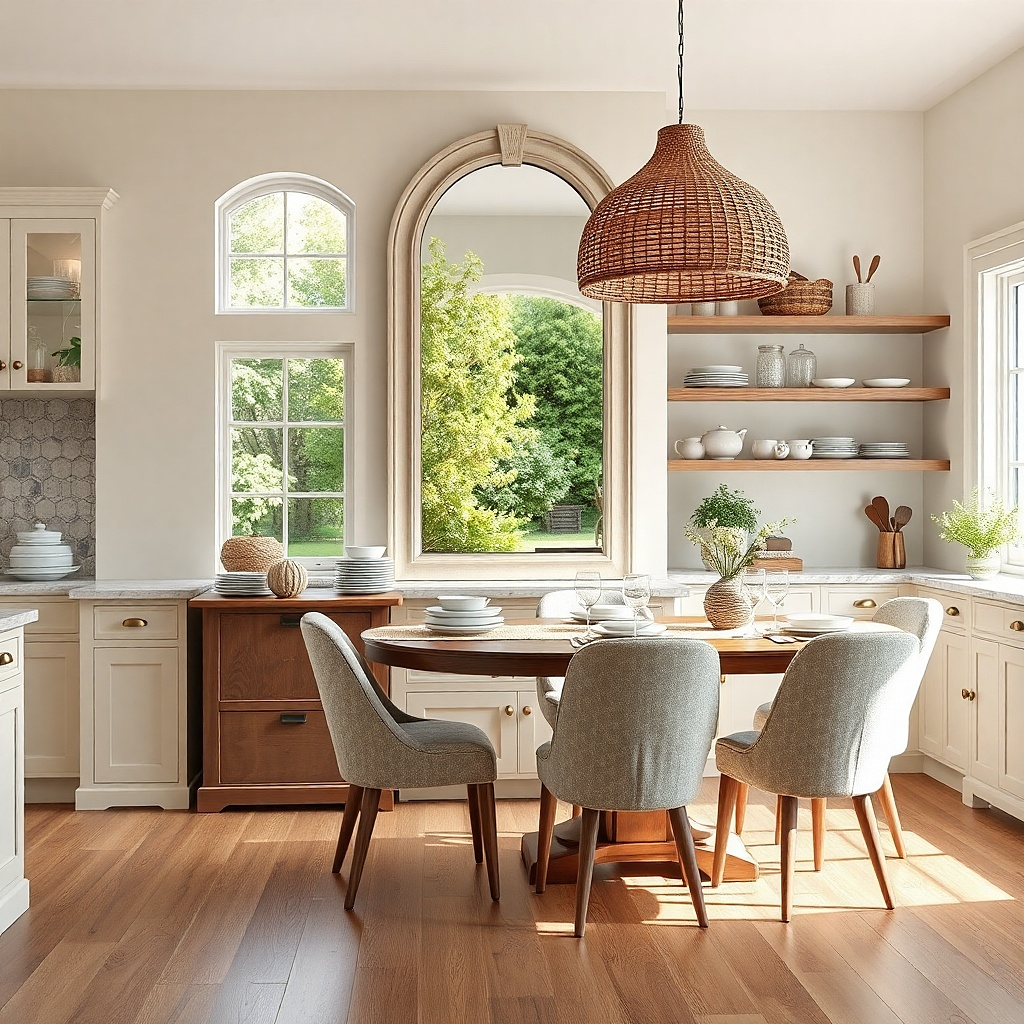
An arched mirror is a shape that reads “finished” without being loud. The curve adds softness to kitchens that already have boxy cabinets, straight backsplashes, and rectangular tables. A white frame works well with light walls and makes the mirror blend while still brightening. This idea is especially good in dining corners where you want a focal point but you don’t want a bold sunburst or heavy ornate frame. The arch also frames the reflected light in a way that looks flattering above a small sideboard or console.
Pick an arch mirror with an overall height that leaves at least 8 inches of clearance from the ceiling and any upper trim. Measure the console width and choose a mirror that’s about the same width or slightly narrower. Hang so the bottom edge lands around 60 to 64 inches from the floor, then ensure the arch is centered on the wall. Use a Z-bar bracket if the mirror is heavy, and anchor at least one side into a stud for stability. Confirm the arch outline doesn’t collide with nearby wall hooks or artwork.
Try thisMatch the frame color to trim or cabinet fronts, not to countertop stone; it makes the mirror feel built-in.
Common mistakeSkip an arched mirror if the wall already has multiple arches nearby — it can feel repetitive.
10. Oversized oval mirror for movement in a long kitchen wall
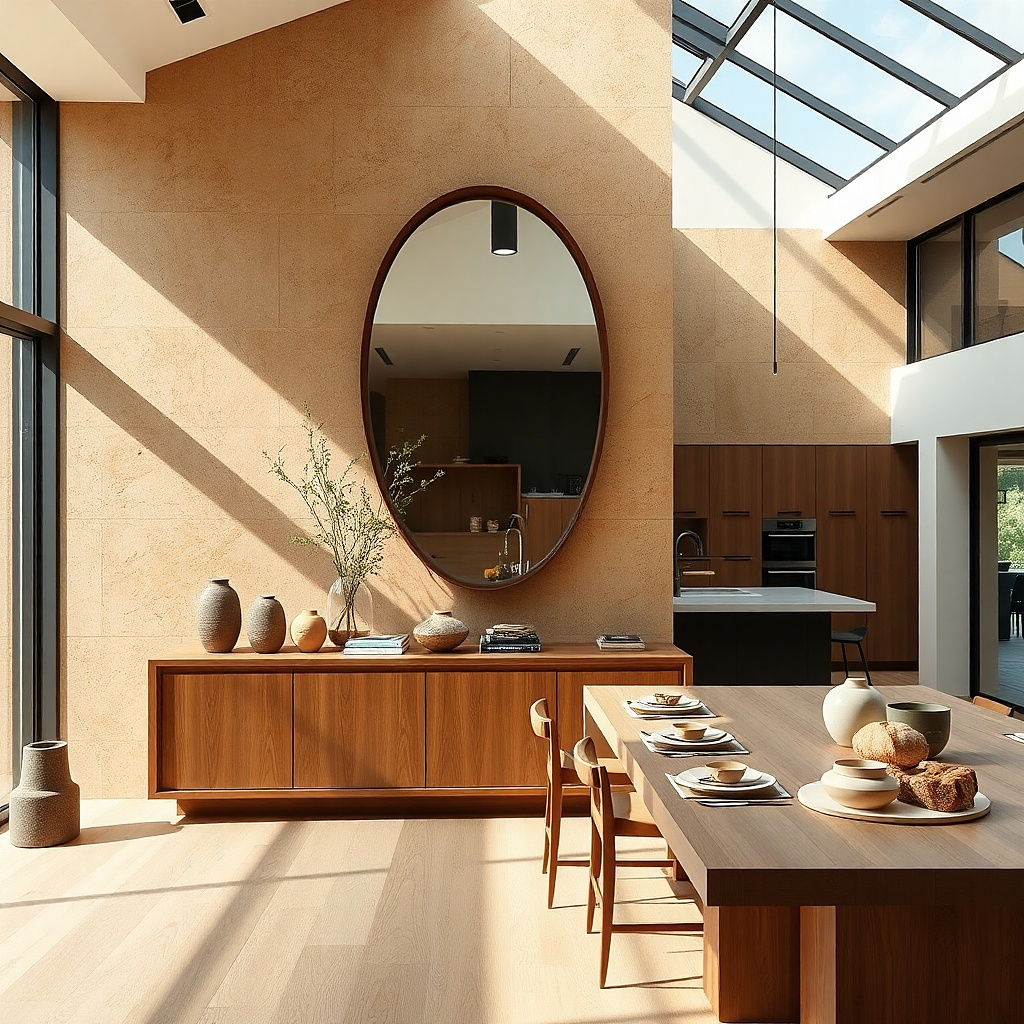
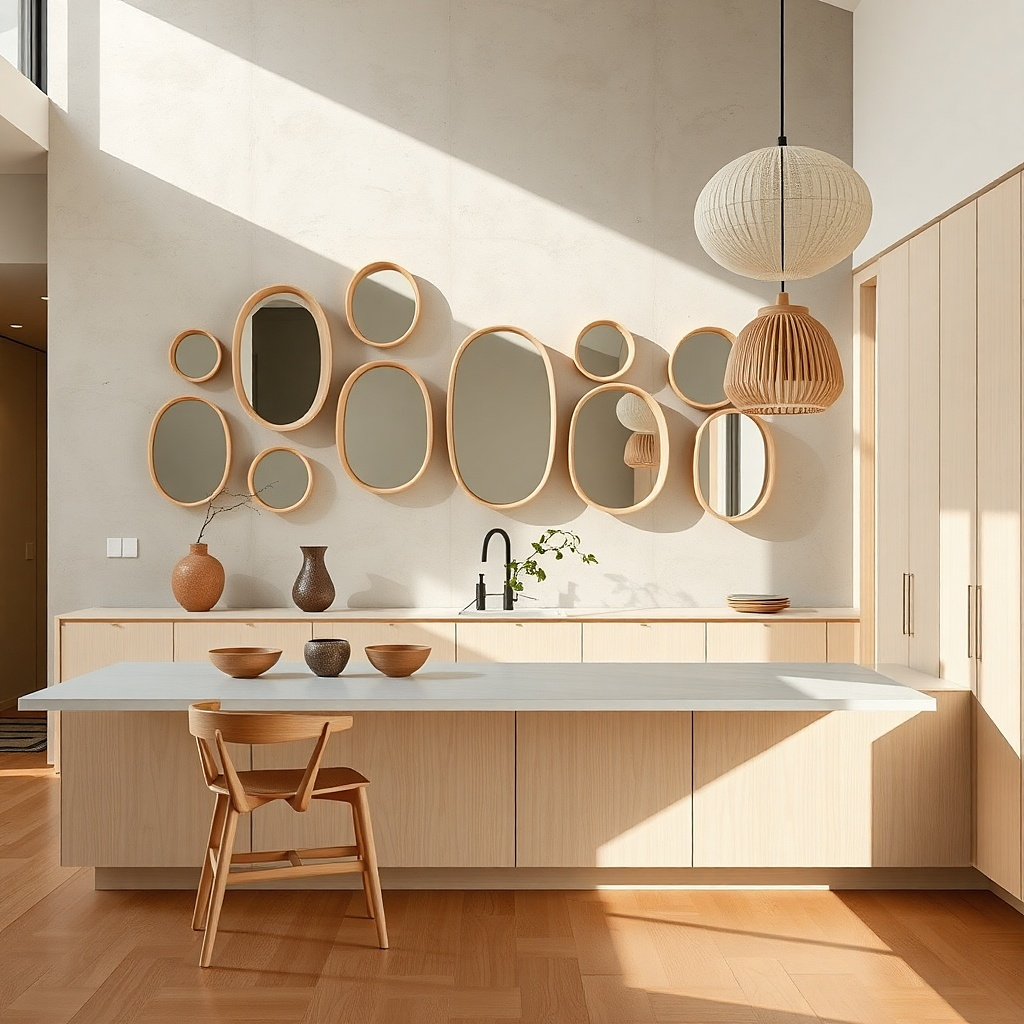
An oval mirror brings movement to long, narrow kitchen walls where a rectangle can feel too strict. The oval shape softens the “stripe” effect of long cabinet runs and gives the room a calmer rhythm. Choose a dark frame like espresso brown or charcoal for contrast against light walls, or go with warm brass if your kitchen metals are lighter. This works well in dining areas where a buffet sits against a long wall and you want the mirror to be the main visual anchor. The oval also reflects light more gently than sharp-edged rectangles, which reduces harsh glare.
Measure the width of the wall section you want to anchor. Choose an oval mirror that spans about 70 to 85 percent of that wall section width. Center it and mount with the bottom edge around 62 to 66 inches from the floor. Use a level and two-person hold if the mirror is large; ovals can swing if the bracket isn’t centered. Plan for placement so the mirror reflects a light source — even a bright open doorway counts.
Try thisKeep the decor around it simple: one tall plant or one ceramic piece on a nearby shelf keeps the oval from looking lonely.
Common mistakeAvoid an oval that’s too small — the shape needs scale to read as intentional.
11. Mirror backsplash look with a single statement panel
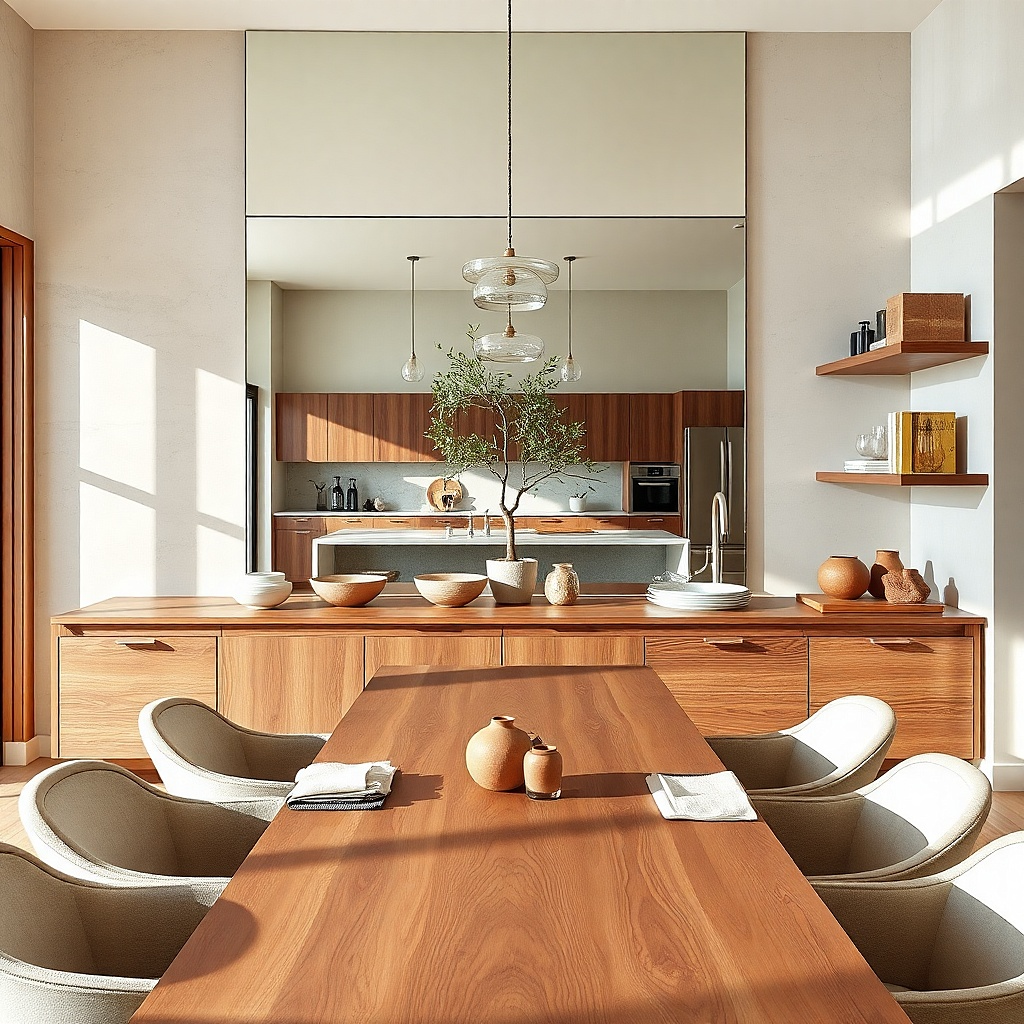
If your backsplash is busy or you don’t want to add more tile, a single mirror panel can mimic that bright, reflective effect. This idea is basically a statement mirror used like a backsplash feature, placed on a wall behind dining seating or a buffet. It’s photogenic because it adds depth the room appears to extend behind the mirror, especially when you angle lighting. Choose a mirror with a clean, minimal frame or a frameless look so it reads sleek. This is best in kitchens with solid paint walls where you want a high-impact brightness upgrade without clutter.
Pick a wall section with enough clearance from outlets or shelves. Choose a mirror panel sized roughly 24 to 36 inches high and wide enough to cover the main blank area behind seating. Mount it with proper wall anchors or a bracket system designed for mirror panels; don’t rely on tape. Install a centered mounting rail if the panel is heavy, then level and secure. Finish the surrounding wall with simple decor — a pair of small sconces or one pendant — so the mirror stays the hero.
Use warm-neutral bulbs in the nearest light fixture; mirror panels look harsh under cold blue light.
Avoid placing it directly in line with a bright overhead glare source that reflects straight into sightlines.
12. Mirror with a frame shelf for coffee-station styling
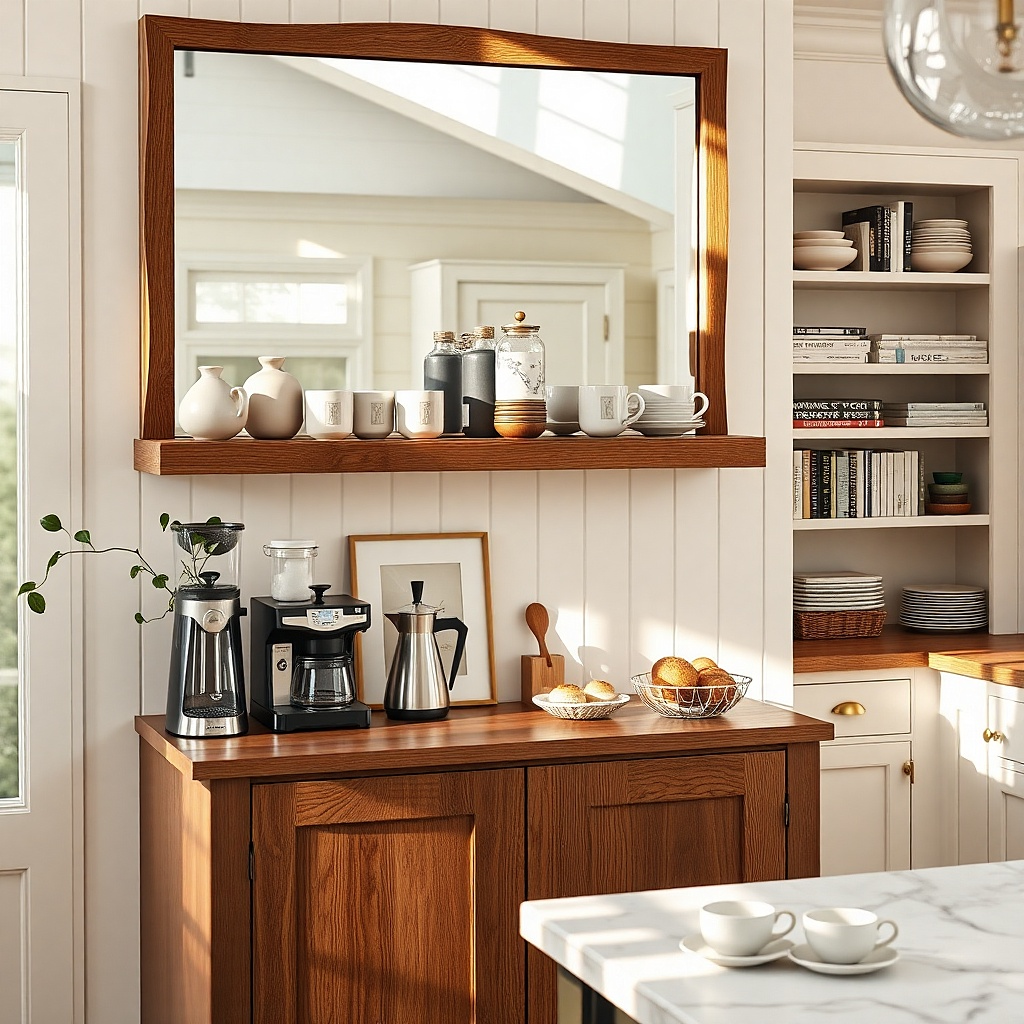
This setup works when your kitchen wall decor needs to serve a real routine. A mirror integrated with a small frame shelf gives you a place for coffee jars, mugs, or a small canister set while still delivering mirror brightness. Pick a mirror size that matches the shelf proportion so it looks built, not like two pieces stuck together. The shelf should be narrow enough to keep the wall from feeling crowded, and the items should be arranged in height order. The result looks styled in photos because the shelf adds color and texture without adding many separate decor items.
Choose a mirror-and-shelf unit sized to the wall space above your coffee station or near the dining area. Plan placement so the shelf items sit at a comfortable reach height, and keep the mirror bottom edge around 60 to 66 inches from the floor. Mount using the unit’s back brackets into studs when possible; coffee stations often sit near traffic and you want it solid. Style with 3 to 5 items max: two identical jars, one mug stack, and one small tray. Step back and check that the mirror reflection includes the coffee station so the wall looks cohesive.
Try thisUse matching jar lids or consistent label colors so the shelf looks curated without needing many pieces.
Common mistakeDon’t overload the shelf; if you can’t read the labels clearly, the shelf is too busy.
13. Mirror cluster: three staggered frames for a playful look
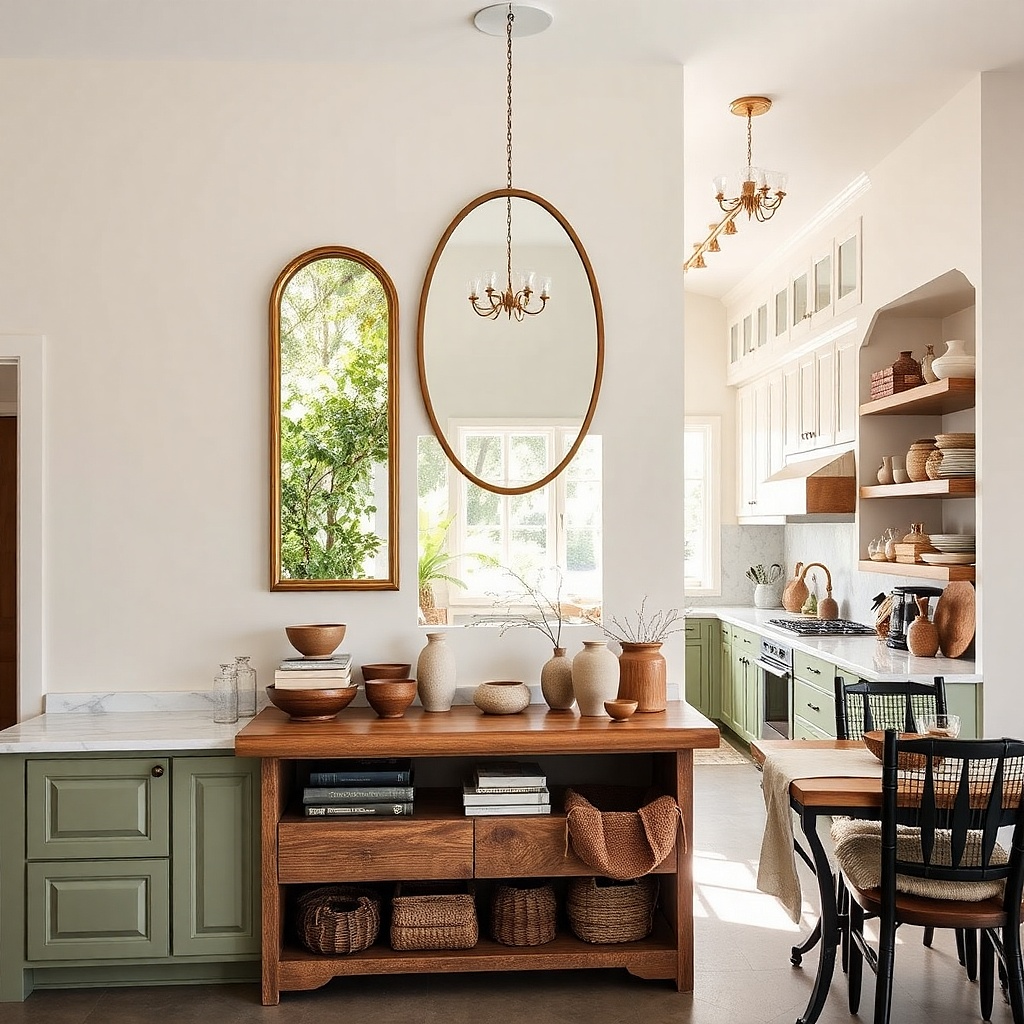
A staggered cluster makes a blank kitchen wall look designed without requiring one massive mirror. Three mirrors in slightly different sizes creates a rhythm that brightens from multiple angles, especially if each mirror has a thin reflective surface. Keep frames in the same finish family like matte black or brushed nickel even if sizes vary. This idea is great for walls near open shelving where you want the mirror decor to work with the shelf line. The cluster also solves the my wall is too wide for one mirror issue.
Pick three mirror sizes that relate to each other: for example, 10x14 inches, 12x18 inches, and 16x24 inches. Arrange them in a gentle diagonal or a loose triangle, then maintain at least 3 inches between frames so the cluster doesn’t look like one messy collage. Mark the wall with painter’s tape for spacing, level each mirror, and mount into studs or use rated anchors. Use a consistent frame finish across all three so the cluster reads cohesive. After mounting, check from the dining seat to confirm the mirrors reflect either the table light or a window.
Try thisUse one mirror with a beveled edge and keep the others simple; that gives the cluster a focal sparkle.
Common mistakeAvoid mixing metallic finishes like brass and chrome — it makes the cluster look accidental.
14. Frameless mirror with a thin metal edge for a clean kitchen
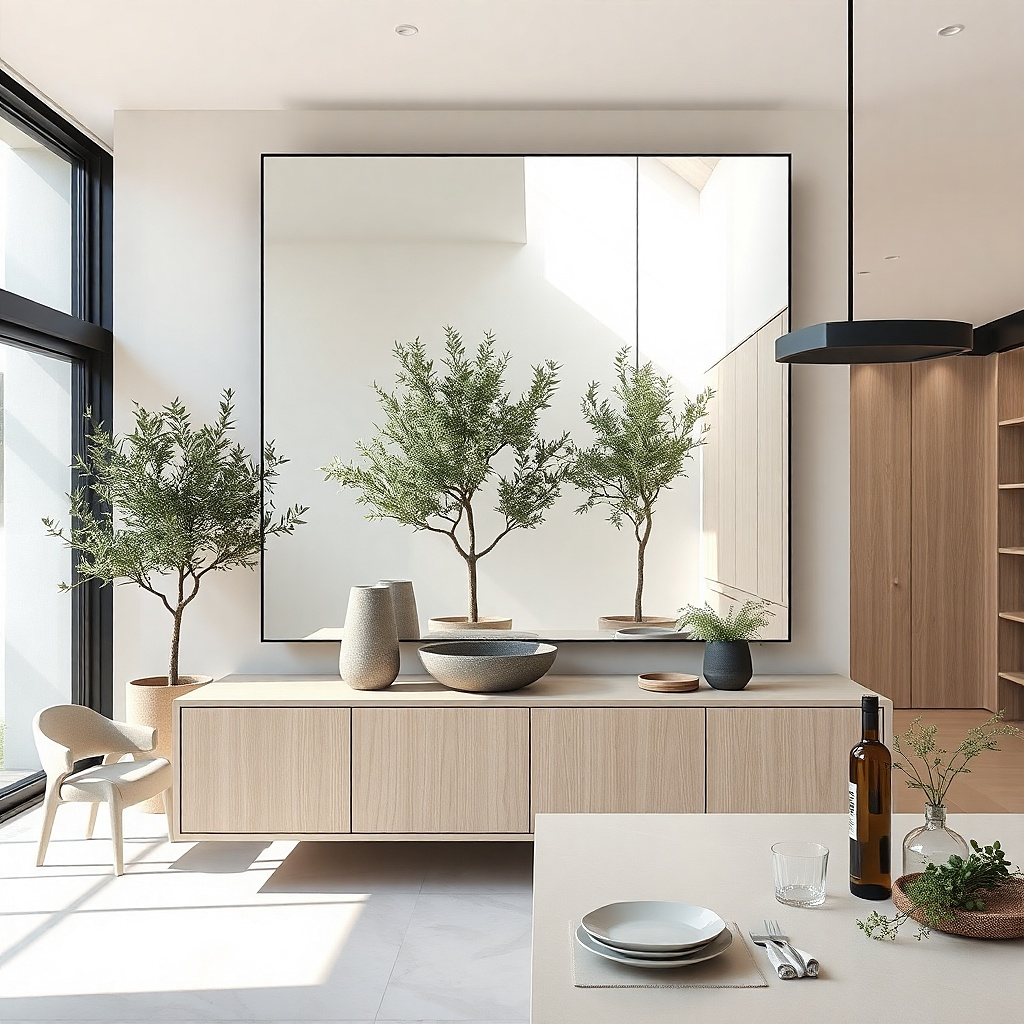
A frameless mirror with a thin metal edge is the best choice when your kitchen already has a lot going on. Without a bulky frame, the mirror reflects more of the room and visually recedes, which is exactly what you want when cabinets, open shelving, and art already fill the wall. The slim edge gives it definition so it doesn’t look like a sheet of glass stuck to the wall. This is a smart option for bright, minimal kitchens because it keeps the focus on light and layout. Place it over a buffet or centered on a blank dining wall where you want brightness but not extra visual weight.
Choose a mirror size that matches your wall space: 24 to 36 inches wide is a solid range for many dining walls. Confirm the mirror has mounting points or edge hardware designed for wall mounting; frameless mirrors need proper brackets. Install mounting clips or a Z-bar bracket level and secure into studs. Set the bottom edge around 60 to 66 inches from the floor, then check for vertical alignment from the dining seat. Style around it with one clean element such as a narrow tray or a single vase to avoid competing with the minimalist mirror.
Try thisKeep the wall color consistent and matte; frameless mirrors show wall texture and shine more than framed ones.
Common mistakeAvoid frameless mirrors if you can’t mount level — small tilt errors look obvious.
15. Mirror with a black metal industrial frame over a farmhouse table
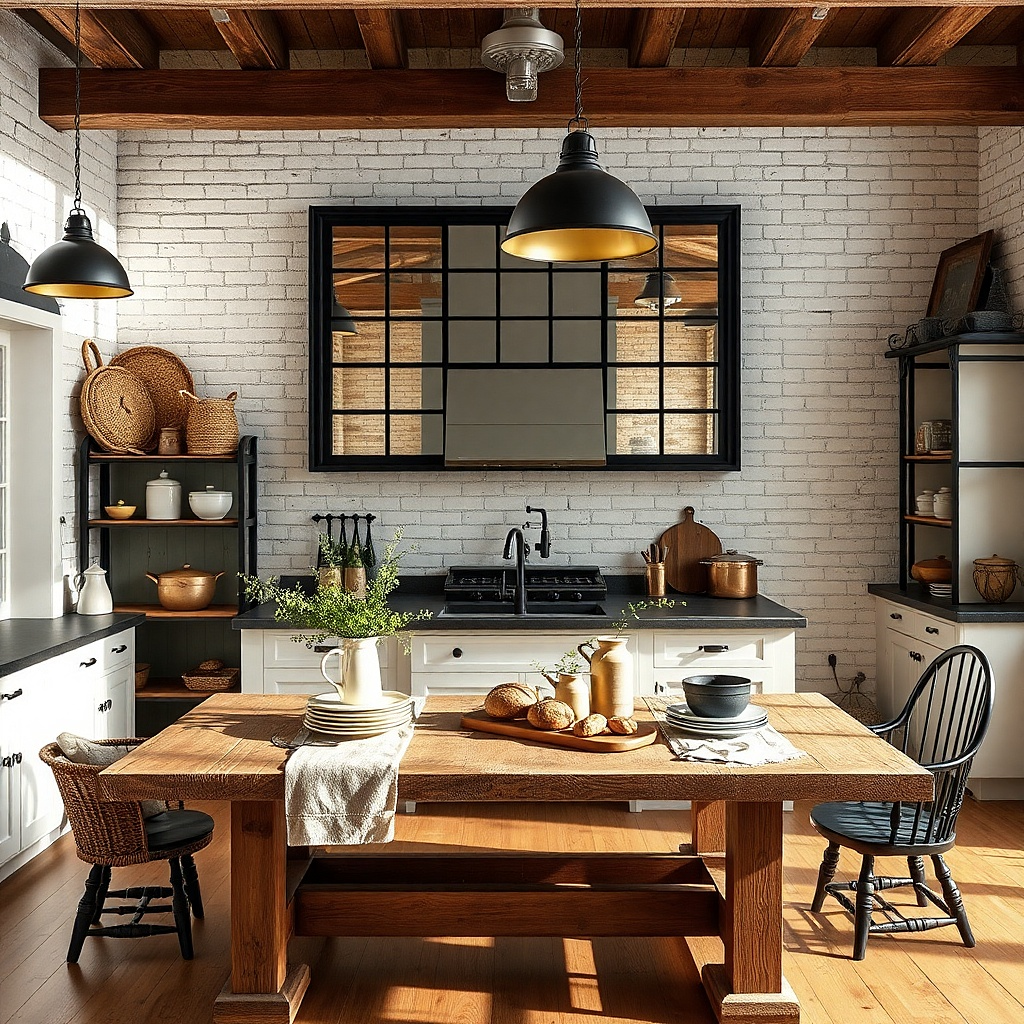
Industrial-style mirror frames add structure and contrast, which is what farmhouse kitchens need to look intentional. A black metal frame with visible hardware detail looks crisp next to warm wood tables, woven chairs, and textured linens. The mirror brightens by reflecting light, while the black frame keeps the wall from looking washed out. This works best when you have dark accents already black faucet, black cabinet pulls, or black window hardware. The frame’s straight lines also balance the softness of natural materials like oak and rattan.
Pick a mirror with a metal frame width around 2 to 3 inches so it reads like design, not a thin border. Choose a size that spans most of the space above your table or sideboard — typically 30 to 48 inches wide depending on the wall. Mount centered with the bottom edge around 62 to 66 inches from the floor. Use stud mounting hardware because metal frames can be heavier than they look. Style with a single long runner or a simple centerpiece so the mirror frame stays the focal point.
Try thisMatch the mirror frame finish to the darkest metal element in the room so the contrast feels planned.
Common mistakeDon’t pair this with shiny brass accents; it can clash and look messy.
16. Mirror with a light wood frame and woven wall decor nearby
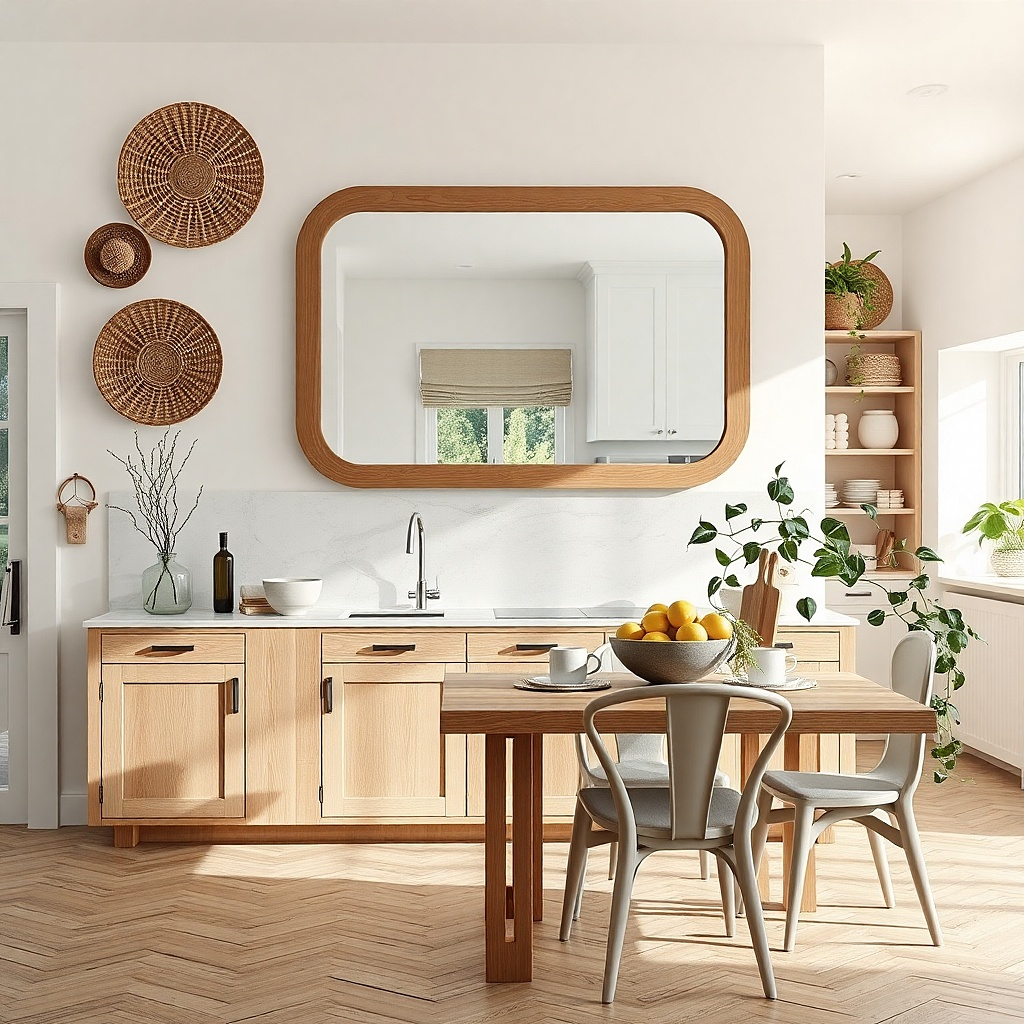
This is how you keep mirror decor from feeling too “hard” in a kitchen. A light wood mirror frame adds warmth, and placing it near woven wall decor like a small rattan tray or a woven wall basket adds texture that looks good in photos. The mirror brightens the room, while the woven piece makes the wall feel layered without adding clutter. Choose a mirror width that anchors the wall, then keep the woven decor smaller and offset to one side for balance. This combo is best when your kitchen has natural materials like wood shelves, linen curtains, or rattan dining chairs.
Choose a mirror sized to be the main anchor — usually 24 to 36 inches wide. Position it centered above a buffet or on a blank wall, then add the woven piece at least 6 inches away from the mirror edge so it doesn’t crowd the reflection. Mount the mirror into studs and use a level before tightening. For the woven piece, use a picture hook or small wall anchor rated for the weight of the basket. Keep colors consistent: light oak frame plus natural tan or off-white woven texture.
Try thisUse off-white woven pieces, not bright orange straw the mirror reflection makes warm tones look calmer.
Common mistakeAvoid pairing two large textured items at once; one texture plus the mirror is the sweet spot.
17. Backlit mirror panel for a bright, restaurant-style dining wall
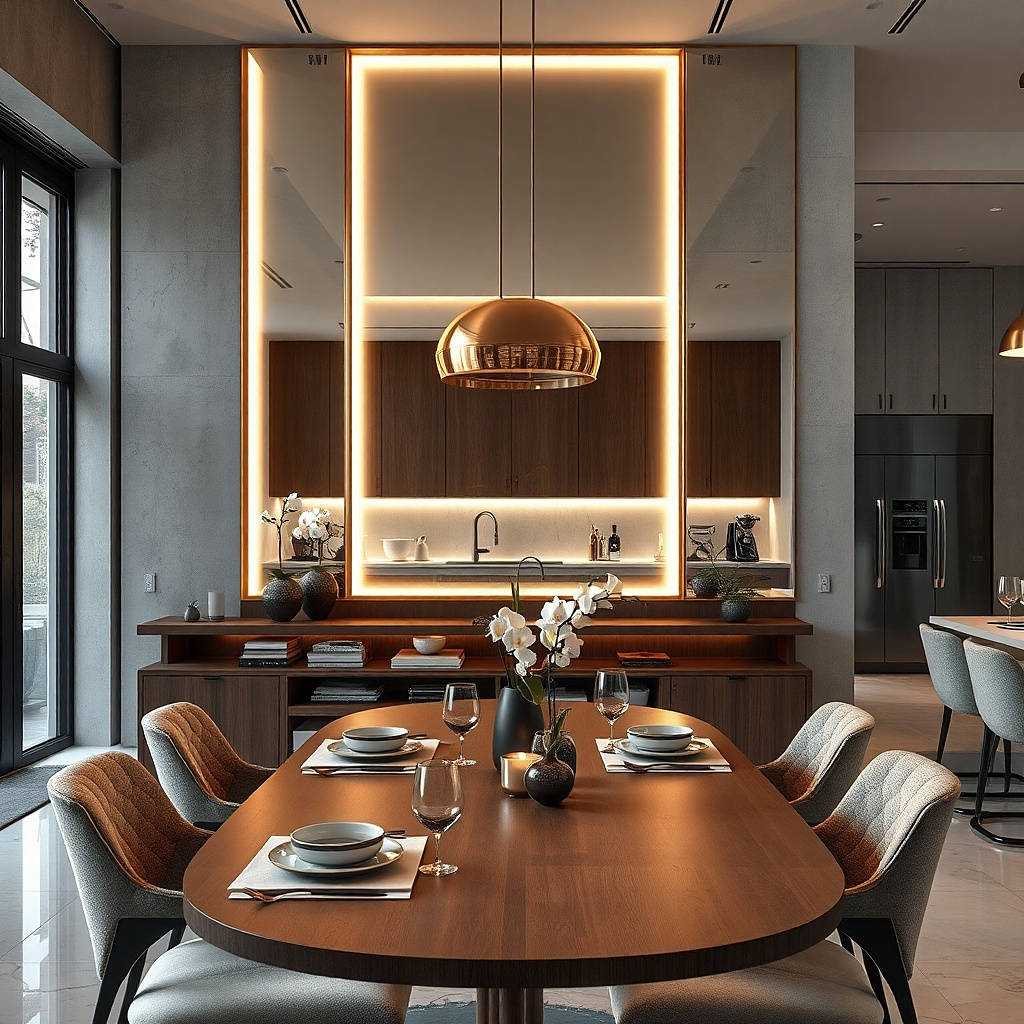
If your kitchen wall lighting is weak, a backlit mirror fixes that at the source. The mirror’s own glow brightens the wall evenly, so you don’t rely on glare from overhead fixtures. This looks especially good above a dining console or buffet because the reflection becomes a clean halo that makes dishes and ceramics look sharper. Choose a rectangular panel with a slim frame and a neutral color temperature warm white so it doesn’t turn the kitchen into a cold showroom. This idea is for people who want brightness that looks intentional, not just reflective glass.
Pick a backlit mirror with integrated LED and a slim, sealed frame. Measure the wall and choose a size that covers the main blank area — often 24 to 40 inches wide. Plan the electrical route before mounting; you need a proper connection point or a mirror with a plug-in option. Mount using the bracket system and level it carefully, then set the brightness to a warm setting if the mirror offers controls. Style the area with light-colored ceramics so the backlight shows texture instead of shadows.
Try thisUse warm white (around 3000K) so the glow flatters wood and stone tones.
Common mistakeAvoid placing it where it reflects directly into the eyes from the dining seat; angle it so glare lands on the wall.
18. Mirror with decorative molding frame for a classic kitchen look
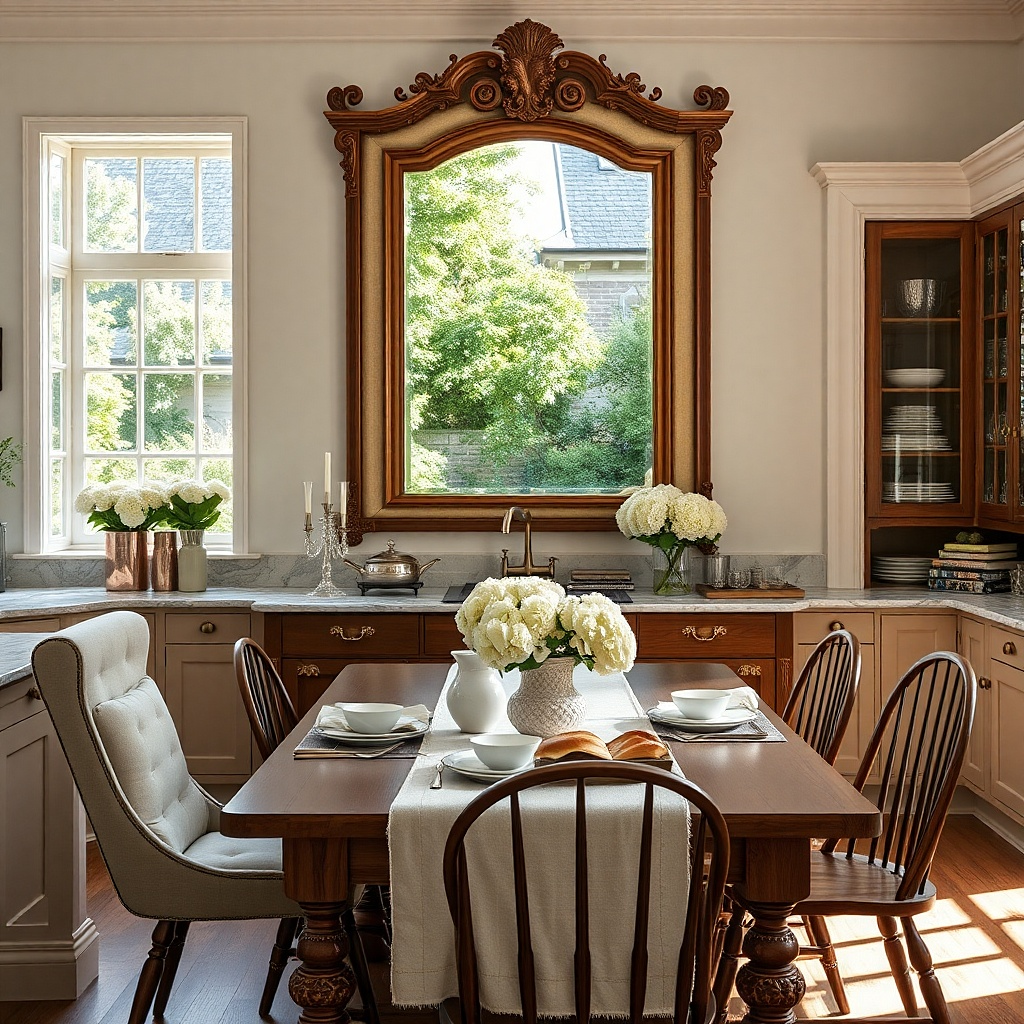
Classic molding frames make mirror decor feel finished, especially in kitchens that have traditional elements like crown molding or classic cabinet profiles. A cream or soft white frame keeps the mirror bright without leaning into heavy ornament. This option is photogenic because the frame creates depth you get highlights on the molding and a clean reflective center. It works well above a buffet, where you already have tableware and linens that look best against a more traditional backdrop. Keep the mirror size medium-large so the molding reads proportional, not like a small picture frame.
Choose a mirror frame that has a visible molding profile and a color tied to trim or cabinet fronts. Select a mirror width around 24 to 40 inches depending on wall size, then center it above your buffet. Mount at about 60 to 66 inches from the floor for the bottom edge, and use a bracket for stability if the frame is heavier. If you’re hanging near tile or textured walls, confirm the mounting method works with the surface so the mirror doesn’t wobble. Style with one tray and one vase on the buffet to keep the classic look from turning cluttered.
Try thisKeep the buffet decor in neutral tones so the cream frame and mirror reflection stay the focal contrast.
Common mistakeAvoid overly ornate frames if your kitchen already has patterned wallpaper or busy backsplash tile.