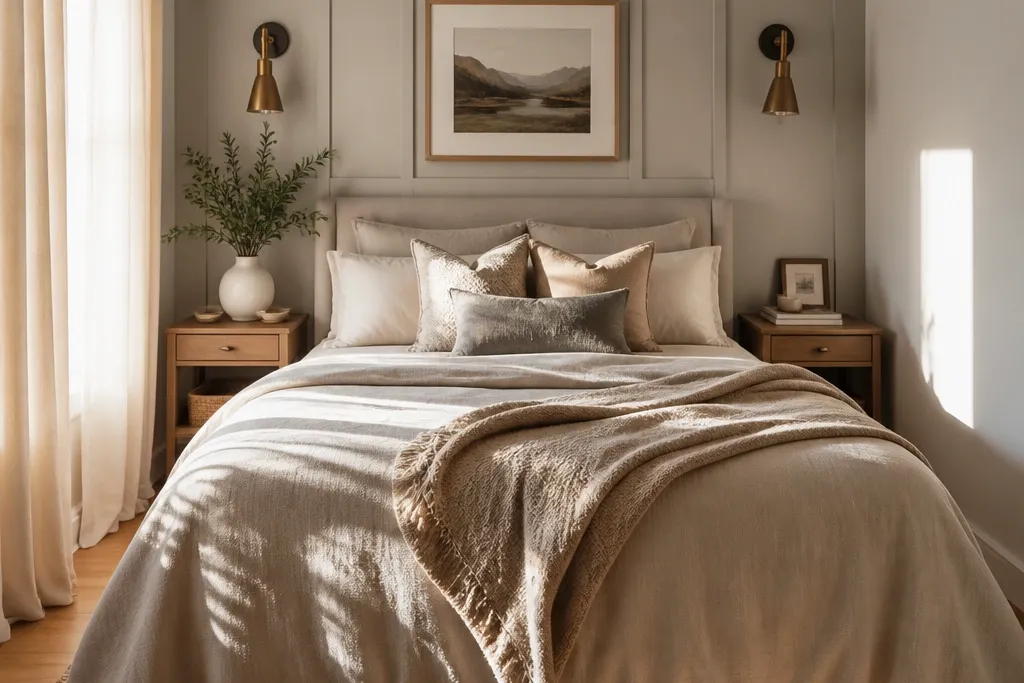
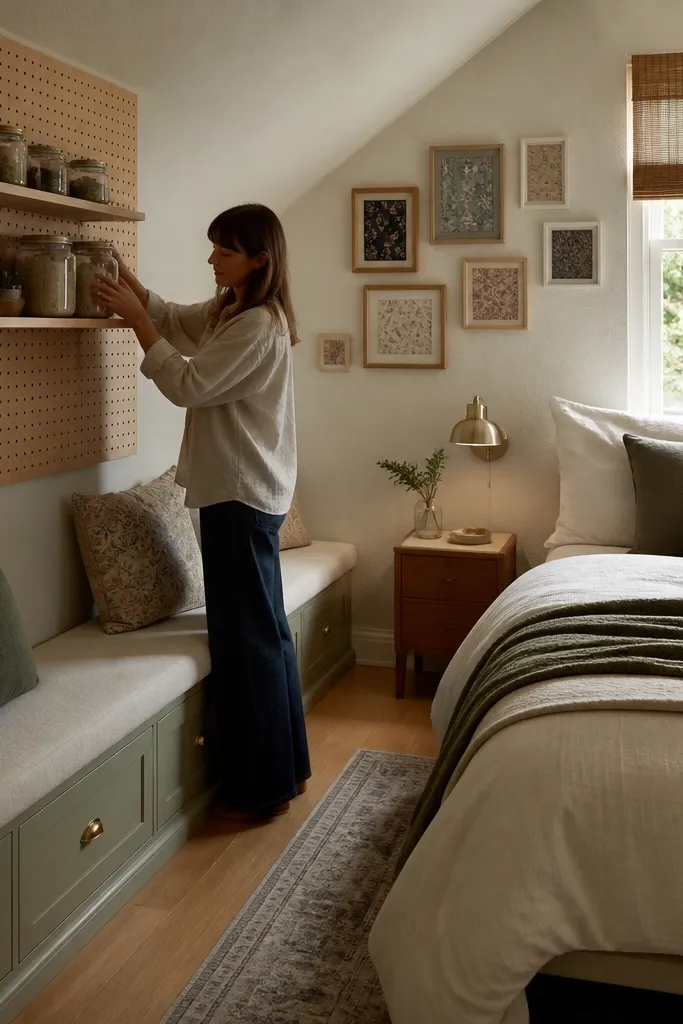
1. Peel-and-stick wall panel behind the bed
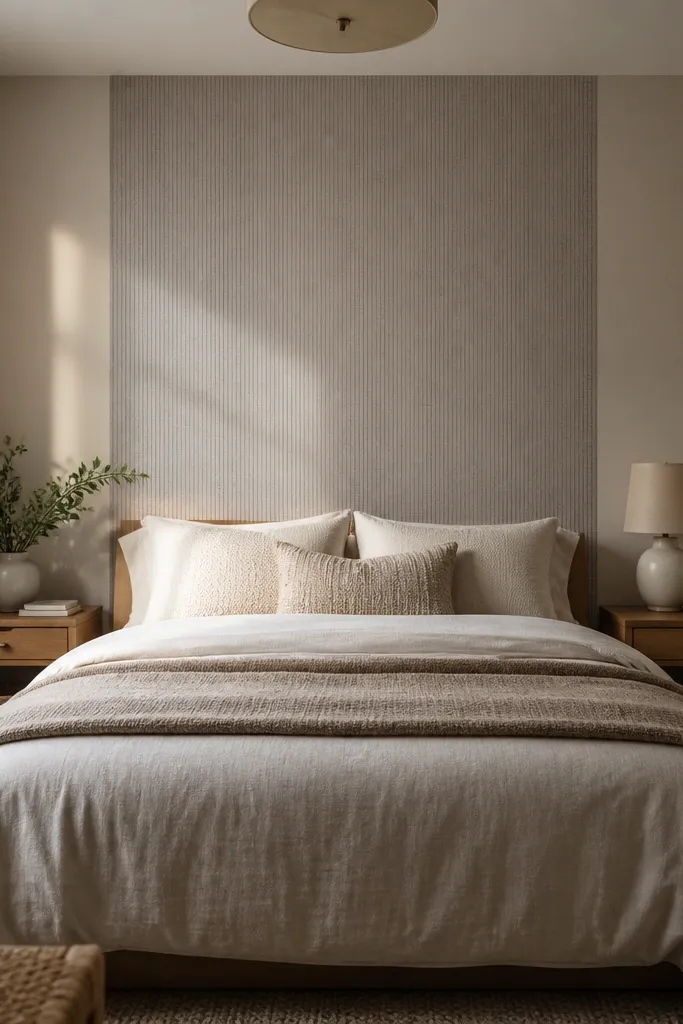
Start by measuring the bed width and deciding the panel size. Cut the peel-and-stick to match a centered rectangle about 2-4 inches wider than the headboard on each side, and align the top edge roughly 2-6 inches above the headboard. Clean the wall with a dry cloth, apply the first strip carefully, then smooth with a plastic scraper to avoid bubbles. Finally, press edges firmly and tuck any small gaps behind the headboard line with a small trim strip.
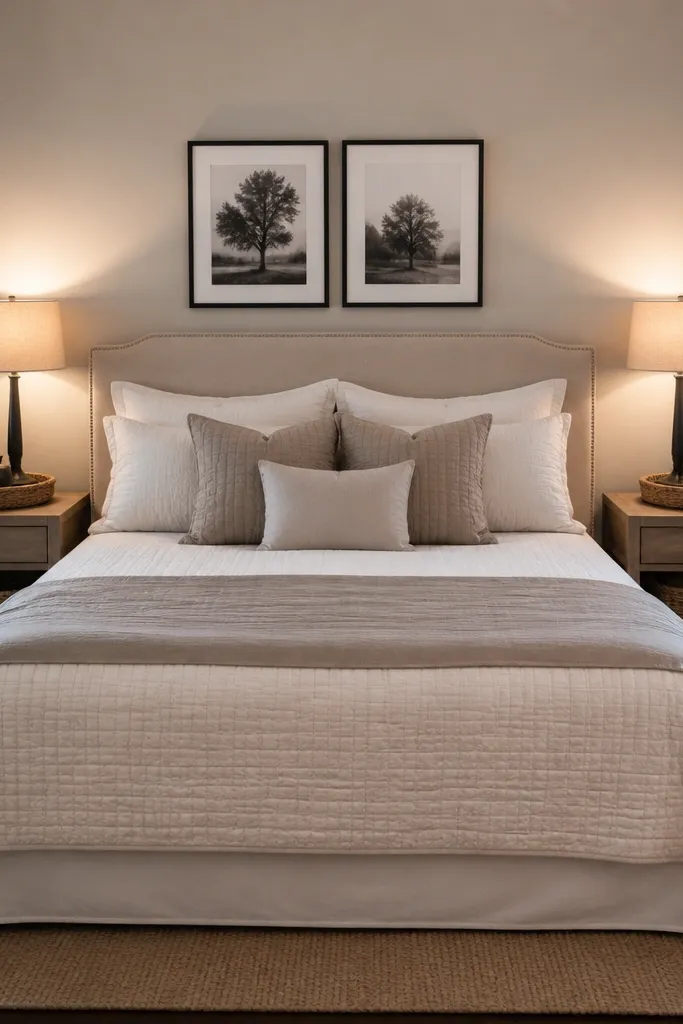
This is the fastest way to make a small bedroom feel designed because it changes the bed wall — the first thing your eyes hit. Choose a peel-and-stick pattern with low contrast and a warm tone, like oatmeal, warm gray, or muted sage. Apply it as a rectangle centered behind the bed head height, not wall-to-wall, so the room still feels open. The texture and color give cozy depth without adding bulky furniture. It also hides wall imperfections that make small rooms feel “unfinished.”
Common mistakeDon’t cover the entire room with a loud pattern; one bed-wall panel is enough.
Try thisPick a pattern that repeats quietly if it’s busy, it will shrink the room visually.
2. Fabric headboard using a thrifted blanket and plywood
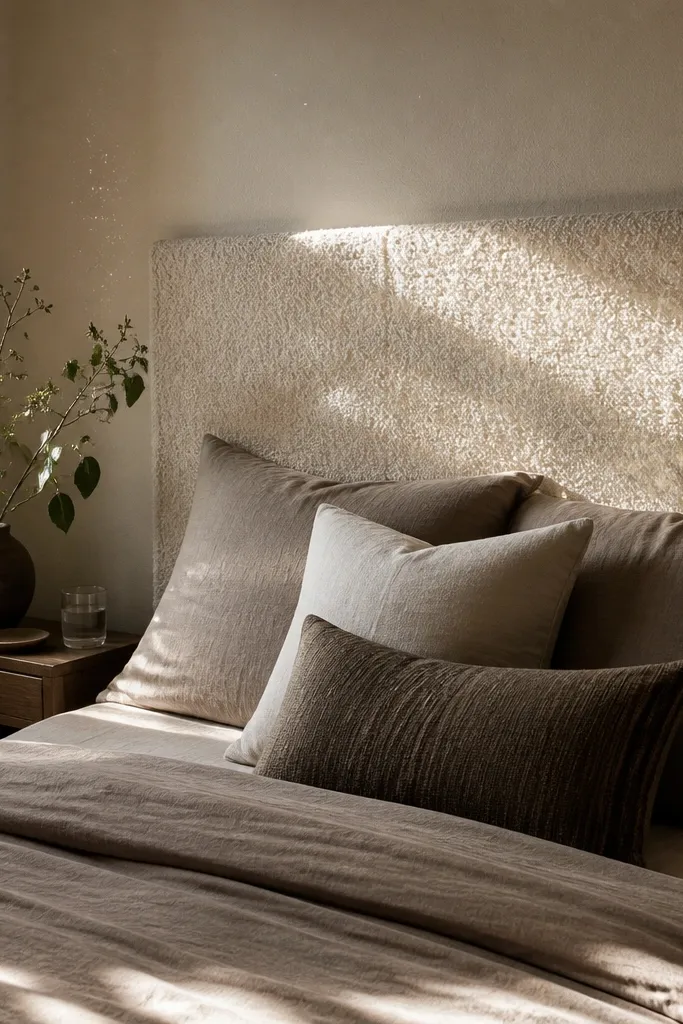
Cut a plywood panel to the width of your bed head area, then add batting on top with a staple gun. Stretch your fabric over the batting and staple on the back edges, keeping tension even so it doesn’t ripple. Mount the finished panel with wall anchors or French cleat brackets so it sits 1-2 inches off the wall for a neat shadow line. Plan on about 2-3 hours if you’re measuring and stapling carefully.
A headboard makes a small room feel custom because it anchors the bed like it belongs there. This DIY gives you a soft, cozy look without buying a full upholstered frame. Use a plywood backing (or a pre-cut panel) covered with batting and a heavy blanket or upholstery fabric in your cozy direction — cream boucle, warm linen, or a deep green knit. The extra softness helps the room feel calmer and warmer, especially if your walls are plain and cool. It also lets you skip bulky furniture that crowds a tight space.
Common mistakeDon’t use thin fabric that shows wrinkles; it will look handmade in a messy way.
Try thisChoose fabric with a matte finish; sheen makes tight rooms look smaller.
3. Curtain rod higher than the window
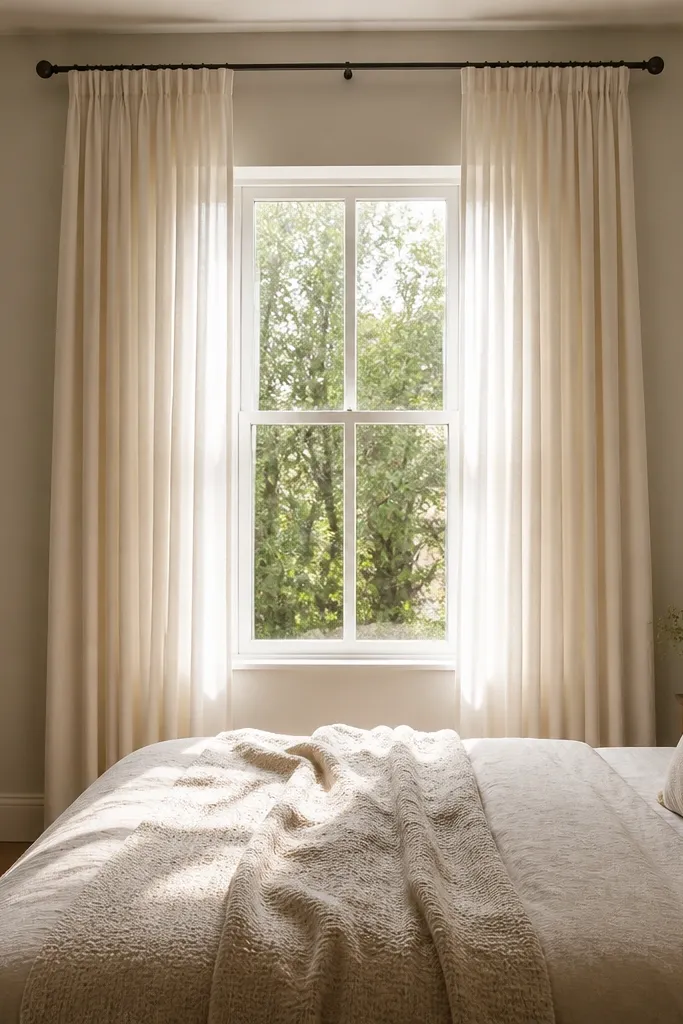
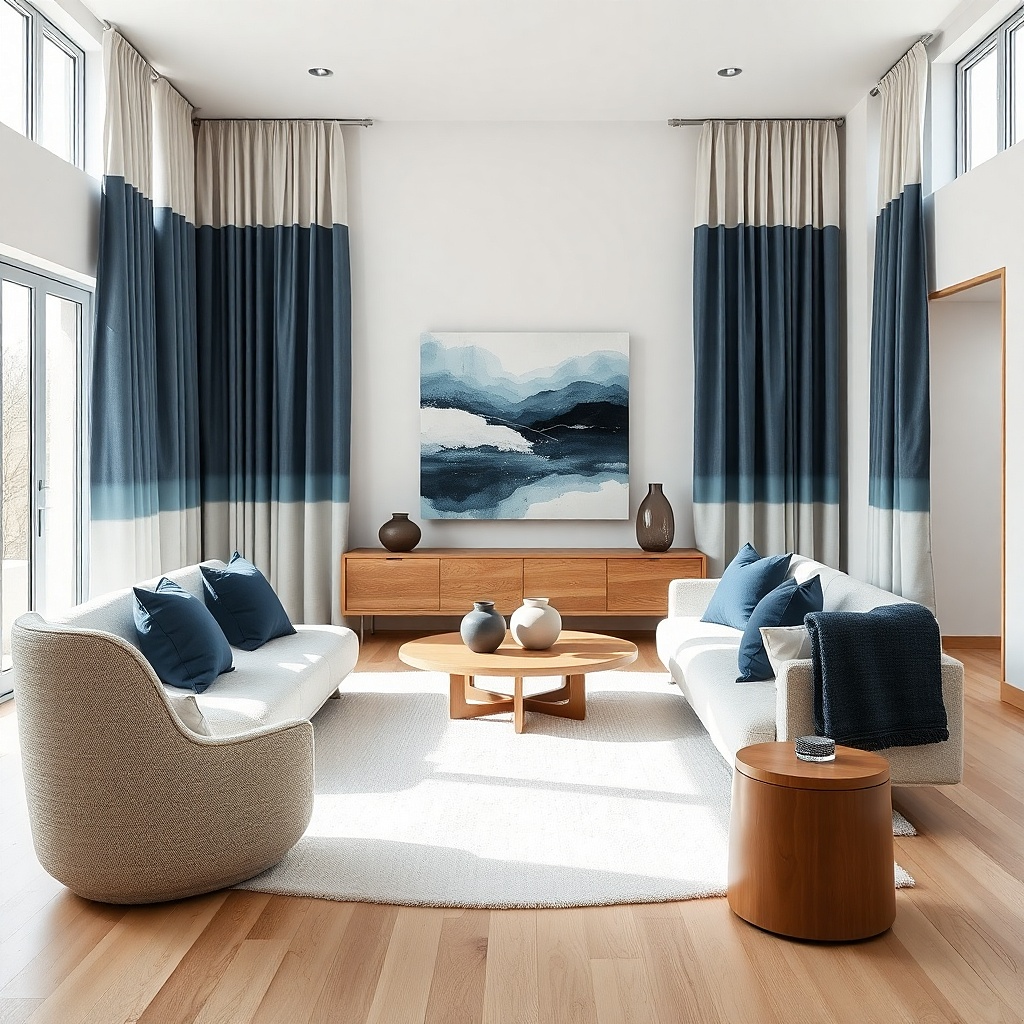
Higher-hung curtains make a small bedroom feel taller because they stretch the visual lines upward. This is one of the quickest changes that looks expensive when done right. Use a tension rod or wall-mounted rod and hang curtains 4-8 inches above the window frame, with the rod extending 4-6 inches past each side. Choose a thick linen-look panel or blackout curtain in warm white, oat, or sand. The weight and drape create cozy softness and improve privacy without extra furniture.
Measure the window width and decide rod length with 4-6 inches extra on both sides. Mark rod bracket holes 4-8 inches above the window top, use a level, then install anchors if needed. Hang curtains so the bottom hits about 1-2 inches above the floor if you want a clean look, or 1/2 inch above if your room is very small. Budget 30-60 minutes for measuring and installation.
Let the curtain touch the floor lightly if you want the room to feel warmer and more finished.
Don’t hang curtains at window height; that makes the ceiling feel lower.
4. Linen-look wall drape with tension hooks
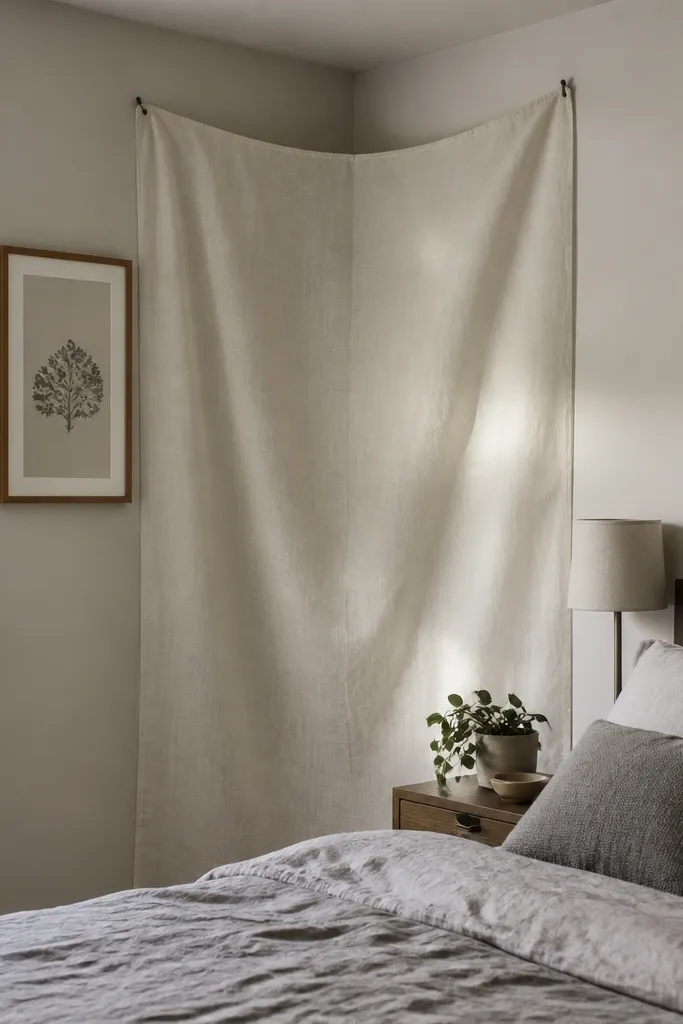
Use two to four picture hooks or Command hooks along the wall at the height you want, about 8-12 inches above your focal point. Drape the fabric so it covers a vertical area roughly 24-48 inches tall, then adjust until the folds look natural. Secure the fabric edges with small clips or extra hooks so it doesn’t slide. This takes about 45-75 minutes and needs no power tools.
A fabric drape adds texture and warmth without taking floor space, which is exactly what small bedrooms need. It’s also forgiving: you can hide an awkward corner, a cable run, or a blank wall with something soft. Use a single wide strip of linen-look fabric in cream or warm gray and hang it with a slight wave — not tight like a banner. The result reads cozy because fabric absorbs light and reduces the harshness of small rooms. Keep the drape on one wall only so it doesn’t turn into clutter.
Common mistakeDon’t cover the entire wall; a drape should frame, not replace, your decor.
Try thisChoose fabric with a soft weight so it folds. Thin sheers look flat and don’t add cozy depth.
5. Under-bed storage bins with a matching fabric front
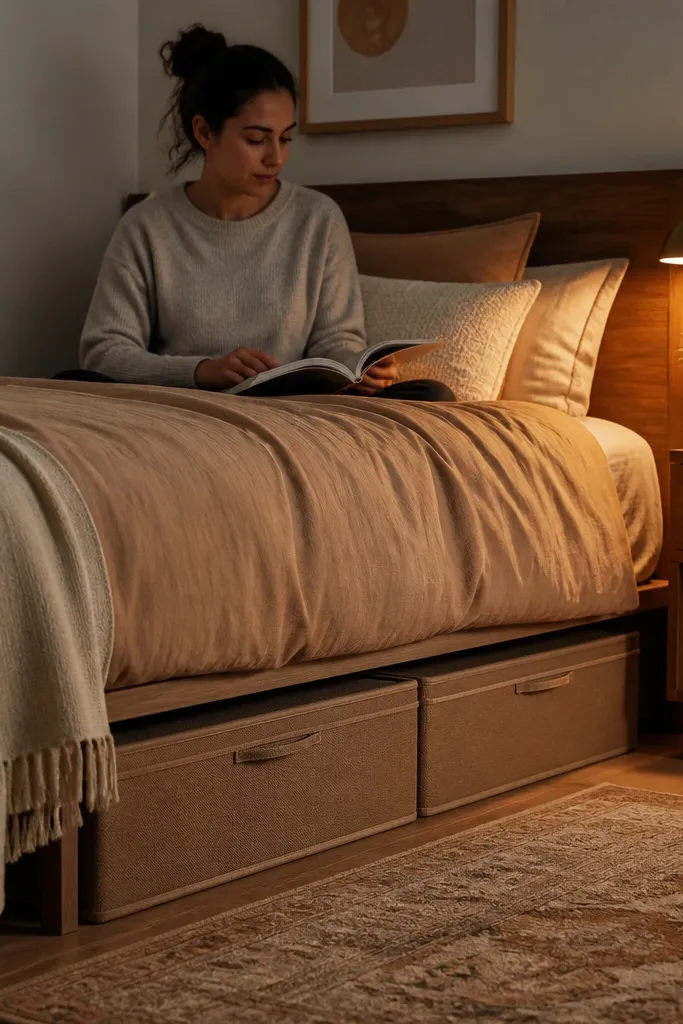
Small rooms feel smaller when storage is visible. This project hides the mess and keeps the floor looking clean, which makes the room feel custom. Use closed bins under the bed, then add a fabric front in the same color family as your bedding. Pick a fabric that looks slightly textured, like cotton canvas or heavyweight jersey, so it doesn’t sag too flat. When the bins disappear, you get more breathing room for visual calm. It’s also practical: you can store extra linens, seasonal clothes, or shoes without cluttering surfaces.
Slide bins under the bed first, then measure the front width and height you want to cover. Cut fabric panels with a little extra, and attach them to the bin fronts using Velcro strips or a few sewn loops around the bin edges. Keep the top edge straight and press fabric flat before attaching so it doesn’t look wrinkled. Plan 1-2 hours depending on how many bins you use.
Use the same color as your bed skirt or duvet so the storage blends in naturally.
Don’t use a fabric that’s too stiff; it will look like a cover draped over a box.
6. Two-height lamp setup with warm shades
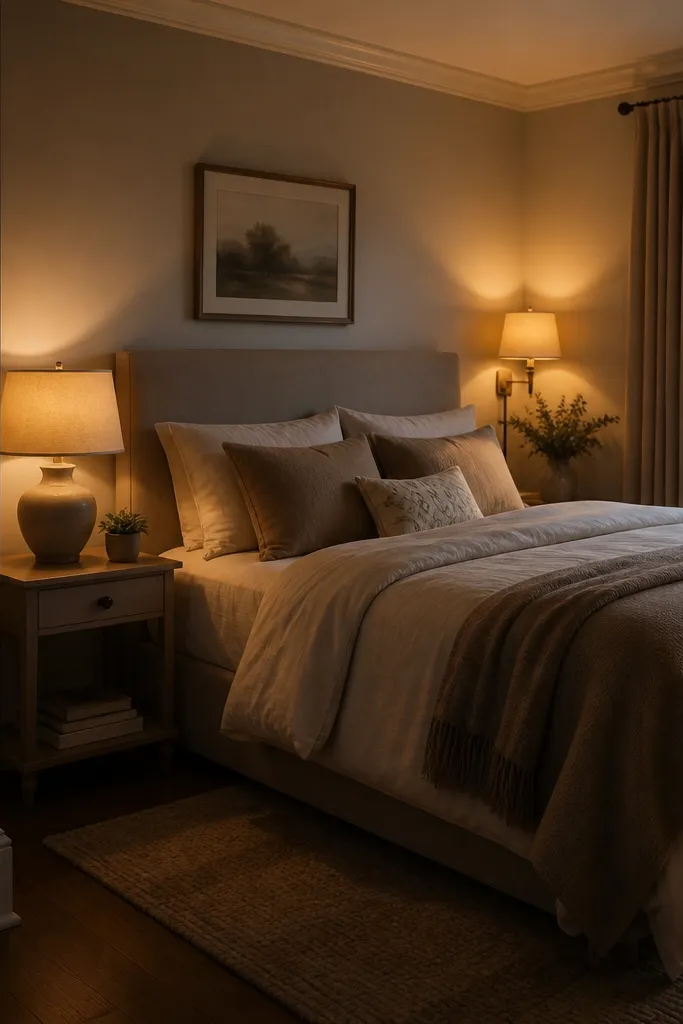
Swap bulbs to 2700K first. Place the bedside lamp so the shade top sits about level with your head when you’re lying down, then set the second light 3-5 feet away and slightly higher. If you’re using a wall sconce, aim the light down toward the bed wall, not straight out into the room. Budget 30-90 minutes for placement and simple wiring or plug-in setup.
Cozy light is about layers, not just brightness. A small bedroom looks cramped when everything is lit from one spot at one height. Add one bedside lamp and one additional warm light source, such as a wall sconce or a floor lamp on the opposite side of the bed. Use shades in warm white, oatmeal, or taupe so the light bounces softly. This reduces harsh shadows and makes the room feel inviting even during the day. It also makes your DIY wall and headboard look more intentional because the textures catch light.
Common mistakeDon’t mix cool white bulbs with warm bulbs; the room looks patchy fast.
Try thisUse dimmable bulbs if you can. Cozy reads better at lower light than at full brightness.
7. Wood slat accent wall strip behind the bed
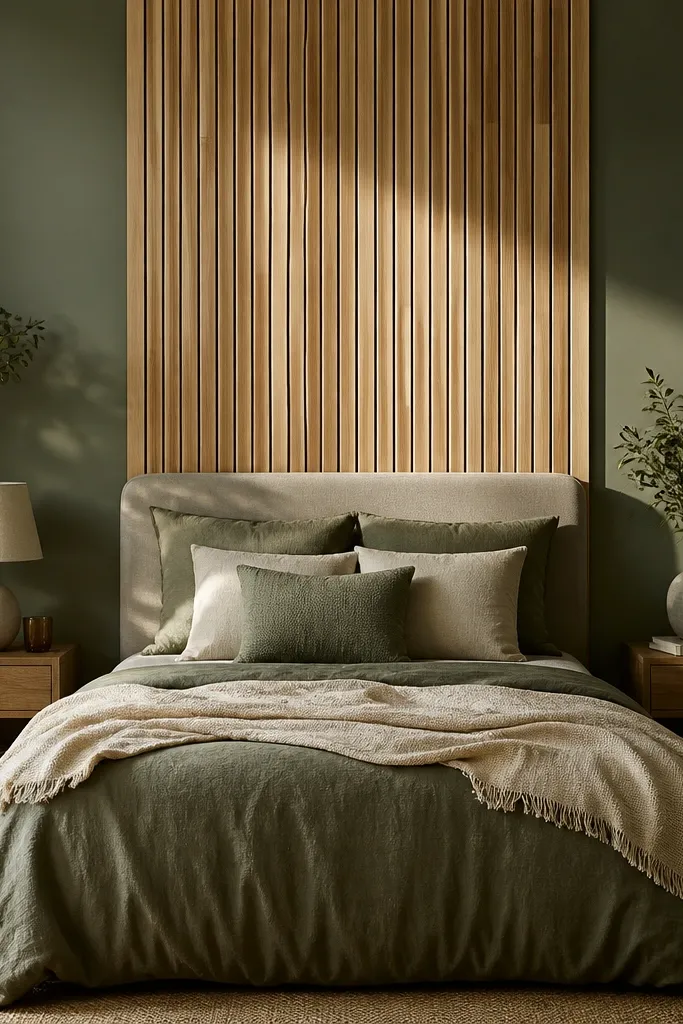
Measure the bed width and decide a slat strip width about 8-12 inches wider than the headboard. Cut slats to the height you want, usually 48-60 inches, and dry lay them on the floor to check spacing (start with 1/2 inch gaps). Glue and nail or glue only depending on your wall, then use a level to keep the whole strip straight. Plan 2-4 hours with careful cutting and alignment.
Wood slats add cozy warmth because they bring a natural material into a small space without furniture bulk. Instead of covering the entire wall, use a vertical or slightly staggered slat layout in a centered strip behind the bed. Choose light oak or stained pine for warmth, and keep the slats narrow (about 1-2 inches wide) so the wall doesn’t feel heavy. This works especially well if your room has a plain wall and you want a custom look that still feels airy. The slats also give a subtle shadow pattern that looks better at night.
Common mistakeDon’t go with thick slats; they make small walls look smaller.
Try thisSand edges lightly before installing so the slats don’t catch light harshly.
8. Picture ledge with thrifted frames in one color family
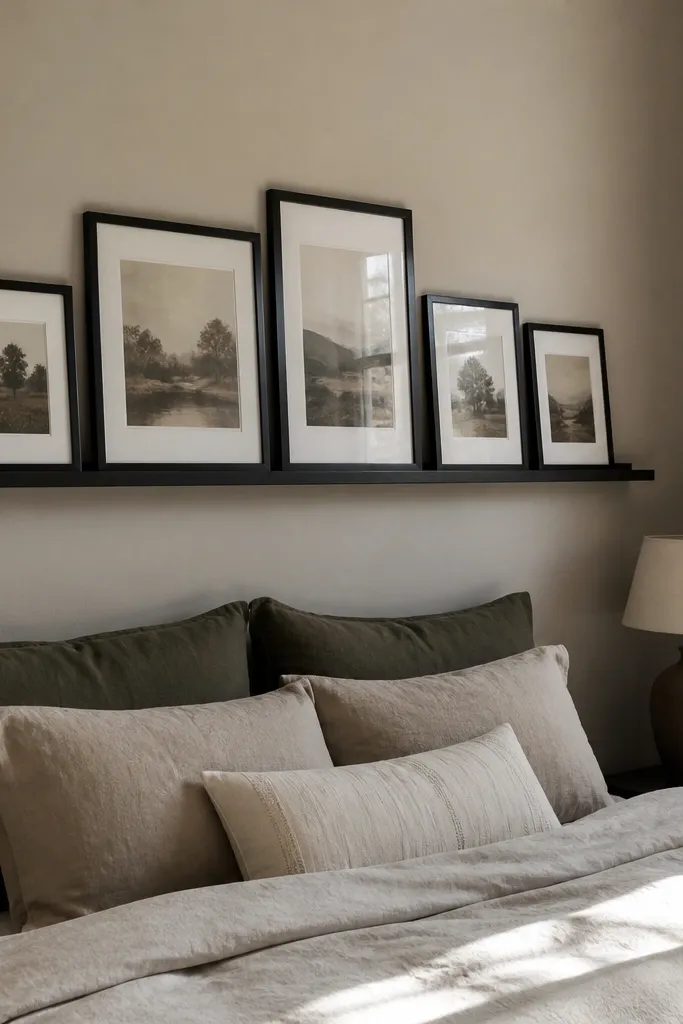
Install a picture ledge about 8-12 inches above the headboard top, using anchors if needed. Lay out frames on the ledge first to decide spacing, aiming for even gaps. Use foam pads or felt strips behind frames so they don’t slide. This is a 45-90 minute project if you already have frames.
A picture ledge makes the wall look styled even when you’re working with a small footprint. The trick is to keep the frames in one finish so you don’t create visual clutter. Use a matte black, warm wood, or white frame finish consistently, and choose prints that match your cozy base — warm neutrals, soft landscapes, or simple typographic cards. Set the ledge above the bed line so it doesn’t crowd the ceiling. This gives you a custom feel without building a full gallery wall.
Common mistakeDon’t mix too many frame finishes; it breaks the cozy, tailored look.
Try thisUse one larger frame centered and smaller ones flanking it for a cleaner read.
9. Fabric wall pockets for bedside clutter
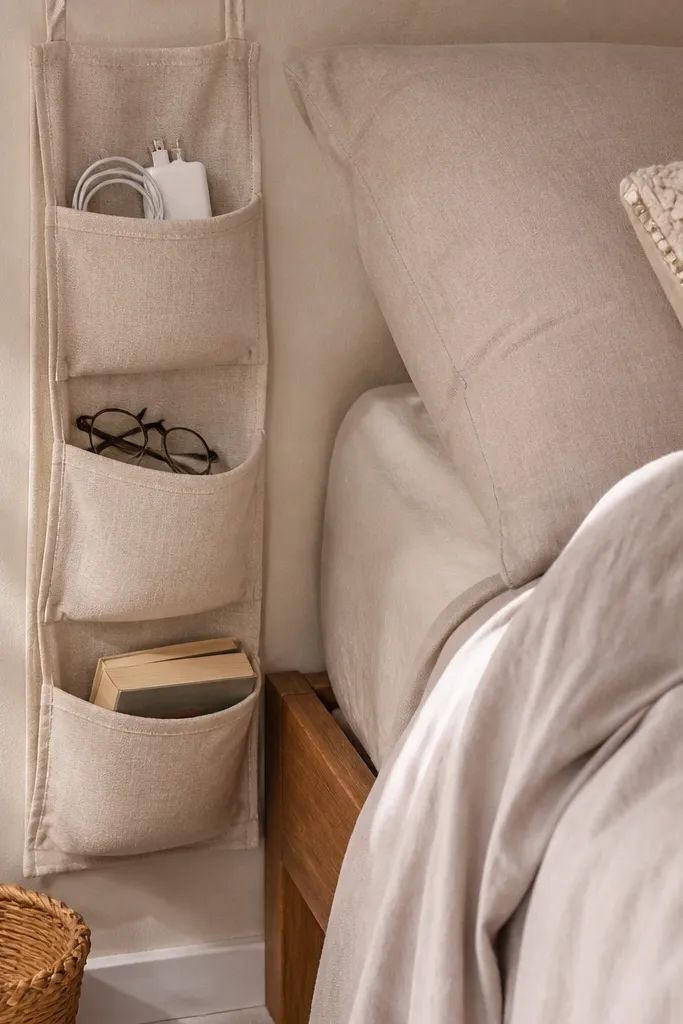
If your nightstand is small or you keep moving items around, wall pockets solve it fast. They add softness and hide everyday items like chargers, glasses, and a book stack. Choose pockets in canvas or linen-look fabric in cream, taupe, or muted sage so they blend with your bedding. Mount them next to the bed where your hand naturally reaches, not across the room. This reduces clutter on surfaces, which makes the small bedroom feel larger and calmer.
Pick pocket sizes that match your items, then mark mounting points next to the bed. Install with wall anchors or strong adhesive strips rated for your wall type. Arrange pockets so the top edge sits around 36-44 inches from the floor, depending on your height. Fill them after mounting so you can confirm the layout looks balanced. Plan 30-60 minutes.
Limit it to 3 categories: reading, electronics, and small daily items.
Don’t overfill; a stuffed pocket looks messy and kills the cozy effect.
10. Thrifted wardrobe door turned into a headboard backdrop
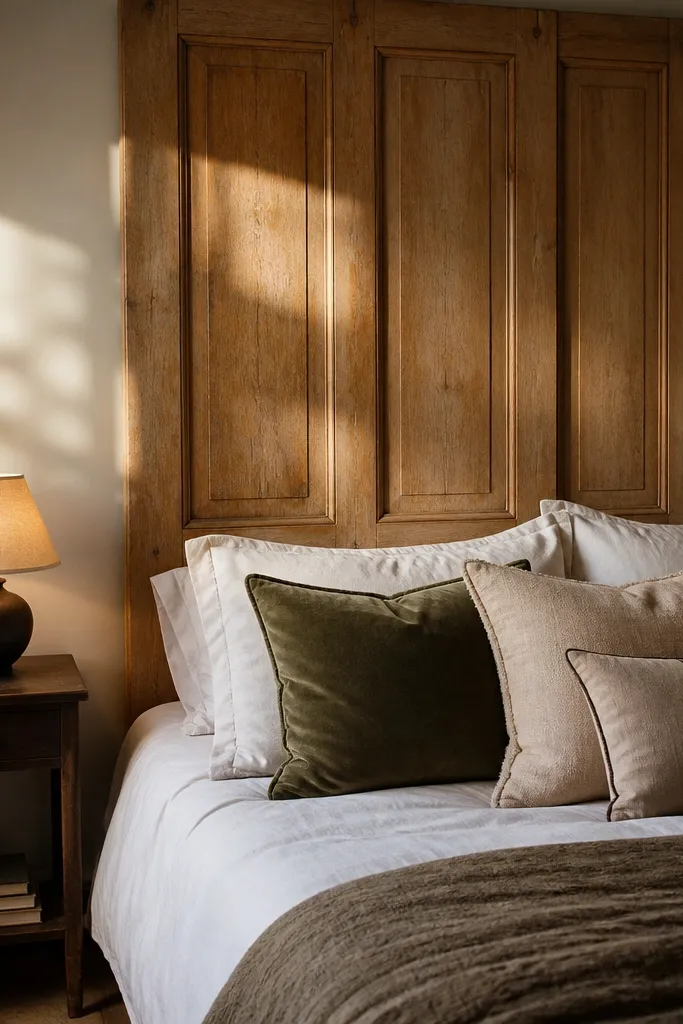
Measure the bed width and mount the door centered behind it, leaving 2-4 inches of clearance on each side. Use a French cleat or sturdy wall anchors with brackets depending on your door weight. Sand any rough spots, then paint with a matte finish and let it dry fully before mounting. This takes about 2-5 hours depending on prep and drying time.
A reclaimed door behind the bed gives you instant “custom built” energy without custom carpentry. It brings texture, depth, and a natural focal point — perfect for small bedrooms where you can’t add a lot of furniture. Clean and lightly sand the door, then mount it flat behind the bed or slightly above the headboard line. Choose paint in warm white or a deep muted green if your bedding is light. The door’s panels create cozy visual layers that feel interesting at night, especially under warm lamps.
Common mistakeDon’t mount a heavy door without proper hardware; sag ruins the look.
Try thisUse matte paint, not semi-gloss. It keeps the cozy look soft instead of reflective.
11. DIY bedside shelving with a small floating shelf and baskets
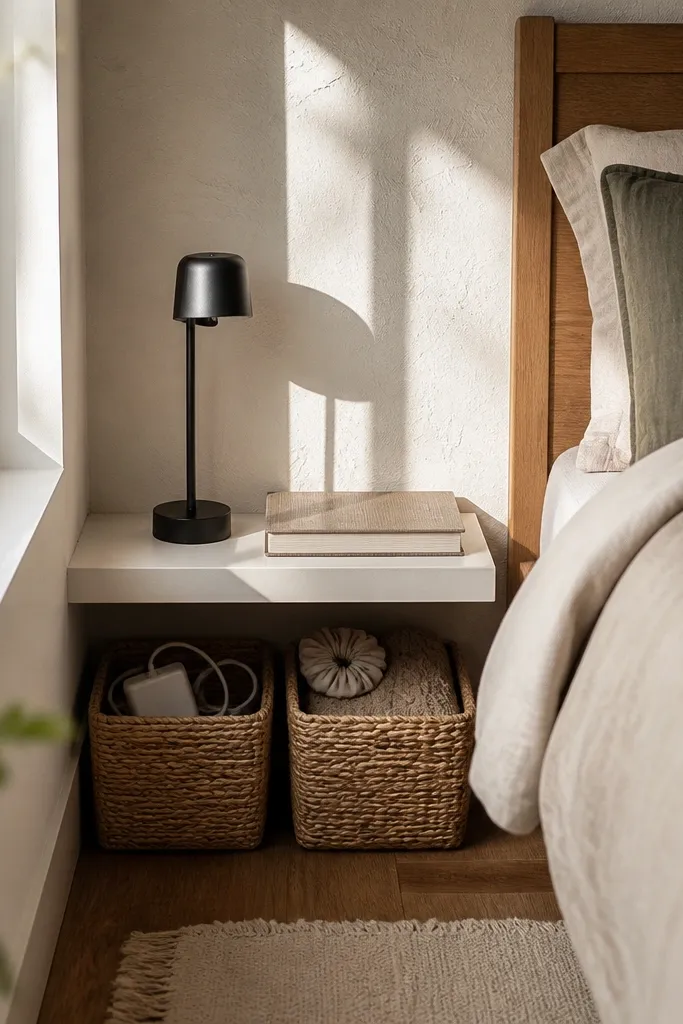
Mark shelf height so it aligns with the top of your pillow when you’re lying down, usually 36-42 inches. Install the floating shelf with anchors and a level, then place baskets or a small bin directly under it to hide clutter. Set one lamp and one small decor item on the shelf — keep surfaces light. Expect 60-120 minutes including measuring and leveling.
Floating shelves help when you don’t have room for a full nightstand. This project makes the bed area functional and styled in one move. Put a small shelf next to the bed, then store items in baskets below or in a slim bin. Choose one lamp and one book stack on the shelf so it reads tidy. The shelf adds vertical structure, which helps small rooms feel organized rather than cramped. It also makes your wall decor look intentional because the bed zone gets a clear layout.
Common mistakeDon’t turn the shelf into a junk shelf; keep it to 2-3 items.
Try thisUse baskets with the same color as your headboard fabric for a unified look.
12. Bed skirt swap with a tailored fabric panel
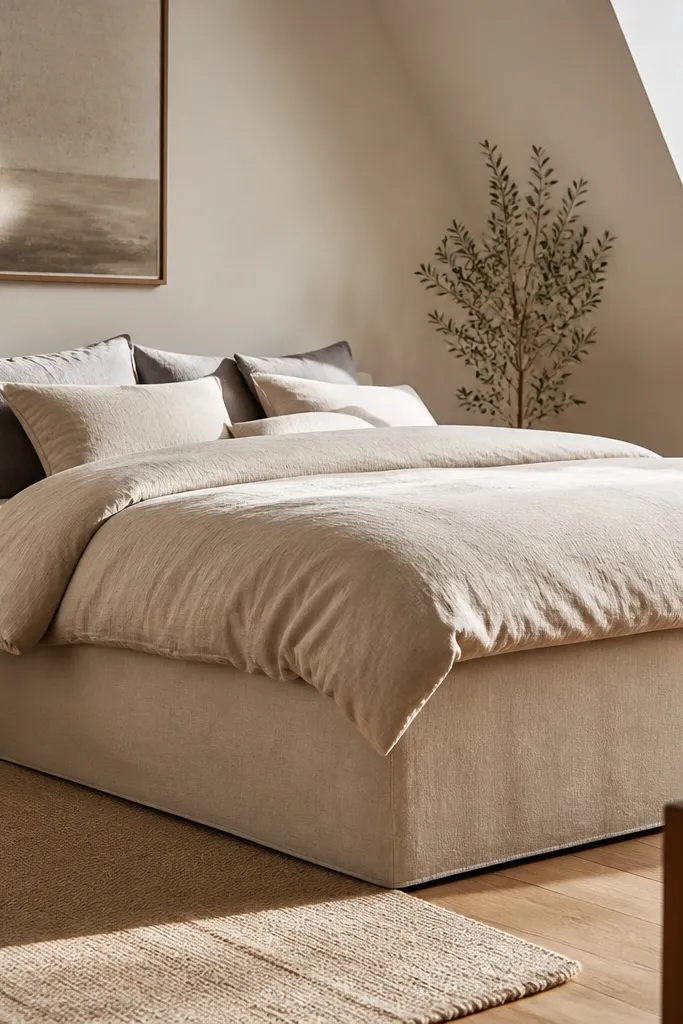
A clean bed skirt makes the whole room look finished, especially in small spaces where the bed takes up most of the visual area. If your current skirt is short, see-through, or bunched, the room looks casual in a sloppy way. Use a tailored fabric panel in a warm neutral or soft texture like cotton canvas. The goal is to cover the bed frame edges smoothly and keep the bottom line straight. When that edge looks crisp, the room reads custom even if everything else is simple.
Measure from the top of your box spring to the floor and add 1-2 inches for a neat fold. Cut a fabric rectangle with enough width to cover the bed sides, then hem the edges. Attach to the bed using Velcro strips along the top edge so you can remove it for washing. This takes 1-3 hours depending on how much measuring and hemming you do.
If your bed is low, go shorter. A long skirt can drag and visually shrink the room.
Don’t use a thin, clingy fabric that shows wrinkles around the corners.
13. Corner light shelf with a small plug-in sconce or LED strip
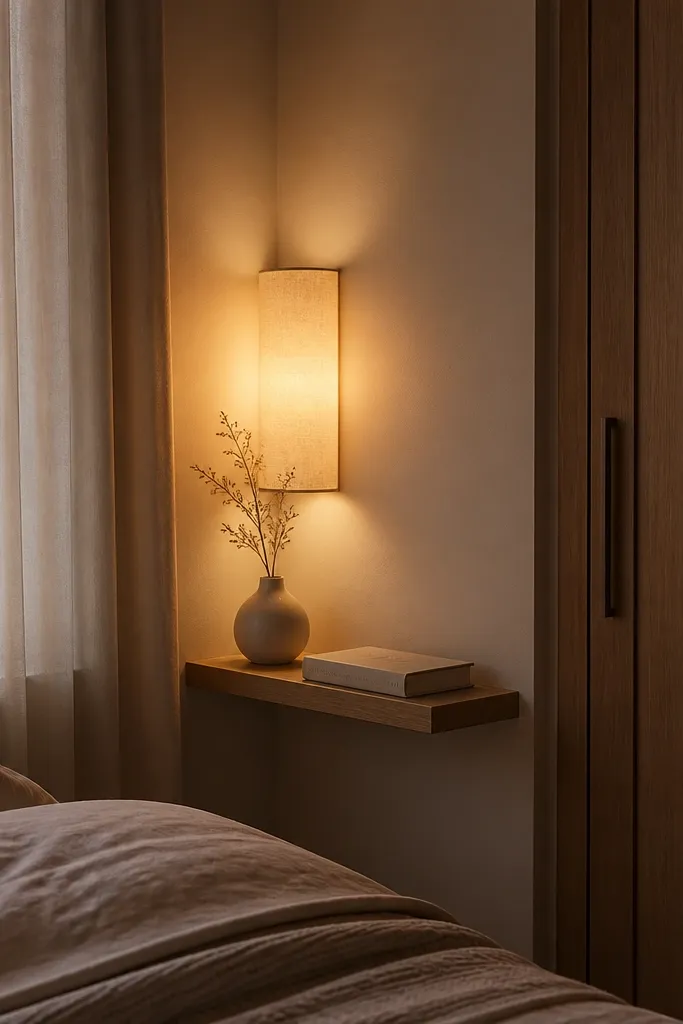
Mount a small shelf in the corner, usually 24-40 inches from the floor. Add a plug-in sconce or place a warm LED strip behind decor on the shelf, aiming light toward the wall rather than out into the room. Use adhesive clips for the strip so it stays straight, then test brightness before final placement. Plan 1-2 hours for mounting and setup.
Corners feel awkward in small bedrooms because they sit in shadow and look empty. A corner shelf plus warm light fixes both. Install a small shelf at a comfortable reach height and place a plug-in sconce or a warm LED strip behind a translucent fabric shade. Choose warm white light and keep the shelf decor minimal so the corner doesn’t look crowded. The cozy effect comes from soft indirect light that reduces harsh ceiling shadows. This also makes wall textures and your headboard backdrop look richer.
Common mistakeDon’t place bright white strips without a diffuser; it reads harsh, not cozy.
Try thisUse a warm shade or diffuser so the light doesn’t look like a bare LED.
14. DIY throw blanket ladder using scrap wood and twine
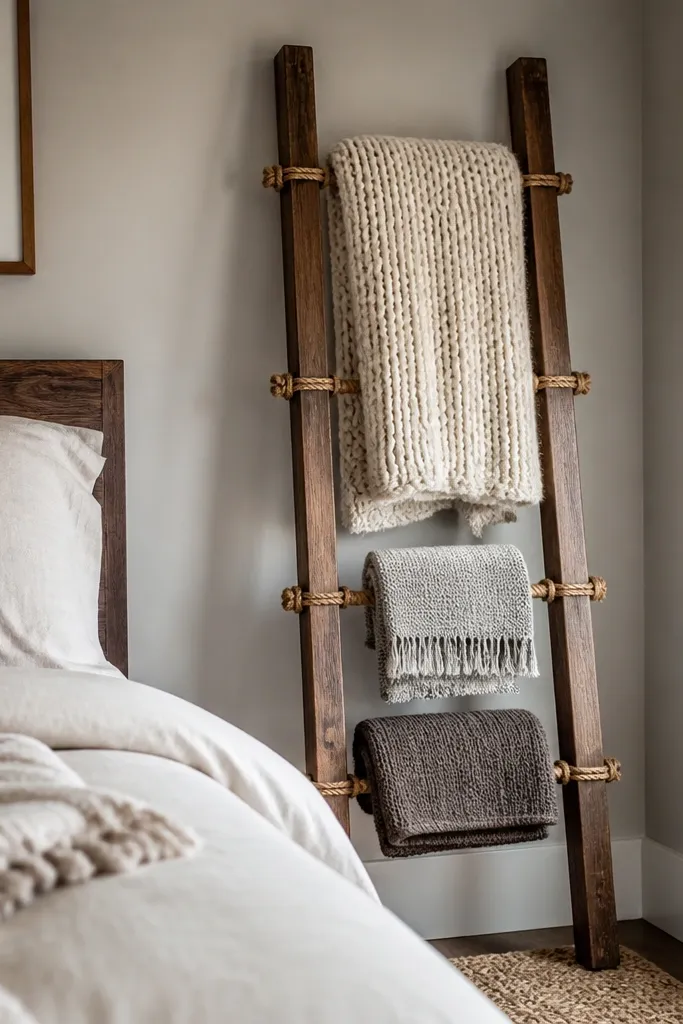
Cut two rails to your desired height, usually 40-55 inches. Attach 3-5 rungs spaced evenly, then sand and finish with matte paint or stain. Lean it securely or mount the top with a small wall anchor to prevent tipping. This takes about 2 hours if you’re using basic tools and pre-cut wood.
A blanket ladder adds cozy texture and gives your throw a home, which stops it from ending up crumpled on the bed. In a small bedroom, the goal is to add softness without adding bulky storage. Use two side rails made from scrap wood and attach a few rungs with sturdy knots or screws. Finish with matte stain or paint in warm wood tones, then drape a thick throw over the rungs. The ladder becomes a visual accent that looks intentional next to the bed, and it creates extra texture that reads cozy in photos and in real life.
Common mistakeDon’t overload it with multiple blankets; one throw looks curated.
Try thisPick a thick knit throw. Thin throws look flat and don’t add that cozy weight.
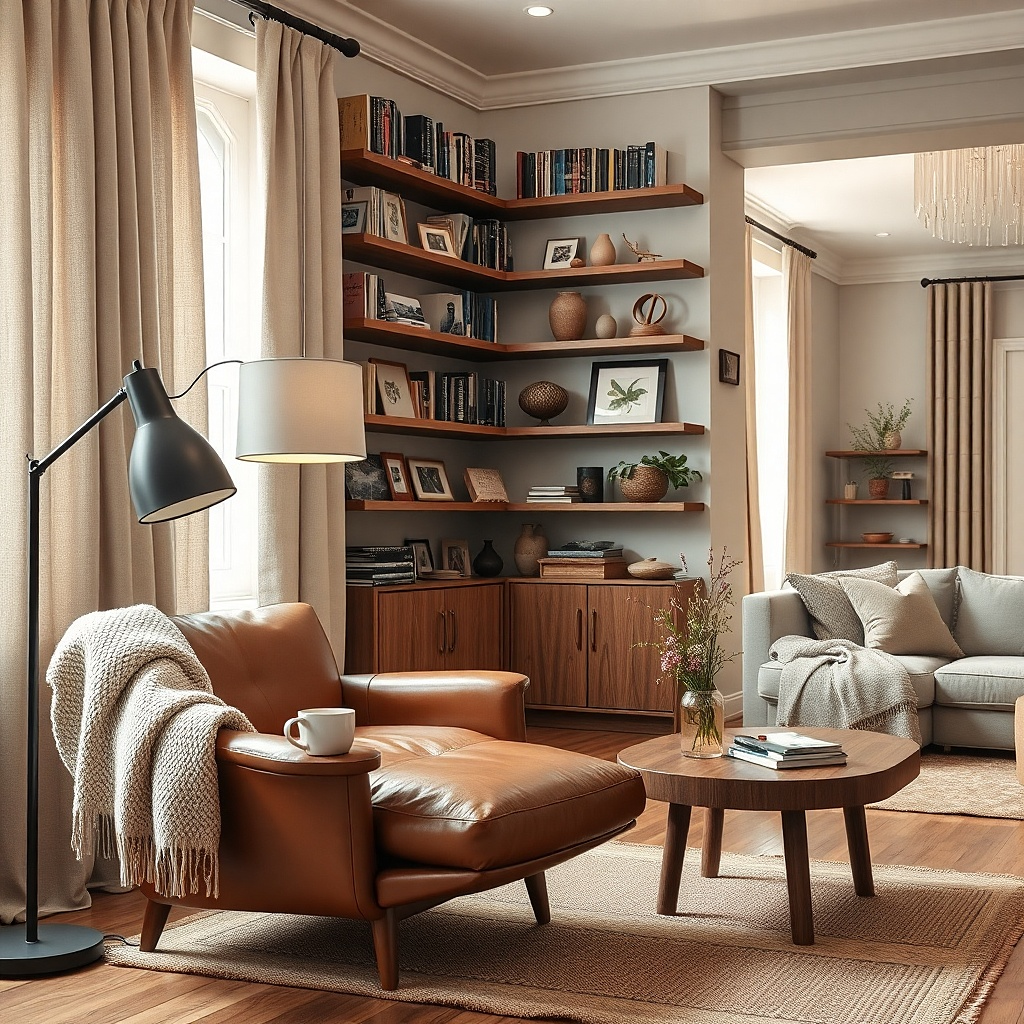
15. Create a cozy reading nook strip behind a chair or in a corner
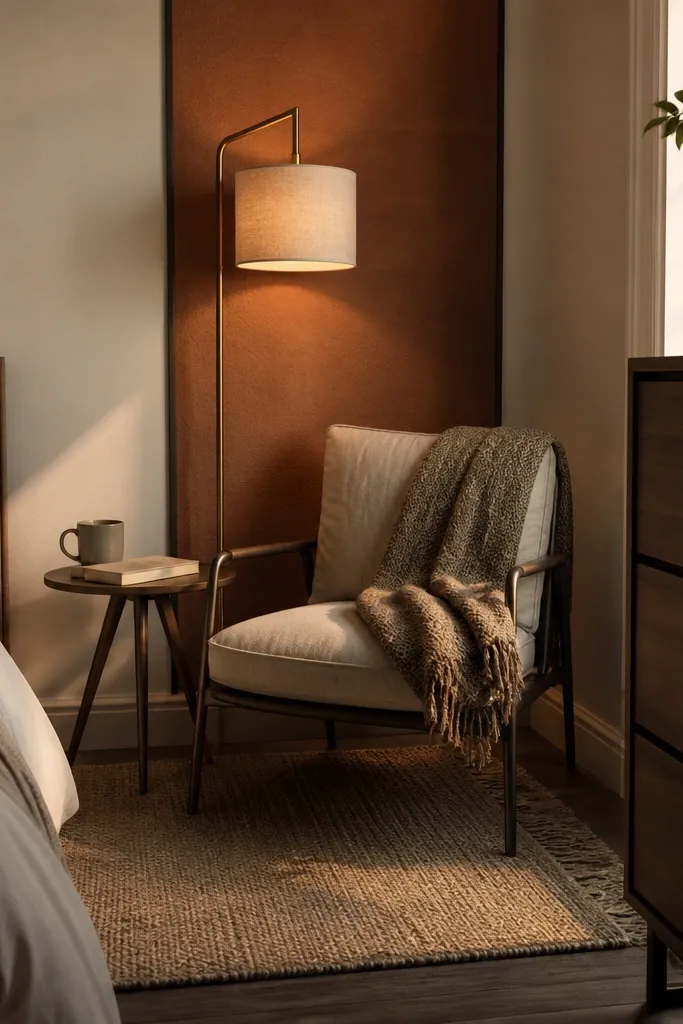
Pick the corner or narrow wall space and measure it, aiming for at least 24 inches of clearance around the chair. Place the chair and add a warm floor lamp or plug-in wall light aimed downward. Add a small rug runner under the chair if possible, then place one textured throw on the chair back and one pillow. Budget 1-3 hours depending on rug placement.
Even in a small bedroom, a “mini zone” makes the room feel custom because it gives the space a purpose beyond sleeping. The trick is to keep it narrow: a chair or small stool plus one warm light source and one textured textile. Choose a chair with slim arms or a compact stool to avoid crowding. Add a small rug or rug runner if you have space, and layer a chunky throw and one pillow for texture. This works because cozy is sensory — soft textiles, warm light, and a defined spot to sit.
Common mistakeDon’t add a second chair; one seat keeps the room open.
Try thisKeep the rug pattern calm. A loud rug makes the zone feel busy and steals cozy focus.
16. DIY nightstand makeover with a peel-and-stick drawer liner and new knobs
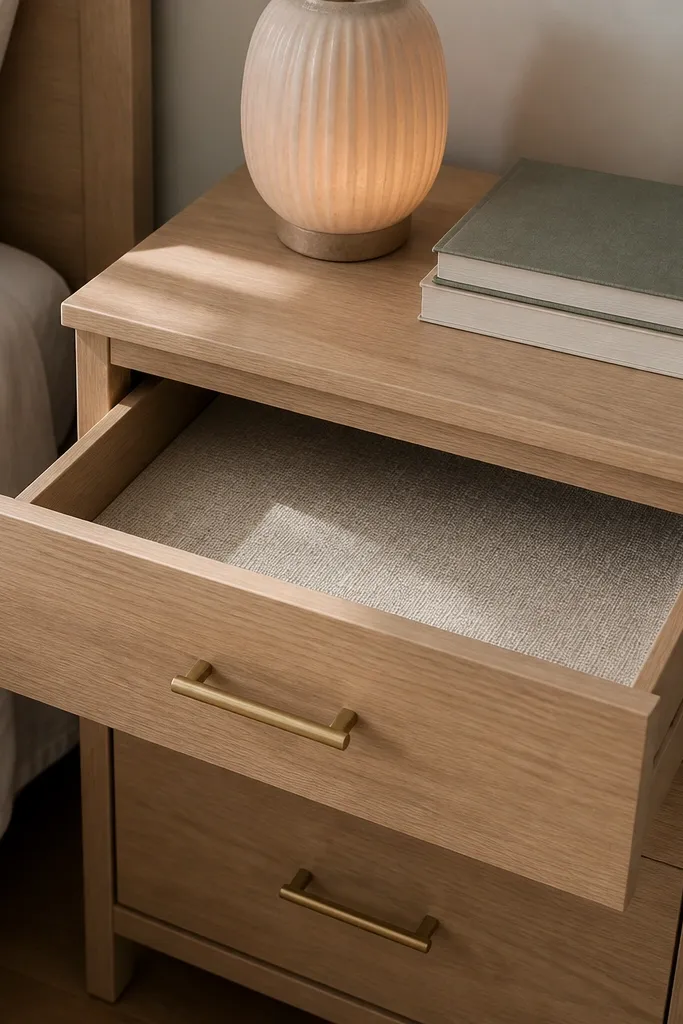
You can make your bedroom feel custom by upgrading the small details that catch your eye every night. A nightstand makeover is quick and gives a finished look without buying new furniture. Use peel-and-stick drawer liner in a warm tone or subtle texture, then swap drawer knobs for something that fits your cozy direction — matte brass, warm wood knobs, or black hardware. If your nightstand is already solid, this works better than replacing it because it keeps scale consistent in a small room. The result is a tighter, more intentional look right where your hands go.
Remove the drawer and clean the inside surface with rubbing alcohol. Cut peel-and-stick liner to fit, then press down firmly along corners. Swap knobs by removing screws from the drawer front and installing new ones, aligning carefully. Plan 45-90 minutes, depending on drying time for cleaning and how many drawers you have.
Match knob finish to your lamp base or picture frames for cohesion.
Don’t pick a knob color that clashes with your lamp hardware; it looks accidental.
17. Bedside cable hiding with fabric clips and a small fabric runner
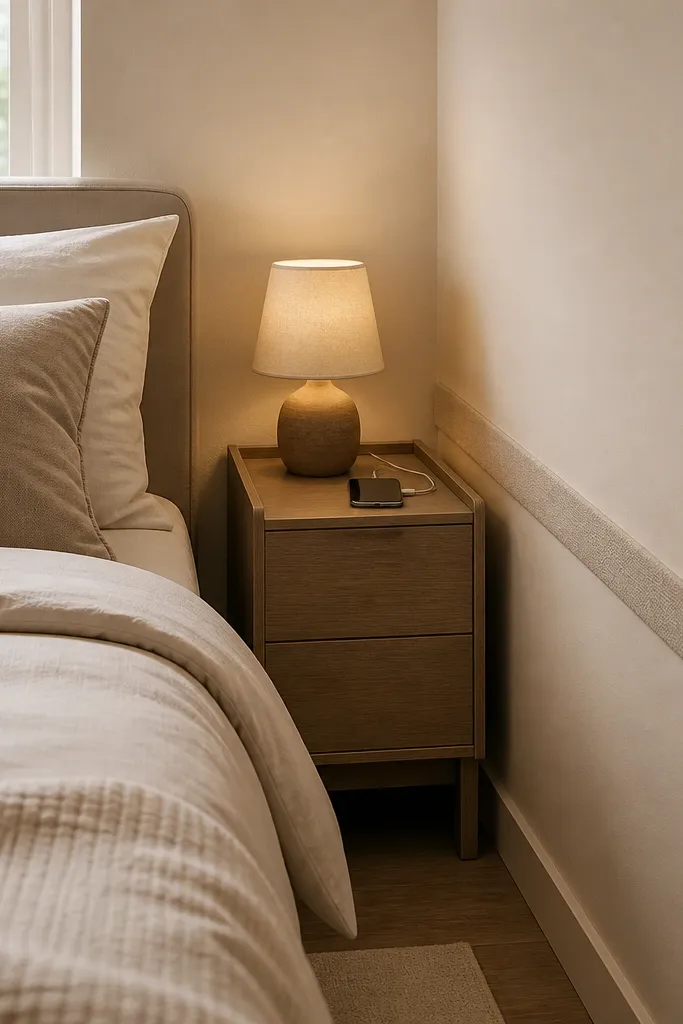
Route cables from outlets to your devices along the wall edge, then mark where you’ll place clips every 8-12 inches. Attach clips with adhesive hooks or screws depending on the clip type. Then lay a narrow fabric runner along the cable path and secure it with small clips or Velcro so it stays straight. Expect 30-60 minutes and keep cords slack enough to move chargers without yanking.
Small bedrooms look messy fast when cables show. Hiding them instantly improves the cozy feel because the bed zone looks calm. Use fabric cable clips to route cords along the wall or behind the nightstand, then cover the run with a narrow fabric runner or a simple cord cover that matches your wall color. Choose a warm neutral fabric, not white, so it doesn’t look like a patch. This also helps you keep charging equipment in one place instead of spreading it across the floor. It’s a small project with a big visual payoff.
Common mistakeDon’t bundle cords tightly; it can pull them and look messy.
Try thisKeep the charging brick out of sight by placing it inside a basket or behind the runner.
18. DIY floating shelf over the dresser with a soft styling rule
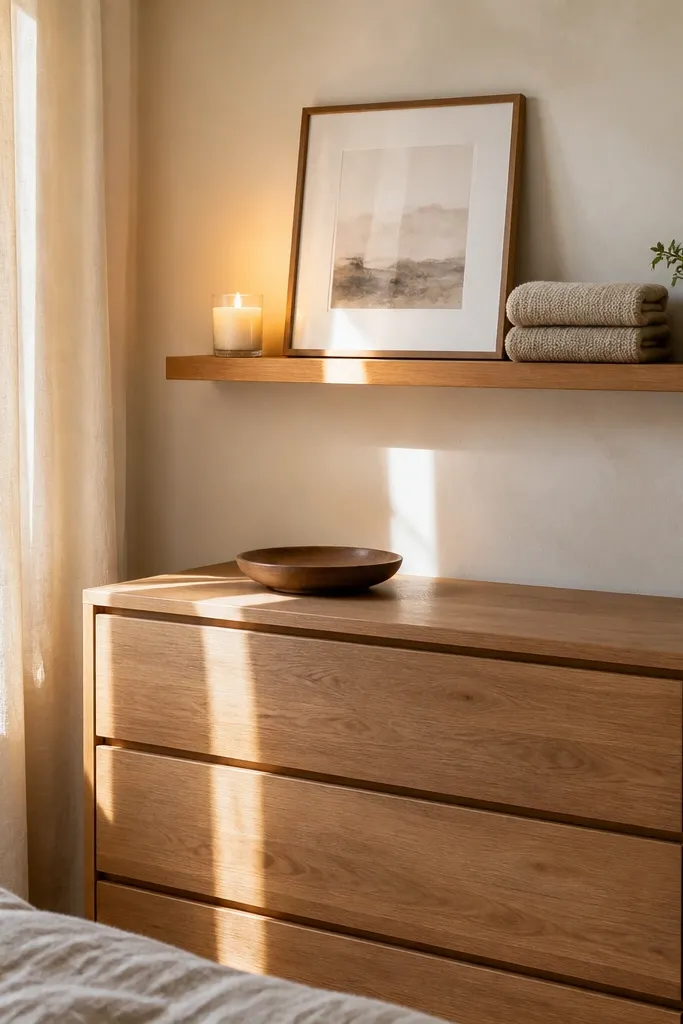
Measure the dresser top width and choose a shelf length about 6-10 inches shorter so it doesn’t overhang awkwardly. Install with anchors and a level at about 10-14 inches above the dresser top. Style with three items max: one framed print, one small plant or dried stems, and one candle or lamp. This takes 60-90 minutes including installation.
Vertical decor is how you make a small bedroom feel custom without adding more furniture. A floating shelf above a dresser creates a clean line and gives you a place for a lamp, a candle, or a small plant. The cozy part is the styling rule: one soft object (a small framed print or fabric), one warm light source, and one natural texture. Use warm wood or matte black shelf brackets so it blends with your hardware. This reduces blank-wall stress while keeping the rest of the wall calm. It also helps you focus decor at eye level instead of scattering it across surfaces.
Common mistakeDon’t stack lots of small decor pieces; it turns into visual noise quickly.
Try thisUse a tray under small items so everything sits in one visual block.