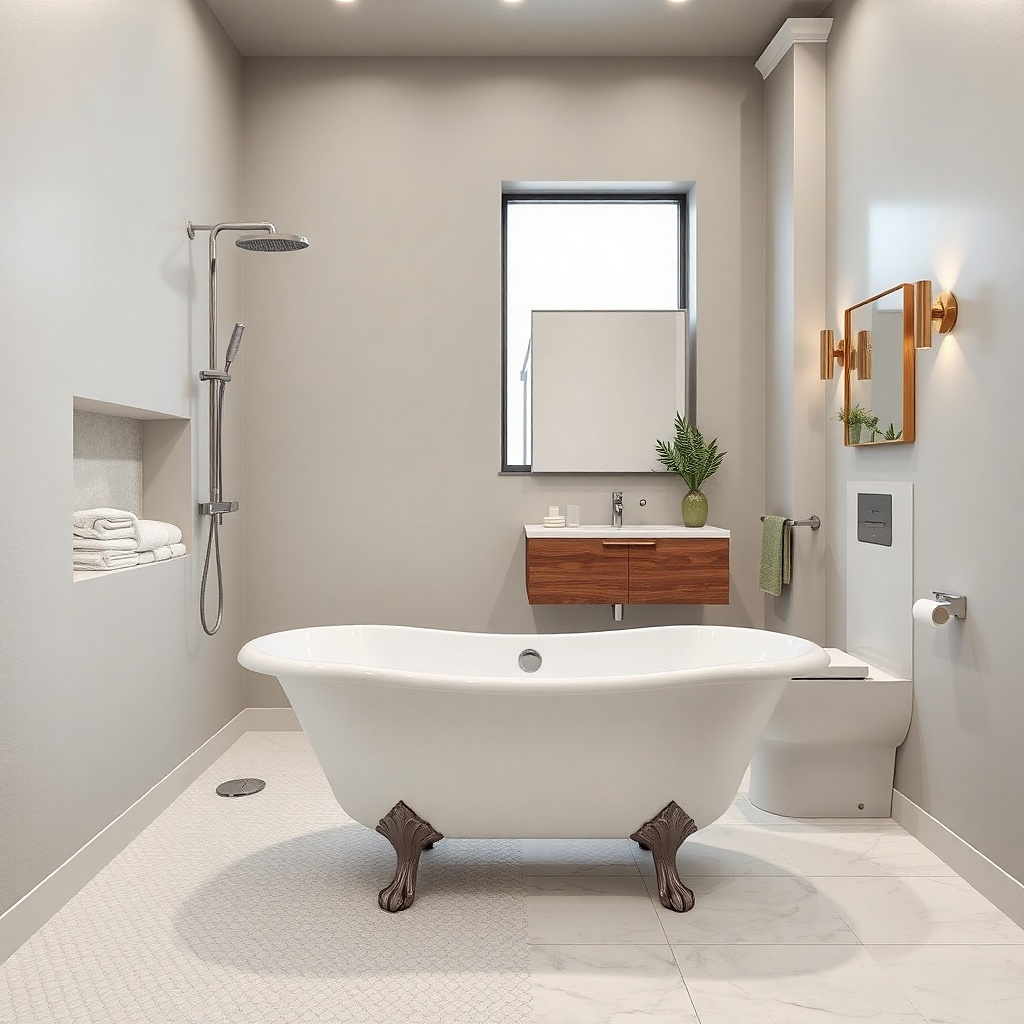
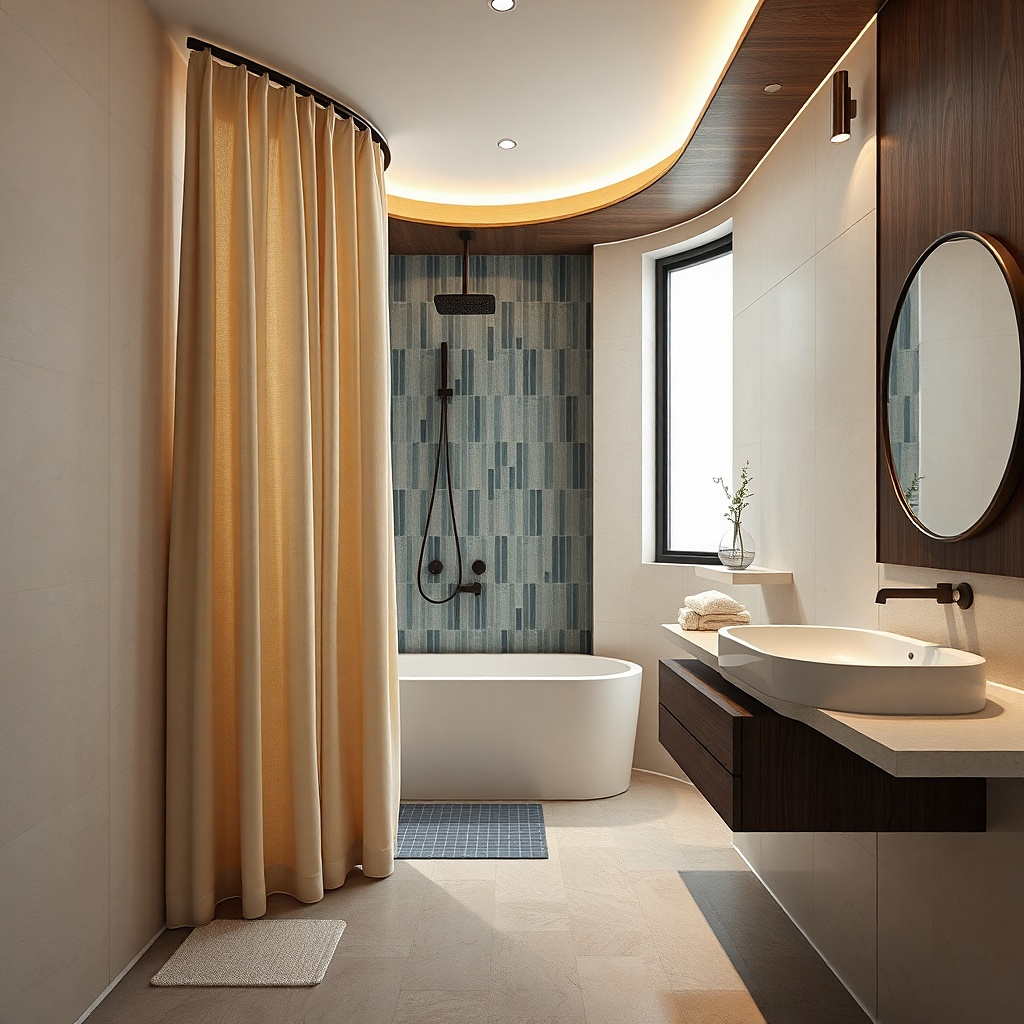
1. Oil-Rubbed Bronze Wall Shower With Clear Fixed Panel
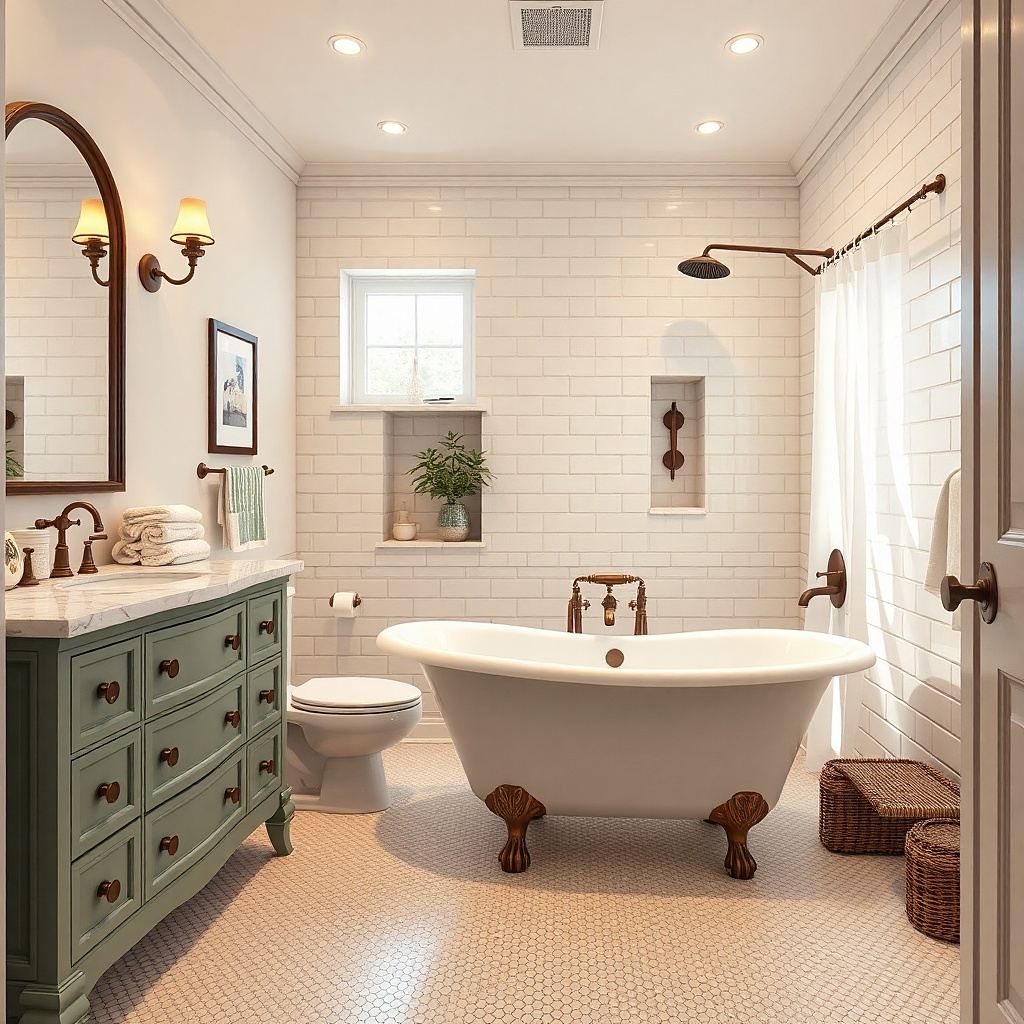
This combo keeps the clawfoot tub as the hero while the shower stays visually light. Use a wall-mounted shower valve with an oil-rubbed bronze showerhead and a matching handheld hose tucked into a simple bracket. The clear fixed panel stops water from landing on the vanity floor and reads airy because it has minimal framing. Pair the tub in cream enamel with warm white tile and matte grout for a softer vintage vibe that still feels clean and year-round.
First, set your shower valve height so the showerhead lands about 6-8 inches above the tub rim when installed. Then install a clear fixed panel anchored to the wall stud or tile backer, with the panel edge positioned 1-2 inches beyond the tub rim so water hits the tub not the glass. Finally, add a handheld on the same wall so you can rinse the tub quickly after use; aim the handheld mount so it can reach the tub floor without blasting the panel.
Use a squeegee on the last 12 inches of glass after showers that’s where soap scum collects fastest.
Avoid thick, dark-framed glass when your bathroom is small; it makes the tub look cramped.
2. Vintage Tub Filler + Handheld Rail Under a Slim Glass Door
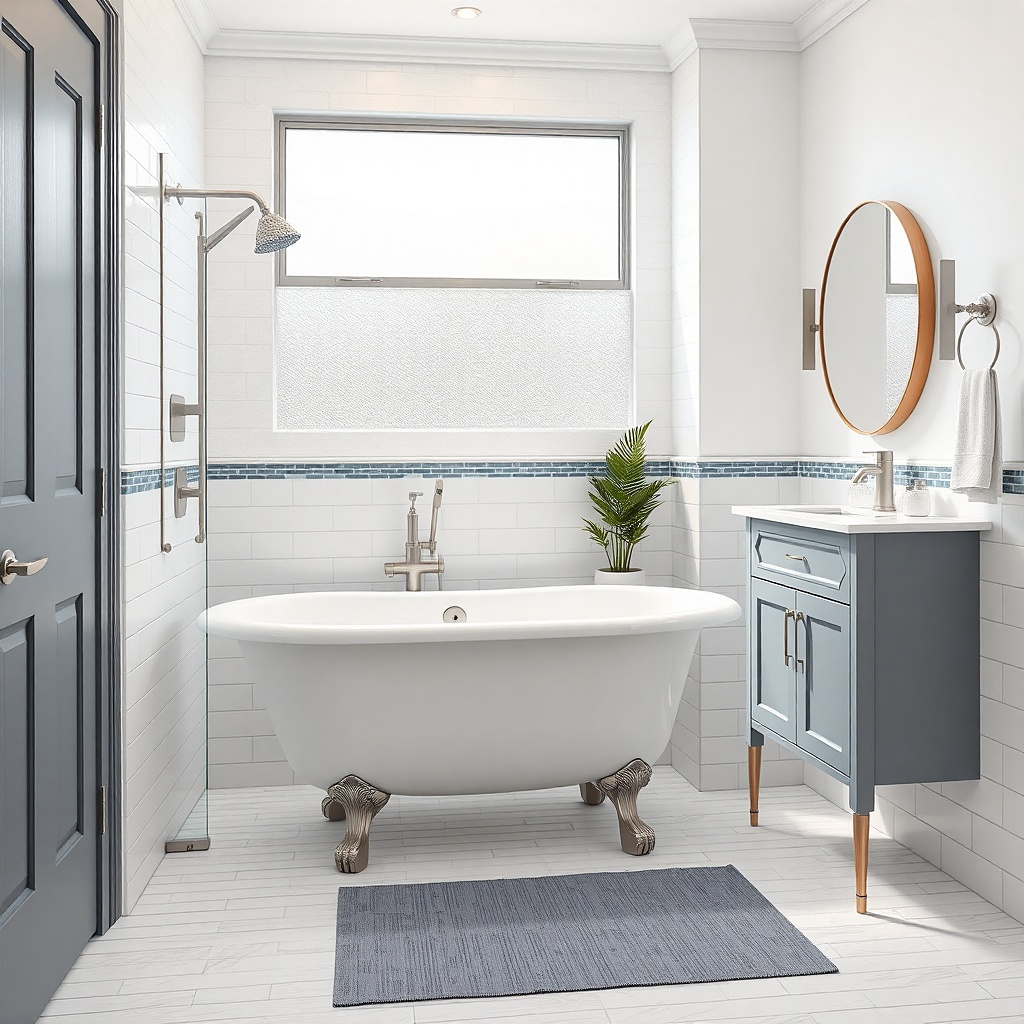
If you want daily function without losing the vintage silhouette, this is the cleanest path. The tub filler looks period-correct, but the handheld rail makes the shower practical for hair, kids, and quick rinses. A slim glass door — hinged or pivot — keeps the opening tight, which matters in narrow bathrooms. Choose a clear door with a metal edge in brushed bronze or brushed nickel so it matches the tub filler and reads cohesive.
Start by installing the tub filler and verify the spout throws water toward the tub center, not toward the glass edge. Then mount a handheld rail on the wall adjacent to the tub at a height that lets the handheld reach the tub floor; a common range is about 38-48 inches from the floor to the rail. Next, measure the distance from the wall to the tub rim and order a door sized to cover the wet zone by at least 6 inches past the spout direction.
Install the door so it closes with a gentle overlap on the fixed side; that one detail cuts leaks dramatically.
Don’t place the handheld rail too high — if it sits above the user’s comfortable reach, people stop using it and the floor pays the price.
3. Brushed Nickel Shower Trim + Soft White Subway Tile Wet Zone
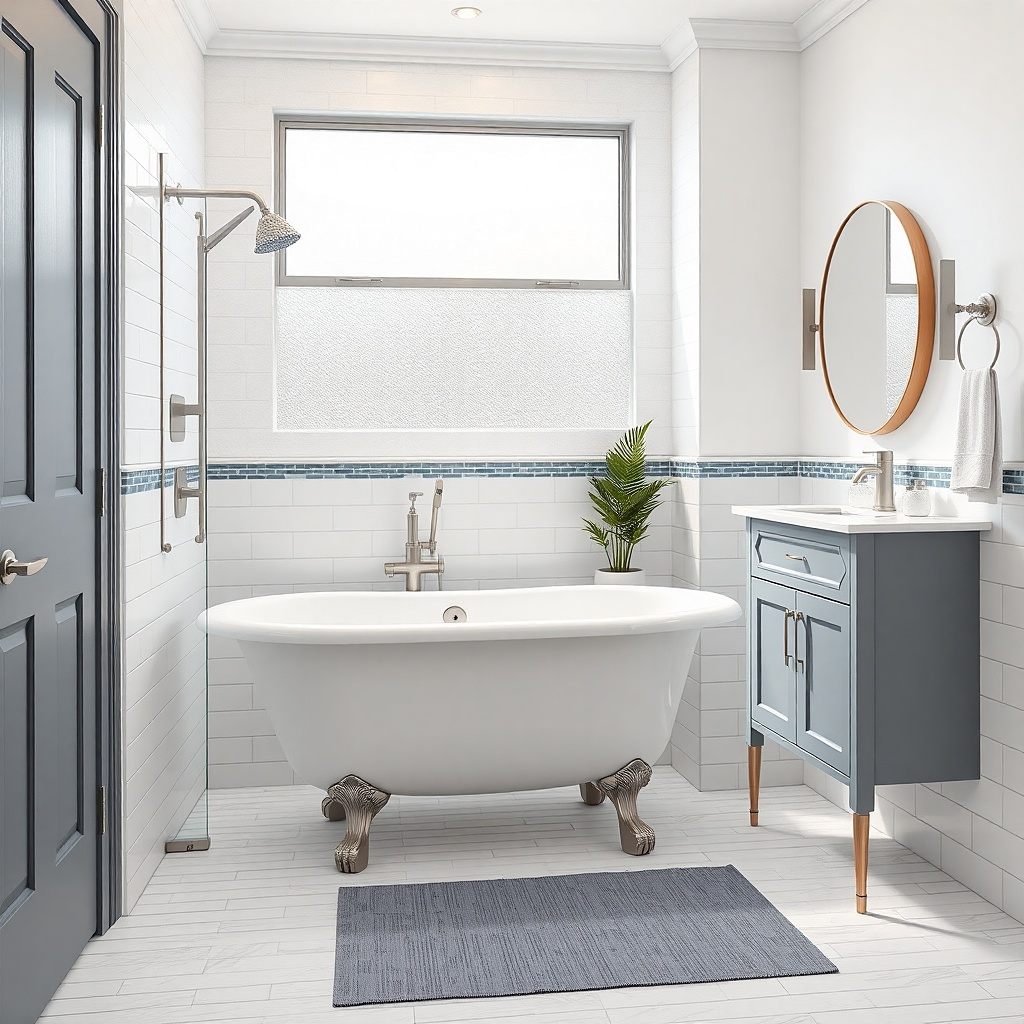
This look uses tile to create a “vintage bathroom room within a room.” Brushed nickel shower trim reads warm and clean, and the soft white subway tile gives you that old-house charm without the dark grout lines that can make small spaces feel busy. Put a clear glass screen between the tub and the rest of the bathroom so the tile stays the visual focus. A subtle niche or two built into the tile wall makes the shower feel planned, not improvised.
First, create a wet-zone wall area that covers at least 18-24 inches above the showerhead and extends 6-8 inches beyond the tub width. Then install the shower valve and trim at standard heights, and set the glass screen line so it lines up with the tile grout lines. Finally, add a small recessed shelf or niche at about 36 inches high for shampoo and soap; keep it shallow so it doesn’t crowd the wall.
Use 1x3-inch subway tiles with a 1/16-inch grout joint for a tighter, more upscale look.
Avoid bright white tile with cool gray grout; it can make the clawfoot tub look dingy next to the metal.
4. Cream Clawfoot + Matte Black Shower Head With Clear Corner Screen
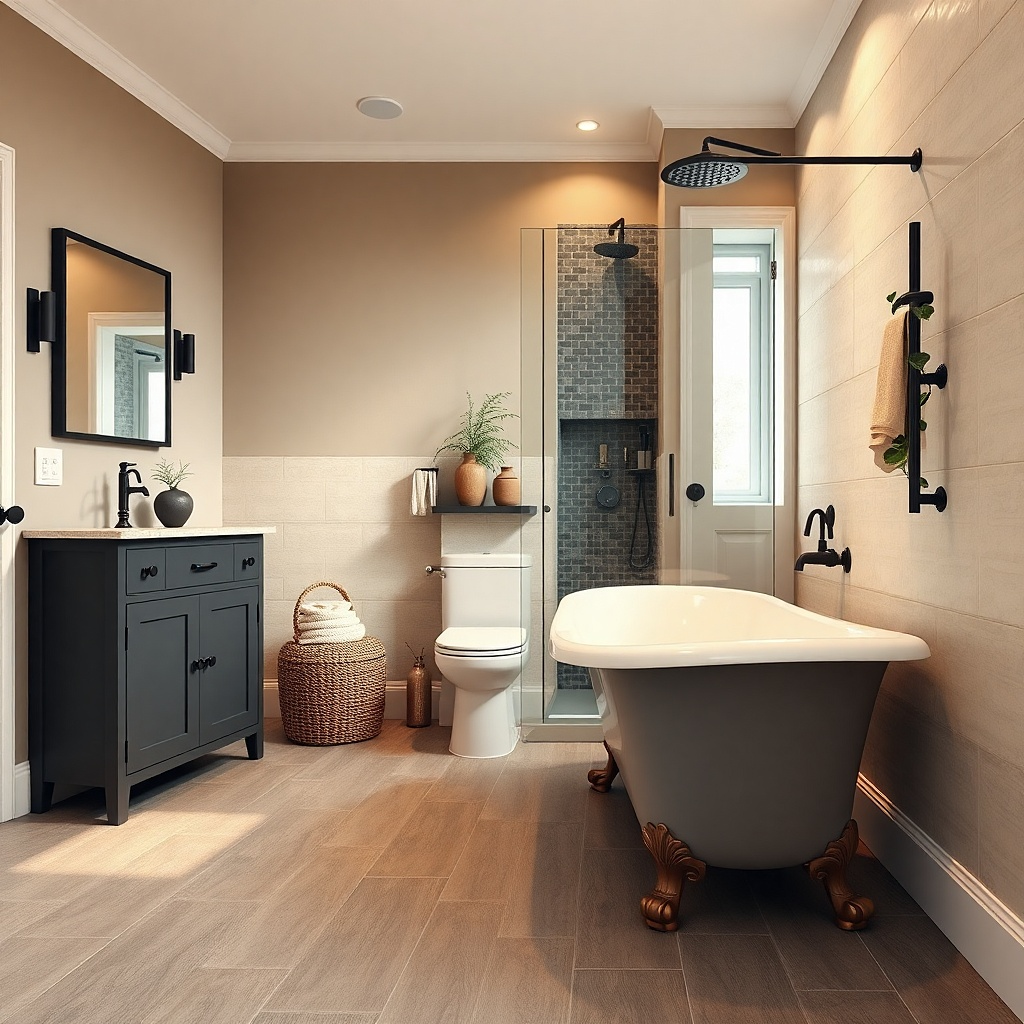
Matte black can look surprisingly vintage when you keep everything else restrained. A matte black showerhead and trim make the clawfoot tub feel styled, not stuck in a museum. Use a corner screen instead of a full wall-to-wall enclosure so you avoid blocking light in a small layout. Keep the walls in warm cream or pale greige and use a simple floor tile with low contrast so the black hardware doesn’t feel heavy.
Try thisPick matte black for metal only; keep faucets and towel bars also matte black to stop the room from looking patchy.
Start with a corner screen that anchors to two walls, leaving a clean angle that follows the tub outline. Install the shower valve so the spray hits the tub at a downward angle; a common target is 10-15 degrees from vertical to reduce bounce off the glass. Then choose a showerhead with a wide spray pattern but not a “mist-only” style so rinsing is fast. Finally, seal the screen edges and caulk color-match to the grout.
Common mistakeAvoid high-gloss black glass frames; they reflect bathroom lights and make small spaces feel busier.
5. French Country Look With A Patterned Floor + Bronze Shower Hardware
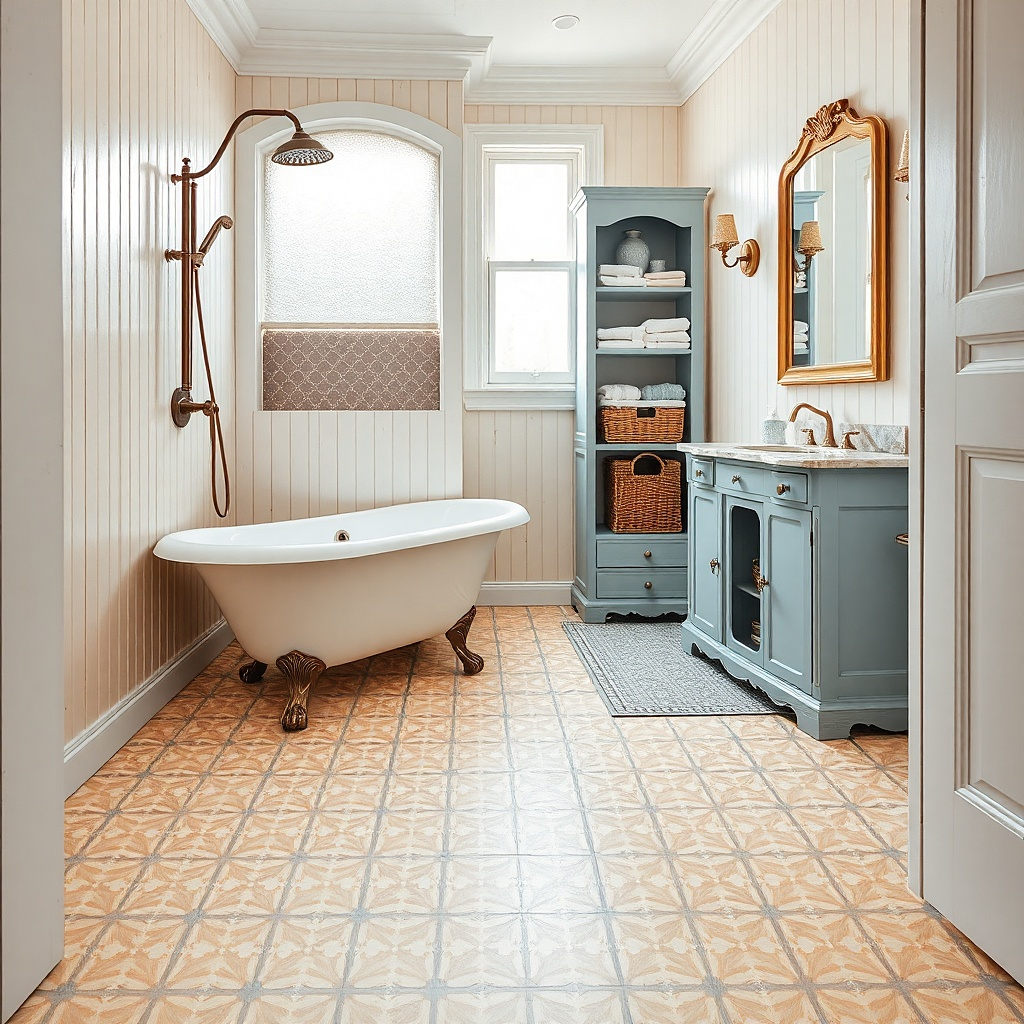
This is the best way to make a tiny clawfoot shower combo look intentional: let the floor pattern carry the charm. Use bronze shower hardware and keep the glass clear so the floor design stays readable. A patterned tile — think small-scale terracotta or soft blue geometric — creates movement that photographs well. Keep the walls simple and light so the pattern doesn’t fight the tub’s curves.
First, choose a floor tile pattern with a limited palette (two to three colors) so it doesn’t overwhelm the shower area. Then install the shower valve and handheld rail with bronze trim and mount the glass screen so it doesn’t cut across the most important pattern lines. Finally, grout the wet zone in a warm gray or taupe that sits between the floor colors and the tub color.
If your floor has a pattern, align the glass screen base with the grout lines instead of the tile edges — it reads calmer in photos.
Avoid busy wall tile patterns when your floor is already patterned; the room will feel crowded fast.
6. Open-Shelf Shower Wall With Clear Pivot Door
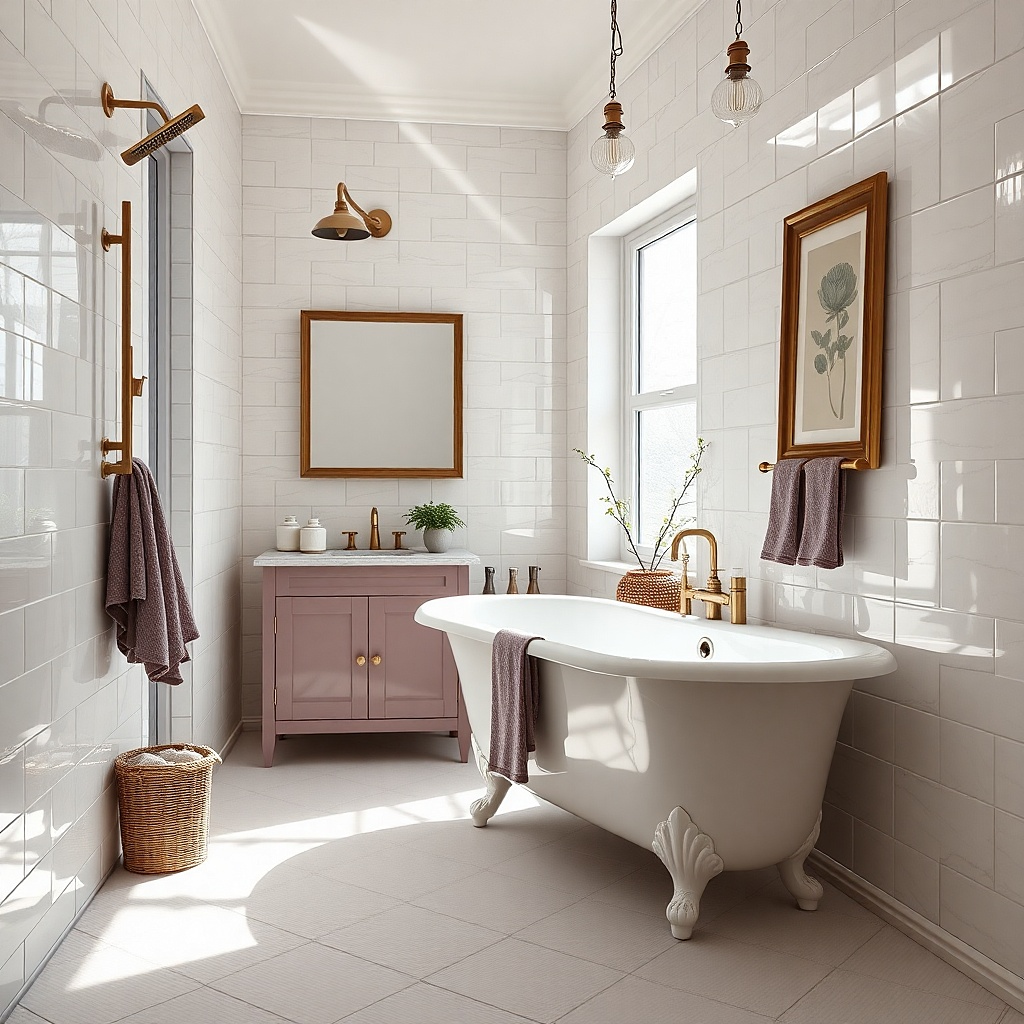
A clear pivot door gives you a vintage-friendly opening while still containing water. This look uses a tiled shower wall with a couple of open shelves either built into the tile or installed as simple shelves — so everything is easy to grab without reaching across the tub. Keep shelves shallow and use ceramic or stone trays for bottles so the shelf looks tidy even between showers. The result is daily function that still feels like a styled bathroom, not a rushed renovation.
Try thisUse matching trays or small canisters so the shelves look composed, even when you leave products out.
Start by building the shelf locations on a tile plan: one shelf about 30-34 inches high for daily products and one lower at about 24-26 inches for backups. Then install the shower valve and mount the door so it opens without hitting the shelves or towel bar. Finally, set the pivot door width to fully cover the wet zone; for small baths, a 24-28 inch door often works when the tub is centered.
Common mistakeDon’t add open shelves right where water hits the door edge; splash will turn the shelf into a mess.
7. White Oak Vanity + Brass Shower Trim With Frameless Glass
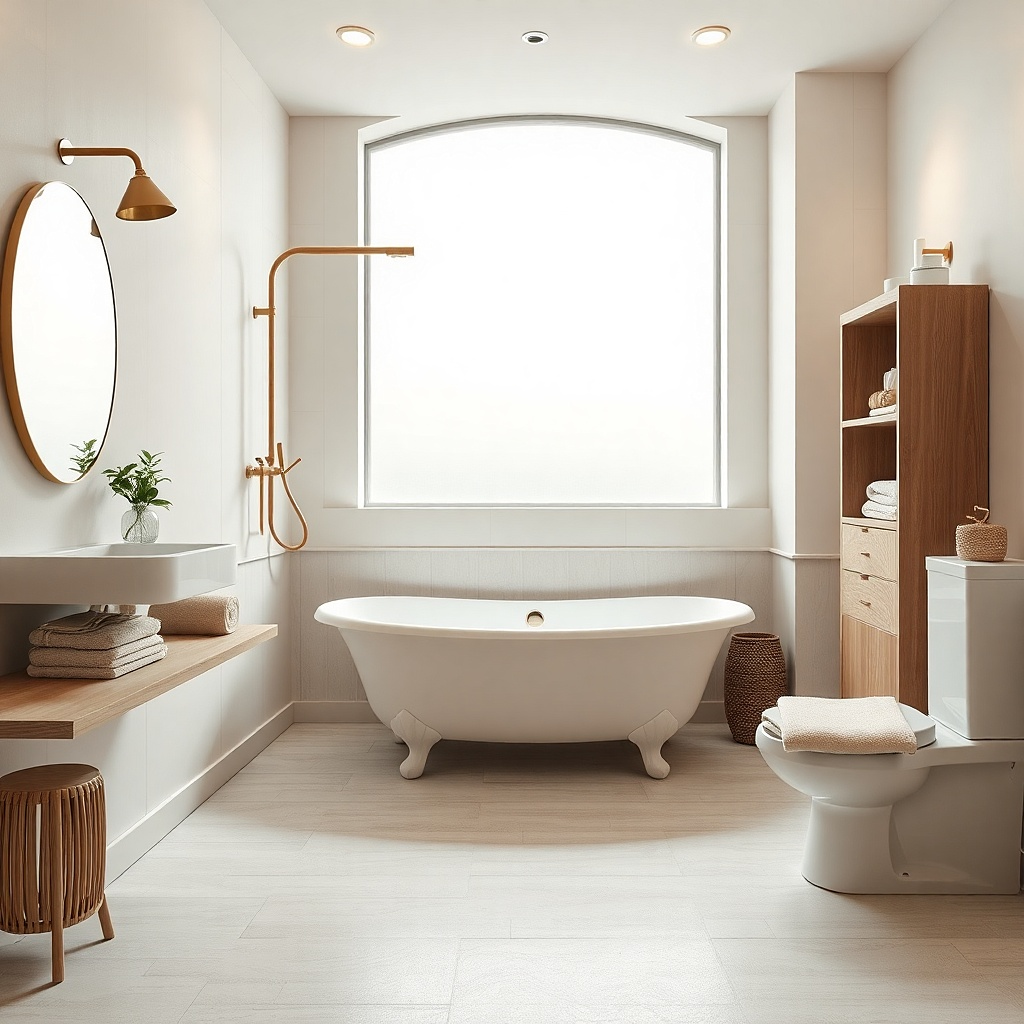
Brass reads warm and vintage without going dark. Pair brass shower trim with a white oak vanity (light grain, matte finish) to keep the room bright and photogenic. Frameless glass with minimal metal line keeps the enclosure sleek, so the tub’s curved edges look crisp. This combo works well in small bathrooms where the biggest risk is making the space feel dark and boxed in.
First, choose brass trim finishes that match your faucet and any towel bars; keep them all in the same tone. Then install the showerhead so it sprays into the tub center with a slight angle to reduce water transfer to the glass. Next, use a frameless glass panel or door with a thickness around 3/8 inch for stability and a clean edge line. Finally, seal the glass-to-tile joints and add a bath fan that vents outside because brass and wood look best when the room dries fast.
Add a small matte ceramic soap dish on the tub deck so you’re not relying on the glass area for storage.
Avoid mixing brass with chrome in a small room; the metal mismatch shows every time you take a photo.
8. Tile-To-Ceiling Shower Wall Behind the Tub With Clear Screen
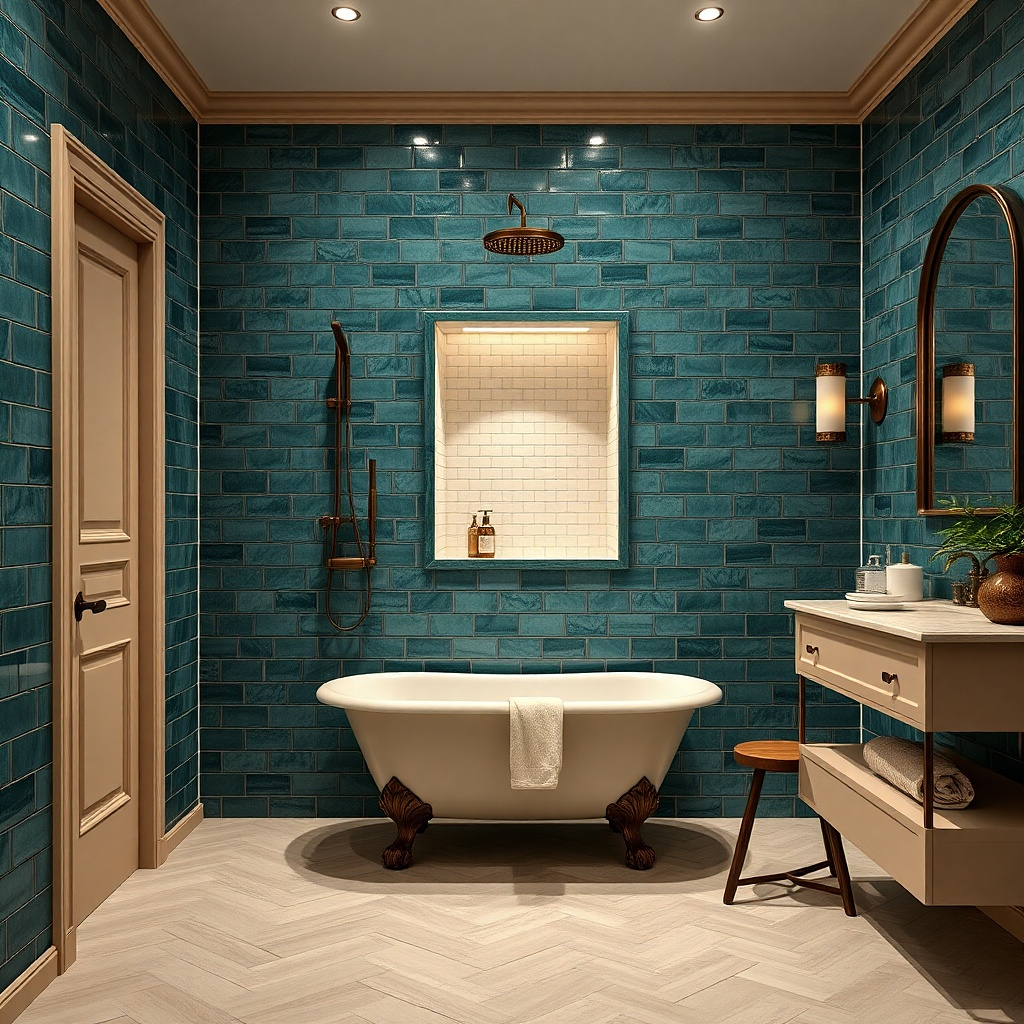
A tile-to-ceiling wet wall makes the shower feel built-in, which is the hardest thing to fake in a small bathroom with a clawfoot tub. Keep the tile pattern subtle — small format, consistent color — and use clear glass to preserve the tub’s vintage lines. This look also hides plumbing visually since the wall is fully finished. It’s especially good when your bathroom has awkward ceiling heights or a vent fan that you’d rather not spotlight.
Try thisChoose a tile with slight texture and keep lighting warm; it makes the tub enamel look richer next to the wall.
First, plan the tile layout so the shower valve trim lands on a grout line or tile center — that alignment looks intentional. Then install the shower plumbing and mount the clear screen on the finished wall surface, not on raw backing. Finally, tile from tub deck up to the ceiling with waterproofing behind the tile in the shower area, and keep grout color consistent throughout the wet zone.
Common mistakeDon’t stop the tile at random heights; a mid-height stop line makes the space feel unfinished.
9. Handheld-Only Shower With Spritz Guard Curtain + Tub Deck Riser
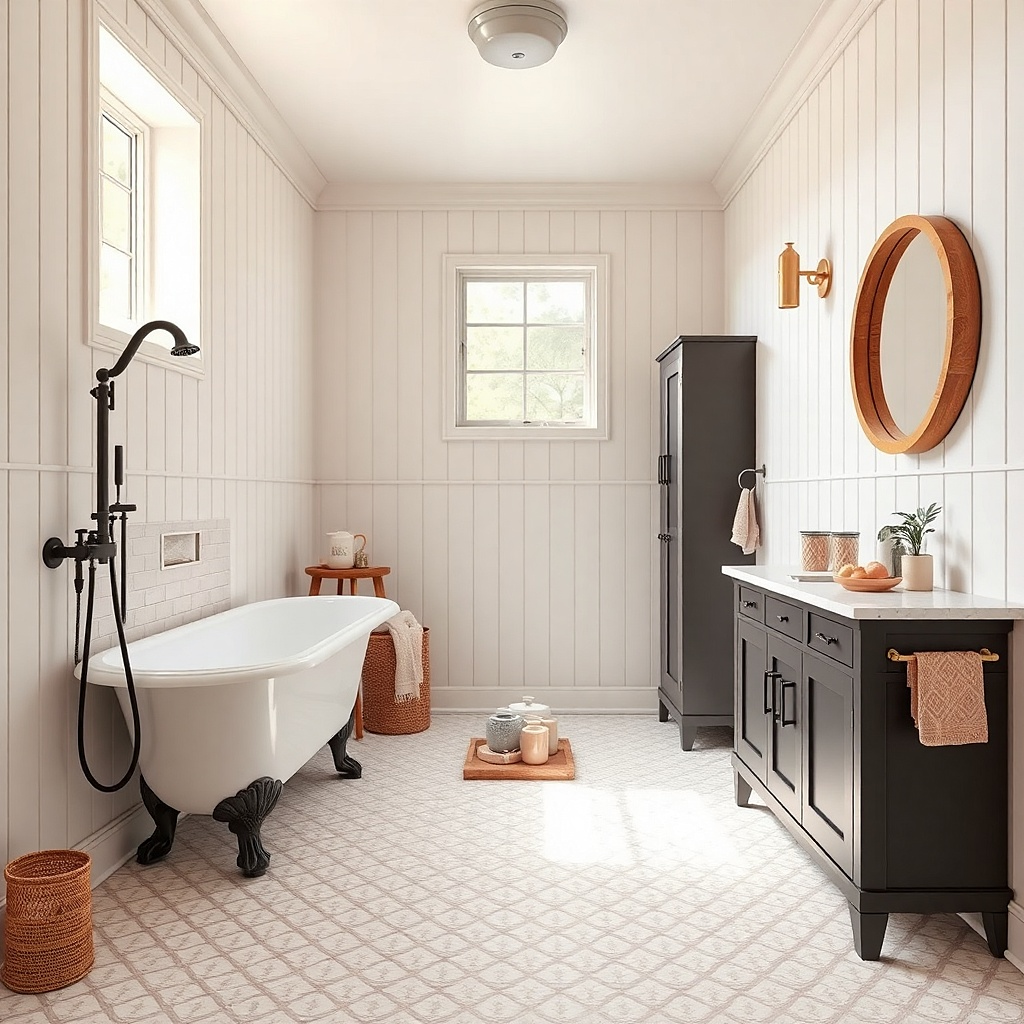
If glass feels like too much work or too much visual bulk, this combo uses a clear spritz guard curtain instead of a rigid enclosure. The handheld-only setup is practical for tight spaces because you can aim the spray exactly into the tub. Add a tub deck riser — a simple step or a raised rubber mat — so the handheld user stands comfortably and doesn’t splash outside the tub. Keep the curtain clear and use a minimal tension rod so it stays photogenic and doesn’t sag.
Try thisAdd a small drain-safe squeegee hook near the tub so you can wipe the curtain quickly after use.
First, install the handheld shower on a wall mount beside the tub, with the hose length long enough to reach the tub floor without pulling. Then hang a clear spritz guard curtain that extends 6-10 inches past the tub rim on the side closest to the spray. Finally, place a tub deck riser or mat that sits on the tub deck so the user’s stance stays stable and the water stays controlled.
Common mistakeAvoid cloth curtains; they look messy in small spaces and they stay wet longer.
10. Retro Blue Tile Accent + Brushed Nickel Showerhead Over Clawfoot
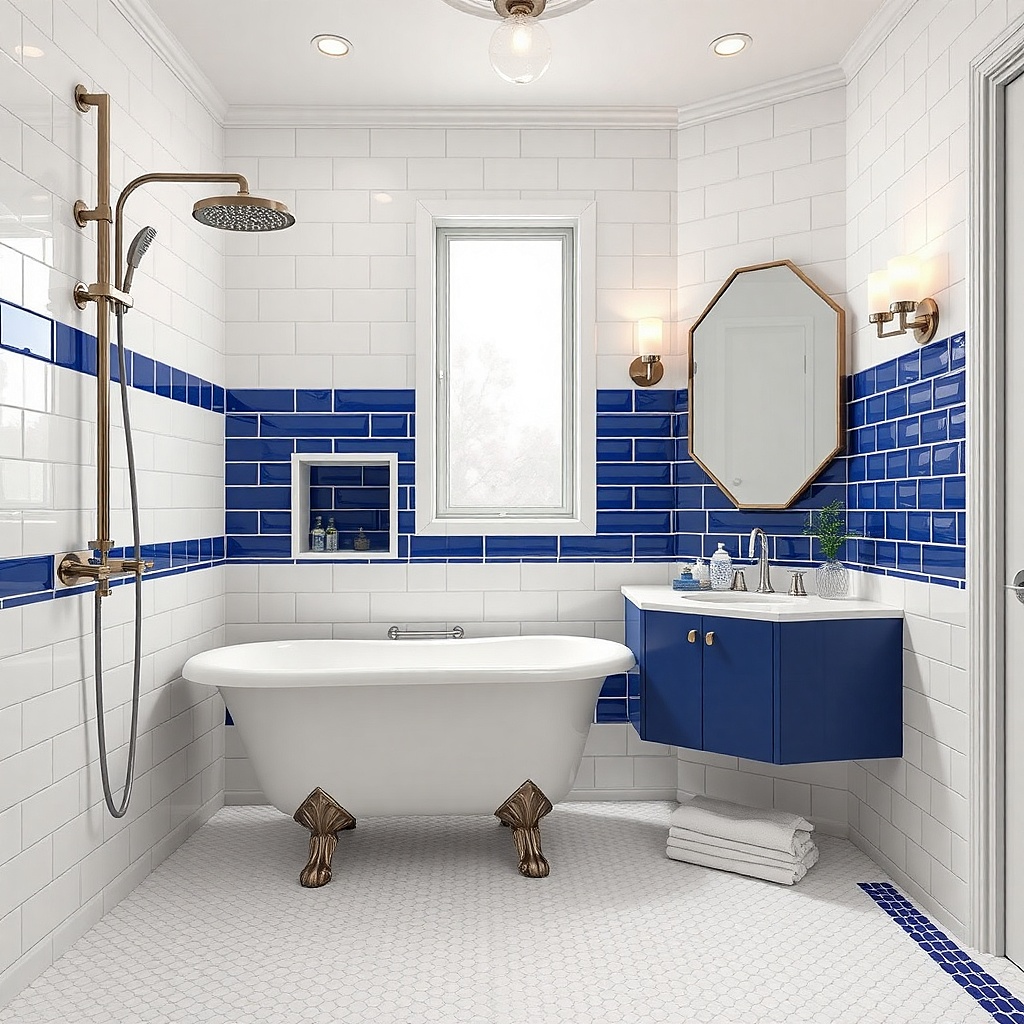
Retro blue accents make a clawfoot tub feel period-correct without turning the bathroom into a theme park. Use brushed nickel for the showerhead and valve because it plays nicely with blue, then limit the blue to a narrow band or a single feature wall niche. A clear glass screen keeps the shower contained while letting the blue tile read as art. The key is contrast control: warm whites on the main walls, blue only where the eye lands.
Try thisUse a navy or cobalt soap dispenser and a matching toothbrush holder it ties the shower hardware to the accent tile.
Start by installing the shower valve and mount the showerhead so it sits about 6 inches above the tub rim for comfortable spray coverage. Then tile a single accent band or niche behind the shower — keep it to one vertical area to prevent visual clutter. Next, install a clear screen with the edge aligned to the accent tile lines so the geometry looks planned. Finish by sealing the tub deck and caulking around the screen edges.
Common mistakeAvoid adding multiple blue shades (light aqua plus navy plus teal); one accent family looks cleaner.
11. Matte White Tile Surround With Slim Channel Drain Look
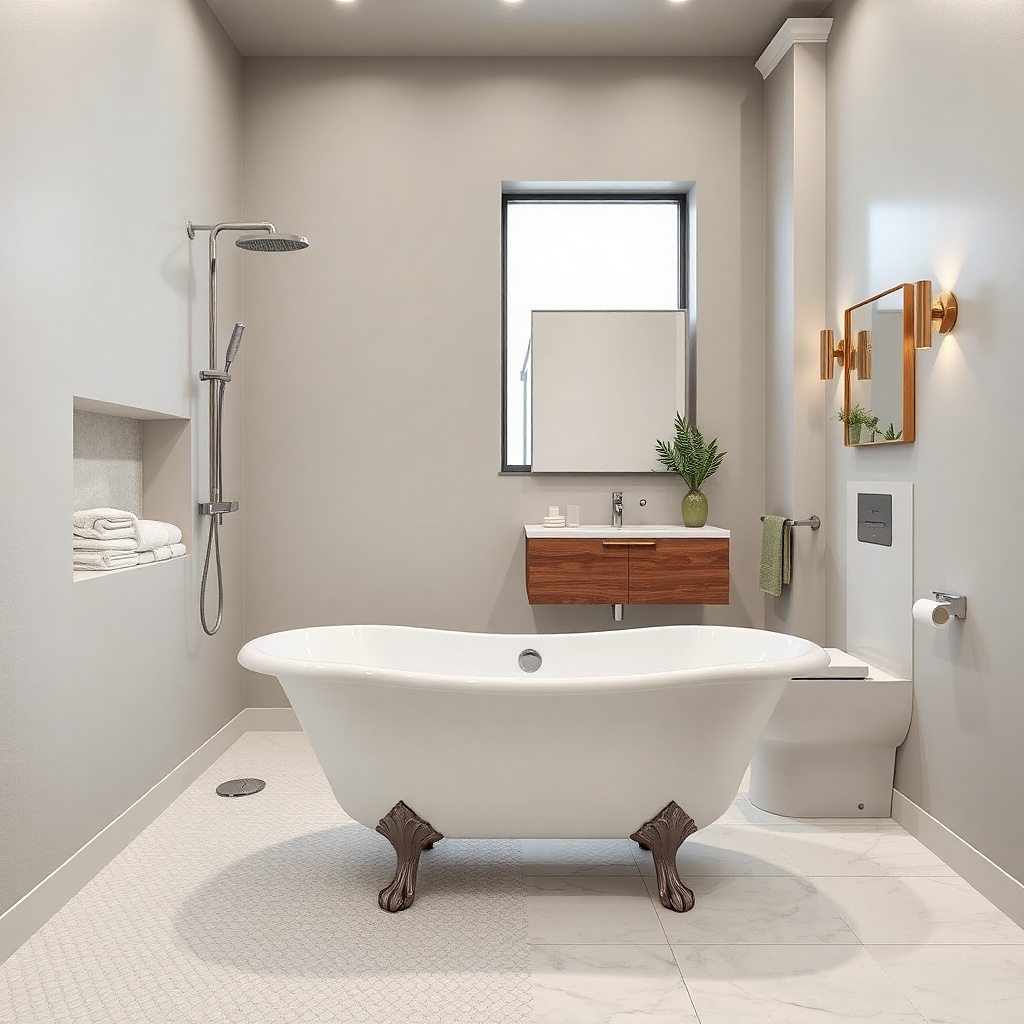
This idea makes the shower combo look modern-clean while still letting the tub feel vintage. Use matte white large-format tile on the wet wall and add a subtle channel-style drain concept around the tub base area (even if it’s just a tile pattern that guides water). Pair with a slim clear glass screen and a handheld hidden in a chrome or brushed nickel holder. The look is bright, photo-ready, and forgiving on small bathrooms because light walls reduce visual crowding.
First, plan the water control: install the glass screen so it covers the splash zone and angles water back toward the tub. Then tile the wet wall in matte white and keep grout lines thin and consistent. Next, add a simple floor mat near the tub entry point and use a drain-friendly tile layout that guides water toward the existing drain path. Finally, seal all transitions between tub and tile so water doesn’t creep behind surfaces.
Use warm-white lighting (2700K) so matte tile doesn’t look chalky in photos.
Avoid glossy tile on the wet wall; glare makes small bathrooms look harsher.
12. Dark Walnut Look Wall Panel + Oil-Rubbed Bronze Shower Combo
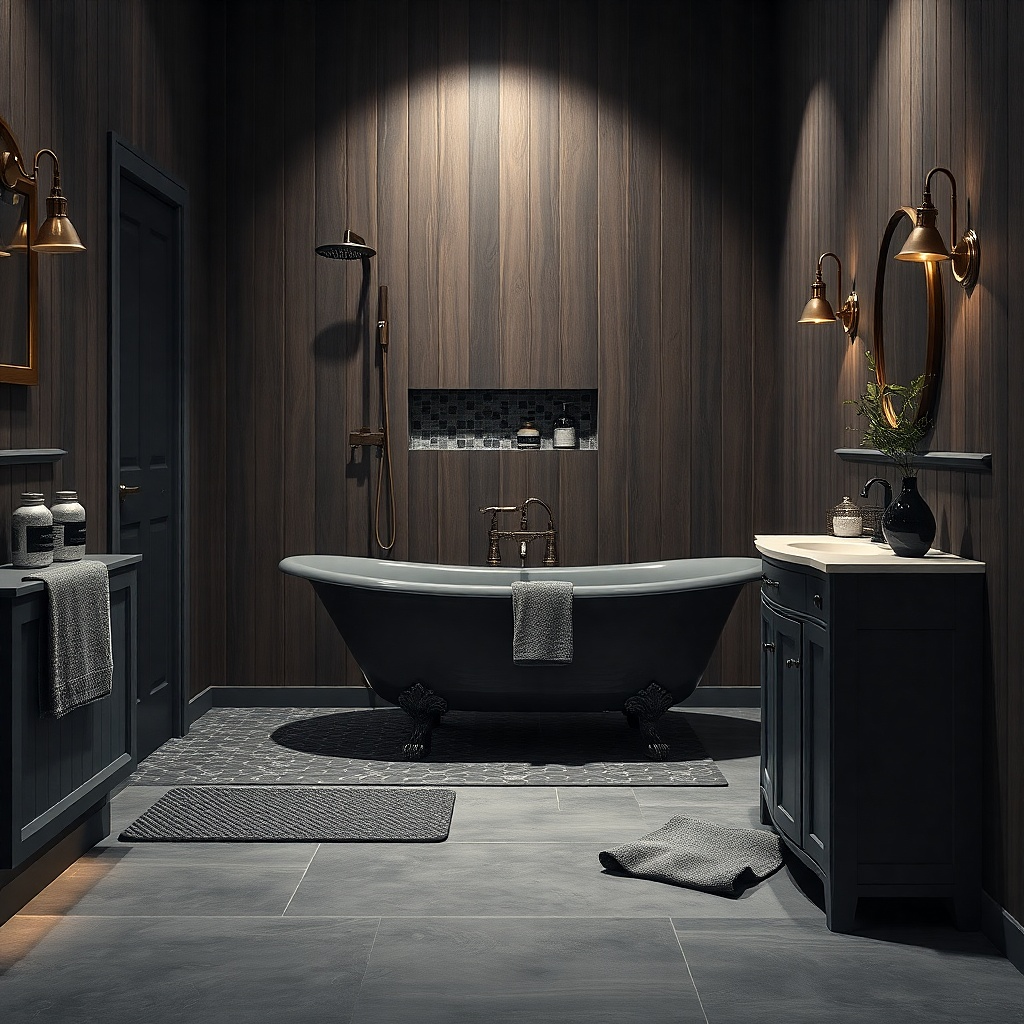
Dark wall panels can work in small bathrooms if you keep the enclosure clear and the tub color warm. Oil-rubbed bronze hardware and a deep clawfoot finish (cream or ivory enamel still works) create a moody vintage mood without turning the room into a cave. Use a waterproof wall panel system or stone-look tile panel behind the shower zone, then install a clear fixed panel to protect floors. This is a strong choice for bathrooms with decent natural light because the contrast looks intentional in photos.
First, choose a waterproof wall material rated for wet areas, then cover only the shower zone and the area behind the glass screen — don’t darken the whole bathroom. Install the shower valve and hardware in oil-rubbed bronze and mount the showerhead so it sprays into the tub center. Next, order a clear fixed panel with a slim base and anchor it to the wall backing. Finally, finish with a light ceiling and light trim so the dark panel doesn’t shrink the room visually.
Keep the vanity mirror frame in the same metal family as the shower trim to make the dark wall feel cohesive.
Avoid dark floors under a dark wall panel; too much darkness at once makes a small bathroom feel tighter.
13. White Hex Floor + Clear Sliding Door Over Clawfoot Tub
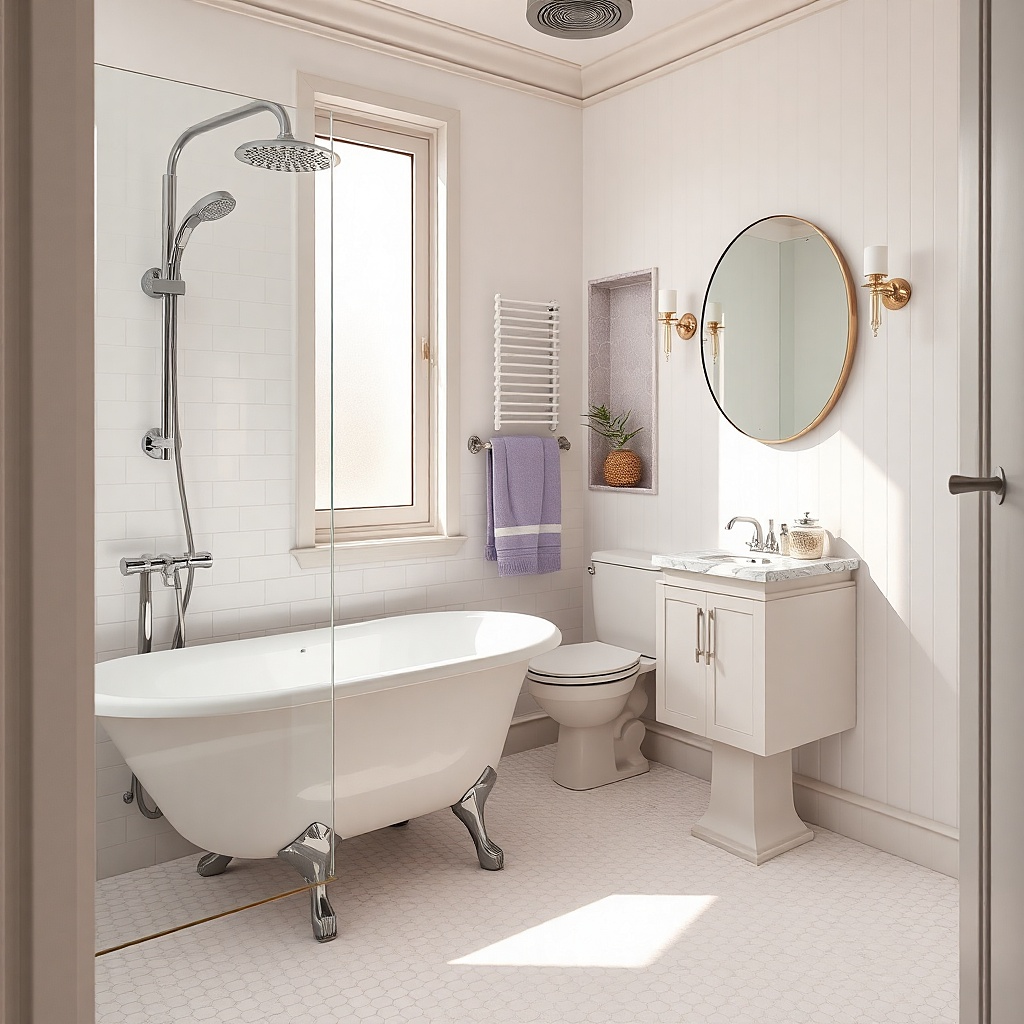
A sliding door solves the biggest small-bath problem swinging clearance. White hex tile on the floor adds texture and vintage charm, while the clear sliding door keeps the wet zone contained without stealing space. Use a brushed nickel showerhead and handheld for daily convenience, and keep the wall color warm white so the hex pattern doesn’t fight the tub curves. The overall look is bright, classic, and easy to photograph because the lines are clean.
Try thisChoose a sliding door with a low-profile track; higher tracks collect more water and look messy.
First, confirm you have enough wall space on the side for the sliding door track; measure the track length and allow for 2-3 inches of clearance beyond the tub rim. Then install the shower valve and handheld bracket on the wall adjacent to the tub. Next, set the sliding glass door panel so the leading edge overlaps the fixed side by about 1-2 inches to reduce leaks. Finally, use a small floor mat near the glass edge and squeegee the lower track area after showers.
Common mistakeAvoid placing the door too close to the tub rim; you need a small gap so the panel doesn’t hit the tub when it moves.
14. Terracotta Walls + Copper Shower Hardware With Clear Panel
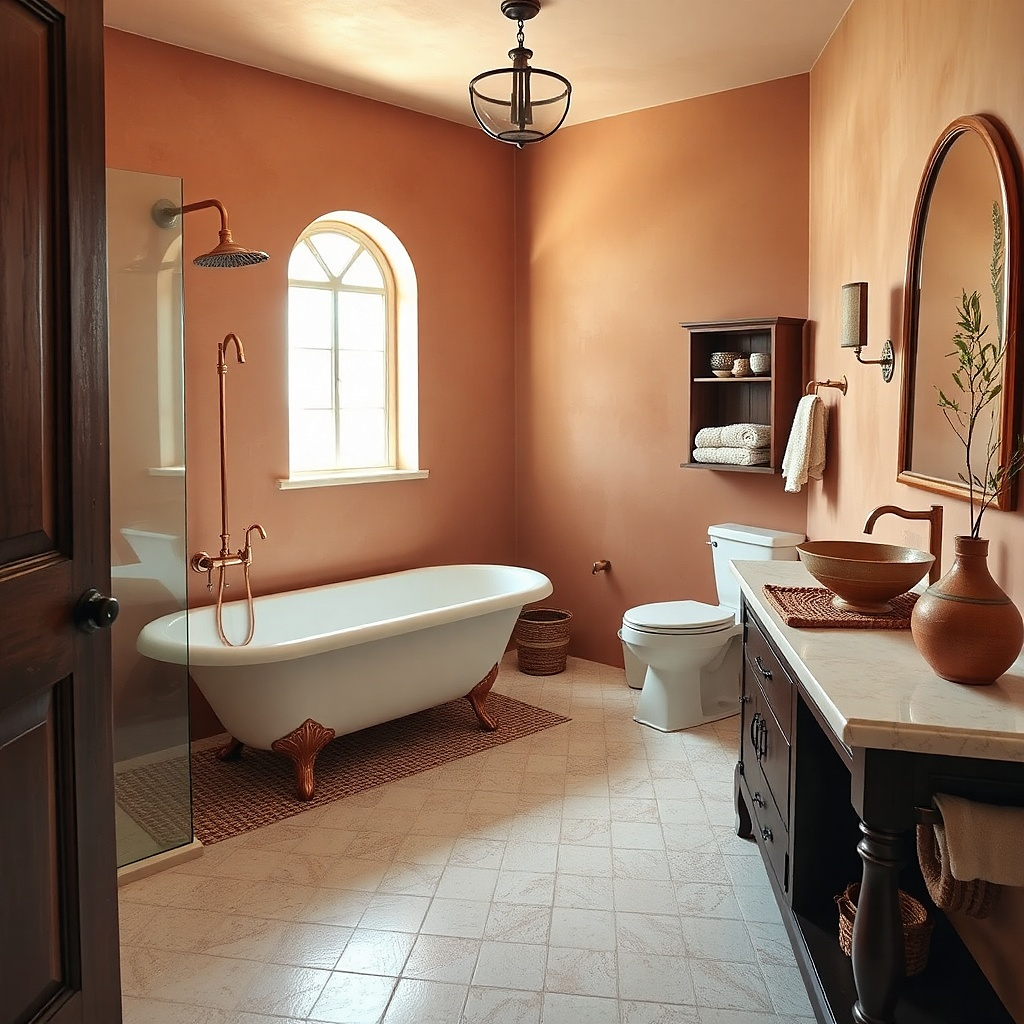
Terracotta walls make a clawfoot tub look like it belongs in a real home, not a staged showroom. Copper shower hardware adds warmth, and the clear panel keeps the shower contained without hiding the tub’s enamel glow. Keep the walls in a matte terracotta tone and use light grout so the wet zone doesn’t look stained. This combo is especially photogenic because copper and terracotta create a warm spectrum that flatters skin tones in mirror selfies and listing photos alike.
Try thisUse a white or cream bath towel and a light wood bath tray; they keep the copper/terracotta palette from feeling too heavy.
First, select a terracotta tile or paint system rated for bathrooms; tile is safer behind the showerhead spray line. Then install copper shower trim and a handheld — mount the valve so the showerhead throws toward the tub center. Next, add a clear fixed panel anchored to the wall with a slim frame in a matching metal or a neutral finish like satin. Finally, seal grout and caulk the tub-to-tile edges so the warm wall stays clean year-round.
Common mistakeAvoid dark grout lines in terracotta; they make the shower zone look dirty even when it’s clean.