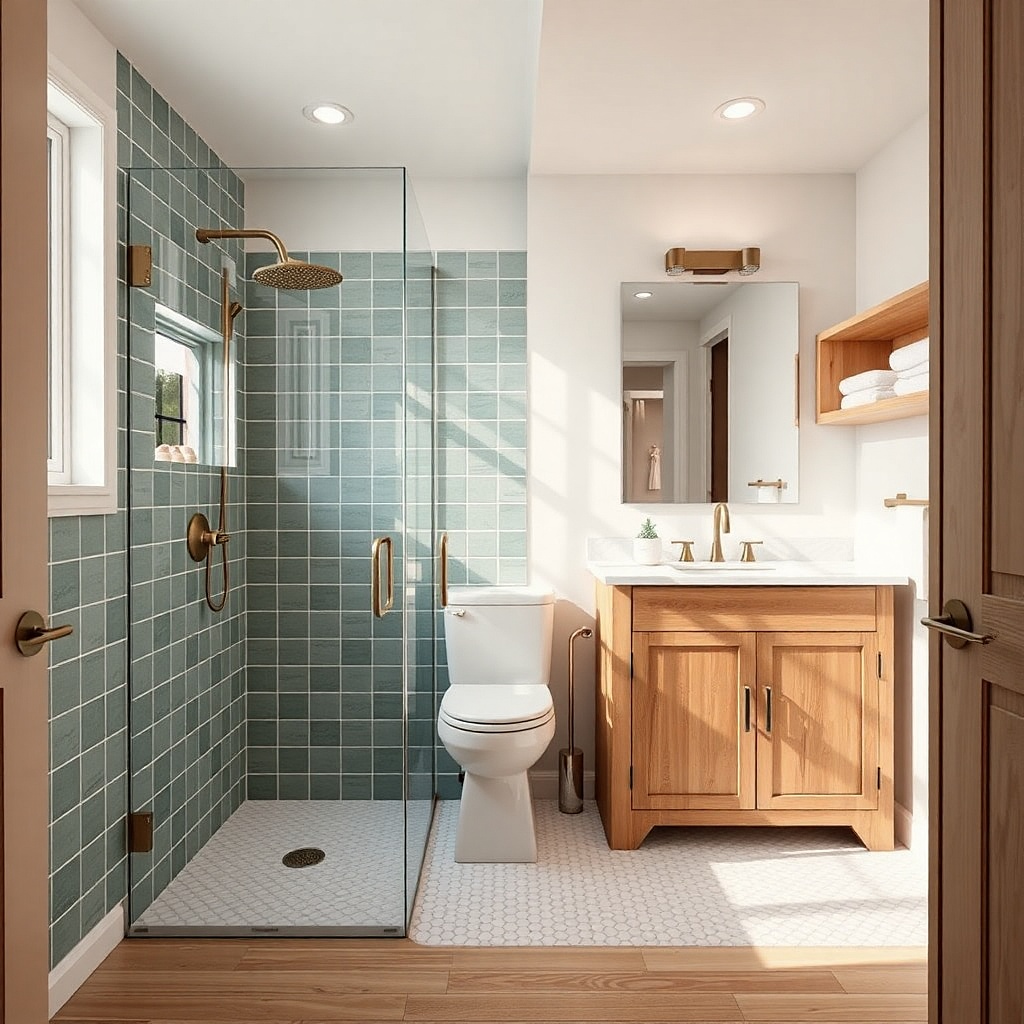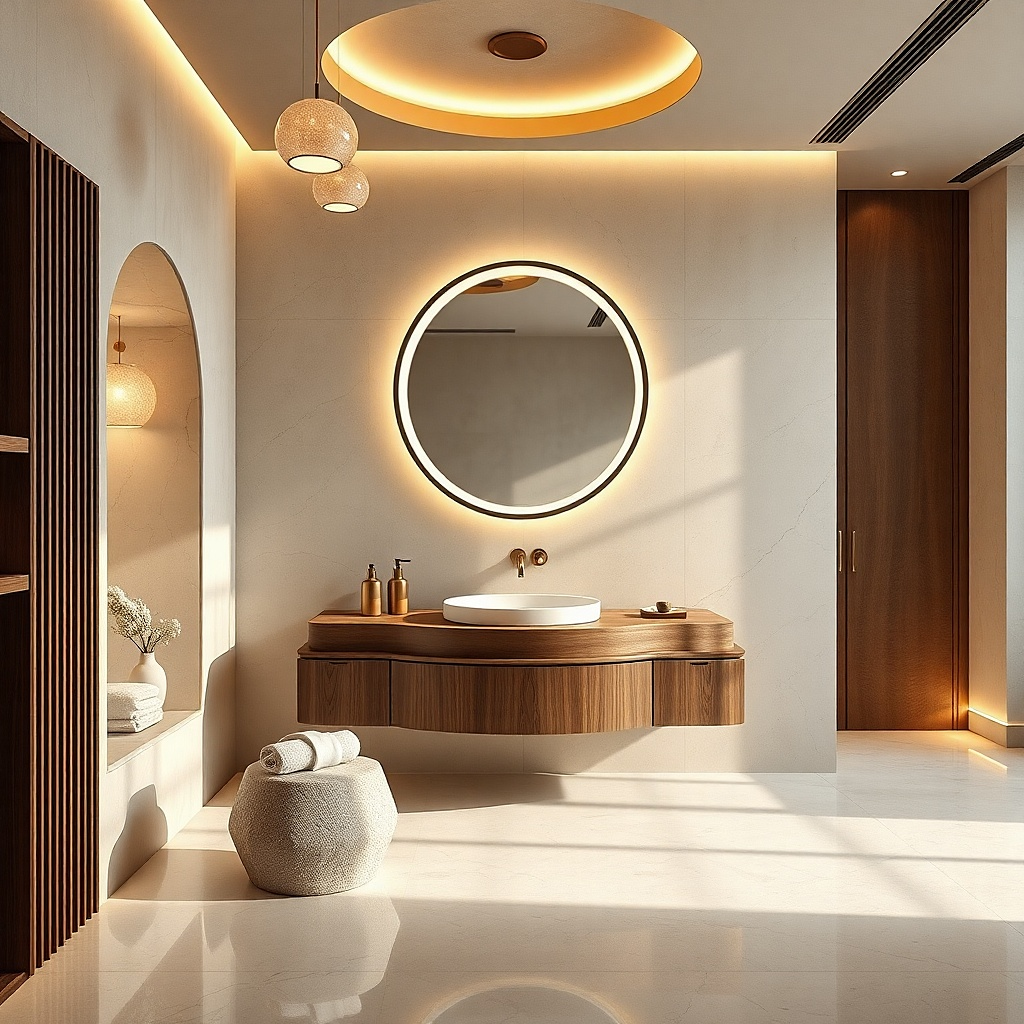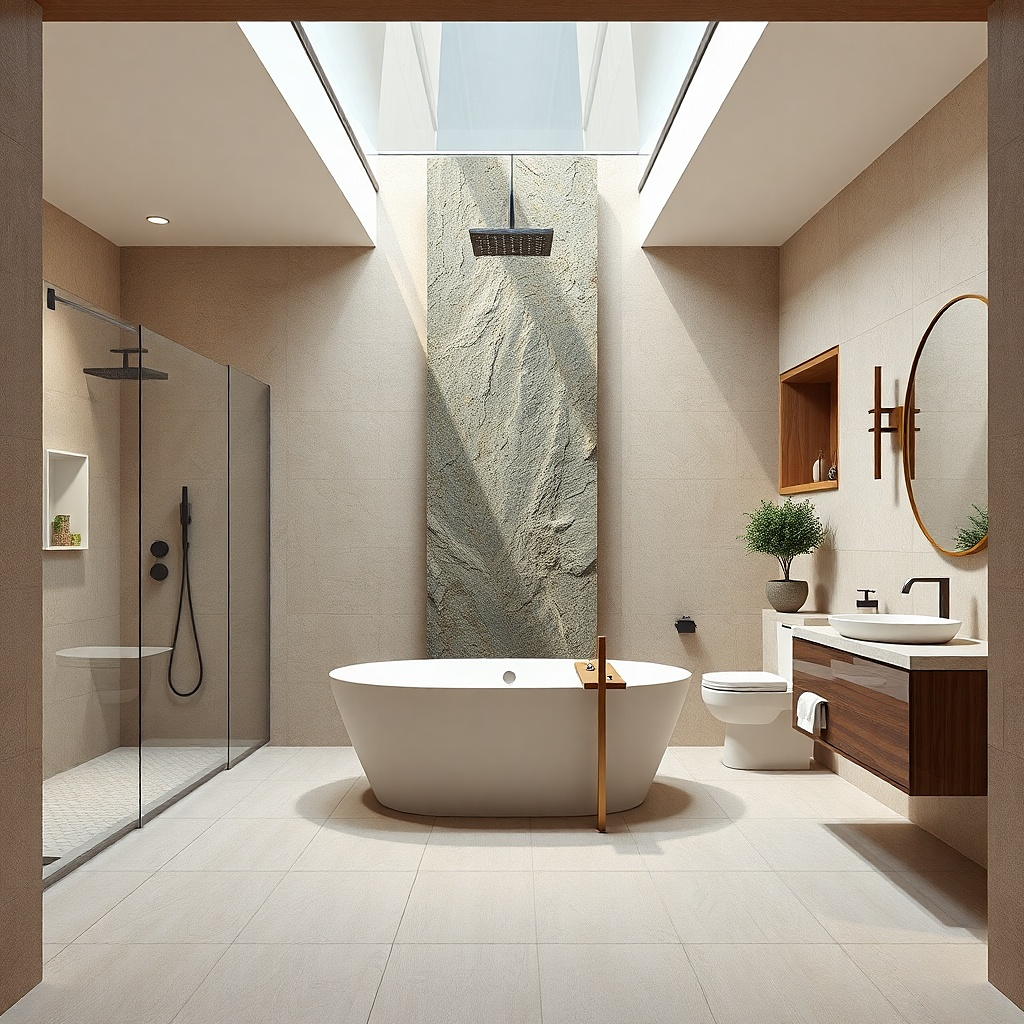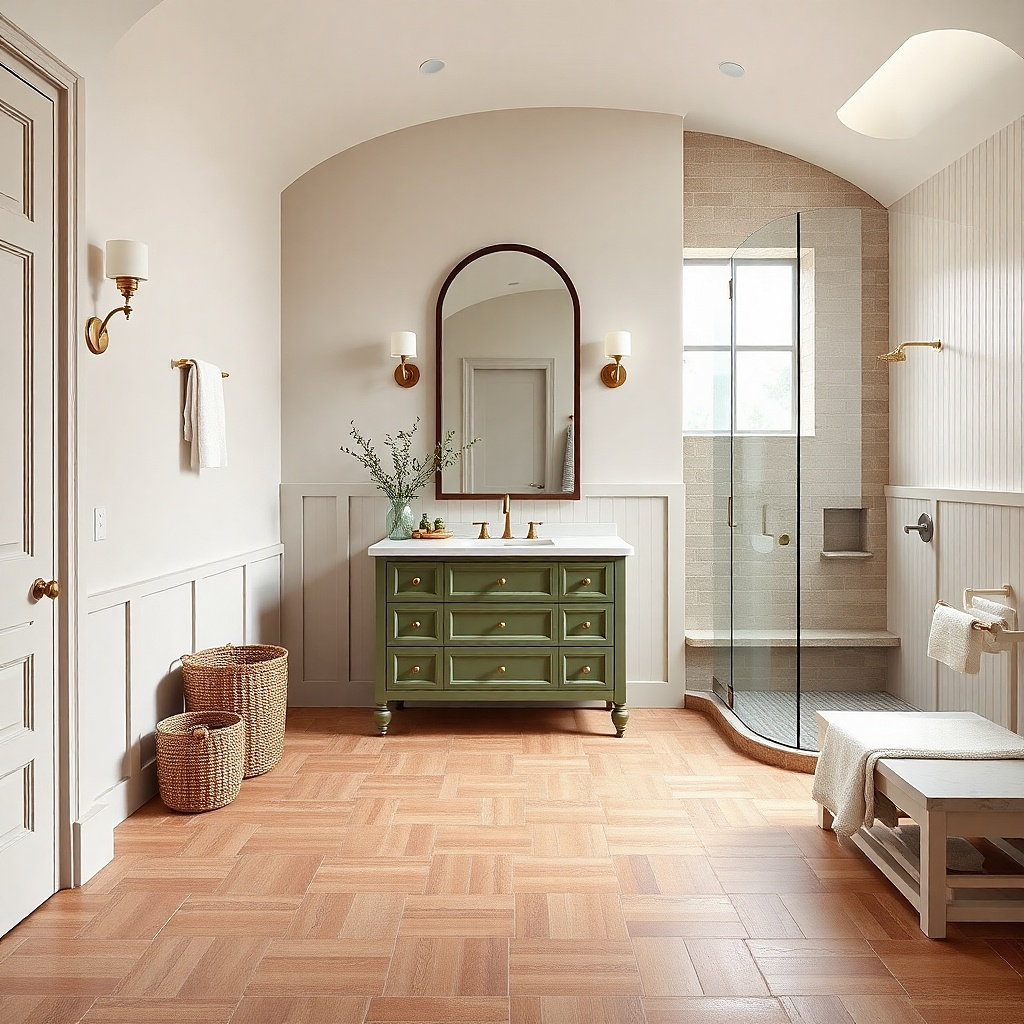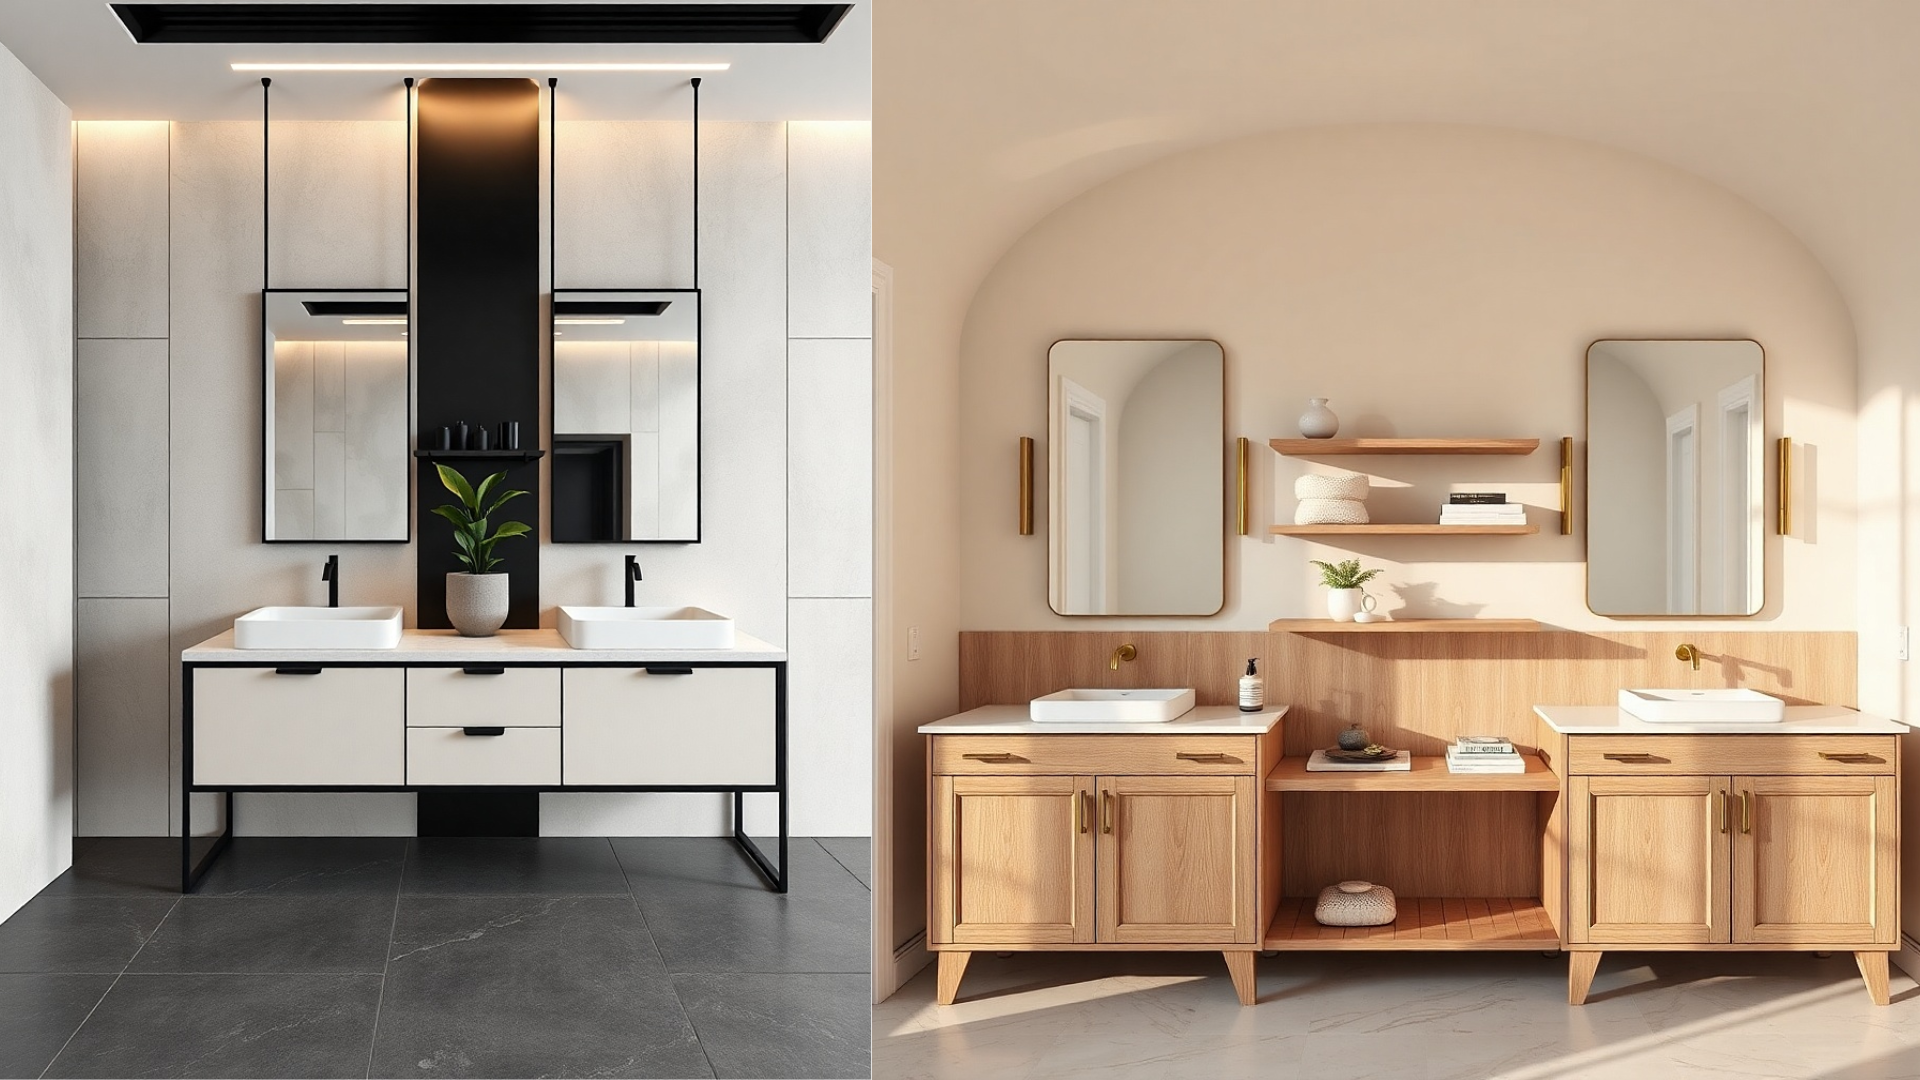
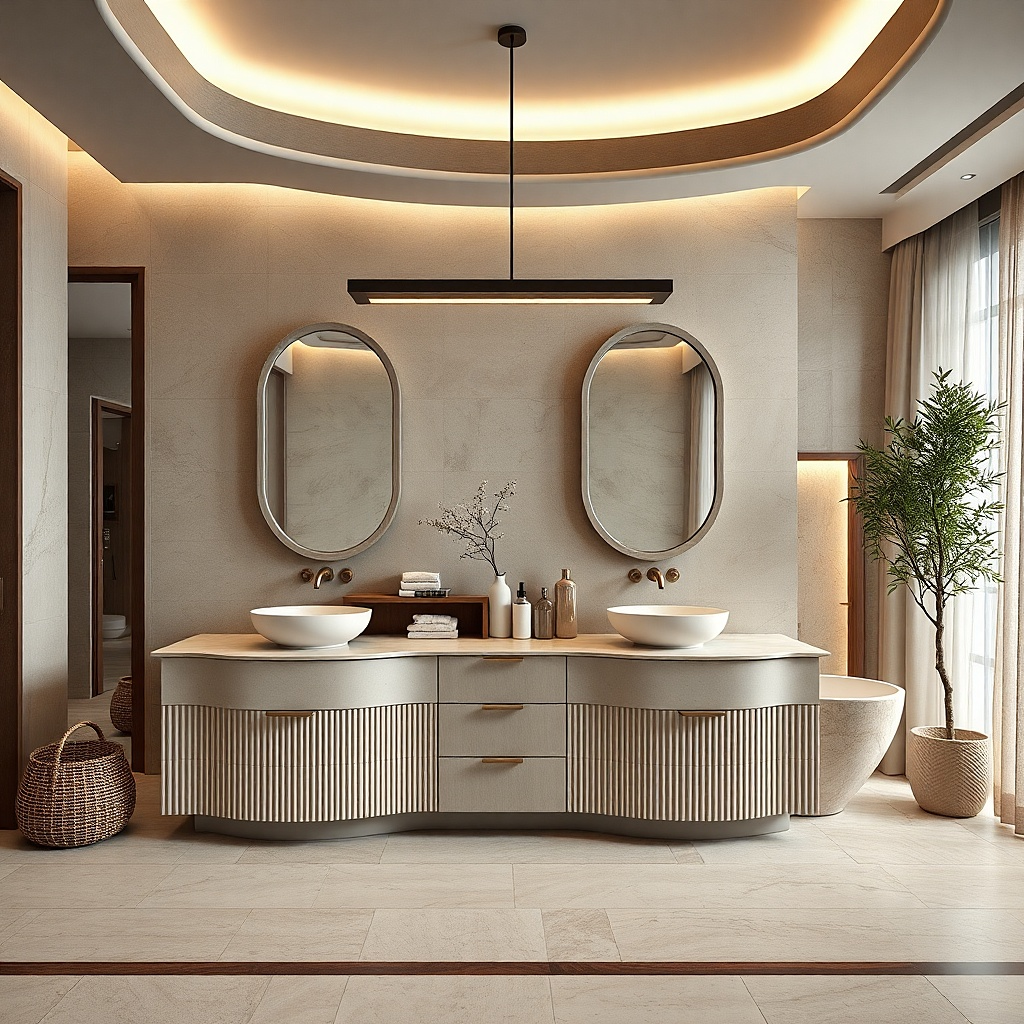
1. Shaker Double Vanity With Matching Side Panels
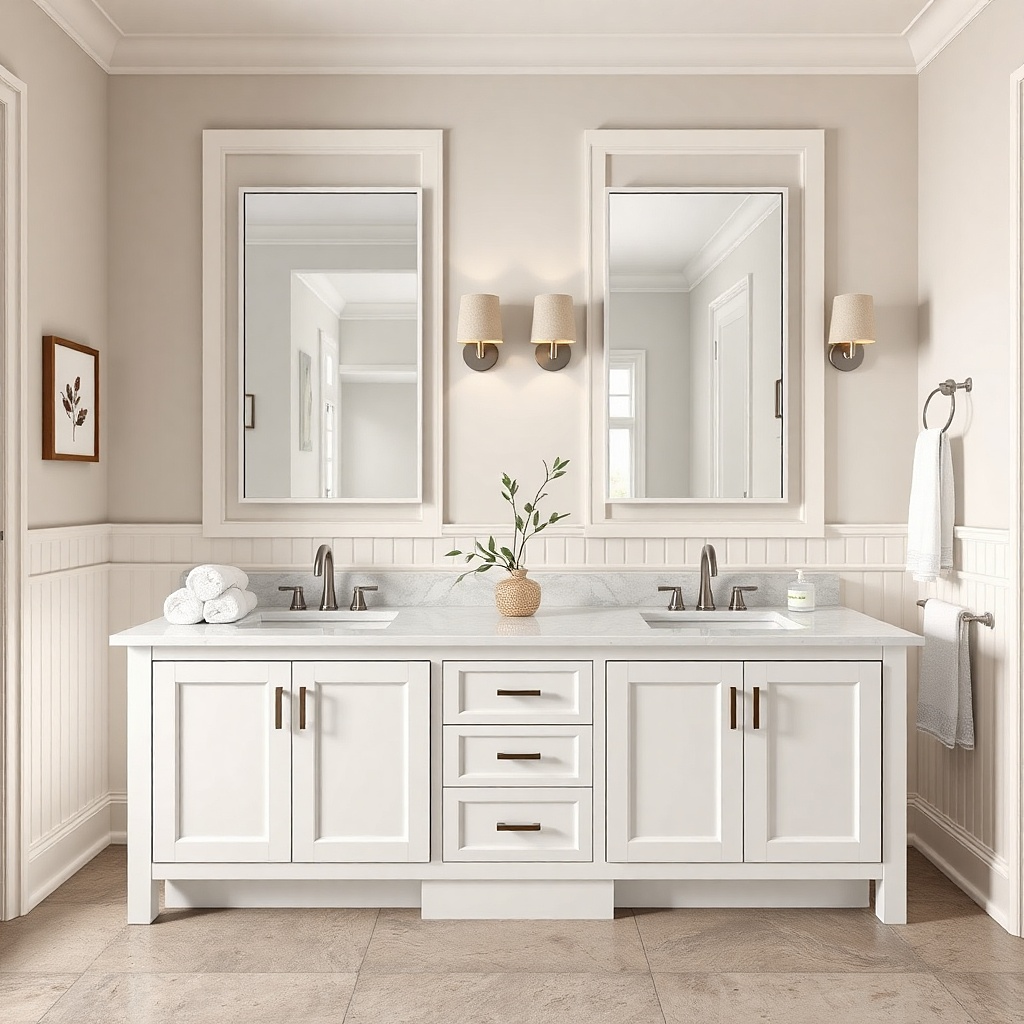
Measure your wall run and aim for a 60-72 inch vanity footprint for a typical shared bathroom. Install two pre-made base cabinets that match in height, then add matching side panels (or filler panels) so the ends look flush to the wall. Set the countertop after plumbing is connected, and align the sink cutouts so the basins sit evenly under the mirrors.
This look works because shaker fronts read clean under bathroom lighting, and side panels make a budget vanity feel built-in. Use a bright white or soft warm off-white cabinet with a matte finish, then keep the hardware consistent across both sink zones. Pair it with a quartz-look countertop in white with gray veining that runs in one direction so the surface looks cohesive. For the photo-ready effect, choose a thick, squared edge and keep the backsplash simple so the countertop becomes the star.
Common mistakeDon’t mix glossy cabinet doors with matte hardware; the shine mismatch looks cheap in daylight.
Try thisChoose one hardware finish and repeat it on mirror brackets and faucets so the vanity looks intentionally styled, not assembled.
2. Walnut Veneer Doors With Light Countertop
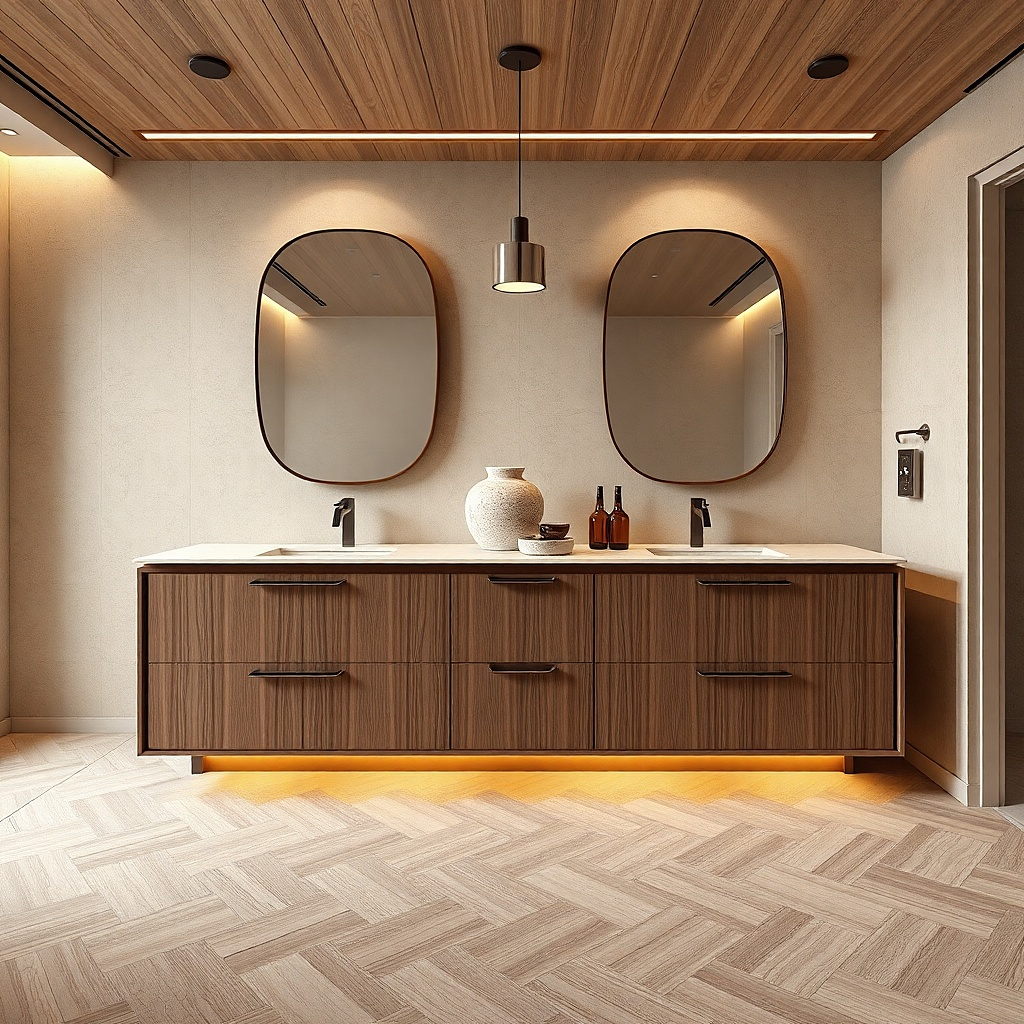
Pick a vanity base system in the same width as your plumbing layout, then select walnut-veneer doors or a ready-made walnut-look cabinet. Install undermount sinks if you want the countertop to look like one continuous slab; then mount the faucet centers so both people have clear reach. Finish by adding a thin backsplash strip or a matching countertop splash panel so the backsplash doesn’t look like a separate, cheaper material.
Warm walnut veneer makes a double vanity look designer even when the structure is budget-friendly. Keep the countertop in a light color — white or pale cream — with subtle gray or taupe veining so the wood doesn’t get visually heavy. Use a simple flat-panel door style or shaker-lite trim, then add black faucets to create a sharp contrast. This setup is great for shared bathrooms because wood tones hide minor wear better than high-gloss finishes and still look polished under vanity lighting.
Common mistakeSkip high-contrast patterned countertops with walnut; it competes with the wood and makes the whole vanity feel busy.
Try thisUse two identical soap dispensers and two matching toothbrush holders to reinforce the warm, intentional look.
3. Matte Black Frame Vanity With Light Cabinet Faces
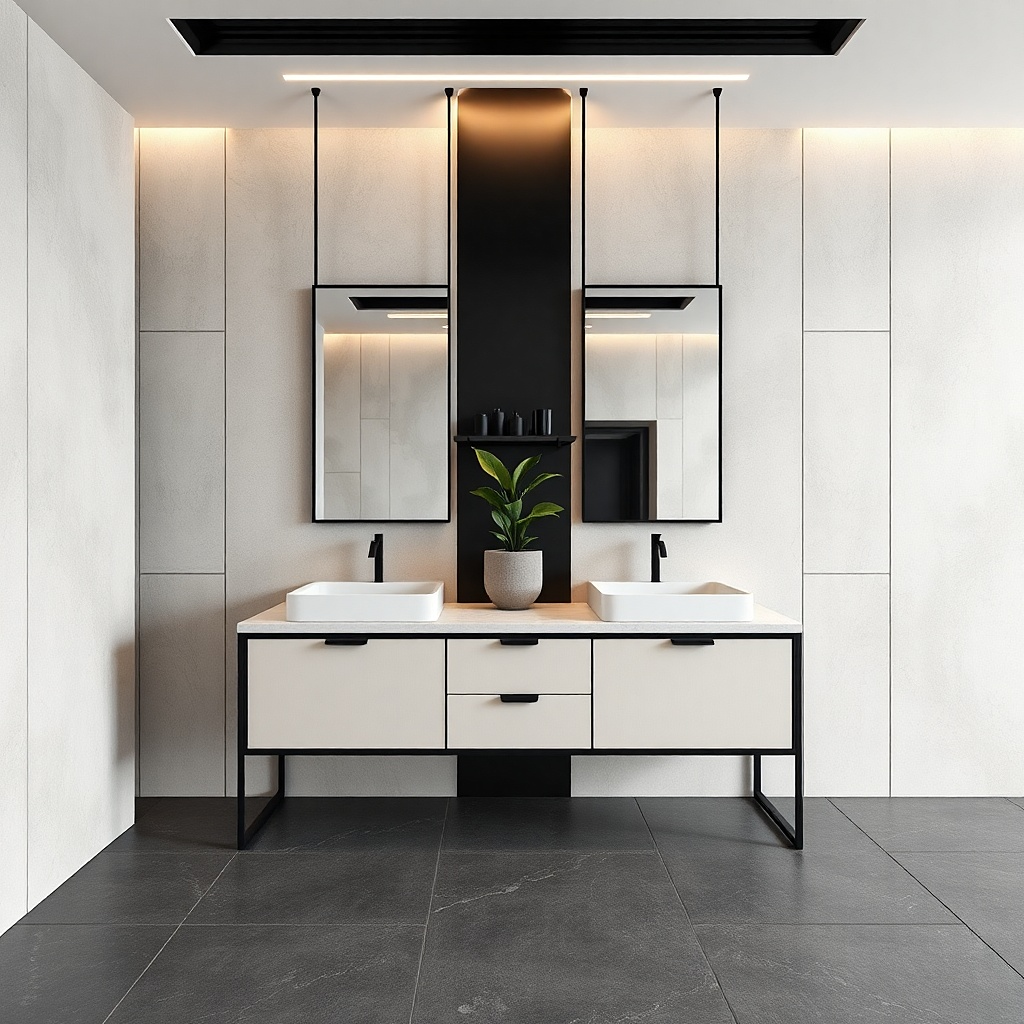
A matte black frame gives you the “architect” look without needing expensive built cabinetry. Keep cabinet faces in a soft light tone — linen white or warm gray — so the black reads as structure, not darkness. Choose a countertop with a calm pattern and a high-end-looking edge profile (a straight eased edge looks clean). This is a strong choice for shared bathrooms because black hardware and faucets make each sink zone feel defined while still reading as one unit.
Select a double vanity system that includes a black frame or add a black base trim kit to two matching cabinet runs. Level the bases carefully, then mount the countertop and sinks so the black frame stays straight from one end to the other. Finish by installing black undermount faucets and matching pop-up drains so the sink area looks cohesive under mirror light.
Pair with black-framed mirrors and a single continuous light bar above both sinks for clean symmetry.
Don’t choose glossy black; matte black reduces glare and looks more intentional under overhead lighting.
4. Two Separate 30-Inch Vanities Side-by-Side
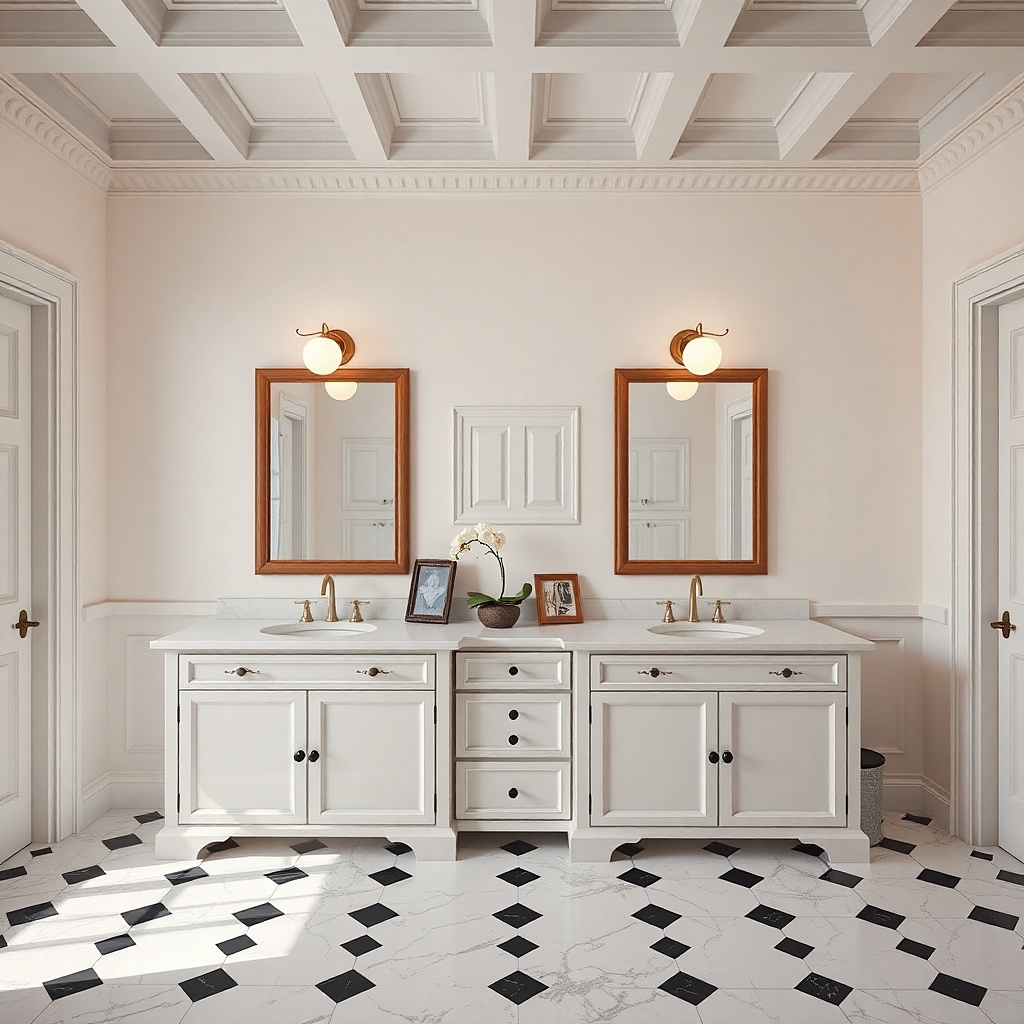
If your budget is tight, this is one of the most reliable ways to get a double vanity look. Two separate units let you control each person’s storage zone while keeping the overall look balanced. The key is to make them look like one piece: use a single long countertop spanning both bases and align drawers and doors so the seams disappear. Choose cabinets with the same door style and finish, then add identical lighting and mirrors so the spacing reads intentional.
Buy two matching vanity bases around 30 inches each, then set them so the gap between frames is minimal. Use a countertop that spans both runs or have one fabricated to cover both bases; clamp and measure before ordering. Connect plumbing to each sink and confirm that the faucet centers match the countertop cutouts before you finalize hardware.
Add a middle trim strip or decorative panel at the seam to hide any slight height differences.
Don’t use two different cabinet finishes; seam lines become obvious and kill the “one vanity” illusion.
5. Rattan-Front Cabinet Inserts on the Upper Storage
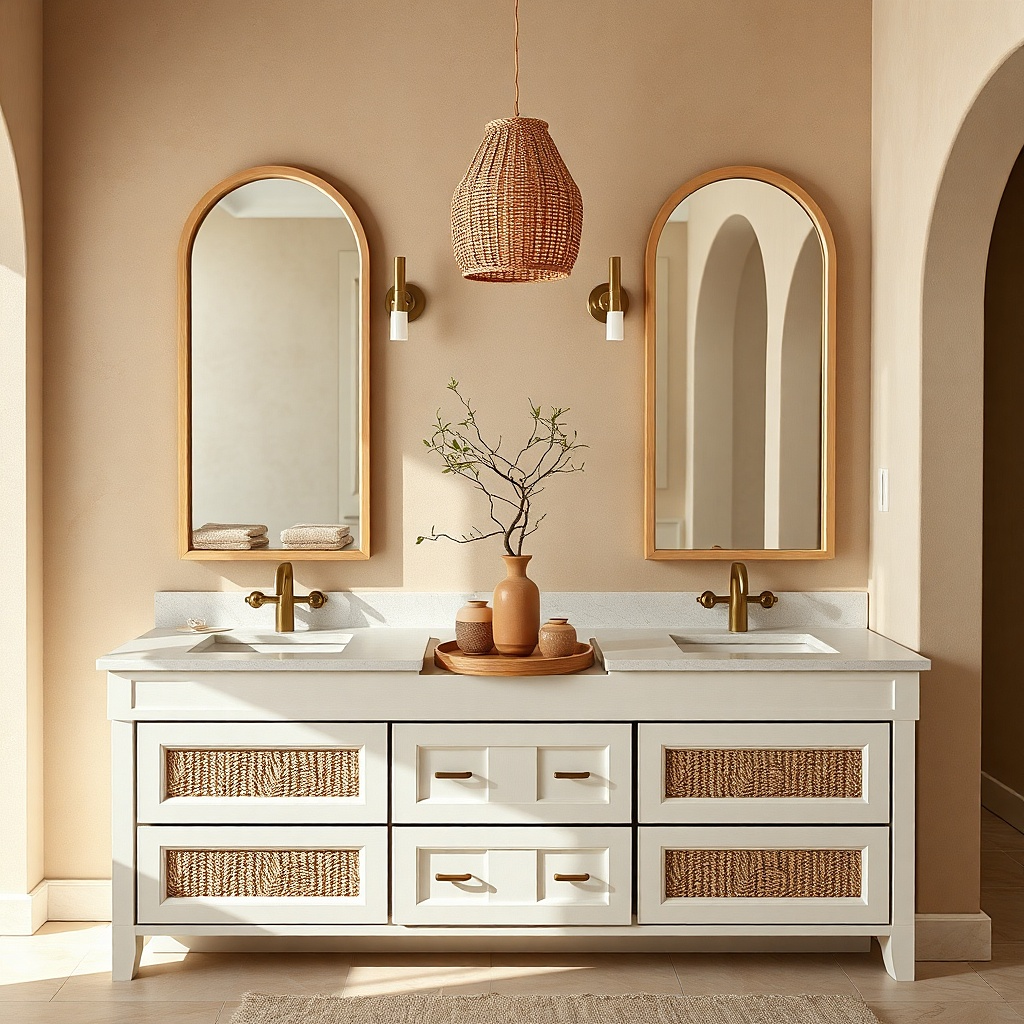
Choose a double vanity base with doors you can replace or a ready-made unit with insert panels. Install rattan inserts on the upper cabinet doors first, then mount the countertop and basins so you don’t damage the texture during plumbing work. Style with two matching baskets inside the rattan areas and keep the countertop clear so the look stays airy.
Rattan-front inserts bring texture that reads high-end in photos, especially when the rest of the vanity stays simple. Keep the main cabinet doors in white or pale gray, then add rattan panels only to the upper storage. Pair with a warm white countertop and matte brass faucets for a soft, spa-like look that still feels clean. This is great for shared bathrooms because one person can keep everyday items hidden while the other uses the open-texture storage for baskets and backup supplies.
Common mistakeDon’t put rattan at the bottom where it will get hit by water splashes.
Try thisUse light-colored rattan so it doesn’t darken the space; it also photographs better under bathroom LEDs.
6. Linen White Flat-Panel Vanity With Undermount Sinks
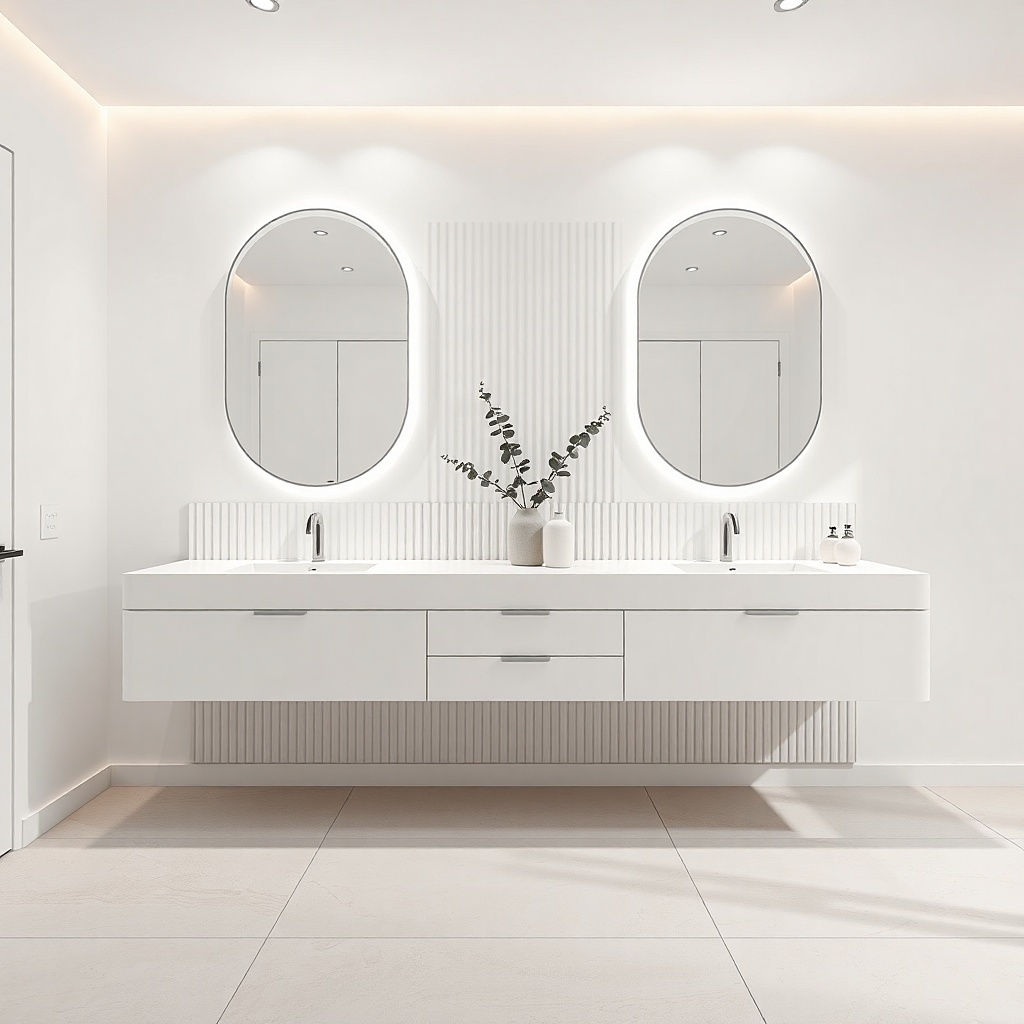
Pick a linen white double vanity with flat-panel doors and install undermount sink bowls that match your faucet spread. Set the countertop last so you can fine-tune alignment with the sink cutouts. Seal the sink-to-counter joint with a thin, consistent bead and test for leaks with a controlled water run before you caulk the entire perimeter.
Flat-panel doors and undermount sinks make even budget cabinets look sleek and modern. Linen white keeps the vanity bright without the harsh glare of pure white. Choose a countertop in a quartz-look with gentle movement, and keep the backsplash minimal so the surface reads smooth. This setup works well for busy shared bathrooms because the under-sink bowl shape makes it easier to wipe the counter clean and keep water spots from building up around the basin rim.
Common mistakeDon’t choose a high-contrast countertop pattern; flat-panel cabinets already look graphic.
Try thisUse a single continuous backsplash panel that matches the countertop color so the whole run looks uninterrupted.
7. Greige Vanity With Faux Marble Laminate Top
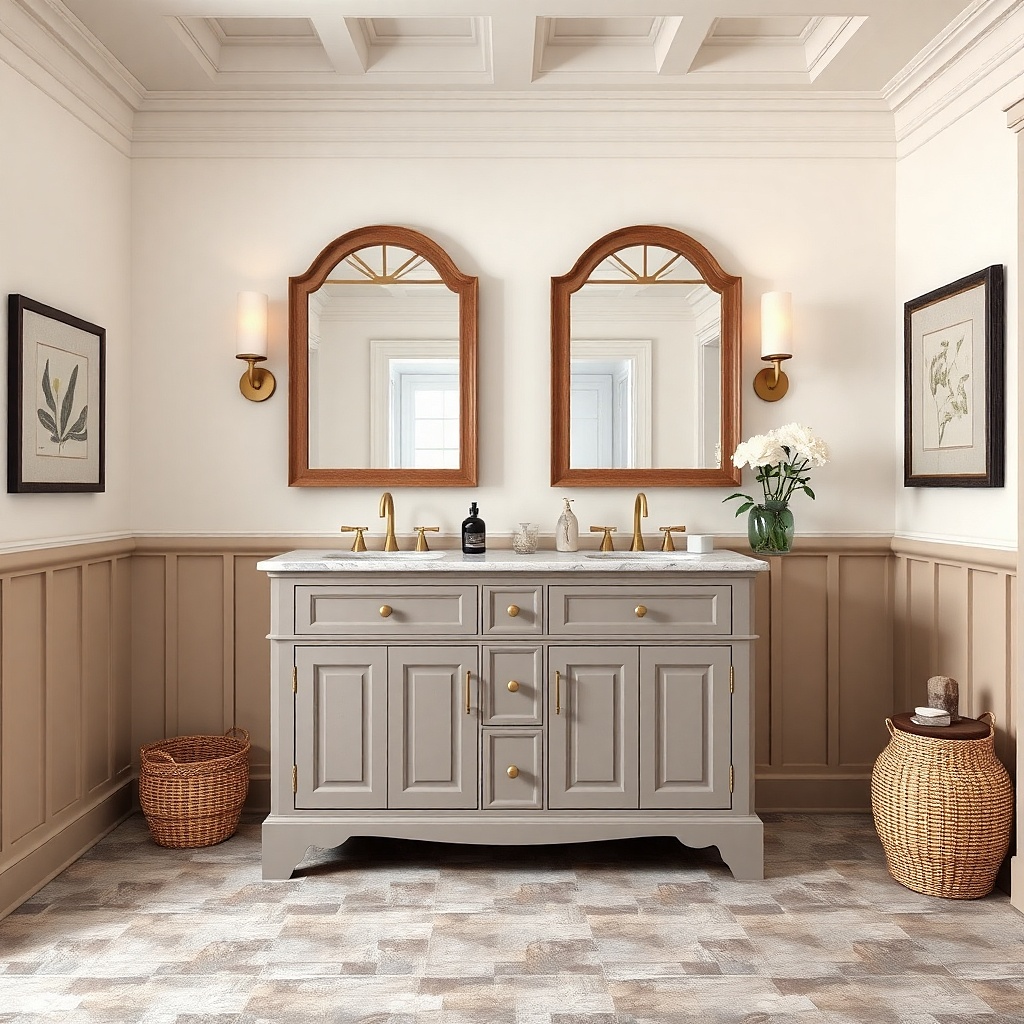
Greige cabinets give you a calmer neutral that looks upscale when paired with a realistic faux marble laminate. Go for a laminate with fine veining and consistent color temperature; the goal is to look like one slab, not printed vinyl. Use chrome or brushed nickel faucets to keep the overall palette cool and crisp. In shared bathrooms, this combo is forgiving: the greige hides minor scuffs and the marble look makes the vanity feel like a focal point.
Choose a greige vanity base and order a countertop laminate top cut to your exact width and sink locations. Dry-fit the top on the bases before final installation so the overhang looks even on both ends. Install sinks, then mount faucets and seal around the sink edges with silicone that matches the countertop color.
Select laminate veining that runs lengthwise across the vanity; it makes the run look longer and more expensive.
Skip thick, loud veining; it reads like a print and cheapens the look fast.
8. Two-Tone Vanity With Dark Lower Cabinets
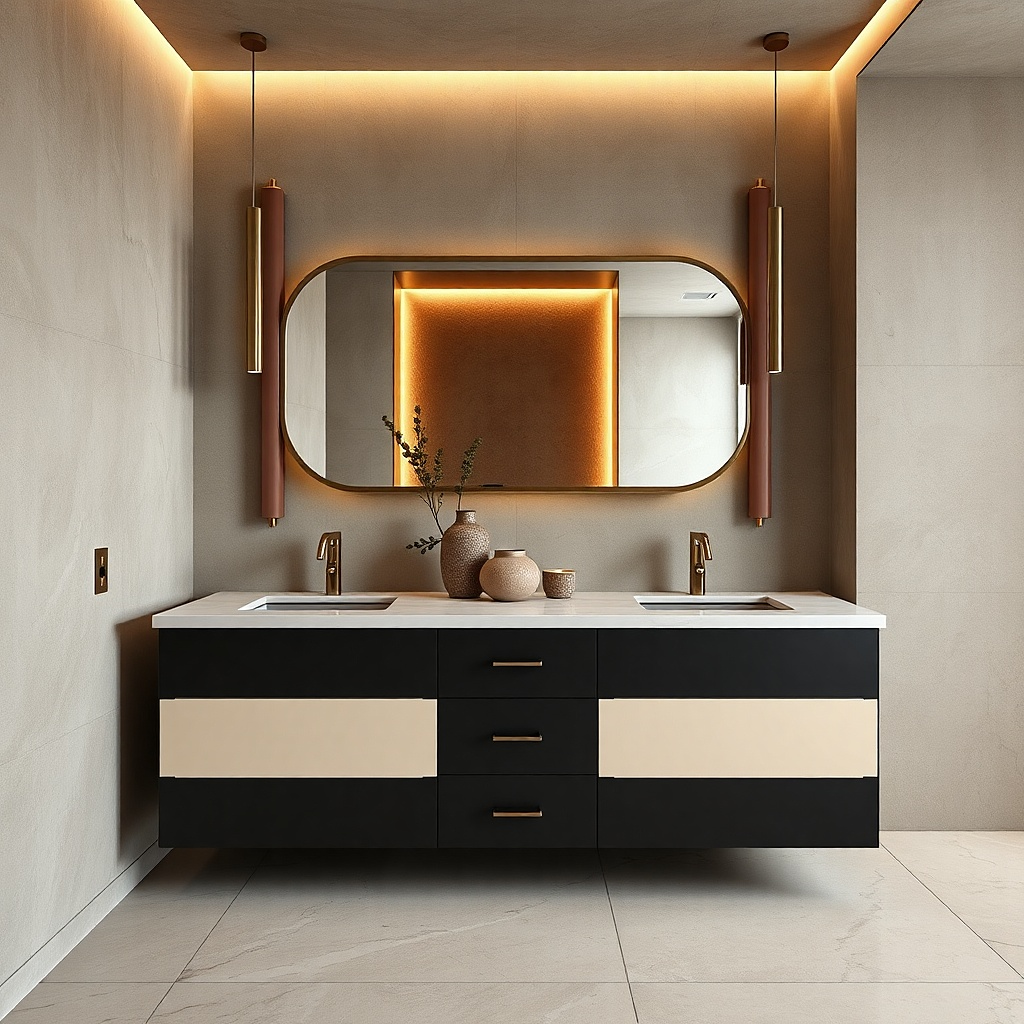
Pick a double vanity system where you can change door panels or paint them, then commit to one dark shade and one light shade. Install the dark base first, then mount the countertop and sinks, and finally add the light-toned doors/panels that sit above. Use matching dark hardware on the lower drawers and light hardware on the upper pieces only if the finishes match across both sinks.
Two-tone vanities photograph well because the eye gets a clear visual hierarchy. Use dark lower cabinets in charcoal, espresso, or deep navy, then keep the upper drawers or side panels in a light tone like warm white. The countertop should bridge both colors with a neutral stone look so it doesn’t fight the contrast. This style helps in shared bathrooms because the dark base hides daily wear and the light top keeps the space bright and clean around mirrors.
Common mistakeDon’t use two-tone with two different countertop patterns; pick one cohesive surface.
Try thisUse a waterfall-style front edge on the countertop if you can; it makes the two-tone look intentional.
9. Corner-Ready Double Vanity With a Slim Center Gap
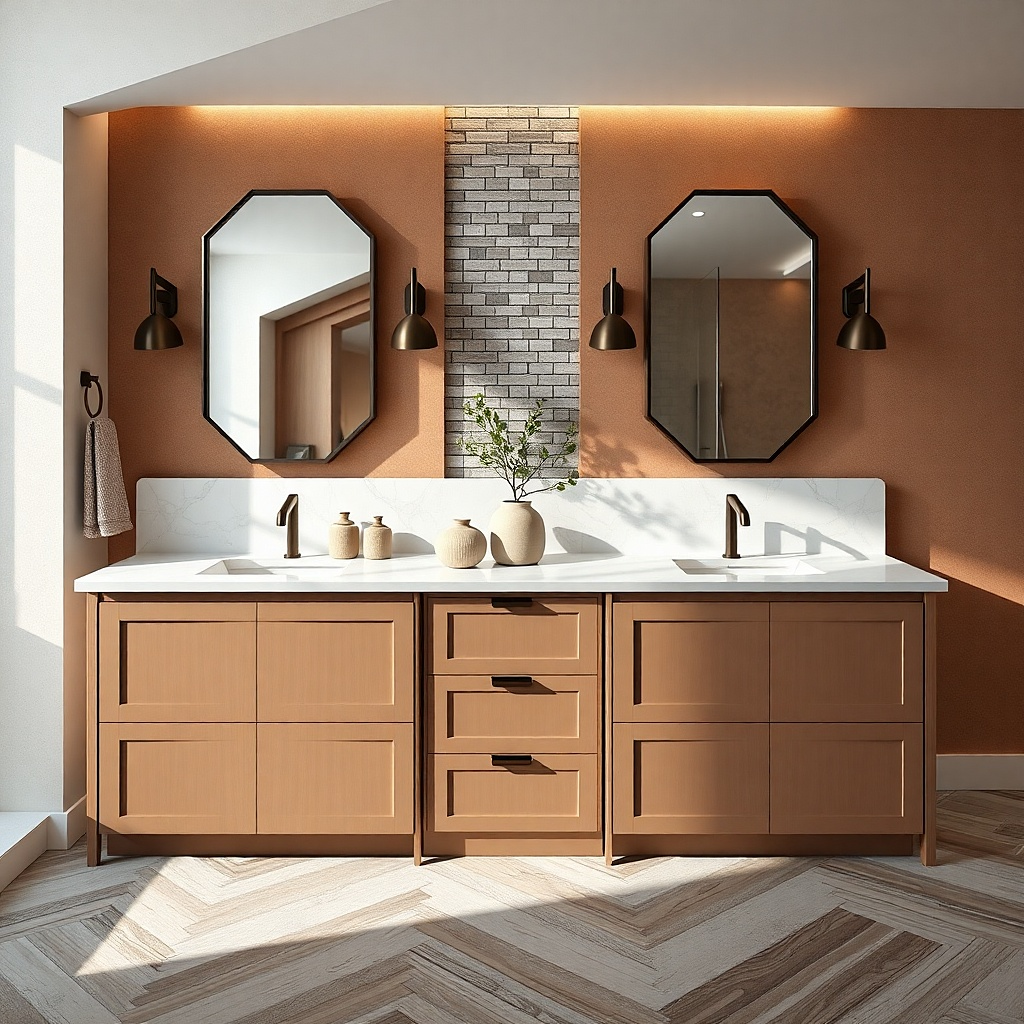
When your layout forces the vanity to sit near a corner or awkward wall, a slim center gap can look clean instead of cramped. Use two matching cabinet runs with a narrow center section for toiletries or a small pull-out hamper, then cover the top with one long countertop. The center gap creates breathing room so the two sinks don’t feel like they’re stacked on top of each other. Choose a countertop that matches the cabinet color temperature and add two mirrors with the same shape so the symmetry holds up.
Measure the widest point you can use and plan for a center gap of about 6-10 inches depending on plumbing and door swing. Install the left and right bases first, then build a small center cabinet or open shelf section and secure it to the wall. Place the countertop across all sections and verify that the sink rims line up with your mirror centers before you drill hardware holes.
Use a center drawer for shared items like extra toothpaste so both people stop leaving clutter on the counter.
Don’t make the gap wider than 10 inches; the vanity starts looking like separate furniture.
10. Open-Shelf Center With Matching Side Cabinets
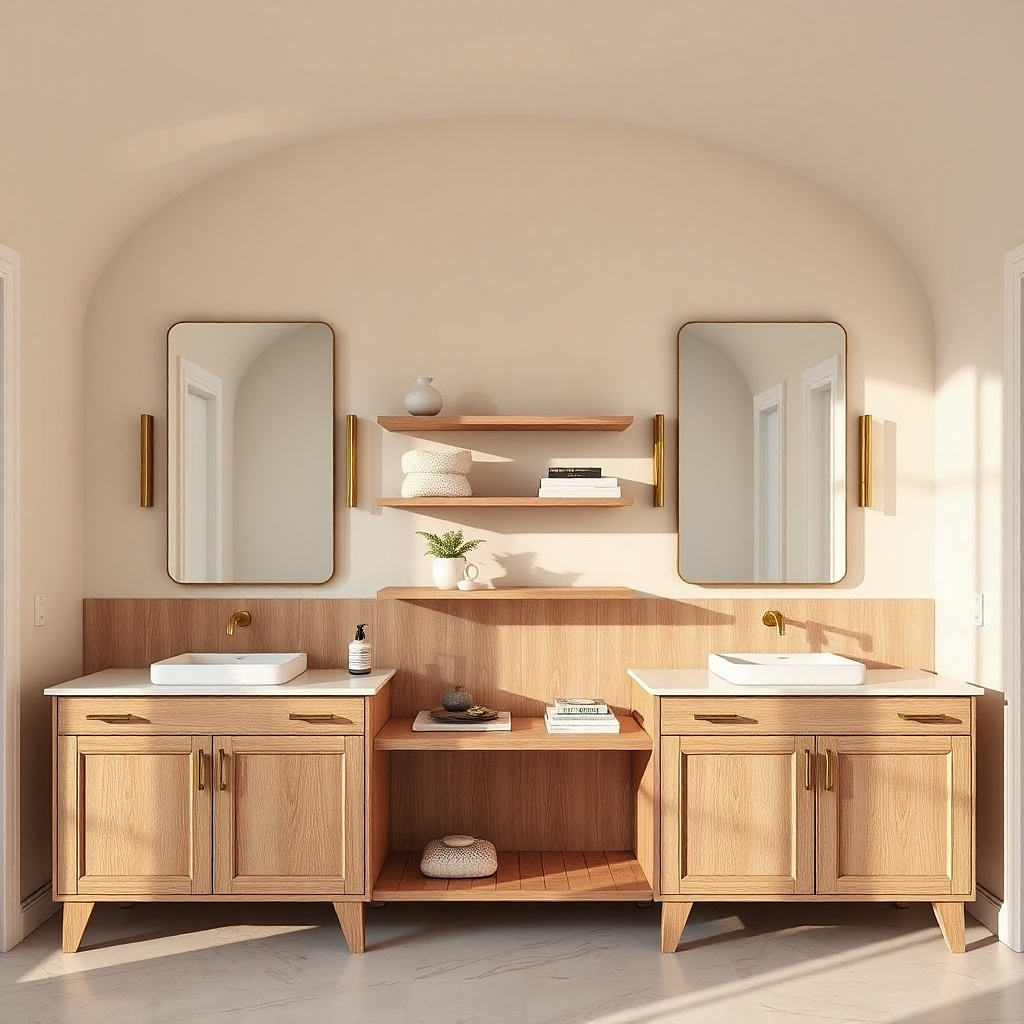
An open-shelf center breaks up a long vanity run and makes a budget setup look designed. Keep the side cabinets closed for storage, then use the center shelf for two matching baskets and a small tray. This creates a photogenic “style moment” without cluttering the countertop. Pair with a light countertop and simple faucets so the shelf texture becomes the focal point instead of fighting patterns.
Choose a double vanity base with a removable center panel or plan a custom open shelf section. Build a shelf space that is about 12-16 inches wide and 10-14 inches tall, then install it between the two sink cabinets. Cover the whole top with one countertop and keep the sink spacing even so the mirrors can align to the centers.
Use baskets with the same weave direction; mixed textures look messy quickly in shared bathrooms.
Don’t put daily clutter on the shelf; the look depends on restraint.
11. Beaded-Panel Doors for a Classic Double Vanity
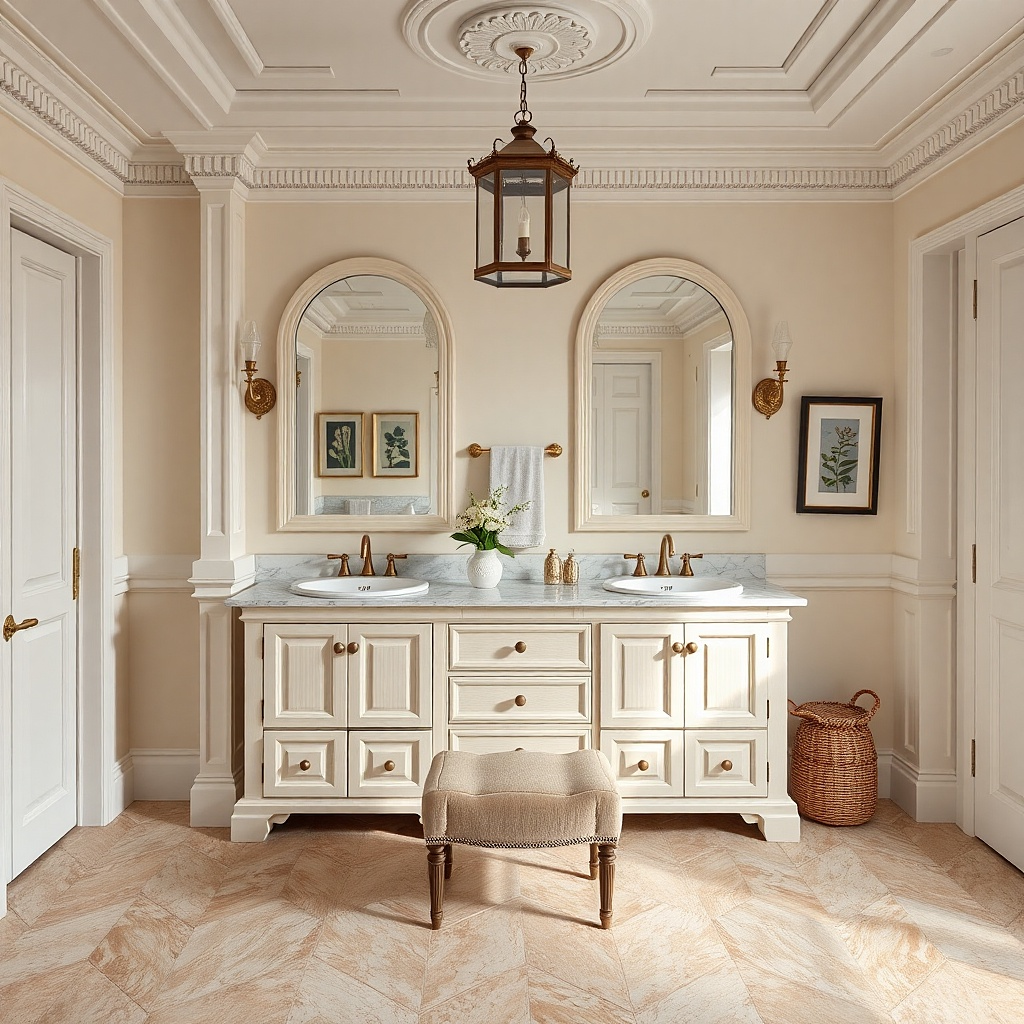
Select a double vanity base with beaded-panel doors or replace door fronts if you’re using cabinet frames. Install the bases, level them, then mount the countertop and sinks. Add a continuous backsplash strip so the wall behind the vanity looks finished and the cabinet detail stays the star.
Beaded-panel doors add visual detail without requiring expensive stone. Choose a warm white or cream finish so the details cast subtle shadows under bathroom lighting. For the countertop, use a simple white or light gray surface and keep veining soft. This gives you a classic, photogenic look that still works for busy shared bathrooms because the cabinet doors hide items and the countertop stays clean. Go with brushed nickel or polished chrome to keep the classic vibe crisp.
Common mistakeDon’t pair beaded doors with a loud countertop pattern; the textures will compete.
Try thisHang two identical mirrors and keep their top edges aligned; classic vanities look best with strict symmetry.
12. Soft Sage Cabinets With Brushed Brass Hardware
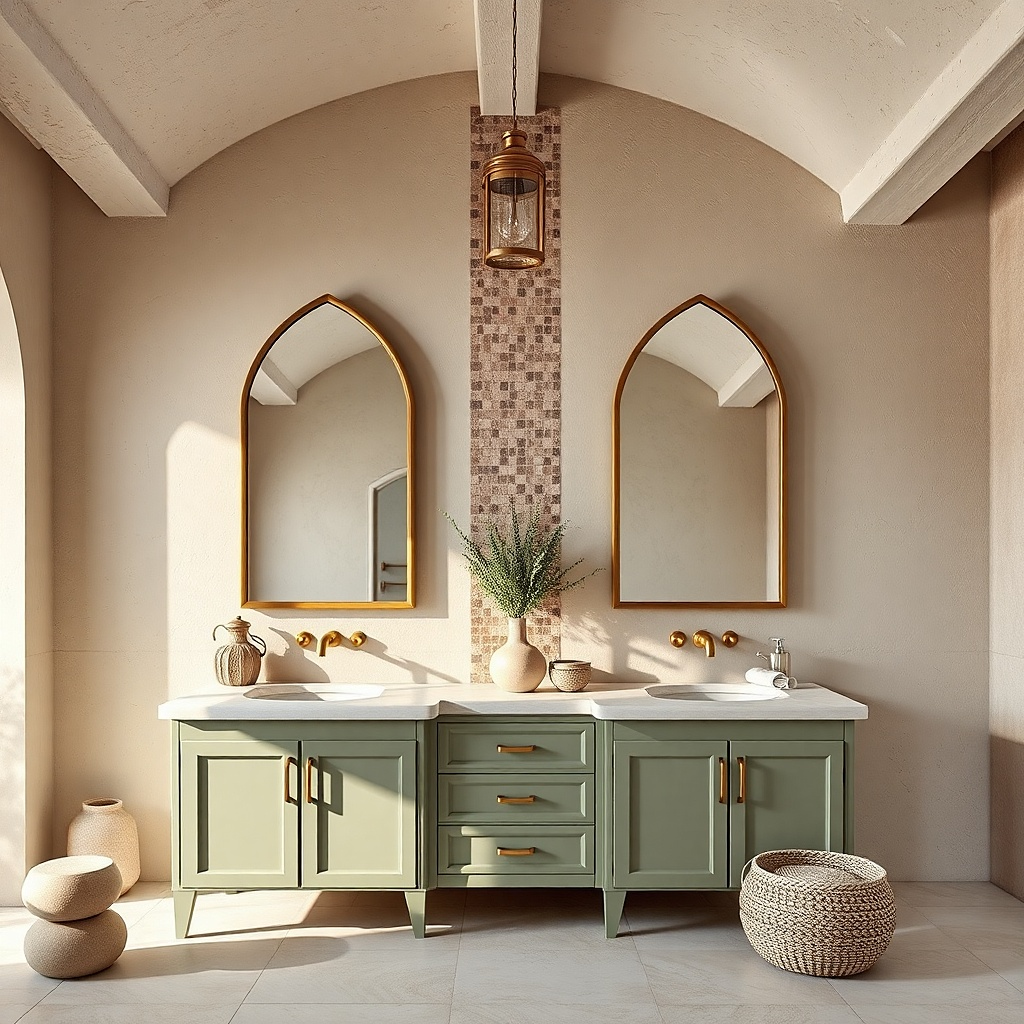
Order a double vanity with sage-painted doors or repaint a matching base system using a bathroom-safe cabinet paint kit. Sand and prime first, then finish with a durable topcoat rated for cabinets. Install plumbing and sinks, then mount brushed brass hardware and faucets so the metal finish repeats across both sides.
Soft sage is one of the best “budget-friendly but looks expensive” colors because it flatters skin tones and reads calm in mirror light. Pair it with a light countertop and brushed brass faucets for a warm, spa-style vibe that still looks modern. Keep the cabinet doors simple — flat-panel or shaker — so the color does the work. In a shared bathroom, sage also hides slight scuffs better than bright white and gives both sinks a cohesive mood.
Common mistakeDon’t choose cool blue-gray sage; it can look flat under harsh bathroom LEDs.
Try thisUse warm bulbs around 2700K-3000K in the vanity lights; sage looks richer under warmer light.
13. Greystone Vanity With Textured Matte Countertop
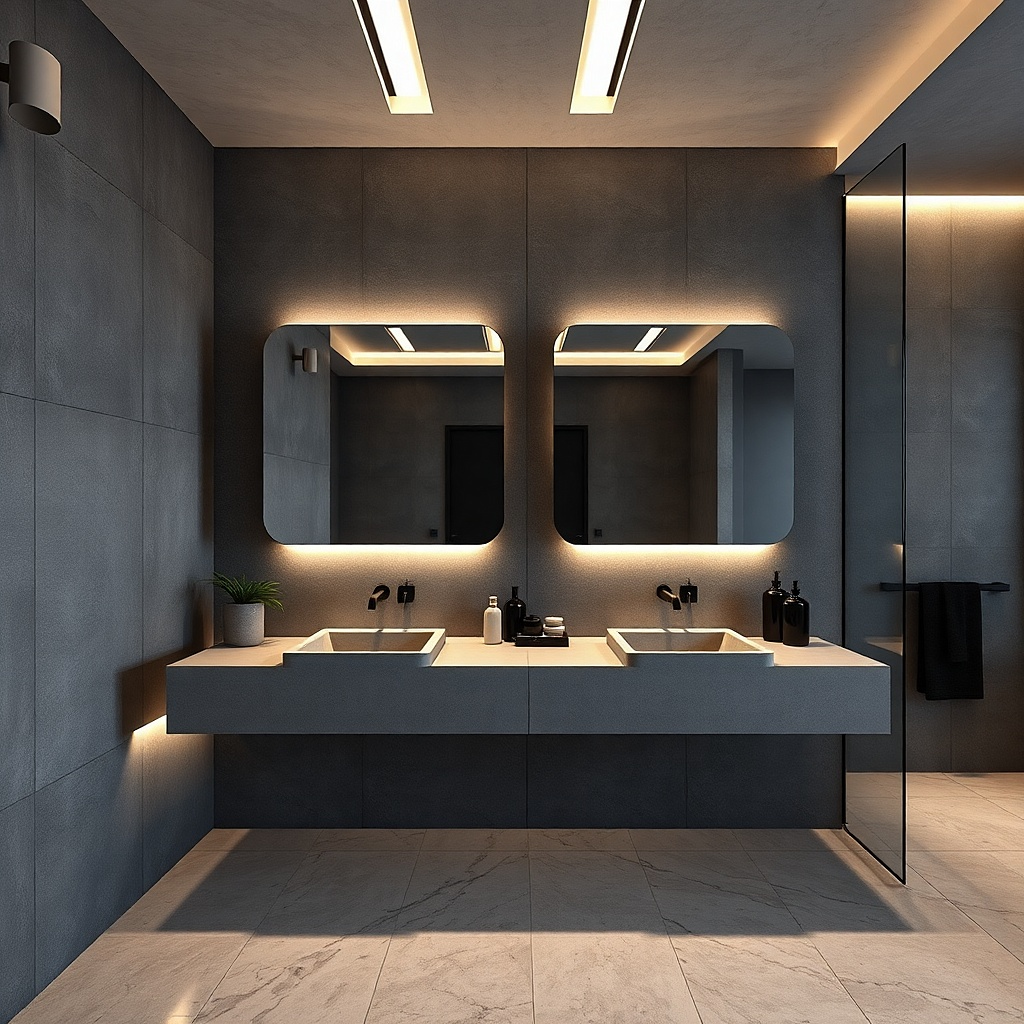
Matte, textured countertops hide water spots and fingerprints better than glossy stone. Pair a greystone or charcoal cabinet finish with a matte quartz-look top in a light-to-mid neutral so the vanity looks grounded but not heavy. Use matte black faucets to keep the palette cohesive. This design is a practical aesthetic win for shared bathrooms because the surface looks clean even when two people are using it back-to-back.
Choose cabinet bases in a greystone or charcoal finish and confirm the countertop you select has a matte or honed look. Install the countertop with proper support blocks under sink cutouts so it doesn’t flex. After mounting sinks, test for water tightness around the perimeter and finish with a thin bead of matching caulk.
Wipe the countertop with a microfiber cloth and a pH-neutral cleaner; matte surfaces show streaks less when you’re consistent.
Skip high-gloss countertops if your bathroom gets hard water; spots will stand out.
14. Slim Profile Double Vanity With Tall Storage Columns
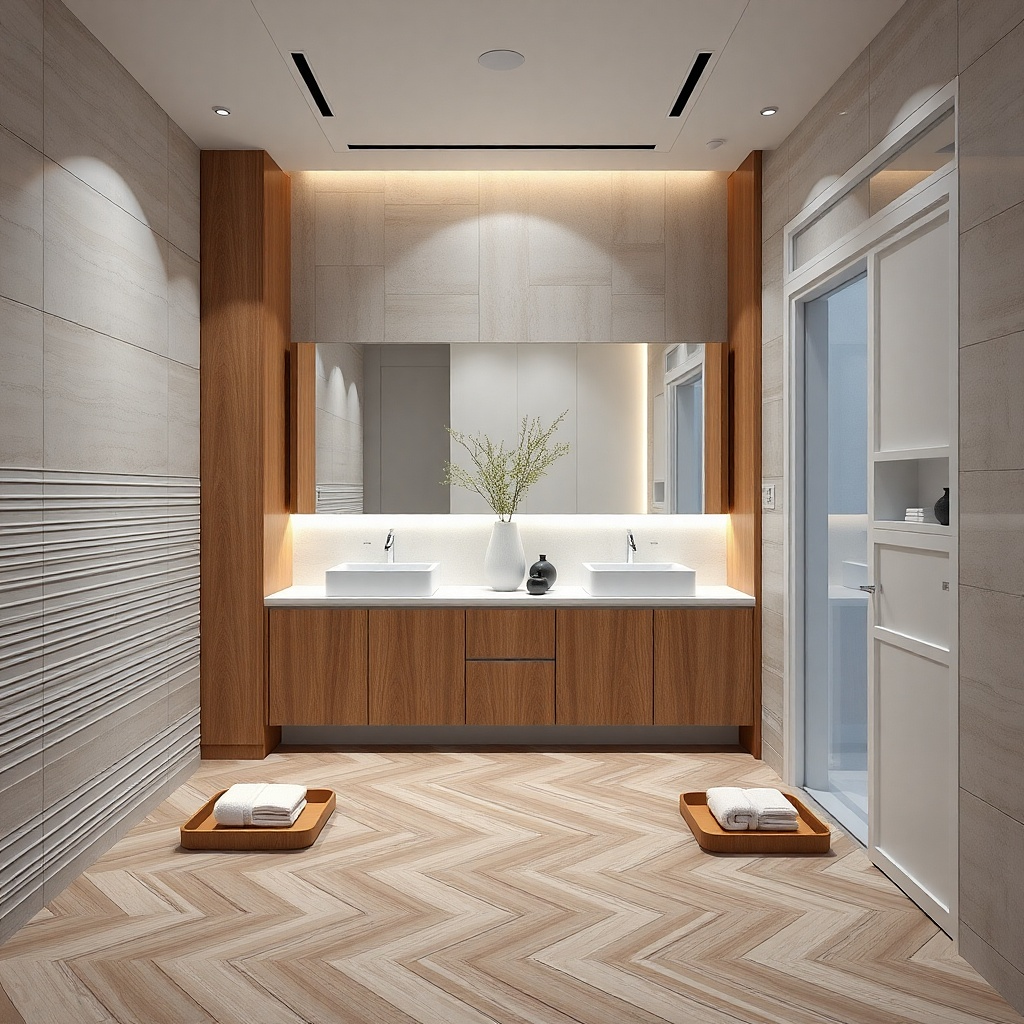
If your shared bathroom is narrow, a slim-profile double vanity gives you the look without squeezing the room. Use a vanity depth that sits around 18-20 inches and pair it with tall storage columns on both ends. The columns can hold towels and backups while the vanity drawers stay focused on daily items. For the countertop, pick a light neutral stone look and add two mirrors with the same vertical height so everything feels balanced.
Pick a double vanity base that is shallow enough for your clearance and verify door swing clearance to the bathroom entry. Install the tall columns first as anchors, then set the vanity between them and level. Mount the countertop across the combined footprint and install sinks and faucets, then finish by adding a backsplash that reaches to the top of the countertop.
Use wall-mounted towel bars at the mirror height; it frees counter space and reads polished.
Don’t choose a vanity that’s too deep; you’ll lose legroom and the vanity will feel cramped.
15. White Tile Backsplash Framed Vanity Look
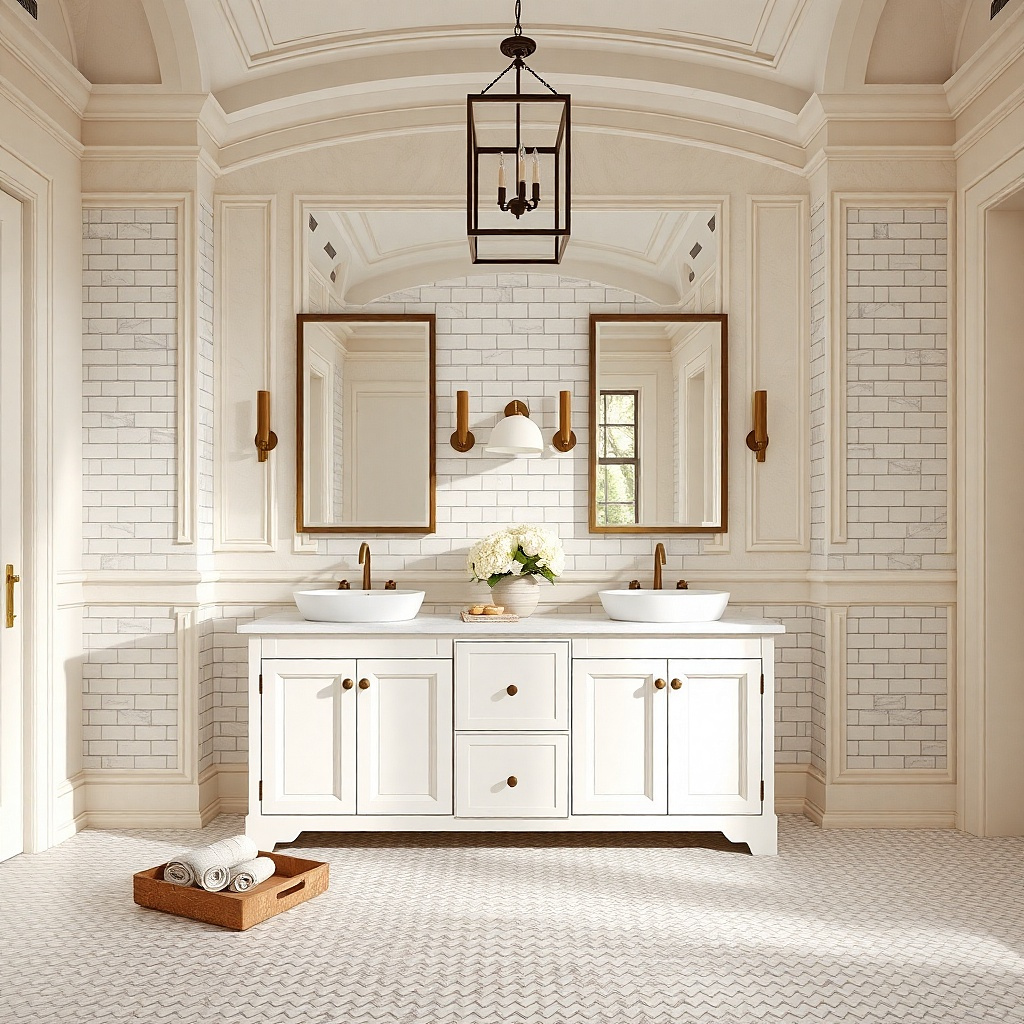
Install the vanity bases and countertop first, then tile behind and slightly above the sink area. Cut the tile so it lands neatly under the mirror line and keep grout lines straight with spacers. Seal grout after it cures, then caulk the countertop-to-tile edges so water can’t creep behind the vanity.
A framed backsplash makes a budget vanity look custom. Use simple white subway tile or a small-format white tile with soft gray grout, extending it slightly higher than the countertop splash. Keep the vanity itself clean and minimal — white shaker or flat-panel — so the tile border does the styling. Add two matching mirrors and a pair of wall lights that sit just outside each mirror. This works for shared bathrooms because the tile area is easy to clean and the vanity looks finished even when you’re not using fancy hardware.
Common mistakeDon’t use a patchwork backsplash made of random tile sizes; mismatch reads cheap fast.
Try thisChoose grout that matches the tile — bright white grout can look harsh in photos; soft gray photographs cleaner.
16. Dark Blue Vanity With White Quartz-Look Top
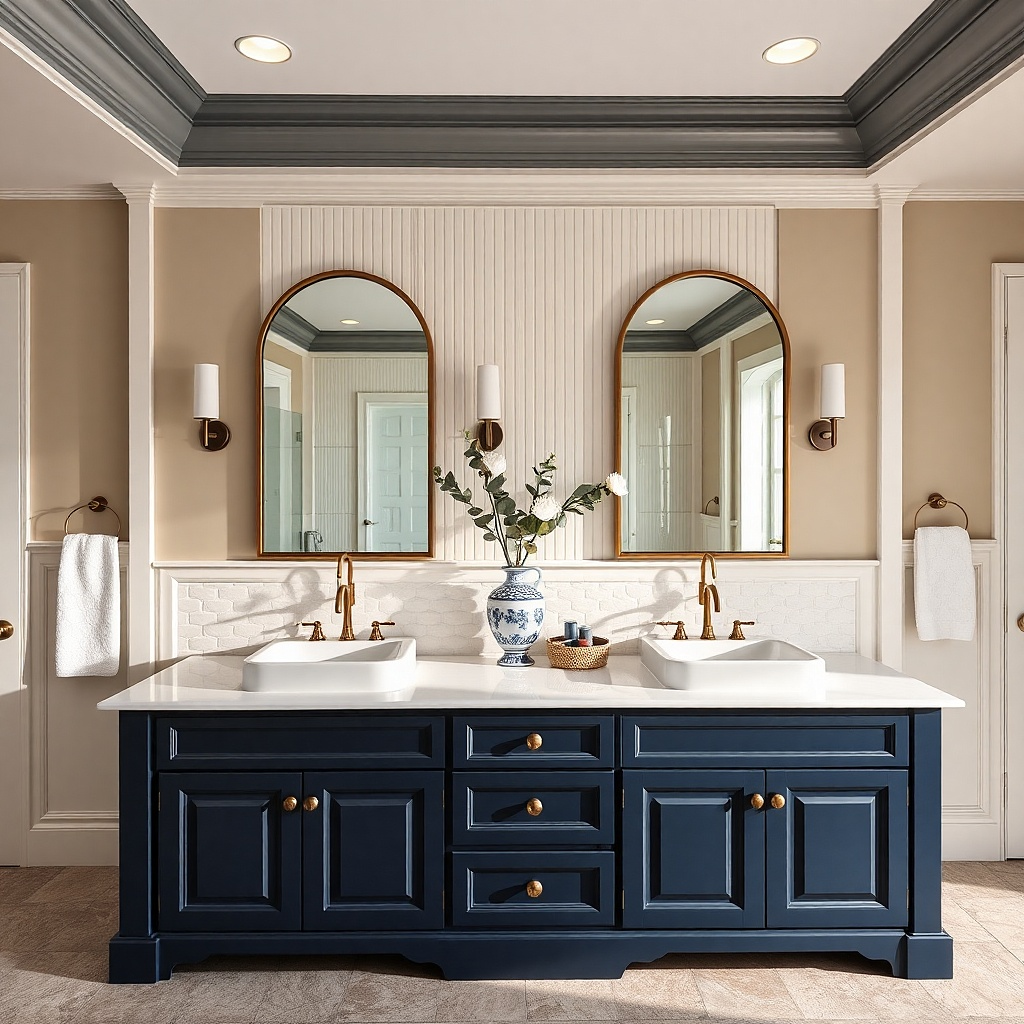
Select a double vanity base in dark blue with shaker or flat-panel doors, then order a white countertop with your sink cutouts. Install the bases and level them, then mount the countertop and connect plumbing. Add brass hardware after the doors are aligned so pulls sit straight across both sink zones.
Dark blue is a strong color choice for shared bathrooms because it looks rich without feeling heavy when paired with a bright countertop. Choose a deep navy cabinet finish that’s matte, then pair it with a white quartz-look top that has fine gray veining. Brass faucets and drawer pulls add warmth and keep the vanity from looking cold. This setup makes the two sink areas feel like a single design moment, which matters when two people are using one space at the same time.
Common mistakeDon’t pair dark blue with a yellow-toned countertop; the mismatch makes the vanity look dull.
Try thisUse a white or off-white wall paint around the vanity so the blue reads intentional, not accidental.
17. Light Gray Vanity With Patterned Cement-Look Countertop
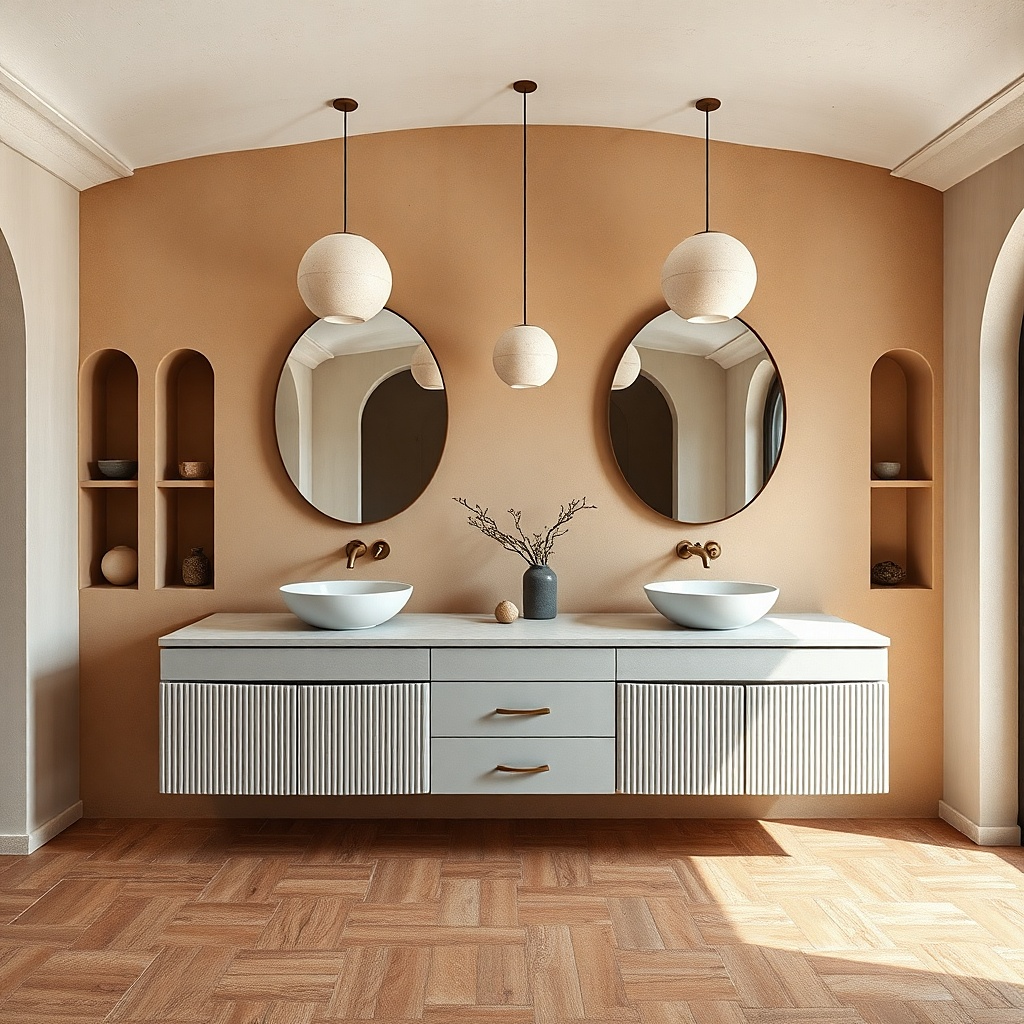
Patterned cement-look countertops can look designer at a budget when the rest of the vanity stays neutral. Choose a light gray cabinet finish, then go for a cement-look top with a restrained pattern scale so it doesn’t overwhelm the mirror light. Keep faucets simple in chrome or brushed nickel. This is a good option for busy shared bathrooms because the pattern hides minor water marks and small splashes better than plain white.
Pick a light gray vanity base and confirm the countertop you choose is the same thickness and edge profile across the full span. Plan sink placement so the pattern doesn’t look chopped between basins; center the main motif along the vanity length. Install sinks, seal edges, and add a backsplash that stays plain so the countertop gets the attention.
Add a thin runner mat in front of the vanity only if you can keep it dry; patterned floors can make damp areas obvious.
Avoid large, high-contrast patterns; they turn a shared bathroom into a visual mess.
18. Budget-Friendly Double Vanity With Mirrored Cabinet Fronts
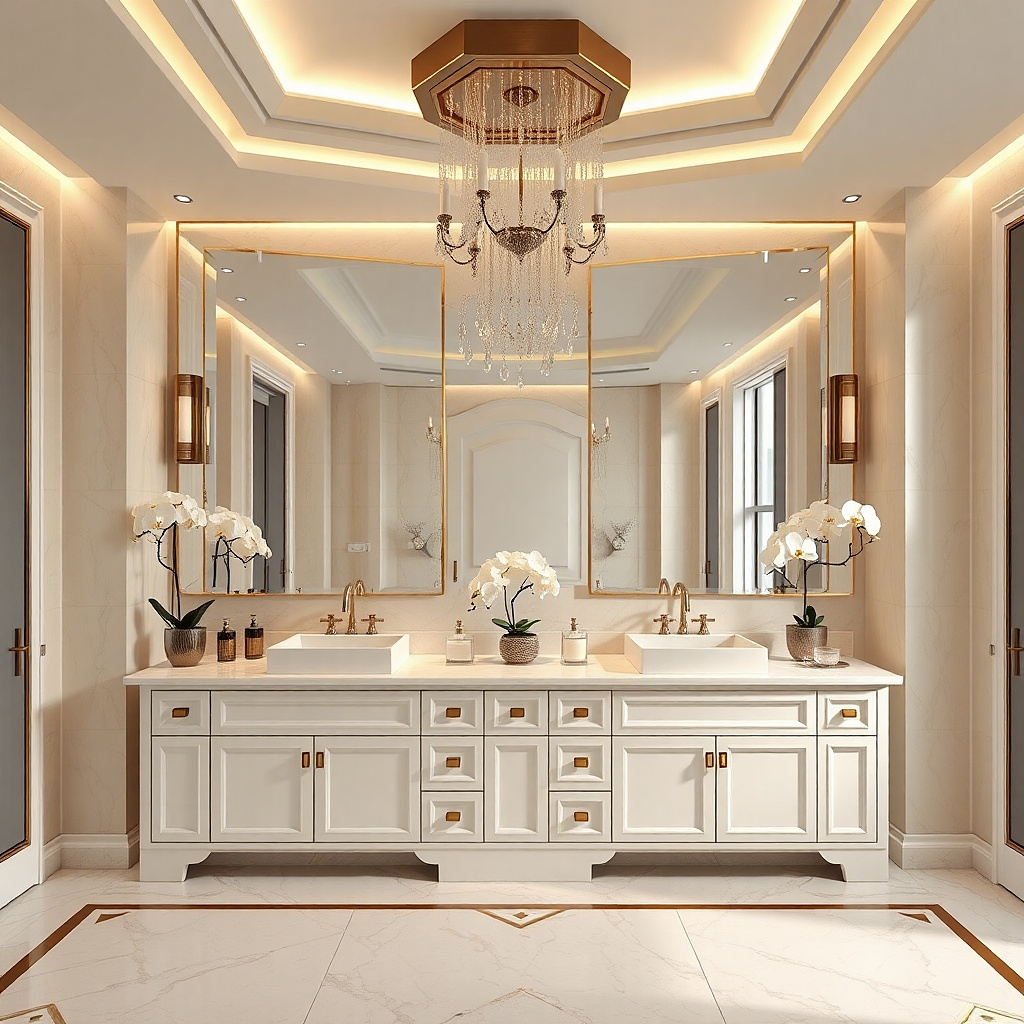
Use mirrored door panels or a ready-made vanity that includes mirrored fronts; confirm they are secured with proper backing so moisture doesn’t warp them. Install the vanity bases, then mount the countertop and sinks. Keep the backsplash minimal and seal the perimeter carefully because mirrored surfaces are unforgiving when edges are exposed.
Mirrored cabinet fronts are one of the fastest ways to make a budget double vanity look upscale, because they bounce light and make the space feel bigger. Pair mirrored fronts with a simple white or cream base and keep the countertop light. Choose black or brushed nickel hardware so it shows clearly against the reflections. In shared bathrooms, mirrored storage helps because you can quickly see what’s inside without leaving the area cluttered on the counter.
Common mistakeDon’t use mirrored doors with heavy patterned walls; the reflections will look chaotic.
Try thisUse two identical vanity lights and keep the bulbs the same temperature to avoid patchy reflections.
19. Tall Drawer-First Double Vanity for Shared Counter Control
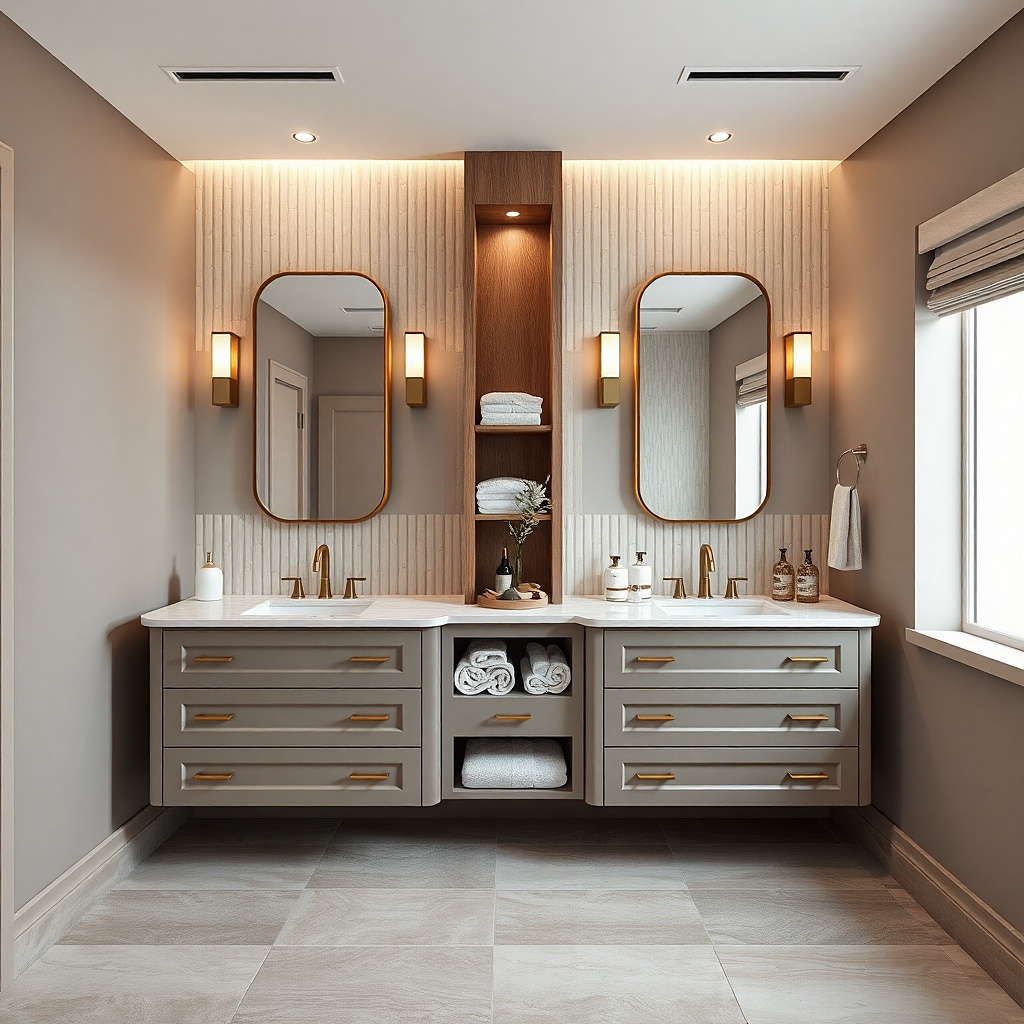
Pick a double vanity with tall drawers under each basin and confirm drawer depth before buying organizers. Install the bases, then set the countertop and sinks so the drawer pulls align with the countertop edge. Add drawer inserts after installation and label them lightly so both people use the same storage zones.
A drawer-first layout is practical and it looks clean. If you choose a double vanity where each sink has a tall drawer beneath it, you can store hair tools, extra soap, and backup toothbrushes without cluttering the countertop. For the aesthetic, keep the drawer fronts simple and use a countertop with a calm pattern so the focus stays on clean lines. This is a smart look for shared bathrooms because it reduces counter chaos — the countertop stays photo-ready even on mornings when both people are rushing.
Common mistakeDon’t pick tiny knobs that look mismatched at a distance; they read “cheap hardware” in mirror light.
Try thisChoose long pulls or bar hardware so the drawers look aligned across both sinks in photos.
20. Floating Double Vanity With Wall-Mounted Storage
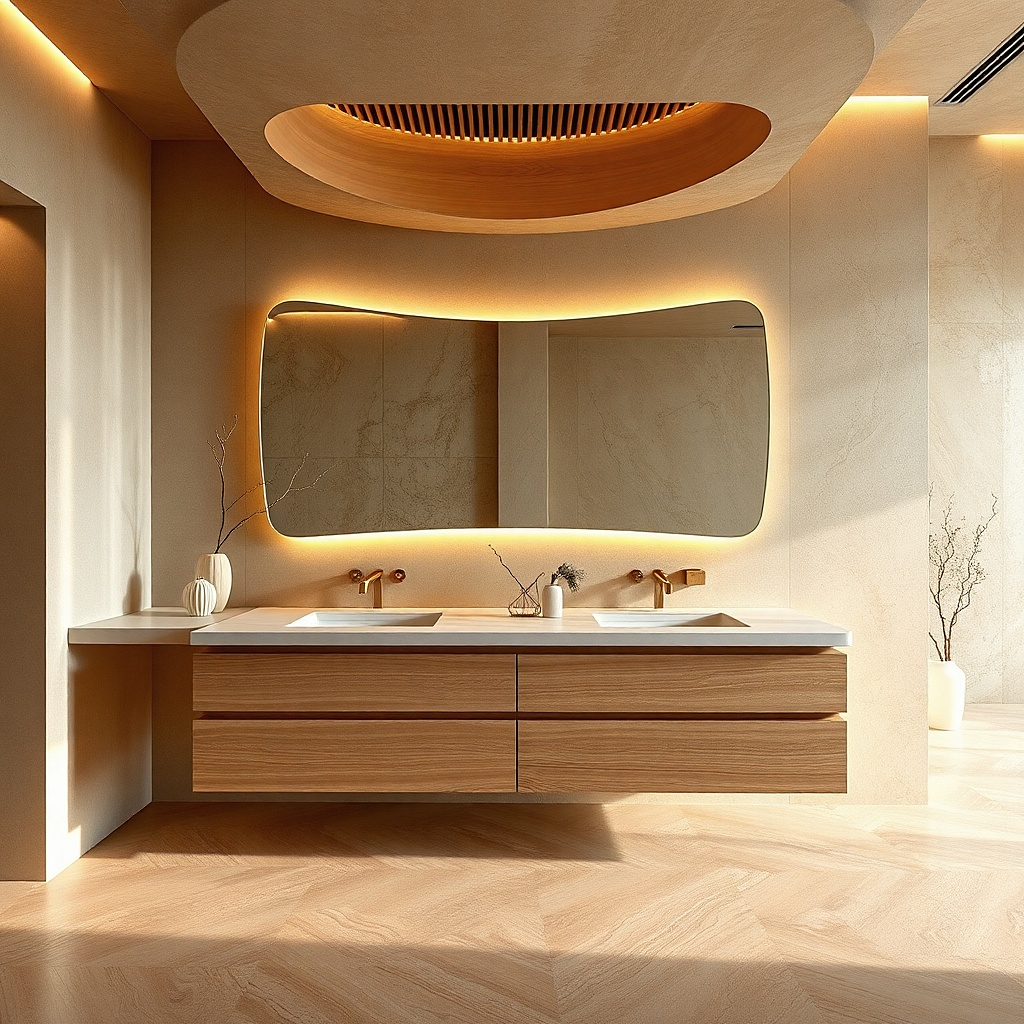
Find a wall-mount rated double vanity base and locate wall studs before installation. Install a ledger support, then mount the vanity frame level, using a spacer to keep it off the wall while you connect plumbing. After the vanity is secured, install the countertop, connect the drains, and finish with a backsplash panel that seals the wall behind the sinks.
Floating vanities look expensive because the floor stays visible and the visual weight drops. For a budget approach, use a strong cabinet system designed for wall mounting, then pair it with a light countertop and sleek faucets. Under-mount sinks keep the lines clean, and a simple backsplash keeps the wall looking finished. This works well for busy shared bathrooms because you can clean the floor easily and keep baskets off the floor, which helps the space look tidy.
Common mistakeDon’t mount into drywall alone; a floating vanity must hit studs for safety and alignment.
Try thisAdd a small toe-kick LED wash or a discreet under-light strip; it makes the floating effect pop in photos.
21. Two Mirrors, One Light Bar Double Vanity Setup
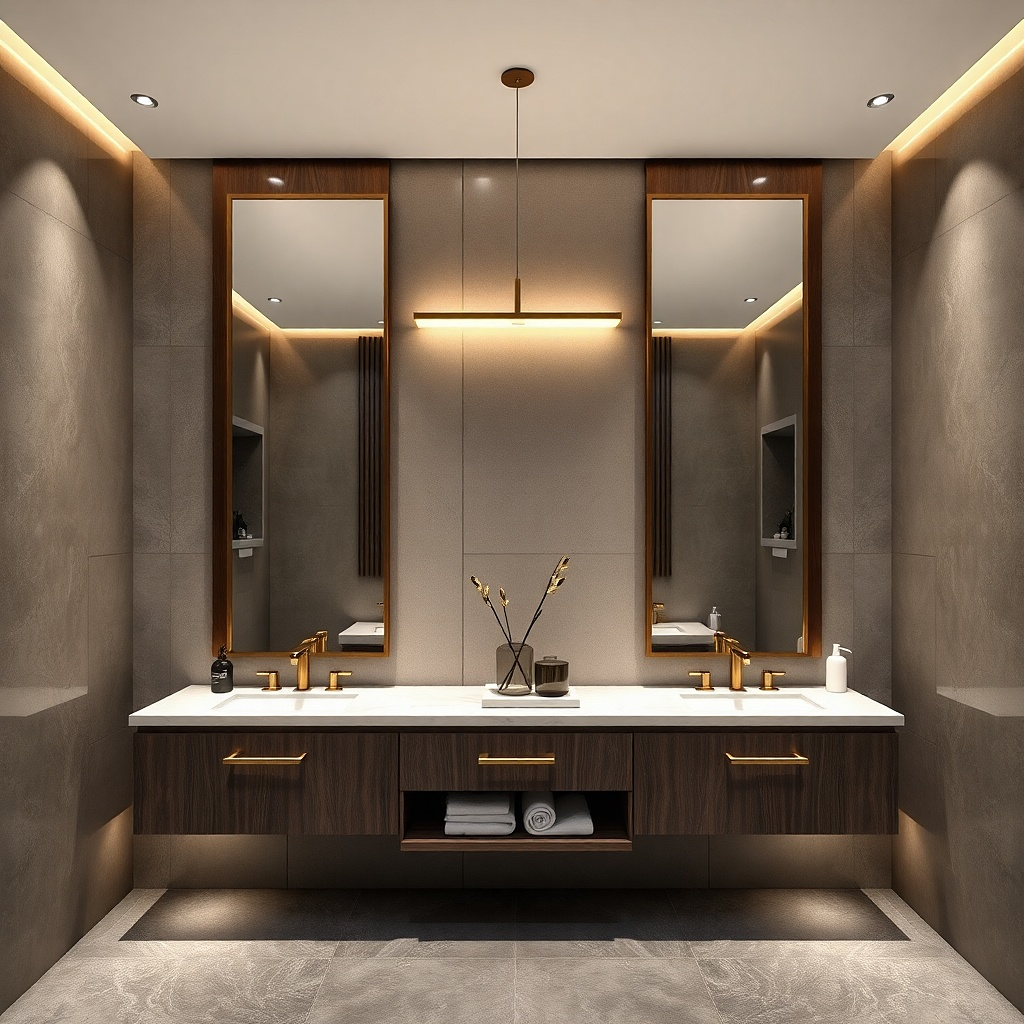
The vanity itself matters, but the mirror-and-light setup is what makes it read as a “designed” double vanity in photos. Choose a long vanity light bar centered over both sinks, then use two mirrors that match in shape and size. Keep the vanity cabinet style simple — white shaker or flat-panel — so the lighting becomes the focal point. This approach helps shared bathrooms because it reduces shadowing between the two people’s faces, which means less fiddling and more usable morning time.
Install your double vanity bases and countertop first, then mark the mirror centers relative to each sink. Mount the long light bar so its center aligns to the midpoint between the two sinks and keep the bottom edge high enough to avoid glare. Use matching bulbs and finishes, then finish with a simple backsplash so the lighting reflections look intentional.
Hang mirrors so their top edges align to the same height; mismatched mirror heights ruin the symmetry quickly.
Don’t mix a warm bulb in one light and a cool bulb in another; it makes the vanity look uneven.