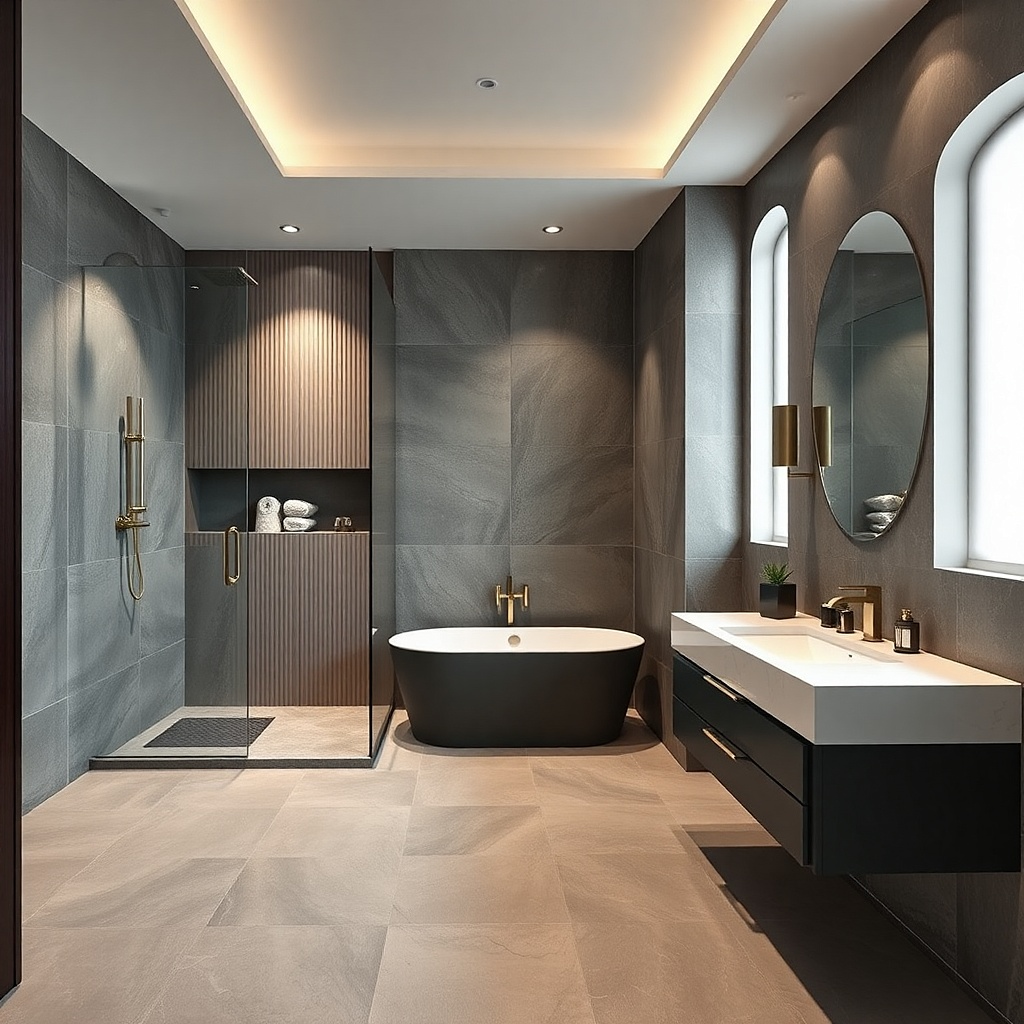
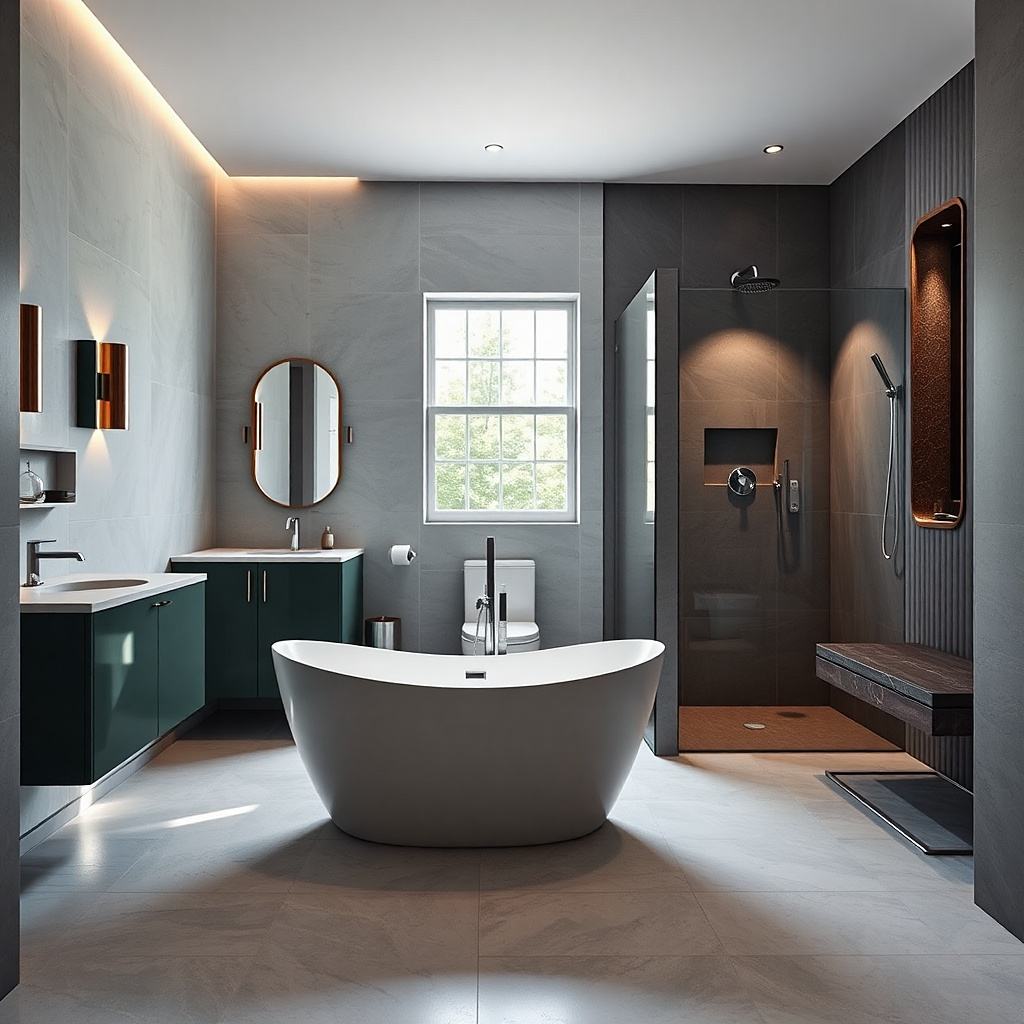
1. Single-Wall Wet Zone: Walk-In Shower + Compact Soaking Tub Side-by-Side
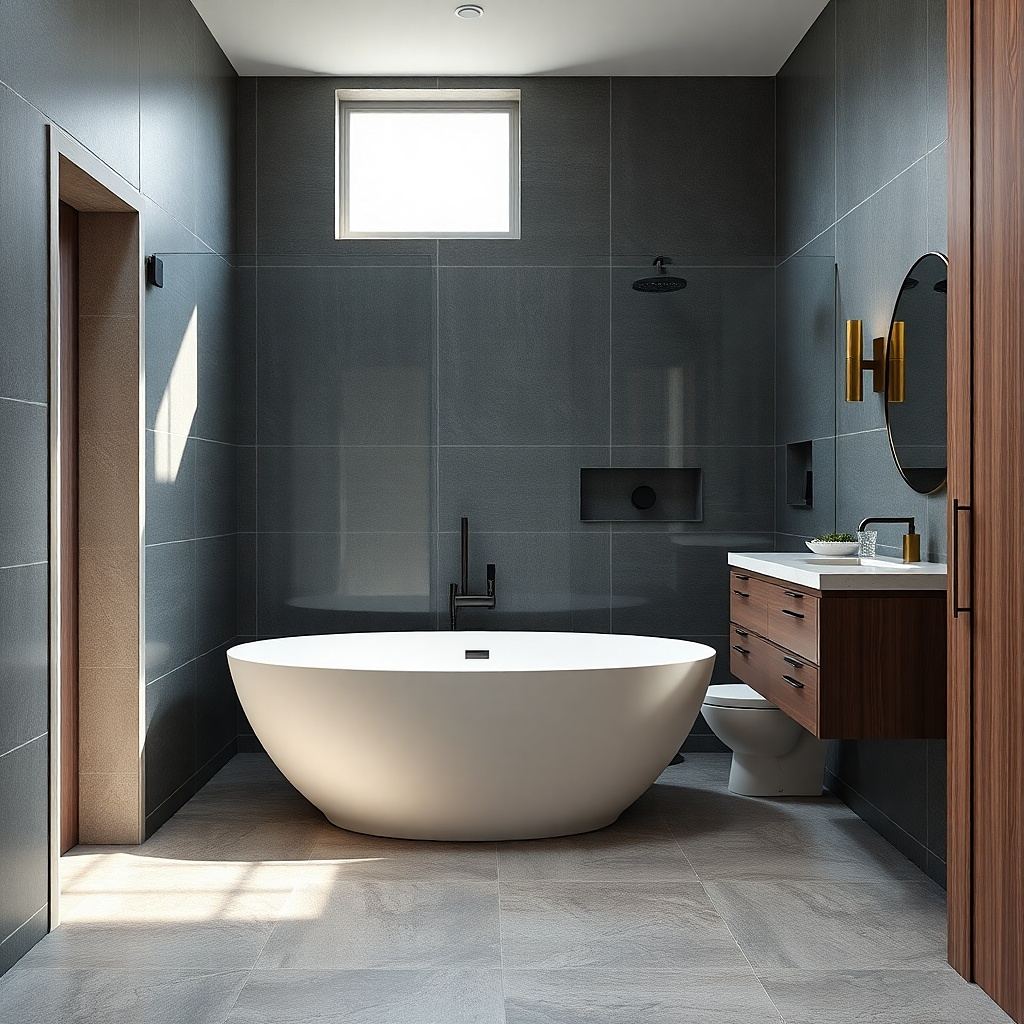
This layout is the cleanest way to get both a walk-in shower and a tub without turning the bath into a hallway of plumbing. By keeping shower and tub on the same wall, you can run the same tile field and the same niche height, so the room looks planned. Choose a compact soaking tub (around 54-60 inches long) and set it so the tub rim lines up with the shower’s waterproof ledge or niche shelf. Use a continuous slab look on the wall — large-format porcelain with a subtle veining direction — and the bathroom reads calm instead of busy.
Start by marking your wet wall on the floor plan and placing the shower drain line first. Then set the tub so its plumbing aligns with the same wall zone and plan for a 54-60 inch tub length with about 2-3 inches of clearance to the nearest fixed edge. Frame the shower with a curb or a low-profile pan and plan for frameless glass — measure the glass panel width so the door hardware sits cleanly without crowding the niche. For finishes, install the tile up to a consistent height (like 84 inches for the main field) and use the same trim edge at the tub deck and shower deck.
Try thisPick one niche size and repeat it: a 12x12 or 12x18 niche with the same tile as the wall looks more modern than multiple scattered shelves.
Common mistakeAvoid a tub that forces a second tile direction; changing grout lines mid-wall makes small bathrooms feel chopped up.
2. Corner Shower + Tub in the Opposite Corner for Maximum Open Floor
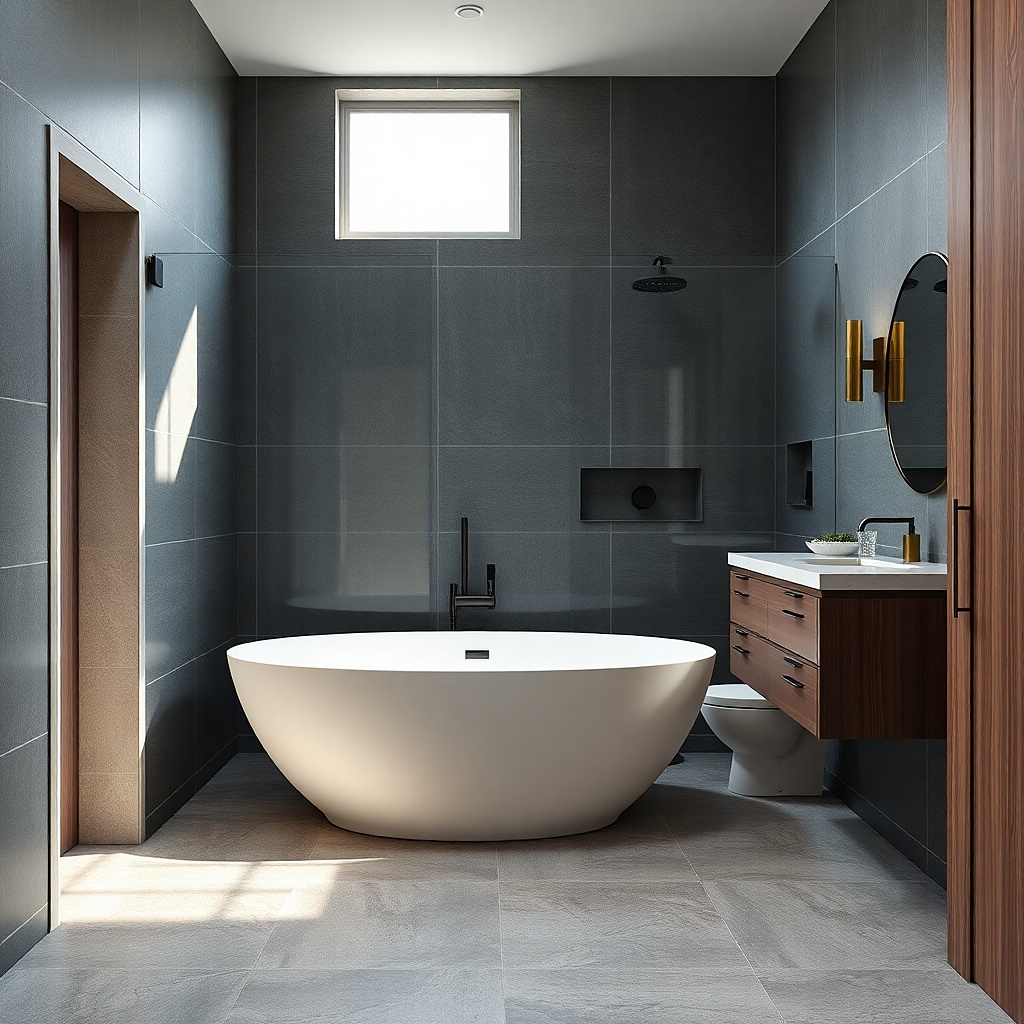
Corner showers are a small-bath cheat code because they use an area that would otherwise be wasted. Put a walk-in shower in one corner and place the tub in the opposite corner so the center of the room stays visually open. This is especially good when your vanity is along a straight wall and you want the room to photograph like a spa. Use a single glass panel for the shower (or a minimal hinge) and tile the shower walls up to the ceiling for a tall, uninterrupted look.
Start by confirming your plumbing stack and where your drain can land; corner showers work best when the drain is reachable without moving the toilet line. Then set the shower dimensions so you get a comfortable entry — aim for about 32-36 inches of shower width along the entry side. Place the tub on the opposite corner wall with a 54-60 inch length, and keep a straight path in front of the vanity opening (plan for roughly 30 inches). Finish by running the same large-format tile across both the shower surround and the tub wall so the room feels unified.
Use ceiling-height tile in the shower and paint the rest of the bath in a washable soft white or light greige to keep the corners from looking heavy.
Skip a bulky shower door frame; in corner installs, framing catches light and makes the shower look smaller than it is.
3. Tub First, Shower Second: "Wet Wall" Behind the Vanity
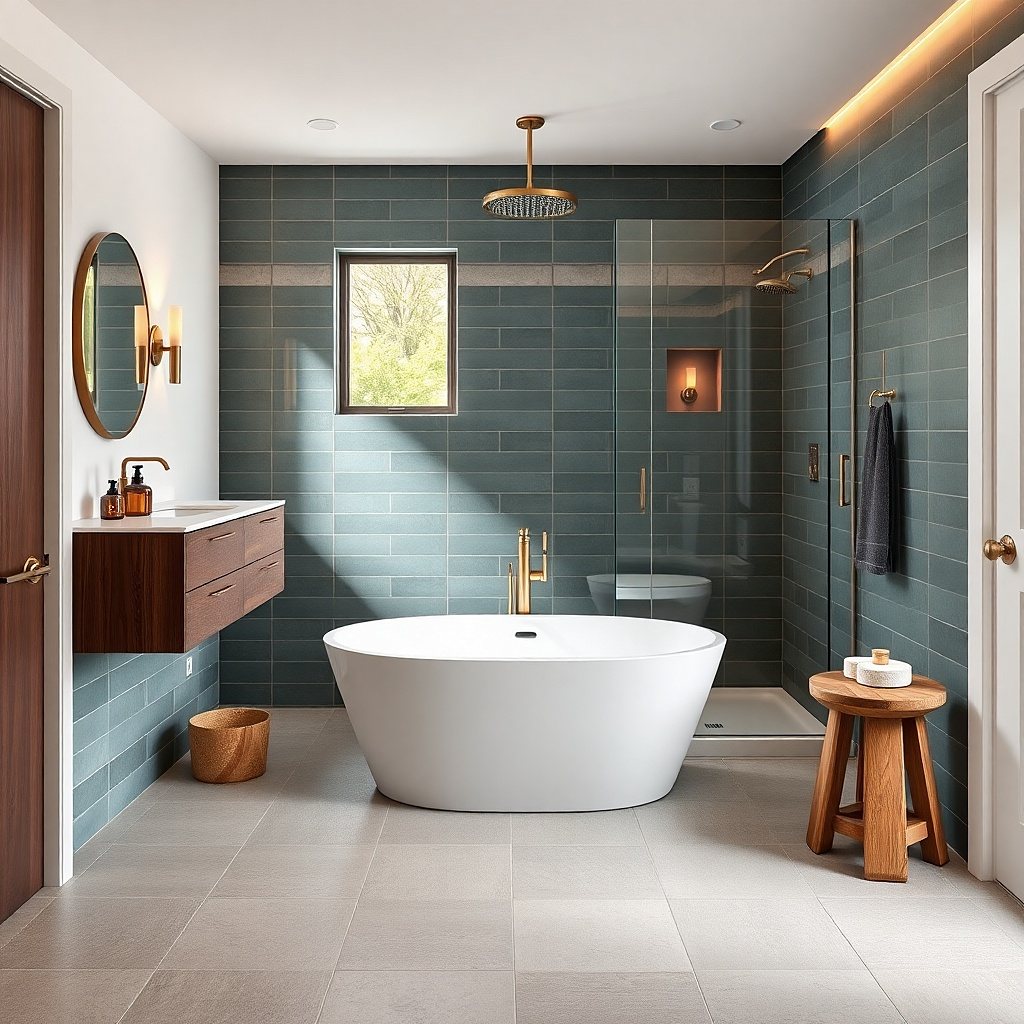
If your vanity wall is currently the best wall for plumbing, put the tub and shower behind it as one continuous wet wall. This layout keeps the door-to-vanity path simple and makes the bathroom feel like one room instead of multiple zones. The look is modern when the tub and shower share a consistent tiling height and the glass aligns with the tile joints. Pick a tub with a clean apron (or a wall-surround deck) so the tub rim feels like part of the tiled composition, not a separate object.
Start with the rough-in: confirm the supply and drain locations behind the vanity wall and map the tub outline first. Then place a walk-in shower adjacent or above the tub plumbing line so you don’t need extra re-routing. Keep the shower opening sized for easy entry — a 36x36 or 32x48 footprint reads open even in tight baths. Order your tile and plan the layout so the vanity backsplash and shower surround share the same tile module; install the tile before the final trim so the edges meet cleanly.
Try thisRun a thin linear niche or a single wide niche at the same height on both sides of the wet wall to make the whole wall look designed.
Common mistakeDon’t put the tub where the shower glass has to “float” awkwardly; align glass edges with tile joints for a sharp look.
4. Shower Along the Long Wall + Tub Under a Window
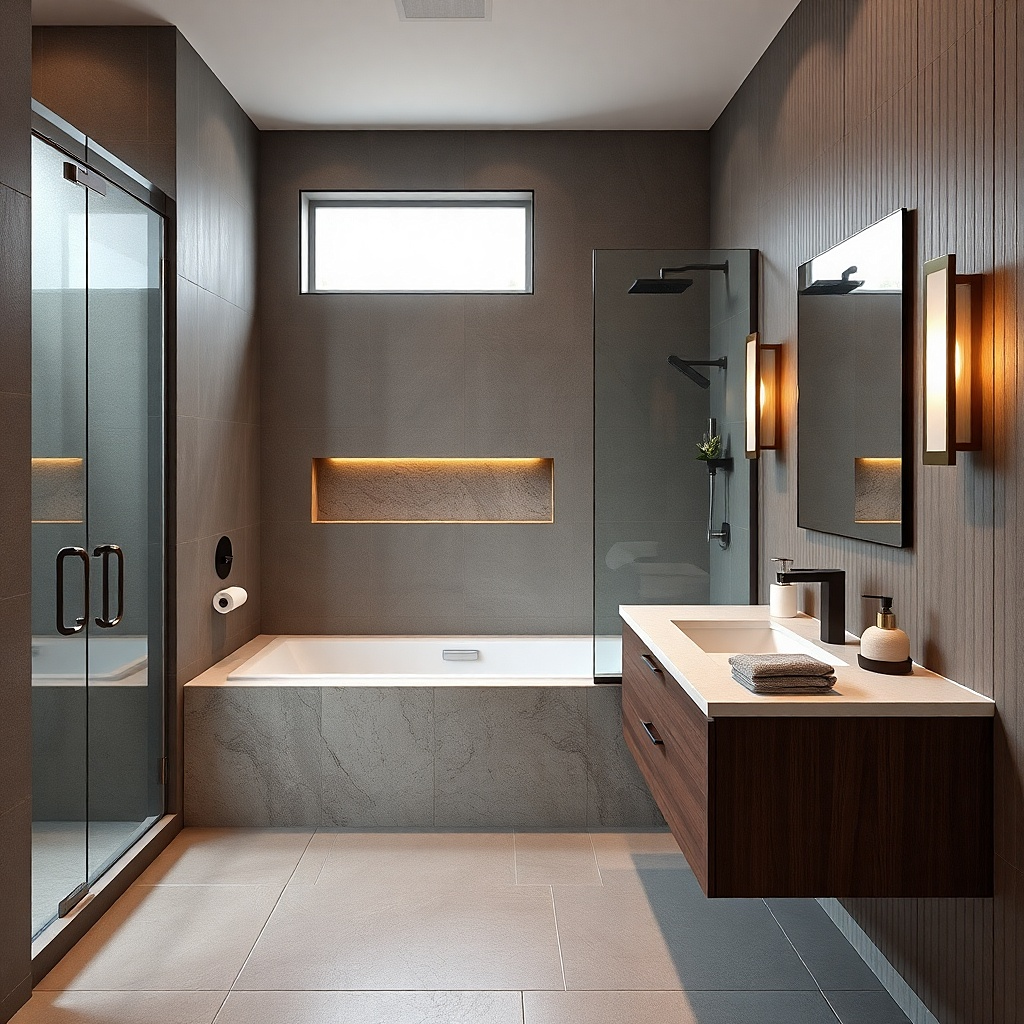
A window is the one element that can make a small bathroom feel generous. Place the tub under the window and run the walk-in shower along the opposite long wall so the room gets natural light where you want it most. This layout looks modern when you keep the window trim simple and frame the tub with matching wall tile that rises to the same height as the shower. Add a bench in the shower and keep the glass hardware minimal so the wet wall stays sleek.
Start by measuring the window sill height and confirm your tub type can sit correctly without blocking the opening. Choose a tub length that fits the wall — typically 54-60 inches — and verify you can maintain clearance to the vanity door swing. Place the shower on the long wall opposite the tub and plan the shower valve location so it lands on a tile field, not in the middle of a grout joint. Finish by tiling the tub wall and shower wall with the same large-format porcelain and using a consistent grout color (medium gray reads modern; pure white can look too stark).
Try thisUse a tub filler or wall-mounted spout that matches the shower trim finish; mismatched metals make small spaces look more cluttered.
Common mistakeDon’t use a high-curb shower if you want the modern look; a low-profile pan reads cleaner visually and feels better day-to-day.
5. Walk-In Shower with Bench + Tub in a "Reveal" Niche Wall
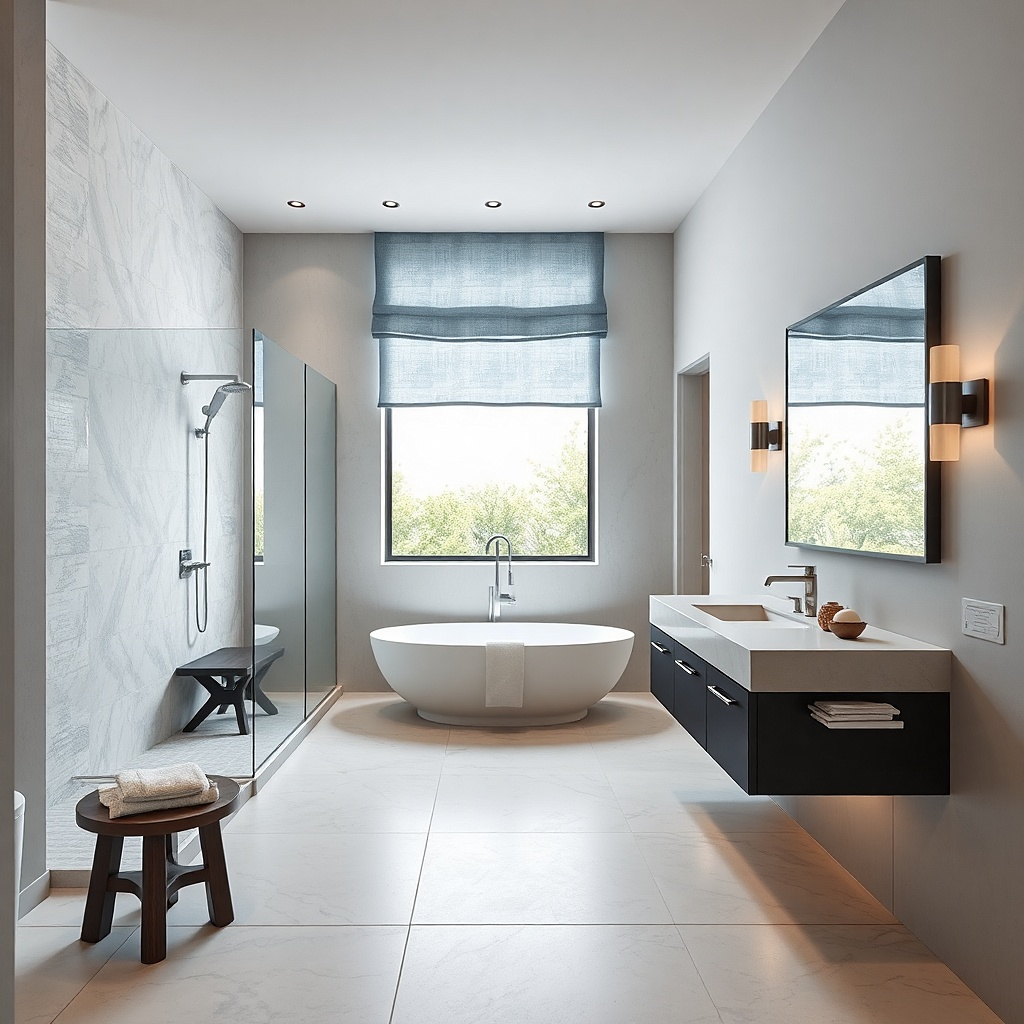
This is an aesthetic trick: you create a built-in tub zone with a tiled reveal so the tub looks like part of the architecture. Put the walk-in shower in the main wet wall, include a bench niche, and then tuck the tub into a recessed wall section using the same tile and trim. The result reads high-end because the tub isn’t floating in a random spot — it has a frame. Keep the tub deck minimal and use a clean tub outline so the room stays light rather than heavy.
Start by planning the tub reveal wall thickness and confirming you won’t interfere with plumbing access. Then frame the tub recess so you have room for waterproofing and a proper tub set — most recessed tub installs need careful sealing and access panels. Place the shower with the bench on the same wall plane so the bench and niche heights match. Tile the entire wet zone in one direction and keep the reveal edge sharp with a thin metal or porcelain trim strip.
Try thisChoose a matte tile finish in the tub zone; gloss reflects and can make recessed areas look darker than the rest of the room.
Common mistakeSkip chunky bullnose trim; it adds visual weight in small bathrooms.
6. Sliding Door Shower + Tub Parallel to the Vanity Wall
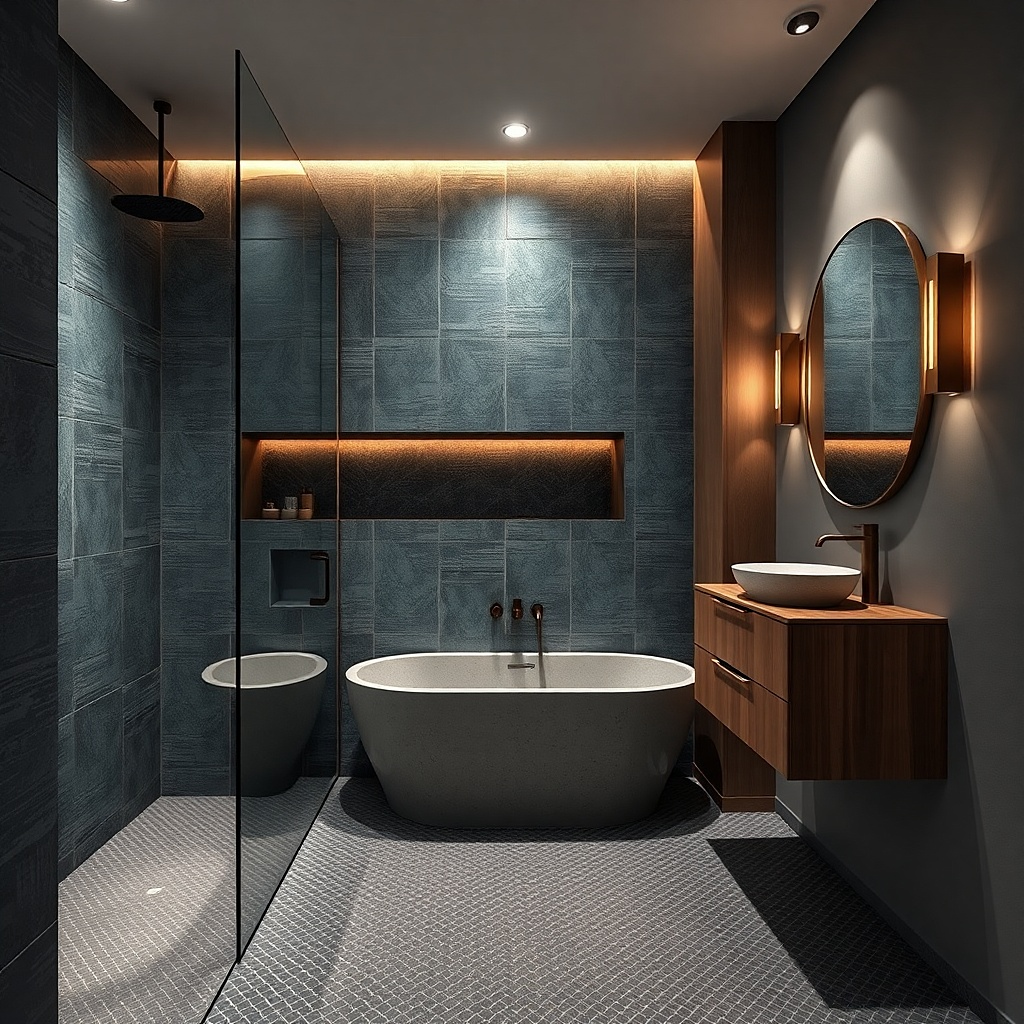
A sliding shower door is a practical style move in small bathrooms because it eliminates the swing space problem. Pair it with a tub placed parallel to the vanity wall so the room keeps a clear traffic lane from entry to sink. The modern look comes from straight lines: a trackless or low-profile sliding system, large-format tile, and a shower glass edge that lines up with the vanity backsplash. If you want that “master bath” feel, keep the tub and vanity in the same sight line so the bathroom looks composed.
Start by measuring the wall length where the sliding track will sit; it needs enough straight run to clear the door opening. Place the tub parallel to the vanity wall with a 54-60 inch length and keep about 30-36 inches between tub edge and opposite fixtures. Install the shower on the adjacent wall with the valve located so the shower controls hit a tile field. Finish by using large-format tile on the shower walls and extending it into the tub surround for a single visual plane.
Try thisUse the same grout color everywhere one color across tub and shower is what makes the layout look intentional.
Common mistakeAvoid a wet-wall layout where the door track sits in front of a niche; it looks messy in small spaces.
7. Shower in Front of the Toilet Wall + Tub on the Same Side
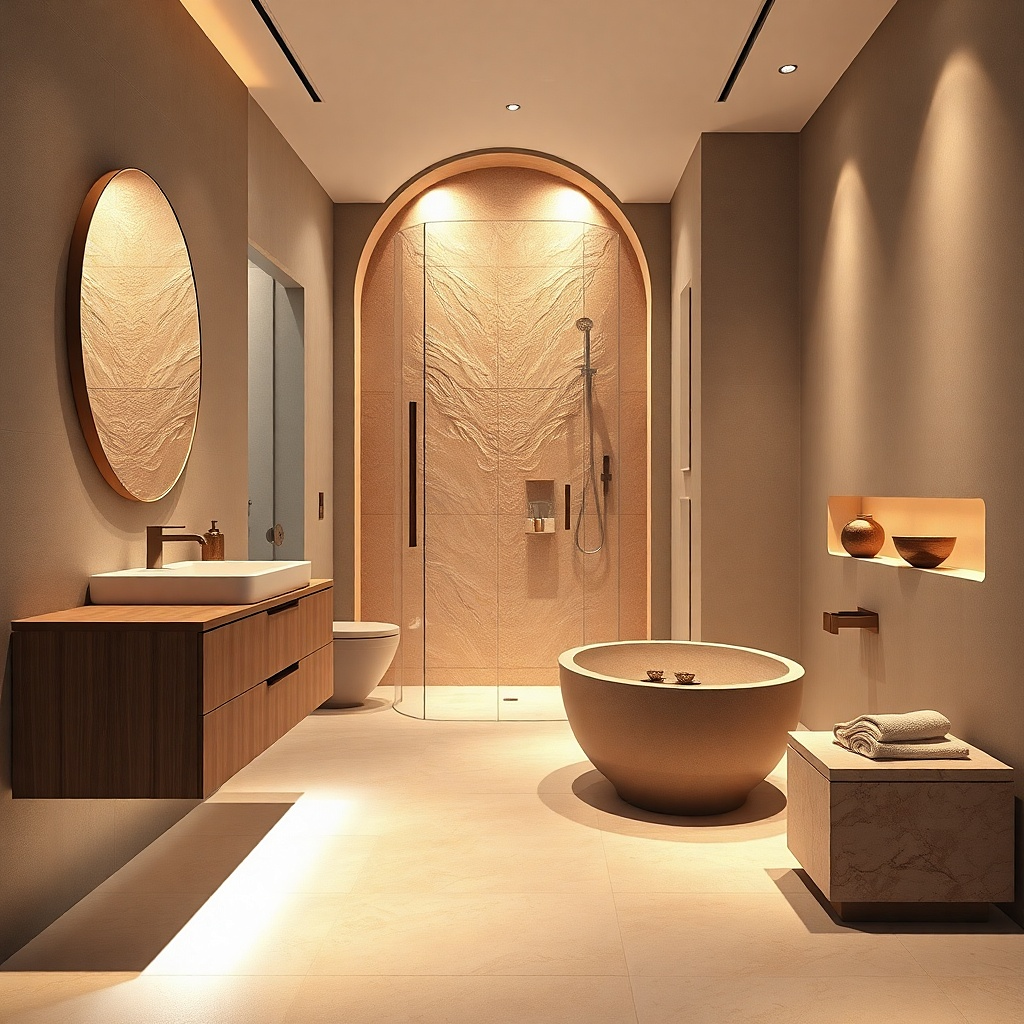
When the toilet already sits on a short wall, you can still make a modern layout by aligning the shower and tub on the same side of the room. Put the walk-in shower near the toilet wall and place the tub along the adjacent wall, keeping the vanity on the opposite long wall. This works because the door-to-toilet-to-vanity path becomes predictable, and the eye moves along straight tile planes. Use frameless glass and keep shower hardware in one corner so the wall stays clean.
Start by mapping the toilet centerline and confirm the shower entry clearance; aim for about 30 inches of clear path from vanity to shower entry. Then set the tub so its long side aligns with the tile field direction and does not force corner cuts that look crooked. Plan the shower valve on the wall that gets the most direct sight line so you can hide plumbing behind tile. Tile the shower and tub walls with the same large-format porcelain and install a single matching trim line around both zones.
Try thisChoose a tub with a simple rim and a minimal apron; detailed aprons look fussy when the room is only a few feet wide.
Common mistakeDon’t place the shower and tub so close that you need narrow tile slivers at both ends — that’s what makes bathrooms feel “tight.”
8. Freestanding Tub + Walk-In Shower in a Tiled Alcove
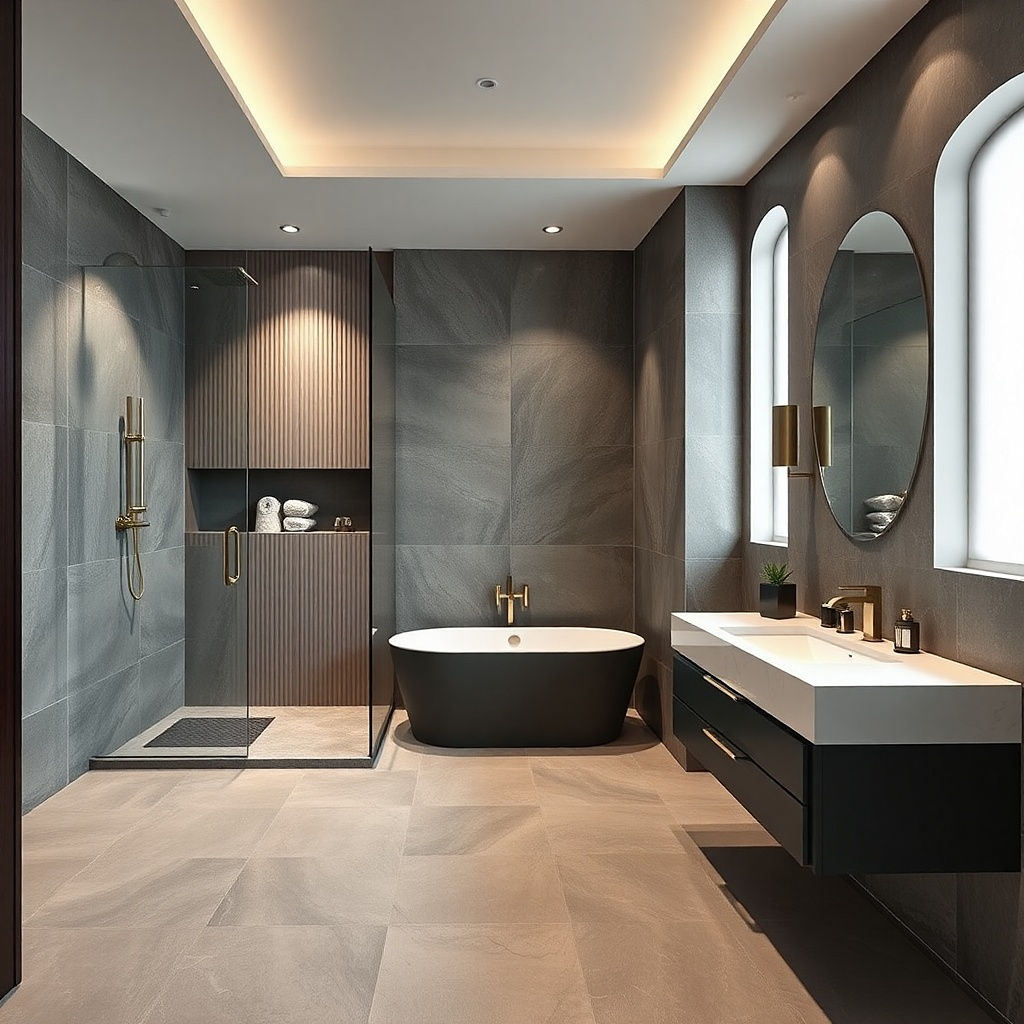
A freestanding tub can look modern in a small bathroom when you anchor it with a tiled alcove for the shower. The trick is to keep the shower visually contained: a recessed alcove with full-height tile and frameless glass makes the shower feel like a feature, while the tub stays the hero. Use a tub shape with clean lines (not a deep ornate clawfoot look) and keep the finish matte matte black or brushed nickel trim reads sleek. Match the tile color family between alcove and tub wall so the room doesn’t split into separate styles.
Start by choosing a tub footprint that fits your wall — usually a 55-60 inch tub — and measure for the door swing and toilet clearance. Build or reframe the shower alcove so the shower opening aligns with the alcove edges; this lets the glass sit cleanly without awkward gaps. Waterproof the alcove thoroughly, then tile from floor to ceiling using large-format porcelain to keep grout lines minimal. Finish by repeating the same tile color on the tub deck wall and using a single metal finish for tub filler and shower trim.
Try thisAdd a single vertical accent strip in the alcove using a contrasting tile (thin and tall) so the shower reads intentional without making the room busier.
Common mistakeSkip mixing a freestanding tub with a shower that has lots of hardware; the combined visual noise is what makes small baths feel cramped.
9. Wet Room Style: Walk-In Shower with Tub Set Into the Same Floor
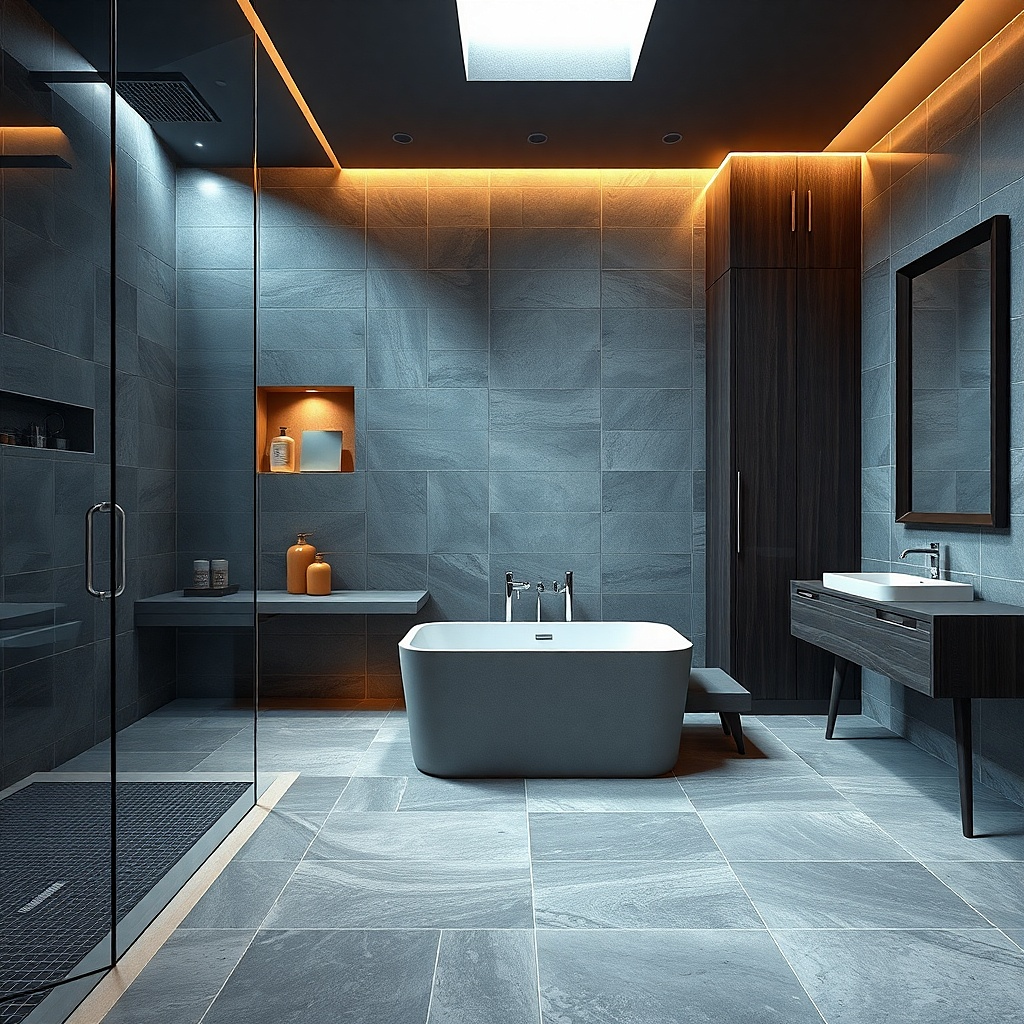
If you want the most “architectural” look, go wet-room style: keep the shower floor and tub deck in the same tile plane and use a low-profile drain strategy. This makes the bathroom feel wider because the eye reads one continuous surface. Use a large-format tile and keep the grout lines consistent across both zones. The tub becomes a calm sculptural shape instead of a separate item because it shares the same material language as the shower.
Start by designing drainage. A true wet-room look needs a proper waterproofing system and a drain layout that directs water away from the vanity and toilet. Choose a compact tub and place it so the deck can be tiled seamlessly into the shower floor area. Then install the shower pan system (or waterproofing membrane) and verify slope so water runs toward the drain. Tile last: use the same large-format tile across the floor and walls, and keep transitions tight with a matching trim strip.
Try thisUse a textured slip-resistant tile on the floor; smooth wet-room tiles look great until they feel unsafe.
Common mistakeDon’t choose glossy floor tile; it shows water marks and can look chaotic in a small bath.
10. Narrow Bath Layout: Walk-In Shower at Entry Side + Tub at the Back
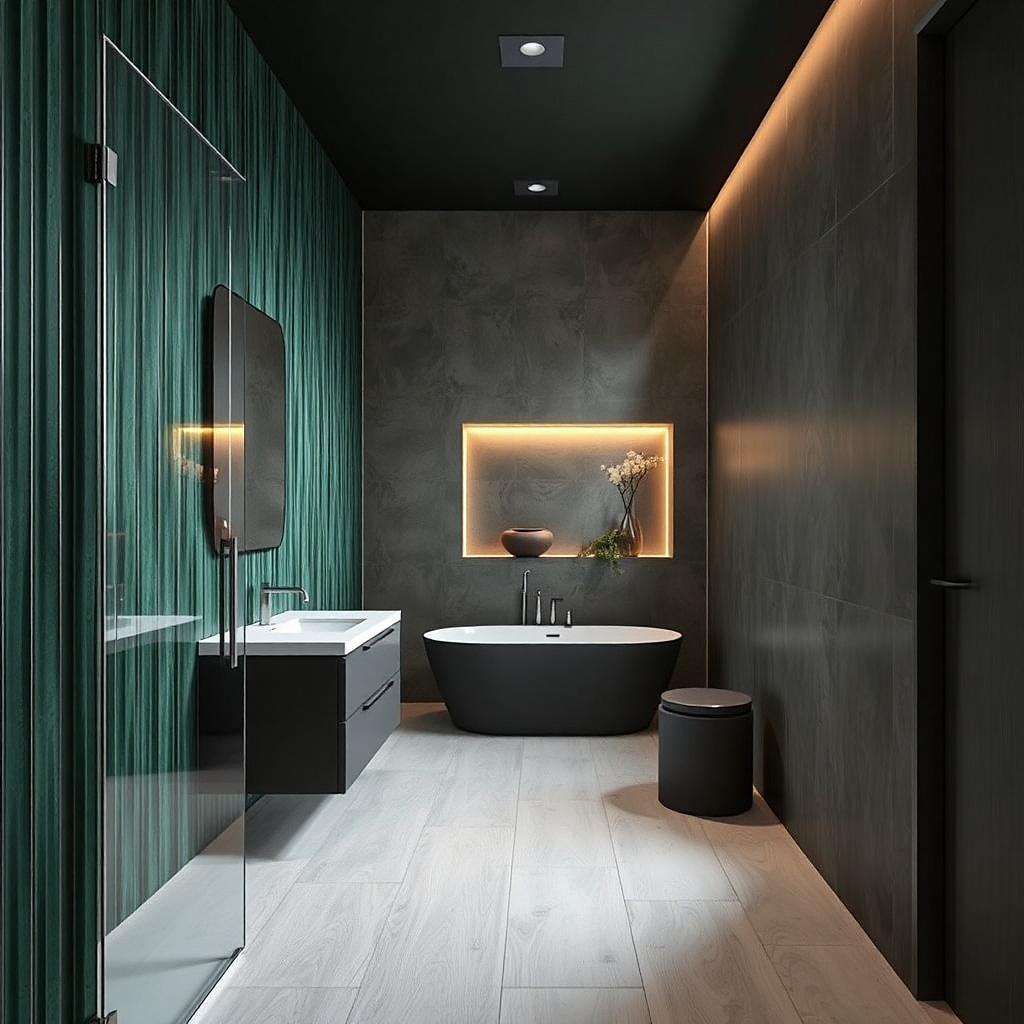
Narrow bathrooms break easily when the wet zone blocks the only clean path. Put the walk-in shower on the entry side wall so it doesn’t steal space from the vanity and keep the tub on the back wall where it can feel like a retreat. This is a good modern small bathroom remodel ideas layout when the room is long and thin because it creates a clear visual rhythm: entry sight line to vanity, then a quiet tub zone. Keep the shower glass minimal and choose a tub shape with a clean front it will photograph better from the doorway.
Start by measuring the room width and door swing. Place the shower so the entry edge still allows a clear line to the vanity — keep a minimum of about 30 inches for movement. Then position the tub at the back wall with the faucet controls on the back wall or deck, and confirm you can reach the tub without blocking the toilet. Tile the shower surround and the tub back wall with the same large-format tile and run tile vertically or in one consistent direction to avoid “accordion” seams.
Try thisUse a light tile with subtle movement and keep the grout light gray; it keeps the narrow room from looking like a tube.
Common mistakeAvoid a shower door that swings into the room; it kills the only open line in a narrow bath.
11. Toilet-Centered Layout: Shower on the Short Wall + Tub Along the Long Wall
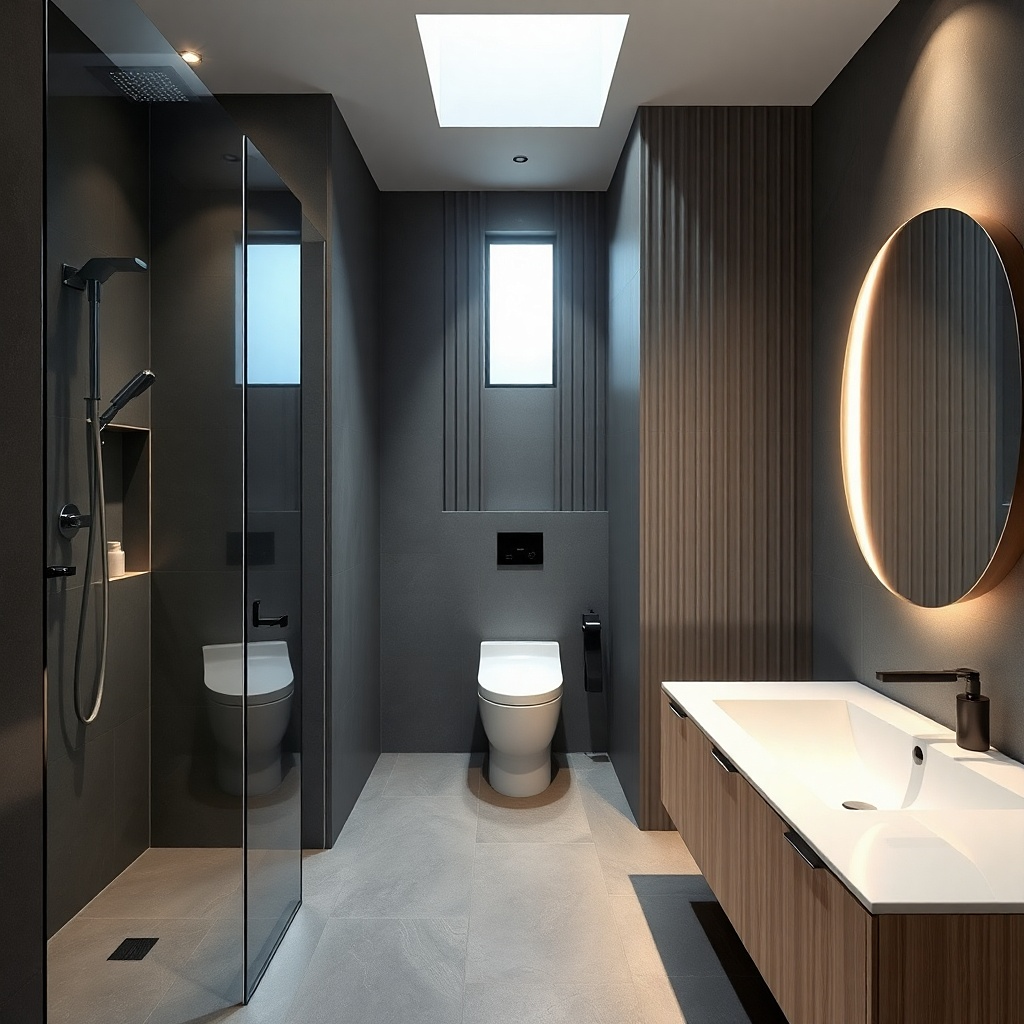
If your toilet location is fixed, design around it. Put the walk-in shower on one short wall and the tub along the long wall so the bathroom stays balanced and the wet zone doesn’t crowd the vanity. This layout looks modern when the shower glass sits close to the tile plane and the tub deck lines up with the same trim height as the shower. Use matching wall tile and a single linear niche or shelf to keep the wet wall from looking patchy.
Start by locking the toilet position and then measure the distance to the vanity wall so you keep a comfortable approach. Place the shower on the short wall with a footprint that preserves entry clearance — 32x36 or 36x36 works well in small rooms. Position the tub along the long wall with a 54-60 inch length and keep a gap between tub edge and toilet for cleaning access. Tile the shower and tub walls with the same tile format and use one grout color so the bathroom reads as one modern surface.
Try thisChoose a tub with a flat deck so you can place the faucet neatly and avoid messy deck clutter.
Common mistakeSkip random mixed wall heights; if the shower tile stops at 78 inches but the tub wall goes to 54, the layout looks accidental.
12. Large Mirror + Compact Tub: Shower in a Shallow Alcove
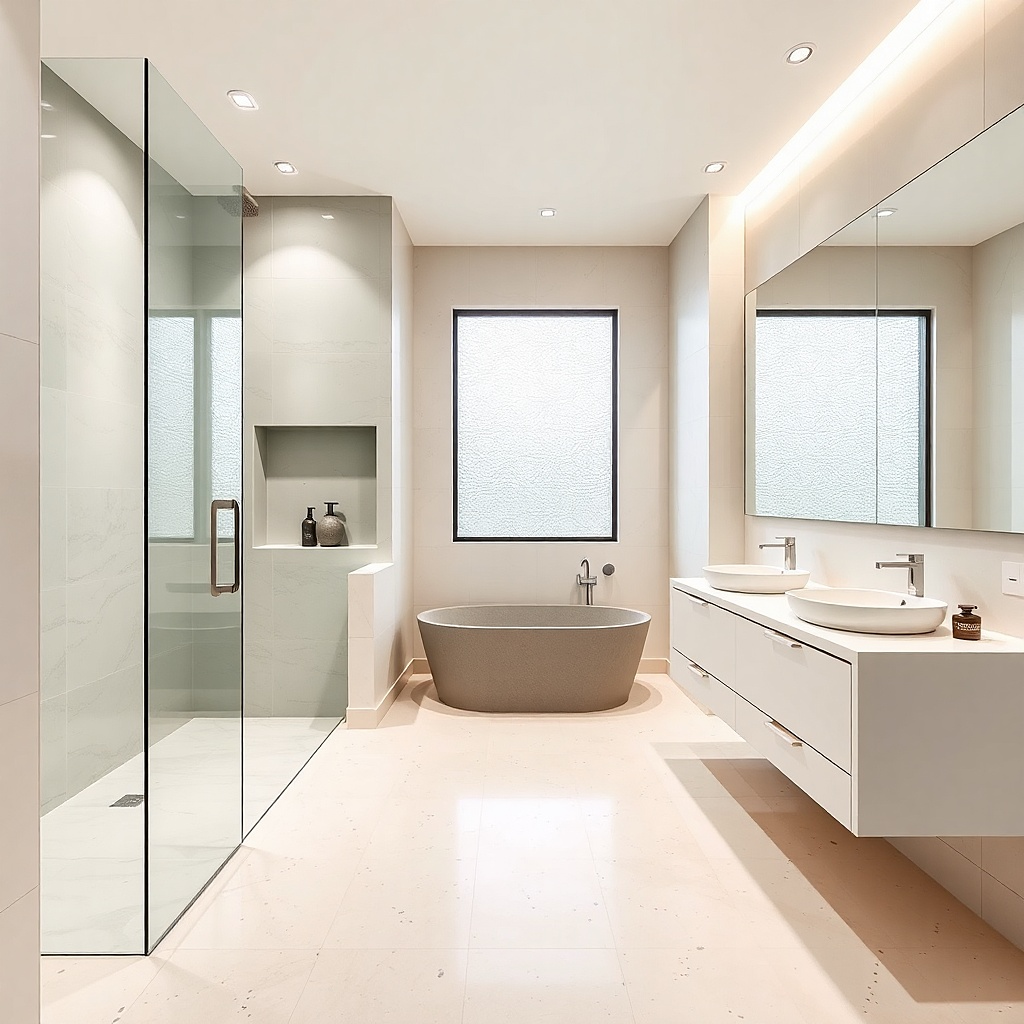
For a modern look, you need one “expander” feature. Use a large mirror that spans most of the vanity wall and pair it with a compact tub and a shower in a shallow alcove. The mirror doubles the lines and makes the shower glass feel less heavy, which is exactly what small bathrooms need. Keep the alcove shallow enough that it doesn’t steal floor space, and tile it fully with large-format porcelain. This layout is especially photogenic because the mirror turns the shower glass into a clean visual line.
Start by choosing a vanity width that leaves wall space for a mirror that’s at least the width of the vanity plus a few inches on each side. Then set a compact tub (54 inches is a common sweet spot) on the wall opposite the vanity. Build the shower alcove with a shallow depth so the opening stays comfortable — plan the shower entry around 30-36 inches wide. Tile the alcove and tub wall in the same direction and seal all wet surfaces before installing trim and glass.
Try thisUse mirror edge details — a thin black or stainless frame looks modern and prevents the mirror from looking like a sticker.
Common mistakeAvoid a small mirror; it makes the shower glass and tub look heavier because the room has fewer reflective lines.
13. Tub-Front Vanity Wall: Shower Behind a Partition for a Spa Look
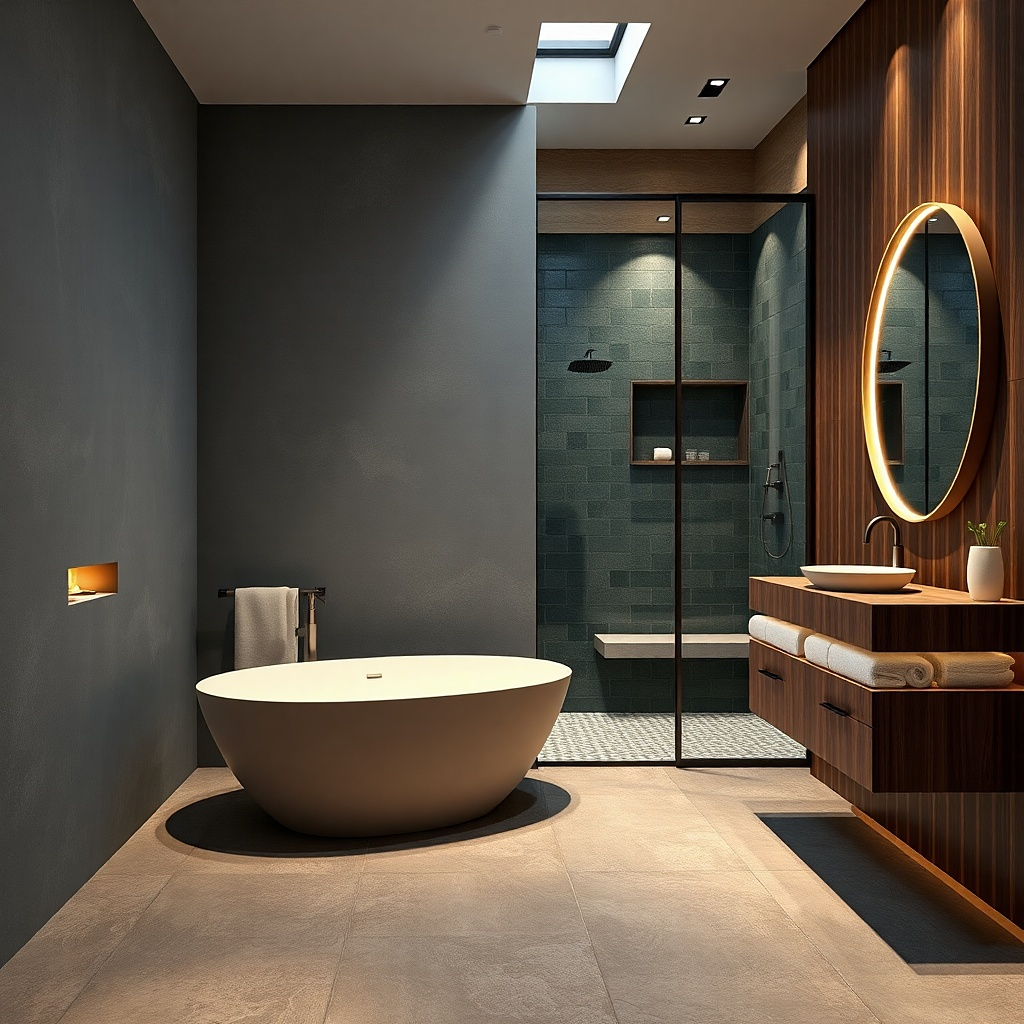
This layout gives you separation without wasting space. Put the tub near the vanity side so the bath feels like a spa, then place the walk-in shower slightly set back behind a tiled partition. The partition creates a modern backdrop for the shower glass and hides some plumbing clutter. Use the same tile on the partition as the shower walls, and keep the glass frameless so the opening still feels open. The result is a bathroom that looks high-end even when it’s small.
Start by sketching the partition footprint based on your shower door swing and clearance to the vanity. Then place the tub on the vanity-adjacent wall with a 54-60 inch length and make sure you keep about 30 inches of walk space to the vanity. Set the shower in the recessed zone behind the partition, and locate the valve so it sits on the partition tile field. Waterproof, tile, then install frameless glass so the glass edge lines up with the tile border you chose for the partition.
Try thisChoose a partition height that matches the shower tile height a consistent line reads intentional in photos.
Common mistakeSkip thick, chunky partition trims; they fight the modern glass look and make the space feel boxed in.
14. Diagonal Tile Illusion: Walk-In Shower with Tub on Adjacent Wall
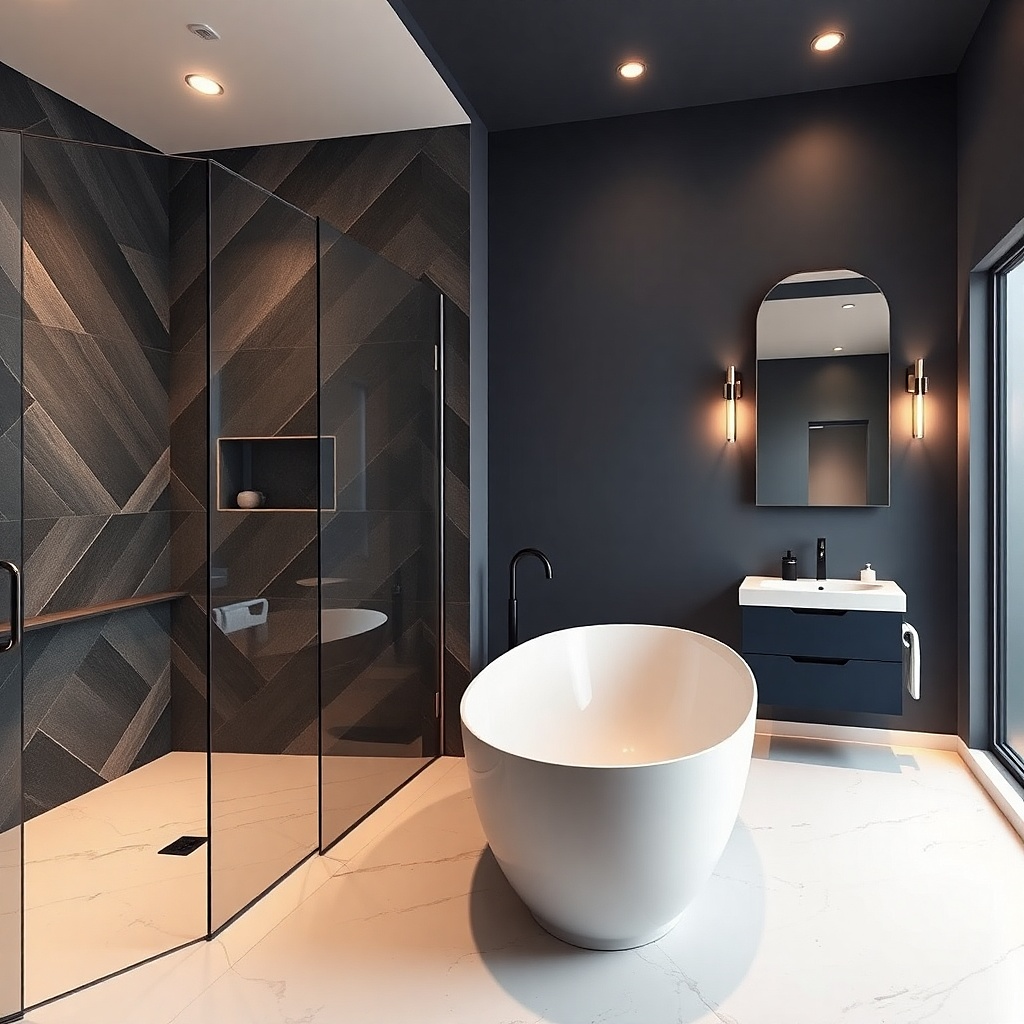
A small bathroom can look bigger when you use a controlled visual trick. Put the walk-in shower on one wall and the tub on the adjacent wall, then use an accent tile field that runs diagonally only on the shower floor or one wall panel. Keep the main walls in large-format straight-laid tile, then use the diagonal only where it catches light. This creates motion and makes the bathroom feel less rigid, while the rest stays modern and clean. The shower glass keeps the lines crisp so the diagonal doesn’t feel chaotic.
Start by selecting a floor tile size that can handle diagonal layout without too many cuts — 12x24 or 18x18 with a consistent pattern works well. Place the shower on one wall and the tub on the adjacent wall so the wet zones share a corner line. Tile the walls straight with large-format porcelain, then install the diagonal accent only in the shower floor or a single feature panel above the tub deck. Confirm grout color and width match across straight and diagonal areas so the transition looks intentional.
Use a matte floor finish for diagonal accents; gloss makes diagonal patterns look busy when the room is small.
Avoid diagonal on every surface; one accent is what keeps it modern.
15. Straight-Line Minimalism: Walk-In Shower with Hidden Niche + Drop-In Tub
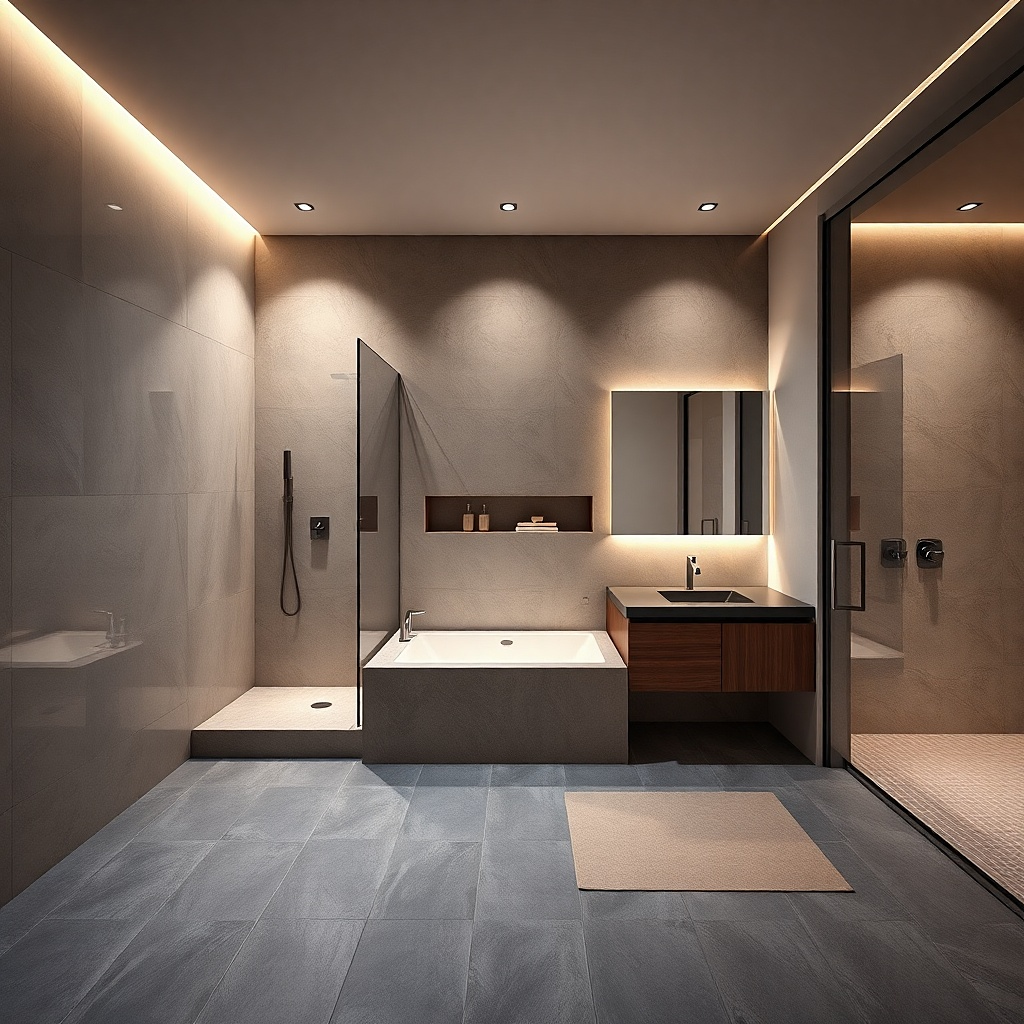
This layout is about removing visual clutter. Run your shower and tub lines straight and aligned, then use a hidden niche approach where the niche face is flush with the surrounding tile. A drop-in tub with a clean surround lets you keep the same tile field over the tub wall and into the shower. Choose a single shower head style and keep controls in one vertical zone. The modern look comes from symmetry the niche height, the glass edge, and the tub surround trim all land on the same lines.
Start by planning your tile module and niche placement so the niche face sits on full tiles, not half cuts. Then install the shower valve and build the niche frame before waterproofing. Place a drop-in tub so its surround height matches the shower tile field height, and keep the tub apron minimal. After waterproofing and tile installation, install frameless glass and finish trim using the same metal finish across the valve trim, tub filler, and towel bar.
Try thisMatch the niche size to your daily use a 12x18 niche holds a bottle and bar soap without looking overfilled.
Common mistakeSkip decorative trim rings around the niche; they break the straight-line modern look.
16. Shower-To-Tub "Bridge" Wall: Minimal Glass, Maximum Continuity
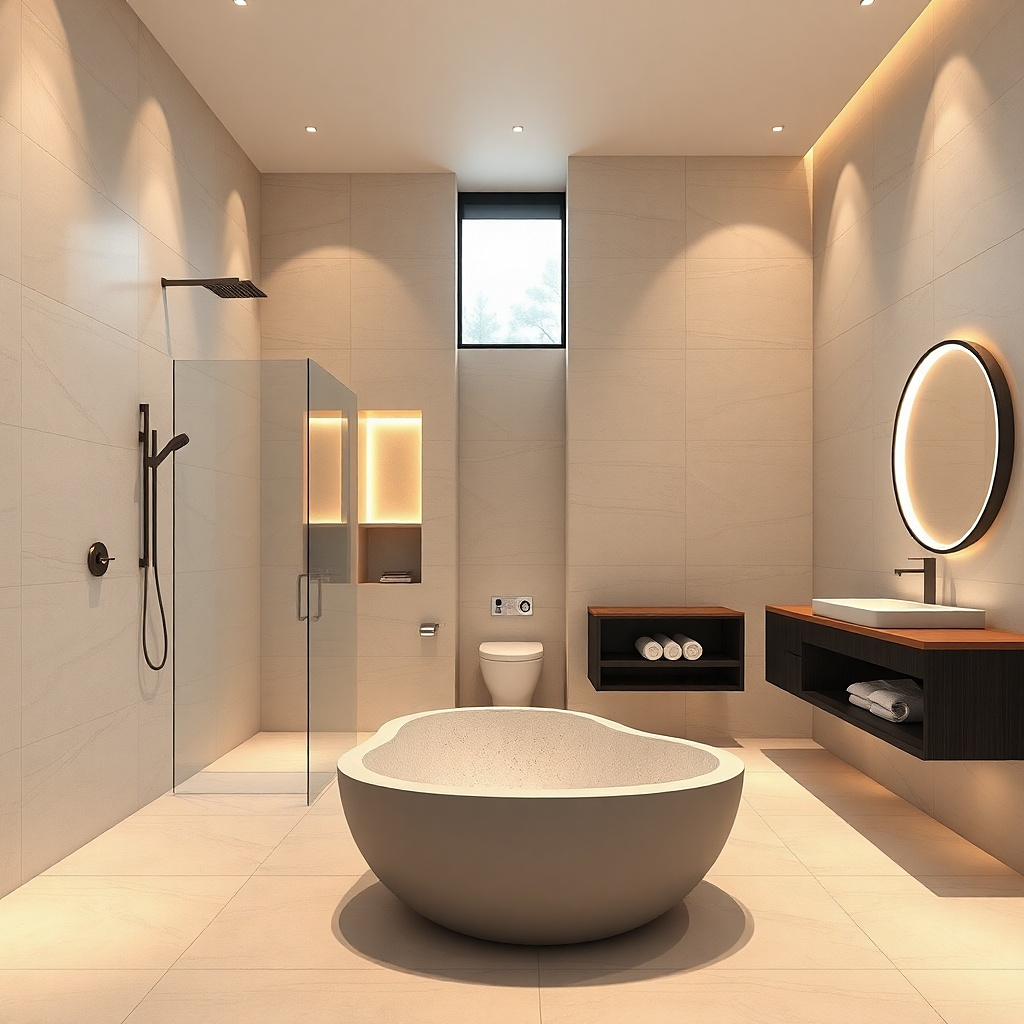
A bridge wall between the shower and tub creates a visual boundary without adding a bulky partition. Put the shower and tub next to each other, but leave a narrow tiled “bridge” strip between them so the room reads as one continuous design. This works well when you want the modern small bathroom remodel ideas look — straight lines, consistent tile, and glass that doesn’t visually fight the tub. Use a frameless glass panel that stops at the bridge wall and keep the tub deck simple so the bridge reads like architecture, not a leftover wall.
Start by deciding the bridge width based on tile size — aim for a width that aligns with whole tiles (for example, 4-6 inches with a thin trim). Place the tub and shower so their walls share the same tile direction and grout line rhythm. Install the shower valve and waterproof the shower first, then tile the bridge wall and tub surround in one sequence so edges meet cleanly. Finally, install the frameless glass panel and check alignment against the tile joints before you tighten hardware.
Try thisUse a consistent grout line width across the bridge and the shower; mismatched grout thickness looks sloppy in small rooms.
Common mistakeDon’t add a second glass panel or extra hardware; one clean glass line looks more modern than two competing openings.