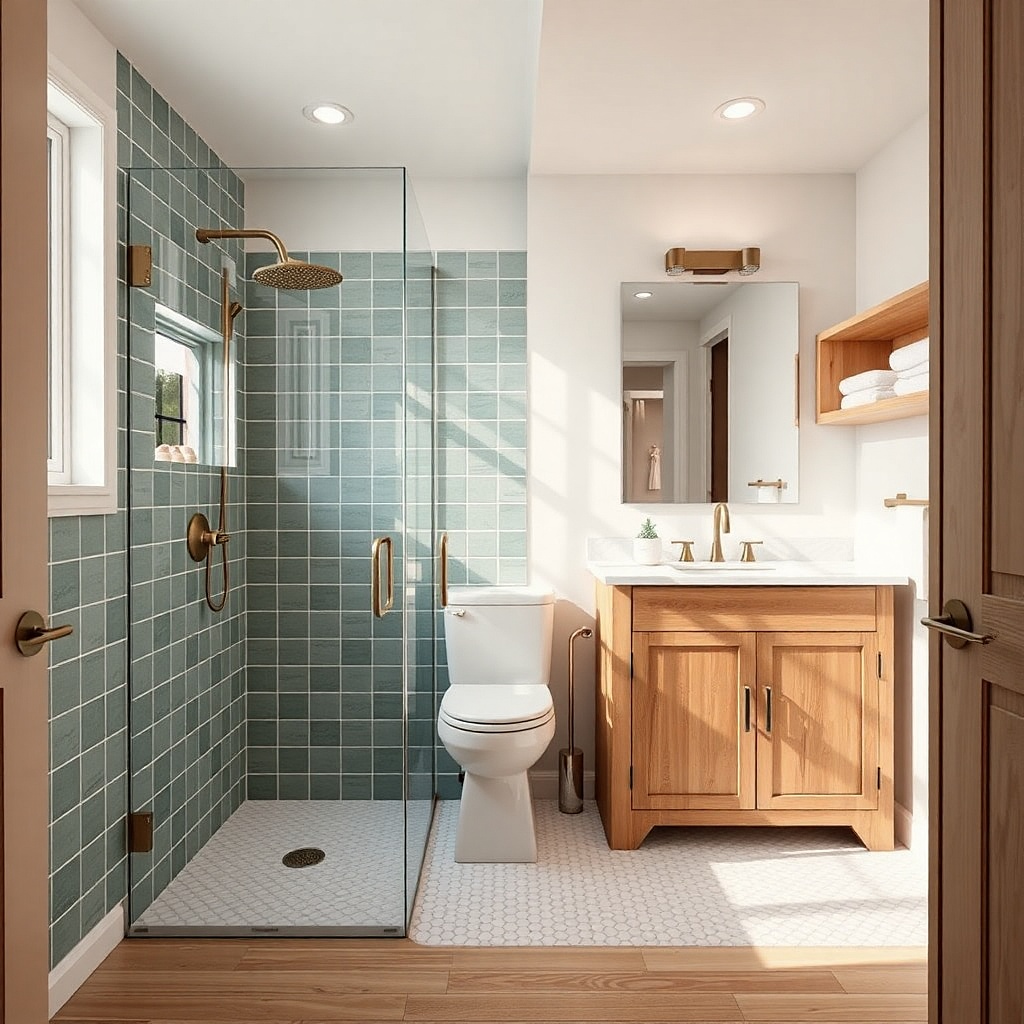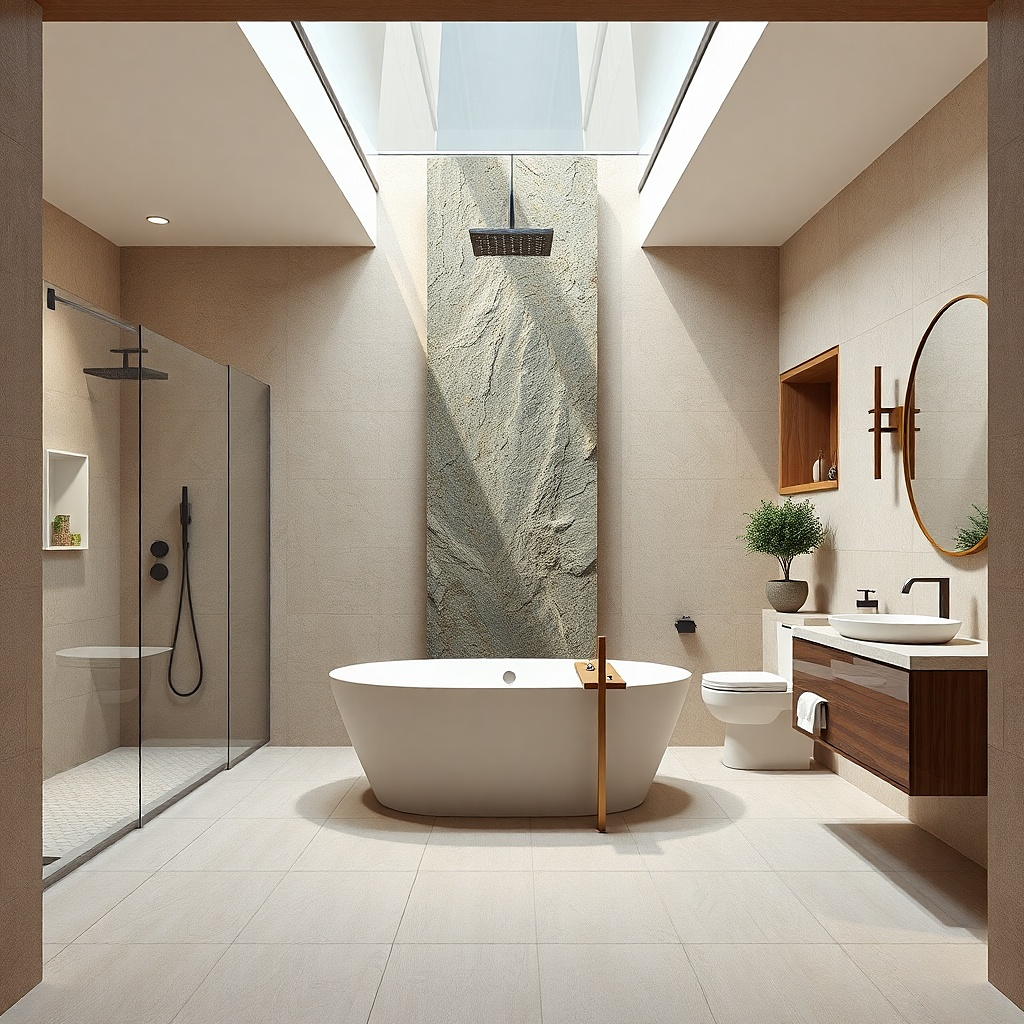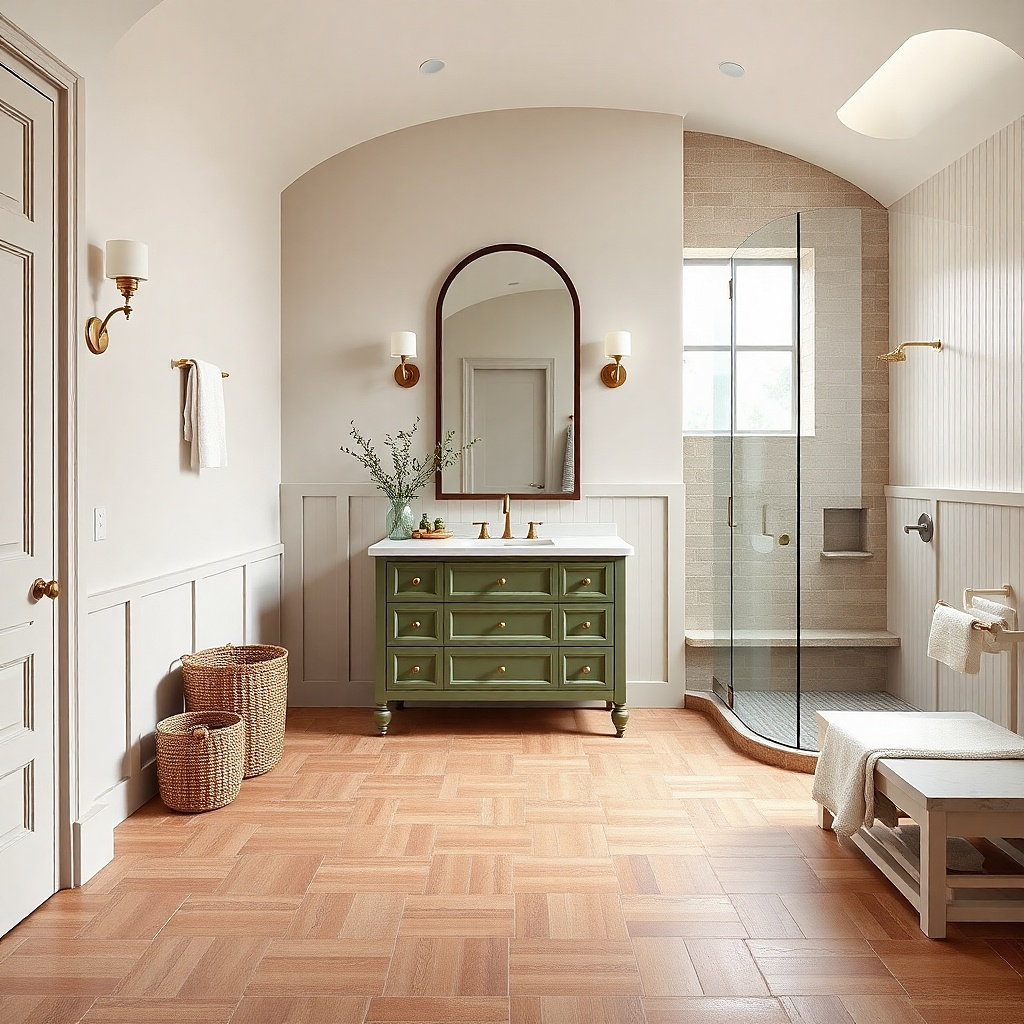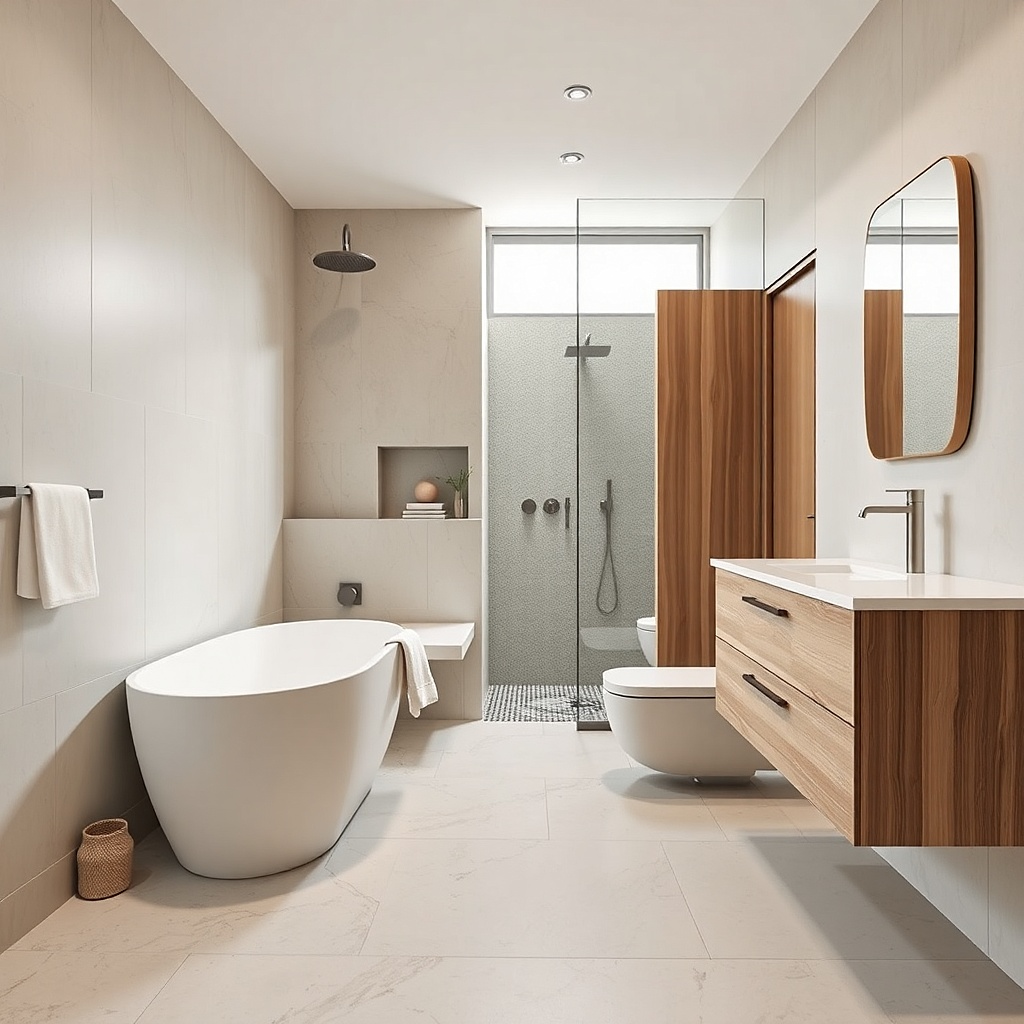
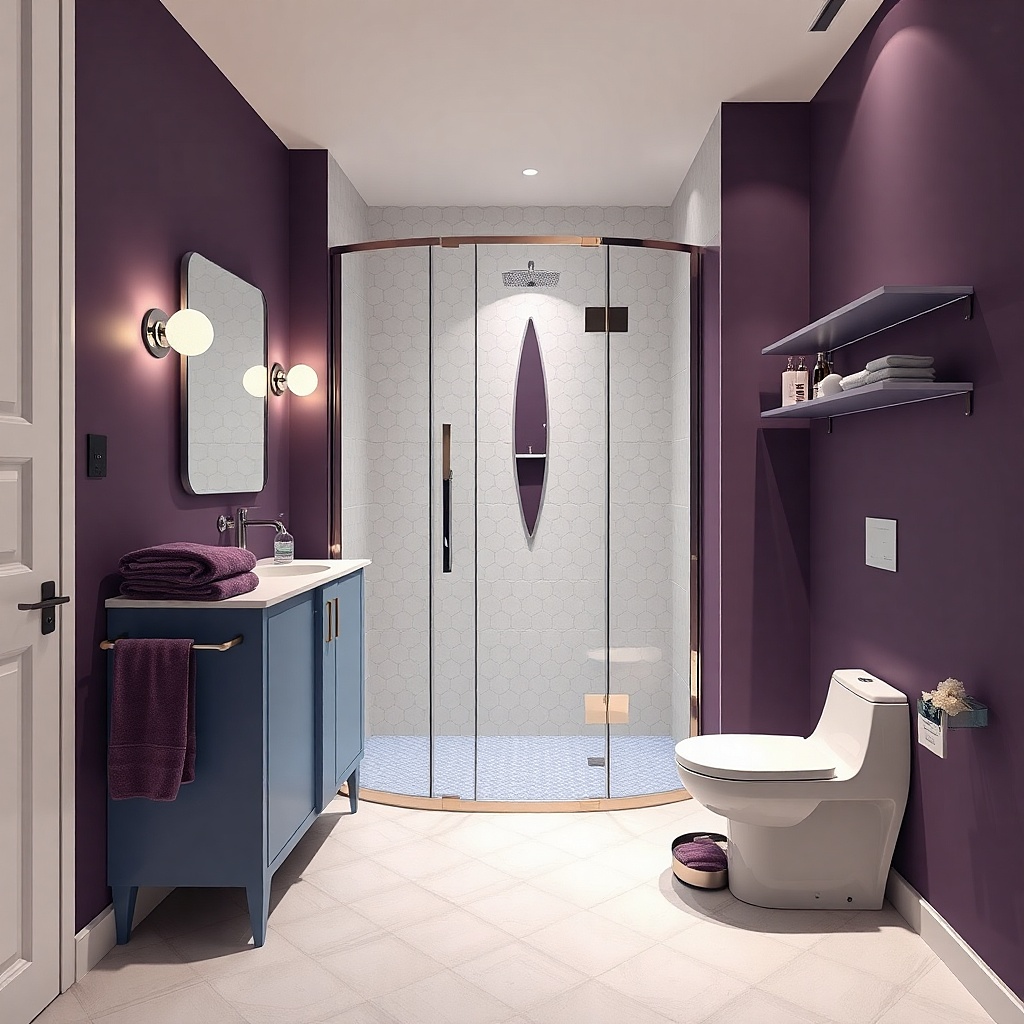
1. Slim Corner Neo-Angle Shower with Clear Glass Panel
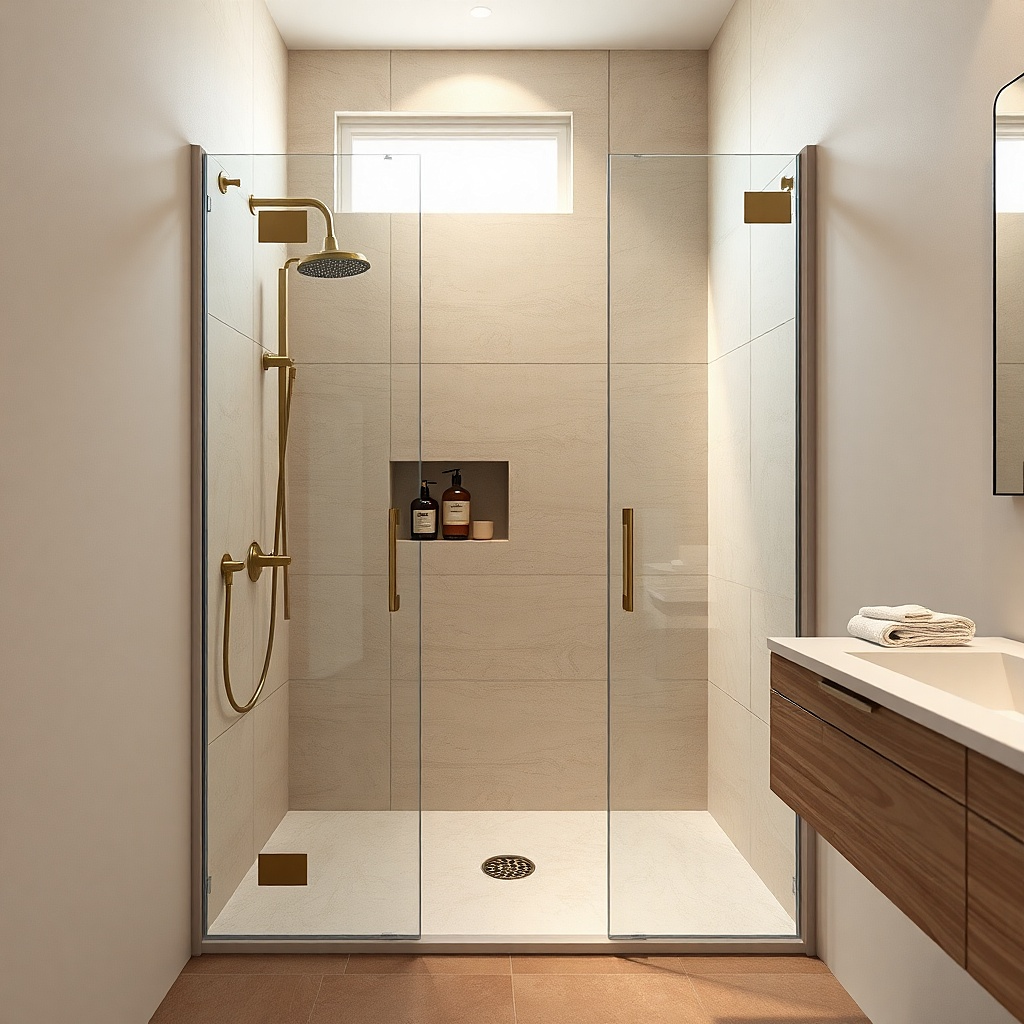
This is the beginner-friendly small bathroom remodel ideas pick when you want more walking room without giving up a modern look. A neo-angle corner shower uses a slightly angled front, so it visually breaks up the hard corner while still sitting tight to the walls. Go for clear glass with minimal metal framing, and keep the tile light with a matte finish so reflections don’t look harsh. The result is a shower that reads “open” even when the footprint is compact, which is exactly what you need when every inch matters.
Start by measuring your corner and planning for a shower front width around 32-36 inches, depending on your plumbing rough-in. Install a tiled curb or prefabricated base, then mount glass panels so the biggest clear section faces the room. Use large-format wall tile (12x24 inches works well) and run the tile vertically to make the walls look taller. Finish with a simple shower valve trim in one metal color and seal all changes in plane with silicone.
Choose a glass door sweep that sits close to the curb it keeps water contained and the glass stays cleaner.
Avoid frosted or heavily textured glass if your goal is floor-space illusion.
2. Right-Angle Corner Shower with Frameless Swing Door
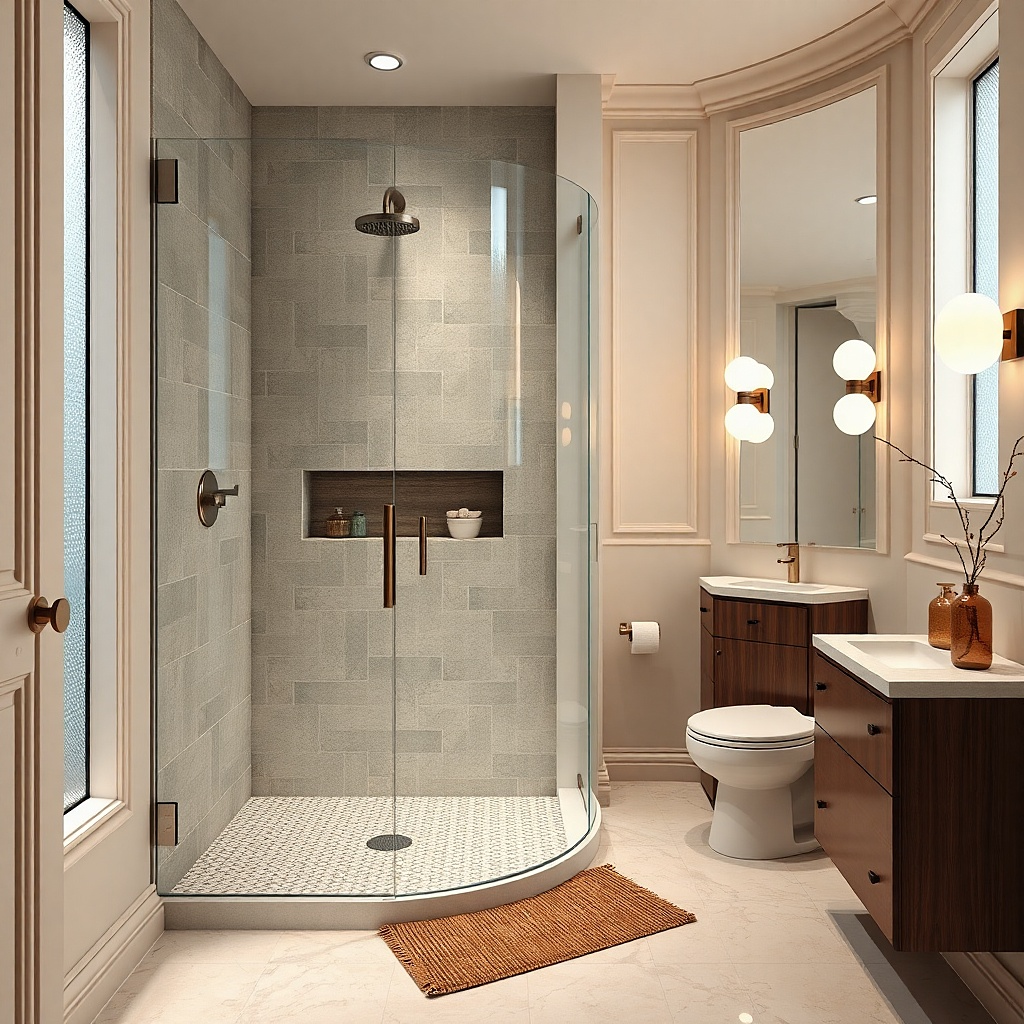
A right-angle corner shower with a frameless swing door looks crisp and architectural. The key is keeping the door as clear as possible and aligning it so it doesn’t visually “cut” the room at eye level. Use a bright, neutral tile on the walls and a darker accent only on the floor to anchor the shower. This layout works especially well in bathrooms where you can position the door so it opens without hitting a vanity or toilet.
Plan for a corner shower size around 36x36 inches and confirm your door clearance with a tape measure at full swing. Set the tile walls first, then install the glass hardware into solid backing (not just tile). Use a single continuous grout color across the shower walls to keep the surface calm. Finally, caulk the glass-to-tile seams and add a simple recessed niche for shampoo to prevent clutter.
Use a magnetic door seal or tight sweep it reduces puddling that can make small floors look messy.
Skip a thick framed door if you want the space to feel larger.
3. Sliding Corner Shower with Inline Clear Panels
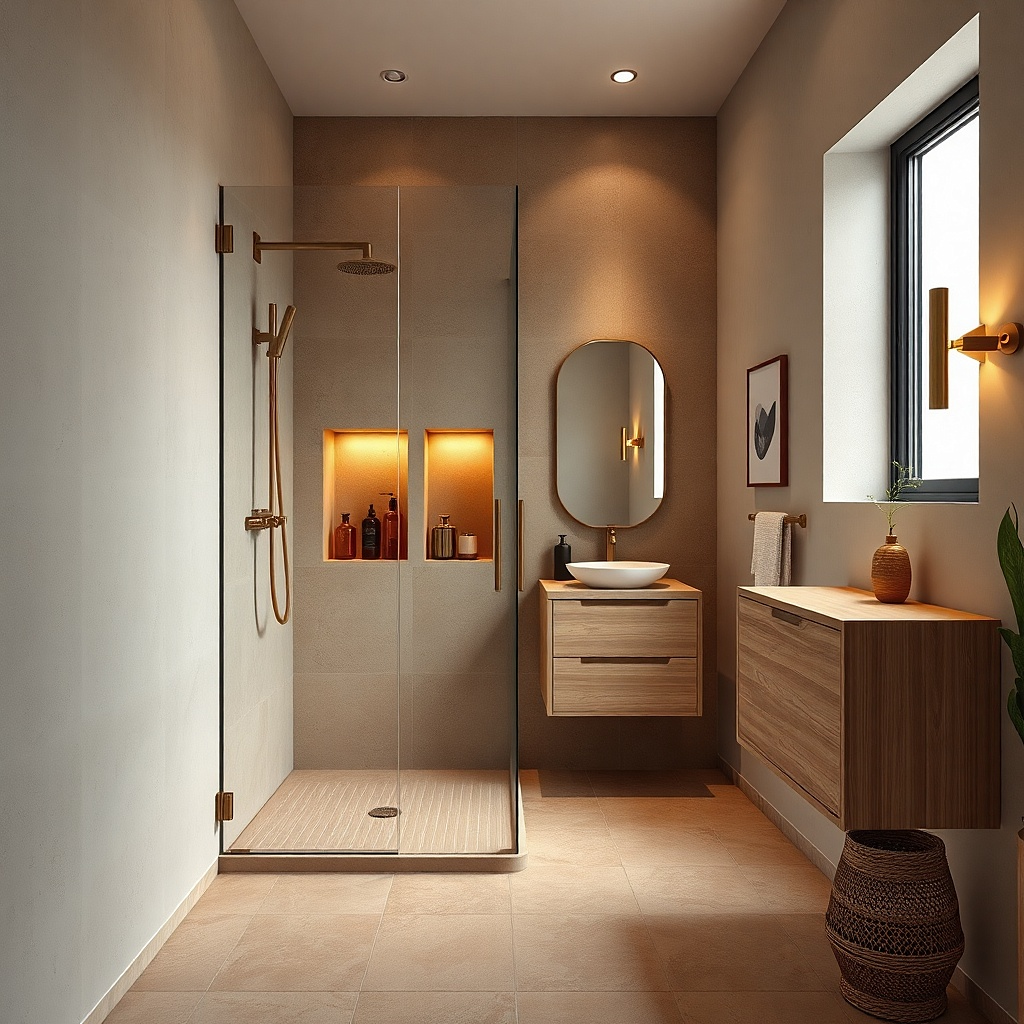
If your bathroom has a tight circulation path, a sliding door is the cleanest way to keep floor space. Sliding panels don’t require a swing arc, so you don’t lose usable walking room near the entrance. Pair it with a simple tile scheme: white or warm off-white walls with a soft sheen and a low-contrast floor tile. This makes the shower blend into the bathroom instead of becoming a bulky block.
Pick a corner shower footprint around 32x32 to 36x36 inches and center the opening so sliding panels track smoothly. Install the base or pan, then tile the walls with large-format rectangles to minimize grout lines. Mount the sliding track level with a laser level, then hang the glass panels and check they slide without rubbing. Add a small built-in niche so you don’t need bottles on the ledge outside the shower.
Choose a track finish that matches your faucet and towel bar visual consistency makes the room read “designed.”
Avoid dark, heavy tracks if the bathroom is already dim.
4. Corner Shower with Curved Bench and Micro-Niche Wall Tile
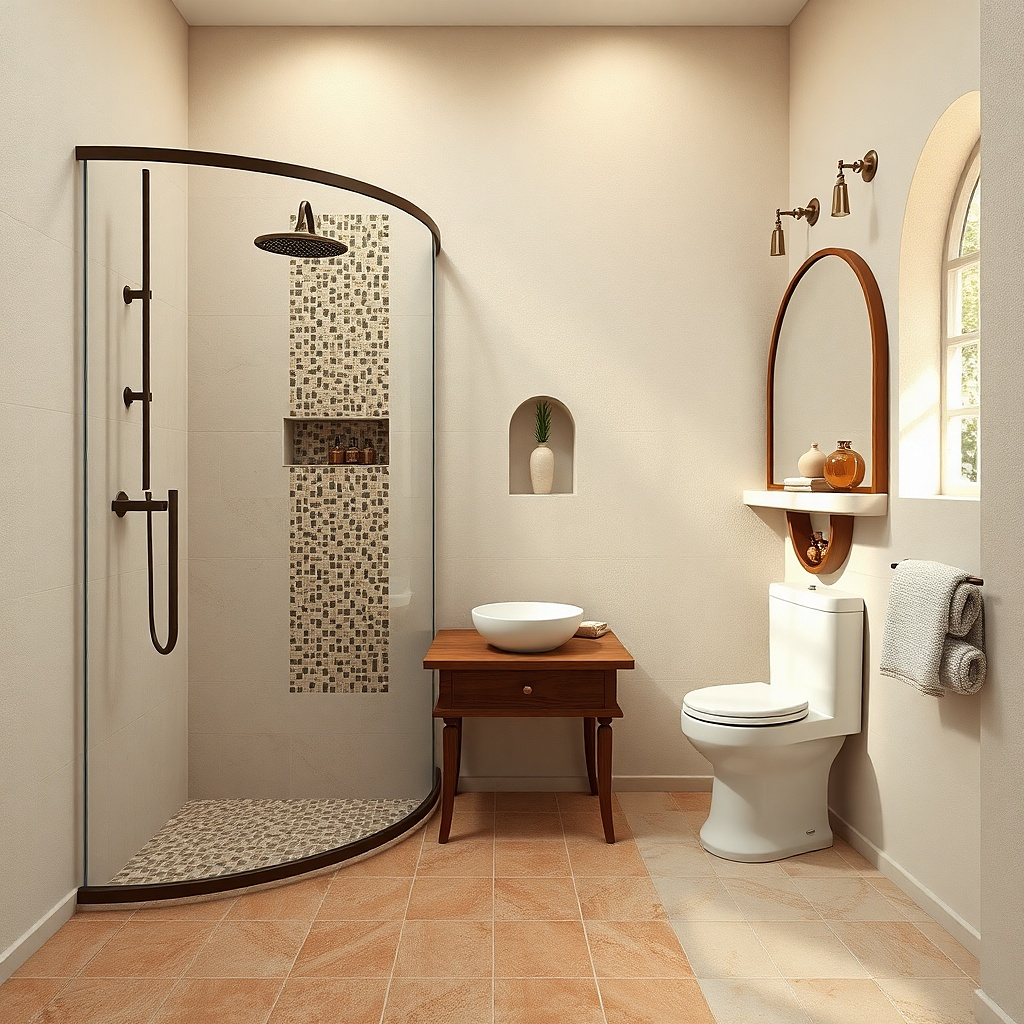
A built-in bench gives function, but in a small bathroom it also creates a more luxurious, spa-like focal point. The trick is using a rounded bench edge so it doesn’t look boxy, and pairing it with small recessed niches that keep bottles inside the wet zone. Use a long, light wall tile and add the niche tile in a slightly different tone so it reads as intentional detail, not random pattern. This layout is photogenic because the bench line and niche rhythm frame the corner rather than crowd it.
Frame the bench during wall build-out, keeping the seat height around 17-19 inches from the shower floor. Tile the bench and walls with the same material first, then cut niche openings after waterproofing. Install glass panels to cover the entrance and keep the bench visible only when you’re inside the shower. For the floor, choose a textured slip-resistant tile in a medium neutral to prevent the floor from looking stained.
Try thisUse a slightly darker grout at the niche lines it makes the niches read clean and crisp.
Common mistakeSkip a flat, sharp-edged bench in a narrow corner; it visually “sticks out.”
5. Tub-to-Corner Shower Conversion with Glass Return Panel
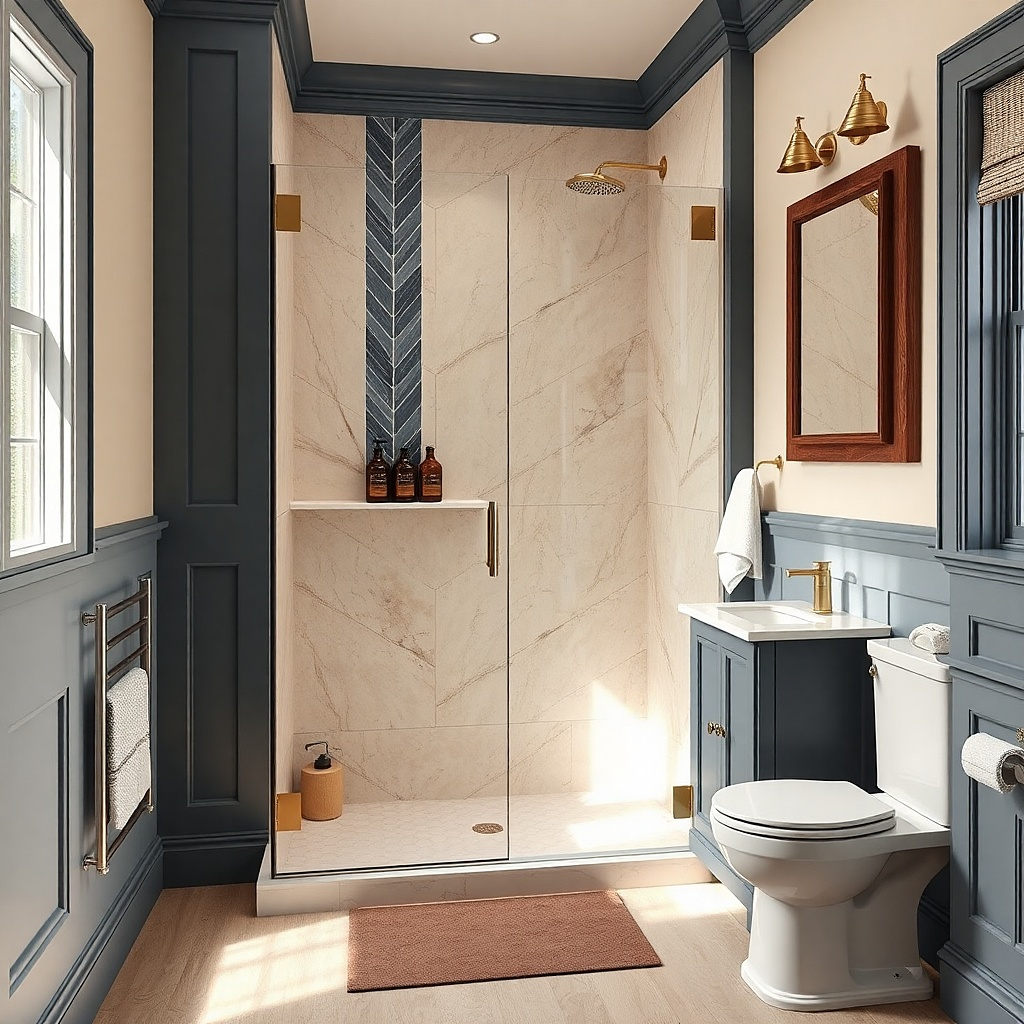
If you currently have a tub, converting to a corner shower is one of the most beginner-friendly small bathroom remodel ideas because you can keep the plumbing route and often reuse the tub footprint. A glass return panel at the tub’s short side prevents water from spraying into the bathroom while keeping the look streamlined. Choose a bright tub surround tile and a simple floor tile so the shower reads as one continuous zone. This option is great when you want the option to soak occasionally but still need a practical daily shower setup.
Start by confirming your existing tub dimensions and whether the drain and valve are centered enough for a corner glass panel. Waterproof the surround, then install a glass panel system anchored to solid framing. Tile the walls in large-format pieces (12x24 or 16x24) and keep the niche placement low and centered for easy reach. Finally, add a handheld shower head and a simple diverter so the water hits where you need it.
Try thisKeep the glass return panel as clear as possible; it reduces the visual wall thickness effect.
Common mistakeDon’t add a tall, opaque panel that turns the tub corner into a dark box.
6. Corner Shower with Low-Profile Linear Drain
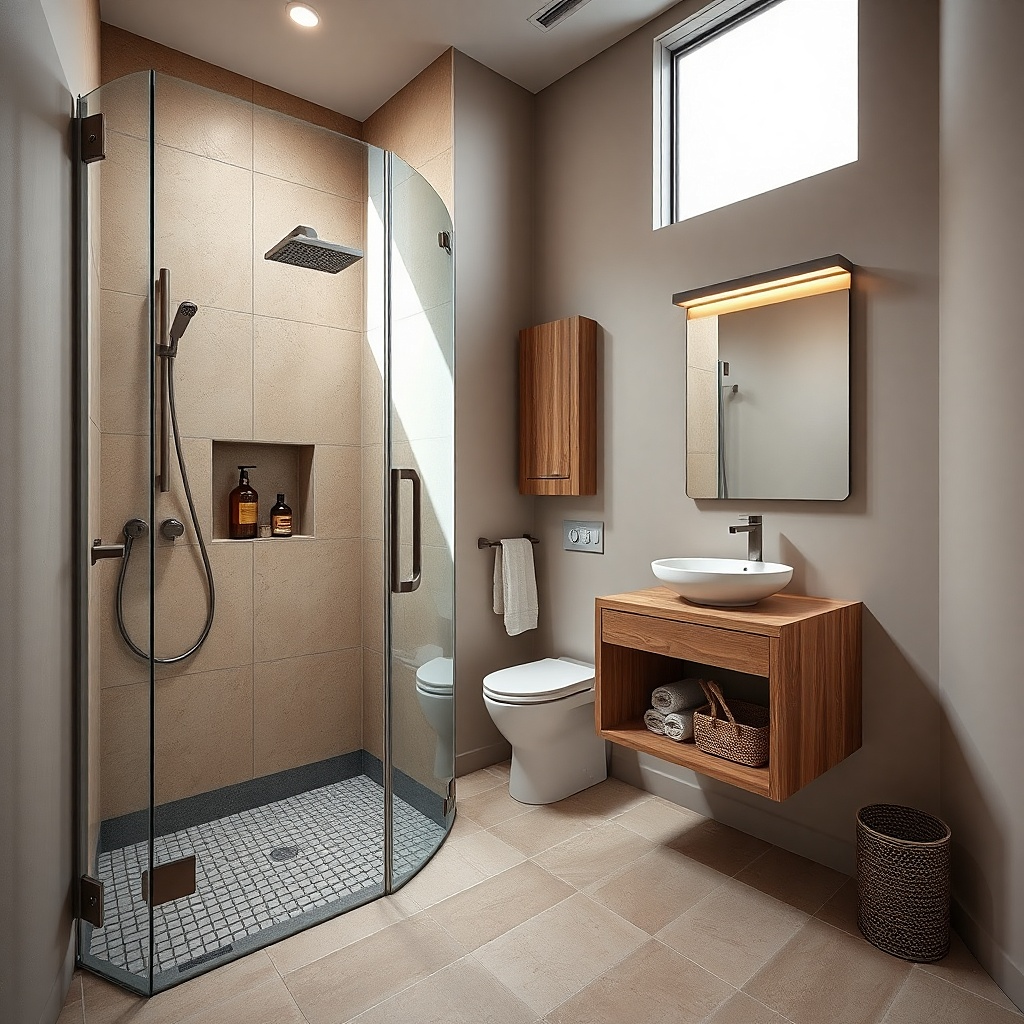
A linear drain makes a small shower look cleaner because it keeps the floor visually uninterrupted. In a corner, you can slope the floor slightly toward the drain and use large-format tiles so the shower floor becomes one smooth plane. Pair that with light wall tile and a matte finish to avoid glare. This is a strong aesthetic play because it removes the “circle drain” look that can make small spaces feel older or busier.
Choose a linear drain length matched to your shower size, typically 20-24 inches for compact corner showers. Build the shower pan with correct slope — you need a consistent pitch toward the drain, not random dips. Tile the walls first, then tile the floor last so you can align tile edges cleanly at the drain. Seal the perimeter changes and test drainage with a controlled water pour before finishing the glass.
Try thisUse a light grout color close to your tile tone it keeps the floor reading smooth.
Common mistakeAvoid tiny mosaic floor grids if you want a calm, bigger-looking shower.
7. Corner Shower with Tile-to-Ceiling Color Block
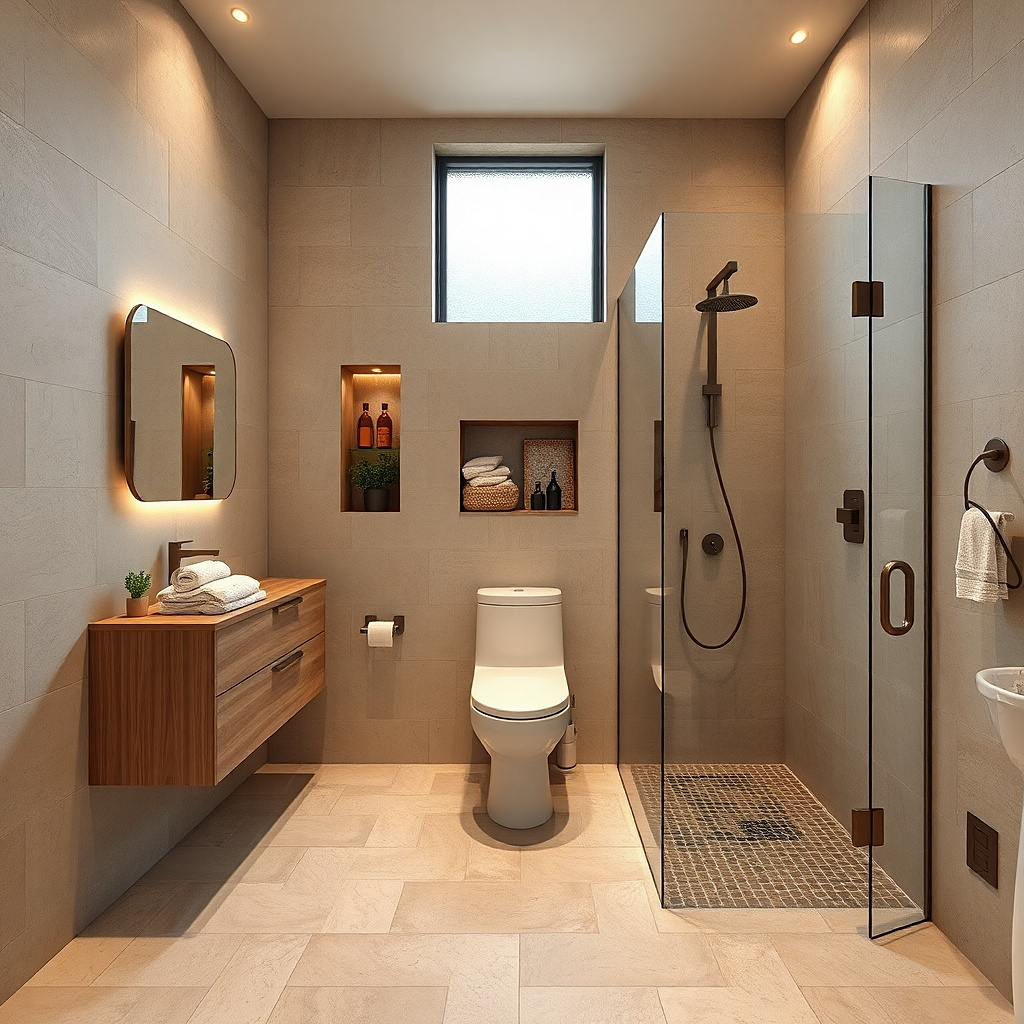
One bold color block can make a small bathroom feel taller, and a corner shower is the easiest place to do it. Tile the shower walls up to the ceiling in one continuous color, then keep the rest of the bathroom in a contrasting neutral. The corner acts like a frame, so the shower zone becomes a clean focal point instead of a cramped feature. Pick a warm white or soft greige block with a matte finish and minimal accents; it looks expensive without needing fancy trim.
Select a tile color you can repeat on the ceiling height — measure from floor to ceiling and plan for full rows without awkward cuts. Waterproof the shower walls, then tile from the floor up in straight lines, using a consistent grout joint. Keep the glass slim so it doesn’t break the color block. If you add a niche, place it centered on the color block so it doesn’t interrupt the vertical rhythm.
Try thisRun the tile pattern consistently across both shower walls meeting at the corner misalignment looks messy in small spaces.
Common mistakeAvoid busy patterns in the shower if your goal is more visual breathing room.
8. Corner Shower with Patterned Floor and Solid Wall Tile
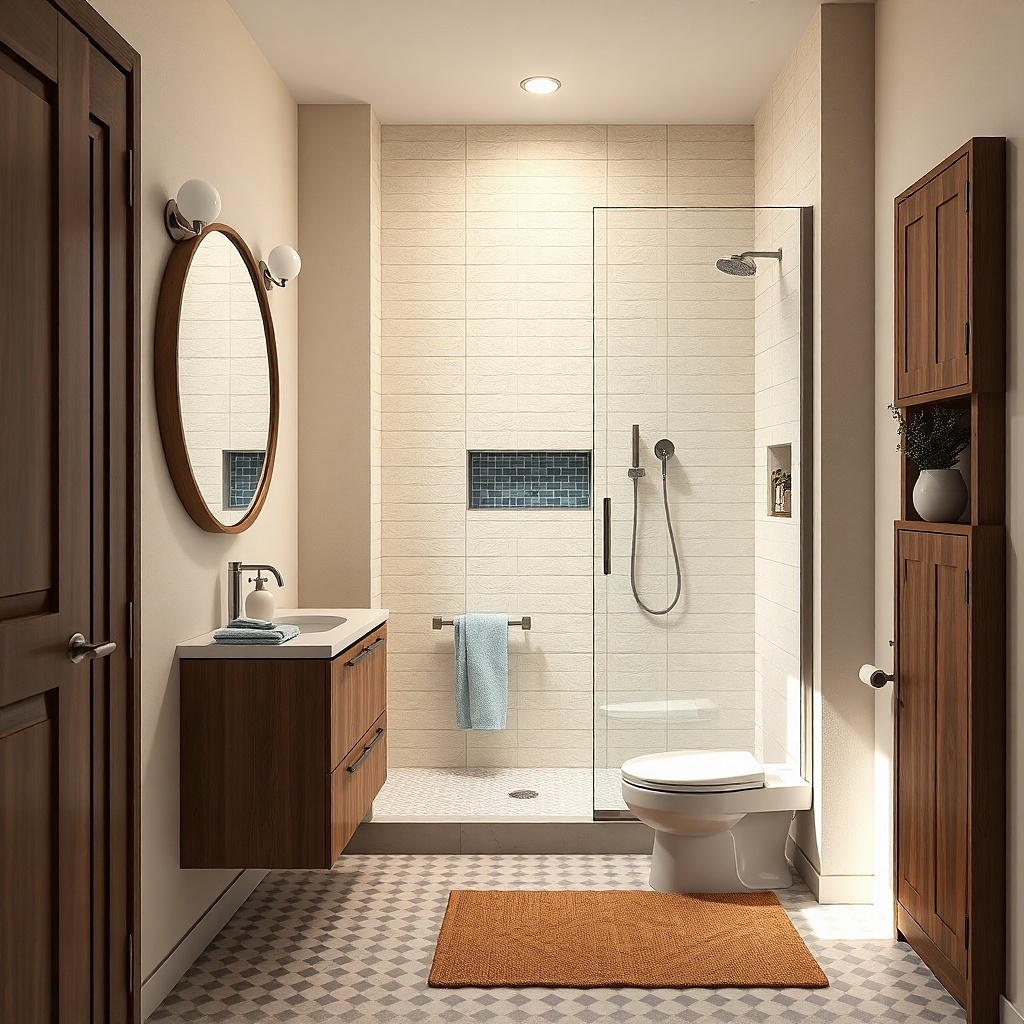
You get the drama where it counts without shrinking the room. Use solid light wall tile to keep the height feeling open, then place a patterned floor tile in a smaller area so it reads like a design detail. In a corner shower, a geometric floor pattern draws the eye downward and inward, which can make the shower feel like part of the plan instead of an add-on. Stick to a pattern with two or three colors max so the bathroom stays calm.
Choose a floor tile pattern sized for your footprint and plan the layout so the pattern aligns at the entrance line. Tile the walls first with large-format solid tile, then waterproof and tile the floor last. Use a grout color that matches the dominant tile tone in the pattern, not pure white. Finish with a clear glass door so the floor detail stays visible but doesn’t clutter the walls.
Pick a pattern with a slightly matte finish it hides water spots better than glossy surfaces.
Avoid high-contrast patterned walls; they make small bathrooms feel busier.
9. Corner Shower with Recessed Shelf Ledge Instead of Bottles
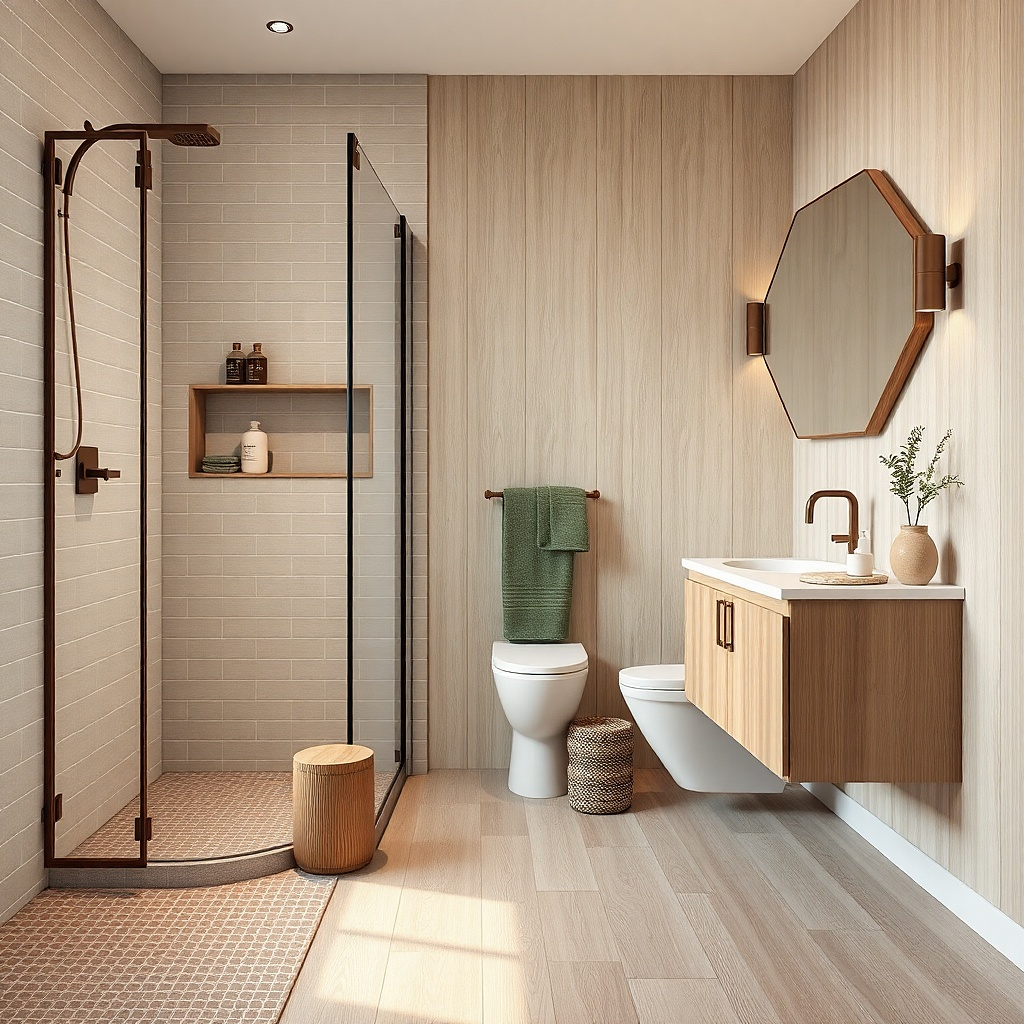
Clutter kills the look in small bathrooms. A recessed shelf inside the corner shower gives you a place for shampoo without adding a bulky wall shelf outside the glass. Keep it low-profile and use the same tile as the surrounding walls so it disappears into the design. This layout photographs well because the glass stays clean and the shower stays visually tidy. It also makes daily use easier since everything is inside the wet zone.
Plan a shelf opening about 8-10 inches wide and 3-4 inches deep, mounted where bottles sit comfortably when you’re standing. Waterproof the niche area and tile it flush with the wall plane. Install glass panels so the shelf sits behind the glass line when you look from the doorway. Finish with a corner valve trim that blends with the hardware finish for a cleaner face.
Try thisUse a matte black shelf support or built-in framing it hides water staining better than chrome.
Common mistakeSkip open corner baskets; they look crowded the moment you have daily bottles out.
10. Corner Shower with Built-In Head Wall and Handheld Combo
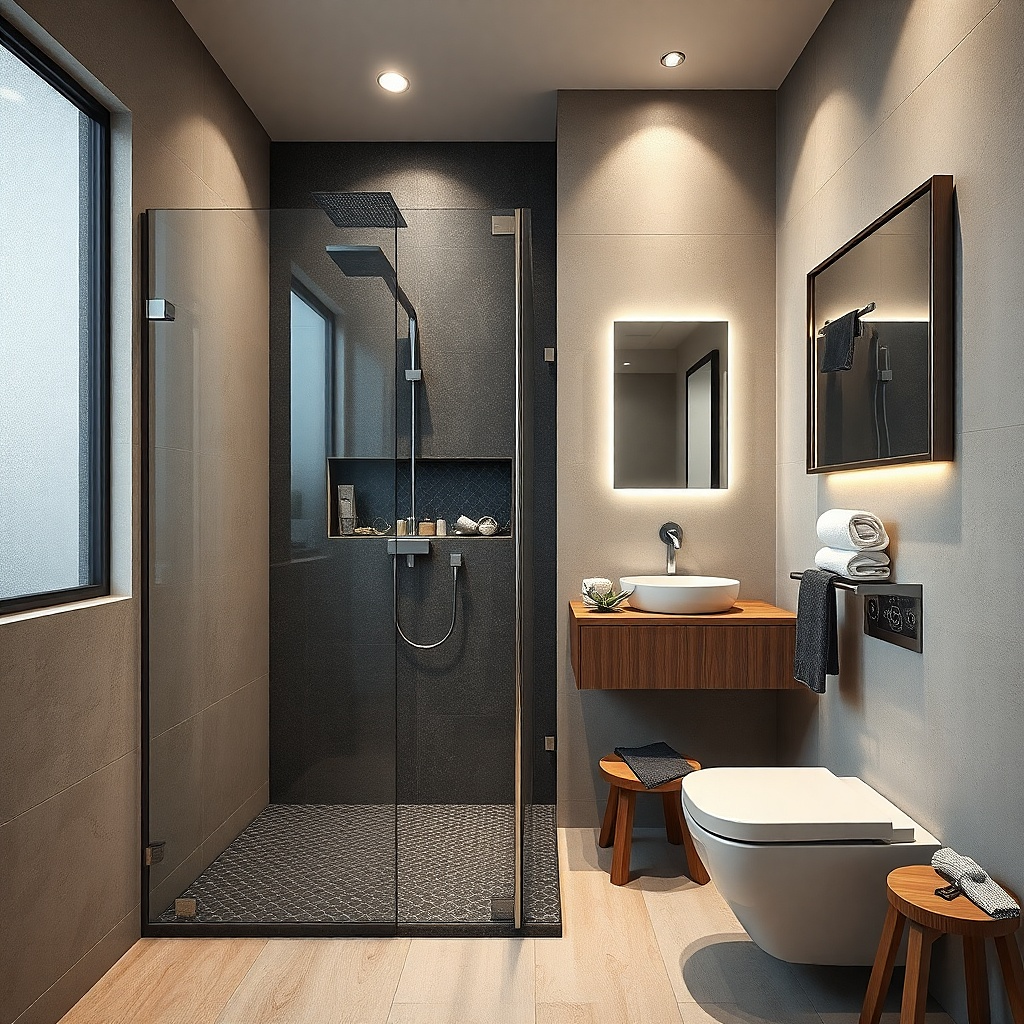
A built-in head wall gives the corner shower a “designed” centerpiece without eating floor space. Mount the main shower head on a tiled wall panel and keep the plumbing behind waterproof walls. Add a single recessed niche nearby for soap so the corner stays visually clean. This layout is especially good when you want a premium look but your bathroom is too small for bulky fixtures or extra shelves. The head wall also helps the shower feel intentional even with simple glass.
Start by choosing a valve location and rough-in height that matches your shower head and handheld reach. Build the head wall panel with waterproof backer and waterproof seams, then tile it with large-format pieces. Add one niche sized for your most-used products, usually 10-12 inches wide. Install the glass door last so you can align the panel edges with the head wall.
Use a single finish for the valve trim, shower head, and handheld mount so the center wall looks cohesive.
Avoid multiple valve trims on a small head wall; it looks crowded fast.
11. Corner Shower with Bench + Vertical Tile Lines for Height
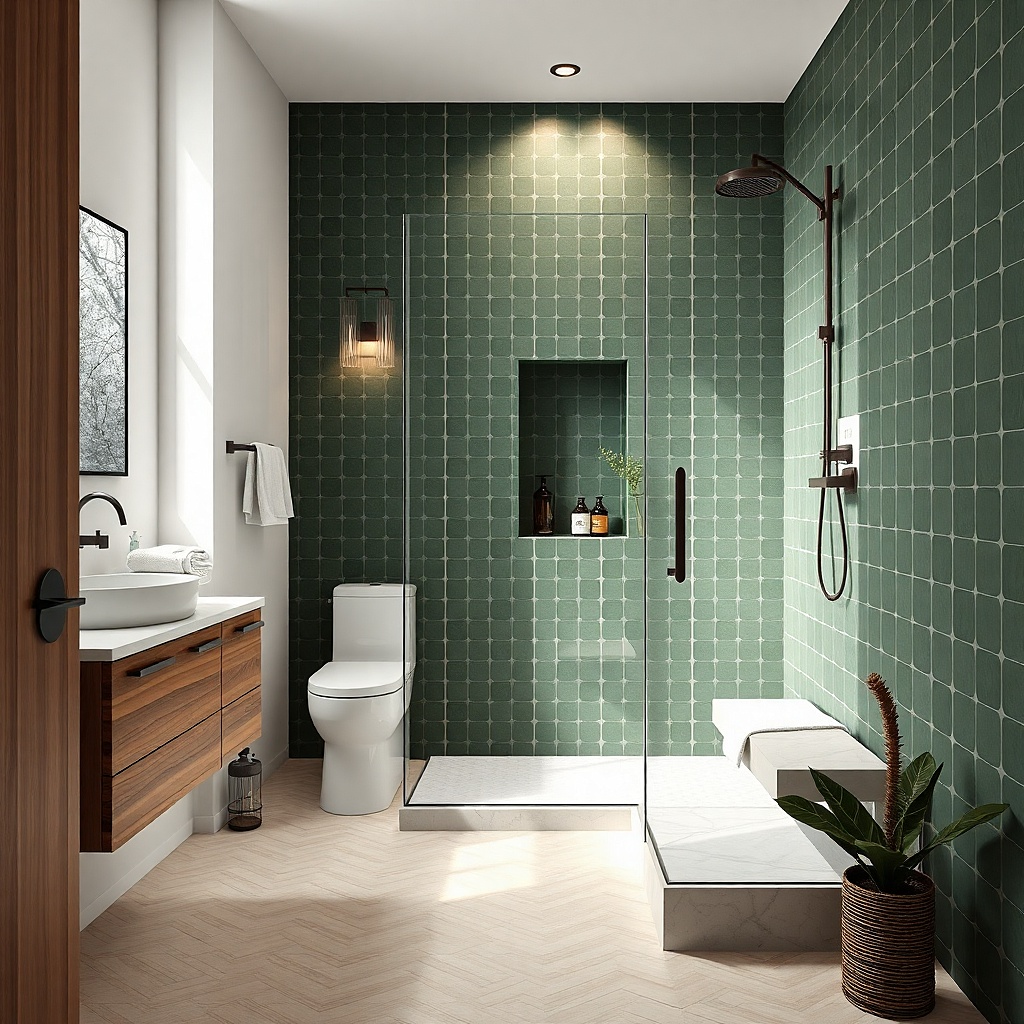
This one targets the most common small-bathroom complaint: it feels short and cramped. A corner shower with a bench makes the space feel usable, while vertical tile lines push the eye up. Use a light base tile on the walls, then add a narrow strip of vertical accent tile only on the bench wall or back wall. The effect is clean and photogenic because the corner reads like a tall frame rather than a low box.
Set your bench height around 17-18 inches and keep the bench depth about 12-14 inches so it stays comfortable. Tile the walls with large-format rectangles, then install the vertical accent strip as a single continuous line from near the floor to close to the ceiling. Waterproof carefully around the bench edges, then tile the bench top with the same tile direction. Finish with clear glass to keep the vertical lines visible from the doorway.
Try thisMake the accent line start above the curb edge so it doesn’t look like a random stripe.
Common mistakeDon’t use vertical accents on both walls; it can make the corner feel visually noisy.
12. Corner Shower with White Porcelain Walls and Matte Black Hardware
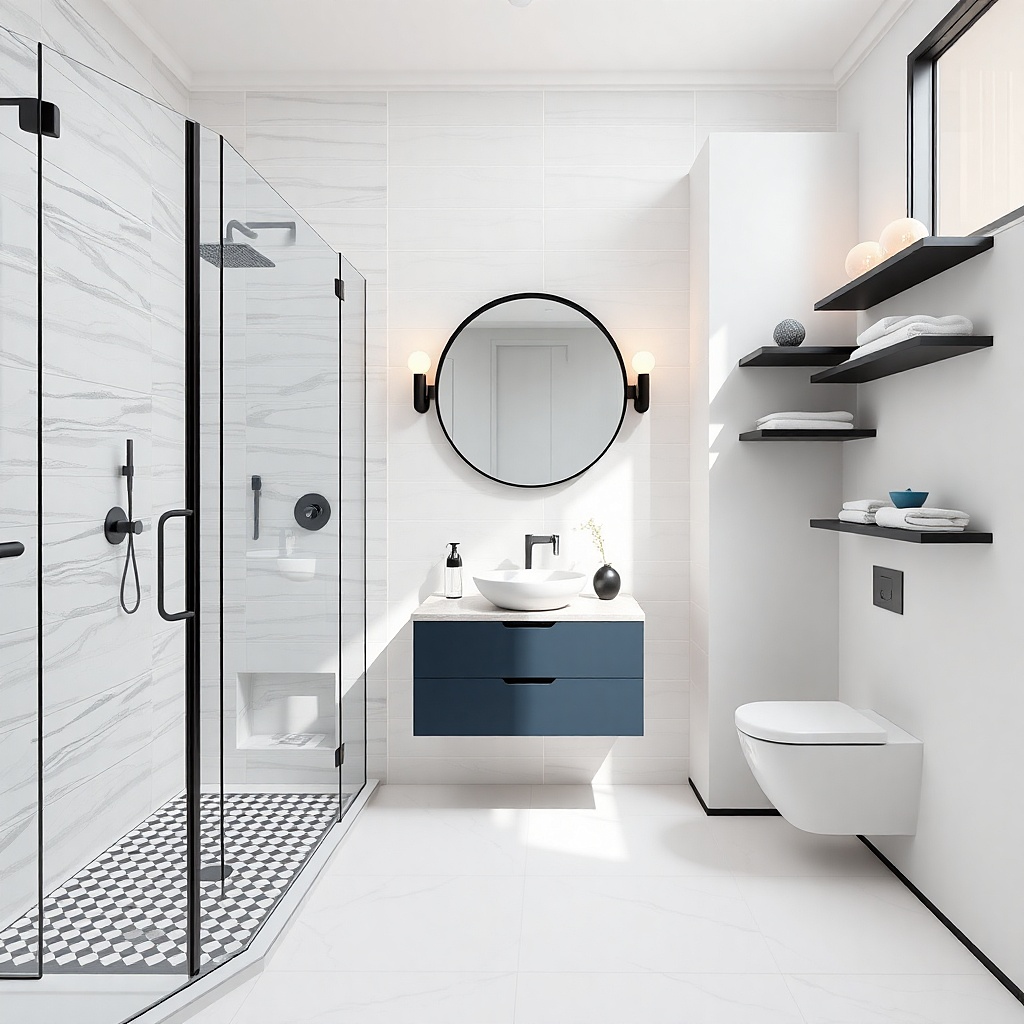
If you want a clean, high-contrast look in a small bathroom, white porcelain walls plus matte black hardware is the simplest formula. The corner shower becomes crisp and modern, and the black lines only appear where they matter: valve trim, handle, and door hardware. Use a matte finish for the walls so the room doesn’t glare. This layout also helps with the floor-space illusion because the shower doesn’t visually “weigh down” the room.
Choose a white porcelain wall tile with a subtle texture and large size (12x24 or 24x24). Waterproof the walls, then tile with a consistent grout joint size and a light grout that matches the tile shade. Install the glass system with matte black hardware, then mount the valve and trim after the tile is set. Finish with a matte black shower caddy or built-in niche so accessories match the hardware.
Try thisUse a single towel bar and toilet paper holder finish in the bathroom it keeps the whole room looking intentional.
Common mistakeAvoid mixing black fixtures with chrome in the same shower zone.
13. Corner Shower with Wood-Look Tile Accent at the Entry Wall
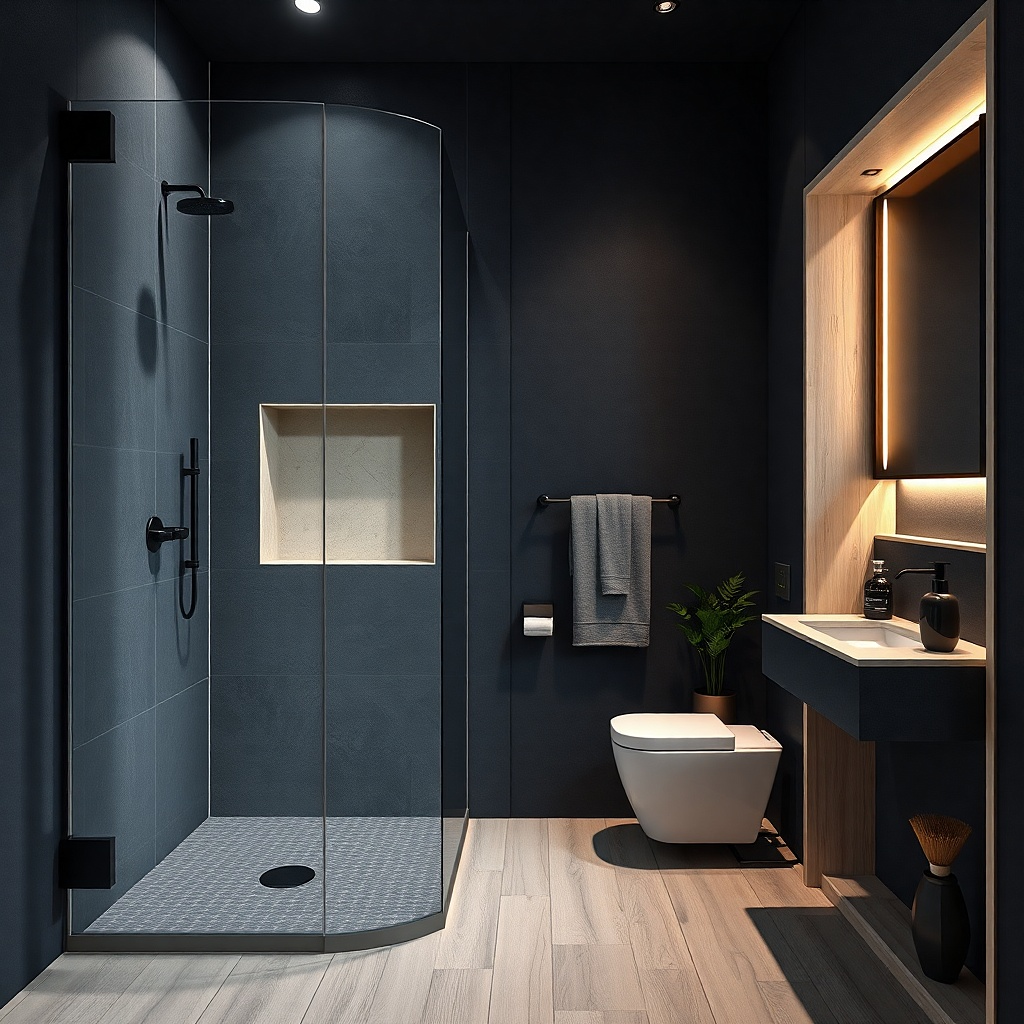
A wood-look tile accent can make a small bathroom feel warmer without adding bulk. Place the wood-look tile on one wall inside the corner shower, ideally the wall closest to the entry, so it becomes the first thing you notice. Keep the other walls a light neutral porcelain so the wood reads as a feature, not a pattern overload. This option is photogenic because the grain direction and warm tone add depth while still using a clean tile system.
Pick a wood-look porcelain tile designed for wet areas and choose a plank size around 6x24 or similar. Waterproof and tile the base walls in a solid light tone, then install the wood-look accent starting about chest height and running up. Align plank direction so lines feel straight and intentional at the corner. Use a clear glass door and keep grout light so the wood doesn’t look muddy.
Use a satin or matte clear seal on the wood-look tile if the manufacturer allows it it keeps the surface looking even.
Avoid wood-look tile on every wall; it can overpower a small room quickly.
14. Corner Shower with Clear Glass + Side Panel to Hide the Plumbing Face
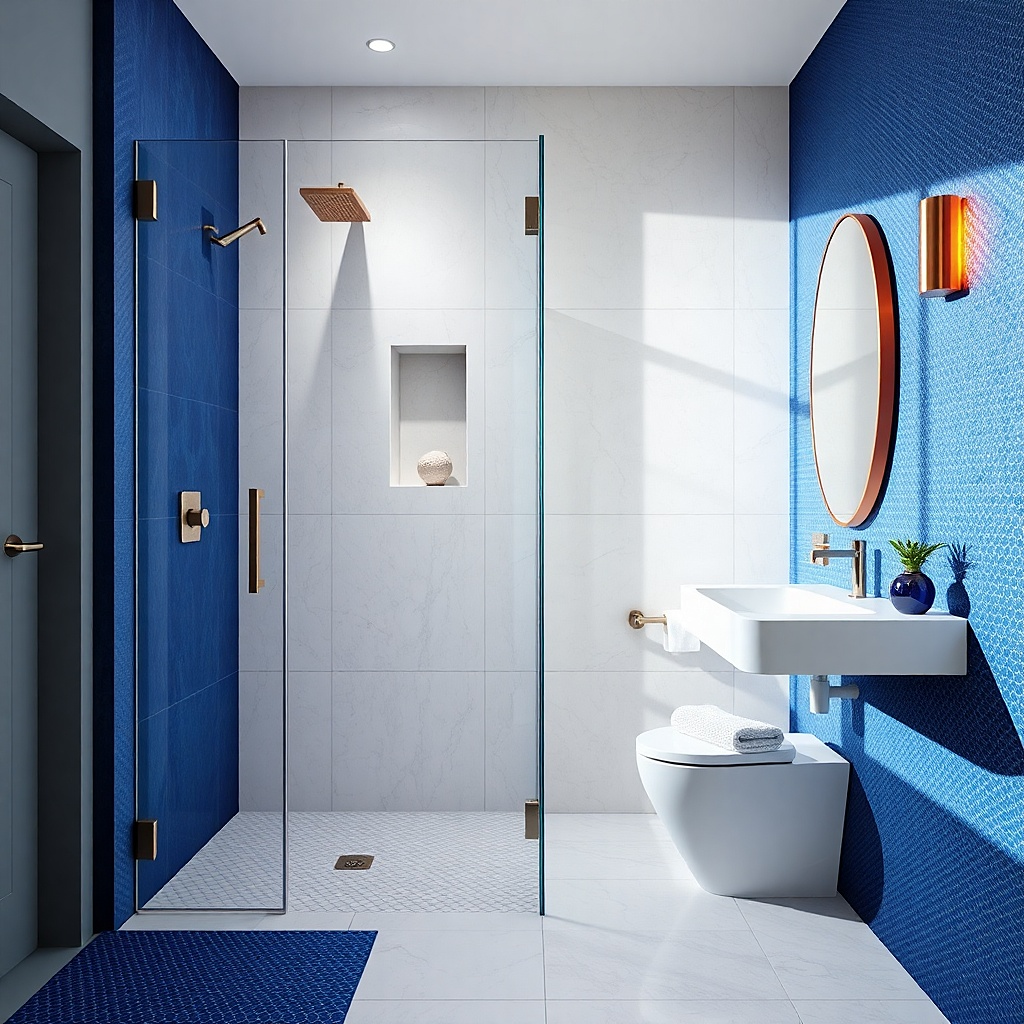
Sometimes the bathroom looks tight because the plumbing face looks messy. A corner shower with a side panel (a fixed glass return or partial enclosure) can visually hide the valve wall and keep the shower looking clean. You still get clear glass for openness, but the extra panel creates a tidy frame that reduces visual clutter. Pair this with a simple tile wall behind the glass and a matching floor tile so the enclosure looks like it belongs to the room architecture.
Plan the shower layout so the valve and plumbing are on the wall you want to “wrap” with the side panel. Install the waterproof wall backing, then tile it with consistent large-format pieces. Choose a clear fixed side panel sized to cover the valve area and mount it to stable framing. Install the entry glass door so it opens without hitting the vanity and keep the door hardware finish consistent.
Place your niche on the concealed plumbing wall it looks clean from outside because the niche is behind the glass line.
Skip open plumbing walls visible through the glass; it makes the shower look unfinished.
15. Corner Shower with Sloped Floor + Large Format Wall Tile
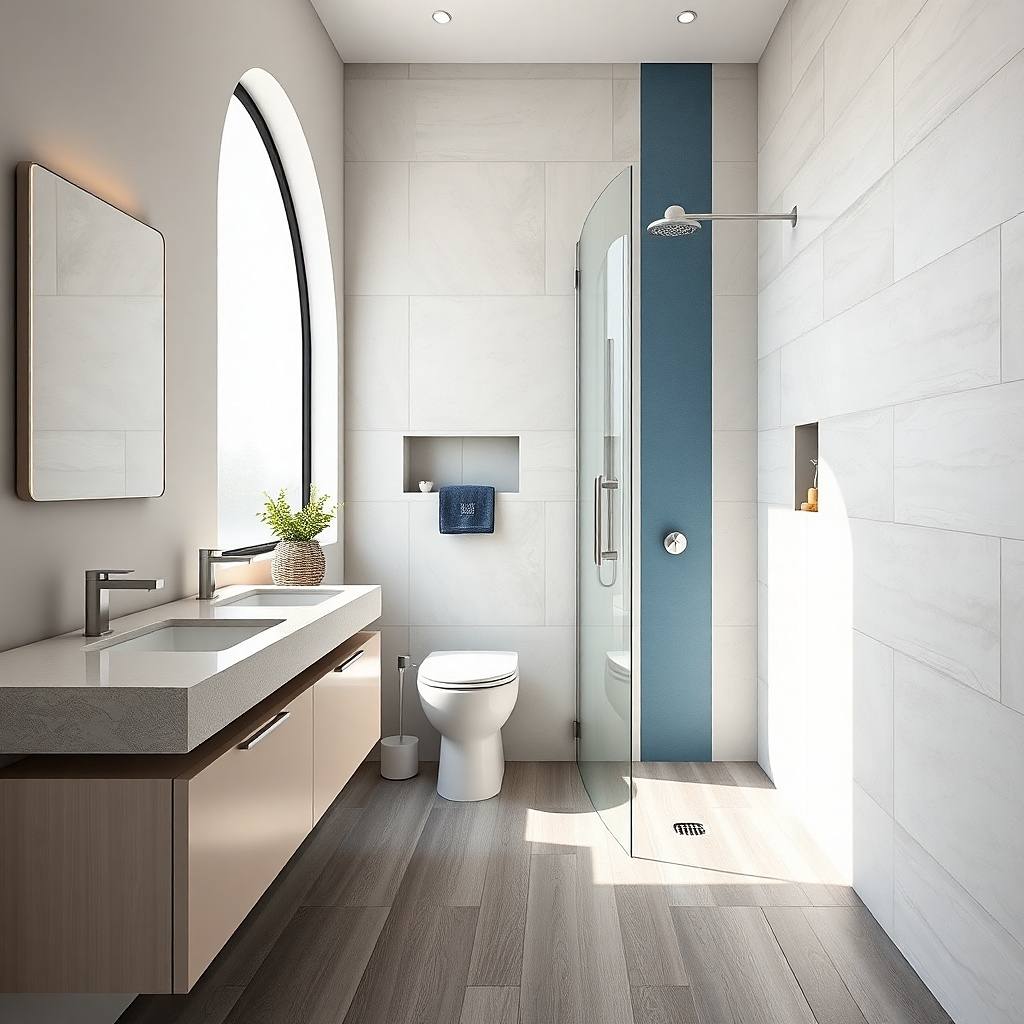
A properly sloped shower floor with large-format wall tile makes the corner feel intentional and roomy. When you see fewer grout lines and a smooth floor plane, your brain reads the shower as larger than it is. This layout works well for beginner-friendly small bathroom remodel ideas because it simplifies the visual load: you’re not relying on patterns or lots of trim to look good. Keep the color palette tight one light wall color, one complementary floor tone, and clear glass.
Use a pre-sloped base or build a sloped mortar pan with a waterproof membrane system so drainage is reliable. Tile the walls with large-format pieces and keep grout lines straight; use spacers and check alignment at the corner. Tile the floor last so you can manage cuts around the drain and curb. Install clear glass panels so the smooth planes are visible from the doorway.
Choose a floor tile with slight texture and a matte finish to hide water spots and keep the floor looking clean.
Avoid mixing three different tile sizes on walls and floors; it creates visual noise in small bathrooms.
16. Corner Shower with Half-Wall Splash and Open Entry
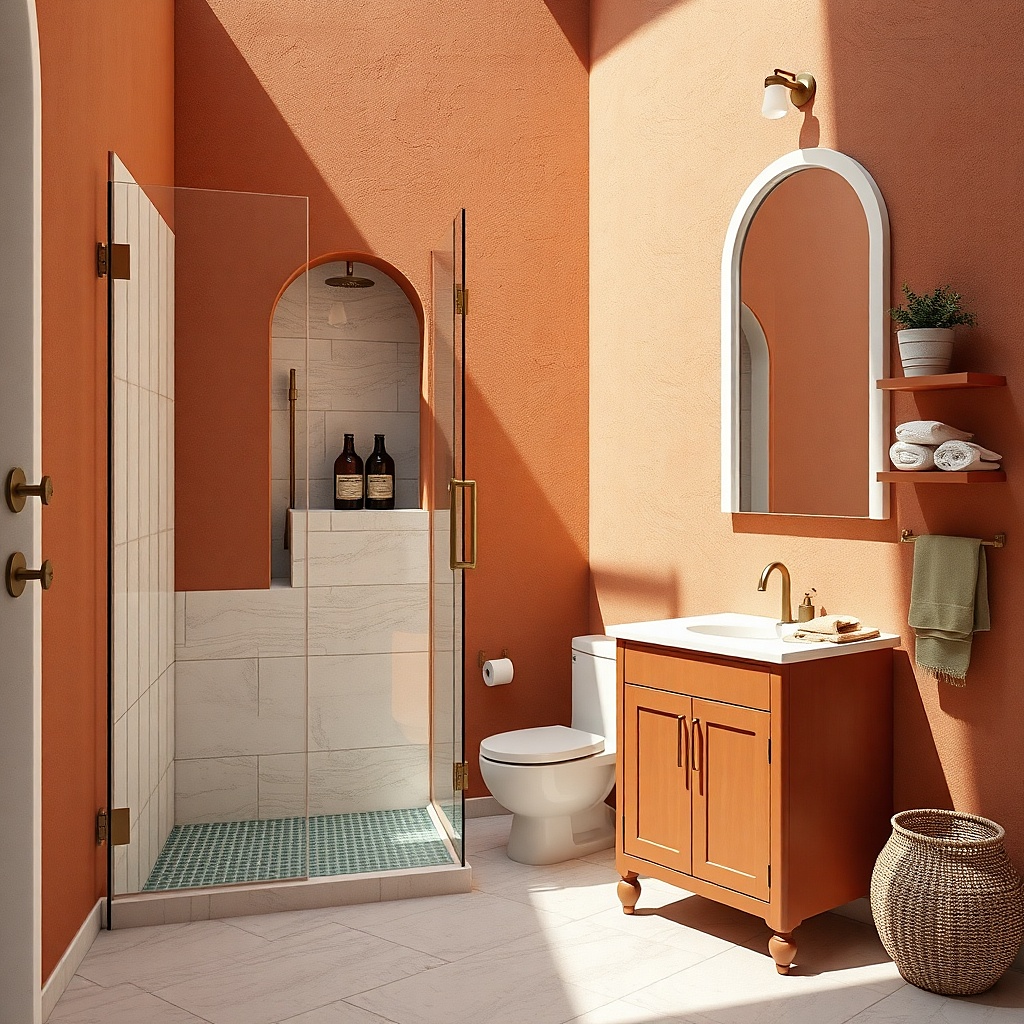
A half-wall splash guard can save space and still look styled, especially if you hate the look of full glass doors. This layout keeps the shower contained while leaving a more open feel at the entrance. Use a slim fixed glass splash panel and keep the half-wall height consistent so it reads like a design element, not a compromise. Light tile on the half-wall plus a simple floor finish keeps it bright and photogenic.
Build a half-wall at a height around 24-30 inches, then waterproof and tile it to match the shower walls. Install a fixed clear glass panel on the open side and ensure it is anchored into solid framing. Add a shower head positioned so water hits the contained area, then use a handheld if you want more control. Keep the rest of the bathroom walls in a lighter neutral so the shower doesn’t visually weigh down the corner.
Use a consistent grout color between the splash wall and the main shower walls it looks like one continuous surface.
Don’t choose a tall half-wall; it defeats the open-floor illusion.
17. Corner Shower with Recessed Seat and Wall-to-Wall Glass
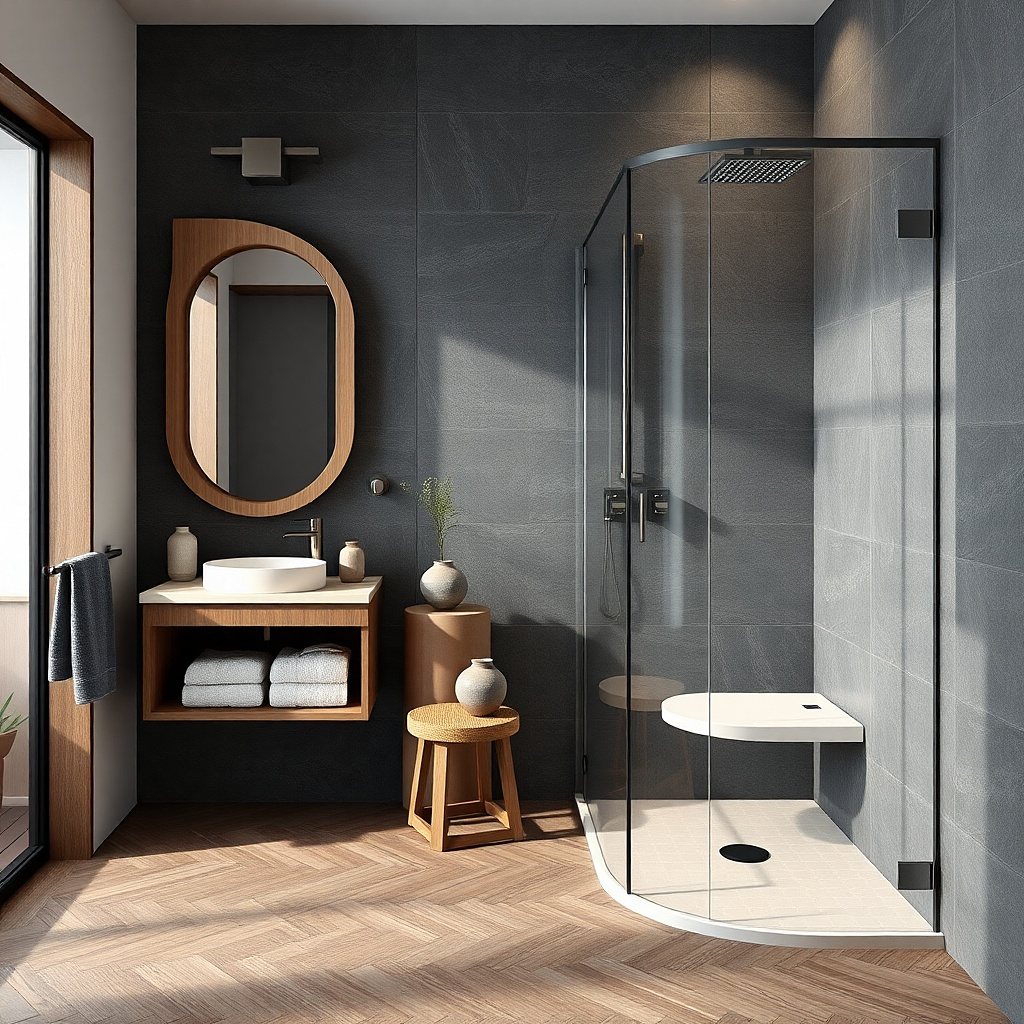
Wall-to-wall glass is the move when you want the shower to feel like part of the room’s surface. A recessed seat inside the corner adds comfort, but the full glass enclosure keeps the bathroom looking clean from the outside. Choose a light tile wall and keep hardware minimal so the glass becomes the main feature. This is a great option for small bathrooms with limited storage, because the shower niche and recessed seat can replace a lot of countertop clutter.
Plan an enclosure that covers the entire shower opening with clear glass panels, typically 36 inches wide on a compact corner. Build the recessed seat during waterproofing, keeping it around 16-18 inches high and set back so water doesn’t pool. Tile the walls with large-format rectangles and keep the niche centered to break up the corner evenly. Install the glass last to fine-tune alignment with tile edges.
Use a clear glass cleaner routinely for the first month after install; it prevents hard-water haze from setting in.
Avoid heavy mullions if you want the glass to read open.
18. Corner Shower with Diagonal Tile Floor for Visual Depth
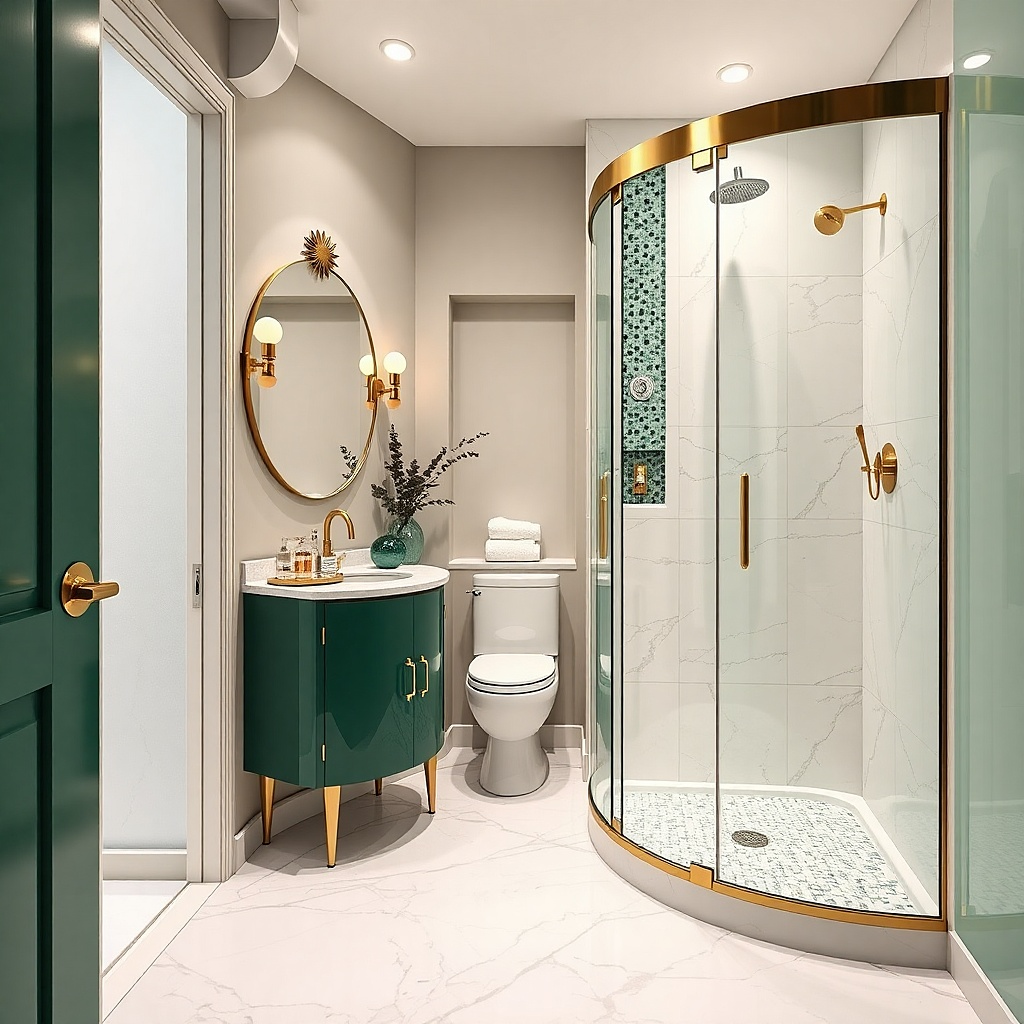
Diagonal floor tiles add depth in a small shower and make the corner look longer. Keep the walls plain and bright so the diagonal action stays on the floor where it helps. In a corner layout, diagonal lines guide the eye from the entrance inward, which makes the shower feel like it has more dimension than it really does. Choose a floor tile with a subtle tone and matte finish so the pattern looks refined, not busy.
Measure the shower floor area and plan the diagonal layout so the tile lines hit the corner evenly. Tile the walls first with large-format light tiles, then install the floor with diagonal cuts around the drain and curb. Use a grout color close to the dominant floor tile tone. Finish with clear glass to keep the diagonal floor visible while still containing water.
Try thisDry-lay the first few rows before thinset — it prevents diagonal drift that looks obvious in small spaces.
Common mistakeAvoid strong contrasting diagonal patterns if your bathroom already has patterned wallpaper or floors.
19. Corner Shower with Monochrome Tile and One Slim Niche Line
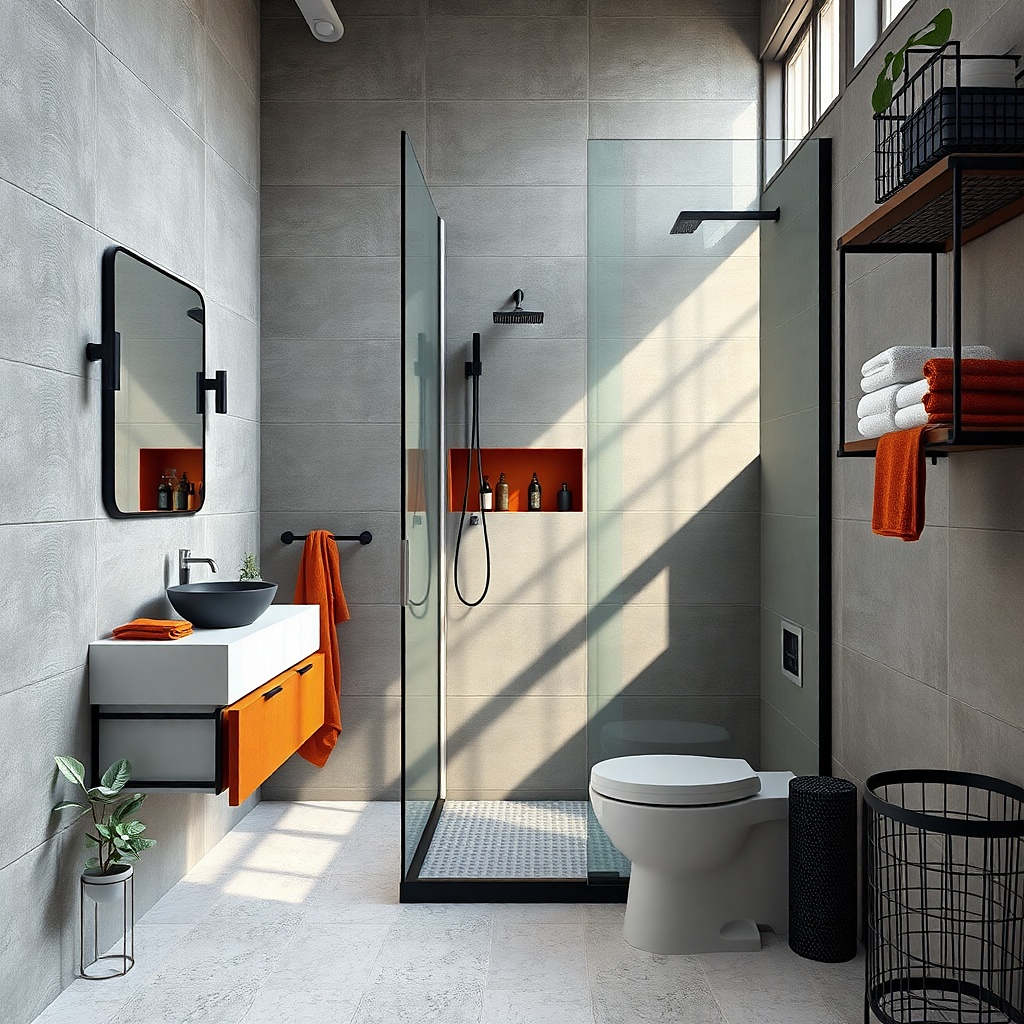
Monochrome tile makes small bathrooms feel bigger because there’s less visual separation to stop the eye. In a corner shower, you can create a clean look by using one tile color throughout the shower walls and floor, then adding only one slim niche line. Keep the niche narrow and long, and use the same tile with a slightly different finish if you want the niche to catch light. This option is photogenic because it looks calm and architectural.
Pick a single tile color and commit to it across walls and floor. Waterproof, tile the walls, then create one niche opening about 3-4 inches wide and 10-14 inches long. Keep the niche edges crisp and align it with the tile grid so it looks built, not patched. Add clear glass and keep the hardware finish consistent to avoid breaking the monochrome effect.
Use a niche light or reflective interior only if it’s built into the niche otherwise skip lighting to avoid glare.
Avoid multiple niche styles; one slim niche looks intentional, two looks accidental.
20. Corner Shower with Black Tile Floor and White Wall Tile
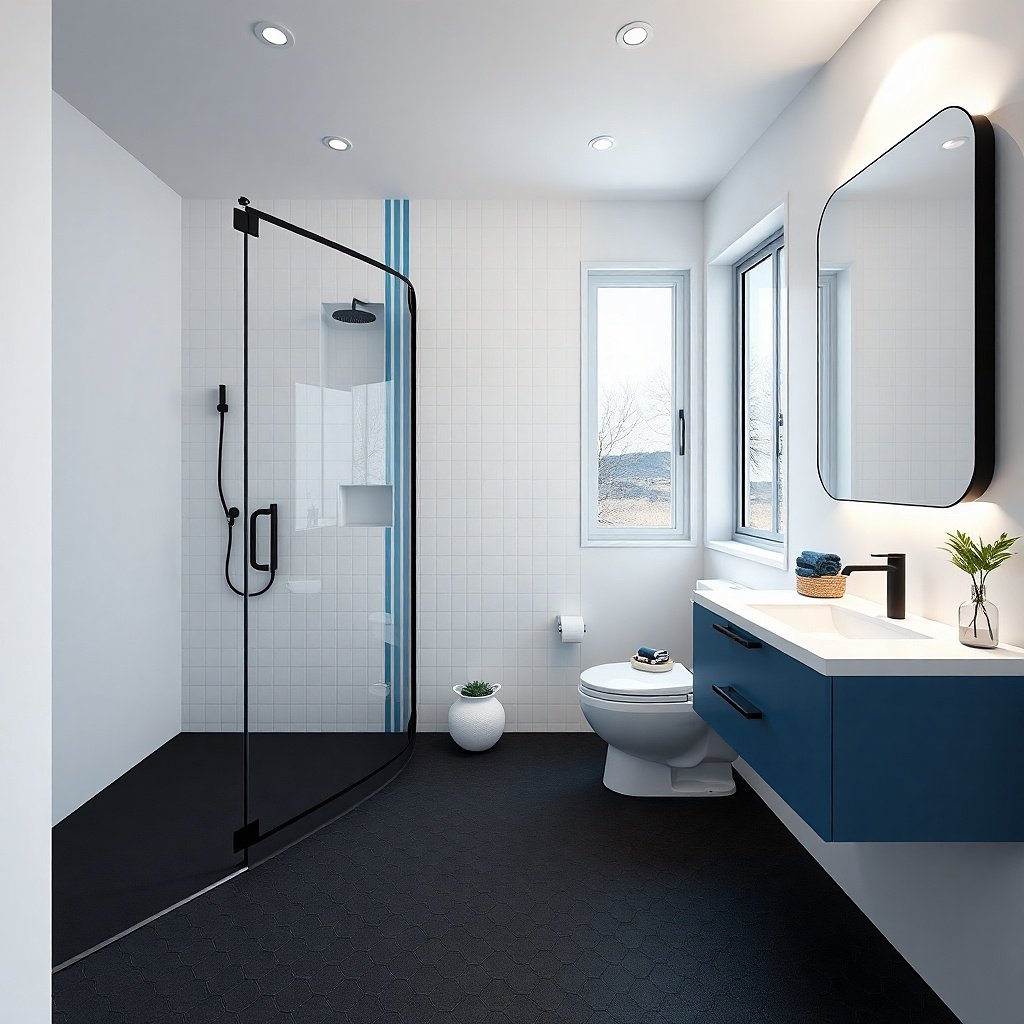
A black floor tile anchors the shower and makes the walls look brighter by contrast. In a small bathroom, that contrast can make the shower zone feel grounded without increasing its footprint. Pair it with white wall tile and clear glass so the black stays focused on the floor plane. This is a strong aesthetic choice if your bathroom walls are already neutral and you want a crisp, modern look.
Choose black porcelain floor tile with a matte finish and slip rating. Tile the shower walls in white large-format pieces, then install the black floor tile with clean grout lines. Waterproof the curb and transition areas, then cut tile around the drain for a tight fit. Install the glass door and seal the edges so the floor looks clean even after wet use.
Try thisUse a slightly lighter grout than pure black so it doesn’t look heavy or smoky in tight spaces.
Common mistakeAvoid glossy black tile if your bathroom gets hard-water spots; it shows them fast.
21. Corner Shower with Built-In Vanity-Adjacent Shelf Outside the Glass Line
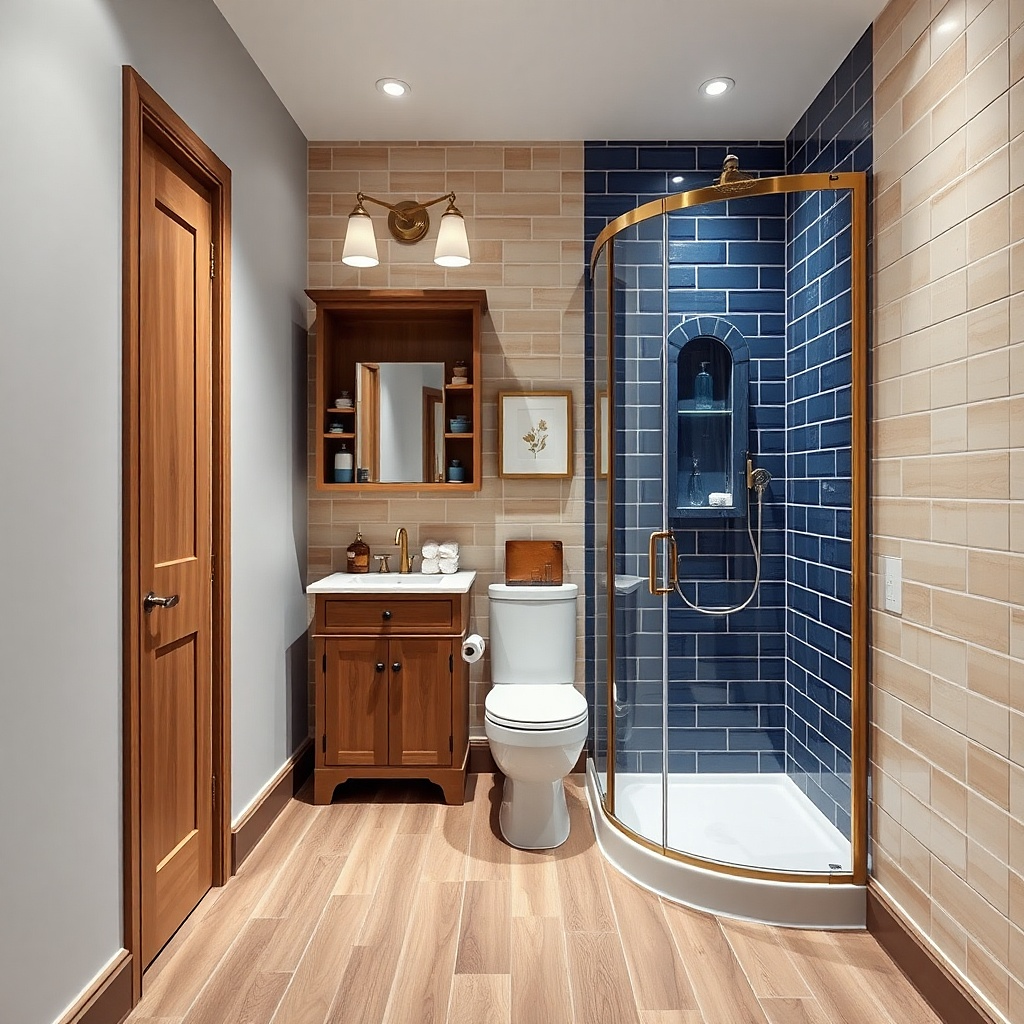
This layout helps floor space indirectly by reducing clutter at the sink. If your bathroom feels crowded, build a recessed shelf near the vanity that keeps daily toiletries off the counter. Then keep the corner shower visually light with clear glass and minimal tile contrast. The shower stays photogenic and open, while the shelf solves the real problem that makes small bathrooms look messy. It’s a good fit for beginner-friendly small bathroom remodel ideas because it’s a layout tweak that makes the whole room look better.
Frame a recessed shelf in the wall between the sink and the corner shower at about counter height, usually 34-38 inches from the floor. Waterproof any areas that could get splashed, then tile it to match the bathroom walls. Keep the corner shower walls light and use large-format tile so the shelf doesn’t compete with busy surfaces. Install clear glass for the shower and adjust the shelf depth so bottles sit flush without bumping into door clearance.
Try thisMatch the shelf tile to the bathroom wall, not the shower tile — it helps the shelf look like architecture.
Common mistakeDon’t put the shelf inside the shower if you can’t waterproof it perfectly.
22. Corner Shower with Light Stone-Look Tile and Brass Accents
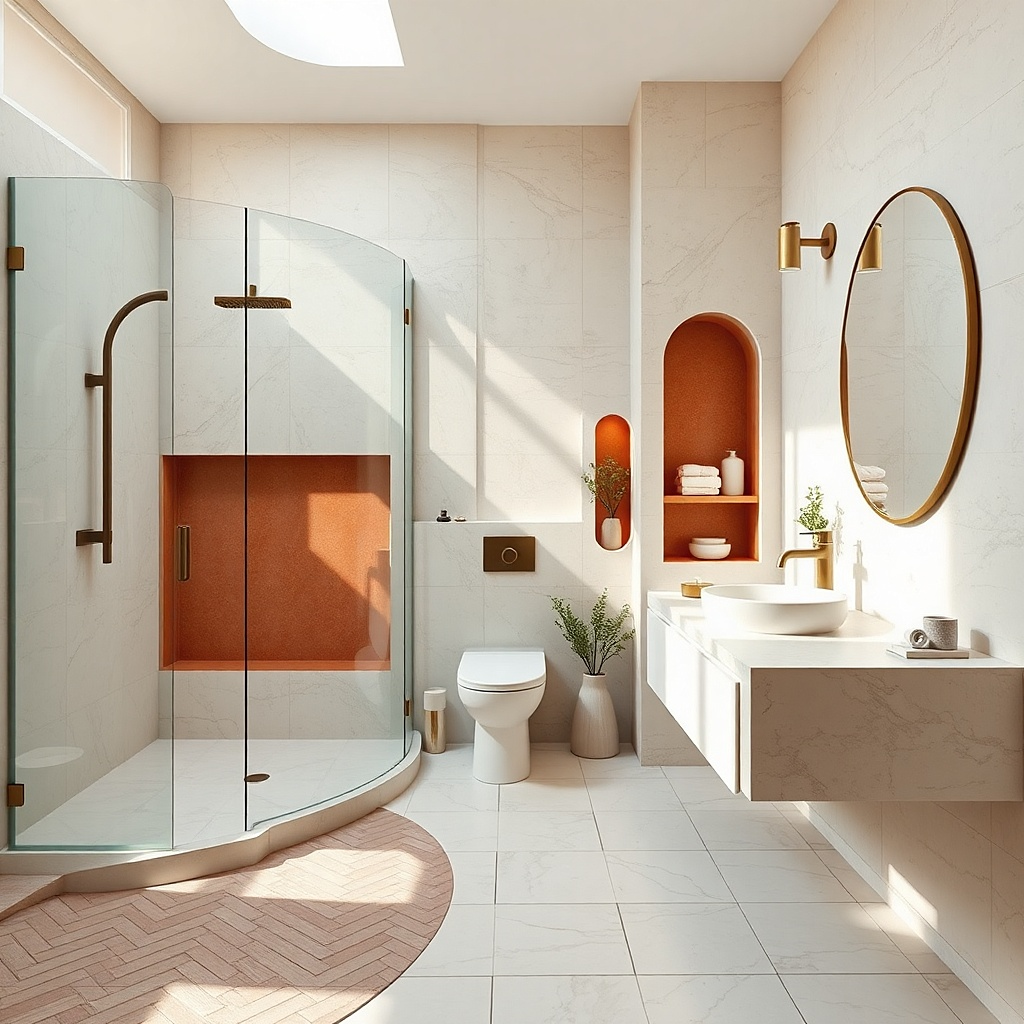
Stone-look tile adds softness and makes a small shower feel less clinical. Use a light stone-look porcelain on the shower walls with a subtle veining pattern, then keep the floor in a simpler neutral so the corner doesn’t get visually busy. Add warm brass accents for the valve trim and door hardware, but keep everything else in the bathroom neutral. The look is warm and photogenic because the veining gives texture without needing additional decor.
Pick a stone-look porcelain with a consistent pattern scale so it doesn’t look random in a small space. Tile the shower walls up to the ceiling and align the veining direction across the corner. Waterproof and seal according to the tile specs, then choose a floor tile that doesn’t compete with the veining. Install clear glass panels and mount brass hardware so it reads as one warm metal family.
Try thisUse a matte brass finish, not shiny it hides fingerprints and keeps the look refined.
Common mistakeAvoid mixing brass with chrome in the same shower hardware group.
23. Corner Shower with Vertical Channel Drain and Textured Floor Tile
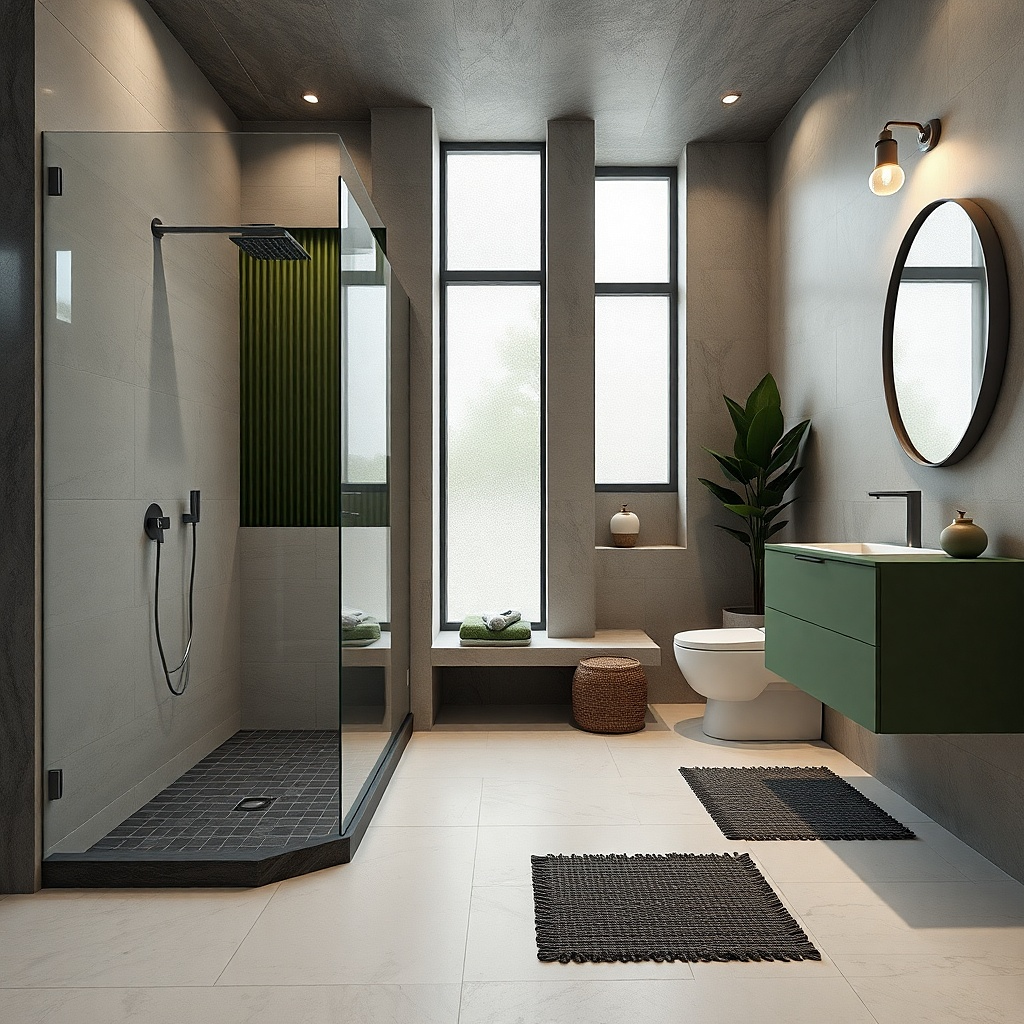
A vertical channel drain line can be a modern alternative that keeps the floor looking orderly. Pair it with textured slip-resistant floor tile so it looks intentional and performs well. In a small corner shower, texture helps hide water spotting and makes the floor feel secure. Keep the walls smooth and light so the texture stays contained to the floor plane. This combination looks sharp in photos because the drain line is straight and the rest of the surfaces are calm.
Select a channel drain sized for your shower length and confirm where the drain connects to your plumbing. Waterproof the pan, then install the drain and set the slope toward it. Tile the walls with large-format light tile and keep the grout color light to maintain a bright look. Finish the floor with textured slip-resistant tile and seal the grout lines where required, then install clear glass to keep the entry crisp.
Choose texture that feels grippy but not rough-looking heavy texture can look cheap in a photo.
Skip tiny, high-contrast floor mosaics if you want the shower to feel clean and spacious.