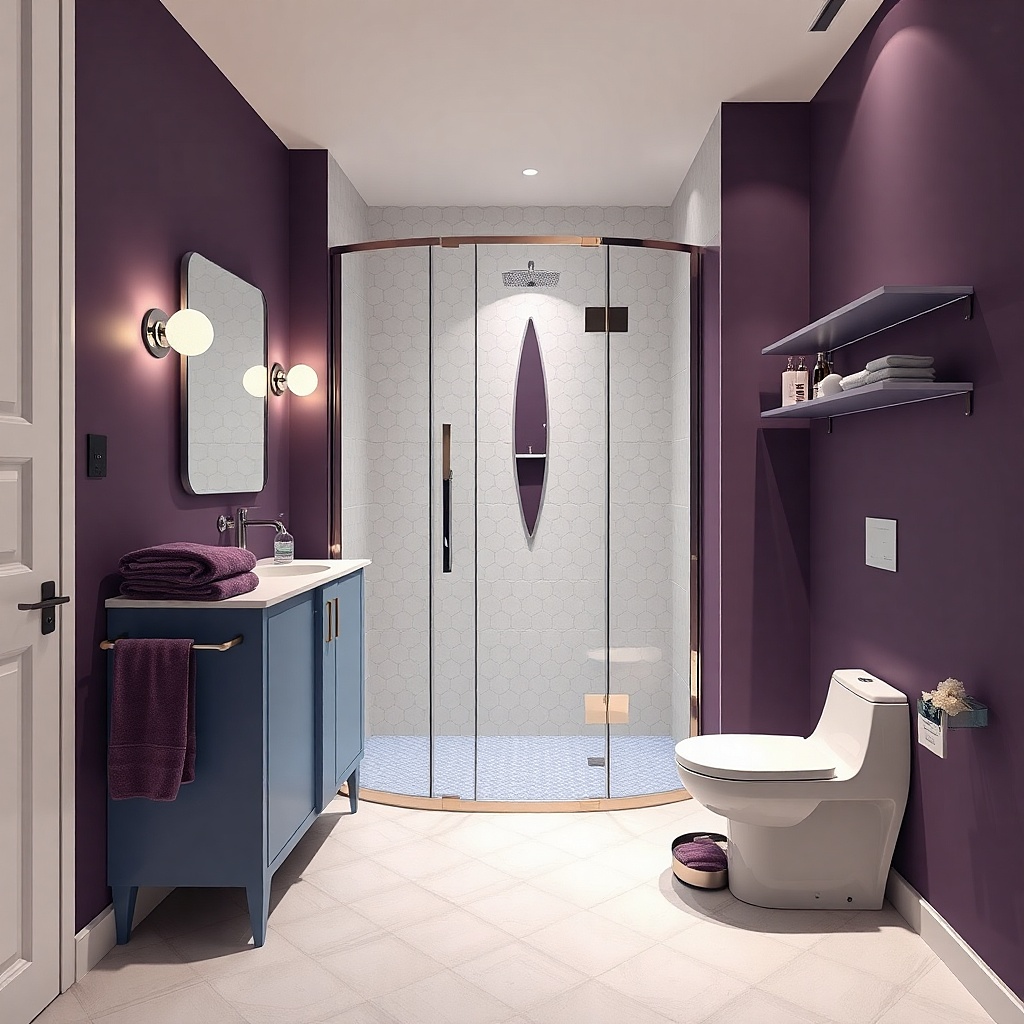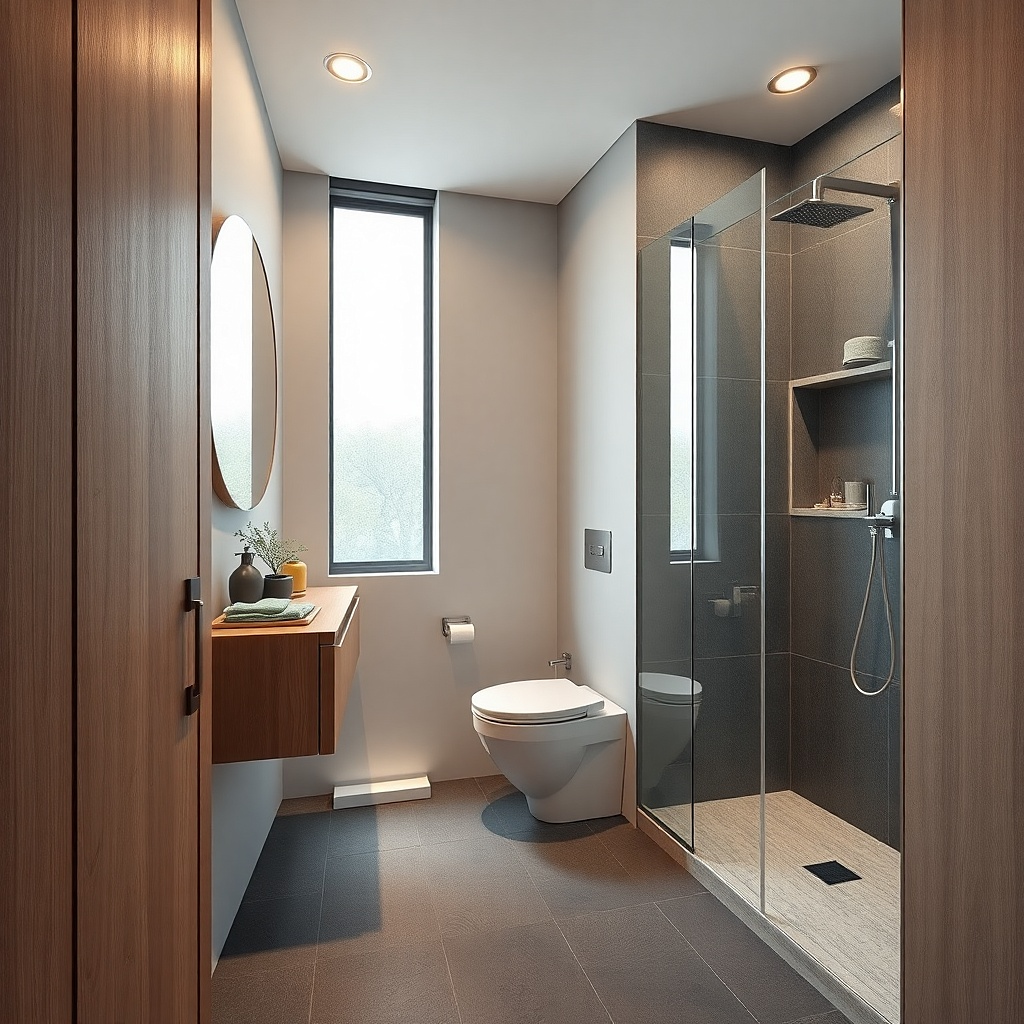
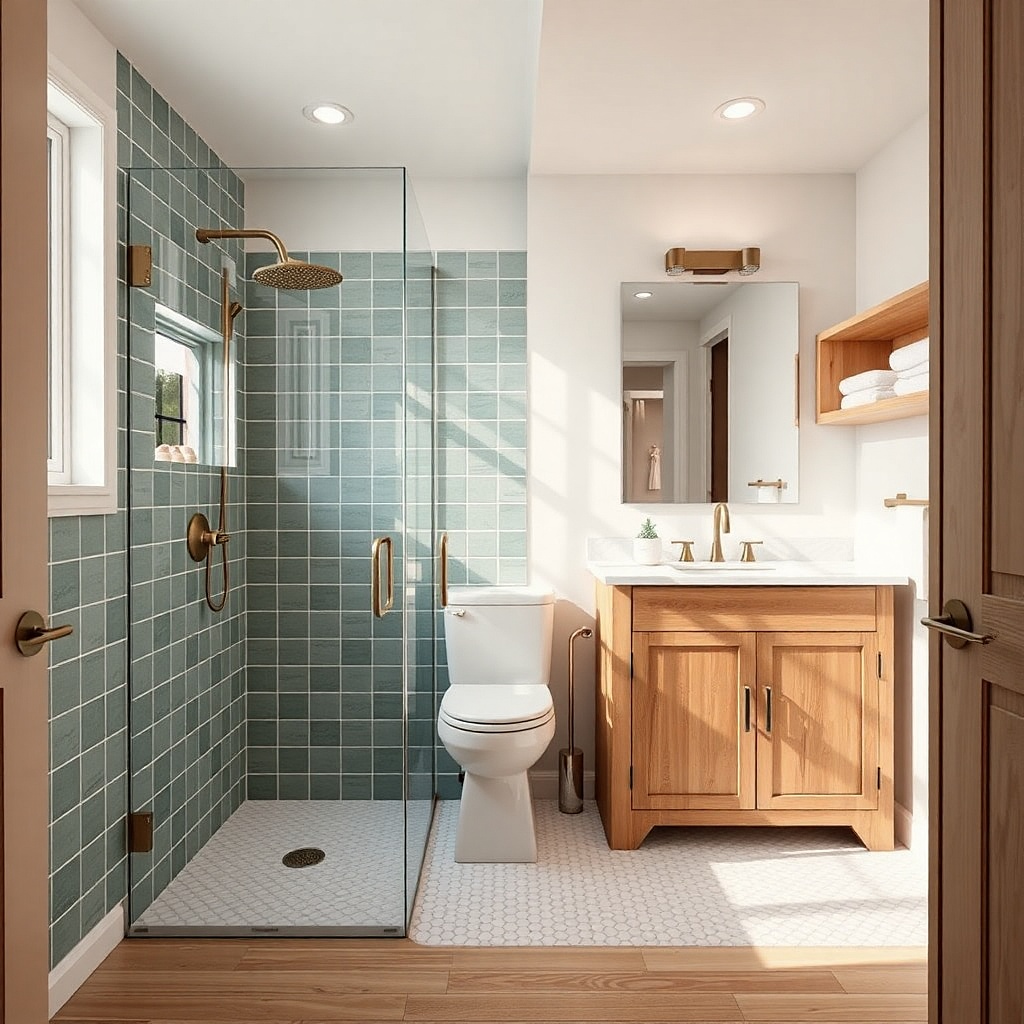
1. Corner 36x36 Shower with Clear Glass and a Skinny Vanity
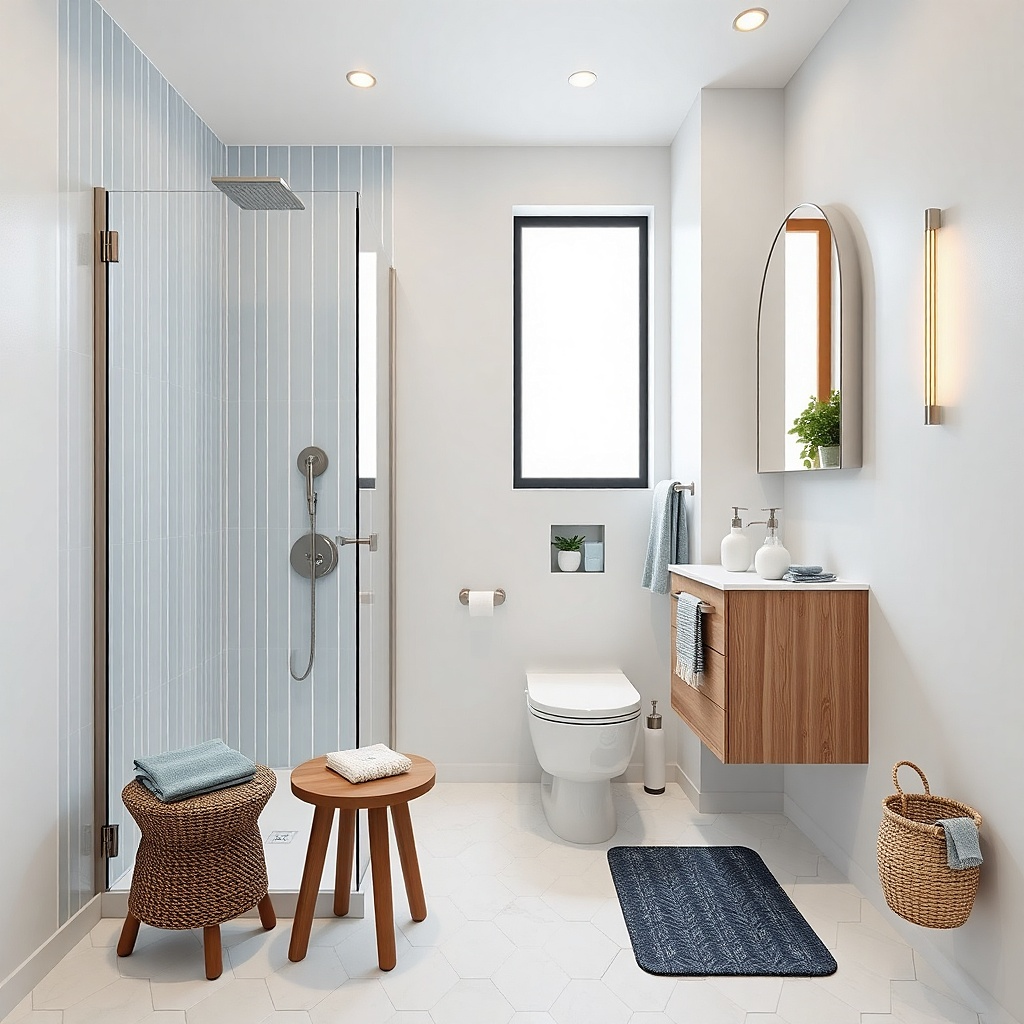
This layout is built for openness because the shower sits in a corner where it blocks less usable wall space. A 36x36 shower base keeps the footprint compact, while clear glass makes the shower feel airy instead of boxy. Pair it with a 24-inch vanity that has drawers not a wide cabinet so the counter stays visually light. Use bright wall tile like glossy or satin white (or very pale greige) and keep the grout light so the tile field reads continuous. It’s a strong choice when your door swings into the room and you need a clear path to the opposite wall.
Measure the corner where the plumbing can reach the drain. Place the shower base so the glass edge has at least 2 inches of clearance from any wall obstruction, then plan for a frameless 3/8-inch glass panel or a low-profile hinged door. Install the 24-inch vanity centered on the opposite wall with about 30-32 inches clearance in front of it for comfortable movement. Finish by running large-format wall tile straight across the walls and tucking the shower niche inside the back wall if you have room for it.
Use an in-shower niche that’s at least 12 inches wide and keep the shelf depth under 4 inches so it doesn’t stick out visually.
Don’t choose a dark tile field around the shower — it shrinks the corner and makes the glass look heavier.
2. 90-Degree Shower Wall Across from the Entry Door
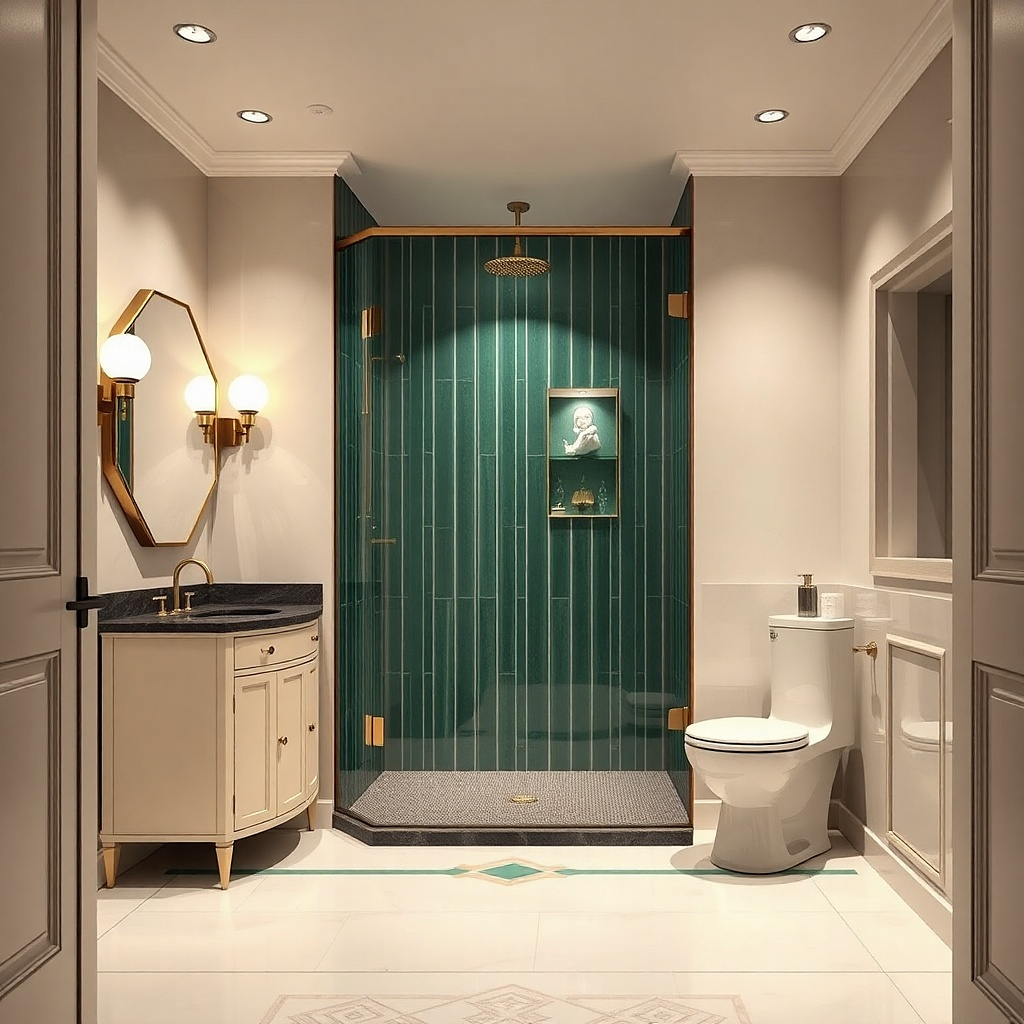
If your tub is currently on the wall opposite the door, replacing it with a shower along that same wall often gives you the best “instant upgrade” look. The key is a shower that runs perpendicular to the door line so you get a clean sightline — you see glass and tile, not plumbing clutter. A 32x60 shower with a sliding glass door works well here because it doesn’t require swing clearance. Keep the vanity on the side wall rather than directly in line with the shower glass so the room doesn’t feel like it has two heavy blocks facing each other. Bright, cool-toned wall tile helps the whole room read larger.
Try thisUse a sliding door with a low-profile track or recess the track if your wall build-out allows it makes the shower look lighter in photos.
Start with a rough sketch of the door swing and mark the clearance you need for a sliding door track. Choose a shower size that matches your existing tub footprint — 32x60 is a common fit for many small layouts. Set the shower threshold so it’s level and plan for a linear drain if you want a cleaner look, but a standard drain is fine if you’re staying budget. Place the vanity on the adjacent wall and keep the faucet centered 2-3 inches away from the shower glass line.
Common mistakeAvoid a hinged door in this position if the door swing blocks the opening clearance.
3. Walk-In Shower with No Threshold and a Wall-Mounted Vanity
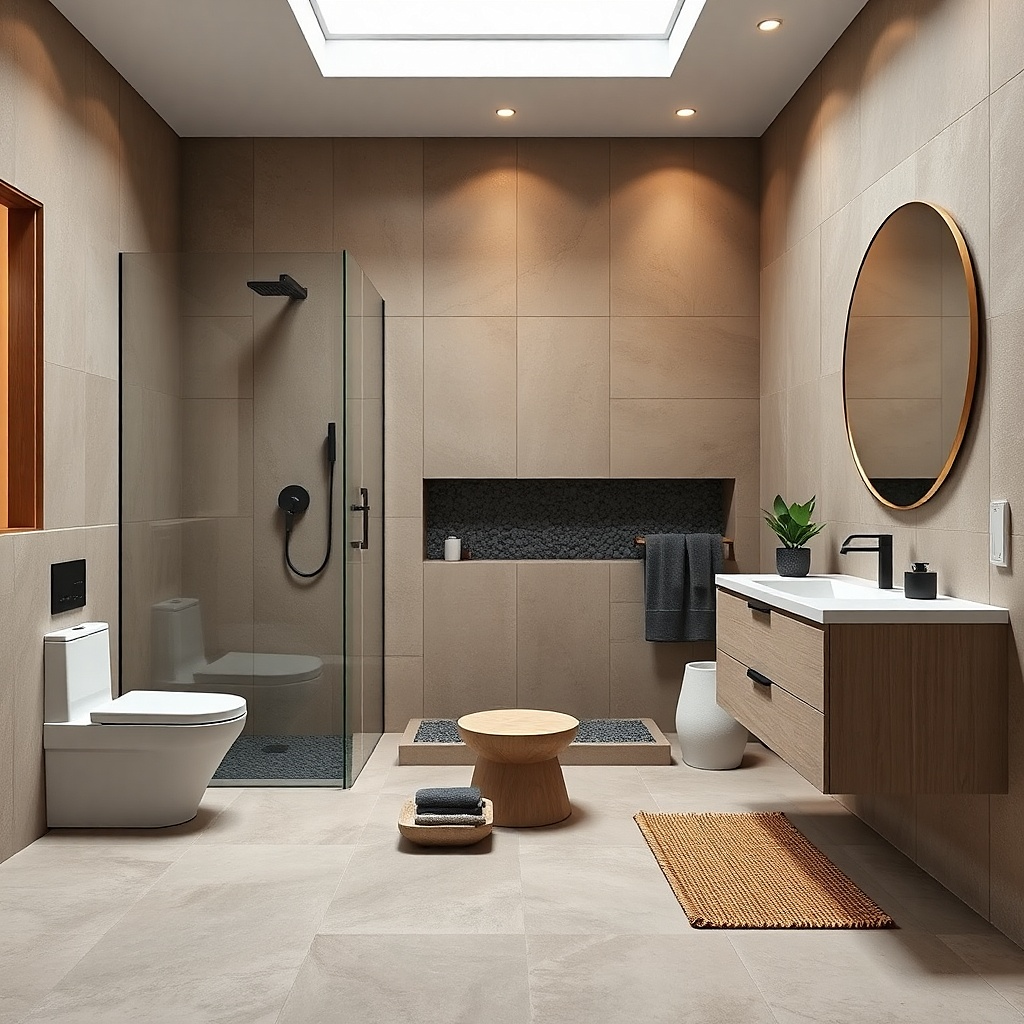
A true walk-in look is one of the most photogenic ways to make a small bathroom feel bigger, even when the room is tight. The trick is a no-threshold or low-profile shower with a glass panel and a wall-mounted vanity that floats visually. Wall-mounted storage opens up the floor so your eye sees more continuous space between shower and sink. Use a matte white or light stone-look tile for walls, then keep the floor tile in the same family so there’s no harsh border. This layout suits bathrooms where you can dedicate one long run of wall for the shower and you want the room to feel modern fast.
Plan a waterproofing system first: no-threshold builds need proper slope and drain placement. Choose a linear drain if the plumbing run allows it; otherwise, use a small center drain with a sloped mortar bed. Mount the vanity so the top edge sits around 34-36 inches from the floor, keeping plumbing access behind a removable panel. Finish with large-format wall tile to minimize grout lines and install a glass panel that spans from near the floor to the top of the tile.
Add a wall niche with a backlight only if you can wire it cleanly otherwise, keep it simple and use matching tile so it looks built-in.
Don’t use dark, high-contrast floor tile — it visually anchors the shower and makes the room feel smaller.
4. Tub-to-36x60 Shower with a Niche in the Same Wall
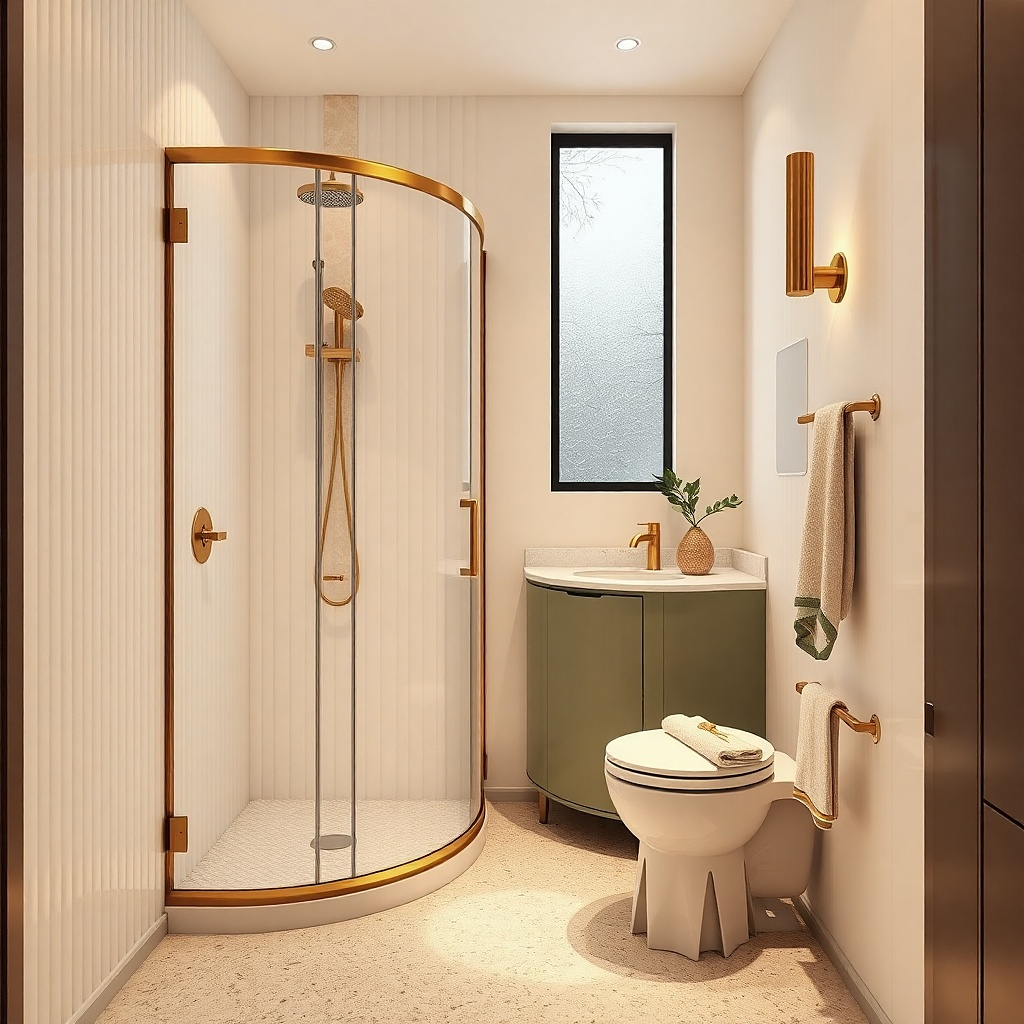
This is the budget-friendly path when you’re converting the existing tub position. Keeping the shower on the same wall usually reduces plumbing moves, and that saves money while keeping the remodel tidy. A 36x60 shower is long enough for real comfort, and the niche eliminates the need for countertop bottles that clutter small spaces. Use a glass door with minimal metal framing so the shower reads as part of the wall finish. Pair it with a 24 or 30-inch vanity depending on your aisle width, and keep mirror size large to bounce light.
Confirm where the tub drain and supply lines are. Choose a shower base size that aligns with the drain location; 36x60 is a common conversion size when tub dimensions are close. Frame the niche in the back wall before tile — target about 12x18 inches for a main niche and use a waterproof board system. Install the glass door after tile and set the door so it closes without hitting the niche edge or any handle hardware.
Use the same tile on the niche back wall as the main shower wall so it doesn’t look like a separate box.
Don’t add a separate accent tile border around the shower — borders make small rooms feel segmented.
5. Shower in the Bath Corner with a Skylight-Style Mirror
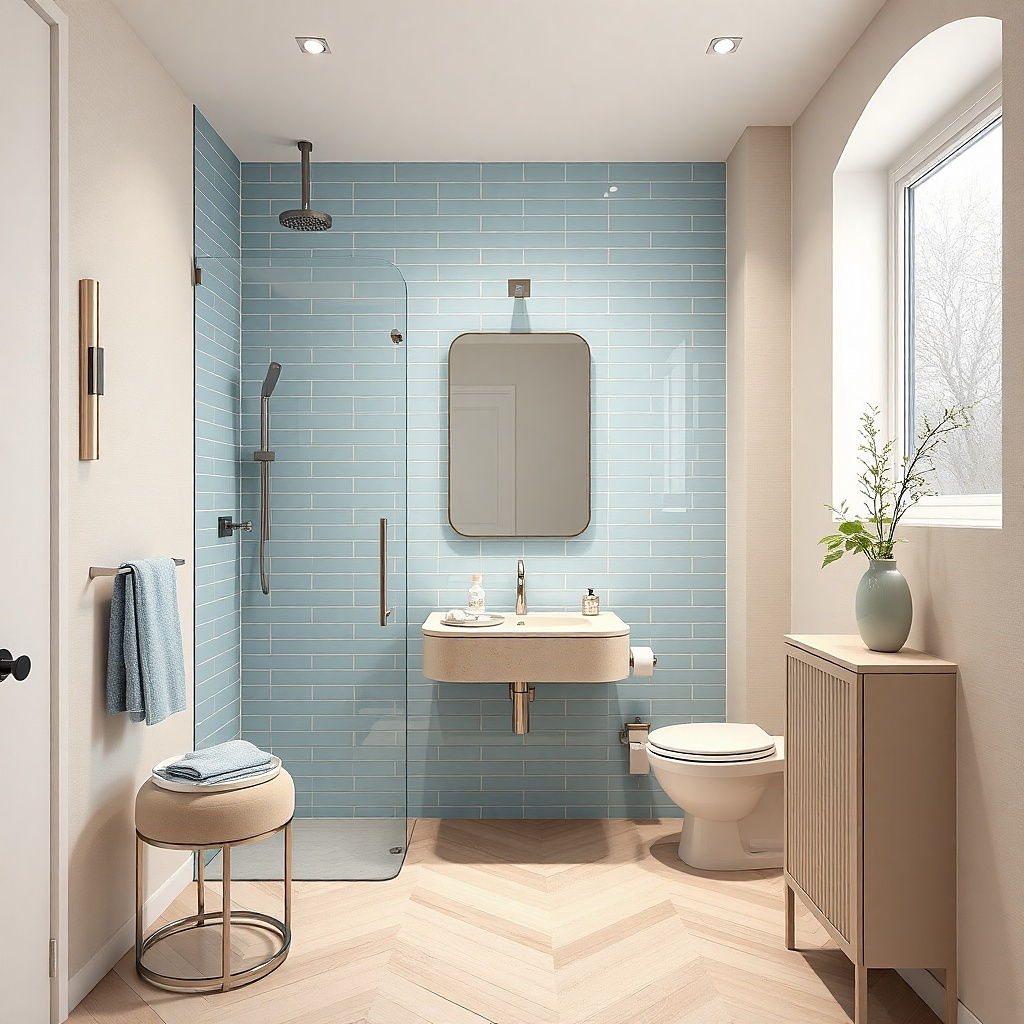
A bath-corner shower is compact, but you can make it look taller and brighter with one move: widen the mirror and keep it aligned with the shower glass. This layout places the shower where it’s naturally out of the main sightline, then uses a long, vertical mirror above a 24-inch vanity to pull light across the room. Choose light, reflective wall finishes like satin white or pale porcelain with subtle veining. The mirror placement matters hang it so its bottom edge doesn’t sit above the faucet splash line; it should feel integrated with the vanity.
Place the shower in the corner and use a hinged door that opens toward the vanity side only if you have clearance for it. If space is tight, choose a sliding door to avoid swing interference. Install a 24-inch vanity with a vessel-free top (sink integrated into the counter) so cleaning is easy and the look stays sleek. Mount the mirror so it’s centered above the vanity and spans at least 70% of the vanity width, then tile the shower wall straight up behind the glass.
Pick a mirror with rounded corners or a thin frame it softens the angles created by corner glass.
Avoid multiple small mirrors; one larger plane reads bigger.
6. Straight Alcove Shower with Tall Tile to the Ceiling
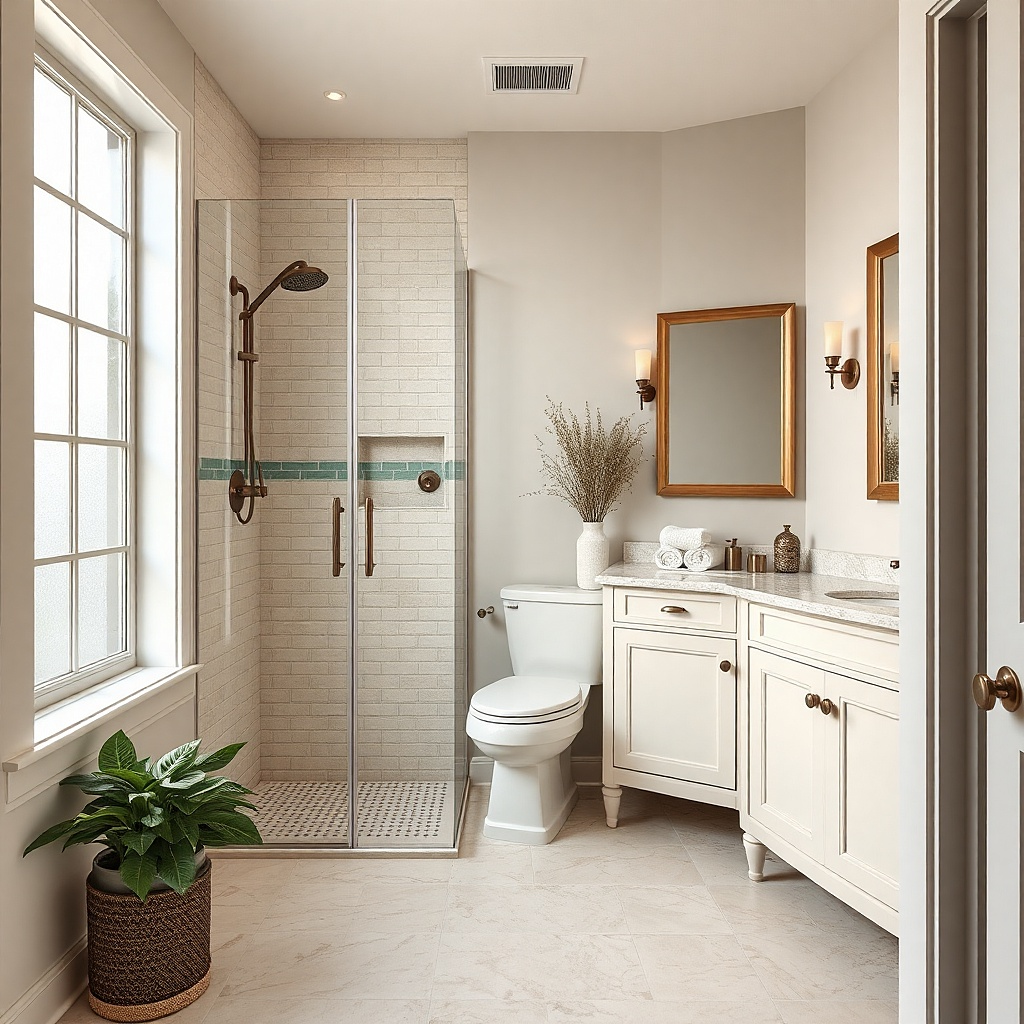
When you can build a straight alcove, it looks clean and expensive because the lines stay uninterrupted. A shower that runs straight along one wall with full-height tile makes the ceiling feel higher, and that combats the cramped feeling that comes with small bathrooms. Use a glass door that matches the alcove width so you don’t end up with a tiny side panel that looks awkward. Keep the vanity simple and place it close enough to the shower wall that you don’t create a long, empty stretch of blank wall. This layout works well when the tub is already aligned on a straight run.
Measure the wall length where the alcove will sit and aim for a shower opening around 30-36 inches wide. Install waterproof backer board and tile the shower walls to the ceiling before the glass goes in. Choose a door style that fits the alcove — framed sliding doors are budget-friendly; frameless hinged reads lighter. Finish the room with the same large-format wall tile on the main walls so the shower zone blends into the overall look.
Run tile grout in a light color like warm white so the vertical lines read continuous rather than grid-like.
Avoid a boxed-in soffit inside the shower — it shortens the visual height.
7. Steam-Bath Look with a Curbless Shower and One Big Glass Panel
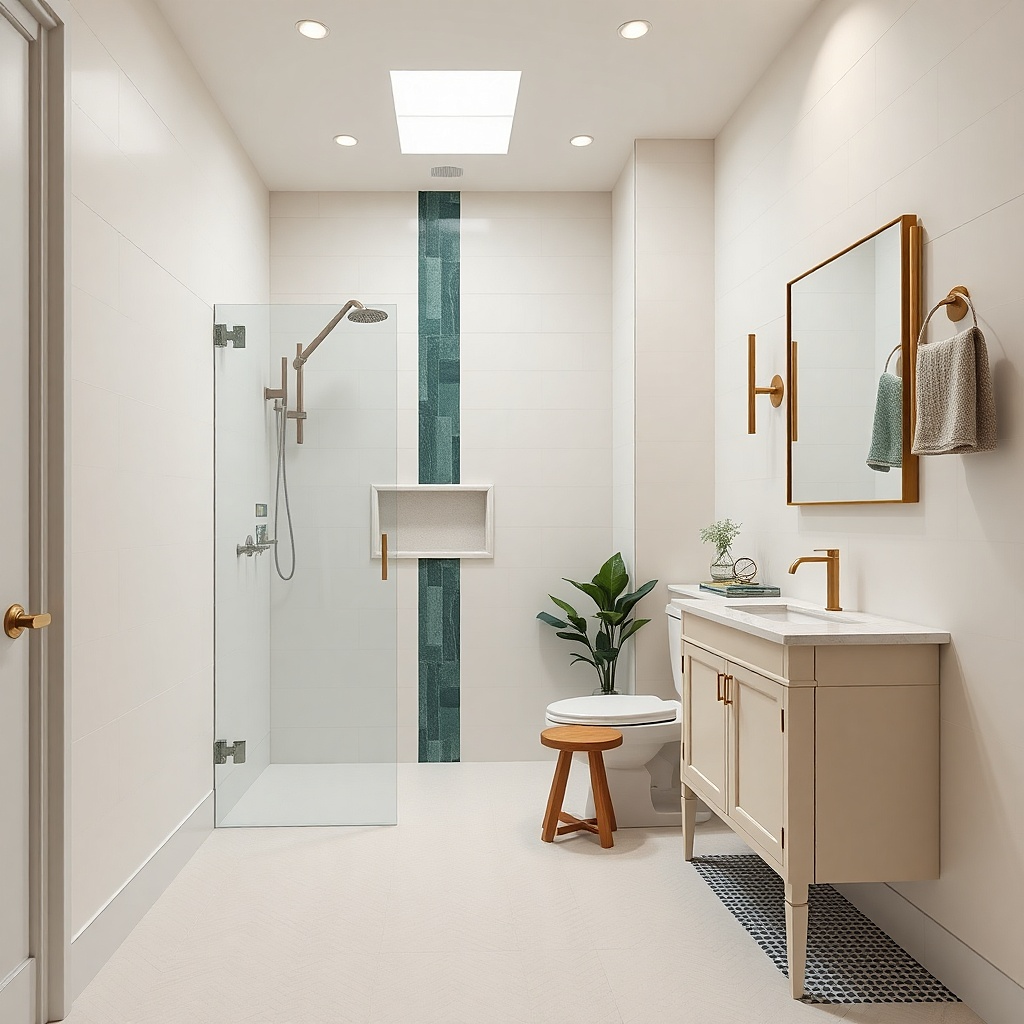
One big glass panel changes the entire feel of a small bathroom. Instead of seeing multiple edges, you see a single clean boundary between shower and room. This layout uses a curbless shower with a large fixed panel and a matching door panel, keeping the shower area open to light. Pair it with a floating vanity and a single oversized mirror so reflections don’t get interrupted. Use neutral tile and keep hardware in one finish like brushed nickel or matte black so the room looks intentional, not busy.
Plan the drain slope carefully because curbless builds rely on correct waterproofing and pitch. If plumbing is fixed, a low-profile base with proper slope is more budget-friendly than a fully custom curbless mortar bed. Choose glass panel sizes that cover most of the shower opening so you avoid tiny side panels. Install the vanity first, then tile the walls and finish with glass last to keep alignment clean.
Use a matte-finish glass coating if you’re in a hard-water area it keeps the glass looking clear longer.
Don’t mix multiple metal finishes; the small room makes mismatch look louder.
8. Shower Behind a Pocket Door for a Clean Entry Photo
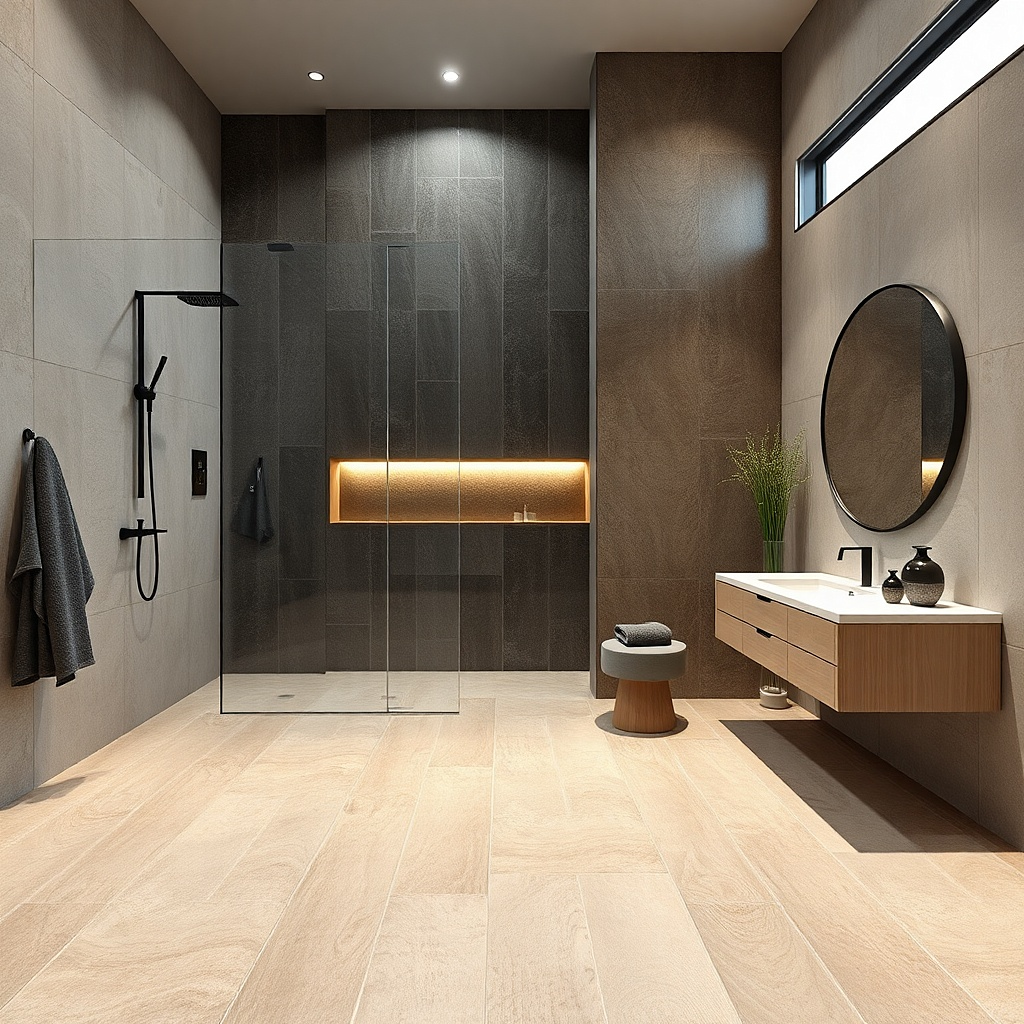
A pocket door gives you one clean entry moment. From the doorway, you see less door hardware and fewer swinging parts, which makes the space feel calmer and more open. Put the shower along the back or side wall behind that pocket opening, and keep the glass clear so the shower reads as part of the background. This works especially well in bathrooms where a standard swing door blocks your view of the shower and makes the room look tight. Choose wall tile in a light tone and keep the vanity on the opposite side so you don’t create a narrow corridor.
Confirm your wall thickness and framing so a pocket door is possible without major demolition. Rough in the shower plumbing first, then build and tile the shower to a clean glass-ready edge. Install the pocket door track and door panel before the final tile finish so you can align the trim cleanly. Place the vanity so the faucet lines up with the mirror, then mount the mirror at about 5-7 inches above the faucet height for a balanced look.
Use a deep-set recessed medicine cabinet or thin wall cabinet instead of a wide surface cabinet.
Avoid a pocket door if your existing wall framing can’t handle the track; it turns budget into surprise costs quickly.
9. Shower on the Short Wall with a 24-inch Vanity and Tall Storage
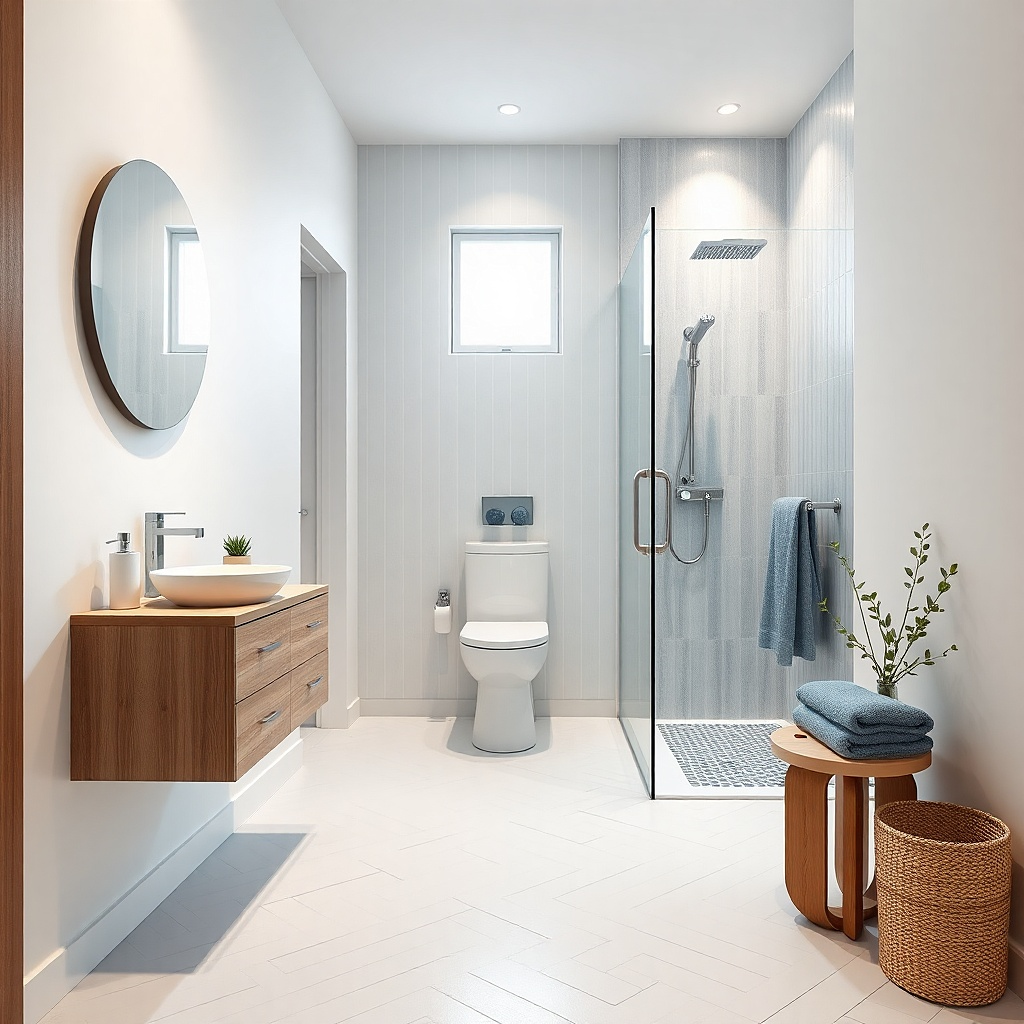
If your bathroom is narrow, putting the shower on the short wall can widen your usable path along the long wall. A 24-inch vanity keeps you from blocking that path, and a tall cabinet on the side wall adds storage without eating floor space. Keep the shower door clear and choose a light wall finish so the short-wall shower doesn’t feel like a barrier. This layout is good for households that need towel storage you get it on the wall, not on the counter. The tall cabinet also gives you a strong vertical element that makes the room look higher.
Measure the clearance from the door opening to the opposite wall and target at least 30 inches of walking space. Place the shower along the short wall with a 32x48 or 32x60 base depending on plumbing and wall length. Install the vanity centered on the long wall, then add a tall cabinet with a depth around 10-12 inches so it doesn’t protrude into the aisle. Tile the shower walls with large-format pieces and keep the tall cabinet color coordinated with the vanity finish.
Choose one towel bar location and keep it off the cabinet face so the wall doesn’t look cluttered.
Avoid a tall cabinet that’s too deep; in a narrow room it visually squeezes the aisle.
10. Shower with a Curved Glass Edge to Soften a Tight Rectangle
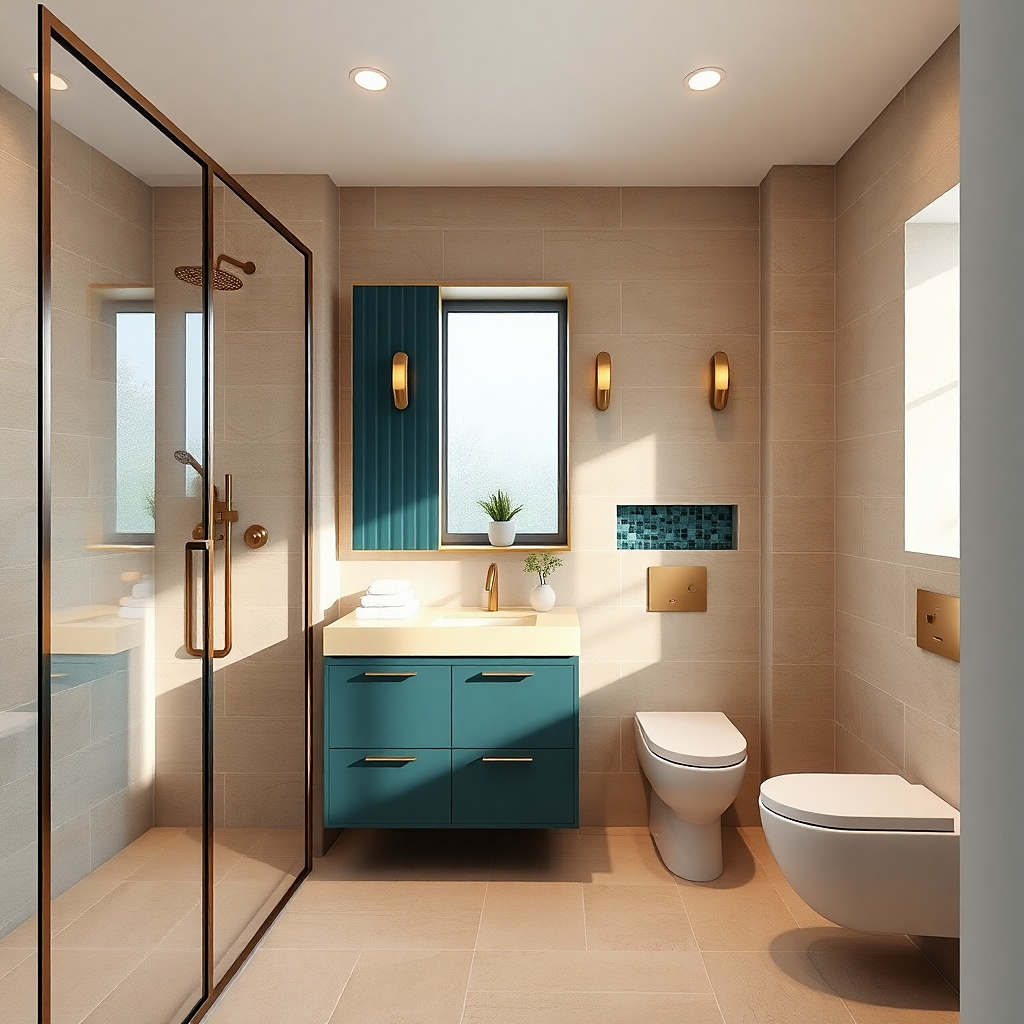
Hard corners make small bathrooms feel tighter. A shower enclosure with a rounded or curved glass panel softens the rectangle and looks more high-end in photos. Keep the shower footprint compact, like a 32x48 or 32x60, then use a curved door style that still seals well. Pair it with a monochrome palette: light tile, white or pale vanity, and one metal finish. This layout works when you have a straight wall tub conversion area and want something visually different without changing your plumbing.
Try thisUse a wall-mounted toilet tank cover or a low-profile toilet if you’re swapping fixtures; it keeps the line clean behind the vanity.
Pick a curved glass enclosure that matches your shower base dimension and door opening width so you don’t end up with gaps. Install the shower base and waterproof walls first, then tile and grout before ordering glass to get exact measurements. Mount the vanity on the opposite wall and keep the mirror width near the vanity width. Finish by using a single floor tile and running it straight through the bathroom so the curved edge becomes the only “movement” in the room.
Common mistakeDon’t add a second accent pattern right next to the curved glass — it makes the look busy.
11. Sliding Shower Door with a Recessed Handle Line
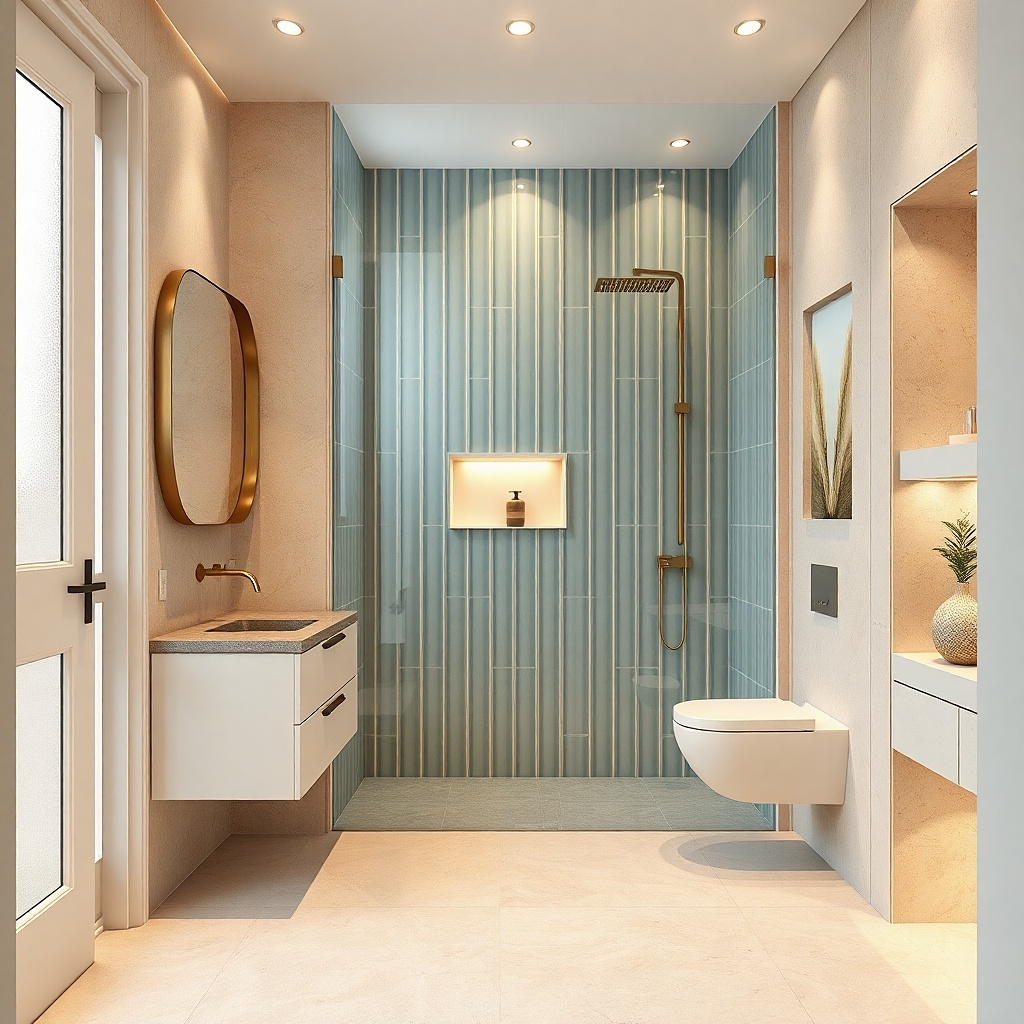
Sliding doors are practical in tight bathrooms because they don’t fight with door swing clearance. This version looks cleaner by keeping the hardware minimal and using a recessed handle line or slim profile track. The visual payoff is subtle but real: fewer shiny metal interruptions across the shower boundary. Pair it with a frameless glass look and light tile, then keep the vanity faucet and mirror hardware in the same finish. This layout suits bathrooms where the tub is already set and you want a straightforward shower replacement without a complex door swing.
Try thisUse a matte finish on the metal hardware it hides water spots better than a high-gloss chrome in small bathrooms.
Choose a shower base size based on your existing tub length, then frame the walls to the same height as the tile plan. Install waterproofing, tile the shower walls, and create a solid glass mounting surface. Order the sliding door kit only after tile thickness is final so the door sits correctly. Mount the vanity mirror so it reflects the shower glass edge, not the hardware, for a brighter look.
Common mistakeAvoid a track-heavy door where the frame is thick; it makes the shower feel heavier than it needs to.
12. Shower + Toilet Side-by-Side with a Half-Wall Privacy Niche
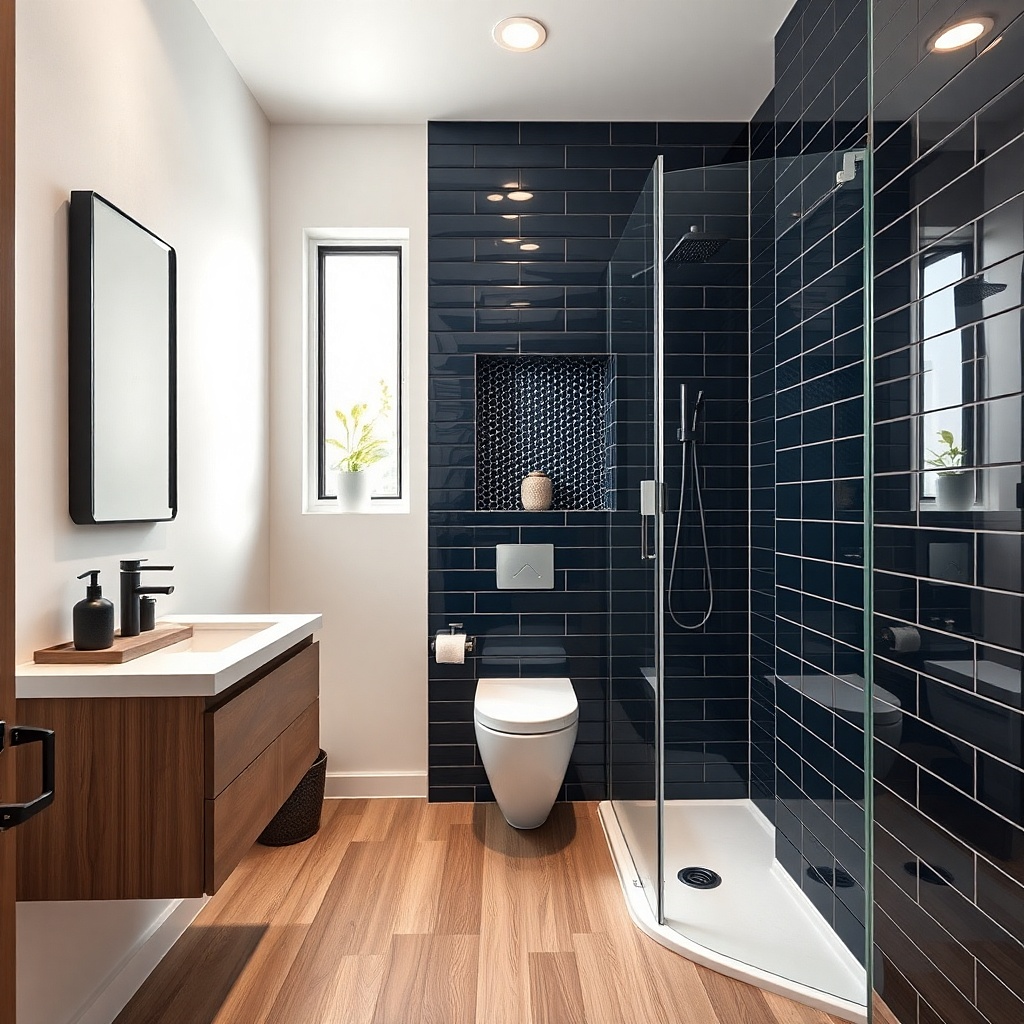
When space is tight, moving the shower and toilet onto the same wall line can keep the center open. Add a half-wall or pony wall with a built-in niche between the shower and toilet zone it gives privacy and creates one clean vertical feature. This layout is good for bathrooms where the current tub blocks the only practical path from door to vanity. Use a glass panel for the shower opening but keep the pony wall tiled up to a consistent height so the room looks designed. Light tile and a single grout color make the pony wall feel like it belongs.
Try thisPut the niche at eye level when standing at the vanity, not at the shower height; it looks intentional and useful.
Confirm that the toilet rough-in can stay where it is; moving plumbing is where budgets go sideways. Place the shower so the glass opening doesn’t overlap the toilet clearance and keep at least 15-18 inches between the toilet and shower glass edge if possible. Build the pony wall with waterproof board and tile it up, then frame a niche inside it for towels or bath essentials. Install the vanity across from this wall line and use a large mirror for light bounce.
Common mistakeDon’t make the half-wall too tall; if it reaches near shoulder height, it blocks light and kills the open feeling.
13. Shower in Front of the Window with a Bench Niche
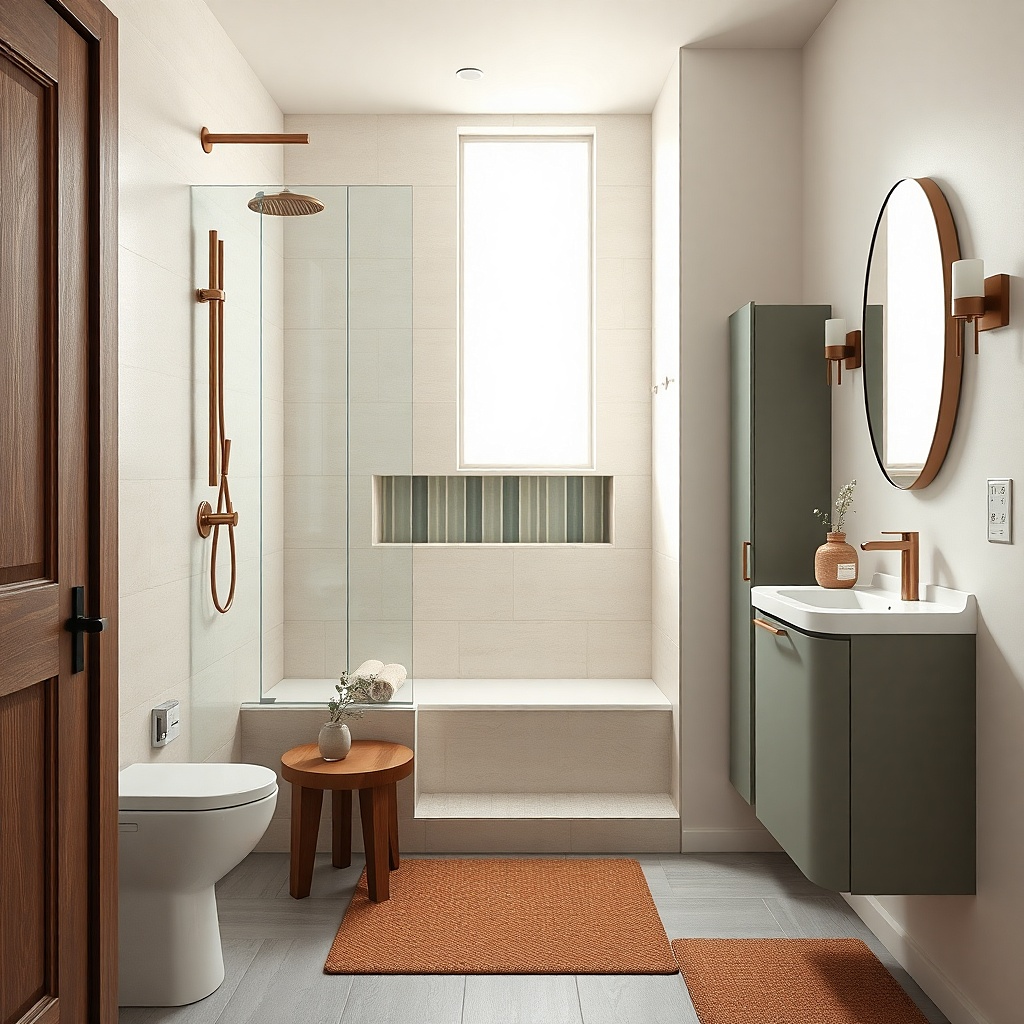
Placing the shower under a window is a visual cheat: daylight makes the space look bigger instantly. With shower-only, you lose the tub blocking the window line, so the window becomes part of the room’s brightness. Use a bench-style niche or a built-in shelf at the window-side wall, keeping it waterproof and tiled. Choose clear glass and a door style that lets light pass through the shower enclosure. This layout works when you have a window on the wall where the tub used to sit or where plumbing can reach without major rerouting.
Try thisUse a light, semi-sheer glass door if you want privacy without killing daylight.
Check window placement and confirm you can maintain code-safe clearances for plumbing and waterproofing. Build the shower waterproofing fully up to the height needed around the window, then tile the wall so it looks continuous. Keep the niche or bench at a comfortable height — roughly 18-20 inches from the floor to the shelf surface — and use a waterproof board system. Install the glass door to avoid blocking the window view from the doorway, then finish with matching wall tile outside the shower area.
Common mistakeAvoid dark window trim in front of bright tile; it visually frames the shower as smaller.
14. Shower Offset Against One Wall with a Deep Vanity Run
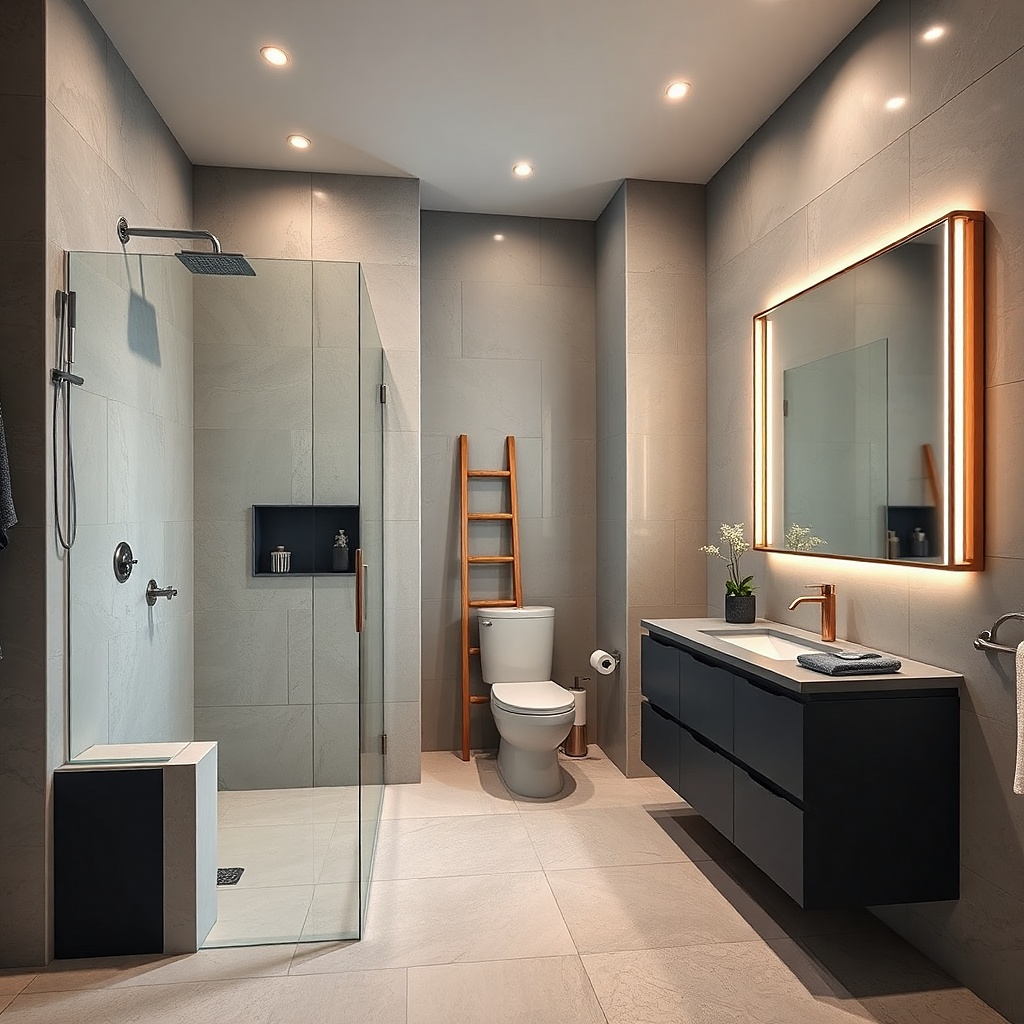
If your bathroom has enough depth, offsetting the shower along one wall while using a longer vanity run can create a “gallery” feel. The shower stays tucked, but you get a stronger vanity presence that anchors the room. Use a deep vanity or a 30-inch vanity if your aisle stays comfortable; the shower-only plan often gives you that extra wiggle room. Keep the shower glass aligned so it doesn’t angle into the main aisle. This layout is photogenic because the camera sees one long line of tile and the vanity mirror reflects light across the room.
Try thisChoose a mirror that matches the vanity width and goes close to the ceiling height small bathrooms love tall mirror reflections.
Measure the wall lengths and target a vanity run that sits parallel to the longest wall. Place the shower base along the side wall with a door opening that clears the main aisle — a sliding door works well here. Install the vanity so there’s at least 30 inches from the front edge to the opposite obstruction. Tile the main walls with large-format pieces and avoid busy border patterns so the long line reads clean.
Common mistakeAvoid placing the vanity directly in line with the shower door opening; it makes the room feel like two chokepoints.
15. Wet Room Style Shower with Full-Tile Walls and One Drain Line
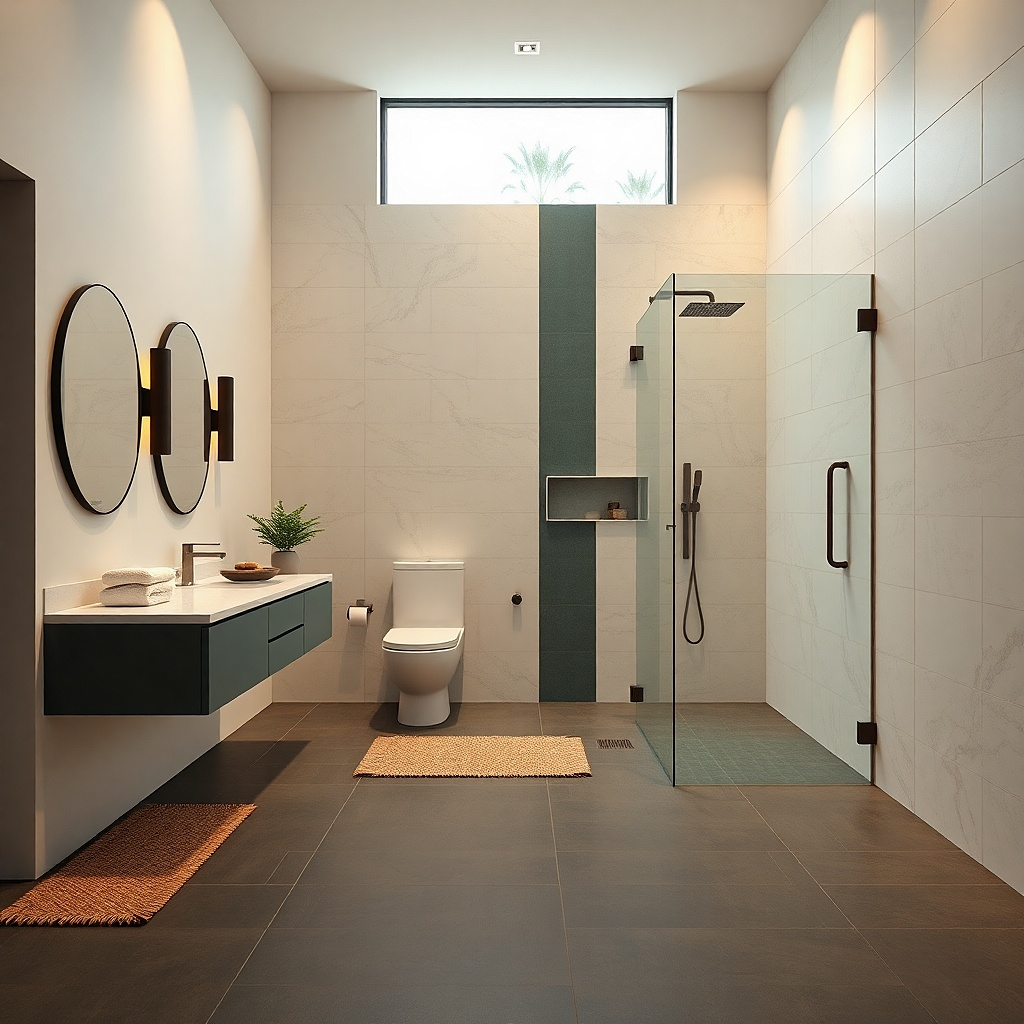
A wet-room approach looks incredible because there’s no visual boundary between shower walls and the rest of the room. For budget small bathroom remodel ideas, the cost comes down when you keep materials consistent: same tile on walls and floors and a single drain solution. Use a linear drain for a clean look and install a glass panel to control water splash. This layout makes the floor look continuous, which reads larger in photos and in real life. It’s ideal for tiny bathrooms where every inch matters and you want the room to feel like one coherent space.
Pick your tile before anything else so you can plan slope and drain placement around the tile size. Install a waterproofing system designed for wet rooms and create a proper slope to the drain. Use a linear drain centered along the shower zone so you get even grading across the floor. Keep the glass panel simple and place the vanity far enough from the splash zone to avoid water landing on the cabinet face.
Use floor tile with enough texture for traction wet-room floors get slick fast.
Avoid mixing too many tile sizes; different sizes create seams that break the open look.
16. Shower + Vanity on the Same Wall with a Glass Partition
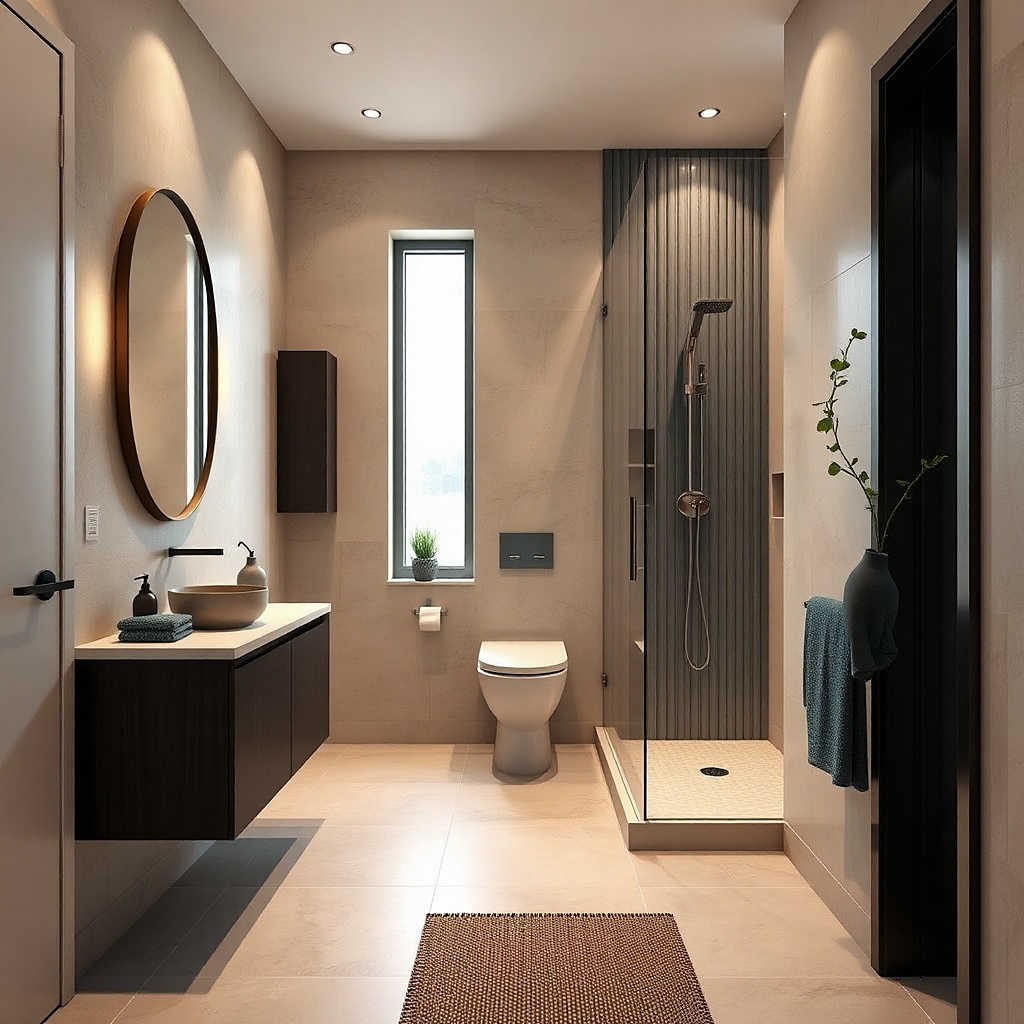
This layout works when you have a short bathroom width but plenty of wall length. Put the shower on the same side as the vanity, then separate them with a glass partition instead of a full door enclosure. The room stays open because you don’t add a bulky second wall. It’s also budget-friendly because the glass span can be smaller than a full hinged or sliding door setup. Use a 24- or 28-inch vanity and keep the mirror large so the glass partition reflects light. Light tile and simple fixtures keep it from looking cramped.
Try thisAdd a small in-shower shelf on the wall closest to the glass partition so toiletries are contained.
Confirm plumbing access and choose a shower base size that fits along the wall length — 32x48 is a common compact choice. Frame the shower walls and build a glass partition opening that separates the shower from the vanity counter. Install the vanity first so you can align the glass height with the tile line and countertop edge. Finish by tiling the walls in large-format pieces and keeping grout color consistent across shower and vanity walls.
Common mistakeDon’t place the partition too low; short glass looks cheap and lets water spray onto the vanity area.
17. Shower in the Back Corner with a Floating Skirted Vanity
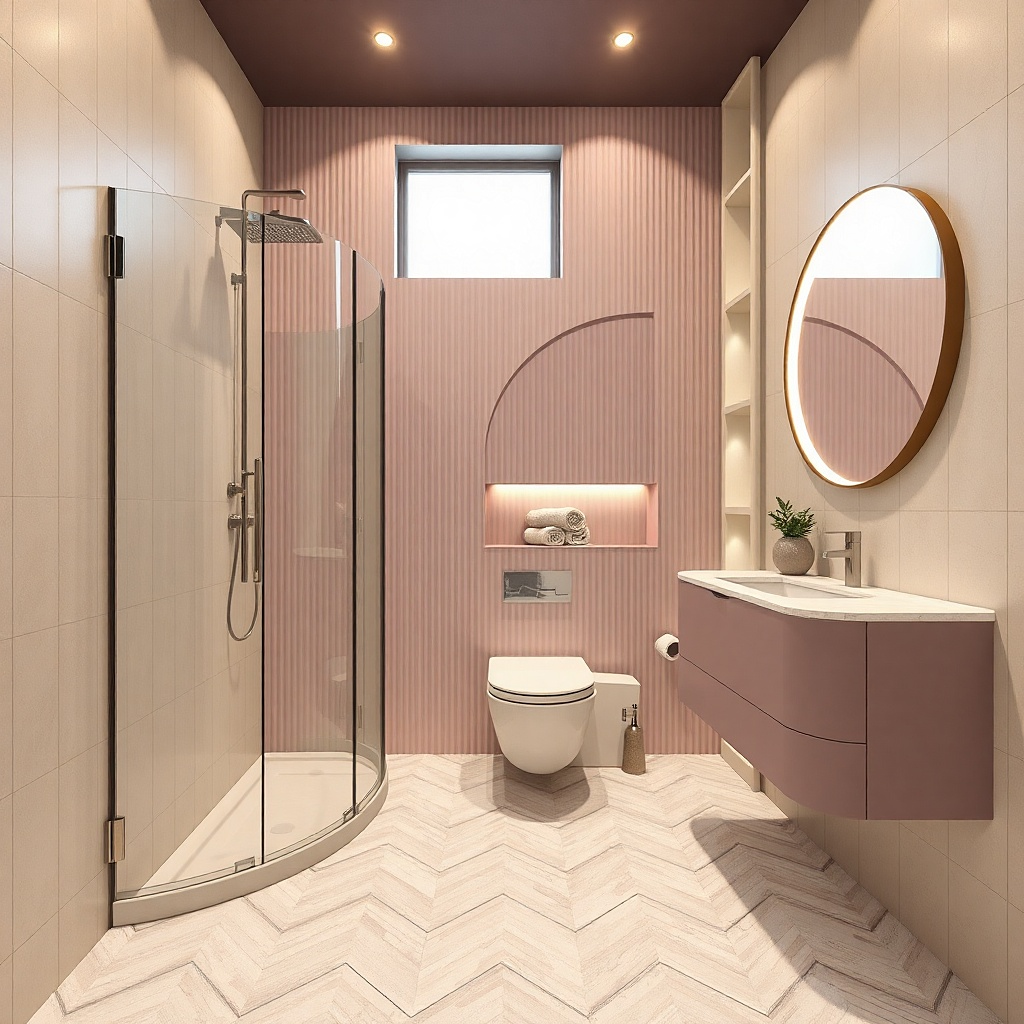
Back-corner placement hides the shower from the first view, which makes the room feel more open when you enter. A floating skirted vanity (or a truly wall-mounted vanity) keeps the floor visible and makes the path look wider. Choose a bright vanity finish — white, light oak, or painted soft gray — and match it with warm white wall tile. The shower glass should be clear and tall so it doesn’t visually “cut” the ceiling line. This layout is especially good for bathrooms where the tub currently blocks the center sightline and you want that to disappear.
Try thisMount the mirror so it overlaps the vanity width by at least 2-3 inches on each side; it looks more intentional and adds light.
Place the shower in the back corner and use a glass door sized to keep the shower opening accessible without blocking the vanity walkway. Use a 32x60 base if you want comfort and your corner allows it; otherwise choose 32x48. Install the vanity with proper blocking behind drywall so it can hold weight if it’s wall-mounted. Tile the bathroom walls with large-format pieces and keep the floor tile aligned from vanity to shower for a continuous read.
Common mistakeAvoid a bulky freestanding vanity cabinet; it visually fills the open floor space you’re trying to create.
18. Shower with a Pocket Shelf and a Full-Length Mirror
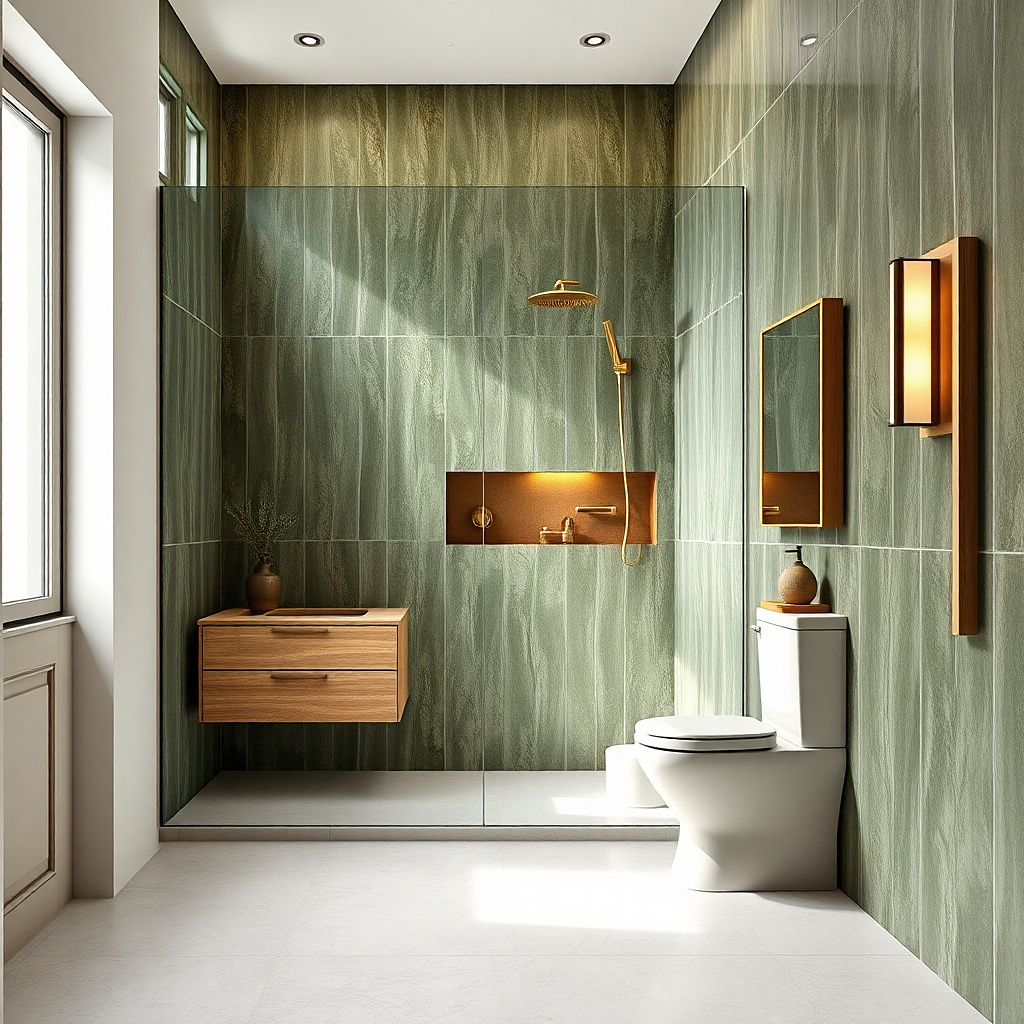
This idea is about storage that disappears. A pocket shelf inside the shower wall keeps bottles off the floor and off the vanity counter, and that makes the whole room look cleaner. Pair it with a full-length mirror on the wall near the vanity so the bathroom reflects light and shows more vertical height. Keep the shower door clear and use a minimal metal finish so the mirror reflection doesn’t pick up too many shiny elements. Use a consistent tile palette one wall color, one tile size so the room looks like one design instead of separate zones.
Try thisUse flat-front niche shelves rather than deep ledges; deep shelves catch visual clutter fast.
Select the shower location based on where your plumbing can reach the drain with minimal moves. Frame a pocket shelf in the shower wall — aim for about 10-12 inches wide and 3-4 inches deep — and waterproof it before tile. Install a full-length mirror at a height that keeps it usable (center roughly around 60-65 inches from the floor). Finish with large-format wall tile and keep the grout color light so the shelf and shower blend into the wall.
Common mistakeAvoid countertop clutter around the vanity; this layout looks best when the room stays visually calm.