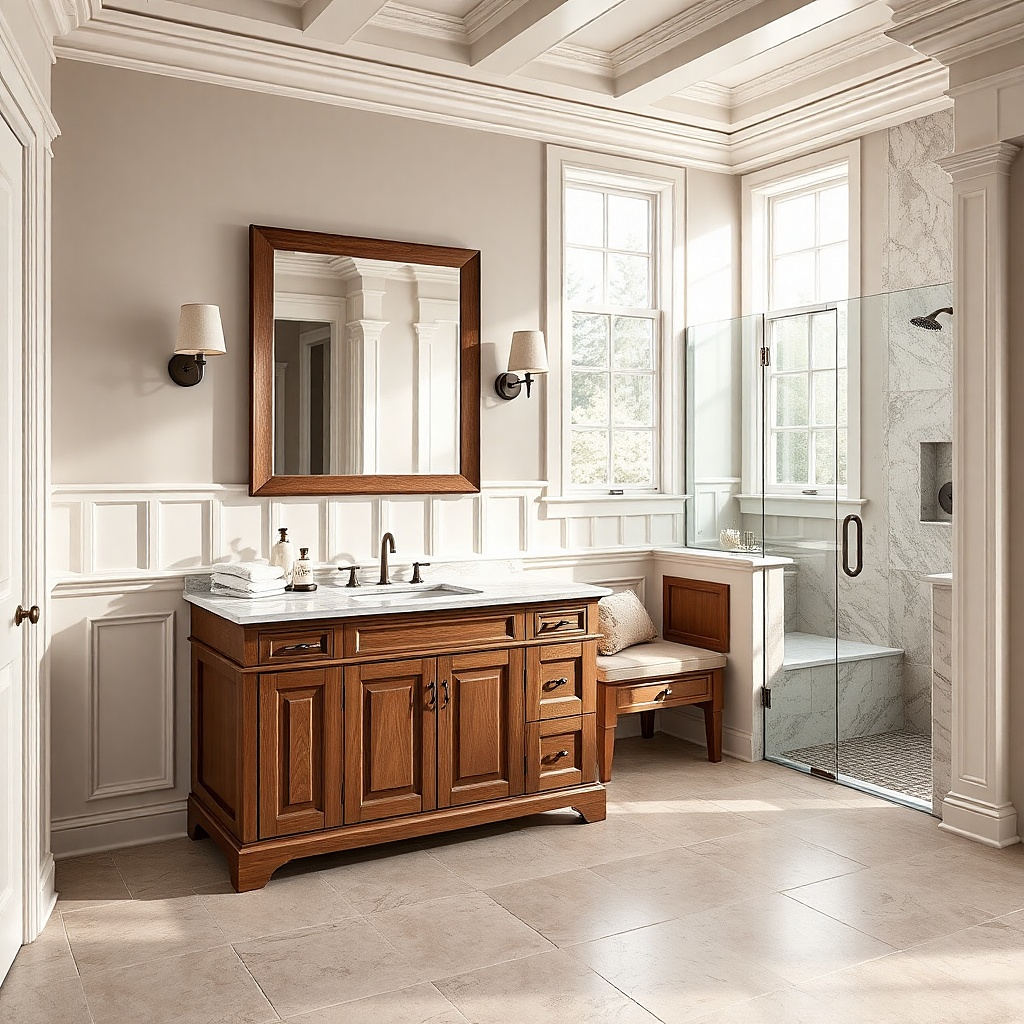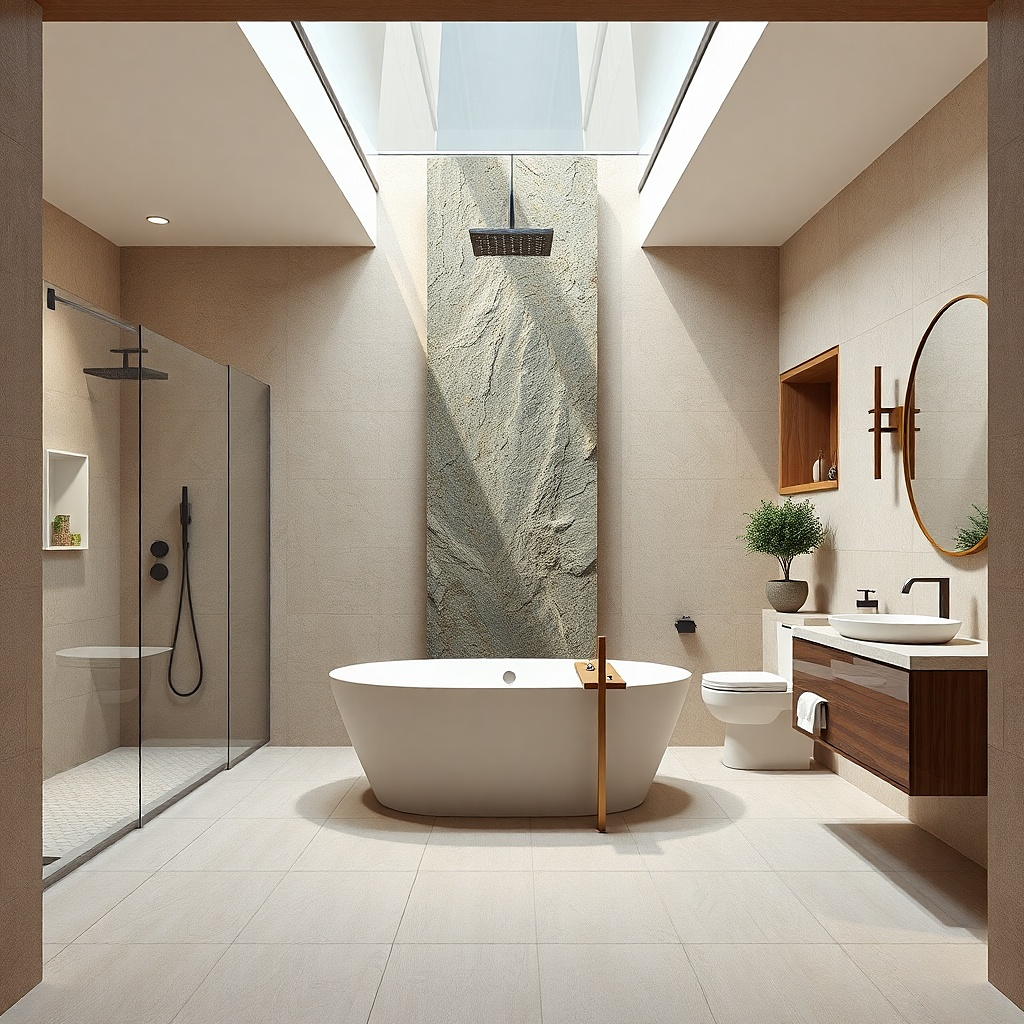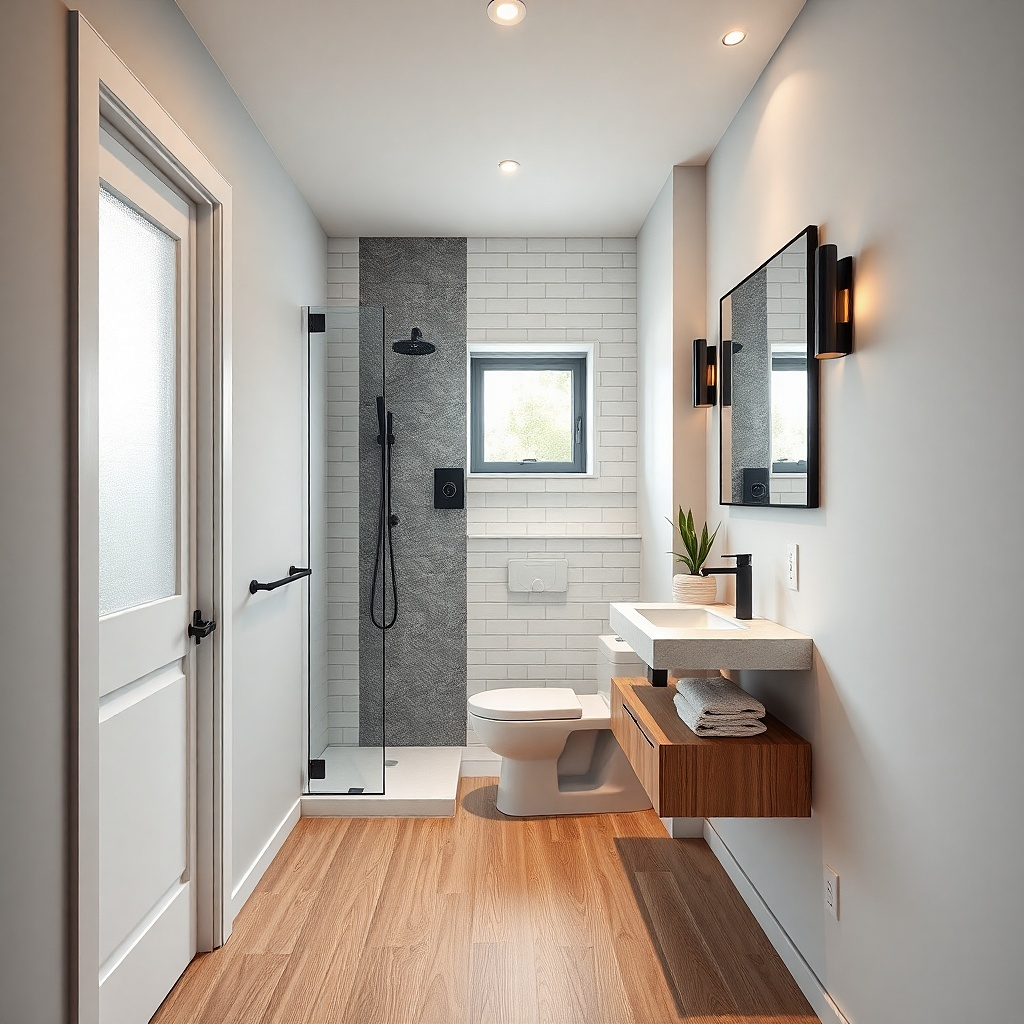
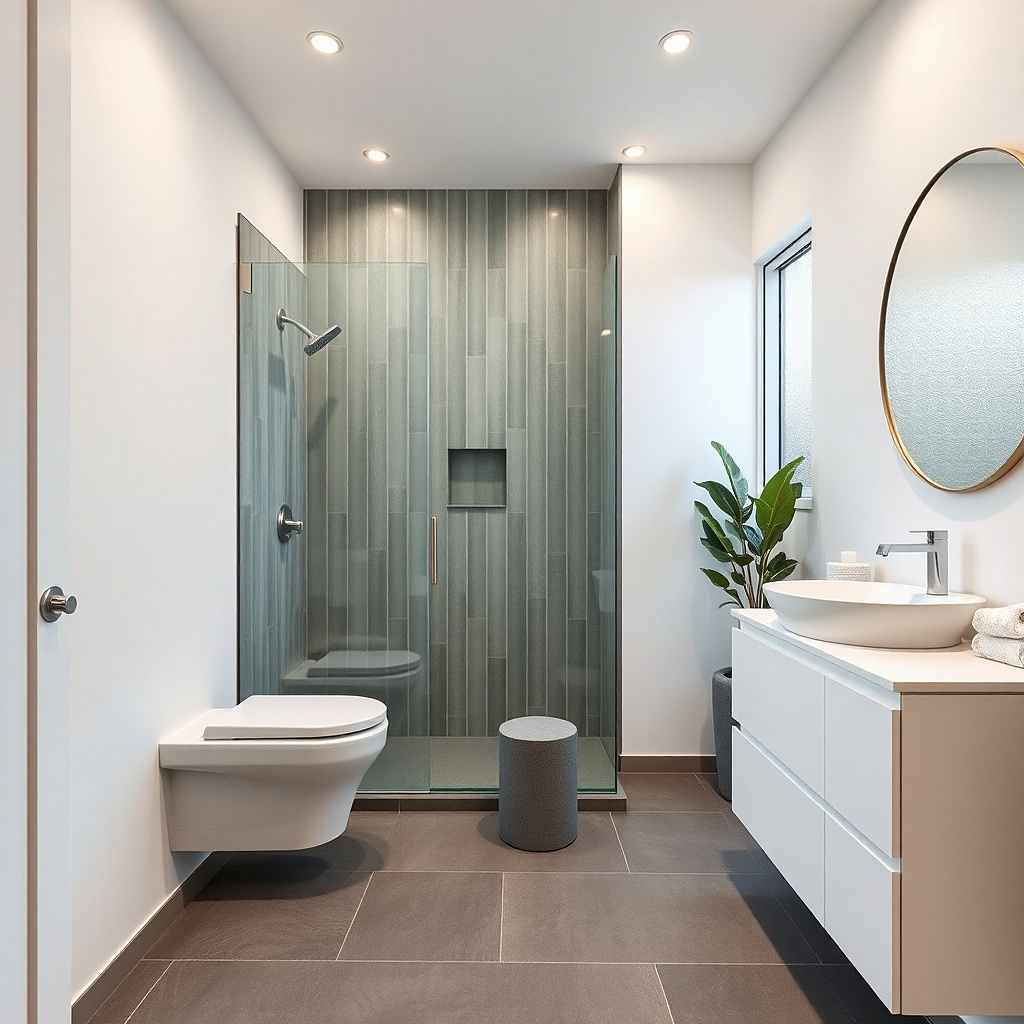
1. Straight 60 in x 32 in shower with a single fixed glass panel
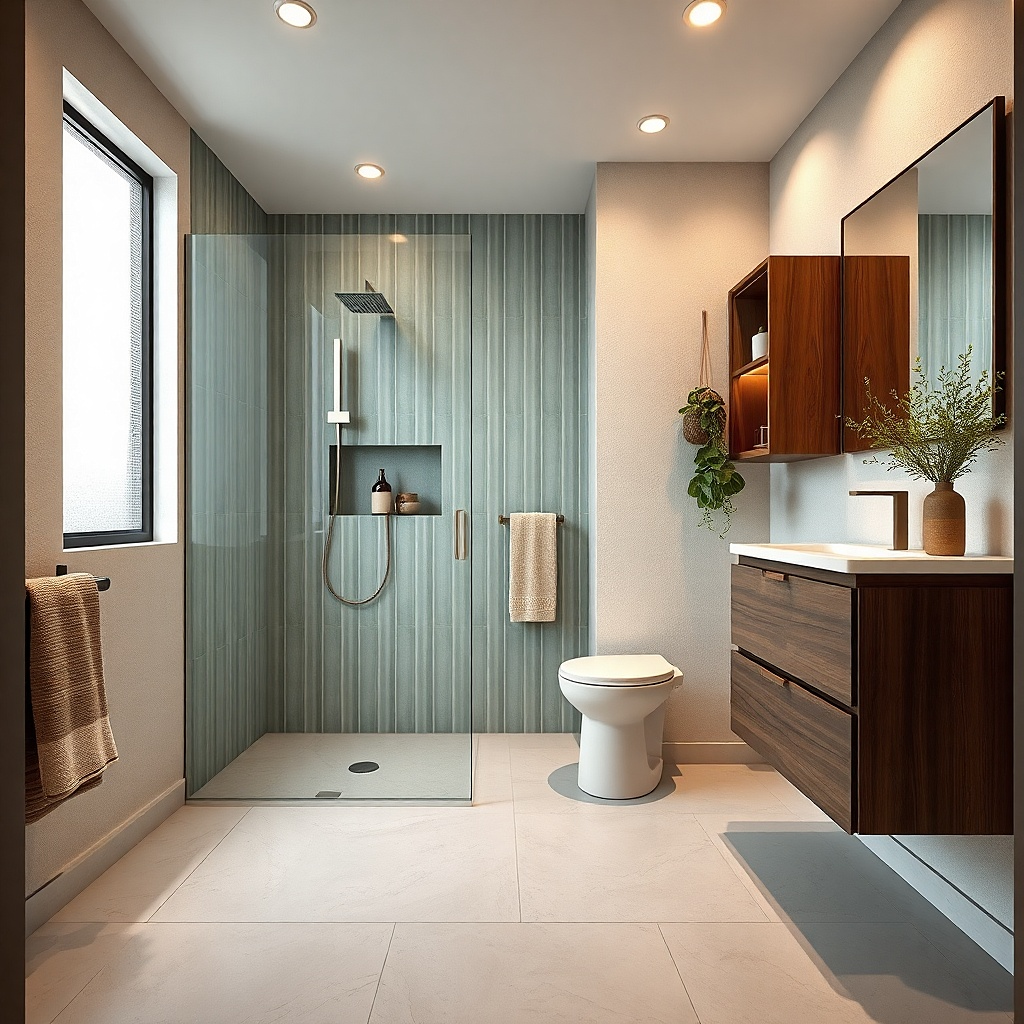
A 60 in x 32 in shower is one of the most forgiving sizes for a small bathroom remodel because it feels like a real shower without eating the whole room. The straight run also makes it easier to align plumbing, since you can keep the drain and supply on the same wall. A single fixed glass panel is beginner-friendly because you have fewer moving parts than a full enclosure and it reduces splash direction issues. Choose clear or lightly tinted glass and finish the metal hardware in matte black or brushed nickel so it hides water spots better than shiny chrome.
Start by confirming your plumbing wall: measure from the finished wall to the centerline of the drain and check that a 60 in length can fit without hitting the vanity or door. Install a factory shower pan kit if you’re new to sloping floors; aim for the pan drain to line up with the existing drain location. Then mount the fixed glass panel so it covers the widest opening area and seals to the threshold with a proper gasket. Cost is usually moderate because factory pans and pre-cut glass kits reduce labor, and you’re working with fewer custom cuts.
Try thisUse a 2-inch threshold or a low curb with a proper sweep seal so water stays inside the pan even on wet days.
Common mistakeDon’t place the glass panel too short; splash escapes when the panel ends before the spray zone.
2. Corner 32 in x 32 in neo-angle shower with a hinged door
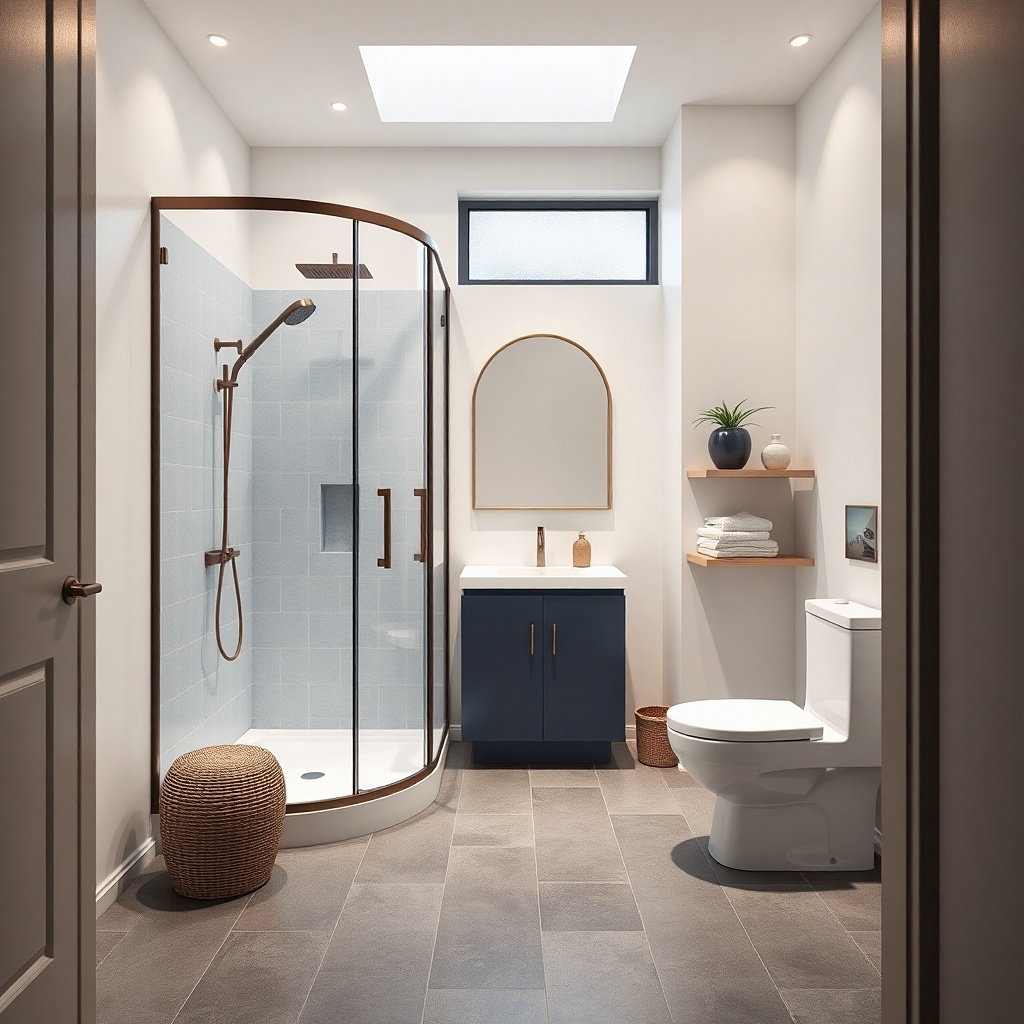
A corner neo-angle shower is a smart choice when your bathroom is tight and you need the shower to disappear into unused space. The curved front still gives you a comfortable entry without requiring a full rectangular footprint. A hinged door can look cleaner than a sliding door, and it’s easier to wipe down because there are fewer tracks collecting grime. Pick a 32 in x 32 in footprint if you have limited width, and choose a light tile with a matte finish so water and soap scum don’t look obvious.
Measure the corner width and depth and confirm you can fit a 32 in x 32 in shower pan with at least a few inches of breathing room around the plumbing wall. Buy a neo-angle pan kit designed for that footprint so the slope and drain placement are correct from the start. Install the pan, then set backer board or cement board on the walls before tile. Finally, mount the hinged glass door according to the kit’s instructions so the hinges clear the door swing and the gasket lines up with the threshold.
Choose a door with a bottom sweep and keep the glass edges aligned; a small misalignment makes splash and leaks show up fast.
Avoid a hinged door if the bathroom door swing blocks it; you’ll end up forcing the door or leaving it ajar.
3. Tub-to-shower conversion with a 60 in x 30 in shower and sliding door
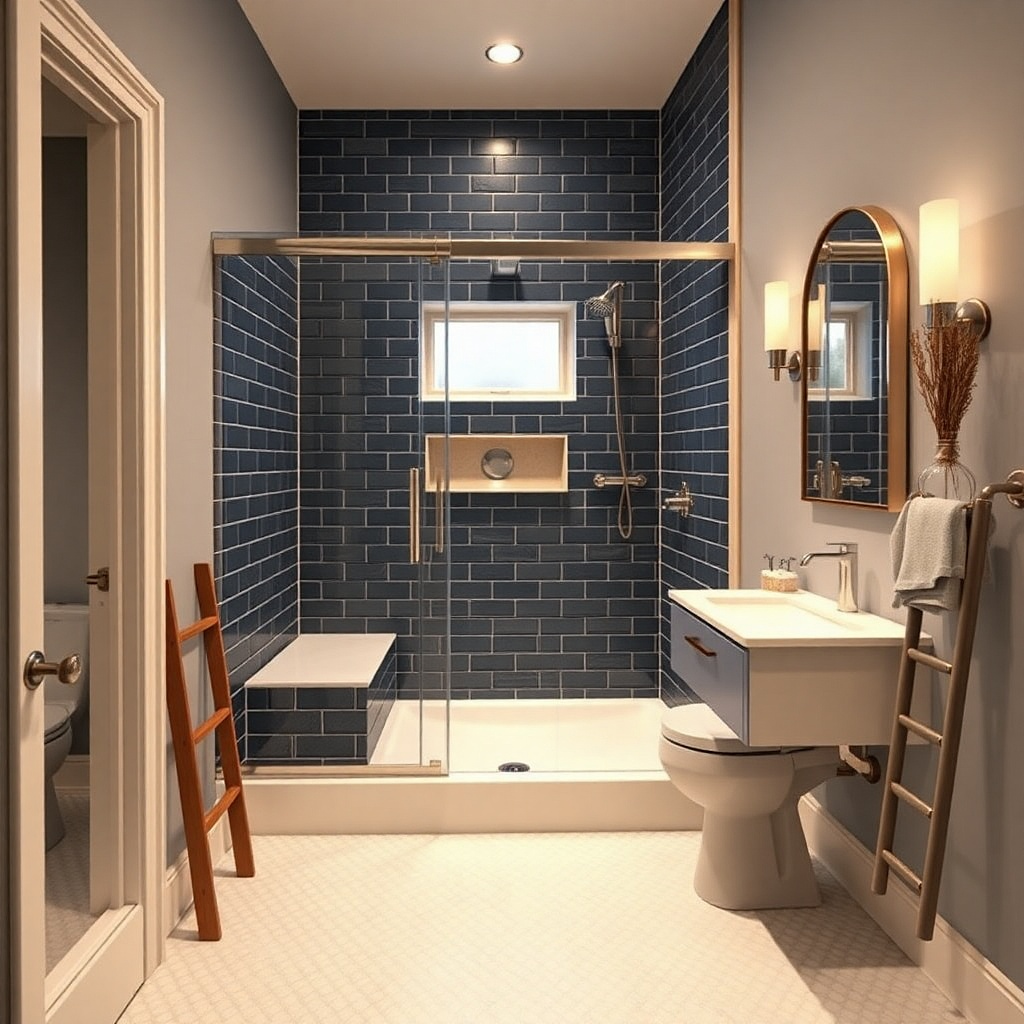
If you’re coming from a standard tub, a 60 in x 30 in shower replacement is the most beginner-friendly way to gain function without major layout changes. You keep the plumbing wall and you reuse the same general footprint, which reduces the chance of drain surprises. A sliding door works well in small bathrooms because it doesn’t require extra clearance for swing. Use a sliding track system designed for showers and choose a door height that matches your wall tile thickness so the seal stays consistent.
Remove the tub and prep the subfloor so the shower pan sits flat and fully supported. Install a pre-formed pan or a shower base kit sized to 60 in x 30 in, then connect the drain to the existing plumbing. Tile the walls up to the height needed for the glass door seal, then install the sliding door frame and panel. Plan the door so the fixed side sits over the threshold line, and check that the rollers glide smoothly before you caulk.
Try thisAsk for a sliding door kit with a water-shedding bottom seal; it makes a visible difference on daily use.
Common mistakeDon’t assume you can “make it fit” by forcing the track; off-level tracks cause leaks and loud gaps.
4. Wall-to-wall 48 in shower with a glass pivot door (smallest footprint for a real enclosure)
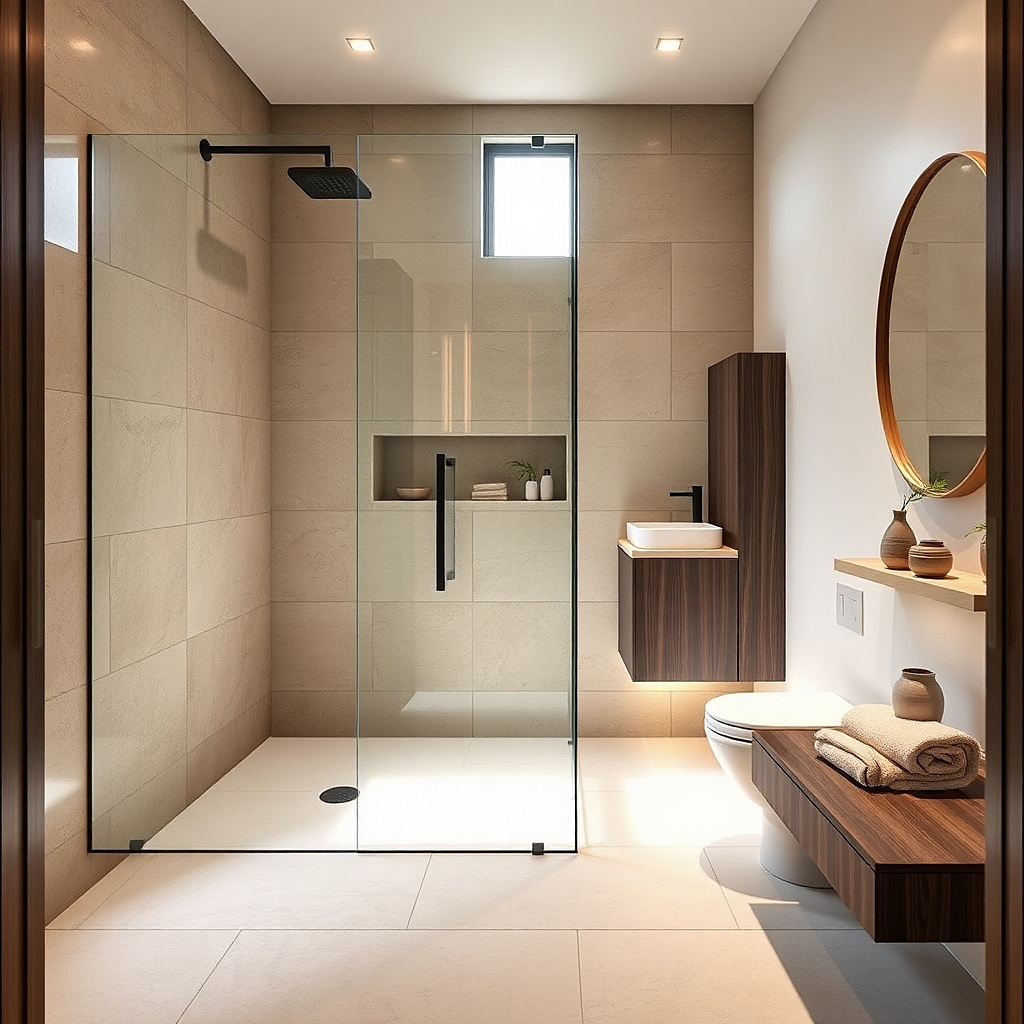
A 48 in shower is compact, but it works when your bathroom is narrow and you need a true enclosure instead of an open wet-room. A wall-to-wall layout keeps the shower square to the room, which helps with sealing and tile alignment. A pivot door is a great beginner choice because it swings in place without the track complexity of sliding doors. For finishes, go matte on tile and hardware; matte surfaces hide minor water spotting and look cleaner between cleanings.
Measure your available wall-to-wall space and confirm a 48 in length can fit while still leaving a safe walking lane to the toilet and vanity. Install a 48 in shower pan kit or build a sloped base using a pre-slope method if you’re comfortable with waterproofing membranes; for beginners, a pan kit is the safer route. Set tile backer board, then waterproof the walls if required by your pan system. Mount the pivot door hardware so the door edge seals to the threshold line and opens without hitting nearby fixtures.
Use a narrow-profile drain or the kit’s drain option if you’re worried about height; it keeps your floor build-up predictable.
Avoid an open entry with no door if your floor is close to the threshold; water will travel outside the wet zone.
5. Offset shower entry with 36 in x 36 in square pan and a frameless door
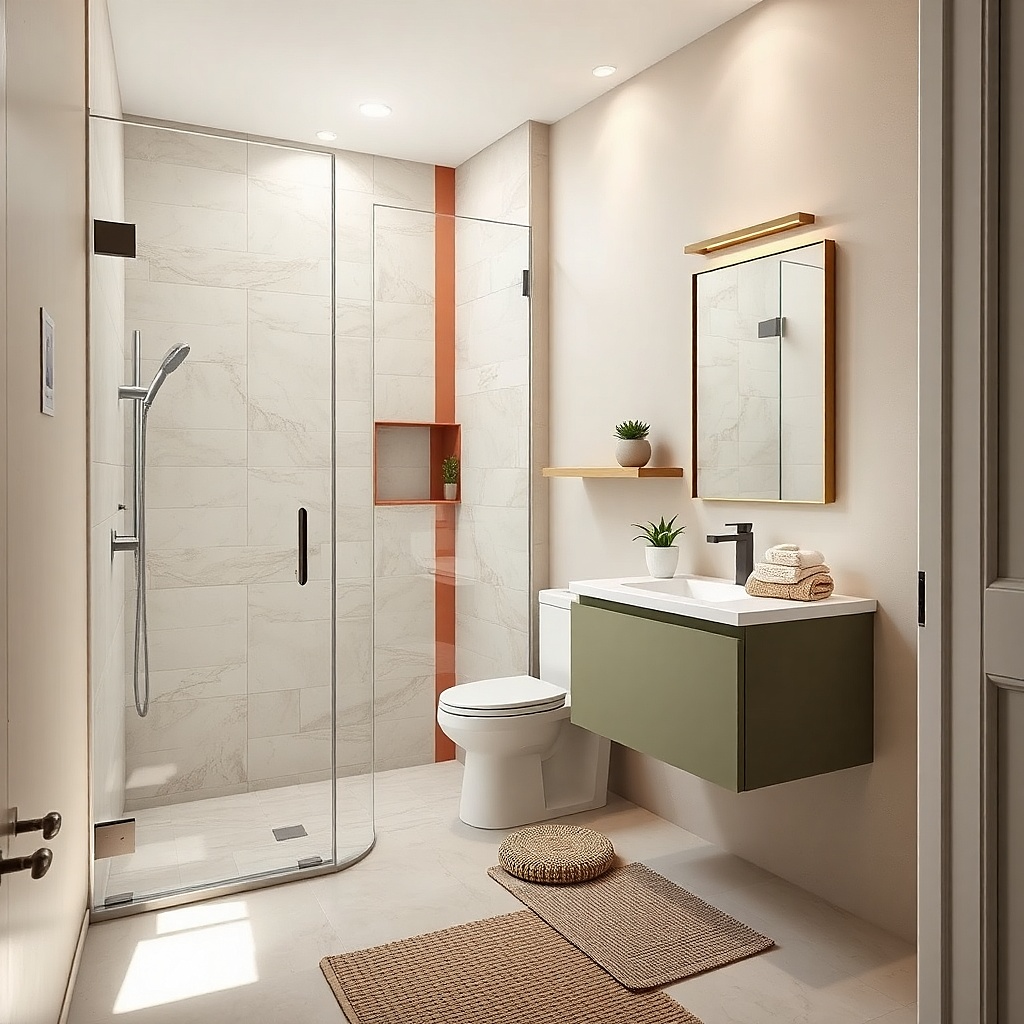
If your plumbing wall is fixed but your door swing is awkward, an offset entry layout can make a small bathroom feel bigger. Using a 36 in x 36 in square pan keeps it simple, while offsetting the door opening helps you step in without turning sideways. A frameless door looks sleek, but it’s still practical for beginners if you use the right seals and hardware set. Choose a square pan and keep the door opening aligned with the shower’s widest step-in area.
Mark the pan location first using the pan’s edge dimensions, then place it so the drain line aligns with existing plumbing. Dry-fit the door frame and measure the door clearance relative to the bathroom door swing. Install the pan, then tile the walls and set the door hardware only after you confirm the glass panel clears the threshold and doesn’t bind. Caulk and seal the perimeter last, after you do a quick water test with a handheld shower head.
Try thisUse a larger tile format on the shower walls (like 12x24) to reduce grout lines and make cleaning easier.
Common mistakeDon’t center the door just because it looks symmetrical; center it where you actually step in.
6. Wet-zone wall with a 36 in shower and full-height fixed panel (splash control without a full door)
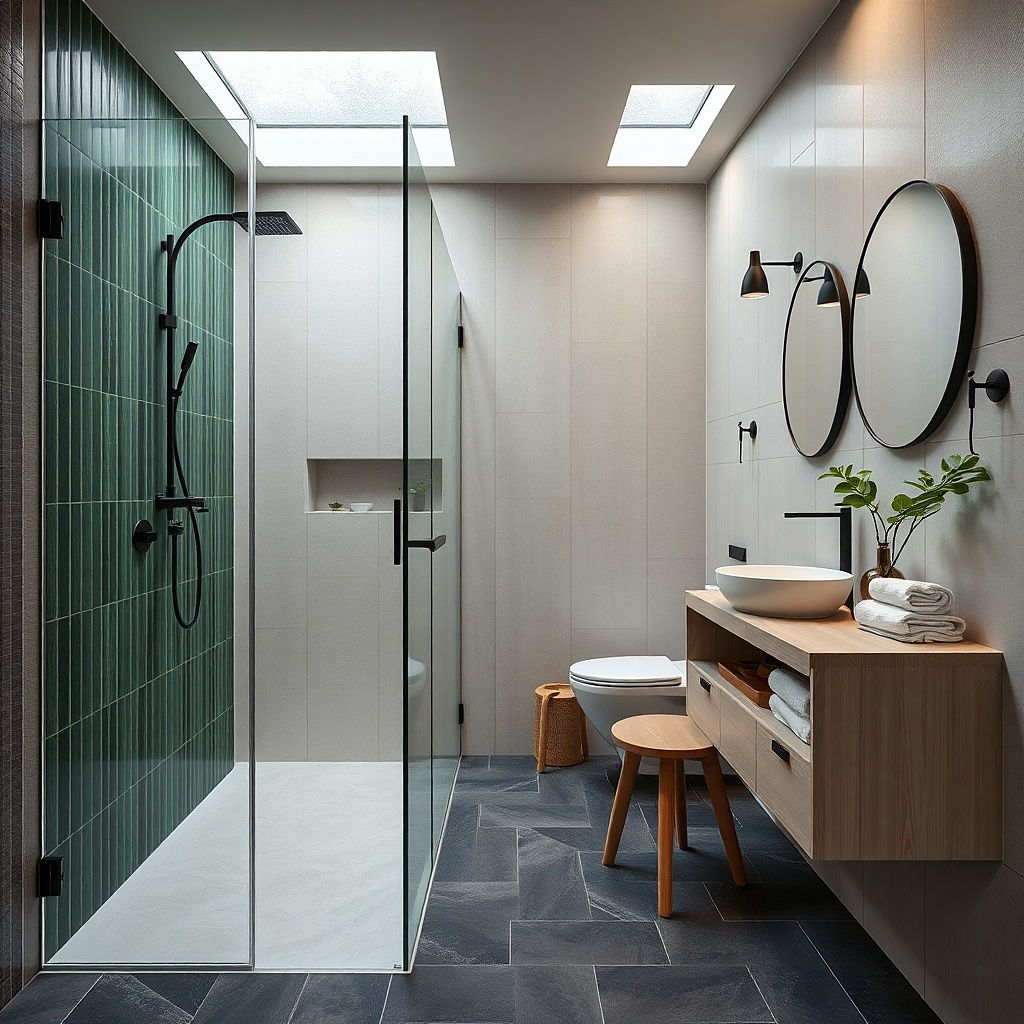
Sometimes the easiest beginner layout is the one that controls splash without adding a complicated door system. A 36 in shower with a full-height fixed panel works when the bathroom has enough space to keep the shower entry dry with a strong threshold. This setup is great for people who hate tracks and want fewer parts to maintain. Use full-height glass with a proper seal to the wall, and keep the wet-zone tile floor consistent from shower to the edge so water stops where you design it to stop.
Build the wet zone boundaries first: decide where the threshold sits and where the glass panel lands, then measure from that line to the toilet and vanity. Install a 36 in shower pan with a curb or threshold that blocks water at the exit edge. Mount the fixed glass panel so it reaches the height required to cover the splash zone, then tile the surrounding walls with consistent waterproofing. Finish with a floor drain-friendly layout so water flows back into the shower pan instead of pooling outside.
Try thisChoose a textured shower floor (matte, slip-resistant) because it hides minor water marks and feels safer underfoot.
Common mistakeAvoid low glass or partial panels; partial glass looks tidy but fails at splash control.
7. Tight bathroom linear layout with a 54 in shower and hinged door aligned to the vanity wall
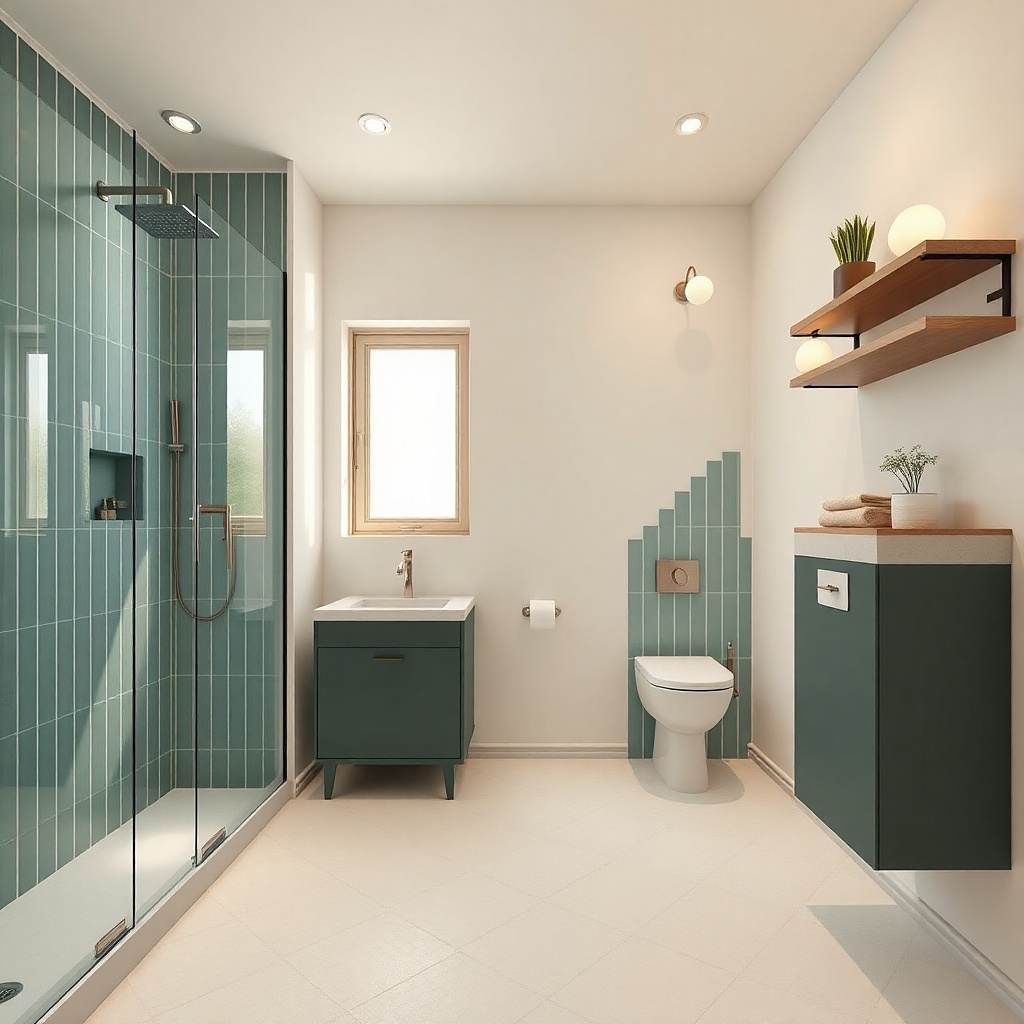
A 54 in linear shower is a good middle ground when 60 in is too long and 48 in feels cramped for stepping in. Aligning the hinged door with the vanity wall keeps the entry open and reduces the feeling of bumping into the shower when you turn. Hinged doors are beginner-friendly when you have clear swing space, because there’s no track to adjust and fewer alignment points than sliding doors. Keep the palette simple: light wall tile, darker floor tile, and matte black hardware to hide small water spots.
Measure the length from the plumbing wall to the vanity face and confirm you can fit a 54 in shower pan without reducing the walkway to the toilet. Install a factory pan, then build walls and waterproofing up to the door mounting height. Hang the hinged door frame so the door closes tight against the threshold and the gasket compresses evenly. Before you tile the final trim, do a water test by running water at the shower head height and checking for leaks at the threshold and hinges.
Try thisPlan the door hinge side so it opens toward the room with more space; you get better access without extra hardware changes.
Common mistakeDon’t choose hinged doors if you only have a few inches of clearance; cramped swing space makes daily use annoying.
8. Duo-zone layout: 42 in shower with an angled nib wall to protect the toilet side
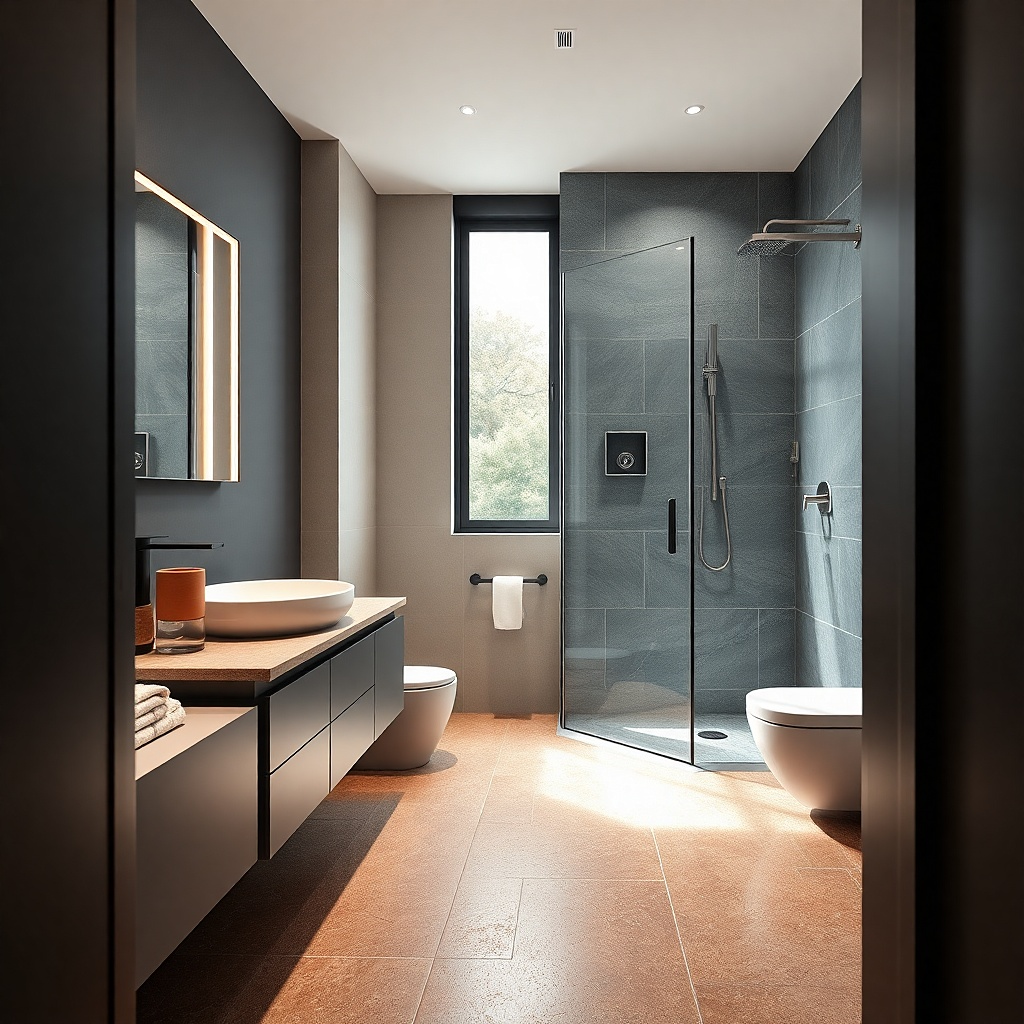
When your toilet is close to the shower, you need a layout that stops splash before it reaches that side. A 42 in shower paired with an angled nib wall is a beginner-friendly way to create a splash shield without building a full custom enclosure. The nib wall gives you a physical barrier, so you rely less on perfect glass sealing. Keep the shower glass simple or even use a partial panel, and use a waterproof wall system on the nib wall so you don’t get moisture problems.
Measure the distance from the shower wall to the toilet tank and plan the nib wall angle so it blocks the direct line of spray. Install the 42 in shower pan in the correct position first, then frame and waterproof the nib wall area with cement board. Tile the nib wall and shower walls, then install a partial glass panel or a small door if your space allows. Finally, test with water aimed at the center of the shower floor and watch how far splash travels toward the toilet side.
Use a slightly darker floor tile in the shower zone; it hides water droplets and makes the wet area read cleaner.
Avoid relying only on a small, flimsy glass panel; the nib wall is the real splash control here.