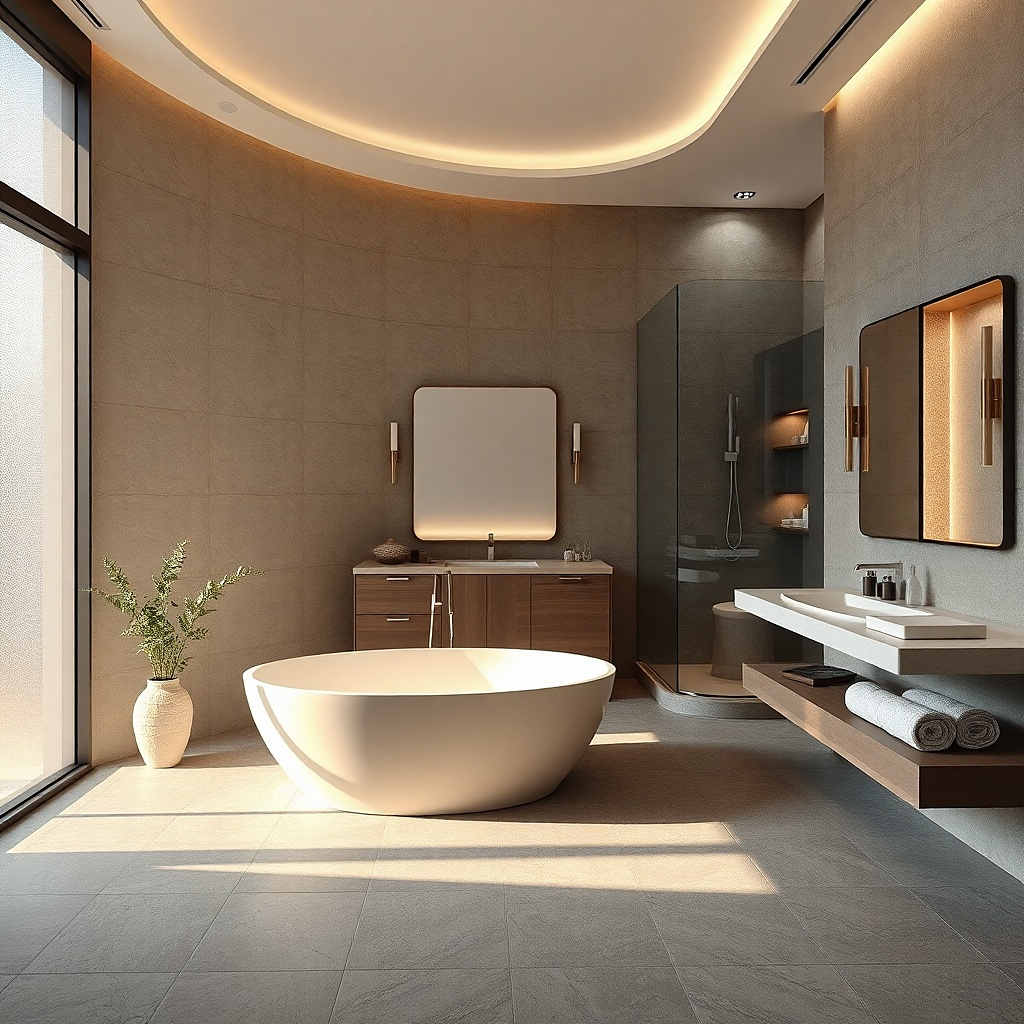
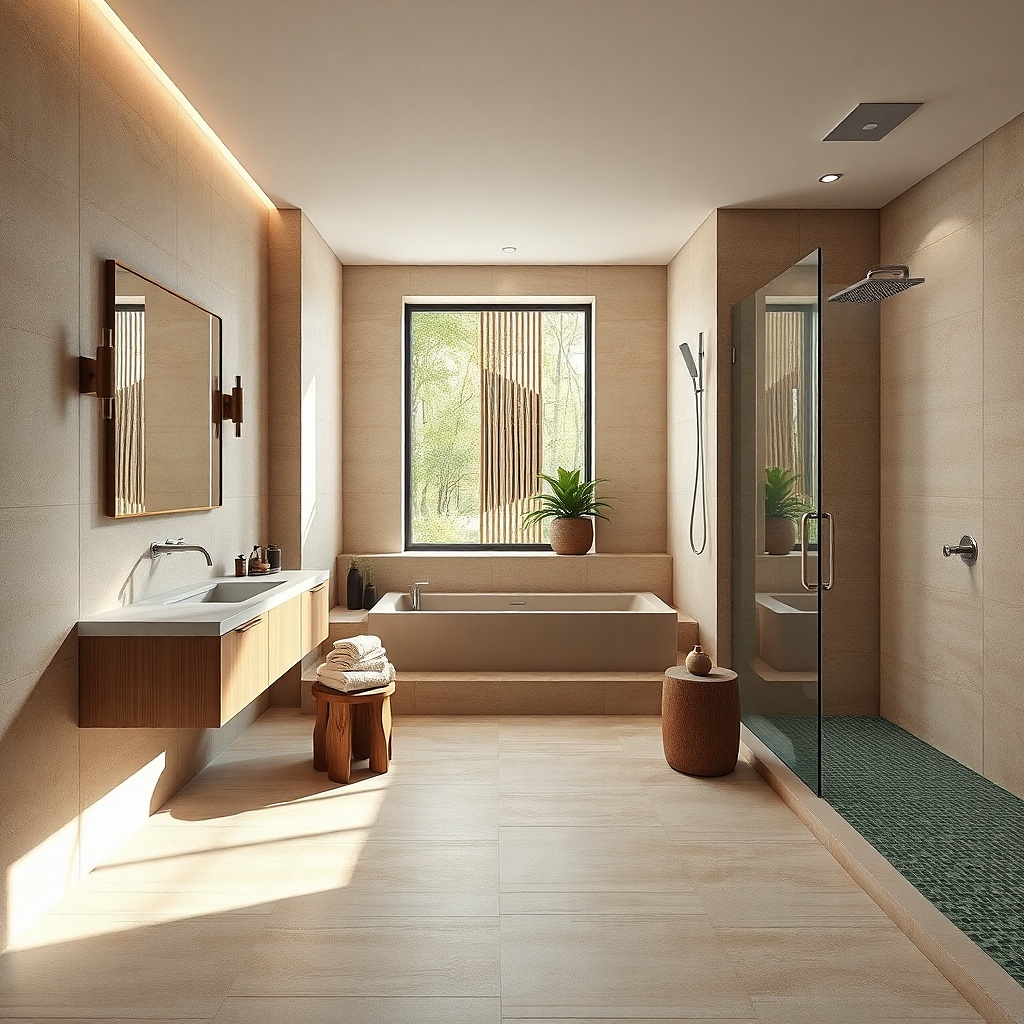
1. Warm Marble Vein Spa
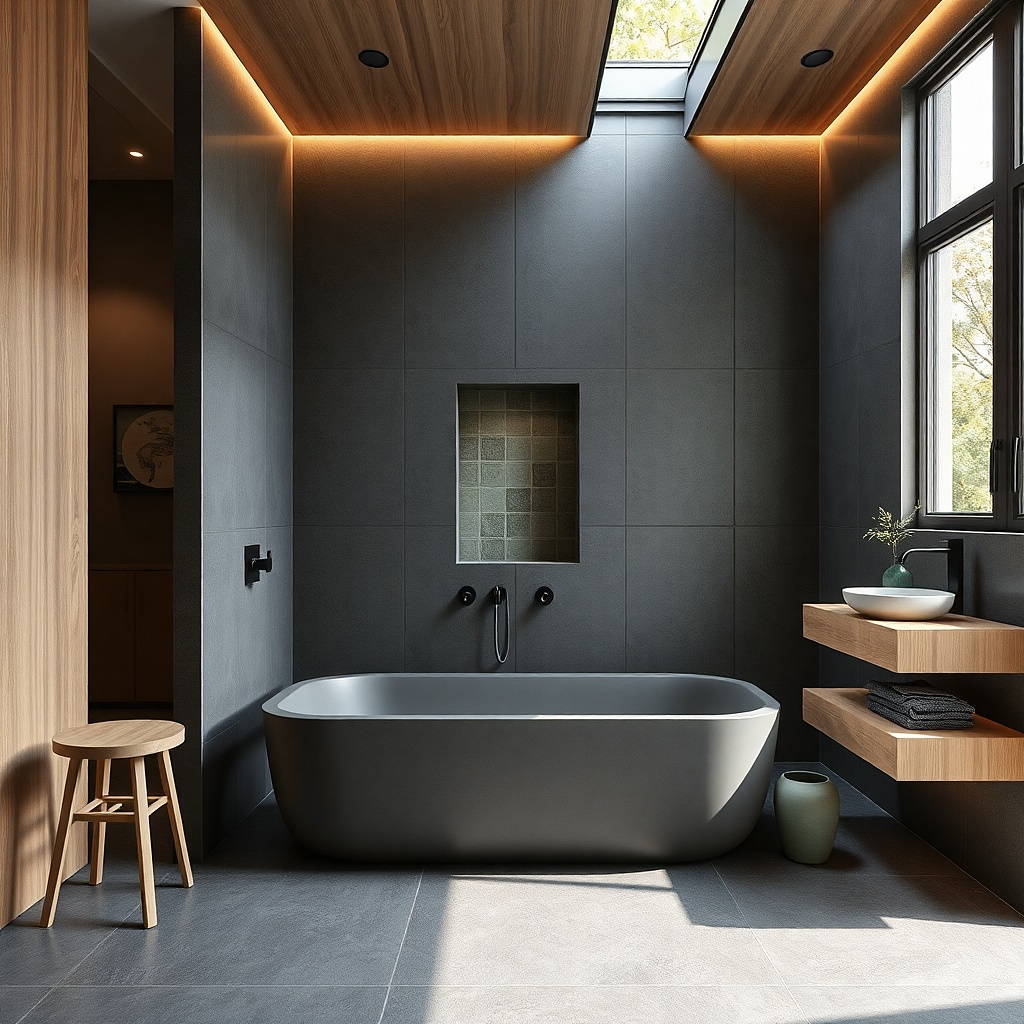
Go for warm marble-look tile with soft gray veining and a clean grout line. In a small bathroom, that veining gives motion without loud color, so your theme feels like a spa instead of a craft project. Pair it with a polished or satin chrome-free metal trim in brushed champagne brass to keep the warmth. Finish the look with a fog-white vanity top and a large-format shower floor tile that matches the wall tone, not the veining.
Measure your shower wall width and pick a tile size that lands full tiles near the center and avoids skinny edge cuts. Install the wall tile first, using a laser level for straight rows, then add a simple niche with the same tile and a contrasting shelf edge only if you want a subtle highlight. Finish by sealing the grout if your tile requires it, then hang a frameless glass panel so the grout lines stay visible and tidy. Expect a moderate DIY effort if you’re tiling, but the impact is high because the shower takes up most of the visual field.
Try thisChoose a grout shade one step lighter than the tile veining, not perfectly white it makes the lines look intentional instead of harsh.
Common mistakeDon’t mix cool gray marble tile with silver fixtures; the temperature clash reads cheap fast.
2. Sage Steam Room Calm
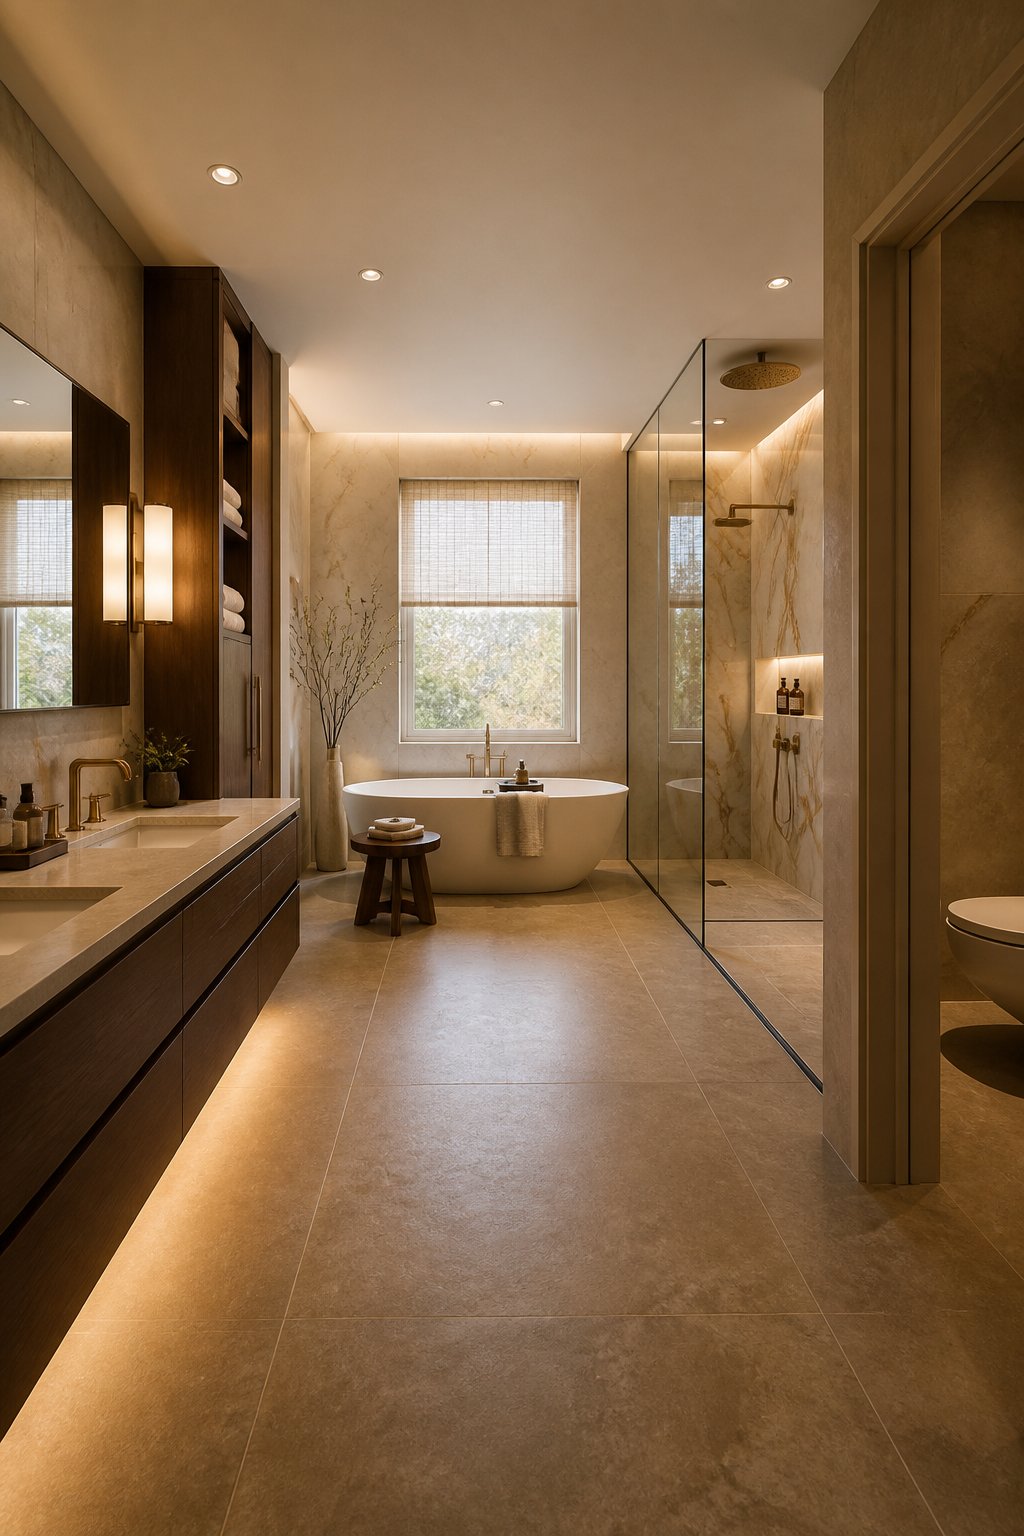
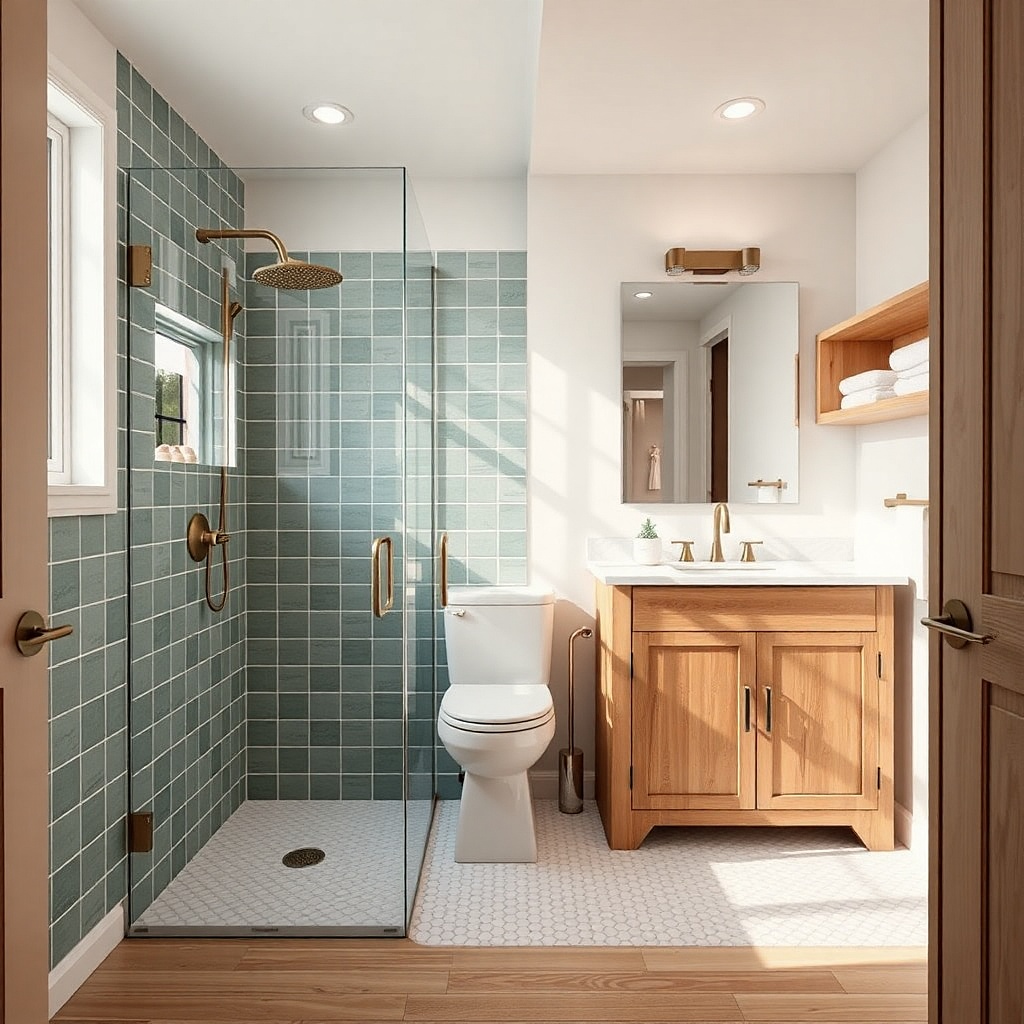
Sage green is one of the few colors that reads spa-like in small bathrooms without turning dark. Use matte, slightly textured tile on the shower walls so light scatters gently like steam room lighting. Keep the rest of the room light: a creamy white ceiling, a pale wood vanity, and towels in off-white or oatmeal. Add a single brass accent on the shower trim and hardware; it warms the green and keeps the theme from feeling cold.
Start with a sage wall tile in a 3x12 or 4x12 format, then set it in a straight stack pattern for calm visuals. Build a niche in the shower and line it with the same sage tile so the niche looks like part of the wall, not a separate box. Finish with a light floor tile in warm white or pale gray and install a fog-free mirror with warm-white LED lighting. Plan on higher tile cutting because sage tile reads best with crisp grout lines and straight alignment.
Try thisUse warm-white bulbs (2700K) and put them in dimmers if you can; sage looks flatter under cool LEDs.
Common mistakeAvoid pairing sage with bright black accents; it turns the room into a modern showroom instead of a retreat.
3. Coastal Stone and Rope Accents
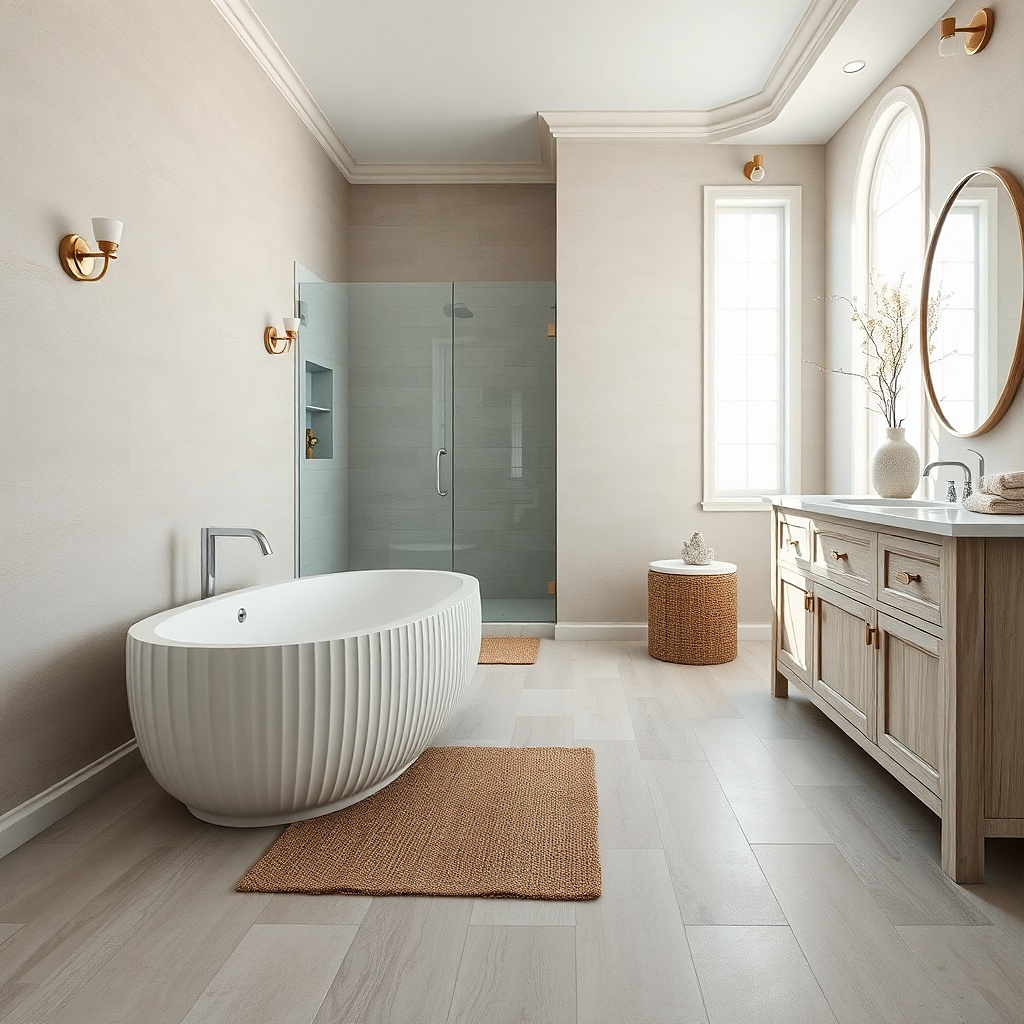
This theme uses coastal calm without beach clutter. Choose light stone-beige wall tile with a soft, natural texture, then bring in a pebble-texture floor tile in a small shower or only at the shower threshold. Keep the palette white and sand-toned so it reads airy even in a tight bath. Add rope-like details in small doses: a towel ring with a rope-inspired design or a woven basket for folded towels, not big nautical decor.
Pick a wall tile with subtle texture in a large format, then set it in a staggered pattern only if the tiles are consistent in thickness. Use pebble tile only where your eye expects it — a shower floor zone or a narrow strip — because pebble tile looks messy if it covers everything. Install a simple wall-mounted niche and line it with smooth stone tile so it contrasts with the pebble texture. Budget for extra time on the pebble floor tile because layout and trimming take longer.
Try thisKeep pebble tile to one area; repeating it on walls makes the room look busy, not spa-like.
Common mistakeDon’t add blue ocean accessories to a beige theme; it breaks the calm and makes the space feel seasonal.
4. Dark Slate and Soft Light
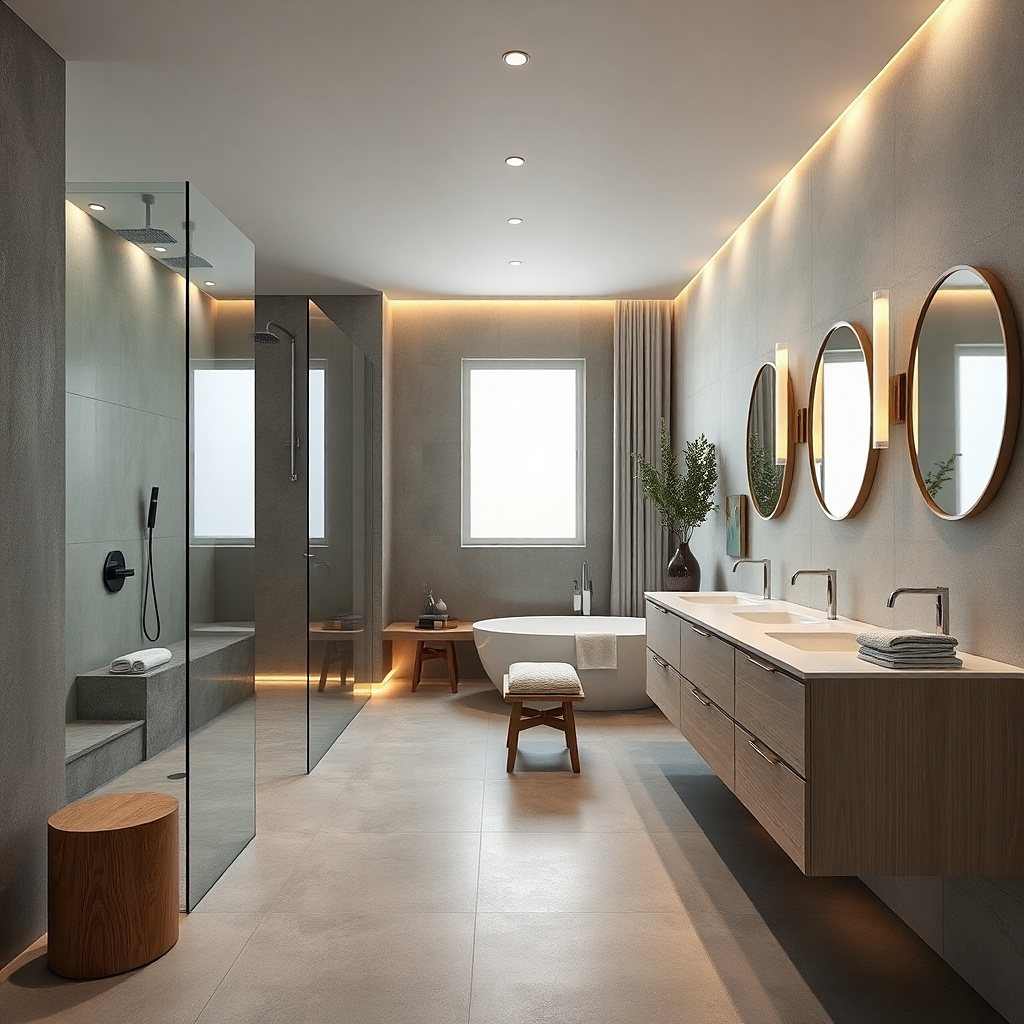
Dark slate tile can work in a small bathroom if you control contrast. Use deep charcoal or near-black slate-look tile, but keep grout in a light gray so the tile grid stays crisp. Add warm lighting and a glossy or satin-finished niche shelf so reflections make the space feel deeper. This theme feels like a boutique spa because it’s dramatic and minimal no busy patterns, just strong material and clean lines.
Choose slate-look tile in large rectangles (like 12x24 or 8x16) so the walls look taller. Install the tile with a simple running bond pattern and keep the grout consistent; measure the edges so you don’t end up with thin slivers on the door side. Add a backlit mirror or a vanity light with a warm-white bulb and place it so it bounces light off the shower glass. This look is best when the shower is the main visual wall; keep other walls simple with a light paint.
Try thisUse a fog-resistant mirror and keep the glass panel clean; dark tile shows spots and smudges faster.
Common mistakeAvoid fully dark bathrooms with no reflective surfaces; the room will feel smaller and heavier.
5. Japanese Hinoki Warmth
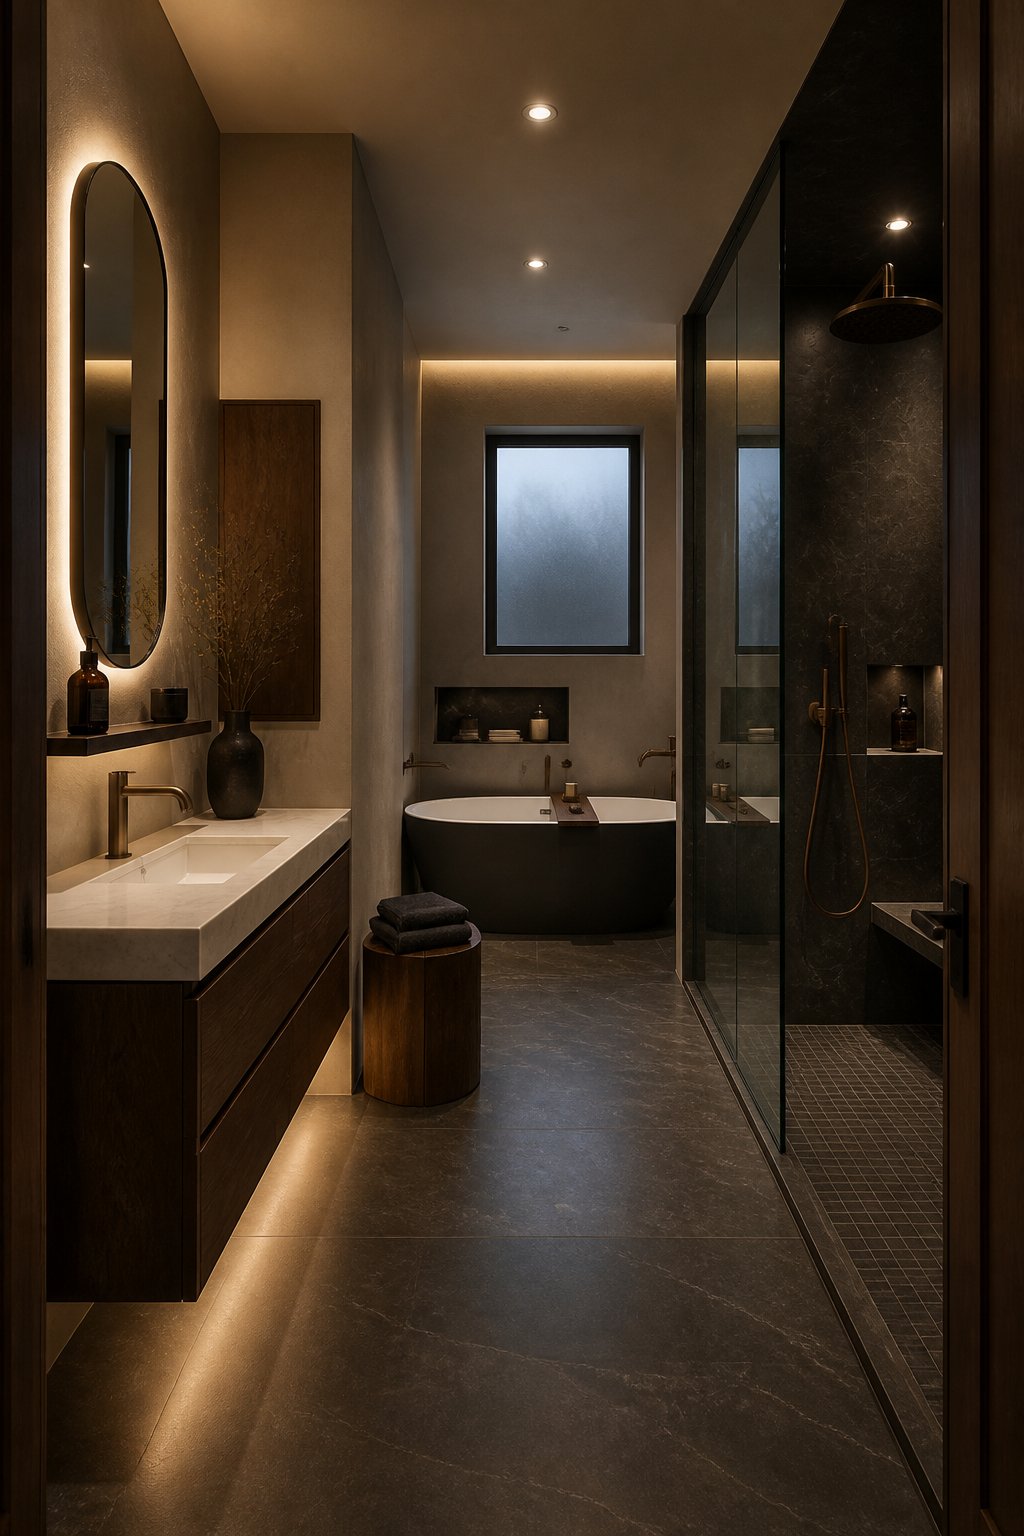
A hinoki-inspired theme is about warmth and restraint. Use light wood-look porcelain for the vanity front or a wall panel behind the vanity, then keep the shower walls white or very pale cream with a matte finish. Add one wood or wood-look accent in the shower zone, like a small bench or a niche shelf made from water-safe engineered wood or a wood-look tile surround. The result feels calm and grounded, not decorative.
Install white or cream tile in a simple layout and keep grout in a matching off-white so it looks seamless. Choose a wood-look porcelain that matches the vanity — color matters more than pattern — and put it on a single vertical zone like the vanity backsplash or one accent wall. Add a niche and line it with the shower tile, then add a single shelf surface that reads like hinoki. Plan for waterproofing details if you’re using real wood; if you want easy maintenance, use wood-look tile instead.
Try thisUse one warm wood tone only. If you mix honey wood with gray wood-look tile, the theme collapses.
Common mistakeAvoid heavy bamboo wall art and big lanterns; the spa look comes from materials, not props.
6. Classic Subway with Brass Glow
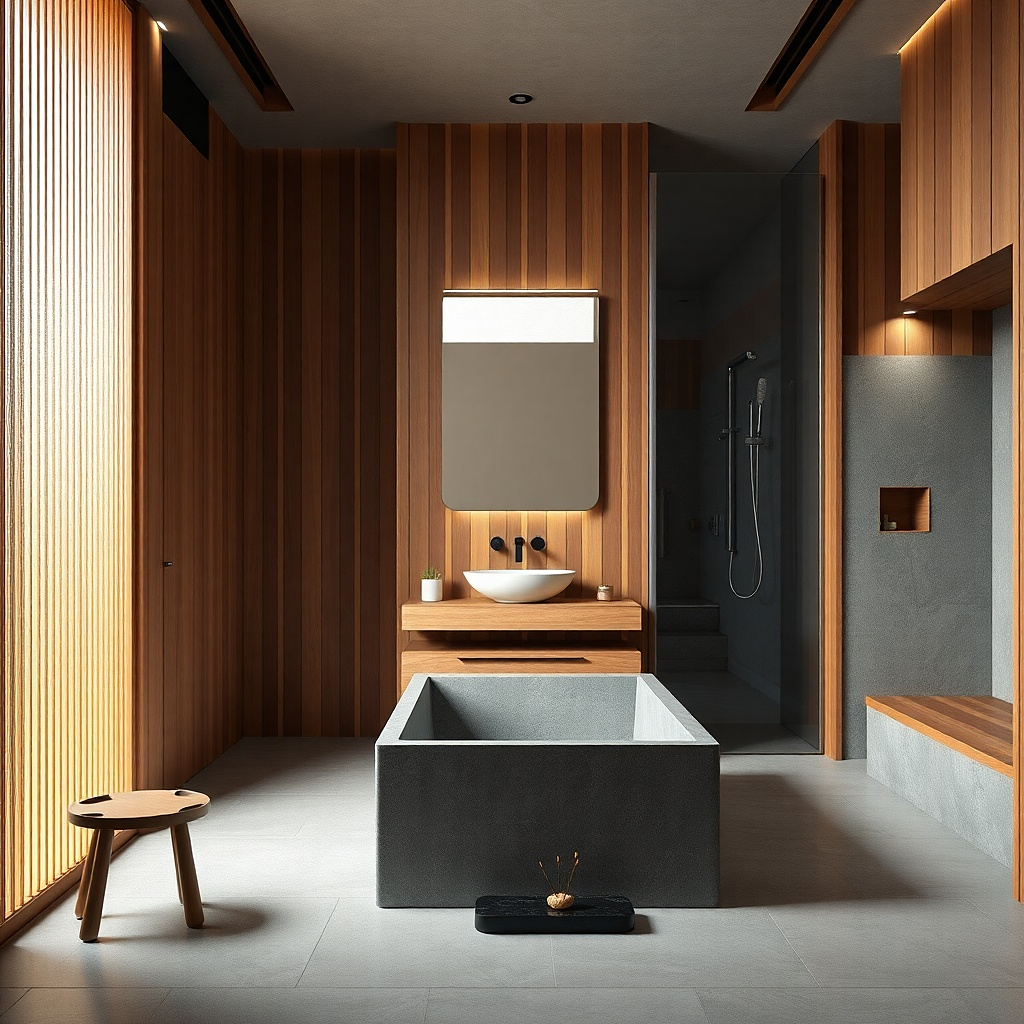
Subway tile can feel spa-like when the details are right. Use crisp white subway tile with a satin finish, set it in a slightly offset pattern, and keep grout in a soft warm white. Brushed brass fixtures and hardware add that spa glow without going flashy. Add a large-format shower floor tile in a pale neutral so the bottom looks calm and continuous.
Choose subway tile in 3x6 or 3x12, then dry-lay a small area to decide the offset so the pattern looks aligned across the niche and edges. Install the tile with spacers for consistent grout lines, then build a niche on the wall that gets used most. Place the vanity and mirror so brass hardware and mirror trim align visually; this makes a small bathroom feel designed. Costs stay reasonable if you’re not changing plumbing — it’s mostly tile and fixture swaps.
Try thisUse a sheet-style waterproof niche kit if you can; it keeps the niche edges tight and clean.
Common mistakeAvoid bright white grout with white tile; it makes the grout lines look like tape and kills the spa calm.
7. Travertine-Look with Wet-Room Lines
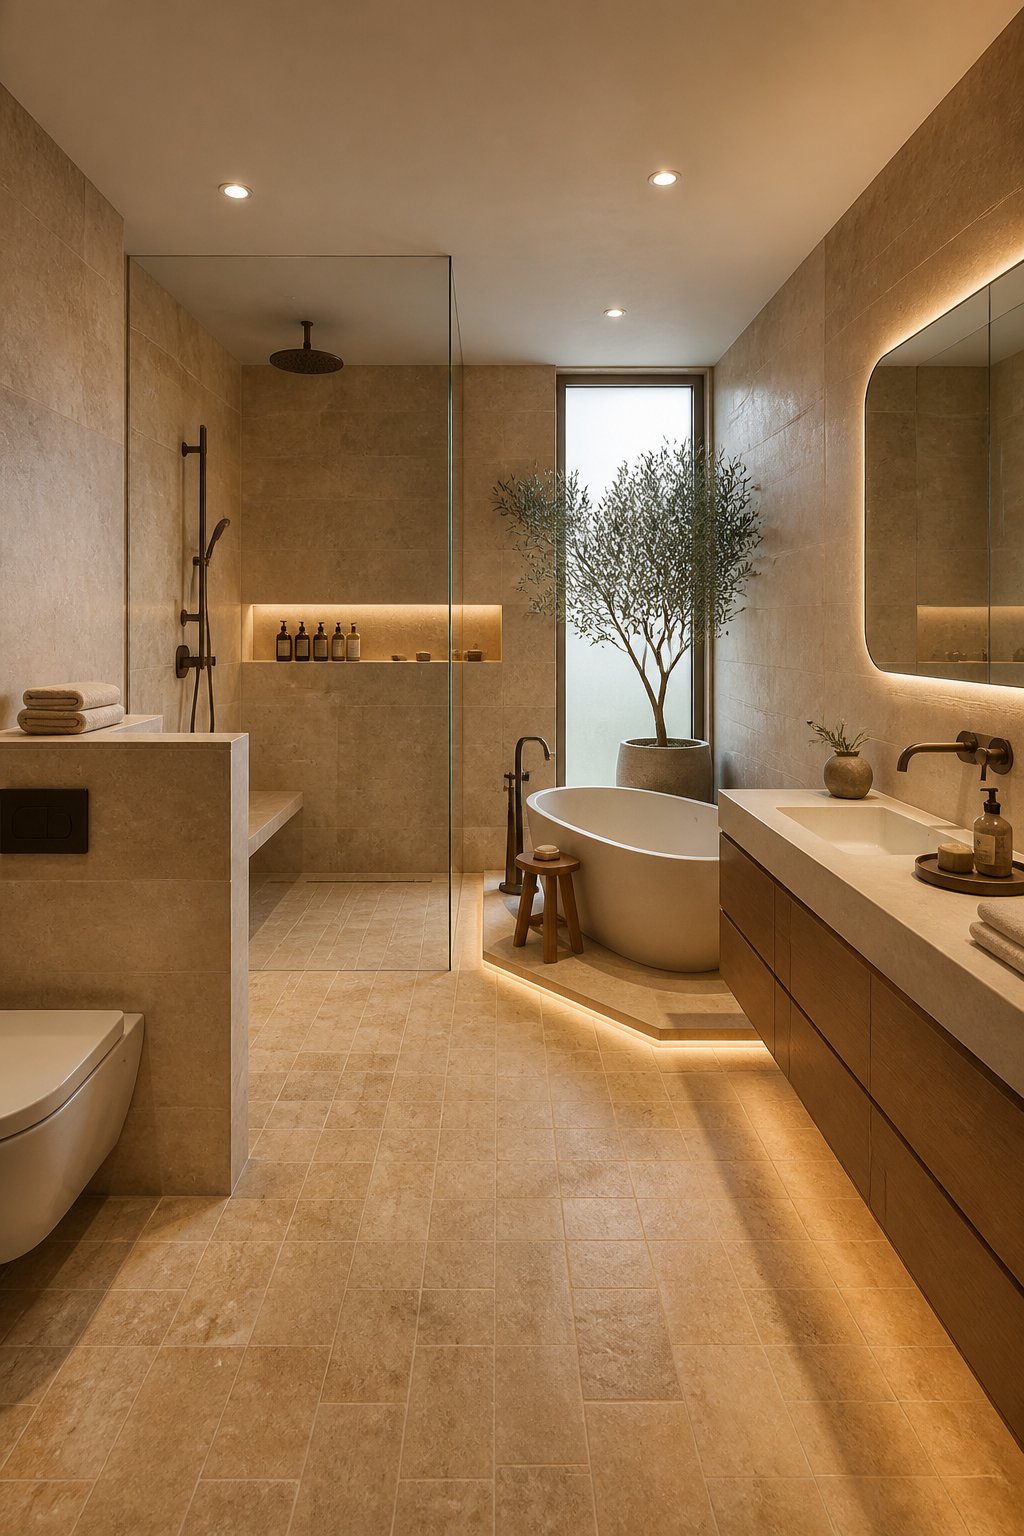
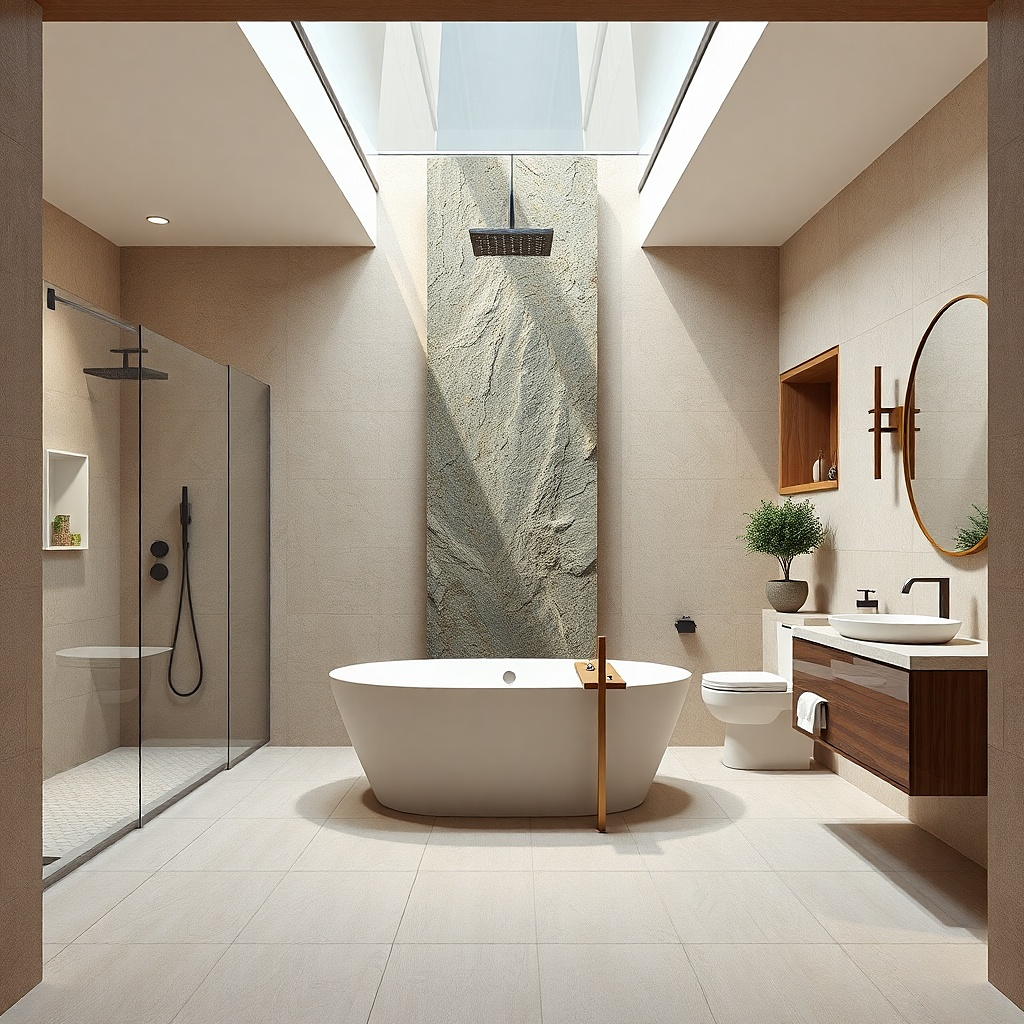
Travertine-look tile brings warmth and texture without the maintenance of real stone. To keep it spa-like, use a travertine-look with light variation but not dramatic pits, and pair it with a linear drain and a wet-room style layout. In a small bathroom, the wet-room vibe makes the shower feel integrated instead of boxed in. Keep the color palette consistent: beige floor tile, warm white walls, and brushed nickel or champagne brass trim.
Pick a travertine-look tile in large format for walls and a slightly darker or matching tile for the floor. If you want the wet-room look, plan for a linear drain at the shower edge and slope the floor properly during installation. Install the wall tile first, then tile the shower floor with consistent grout spacing and careful edge transitions. This is a contractor-friendly project because slope and drainage matter more than aesthetics.
Try thisMatch grout color to the lightest part of the travertine-look tile, not the darker specks.
Common mistakeAvoid mixing multiple beige tones for walls and floor; it breaks the wet-room unity.
8. Monochrome Taupe Spa Minimal
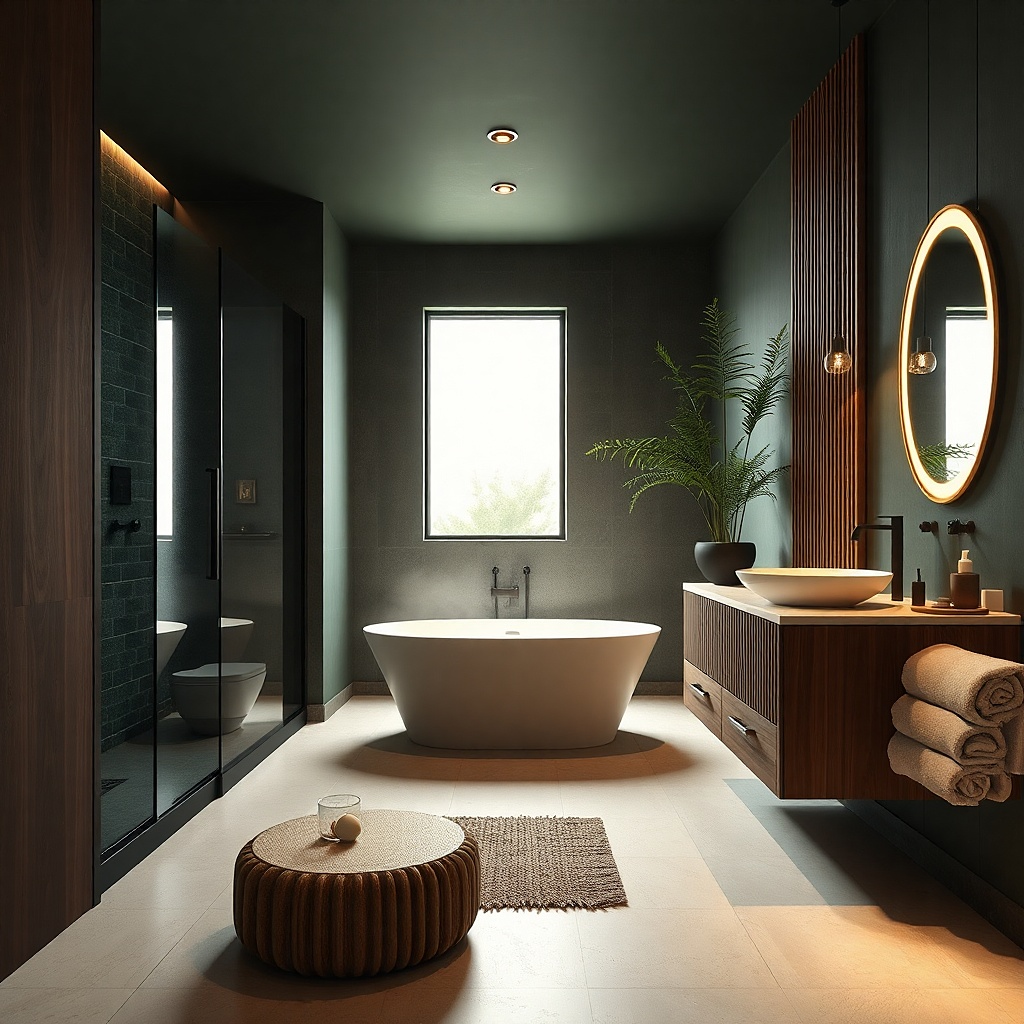
Monochrome taupe is the cleanest way to make a small bathroom feel like a spa. Choose matte wall tile in one taupe tone and repeat it on a vanity backsplash or a narrow accent band. Keep the vanity hardware in black or dark bronze, but keep it thin and minimal. This theme photographs well because there are no competing colors; your eye reads the room as one calm surface.
Select a single taupe tile series for walls and consider using the same tile on the shower floor in a different finish or texture. Set the walls in a straight pattern with consistent grout width, then add a niche lined with the same tile. Paint remaining walls in a matching taupe or a warm white that harmonizes with the tile undertone. Plan for a few accent pieces only: one mirror frame and one towel hardware finish.
Try thisUse a large mirror. In monochrome, the mirror shape becomes a design element, not decoration.
Common mistakeAvoid mixing glossy and matte randomly; it creates a patchy look in photos.
9. Ice Gray Tile and Clear Glass Lines
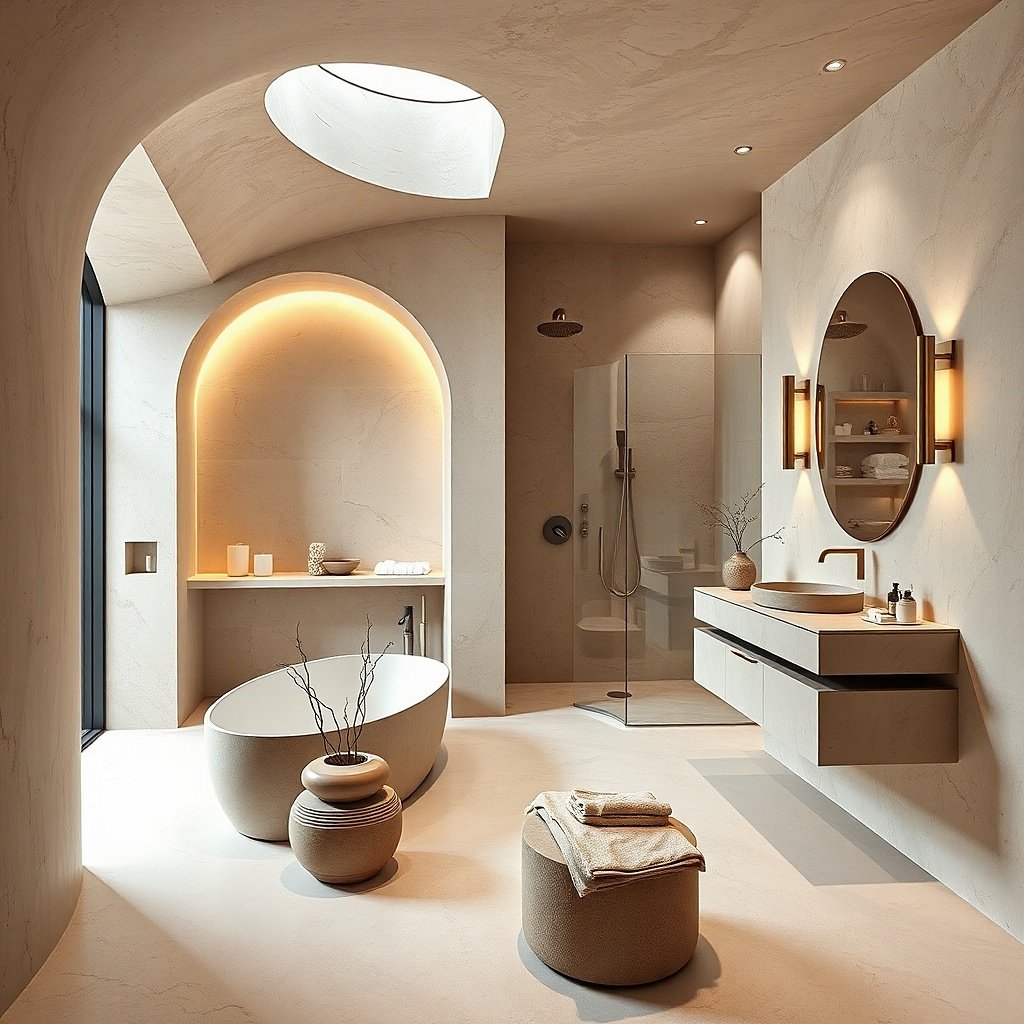
If you want a spa look that feels crisp and airy, ice gray tile works when the rest of the room stays bright. Use a cool gray tile with a smooth, satin finish and keep grout in a light gray that matches the undertone. Frameless glass helps because it keeps the visual lines clean and reduces the clutter feeling. Add a white vanity top and silver-toned fixtures for a fresh, hotel-bathroom mood.
Choose large rectangular tiles for walls to keep the pattern calm and reduce grout lines. Install a niche with the same tile and keep the shelf simple and level. Use a light floor tile with minimal pattern so the shower doesn’t fight the bathroom floor. For lighting, use a vanity fixture with a diffuser and warm-white bulbs to avoid the icy look turning sterile.
Try thisKeep the shower glass hardware in one finish so it doesn’t break the clean grid.
Common mistakeAvoid dark floors with ice gray walls; the contrast shrinks the room.
10. Seafoam Niche Accent Wall
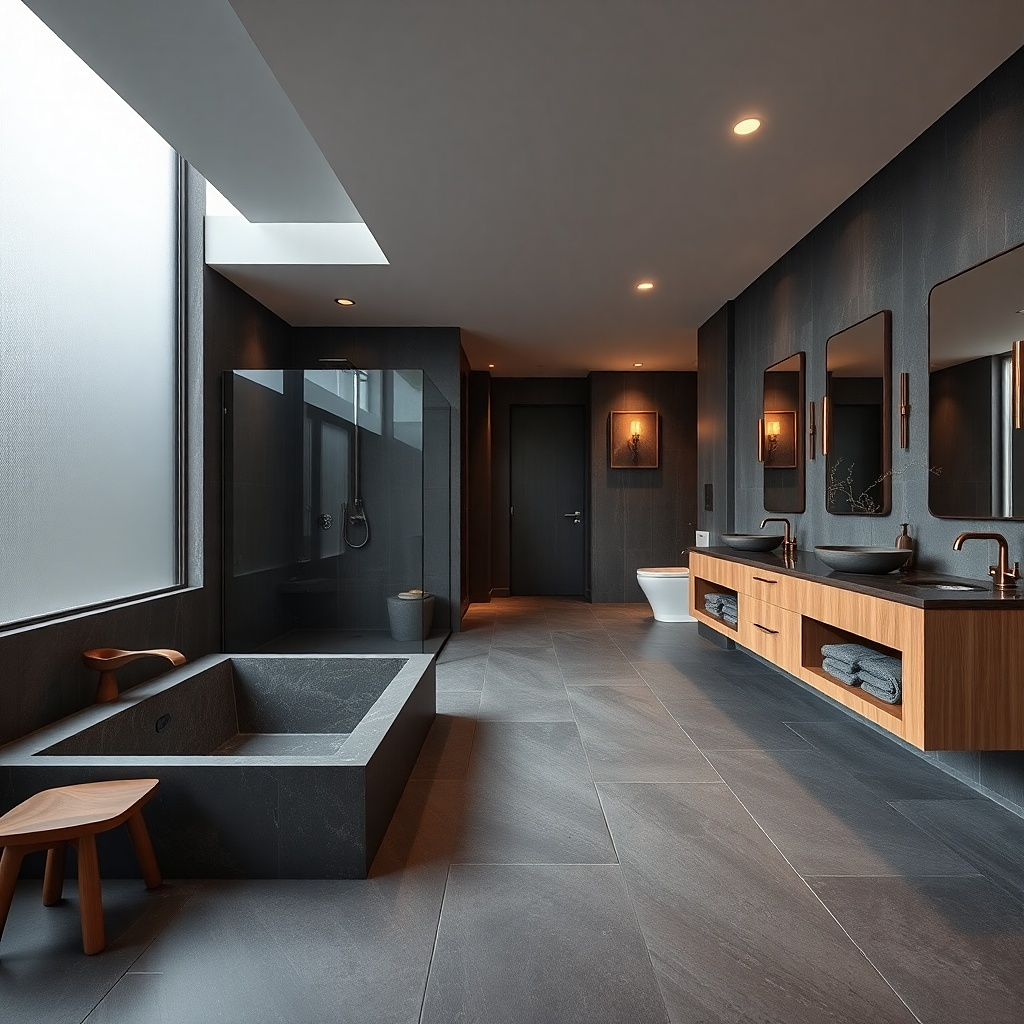
This is a smart theme if you don’t want to commit to colored walls everywhere. Use white tile throughout the shower, then make the niche the star with seafoam green tiles. The green reads like spa plants and calm water, but it stays contained so the bathroom stays bright. Pair with brushed brass fixtures and a light wood or warm white vanity to keep the seafoam from looking overly playful.
Pick white wall tile in a consistent format, then decide niche size — aim for a niche that’s about 12-18 inches wide and 18-24 inches tall depending on your layout. Line the niche with seafoam tile and keep the niche frame clean with consistent edges. Finish with a matching grout color and keep the shower floor neutral. This remodel is manageable because you’re only adding a color focal point.
Try thisUse seafoam only in the niche and maybe one small towel ring or cabinet pull; repeat it lightly for cohesion.
Common mistakeDon’t add seafoam to too many surfaces; the theme stops feeling spa-like and starts feeling themed.
11. Black Hardware and Marble-White Calm
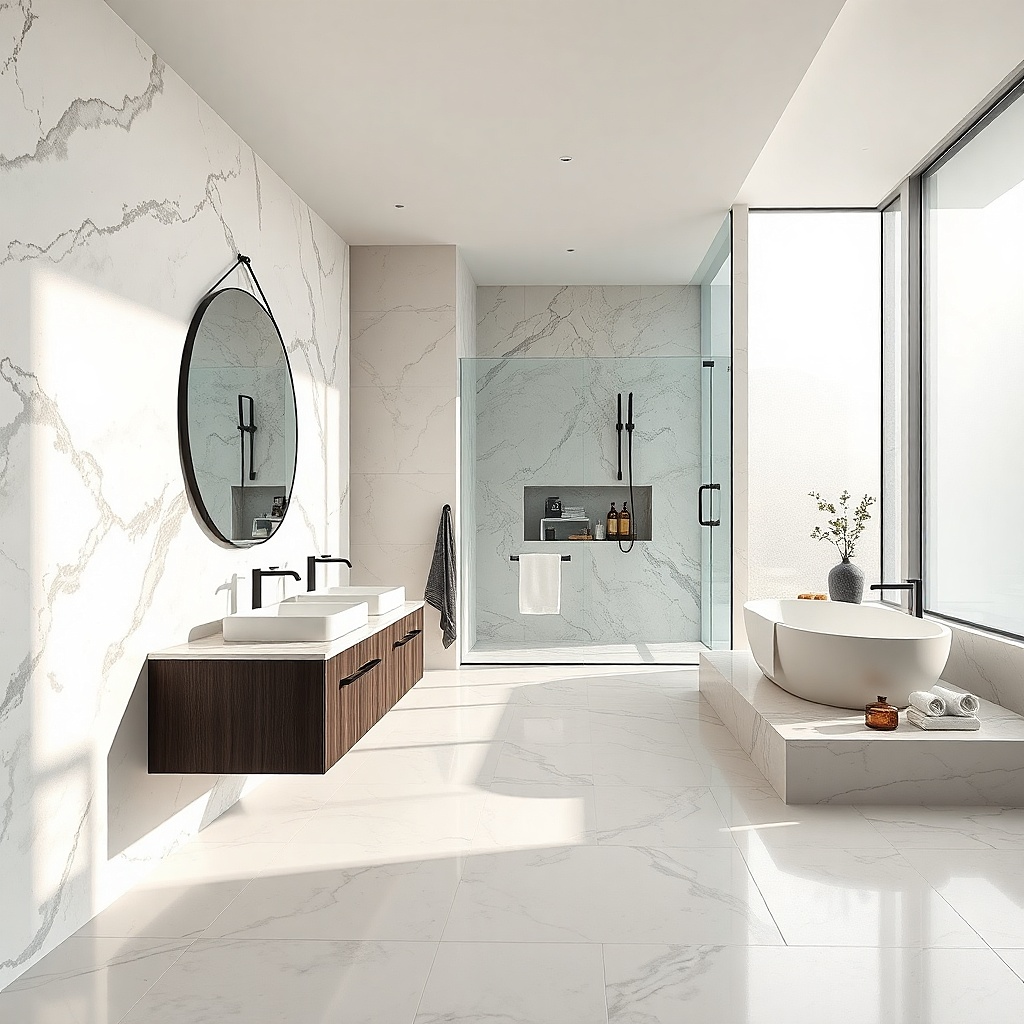
The spa look here is marble-white walls with crisp black hardware. It’s dramatic but still calming because the color stays neutral and the black is just trim. Use a marble-look tile with warm gray veining, keep grout soft white, and choose a matte black finish for the faucet, shower head, towel bar, and mirror hardware. Add a round mirror with a thin black frame to keep the bathroom feeling intentional and less boxy.
Install marble-look tile on walls using a layout that keeps veining from cutting off awkwardly near the niche. Use a frameless glass panel if you want the cleanest lines; otherwise keep the shower curtain rod minimal and matte black. Mount your towel bar at a consistent height and keep it aligned with the faucet so the vertical lines look planned. Costs are moderate if plumbing stays put; you’ll spend more on tile quality and fixtures.
Try thisMatch the finish of every visible metal part — even drain trim and mirror clips matter.
Common mistakeAvoid mixing matte black with shiny chrome; the mismatch screams “leftover parts.”
12. Textured White Tile and Hidden Lighting
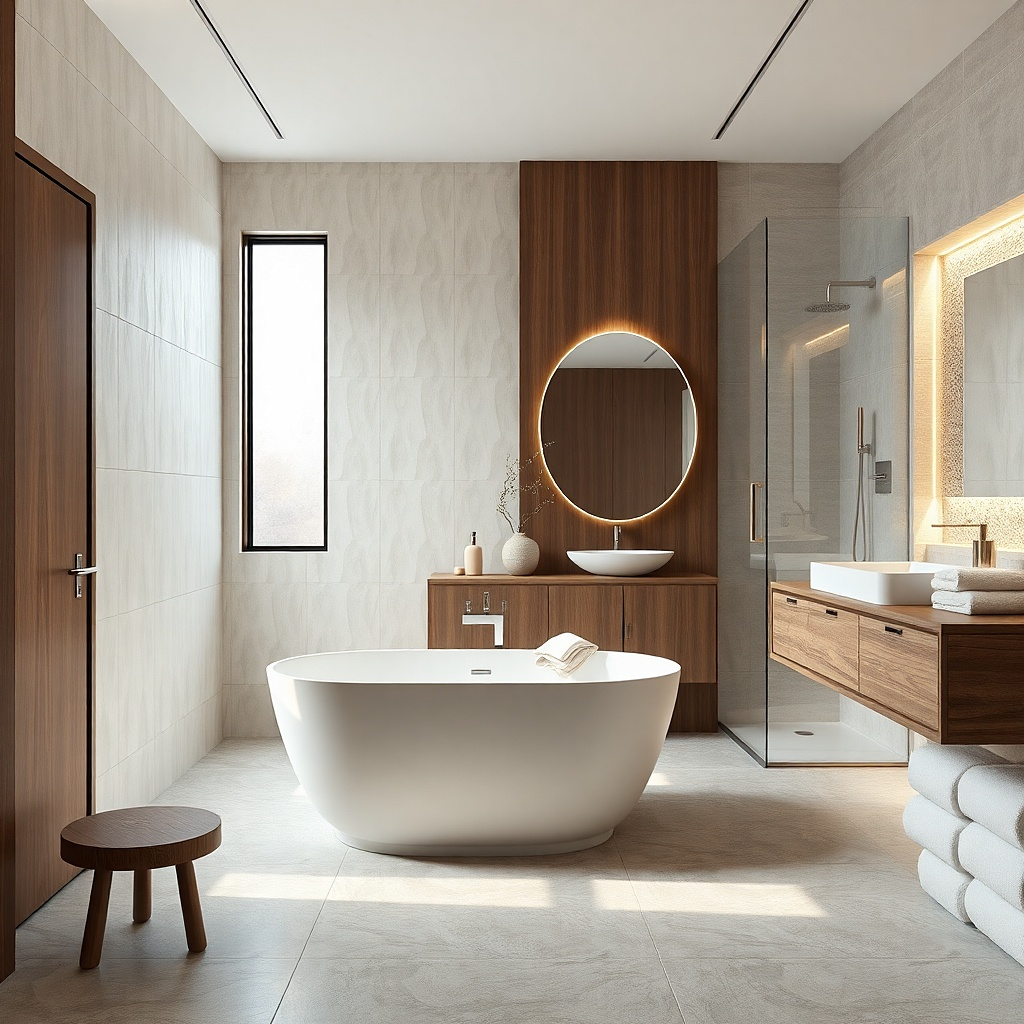
Texture makes a spa bathroom feel luxurious even when the palette is simple. Choose a soft white tile with micro texture (not big 3D shapes) so it catches light without being busy. Add hidden lighting inside or behind the niche so shadows look warm and dimensional. Keep everything else white and light, then pick a satin brass or brushed nickel trim to avoid harsh shine.
Select textured tile in a manageable size like 3x12 or 4x12 and keep grout in an off-white to blend the texture. Install the niche and plan the light placement before tile setting; run low-voltage LED strip wiring to a safe connection point and use a waterproof rated system. After tile is set and sealed, install a frosted niche shelf cover so light diffuses rather than spots. This is a good option if you want “spa mood” without changing the whole bathroom layout.
Try thisUse warm-white LED (2700K) and a dimmer if the wiring allows; the glow is the effect.
Common mistakeAvoid bright, cool-white LEDs; textured tiles look chalky and harsh under 4000K light.
13. Sandstone Beige with Oversized Floor Tile
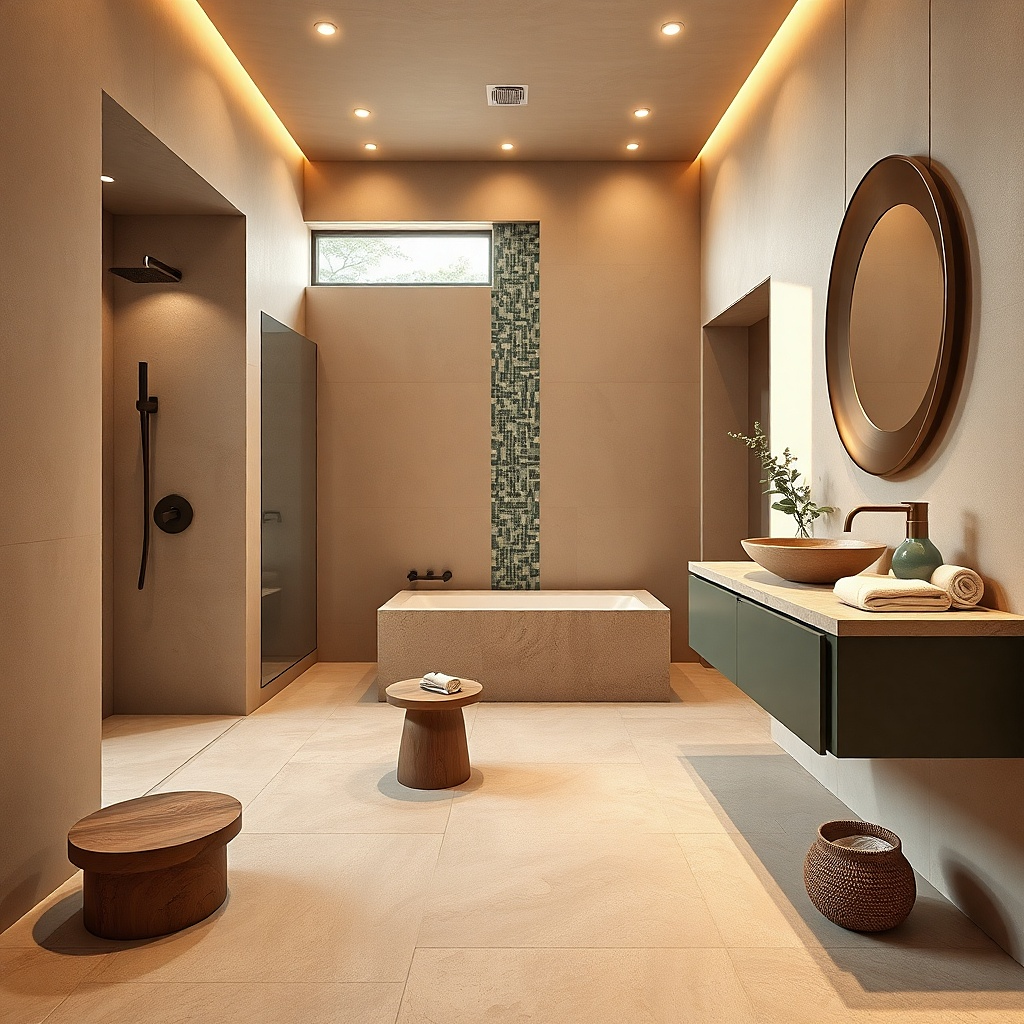
Oversized floor tile is one of the fastest ways to make a small bathroom feel larger. Pair sandstone beige wall tile with a big-format floor tile that has subtle variation and minimal pattern. This theme reads spa because it’s calm and continuous, like a hotel suite bathroom. Add a simple curb or a low-profile shower base and keep the shower glass clear so the floor lines stay uninterrupted.
Choose a wall tile in a warm beige and set it in a straight layout. For the floor, pick a larger format tile and plan your layout so seams land near the room center, not at the doorway threshold. Install the floor tile with a consistent slope if you’re doing a wet-area drain, then set the walls so they align with the floor edges cleanly. Expect extra time if your bathroom has an awkward footprint; layout planning pays off here.
Try thisKeep transitions simple: same tile color family from floor to shower threshold looks expensive.
Common mistakeAvoid busy patterned floor tile; in small bathrooms it reads clutter, not calm.
14. Linen White + Soft Gray Grout Spa
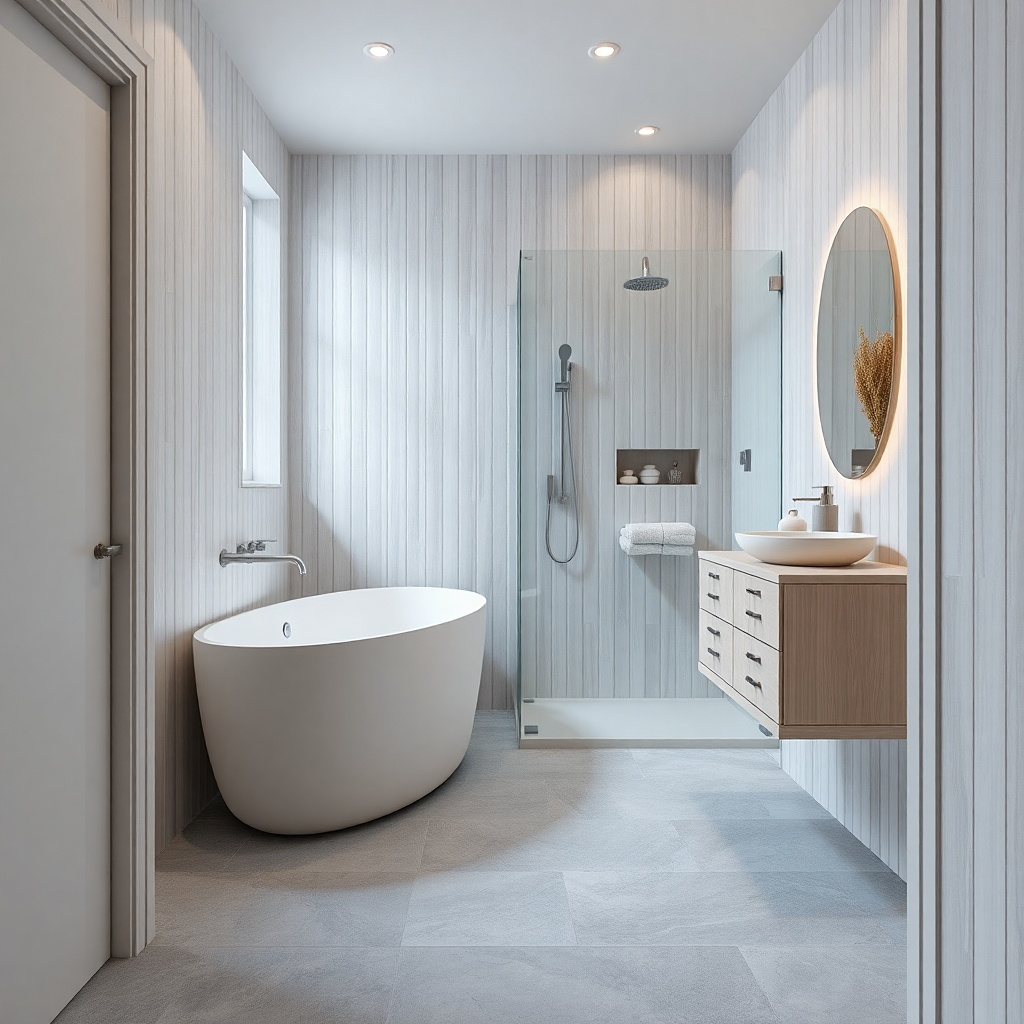
Linen white is warmer than pure white and feels more like a spa towel than a hospital wall. Pair it with soft gray grout to create a gentle grid instead of stark lines. This theme stays airy while still looking styled. Add a light gray vanity top and brushed nickel trim for a clean, modern-spa look that doesn’t feel cold.
Pick linen white tile and verify the undertone by holding it next to your vanity or paint sample in daylight. Use soft gray grout and keep grout lines consistent across walls and niche. Install a simple rectangular niche and line it with linen white tile so it blends. Finish by using a minimal shower drain trim and a fog-resistant mirror with a slim profile.
Try thisBring your grout sample to the store and compare it under bathroom lighting grout can look too dark once installed.
Common mistakeAvoid mixing linen white tile with bright white walls; the undertones fight.
15. Moss Green and Warm Limestone
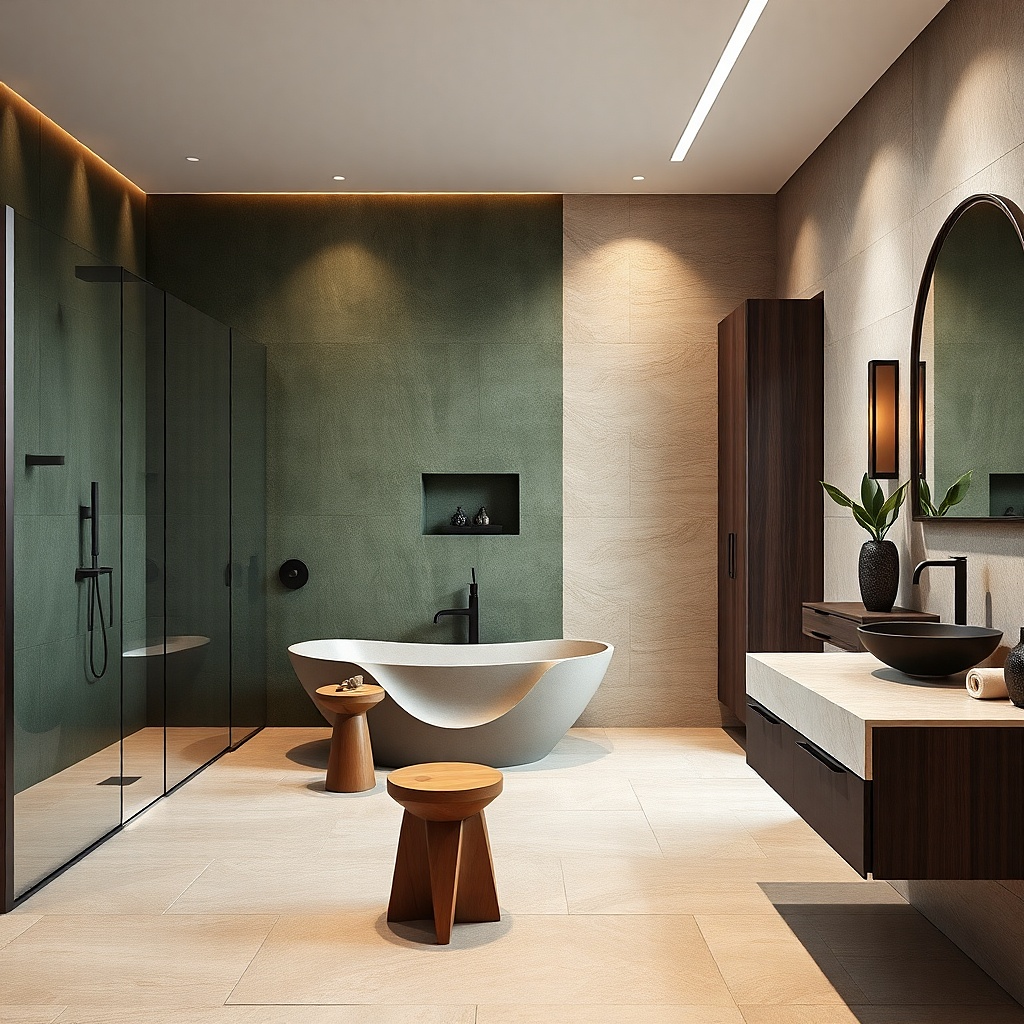
Moss green reads grounded and spa-like when it’s paired with warm limestone tones. Use moss green tile as an accent one wall or a vertical band behind the vanity — and keep the shower walls in warm limestone beige. The mix creates depth without making the room feel dark because only one zone carries the color. Finish with warm brass hardware and a light wood towel ladder or small vanity stool for a natural feel.
Choose a warm limestone-look tile for the shower walls and floor. Apply moss green tile to the vanity wall or a single accent band that aligns visually with the mirror centerline. Keep grout in a warm gray so the green doesn’t look harsh. This remodel is most manageable if you’re not moving plumbing; it’s mainly tile placement and hardware swaps.
Try thisAlign your moss green band height with the mirror and top of the vanity so the theme feels intentional, not random.
Common mistakeAvoid moss green on the entire shower unless your bathroom has strong natural light; it can feel gloomy.
16. Hotel-Style White with Textured Ceiling Paint
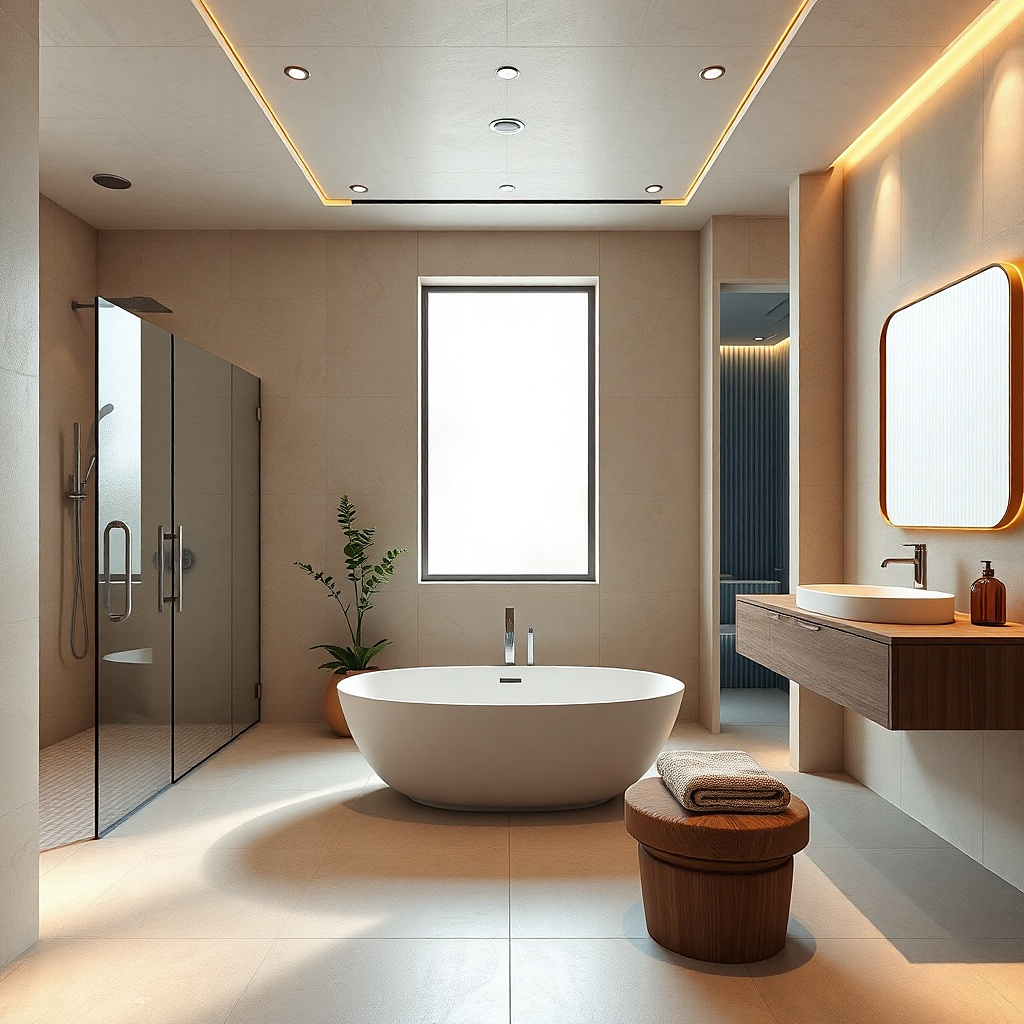
Sometimes the best themed remodel idea is making the room feel like a clean hotel spa: bright, uniform, and stress-free. Use bright white tile in the shower, but choose a matte or satin finish so it doesn’t glare. Then upgrade the ceiling paint to a washable matte and keep it clean and uniform. Add one spa detail: a built-in niche and a frameless glass panel so the shower area looks finished, not temporary.
Use a consistent tile size across the shower walls and niche and set it with straight lines. Paint the rest of the bathroom in a true bathroom paint with a satin or matte finish and prep the drywall well so it doesn’t show patch marks. Install the frameless glass panel and keep the shower trim finish consistent. This approach is lower-cost than full material upgrades because the theme comes from uniformity and a clean shower core.
Use a single towel color family (white + light gray) so the bathroom looks styled even with everyday use.
Avoid high-gloss paint on small ceilings; it reflects light and makes imperfections obvious.
17. Moody Espresso Tile with Light Wood Counter
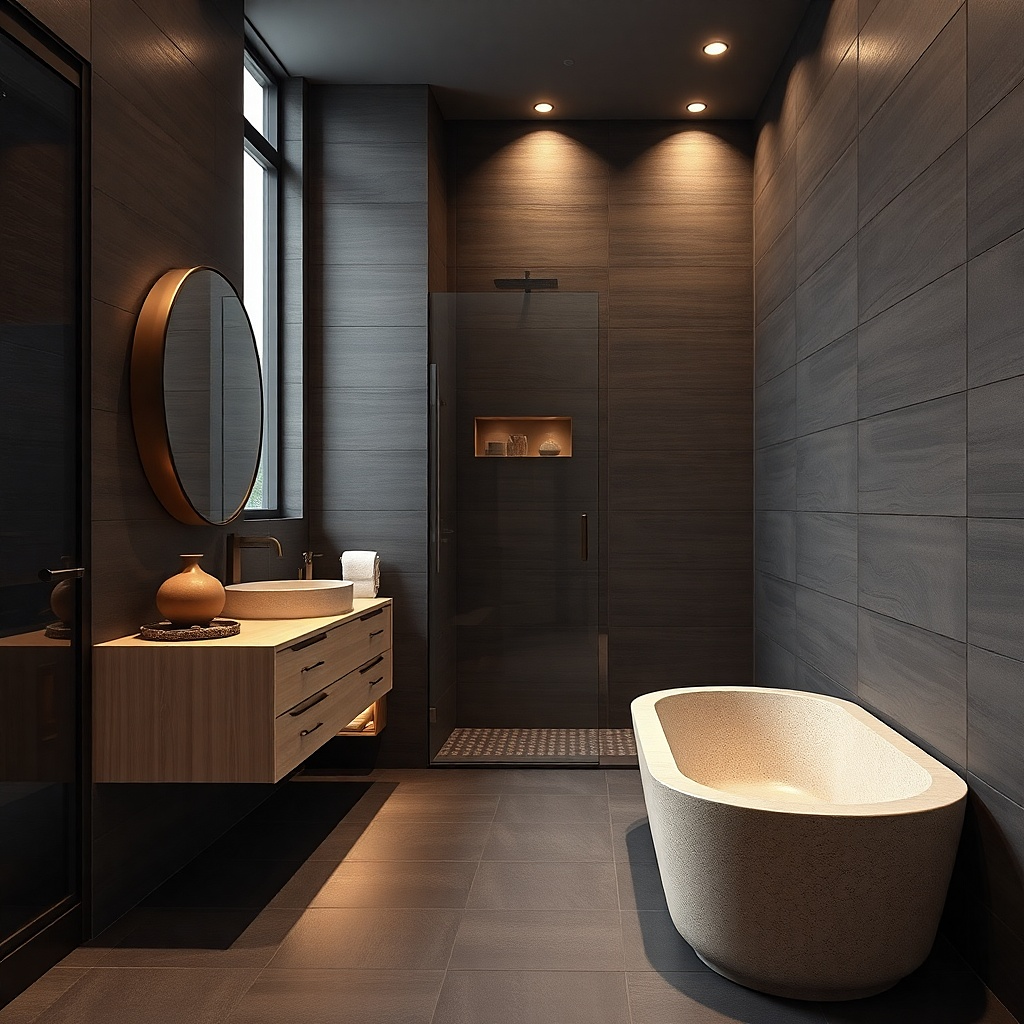
Espresso-brown looks spa-like when it’s paired with light wood and controlled contrast. Use espresso tile as a wall surface, but keep grout in a warm light brown or light gray so the grid stays readable. Then add a light wood vanity top and a pale wall paint so the room doesn’t shrink. This theme is for people who want “relaxing mood” more than airy brightness.
Pick espresso wall tile in a large format so it doesn’t fragment the room. Install a niche and line it with the same espresso tile, then use a light shelf or shelf lighting to keep it from looking like a hole. Use a light wood-look porcelain on the vanity backsplash or cabinet front. Install a warm-white vanity light and a black-framed mirror to finish the contrast.
Choose one warm metal finish, like dark bronze, to tie together espresso tile and wood.
Avoid pairing espresso tile with cool gray furniture tones; it reads off-balance.
18. Terrazzo-Spot Accent for a Modern Spa
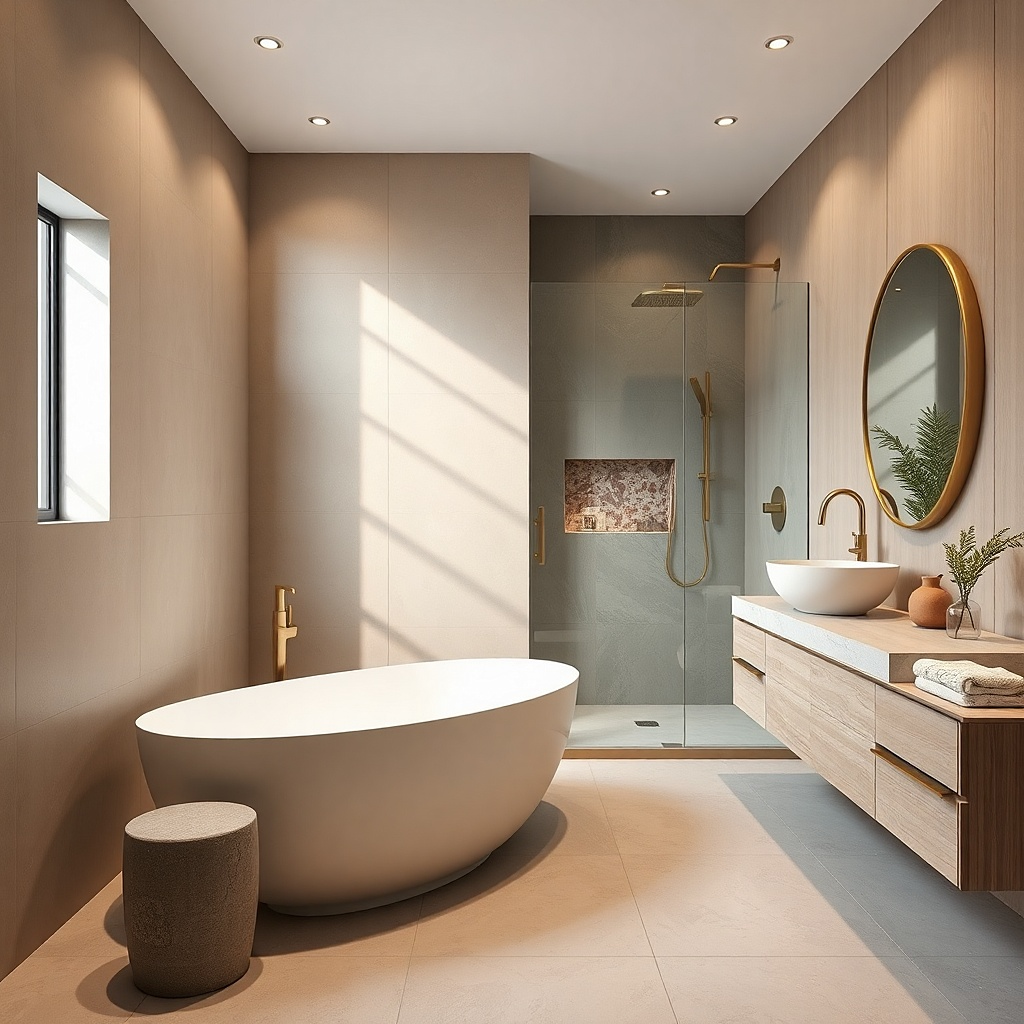
Terrazzo can look spa-like if you use it as an accent, not a full-room pattern. Keep the main shower walls white and smooth, then add a terrazzo-look border tile around the niche or as a narrow vertical panel. The speckled surface hides water spots visually and adds a premium texture. Use brushed brass trim and a calm neutral floor to keep it from turning into a trend board.
Choose a terrazzo-look tile in a narrow format or as a decorative border strip and decide exactly where it lands — behind the niche or along the shower edge. Install the white wall tile first, then place the terrazzo accent with straight alignment and consistent grout joints. Use a neutral floor tile and keep grout colors coordinated so the terrazzo doesn’t look glued on. This is a good remodel for people who want photogenic detail without redoing every surface.
Try thisUse terrazzo only where the eye already rests: niche, bench, or behind the mirror.
Common mistakeAvoid terrazzo on the entire floor of a small bathroom; it makes the space feel visually noisy.
19. Rounded Corner Softness with Curved Vanity
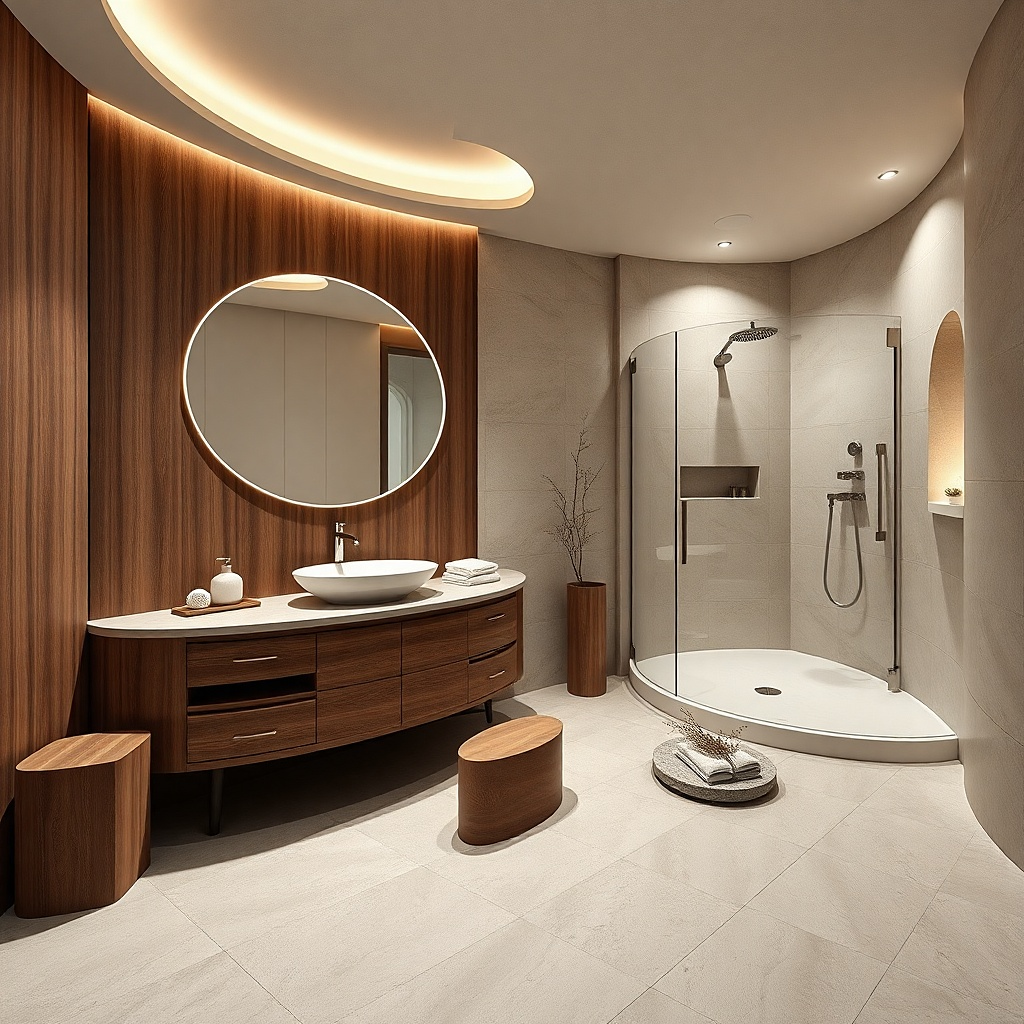
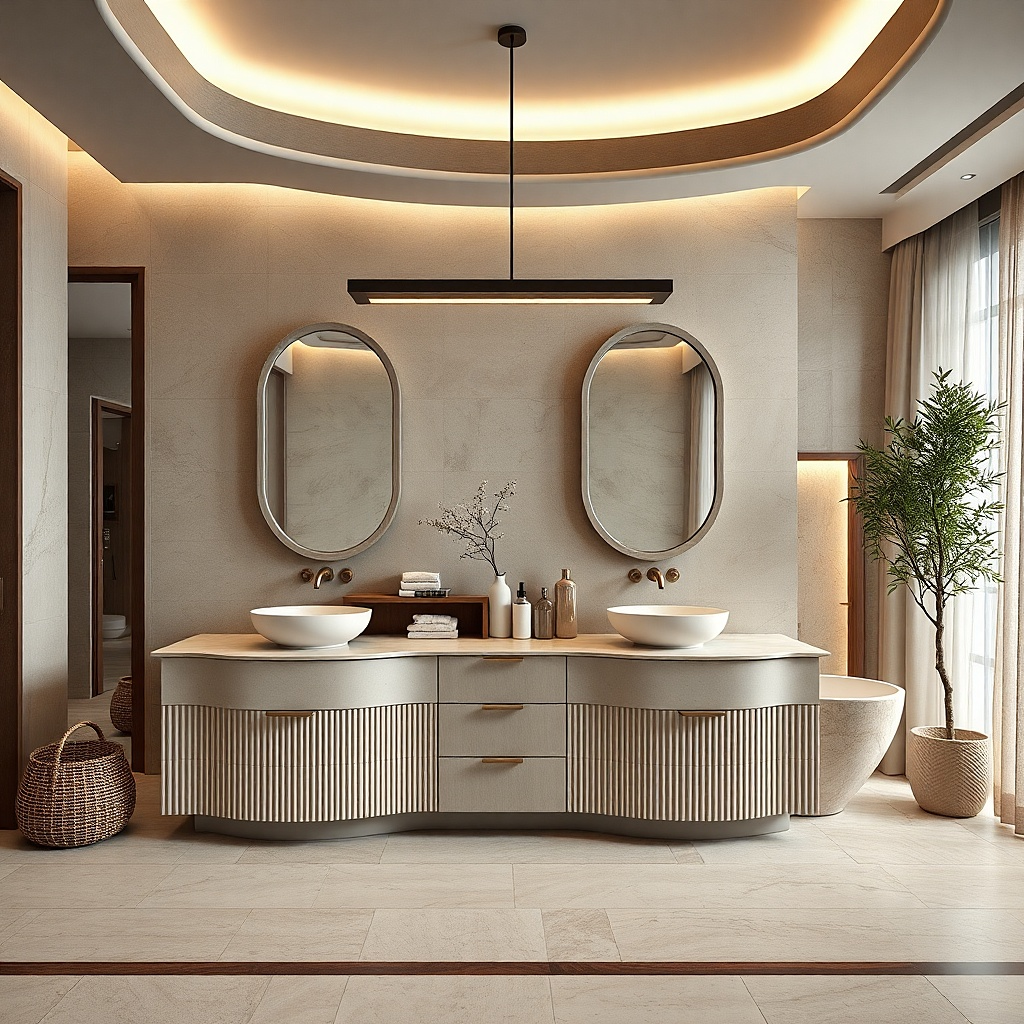
Spa design feels calming partly because of softer geometry. In a small bathroom, rounding one key element like a vanity with rounded corners or a curved shower bench makes the whole room feel less harsh. Pair rounded forms with simple white tile and a consistent metal finish. This theme is photogenic because light wraps around curves, and the bathroom looks less boxy in photos.
Choose a vanity with rounded edges and a shallow depth that still fits your plumbing clearance. Keep shower walls simple with large-format white or light gray tile and add a niche to anchor the design. If you’re adding a bench, use a pre-formed waterproof curved bench kit or a tile system that supports curves cleanly. Finish with a rounded mirror and matching rounded towel ring to repeat the softness.
Try thisUse a single rounded mirror instead of multiple accessories; one shape repetition is enough.
Common mistakeAvoid mixing rounded vanity with sharp, heavily patterned tile; the room will feel inconsistent.
20. Bamboo-Look Tile Bench and Neutral Walls
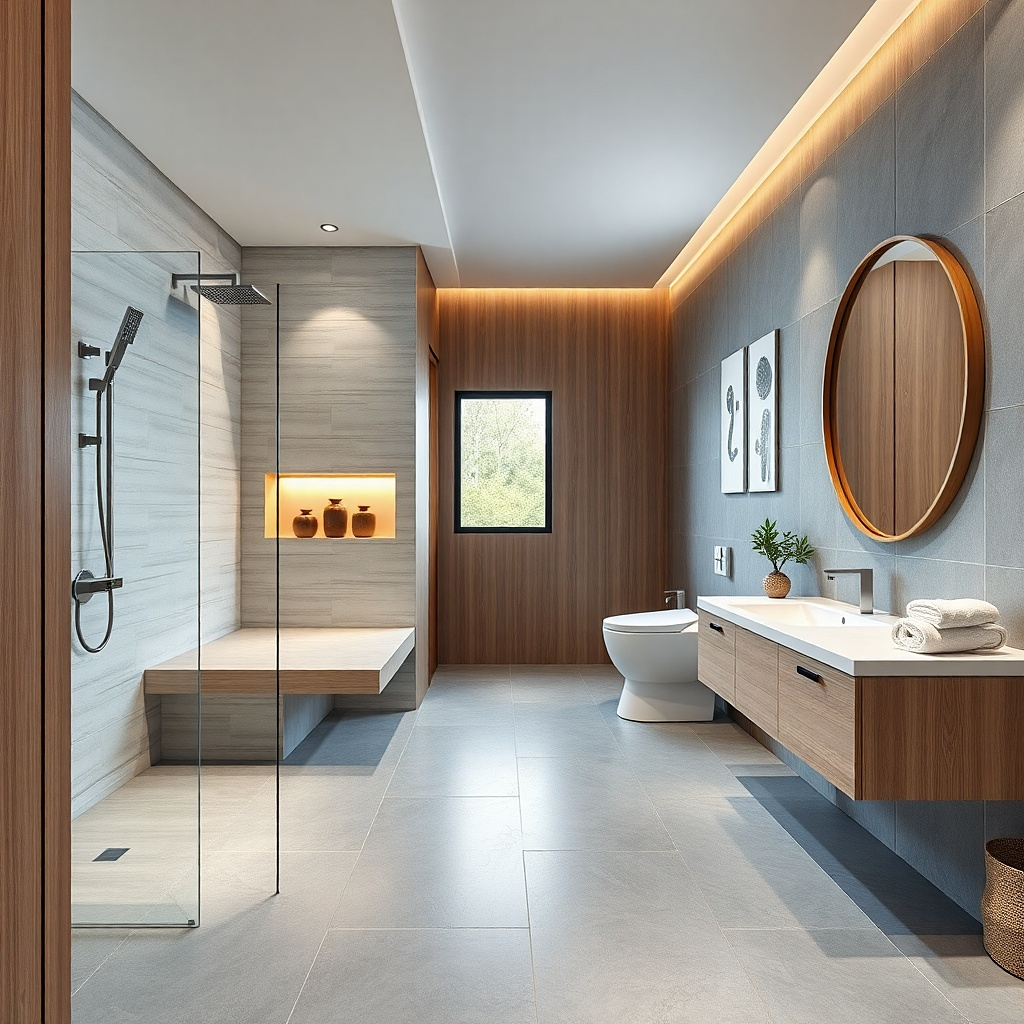
A bench is where spa themes become real, not decorative. Use neutral shower walls in warm white or light beige, then make the bench the focal point with bamboo-look or slatted tile designed for wet areas. The bench adds comfort and gives you a clear design story: relaxation. Keep the rest of the bathroom clean and neutral so the bench reads like an intentional spa feature, not an afterthought.
Confirm your shower size first. Build or install a waterproof bench kit and set it so it’s centered on the back wall or the side wall where you’ll use it. Tile the bench surface with bamboo-look tile or slatted tile designed for bathrooms, then line the surrounding walls with a simple neutral. Finish with a niche and a single towel hook placed within easy reach from the bench area.
Try thisUse a handheld shower and a wall-mounted holder; it makes the bench feel designed for bathing, not just sitting.
Common mistakeAvoid placing a bench in a cramped shower where your knees hit the glass; comfort needs real clearance.
21. Cream Tile with Soft Gold Accents
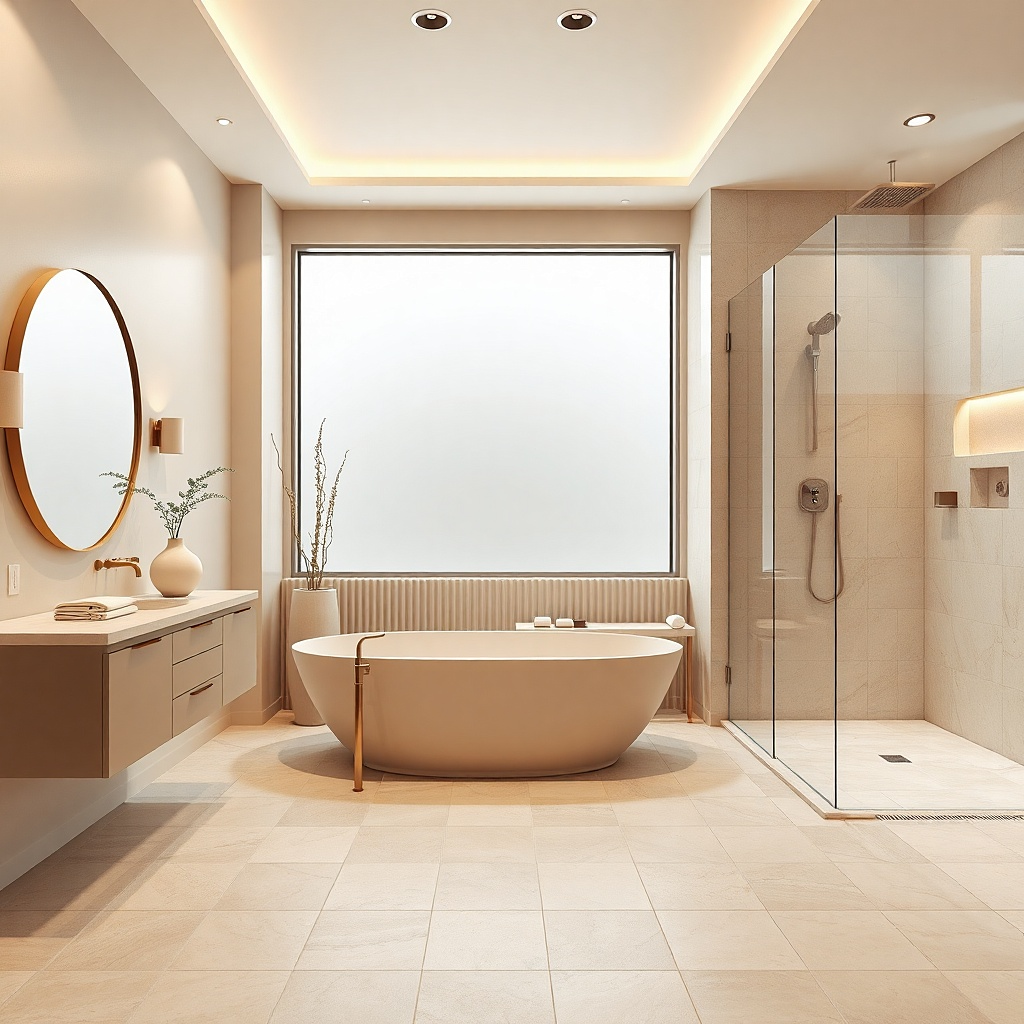
Cream tile plus soft gold accents is a spa look that feels warm, not flashy. Choose cream or ivory tile with a satin finish, then use champagne gold or warm brushed brass for fixtures. The goal is a gentle glow — the gold should look like it belongs to the room, not like jewelry. Add a warm beige vanity top and towels in cream or light caramel so everything looks cohesive.
Pick cream tile and match grout to a light warm gray so it blends. Install a niche and line it with the cream tile, then use a gold shelf accent if your niche kit allows it. Choose a vanity with minimal shine and a warm undertone so it doesn’t clash with brass. For lighting, use warm-white bulbs and place the vanity light so it reflects off the mirror edge, not directly into your eyes.
Use one gold finish across the entire room: faucet, shower trim, towel bar, mirror hardware.
Avoid mixing gold with bright silver; it makes the bathroom look unfinished.
22. Blue-Gray Calm with Matte Porcelain
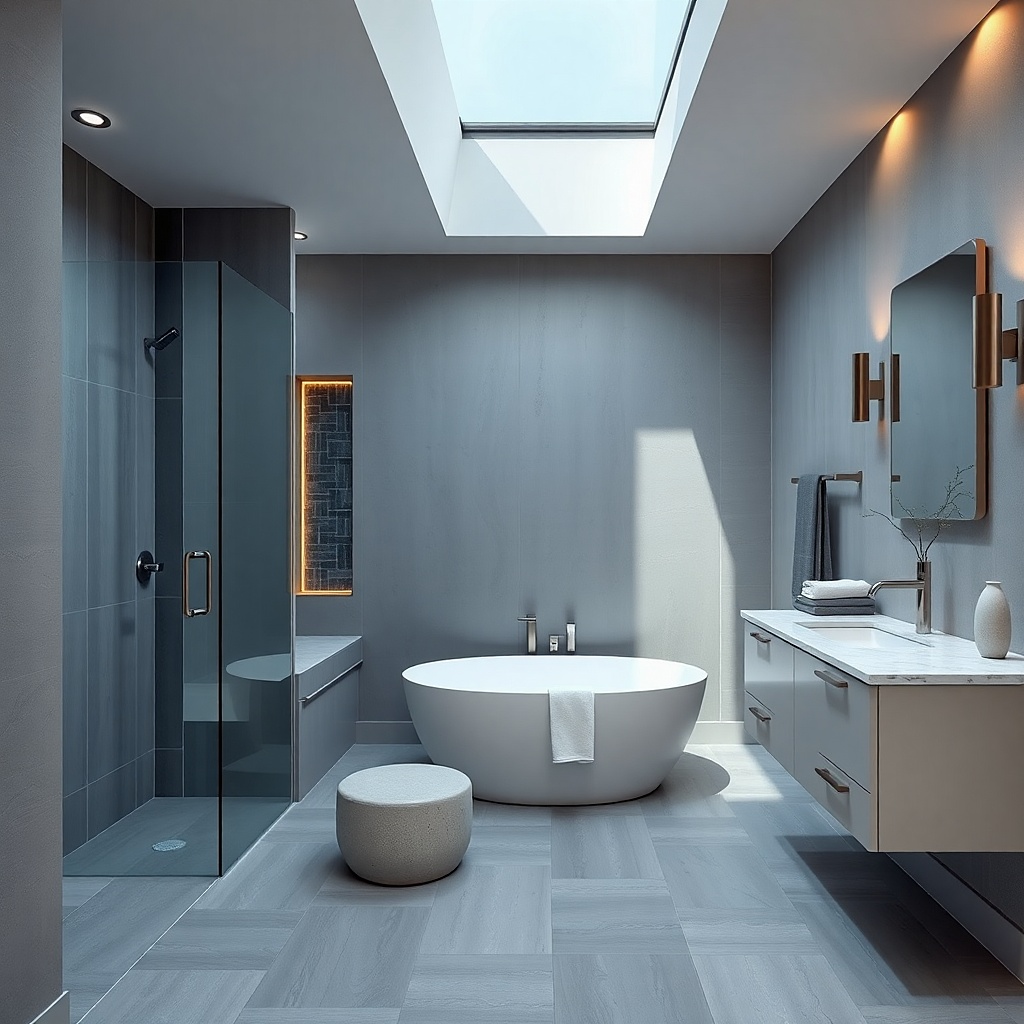
A blue-gray palette makes the bathroom feel cooler and calmer, like a quiet morning. Use matte porcelain wall tile in blue-gray, keep grout in a light gray that matches the undertone, and pair with a white or off-white tub surround if you’re doing a tub. Keep the metal trim in chrome or brushed nickel, and choose towels in white with subtle gray. This theme works well when your bathroom gets decent natural light.
Select a blue-gray matte porcelain in large rectangles to reduce visual clutter. If you have a tub, keep the tile height consistent — run the tile from floor to about 72 inches or to the tub deck line so the room looks framed. Install a niche and line it with the same tile, then add a neutral floor tile in warm white to prevent the room from becoming too cool. Plan for careful caulking at tub edges and corners; matte tile shows uneven caulk.
Use a slightly warmer bulb than you think you need; it prevents blue-gray from turning steel-cold.
Avoid glossy blue accents; they reflect light harshly in small bathrooms.
23. Geometric Calm with One Pattern Band
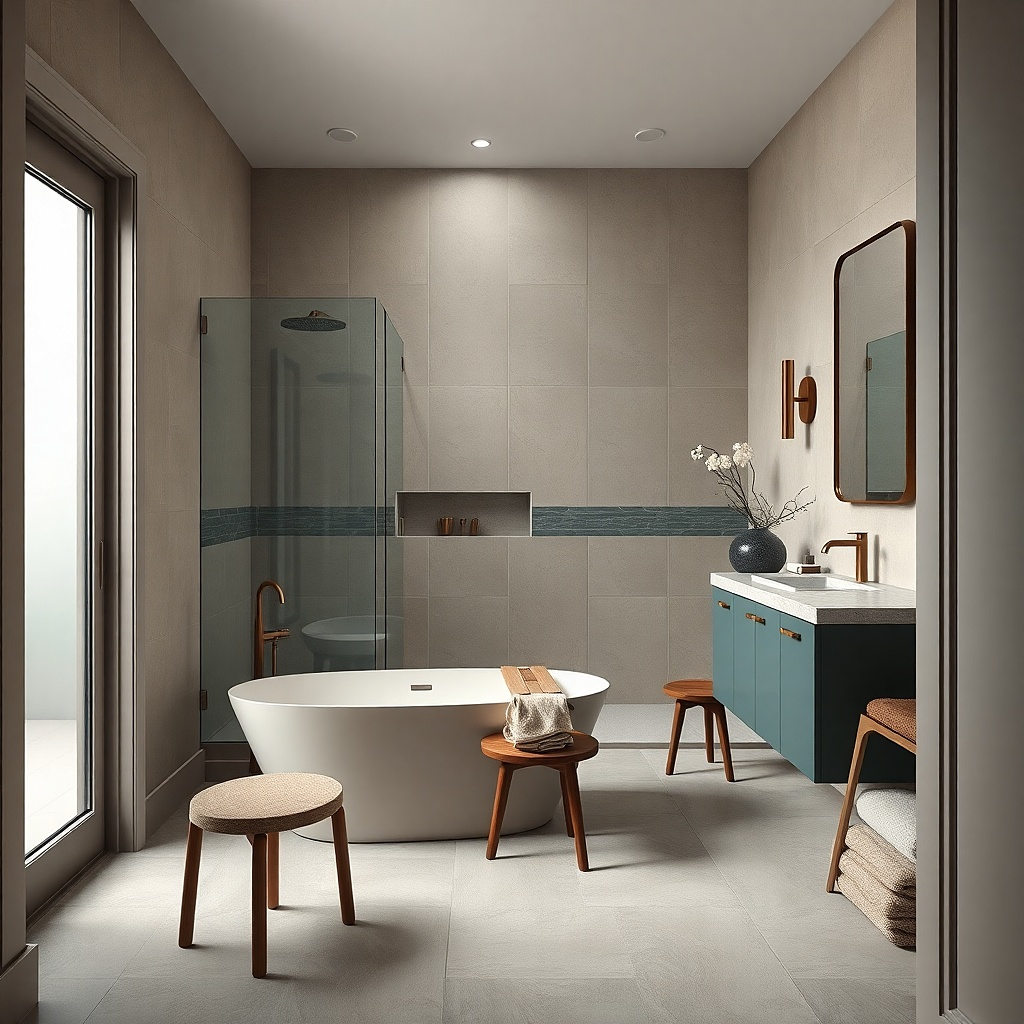
Geometric tile looks spa-like when it’s controlled: one pattern band and everything else stays plain. Use white, smooth tile on the majority of the shower walls, then add a narrow geometric band — about 12-18 inches tall centered around the niche. The pattern adds visual interest without turning the room into a puzzle. Use brushed nickel or matte black fixtures to keep the theme modern and clean.
Choose the patterned band tile first and measure its height, then plan where it sits relative to your niche center. Install the plain tile walls up to the band area, then set the pattern band with careful alignment and consistent grout width. Keep the niche lined with plain tile so it reads clean and not overly busy. Finish with a neutral shower floor and a simple vanity so the band stays the focal point.
Try thisCenter the pattern band on the niche, not the shower door; it looks more intentional in photos.
Common mistakeAvoid multiple patterned zones; two different patterns in a small bath looks chaotic.
24. Spa Bench with Wetroom Tile Steps
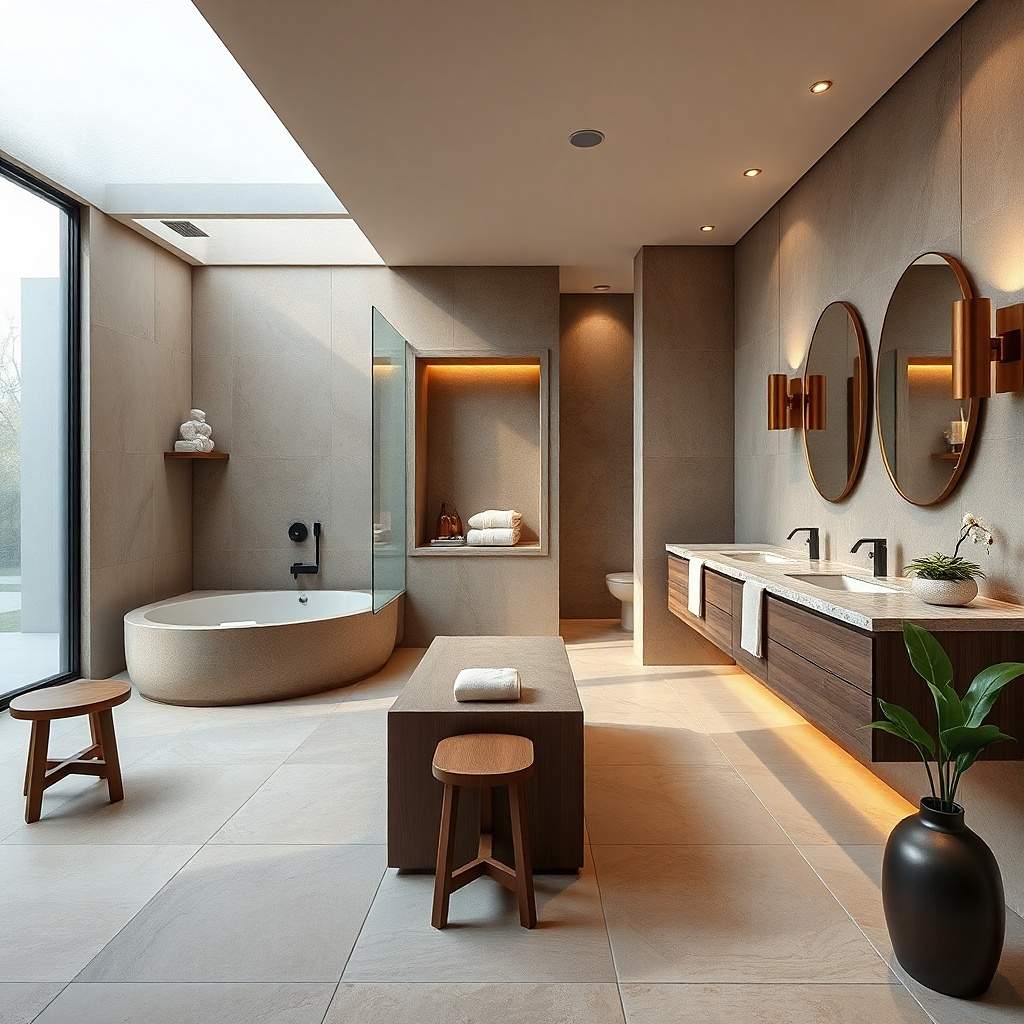
For people who want the spa feel most not just the spa look add a bench and a subtle stepped tile detail. Use neutral tile like warm white or light beige on the walls, then create a corner bench with a slightly stepped edge so it looks built-in. The stepped detail catches light and reads premium in pictures. Pair with a frameless glass panel and warm lighting so the shower zone feels like a destination.
Pick a shower corner where you can fit a bench without blocking movement. Build the bench with a waterproof system, then tile the bench face and side with consistent grout lines so it looks like one continuous feature. Add the stepped tile edge by planning the tile sizes so each step has full tiles where possible. Finish by waterproofing seams and using a matching caulk color at the glass and niche junctions.
Try thisUse a handheld shower head and mount it so water hits the bench area evenly; it makes the feature feel functional, not decorative.
Common mistakeAvoid a bench that’s too shallow; it should feel like a place to sit, not a shelf.