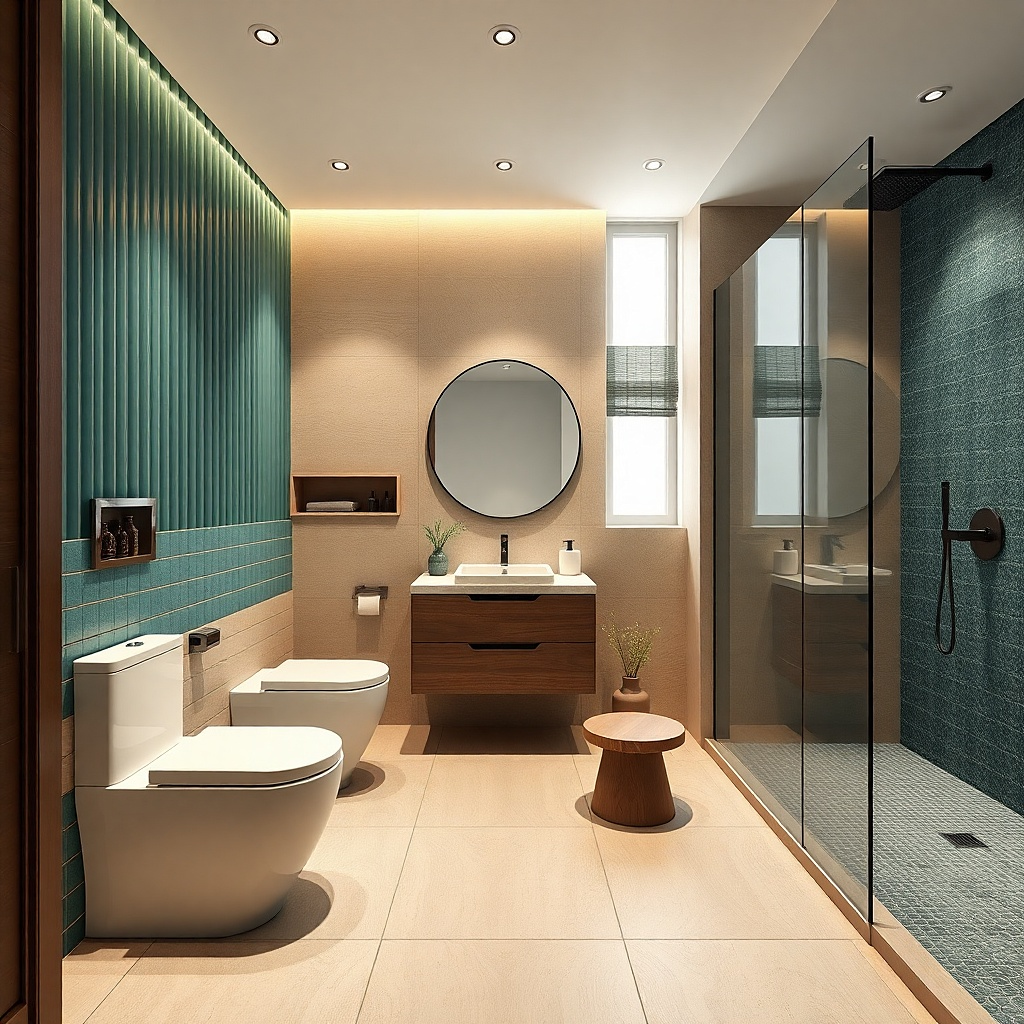
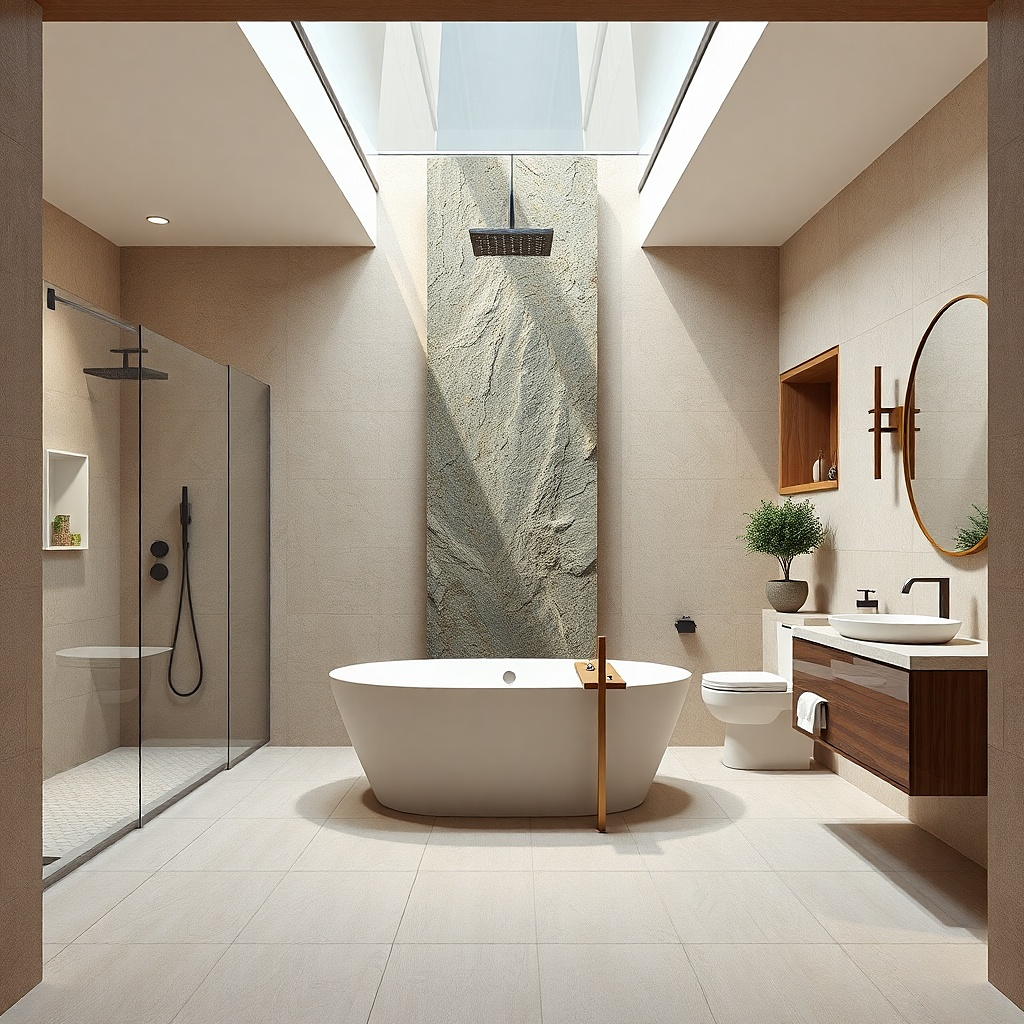
1. Door-View Centered Tub on the Longest Wall
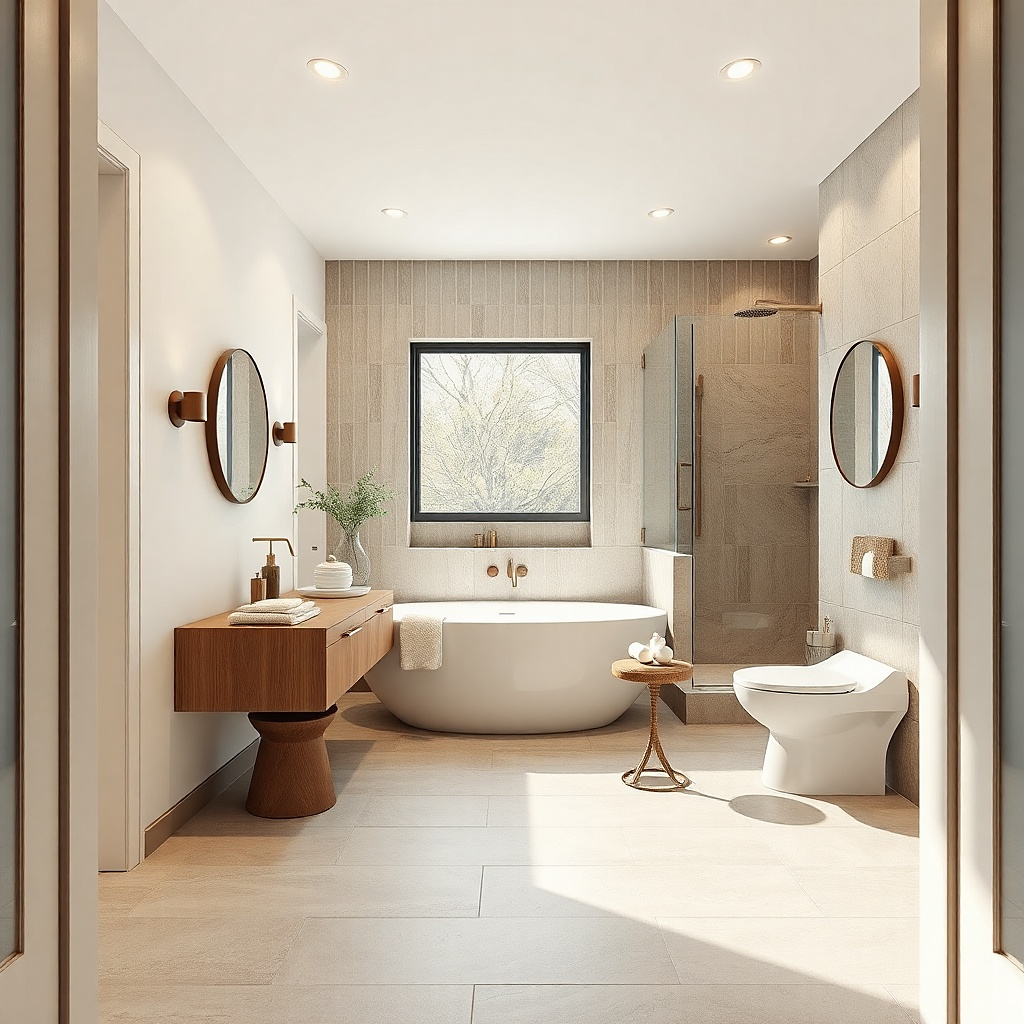
This layout works when your tub can be seen immediately from the doorway, which makes the bathroom feel designed instead of squeezed. Place the tub on the longest wall so your eye lands on the tub first, then moves to the vanity. Keep the tub a few inches off the wall edge so the silhouette stays crisp, and paint the wall behind it a soft warm white or greige to separate the tub from the background. A dark floor tile (matte charcoal or espresso) anchors the scene and stops the room from looking washed out in photos.
Measure from the doorway to the planned vanity location and confirm you can keep a 30 in clear path. Center the tub on the long wall, leaving about 2-4 in between the tub rim and the wall if you can for visual breathing room. Install the tub so the drain aligns with the rough-in — if your existing drain is off, choose a tub with a compatible drain position rather than forcing the pipe line. Finish by adding a vanity bar light at eye level and one sconce or wall wash near the tub wall so the tub reads bright, not shadowy.
Try thisHang a large mirror that spans at least 60 in and sits directly above the vanity it makes the door-view feel wider.
Common mistakeDon’t center the tub if it forces the vanity door to swing into the tub clearance zone.
2. Toilet Wall Anchor With Tub Float Beside It
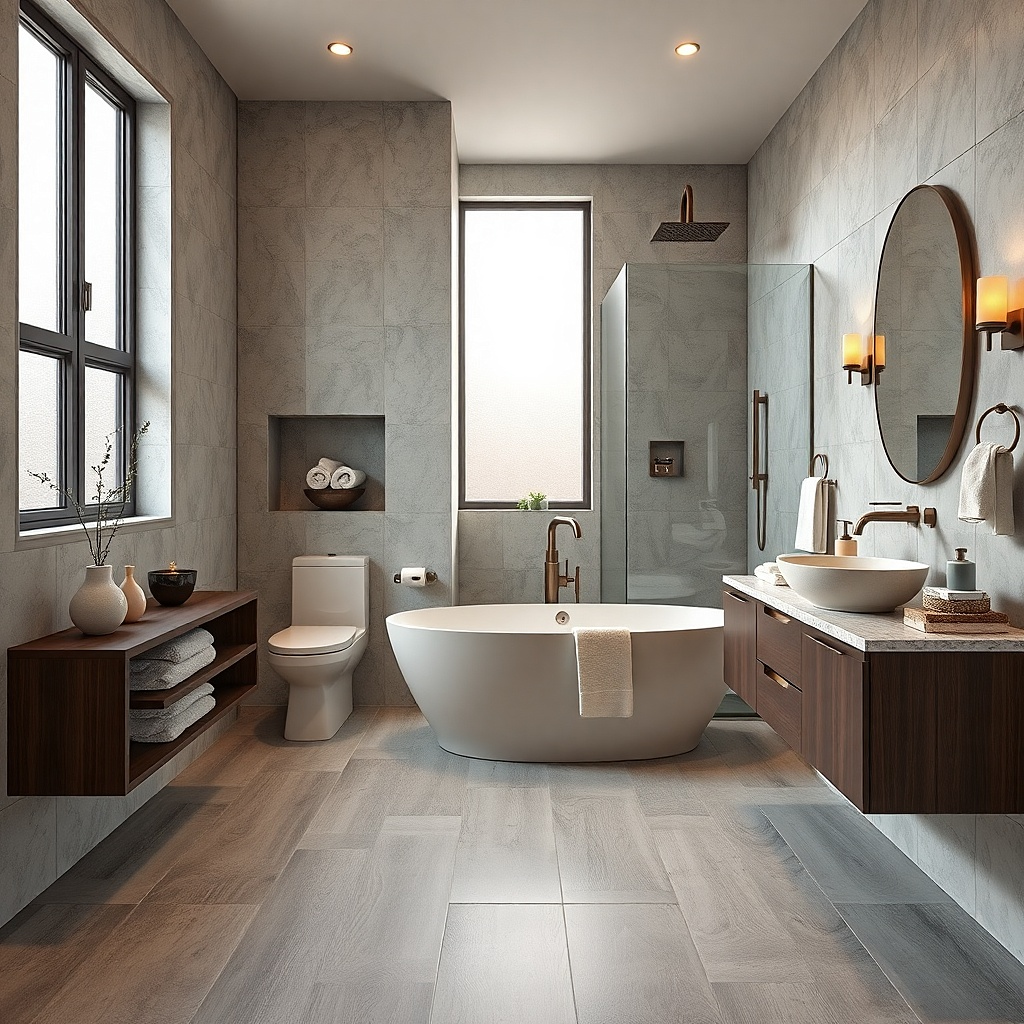
If your toilet can’t move, treat it like the layout anchor and place the tub beside it on the same side of the room. This avoids the worst small-bath problem: a tub that blocks the only approach line to the vanity. Use a tub with a rounded apron or a straight-backed model so the silhouette doesn’t overhang into the walkway. Keep the wall color light and use a medium-tone tile on the floor to create contrast under the tub legs.
Confirm toilet-to-wall clearances first, then place the tub so you still get about 30 in of travel from the entry to the vanity. Set the tub edge so it leaves a comfortable gap from the toilet tank and avoids bumping when someone turns toward the vanity. Plan the drain line early; if you can’t move plumbing much, pick a tub whose drain location lines up with your existing rough-in. After the tub is set, run the tile up to the same visual height as any backsplash so the floor and wall look continuous.
Use a frameless glass panel or a short half-wall splash guard behind the tub if you’re using it as a shower too; it keeps the room clean-looking.
Avoid placing the tub too close to the toilet — the gap looks cramped in photos and feels worse in use.
3. Corner-Adjacent Tub With a Fluted Screen
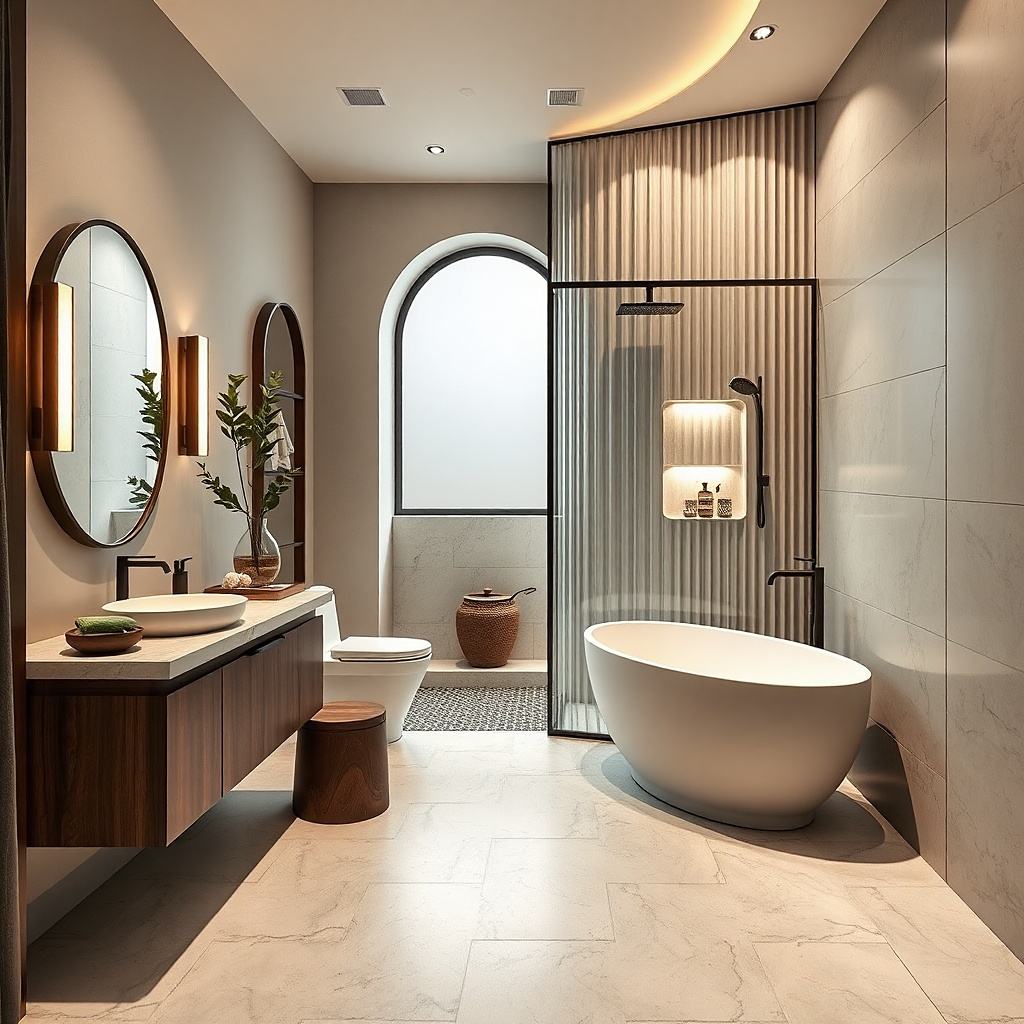
This is the most flattering way to make a freestanding tub work when the room has a corner that would otherwise waste space. Position the tub close to the corner but not in it, then use a fluted screen or ribbed panel behind the tub to hide the plumbing side and add vertical texture. The fluting creates light-and-shadow that reads elegant even in a small frame. Choose a screen in matte black or warm brass and keep the tub white or bone so the ribbing doesn’t overpower the room.
Place the tub 6-12 in off the corner wall so you can set the screen without touching the tub. Measure the screen height so it lands near the tub’s rim level or slightly above it, typically around 48-60 in depending on your tub. Mount the screen on a stable base or anchor it to the wall studs so it doesn’t wobble near the tub area. Finish with a wet-rated wall sconce on the screen side to cast light across the fluting.
Match the screen finish to your faucet and towel hardware so the tub area looks intentional.
Don’t use a glossy screen — it throws glare and makes the tub look like it’s floating in a spotlight.
4. Tub at the End of a Vanity Run (Narrow Entry Hall)
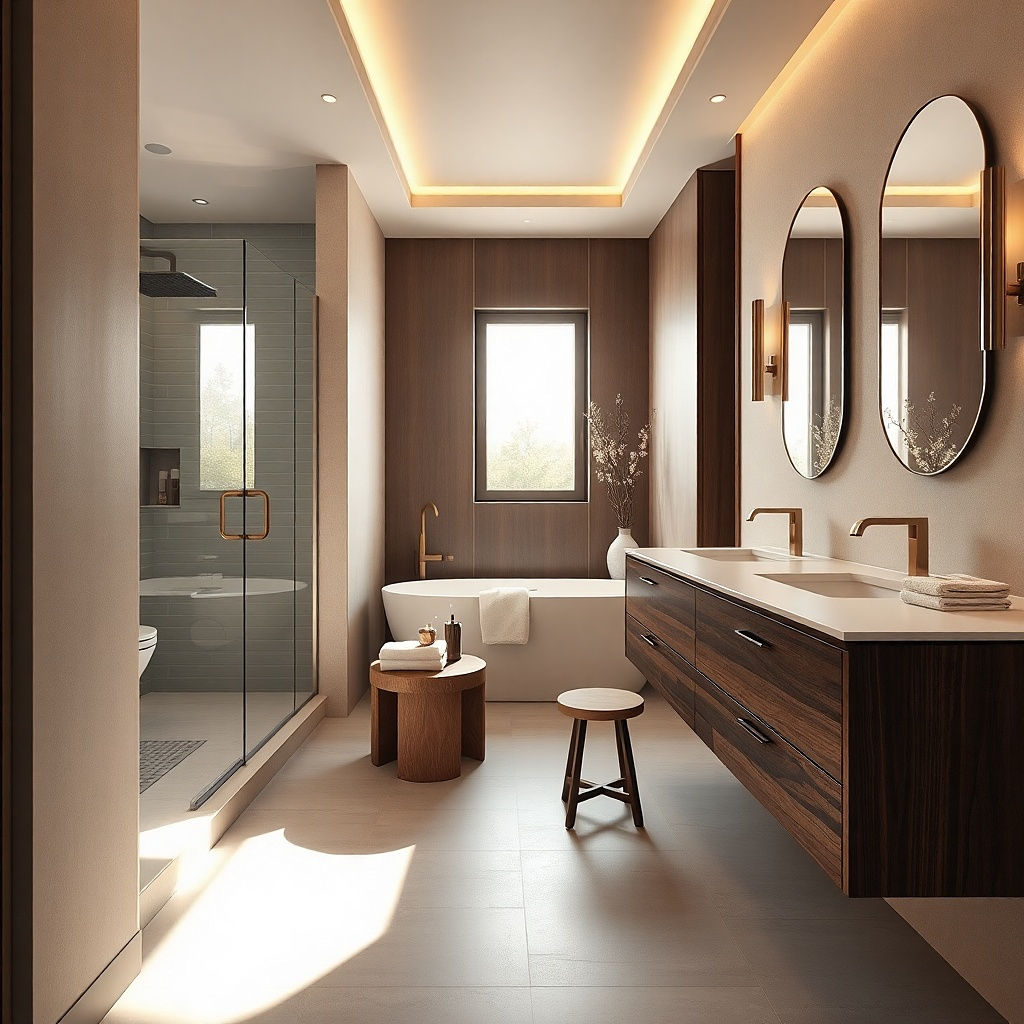
When your bathroom is long and narrow, a freestanding tub at the end of the vanity run can look surprisingly luxurious. Put the tub on the wall opposite the entry so the vanity becomes a leading line and the tub ends the view. Keep the vanity slim — think 18-24 in deep — and use a wall-mounted vanity if you can to preserve floor breathing room. A long, narrow room needs visual length, so use large-format tile on the floor with minimal grout lines.
Start by laying out the vanity first along the longer wall, then place the tub so the entry has a straight path to the vanity. Leave about 30 in from the door area to the vanity work zone, then set the tub so its rim doesn’t invade that path. Choose a tub size that fits the wall length — many small spaces look best with a compact 54-60 in tub. Add an overhead pendant or flush mount centered over the tub zone plus a vanity light that spans the vanity width.
Use one long mirror aligned with the vanity, not multiple smaller mirrors. The long reflection makes the room feel longer.
Avoid a bulky cabinet under the vanity; it kills the illusion of space in narrow rooms.
5. Freestanding Tub Under a Picture Window Niche
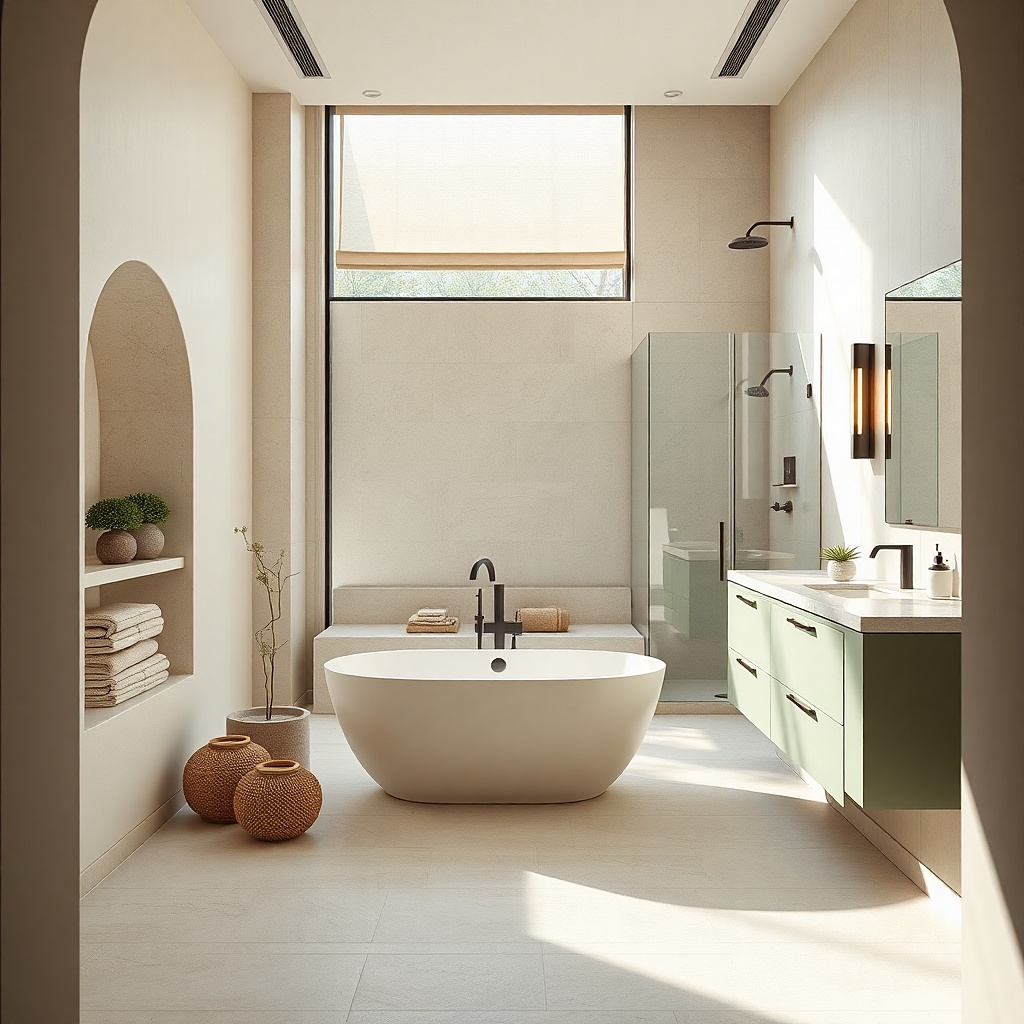
If you have a window, placing the tub so it sits centered under it creates the cleanest photo and the best daily feel. A small window adds realism and makes the tub look like part of the room’s original architecture. Use sheer curtains or a top-down blind so the light falls across the tub apron. Keep the wall around the window the same color as the rest of the bathroom so the tub doesn’t look like it’s sitting in a separate closet.
Measure the window sill height and choose a tub rim height that won’t block airflow or the curtain line. Position the tub so the faucet and spout (if you’re using a wall-mounted set) align with the plumbing rough-in under the window. Confirm you can still open the door without hitting the curtain or tub edge; keep the tub set back 2-4 in from any window trim. Finish with a window-friendly floor tile and a waterproof rug runner in a low pile.
Try thisChoose a tub filler in a finish that matches the window hardware if you have it brushed nickel with white tile reads crisp.
Common mistakeAvoid heavy drapes that hang to the floor; they look like a visual wall in small bathrooms.
6. Tub Flanked by Built-In Shelves on Both Sides
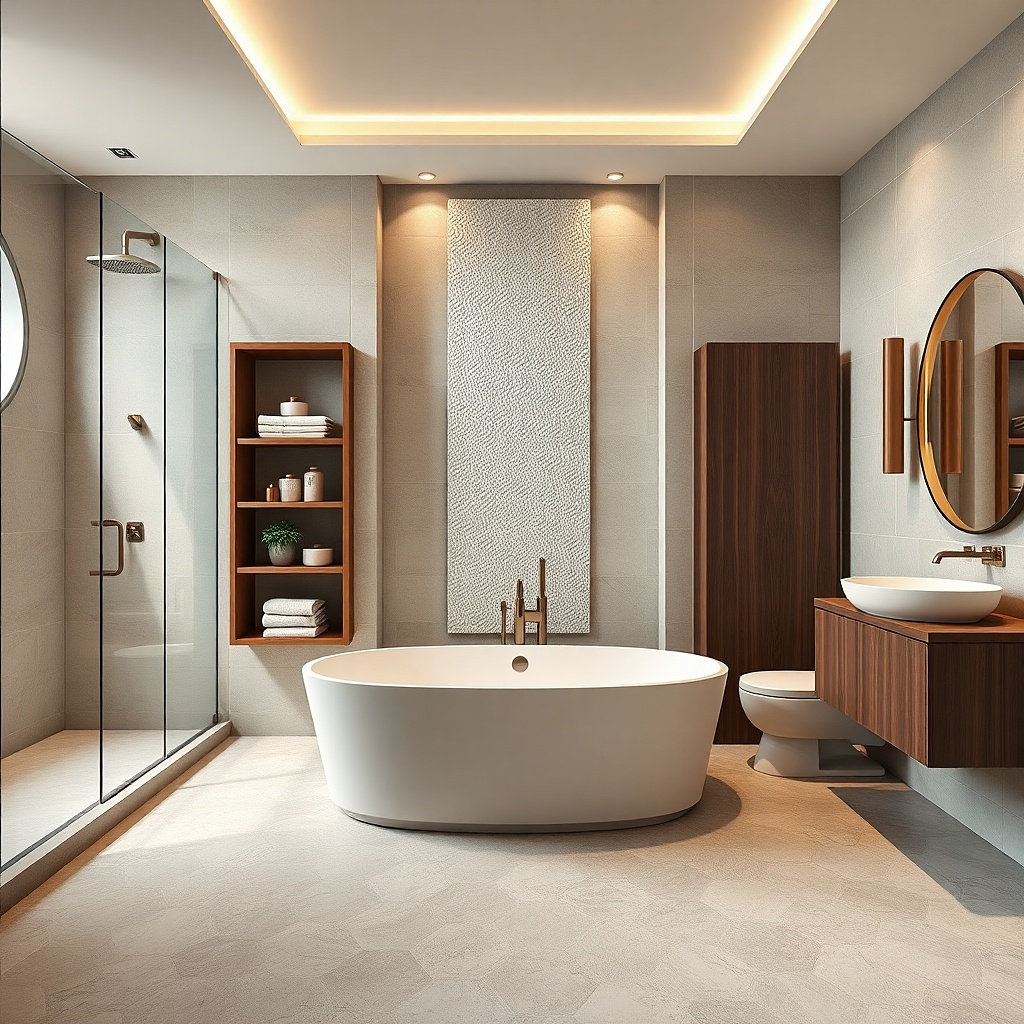
Built-in storage makes a small freestanding tub layout look designed instead of accidental. Place the tub in the middle of a wall bay, then install shallow built-ins on both sides — think 6-10 in deep — to hold towels and bathroom essentials. The symmetry is what sells it: tubs love symmetry because they’re sculptural. Use the same finish on the shelf backs and the wall panel behind the tub so the space reads cohesive.
Pick a wall where you can dedicate a section about 72-84 in wide for the tub plus the two shelf openings. Install storage bays so the tub has at least a 24 in clearance from the built-in edges and you keep a 30 in travel path. Plan lighting inside the shelves with low-voltage puck lights or a vertical wall wash so the shelf shadows don’t make the tub look dim. Use moisture-resistant board and seal all cut edges before painting.
Try thisKeep shelf clutter to one category per shelf. Three bottle shapes on the left, three folded towels on the right looks intentional.
Common mistakeDon’t make shelves too deep; deep shelves steal the exact airiness you need around a freestanding tub.
7. Tub Parallel to Vanity With a Glass Splash Line
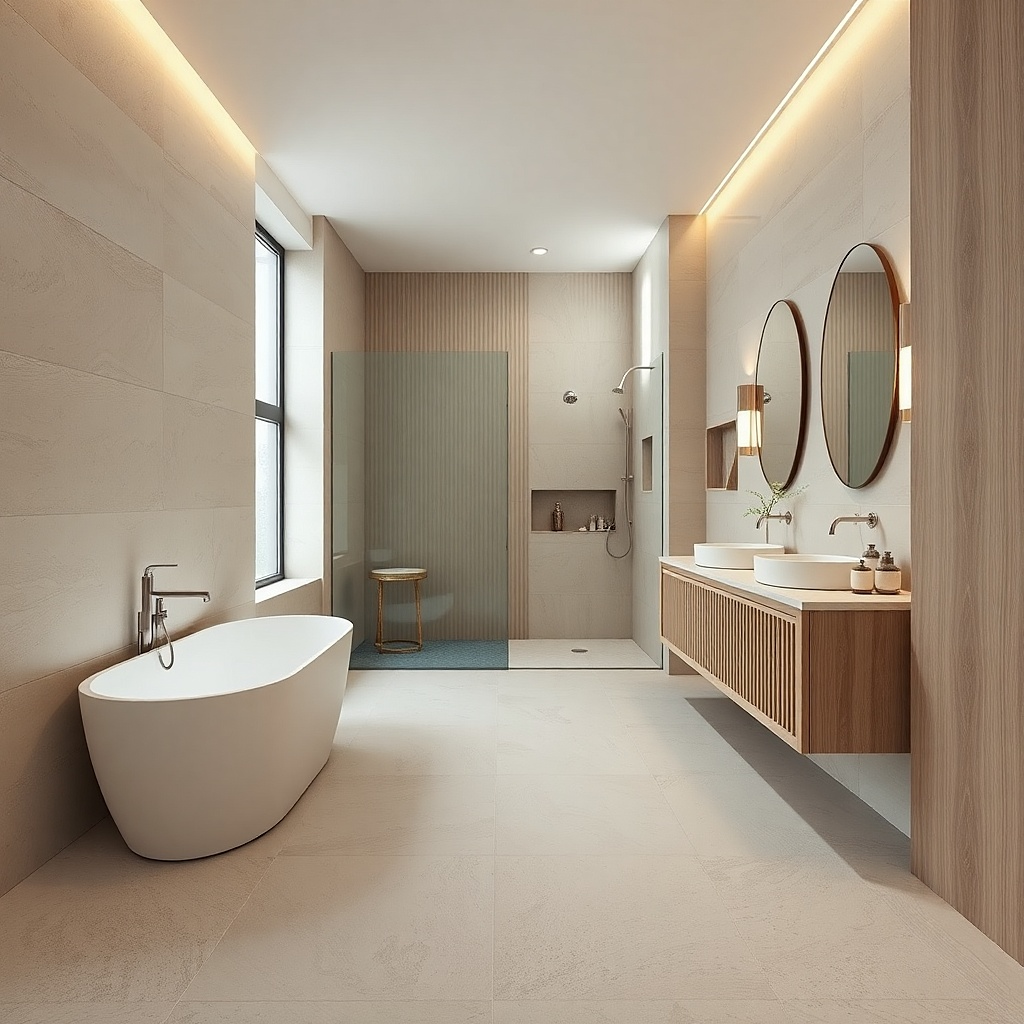
If you want the tub to be the main feature but you also need shower practicality, running the tub parallel to the vanity works. The thin line of a glass splash panel creates a clean boundary that photographers love because it doesn’t break the room into chunks. Use a clear or low-iron glass panel with minimal hardware so the tub remains the star. Keep the wall behind the tub light and add a subtle texture like small subway tile only on the wet zone.
Place the tub so one long side runs parallel to the vanity wall, then mark where the glass panel will sit. Aim for a panel that spans from about 6-10 in above the tub rim to around 72 in high, depending on your shower use. Confirm the panel hardware doesn’t reduce the 30 in travel path to the vanity. Use a wall-mounted tub filler or a floor filler that stays within the planned wet zone so you don’t create a second splash area.
Try thisUse the same grout color on the wet-zone tile as your floor grout. Consistency makes the whole bathroom look larger.
Common mistakeAvoid a thick, framed glass panel; it visually widens and makes the space feel boxed.
8. Tub on a Raised Platform With Hidden Storage Steps
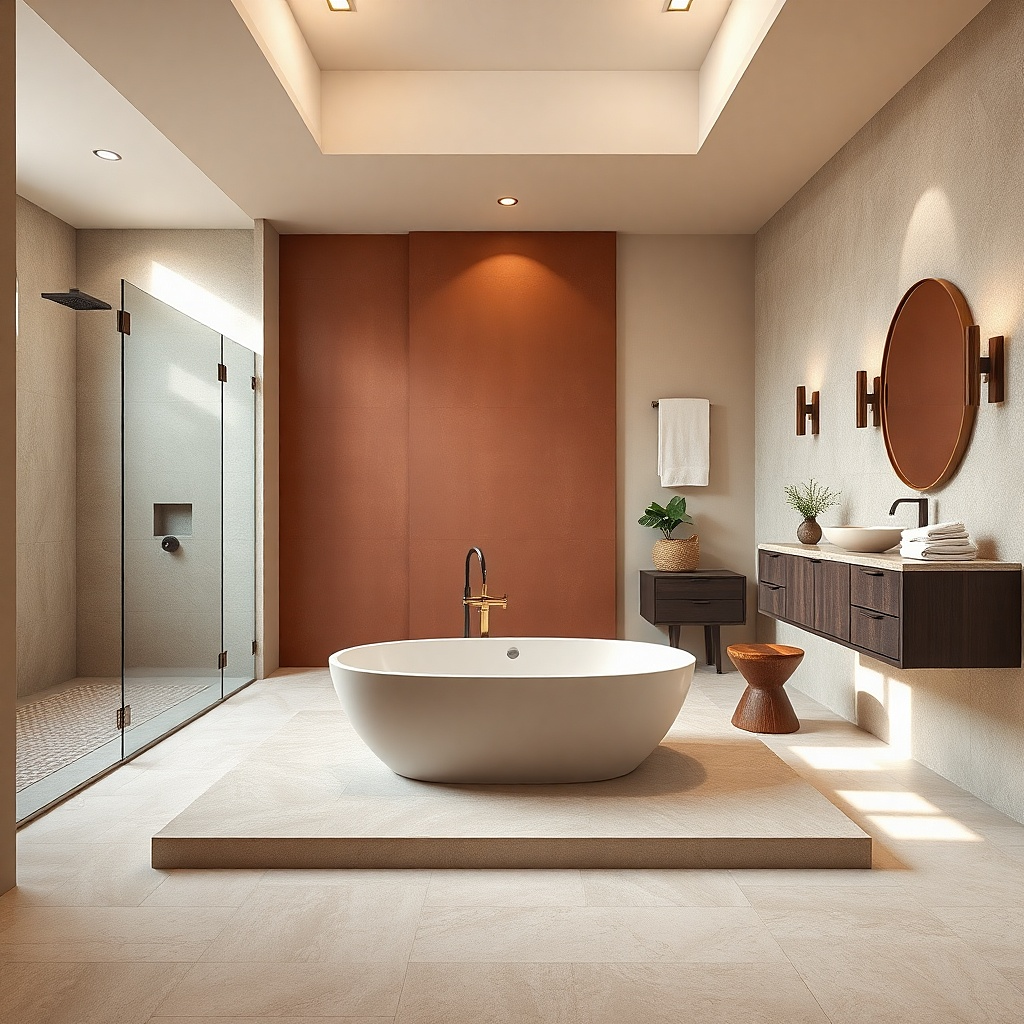
A raised platform turns a freestanding tub into a deliberate centerpiece and fixes the “floating tub” confusion in tight rooms. Keep the platform height low — around 4-6 in — so it feels like a stage, not a step you have to climb. Add hidden storage at one side or a shallow bench for towels. Use large-format tile on the platform for a clean, gallery look that photographs well.
Build a level platform with cement board or a waterproof underlayment rated for wet areas. Size it so the tub fits with at least 1-2 in clearance around the tub base to allow service access and to prevent friction with the tub feet. Plan the drain connection before tiling; you want the plumbing to be accessible without ripping the platform. After tiling, install a waterproof caulk line where the tub meets the platform and add a step light along the platform edge.
Try thisChoose a platform tile that matches the floor but has a slightly different sheen. It makes the platform read as intentional without adding clutter.
Common mistakeDon’t raise the tub too high; tall steps shrink the visual space around it.
9. Tub in Front of a Window With a Low-Slung Bench
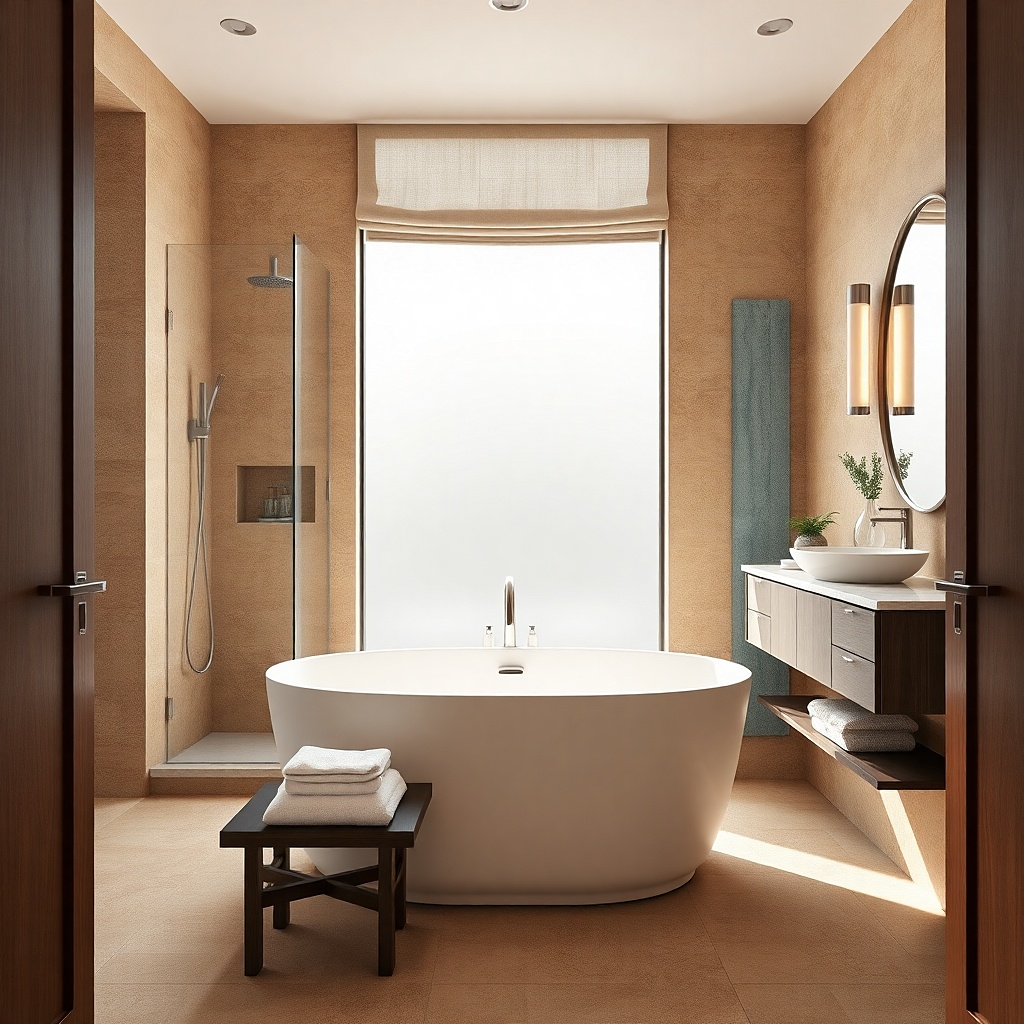
When the window is on a wall that would normally leave dead space, placing the tub facing the window makes the room feel like a retreat instead of a hallway. Add a low-slung bench or narrow ledge near the door side so you have a place for a towel stack or a bath tray. A slim bench keeps the footprint light and supports the tub’s calm visual. Use warm white walls and a floor tile with subtle movement so the tub doesn’t look too stark under window light.
Center the tub so the window sees the tub rather than the vanity. Leave enough clearance for the door swing and for the bench — aim for 30 in from entry to the bench zone. Use a tub with a drain location that matches your rough-in; if the window wall can’t take plumbing, this layout only works if your drain line can reach the tub area cleanly. Install a low-profile waterproof baseboard and choose a bench material like teak-look tile or sealed wood.
Try thisUse a bath tray in a matte finish that matches your floor tone instead of shiny metal.
Common mistakeAvoid a thick bench; bulky seating destroys the airy feel that makes this layout work.
10. Tub With a Half-Wall Return to Create a "Room Within a Room"
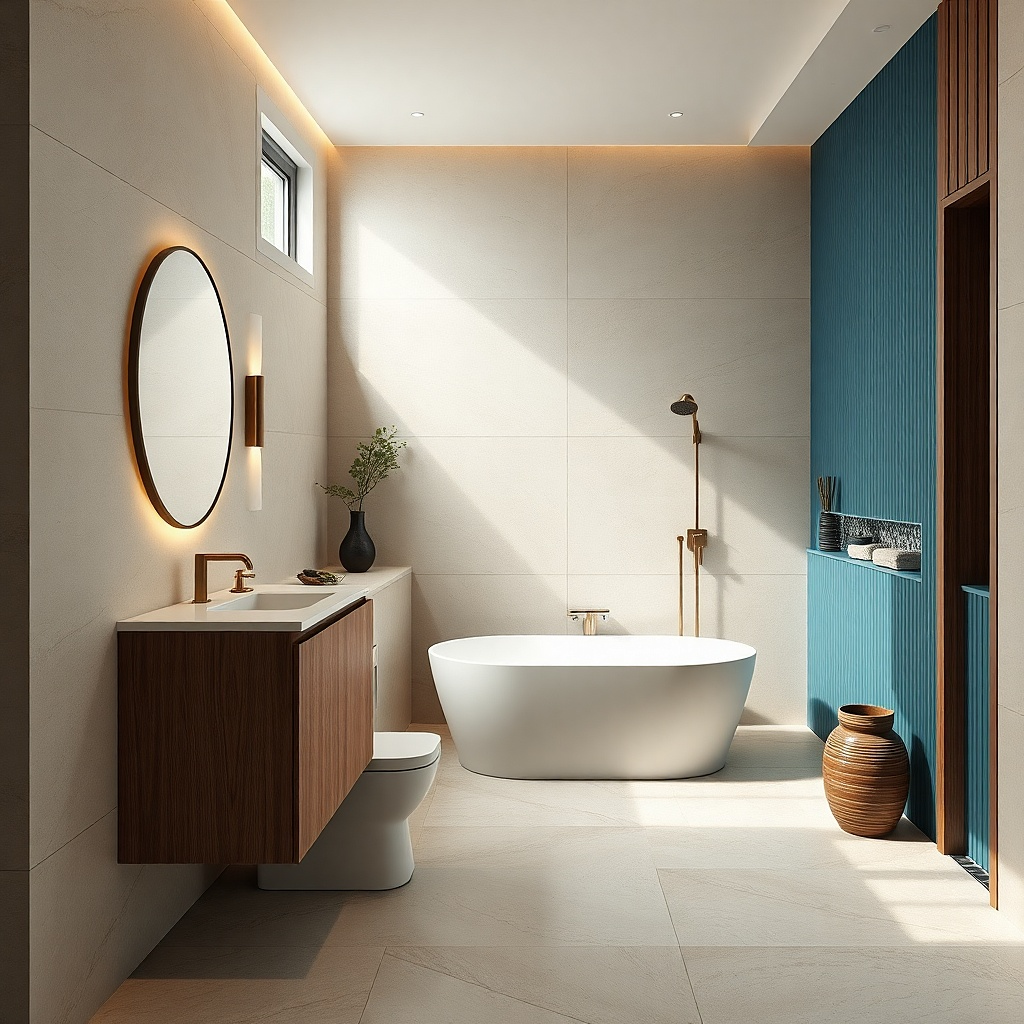
A short half-wall return makes the tub look protected and intentional, even when the room is small. Put the tub in an open corner-like position, then build a half-wall return about 24-36 in long on the side that would otherwise show plumbing. This gives you a clean backdrop for a wall sconce and keeps the tub from reading like it’s floating in the middle. Finish the half-wall with the same tile as the wet zone for a crisp visual edge.
Place the tub so one side is near a wall, then measure the half-wall length based on your walkway needs. Keep a clear 30 in path and avoid blocking the door swing — the half-wall should not land where a door would collide. Use cement board and waterproofing on the half-wall before tiling. Add a wall sconce on the half-wall return at about 66-72 in from the floor to light the tub rim.
Try thisKeep the half-wall height consistent with your vanity backsplash height so the room feels designed, not patched.
Common mistakeAvoid a half-wall that’s too tall; it makes the bathroom feel like a corner stall.
11. Tub Centered on a Narrow Wall With a Slim Vanity Opposite
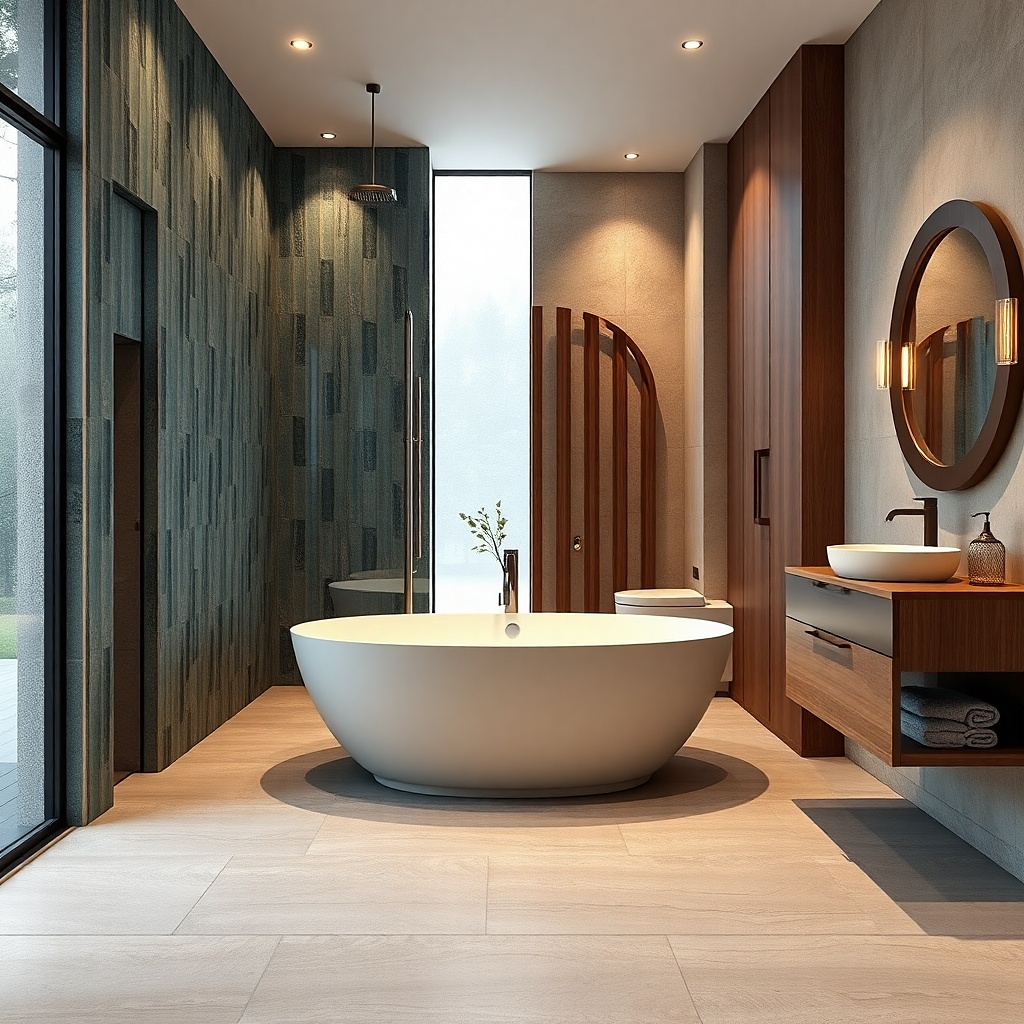
This layout is for bathrooms where you have one narrow wall that’s the only place a tub will fit without blocking circulation. Center the tub on that narrow wall and place a slim vanity opposite it. The trick is scale: use a vanity depth around 16-18 in and a mirror that reaches close to the ceiling. Keep the tub white and the floor darker so the tub doesn’t visually shrink into the wall.
Measure the wall width and choose a tub that leaves at least 2 in clearance on both sides. Place the vanity opposite so you keep about 30 in between the tub edge and the vanity door swing zone. Use a wall-mounted or shallow drawer vanity to preserve floor area. Finish with a vertical tile accent behind the tub or a tall tile border so the narrow wall doesn’t feel flat in photos.
Try thisInstall the mirror slightly higher than you think — the top edge should be near 78-80 in for a taller look.
Common mistakeDon’t pick a wide vanity; it destroys the balance of a tub-centered narrow wall.
12. Tub in a Recessed Tub Alcove With Freestanding Look
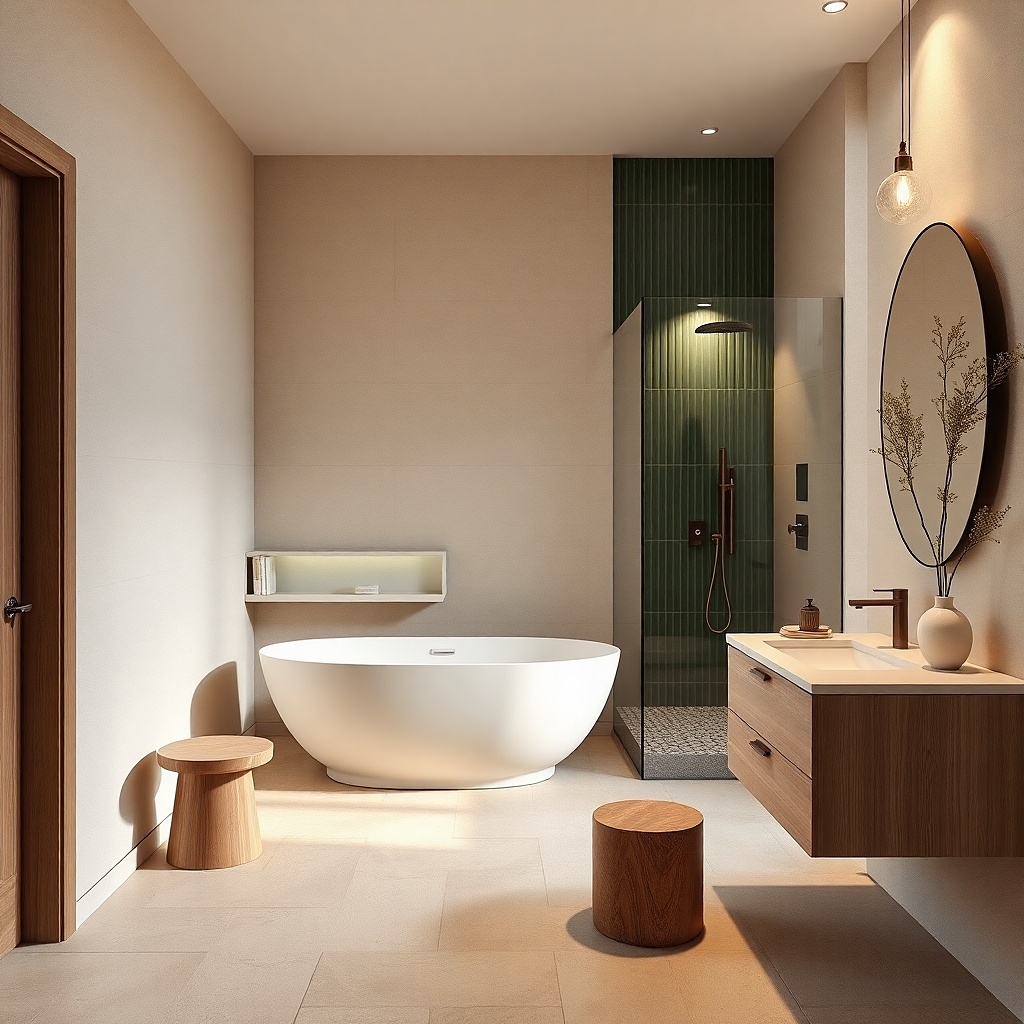
A recessed alcove keeps the freestanding tub from feeling like it’s taking over the room. You still get the freestanding look, but the alcove frames it and reduces the visual sprawl that small bathrooms hate. Build the alcove with waterproof backer and line it with the same tile as your wet zone. Choose a tub color that matches the tile palette white tub with light grout lines reads clean and photogenic.
Frame the alcove so the tub has breathing room on all sides — typically 1-2 in clearance around the tub body where possible. Confirm the drain and overflow lines can connect without binding when the tub is lowered into the alcove. Waterproof the alcove thoroughly and use waterproof trim at edges before tiling. After installation, add a small niche shelf inside the alcove for candles or bath salts and keep the rest of the bathroom uncluttered.
Try thisUse the same grout color on the alcove as on the bathroom floor to avoid a hard visual cut.
Common mistakeAvoid a deep alcove that swallows the tub; aim for framing, not a full enclosure.
13. Tub Side-By-Side With Shower Bench Using One Shared Wall
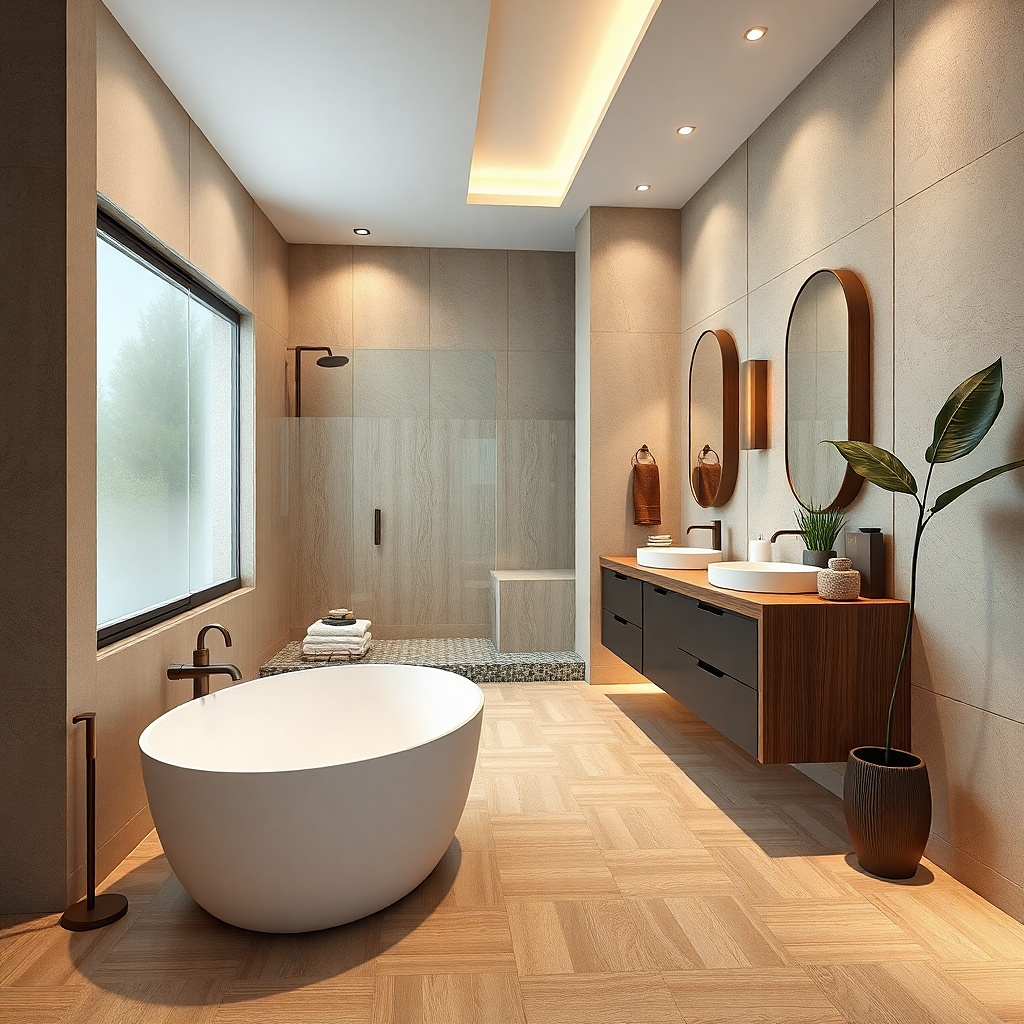
If you have to include a shower, placing the tub next to the shower along one shared wall can look cohesive and keep plumbing efficient. The shared wall acts like the bathroom’s backbone, and the tub reads like part of a designed suite. Use a shower bench to add function without adding extra fixtures, and keep the tub’s faucet on the shared wall side so you don’t stretch plumbing across the room. Choose a consistent tile for both wet zones so the bathroom feels larger.
Layout the shower first with its drain and waterproofing, then position the tub so its faucet lines up with the same wall. Maintain a 30 in travel path from entry to vanity, and keep a practical gap between tub rim and shower door swing. Build the bench inside the shower area and waterproof the entire shower envelope. After the waterproofing is done, tile both the shower and the tub wet wall with the same material and grout color.
Try thisUse a single glass panel for the shower and keep it frameless it keeps lines clean around the tub.
Common mistakeDon’t mix tile patterns between shower and tub wall; the visual breaks make small rooms feel chopped up.
14. Tub Facing Vanity With a Mirrored Back Wall
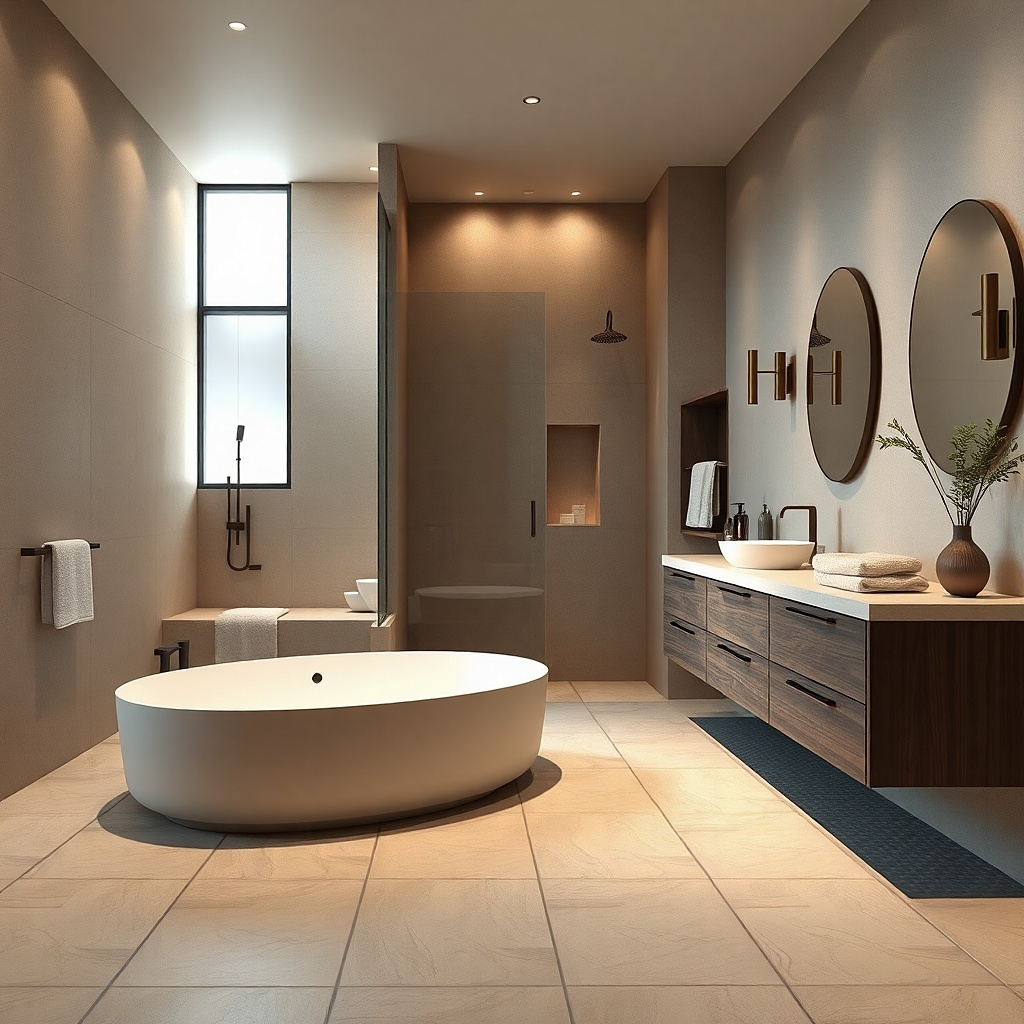
A mirrored back wall behind the tub doubles the visual depth and makes the tub look bigger without changing the floor plan. This layout works best when the tub faces the vanity and you can see it clearly from the doorway. Use a framed mirror panel or a tiled mirror-look wall with a consistent border. Keep the rest of the bathroom neutral and let the mirror do the heavy lifting matte black hardware and warm white paint keep it from looking cold.
Plan the mirror size so it covers the wall area behind the tub, typically 24-48 in wide depending on tub placement. Confirm the tub doesn’t sit so close to the mirror that you get splash issues — keep a safe separation and use a waterproof seal where needed. Choose a tub filler that won’t visually clutter the mirrored wall with too many parts. Finish with a vanity light that matches mirror height so reflections don’t create harsh hotspots.
Try thisUse two lighting sources with diffusers harsh bulbs look ugly in mirror reflections.
Common mistakeAvoid mirror placement that reflects the toilet in a direct line; it reads messy in photos.
15. Tub on the Same Wall as the Toilet With a Tight But Clean Gap
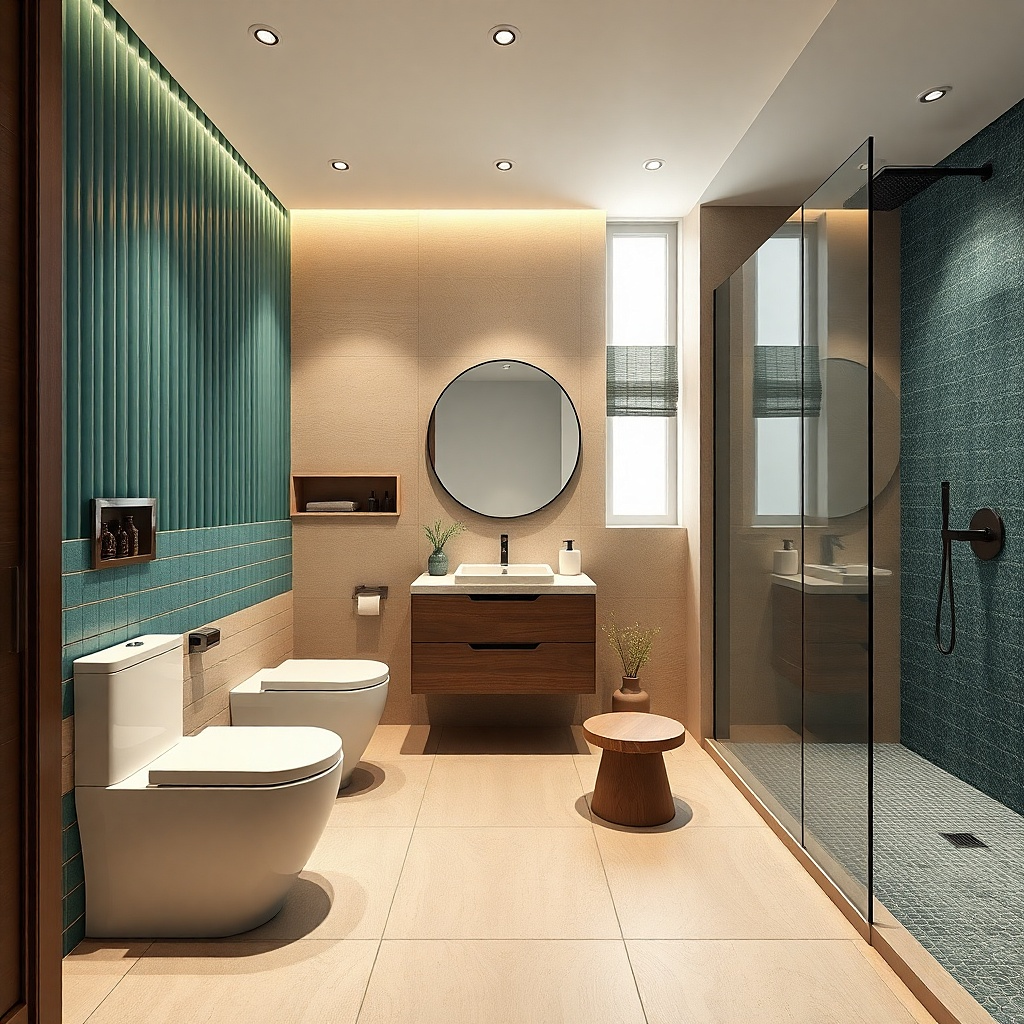
This is a compact layout that works when the room is L-shaped or the door opens into a small landing. Put the tub on the wall where the toilet sits, but keep the gap between them tight and controlled. The beauty comes from the clean parallel lines: toilet wall, tub wall, and floor tile line up so the room feels ordered. Use a tub with a shorter overall length and a faucet style that stays low-profile.
Place the tub so it sits along the toilet wall and keeps the toilet fully functional, then measure a clear path to the vanity. Keep the gap between tub and toilet tight but usable — aim for about 18-22 in where you can, while still preserving the 30 in travel route. Choose a tub with a compact footprint (54-60 in length) and confirm the drain can connect without running pipe across multiple corners. Use matching wall tile or wall paneling so the tub and toilet look like part of one wall system.
Try thisUse a single continuous floor tile pattern direction align the tile lines with the wall so the room reads longer.
Common mistakeAvoid a tall, freestanding tub model with a high apron in this tight layout; it makes the gap feel smaller.
16. Tub With a Narrow Vanity Nook and Floor-to-Ceiling Tile Accent
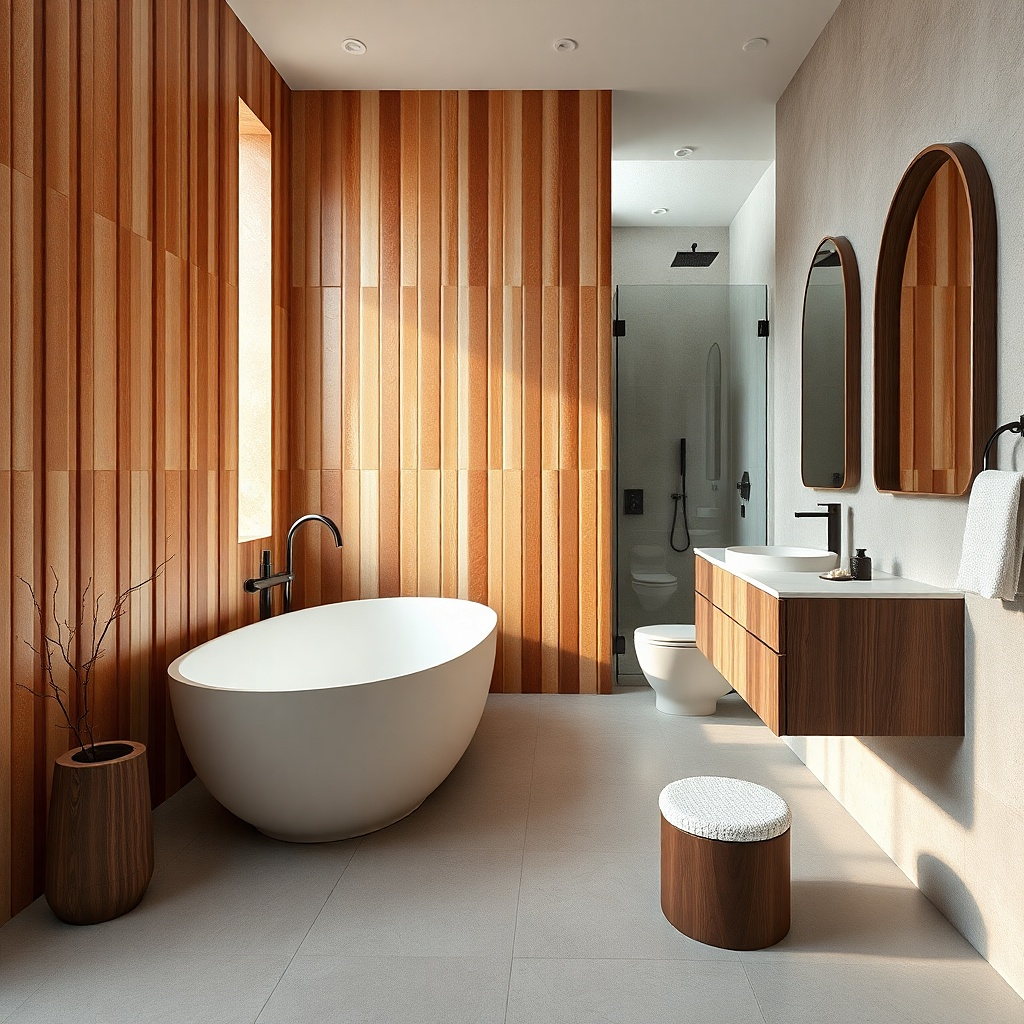
If your bathroom has a weird recess where the vanity could fit, use it as a design frame for the tub. Place the tub opposite the nook so the nook reads like a vanity “stage” and the tub reads like the centerpiece. Add a floor-to-ceiling tile accent behind the tub zone — vertical layout, matte finish, and simple pattern so it doesn’t fight the small room. The tub’s legs and silhouette stay sharp against the tile, and the vanity nook keeps the rest of the space from feeling cluttered.
Build the vanity nook first or confirm its maximum width, then position the tub across from it with a clear 30 in travel path. Use an accent wall that spans from near the floor to the ceiling so it visually pulls the room upward. Choose a tub size that fits comfortably within the accent wall width — don’t let the tub spill past the accent edge. Install a wall-mounted toilet paper holder and towel ring on the same accent wall to keep hardware aligned with the tile pattern.
Try thisPick one metal finish for every small detail in the tub and vanity zone so the nook feels cohesive.
Common mistakeAvoid patterned wall tile if your floor already has strong movement; the small space can’t handle two competing visuals.
17. Tub Under a Vaulted Ceiling Line With a Low Splash Rail
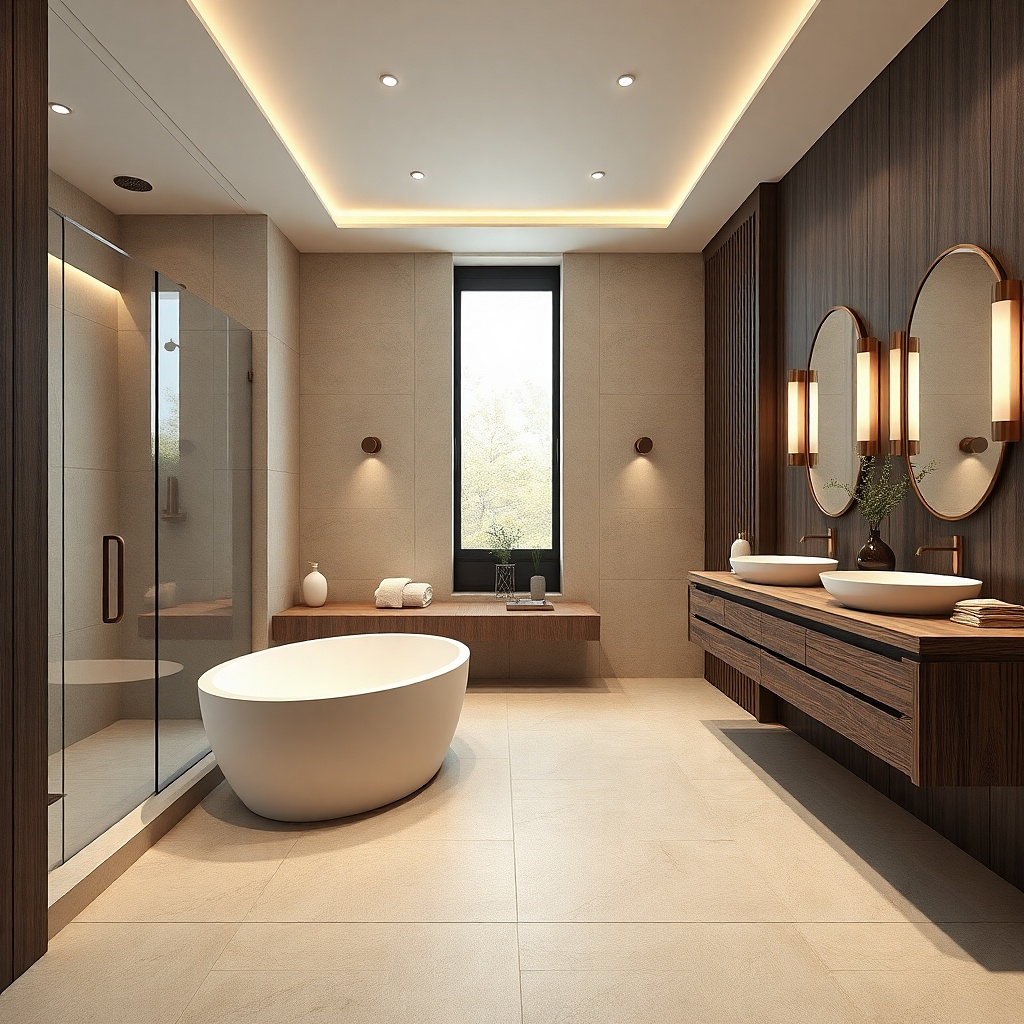
Bathrooms with sloped ceilings can be hard, but a tub under the higher ceiling line feels dramatic and photogenic. Place the tub where the headroom is highest and use a low splash rail or half-height glass panel to keep the tub area clean. Keep the walls light and use a ceiling-friendly paint finish so the slope doesn’t look heavy. A low rail keeps the sightlines open, so the room still feels airy even with a freestanding tub.
Mark the highest point under the slope and center the tub so the rim sits below that line with at least a comfortable clearance for overhead lights. Add the splash rail along the side facing the shower water source, typically 72-76 in from the floor if you’re using it like a shower barrier. Ensure the rail anchors into studs or proper blocking so it holds steady. Choose an overhead light with a diffuser so it doesn’t cast a harsh line across the tub.
Try thisUse a matte floor tile and keep grout lines thin so the slope doesn’t emphasize shadows at the tub feet.
Common mistakeDon’t mount the main light too close to the slope; it creates ugly shadows on the tub apron.
18. Tub With a Floating Vanity and Long Horizontal Sconce Line
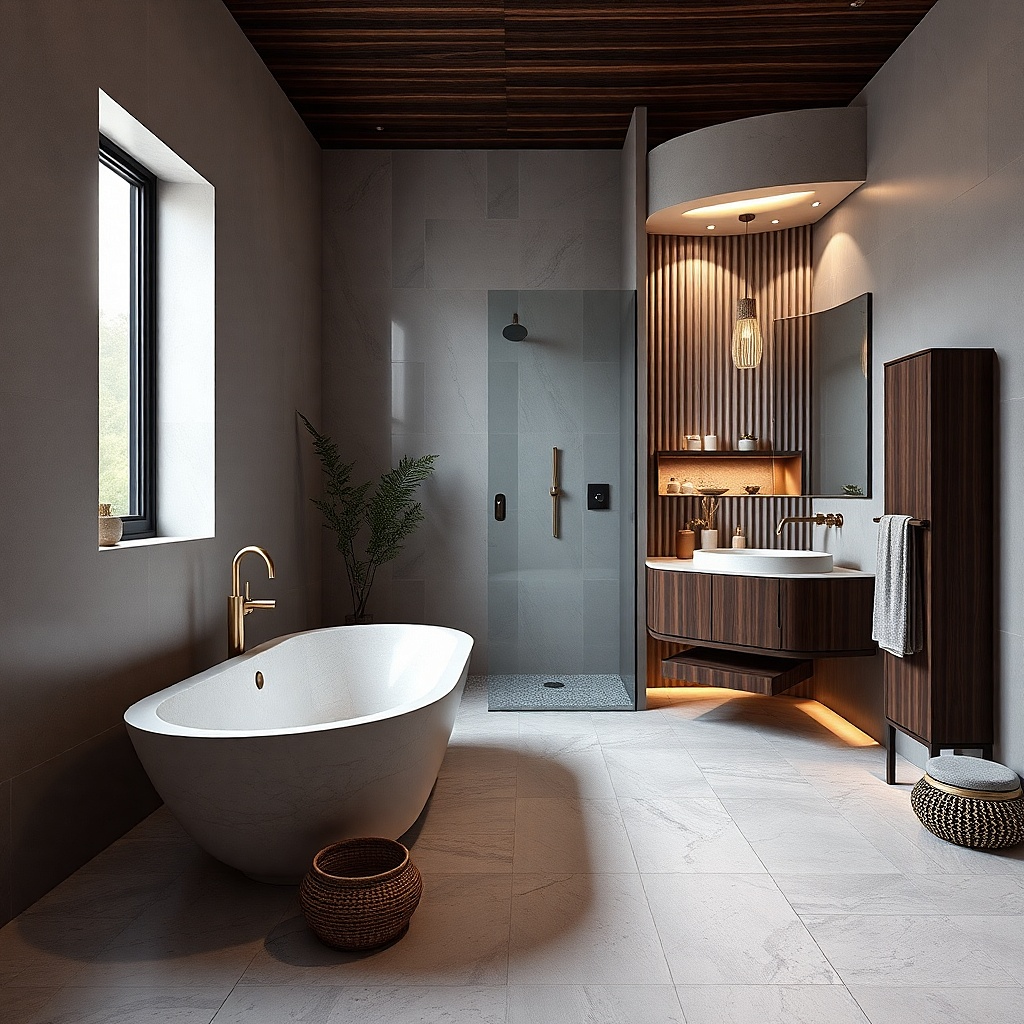
A floating vanity is one of the cleanest ways to keep a small bathroom from feeling crowded around a freestanding tub. Pair it with a long vanity light or horizontal sconce so the light line visually balances the tub’s vertical presence. Place the tub on the wall closest to the vanity so you can control reflections and keep the room brighter at eye level. Use a light countertop color and a mirror that’s wide but not tall so the room doesn’t feel top-heavy.
Install the vanity first and confirm you can keep a 30 in clearance from entry to the vanity work zone. Place the tub so its rim aligns visually with the vanity counter height — this makes the layout feel intentional. Use a small, wall-mounted faucet or a tub filler that doesn’t spill water into the vanity side. Finish by using a consistent tile backsplash height and matching the mirror frame to the faucet finish.
Try thisChoose a mirror with a slim frame or frameless edge; thick frames feel bulky in small spaces.
Common mistakeAvoid placing the tub too far from the vanity — the symmetry breaks and the room reads fragmented.
19. Tub Built Into a Platform With a Removable Side Panel for Plumbing Access
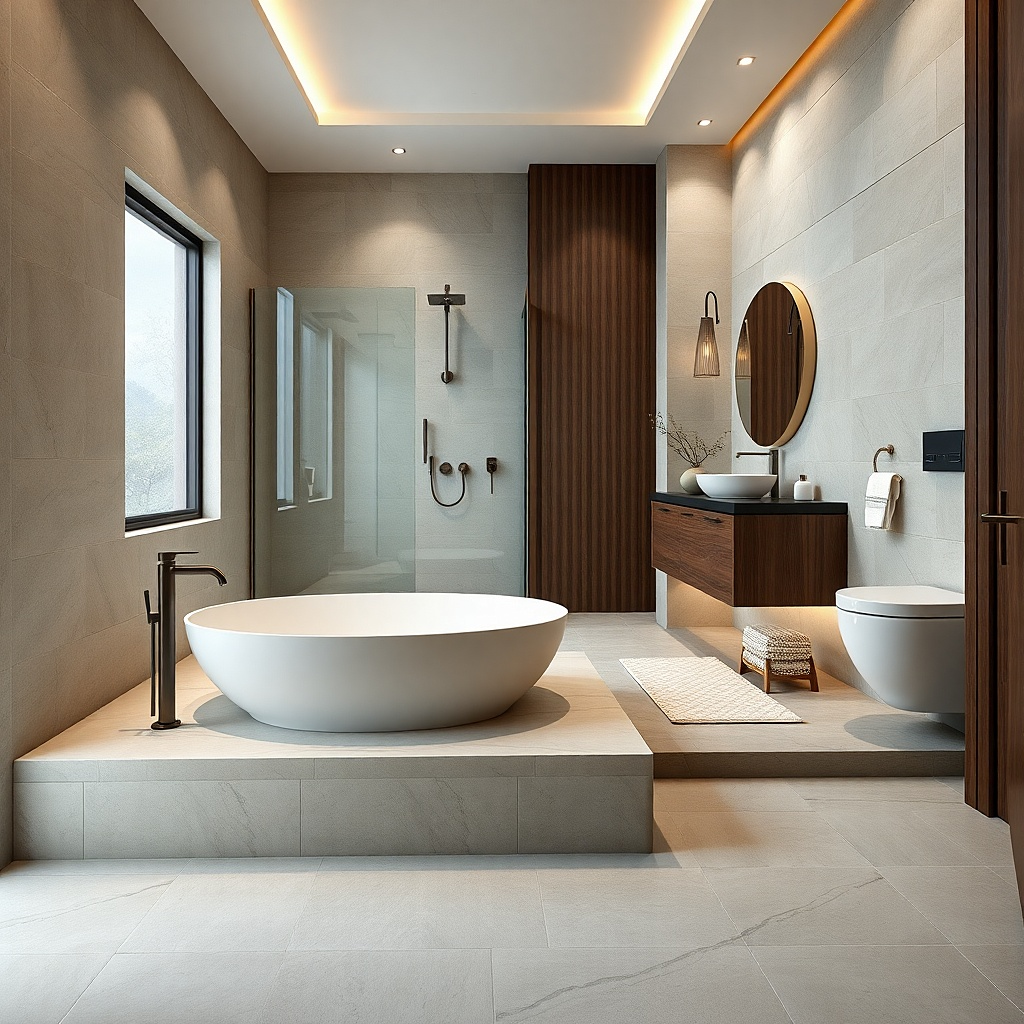
This layout is for people who want the freestanding look but also want maintenance access without destroying the finish. Set the tub on a platform and use a removable side panel near the plumbing side, finished in the same tile or panel material as the platform. The result looks clean because the plumbing side is visually closed off, but you still get access for drain or valve service. Keep the panel seam tight and use a matching trim so it doesn’t look like a patch.
Build a waterproof platform and leave a service opening path on the plumbing side, then design the removable panel to cover it. Set the tub so the panel hides the plumbing route while keeping a safe clearance for the tub feet and any required service. Choose a panel material that tolerates moisture — cement board with waterproofing and tile, or a sealed composite panel. After installation, caulk and grout the panel edges carefully so water doesn’t creep into the seam.
Try thisUse a hidden magnetic or latch hardware system so the panel looks seamless in photos.
Common mistakeAvoid a panel seam that’s too wide; it looks like a repair job and ruins the clean look.