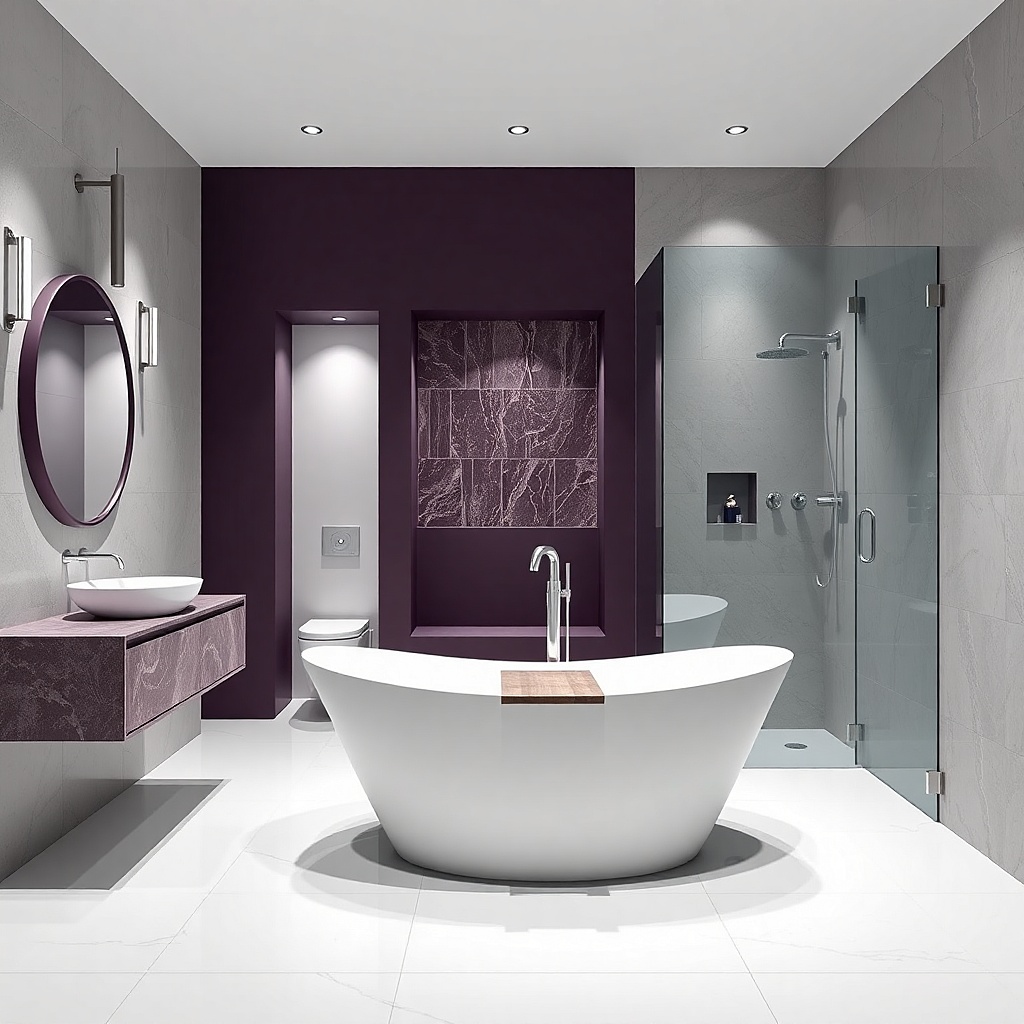
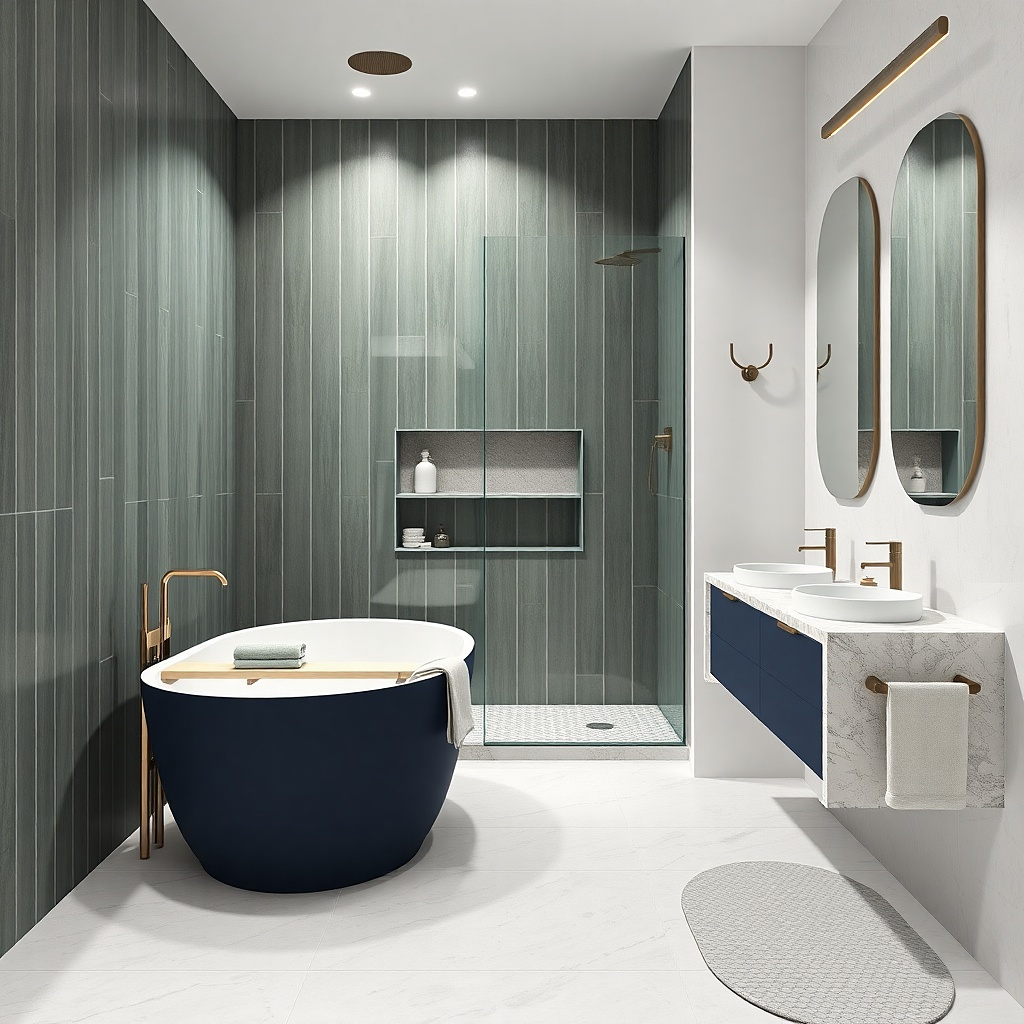
1. Corner tub with two-sided glass and a narrow vanity wall
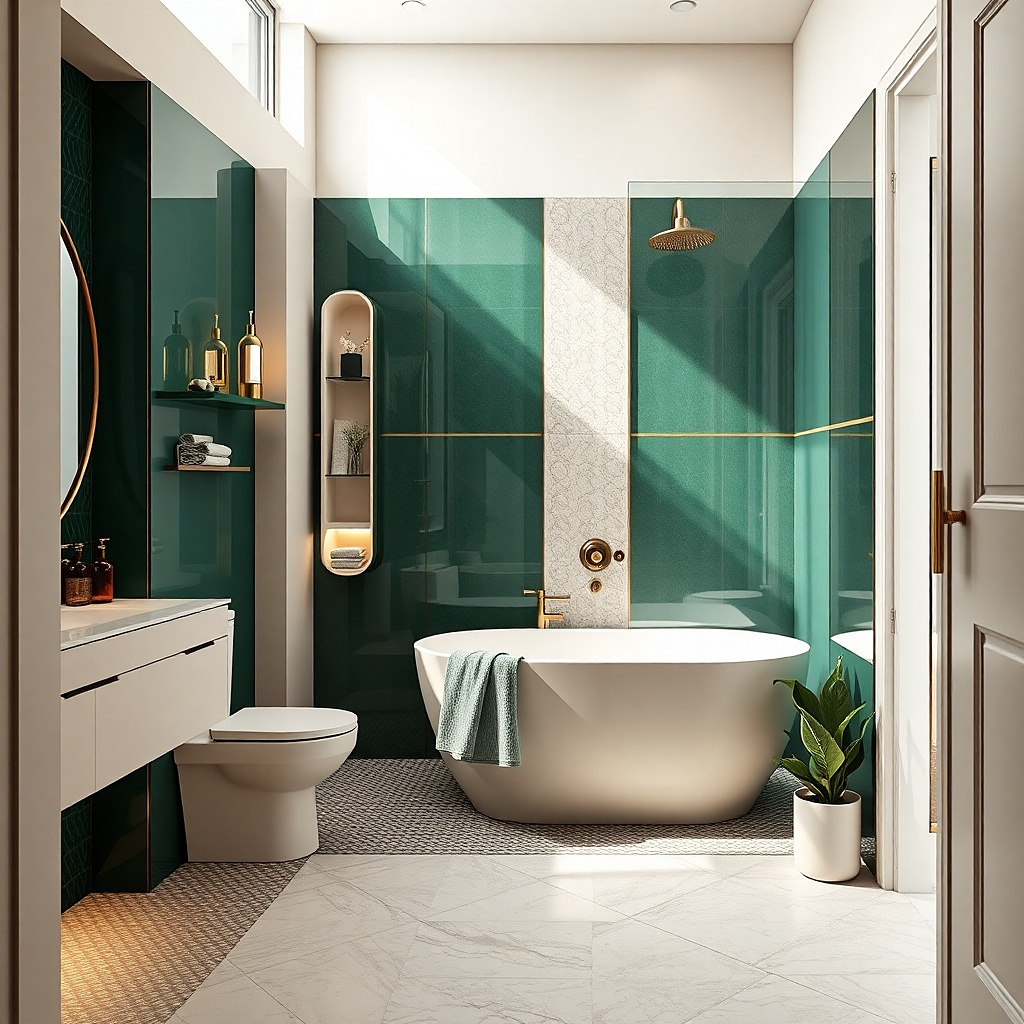
This layout works when your bathroom has a corner that’s currently underused and you want the tub to be the visual star. Place a compact freestanding tub (about 54-60 inches long) in the corner so it uses the footprint corners are good at. Then wrap the shower area with clear glass panels on two sides, creating a contained wet zone that keeps water off the tub deck. Keep the vanity wall narrow (around 18-24 inches deep) with a light countertop to prevent the room from feeling boxy. The result looks high-end because the tub reads like a focal piece, not a compromise.
Measure the corner first: you want at least 2 inches of clearance on each tub side for cleaning access. Install the shower boundary by mounting a glass panel to the existing shower wall (or an anchored track) and add a second shorter panel to block spray from the side. Place the vanity on the opposite wall with a sink centered so you don’t block the door swing. Use a waterproof wall panel or tile only behind the shower zone, then paint the rest in a washable bathroom paint. Budget for glass panels and a quality tub faucet trim since those are what make this look clean.
Try thisUse a tub filler with a wall-mounted spout and keep the showerhead closer to the glass edge; it reduces “spray mist” that collects outside the wet zone.
Common mistakeDon’t rely on a shower curtain in this layout; it visually breaks the freestanding tub line and it lets water escape onto the tub deck.
2. Tub on the long wall with a full-height tiled shower wall behind it
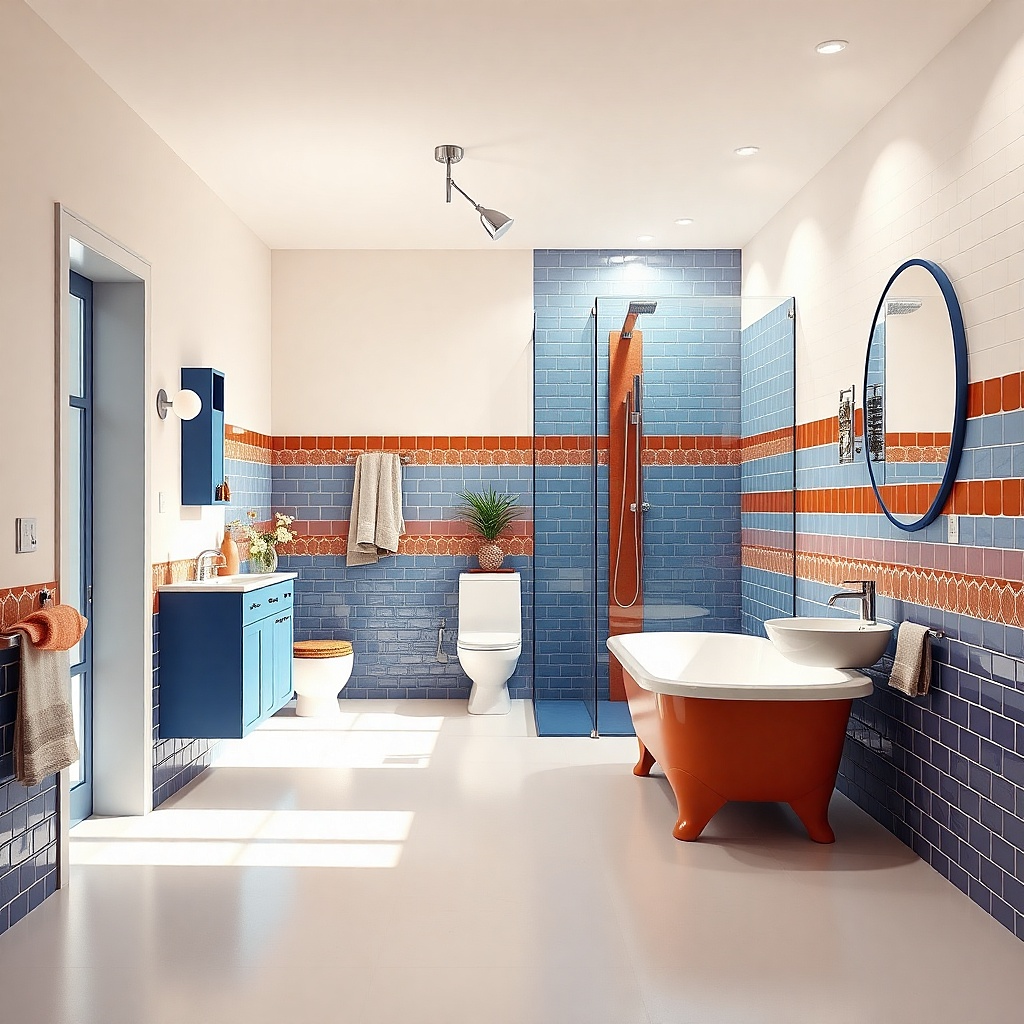
When your bathroom is long and narrow, this is the most photogenic option because it creates a strong backdrop. Put the freestanding tub along the long wall and build a full-height tiled shower wall directly behind or slightly offset from the tub’s back edge. The tile gives you a crisp, architectural frame, and it hides plumbing cleanly. Choose large-format tile (12x24 or 24x24) in a light neutral to make the room feel taller and brighter. Finish the rest of the room in a warm white or soft greige so the tub stands out without creating visual clutter.
Start by confirming the wet-zone placement: the shower wall should align so the showerhead hits a glass or waterproof surface, not open floor. Use a waterproof backer system for the tiled wall and plan the tile layout to avoid tiny cuts at eye level. Position the tub so you have a consistent gap between tub and shower wall for cleaning (about 1-2 inches). Add a clear fixed glass panel or a hinged panel at the front edge of the shower wall so the spray stays inside. Finish with a matching tub faucet and shower trim in matte black or brushed nickel for a cohesive look.
Try thisPick one grout color and stick to it; a warm gray grout makes light tile look intentional instead of “patchy.”
Common mistakeDon’t put the shower control fixtures on the outside face of a tiny shower wall; it crowds the tub and makes the layout feel cramped.
3. Shower-in-a-recess behind tub with a removable glass door
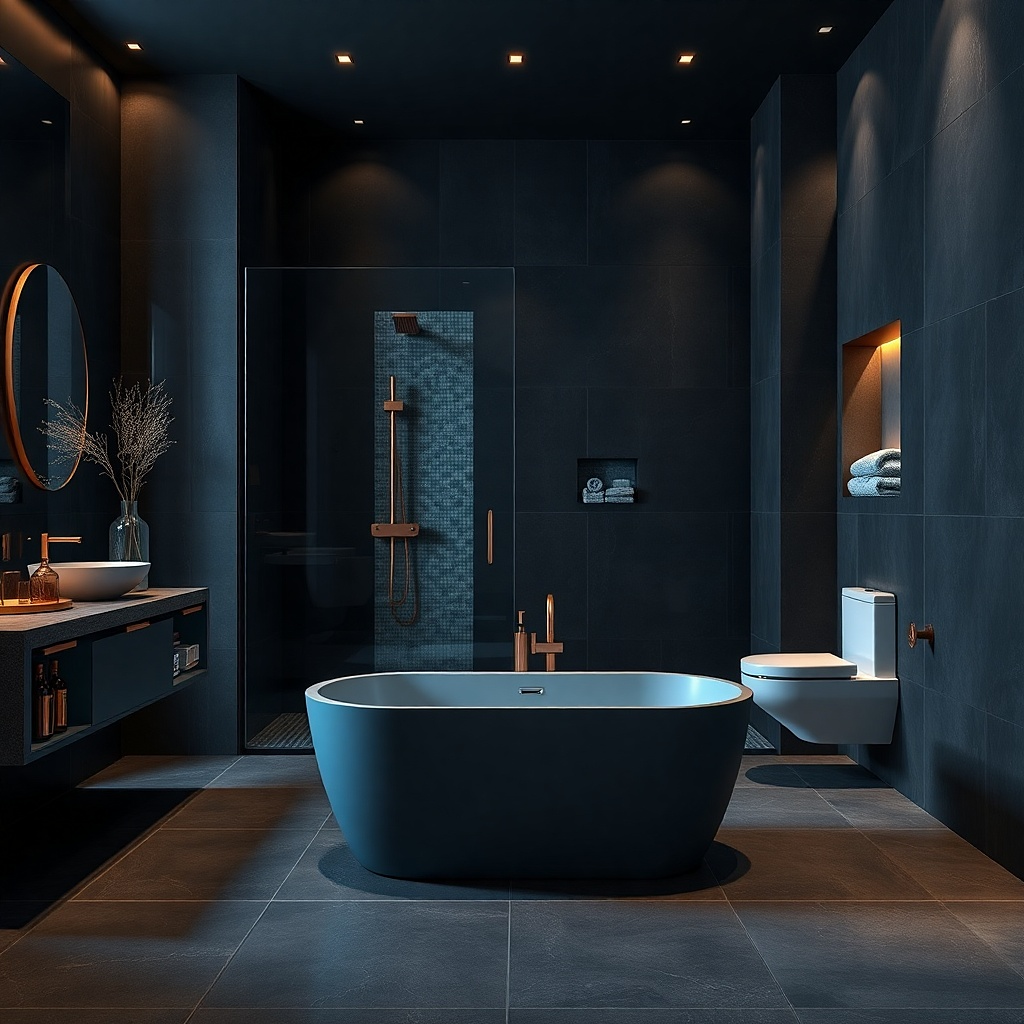
This setup is made for renters who want the freestanding tub look without turning the whole bathroom into a permanent construction job. Build a shallow, waterproofed recess (think a framed niche) where the shower sits behind the tub’s back edge. Then install a removable glass door or a hinged panel that can be taken down when you move out. The tub stays freestanding in look because it’s still sitting out in the open, but the shower stays controlled in a defined space. A recessed shower also lets you use a single strong tile field for the wet zone while keeping the rest of the room light.
Frame the recess to match the shower footprint you can fit (often 30-34 inches wide by 36-48 inches deep depending on the room). Use a waterproof backer system and run plumbing before you close the walls; plan the valve height so the showerhead lands at a comfortable range. Set the tub slightly forward of the recess so it doesn’t block the door. Install the glass door using a track or mounting method that can be reversed cleanly; keep fasteners accessible. Finish tile only on the recess walls and the door surround so the remodel looks deliberate even in a small space.
Try thisUse a handheld showerhead with a slide bar; it makes the shower usable without changing the layout for every person.
Common mistakeDon’t make the recess too shallow; if water hits the recess lip, you’ll get dampness and scuffed finishes.
4. Slim tub with end-of-wall shower and a pivot glass panel
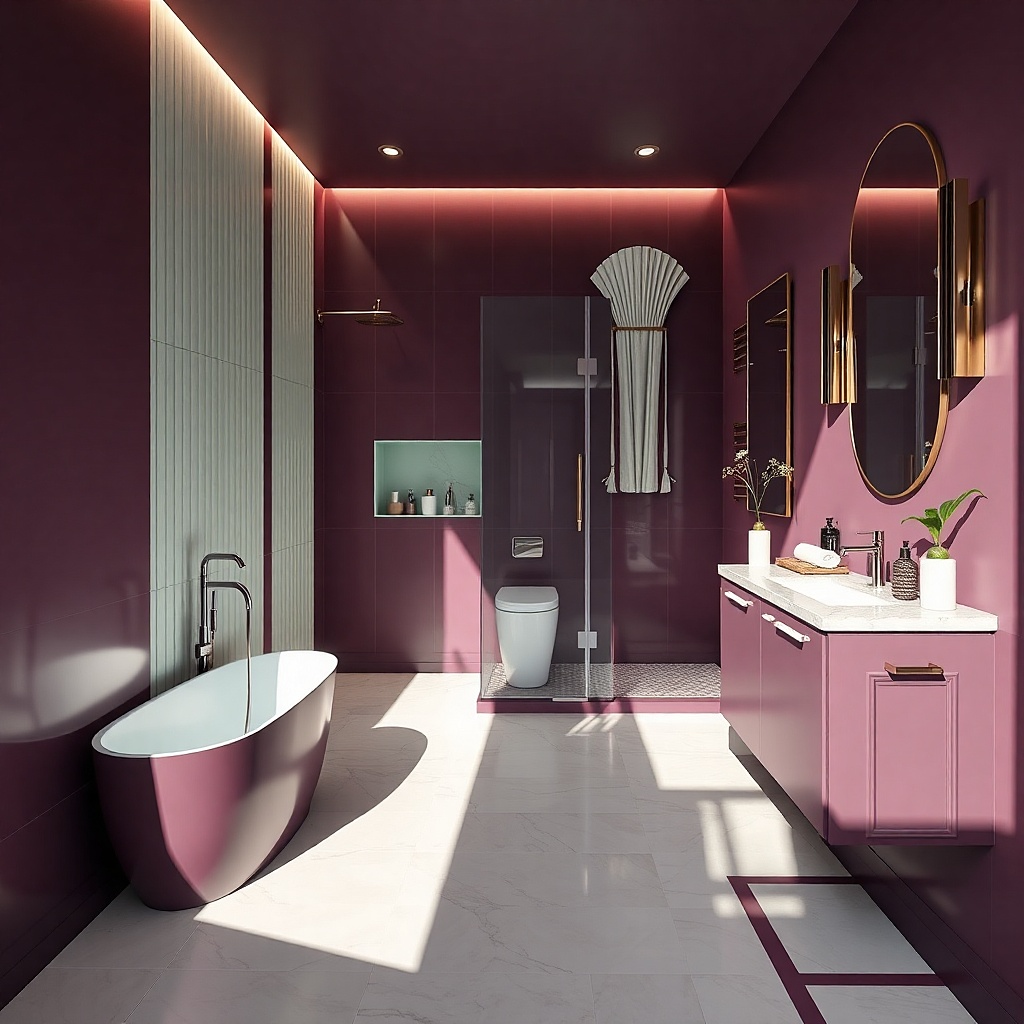
If your bathroom has one wall that feels “end-heavy” and the other wall has the door and vanity, this is a smart way to balance the room. Choose a slimmer freestanding tub (about 48-54 inches long) and place it near the end of the room. Keep the shower along the same wall with a pivot glass panel that swings in a controlled arc. The pivot door is photogenic because it creates a clean outline and avoids the curtain look. Use a light, matte tile for the wet zone and a darker hardware finish to anchor the visual weight.
Confirm door swing first. You need clearance so the pivot glass panel doesn’t collide with the door or vanity drawer when opened. Place the tub where you still have at least a 30-inch clear path from the door to the toilet area. Install the shower valve and drain so the shower floor slope drains properly; then tile the shower floor if you’re building it or install a waterproof shower base. Mount the pivot glass panel to the end wall and align it so the showerhead stays inside the glass boundary. Keep the faucet and shower trim in one finish so the small bathroom looks intentional.
Add a narrow niche or shelf inside the shower wall so you don’t introduce extra clutter that shows through glass.
Avoid a hinged panel that swings toward the tub walkway; it ruins the flow and makes the shower feel like an obstacle.
5. Floating vanity wall, tub centered on the opposite wall, glass strip shower
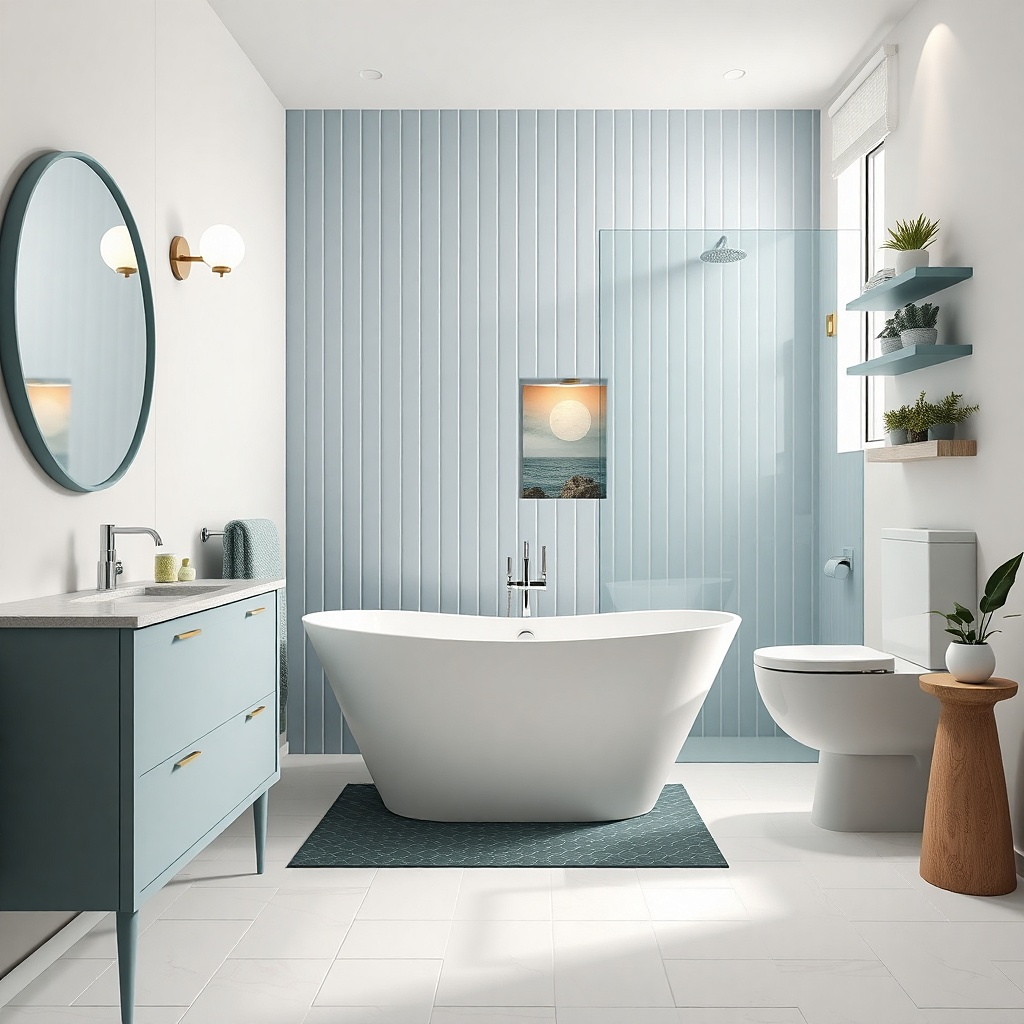
This is the cleanest look for bathrooms that feel tight because the floor feels busy. Mount the vanity so it sits off the floor, then center the tub on the opposite wall for symmetry. The shower becomes a slim strip along one side of the tub using a fixed glass panel and a narrow waterproof wall section. That keeps the shower visually light while still containing spray. Choose a tall mirror and a single long light fixture so the vertical lines make the room feel bigger. The tub looks expensive because the symmetry and clean boundaries do the work.
Mount your vanity with a proper wall bracket and confirm the plumbing connections are compatible with the wall-hung setup. Place the tub centered on the opposite wall so there’s equal visual space on both sides (even if the room is not perfectly square, aim for a balanced look). Build the shower strip on the side nearest the plumbing wall, usually 24-30 inches wide. Install a fixed glass panel aligned to the strip so the showerhead hits inside the glass. Finish the strip with waterproof wall panels or tile up to a consistent height, and keep the rest of the walls smooth and light.
Try thisUse a long, narrow matte stone or quartz countertop; it makes the small bathroom feel designed instead of improvised.
Common mistakeDon’t put the vanity on the same wall as the shower glass if it blocks the sightline to the tub.
6. Toilet-forward layout with tub behind the door and a hinged glass divider
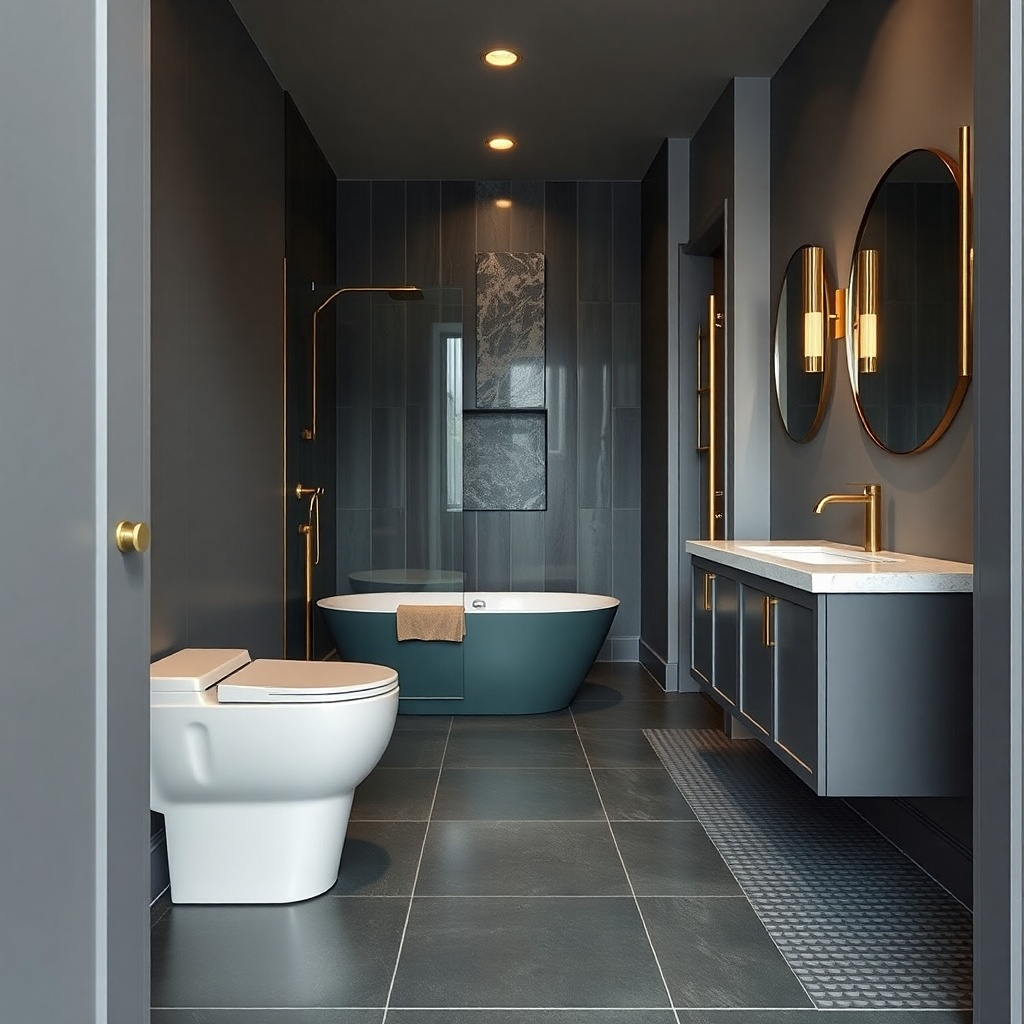
Some small bathrooms have the toilet taking up the only usable front space. Put the tub behind the door line so it’s revealed when you step in, not when you’re staring straight at the toilet. A hinged glass divider controls the shower so it doesn’t leak into the tub zone. This layout is visually dramatic because the tub becomes a “reveal,” and the glass divider keeps the wet zone crisp instead of curtain-smeared. Use a soft wall color and a warm wood vanity tone to keep the reveal from feeling cold or harsh.
Check the door swing path carefully. You want the tub edge placed so the door can open fully without scraping the tub or the glass hardware. Position the toilet so you keep a comfortable front clearance, then place the tub behind the open door line. Build the shower zone on the side closest to plumbing and install a hinged glass panel that closes to form a barrier. Use waterproof walls in the shower area and choose a tub faucet that doesn’t require extra bulky trim. Keep the showerhead height consistent with typical reach so the space stays functional.
Try thisChoose a glass divider with a slim metal profile; thick frames make small bathrooms look smaller.
Common mistakeAvoid placing the glass divider so it opens into the walking path; it turns a layout into an obstacle course.
7. Compact tub under a window with a custom glass splash barrier
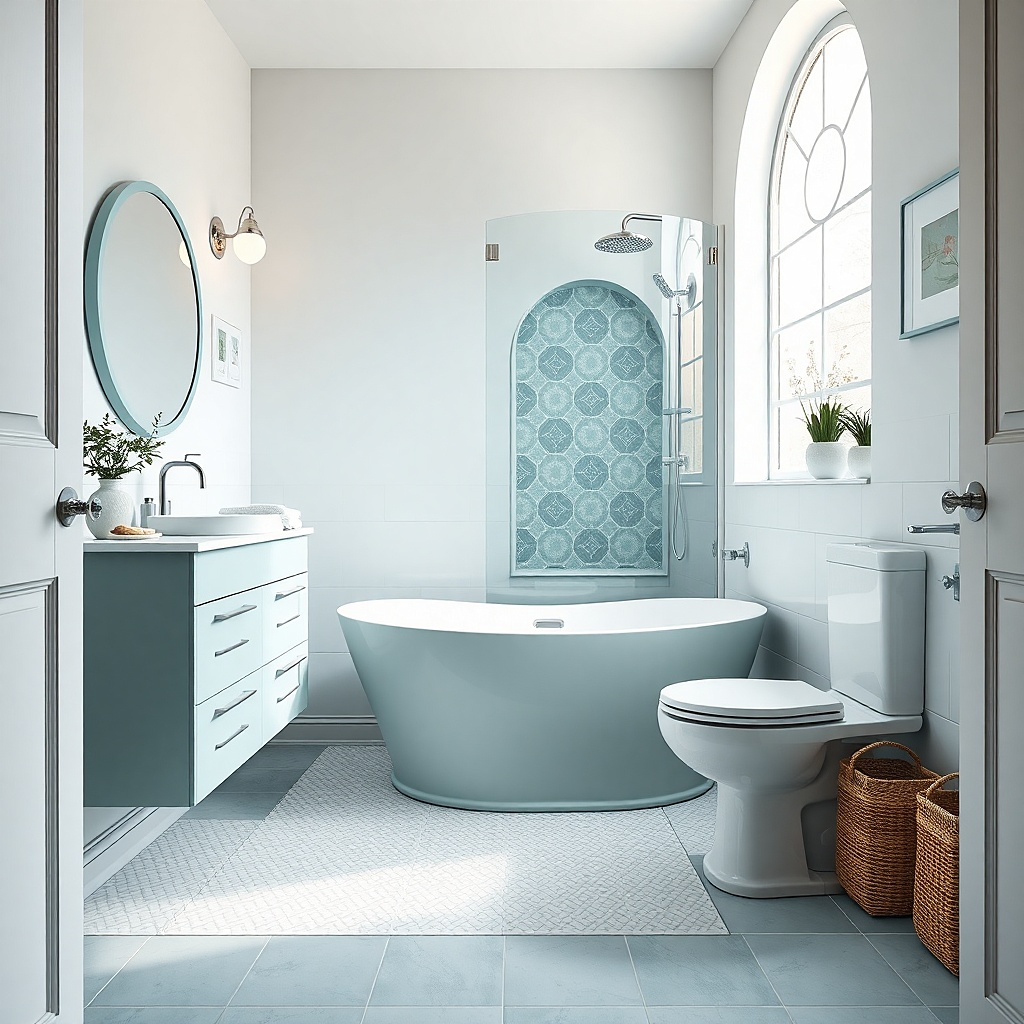
A window is already a design advantage, and tub placement under it makes the bathroom feel like a spa. Use a compact freestanding tub sized to fit under the window while keeping the shower on an adjacent wall. Instead of a shower curtain, use a custom glass splash barrier that blocks water from reaching the window area. Light, airy tile in the wet zone keeps the whole room bright, and the window brings in real daylight that makes the tub look intentional. This works best when your window is high enough that the shower spray won’t hit it directly.
Measure the window sill height and plan the tub so the rim stays below the sill line with enough clearance for airflow and cleaning. Place the shower on the adjacent wall and route plumbing to a valve mounted at standard shower height. Install a glass barrier that spans from the counter height up to near showerhead level and anchors into solid wall framing or tile backing. Use waterproof wall panels around the shower area so you’re not relying on paint in the wet zone. Finish with a mirror that doesn’t block the window view.
Use a window-friendly shade or roman blind in a wipeable fabric so you can control privacy without heavy drapes.
Don’t mount a showerhead so it points toward the window; even with glass, you’ll get dampness and streaking.
8. One-wall shower surround, freestanding tub on the opposite wall, no-drill towel storage
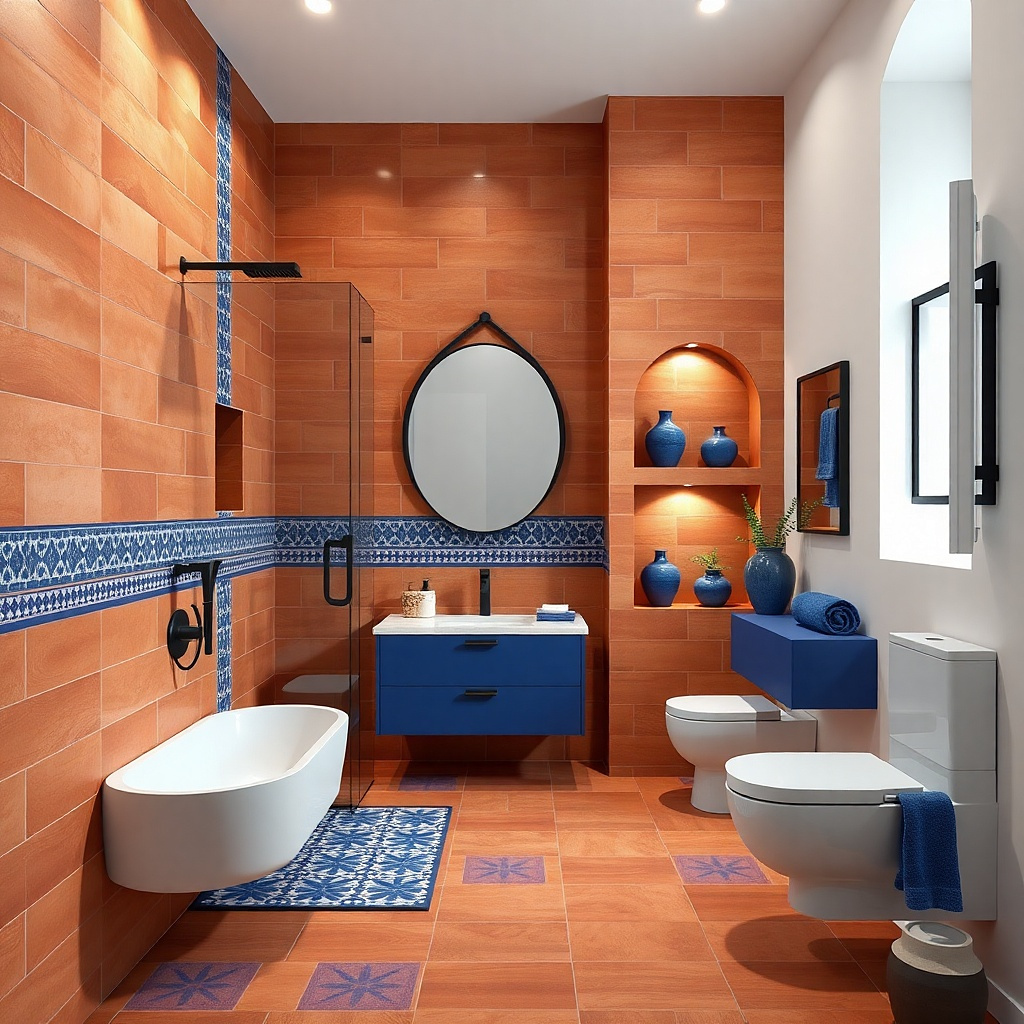
If your rental rules limit drilling, you can still make this look polished by focusing construction on one wet zone and keeping everything else surface-friendly. Build a clean one-wall tiled shower surround with a glass panel, then place the freestanding tub on the opposite wall. The contrast between the tiled wet zone and smoother painted walls makes the tub look like it belongs there. Add removable or no-drill towel storage so you don’t mess up the wall. Keep the shower fixtures in a consistent finish and use a light tile color that reflects light into the tub area.
Choose a shower wall footprint you can tile cleanly, then install waterproof backer and tile only there. Mount the glass panel with hardware that can be removed later without tearing up tile grout. Place the tub so the faucet plumbing aligns with your available water supply and drain line. Install the tub in a way that leaves a small gap for cleaning and caulking. Add removable towel hooks and a suction shelf near the shower for daily use, and keep the rest of the bathroom uncluttered.
Use a single niche shelf in the shower wall so the space looks designed instead of “stuff stored in corners.”
Avoid putting storage right next to the glass panel; it blocks sightlines and makes the shower look smaller.
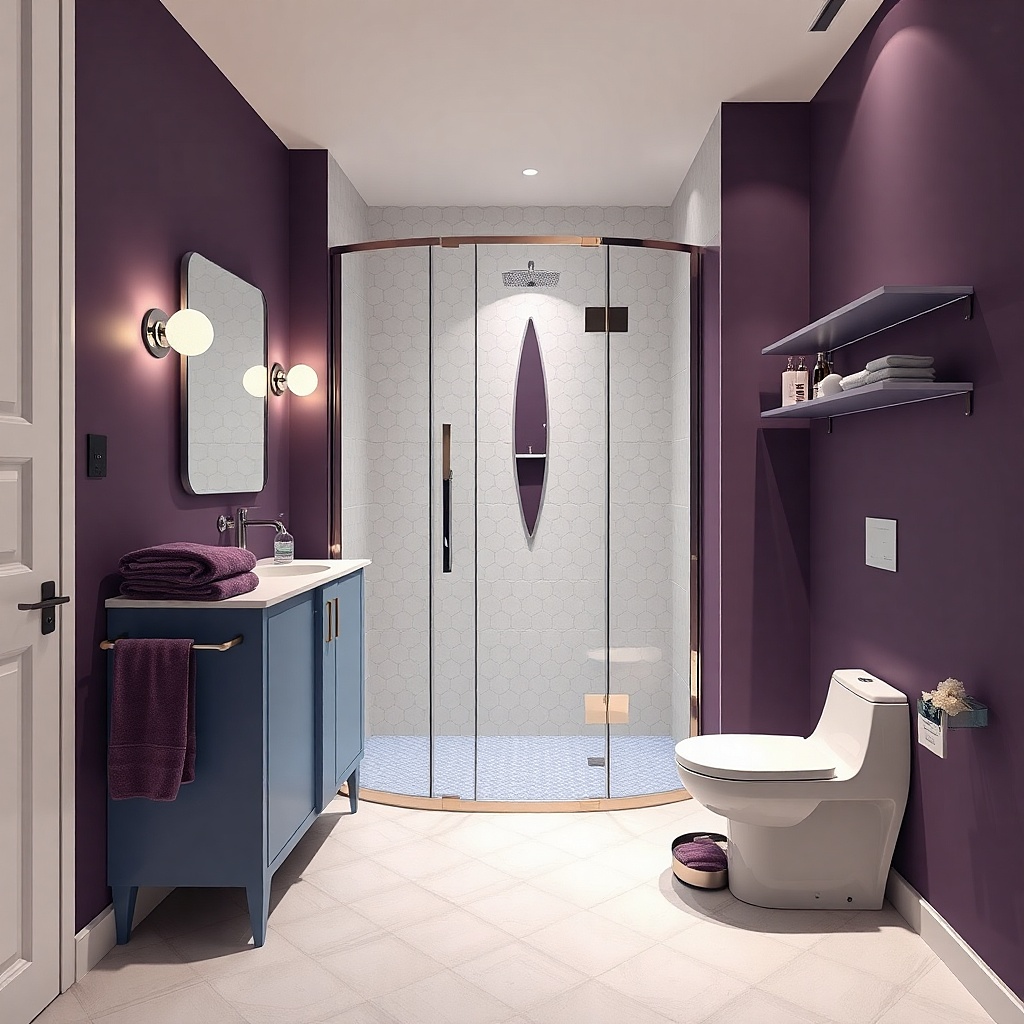
9. Hex tile wet zone, freestanding tub on a diagonal, glass side panel
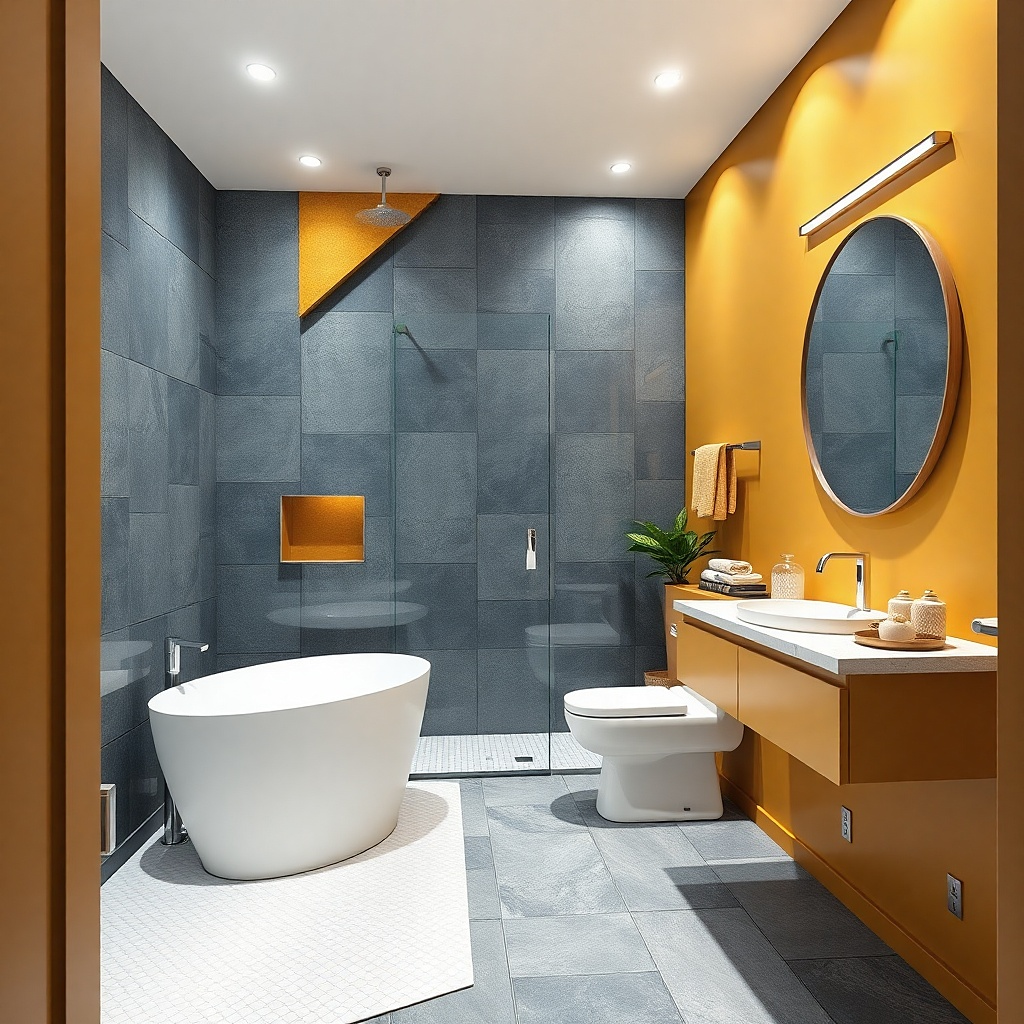
A diagonal tub placement makes a small bathroom feel intentional because it breaks up straight-line boring. Use a compact freestanding tub and set it on a diagonal relative to the door wall, then place the shower zone adjacent with a side glass panel. The wet zone gets a textured, photogenic tile hex tiles in matte cement colors or small-toned mosaics — so the shower area looks like a feature even when the room is tight. Keep the rest of the bathroom plain and light so the diagonal tub reads as design, not chaos.
Measure the door and clearance first, then pick a diagonal angle that still leaves a path to the toilet. Place the tub so its long side sits comfortably without hitting the door swing or vanity. Build the shower zone next to it with a waterproof wall panel and a small tile field. Install a glass side panel that aligns with the shower opening and seals tightly to prevent water escape. Use a grout color that matches the tile so the wet zone looks crisp in photos.
Try thisChoose hex tile in two close tones (not high contrast) so it looks cohesive and doesn’t overwhelm a small room.
Common mistakeAvoid a diagonal tub if you can’t keep a clear path to the toilet; looks are great, but usability matters.
10. Clawfoot-style compact tub with matte black shower rail and clear hinged glass
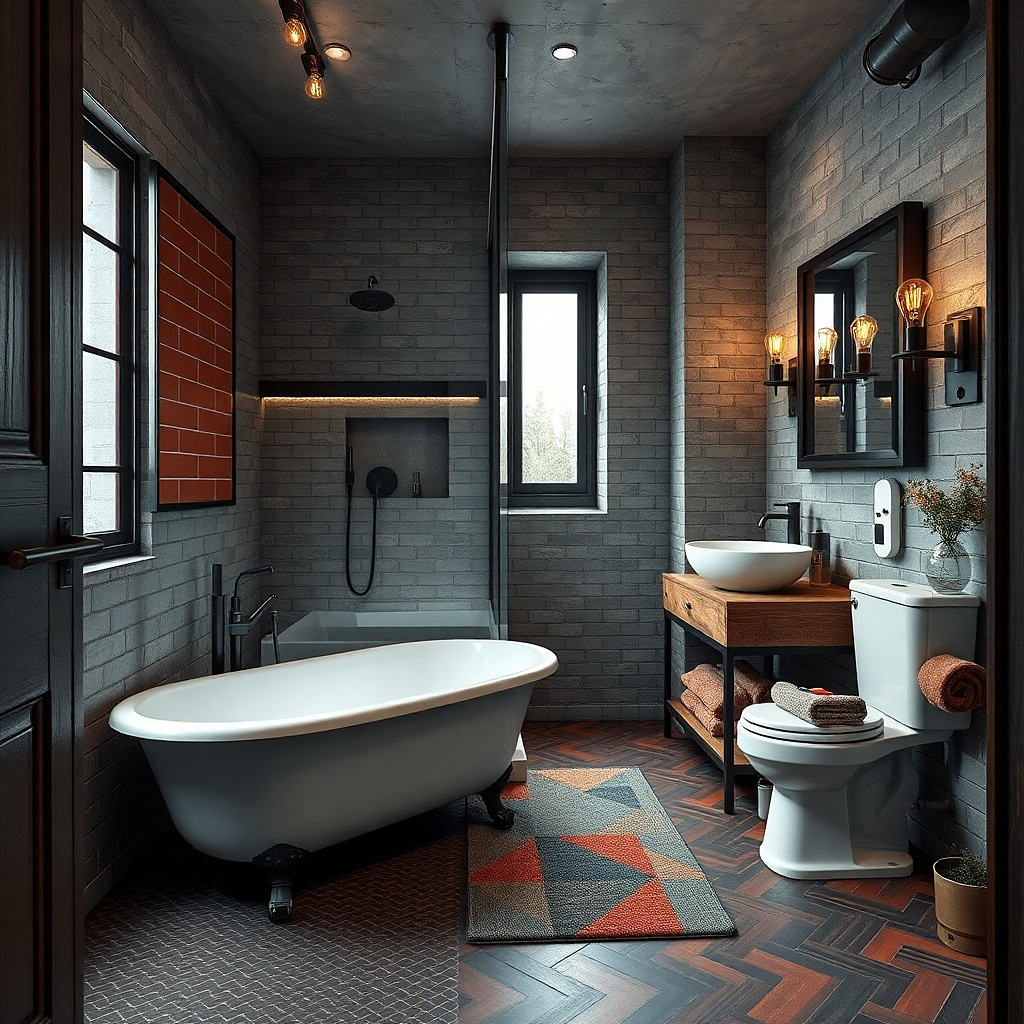
This is the “classic tub, rental-friendly execution” look. Use a compact clawfoot-style freestanding tub and pair it with a matte black shower rail and a hinged clear glass panel. The black hardware anchors the tub silhouette so it looks purposeful, even in a small room. Keep the wet zone simple with a narrow tile surround and a consistent grout color. This combo photographs well because the tub shape is distinctive and the glass panel keeps the shower area clean without visual heavy curtains.
Select a tub size that matches your plumbing reality — many compact tubs still need a drain alignment plan. Place the tub where you can reach the valve and drain with minimal rerouting. Install a hinged glass panel sized to cover the shower opening; mount it to solid backing, not just drywall. Add a matte black shower rail so the handheld head can reach different angles without stretching hoses. Finish the wet zone with a narrow tile surround and keep the rest of the bathroom in washable paint.
Use a tub mat with a neutral tone that matches the grout; it looks tidy and reduces the “temporary” vibe.
Avoid mixing glossy chrome fixtures with matte black hardware; it breaks the cohesive look fast in close quarters.
11. Freestanding tub plus shower in a wet room pocket with a sliding glass door
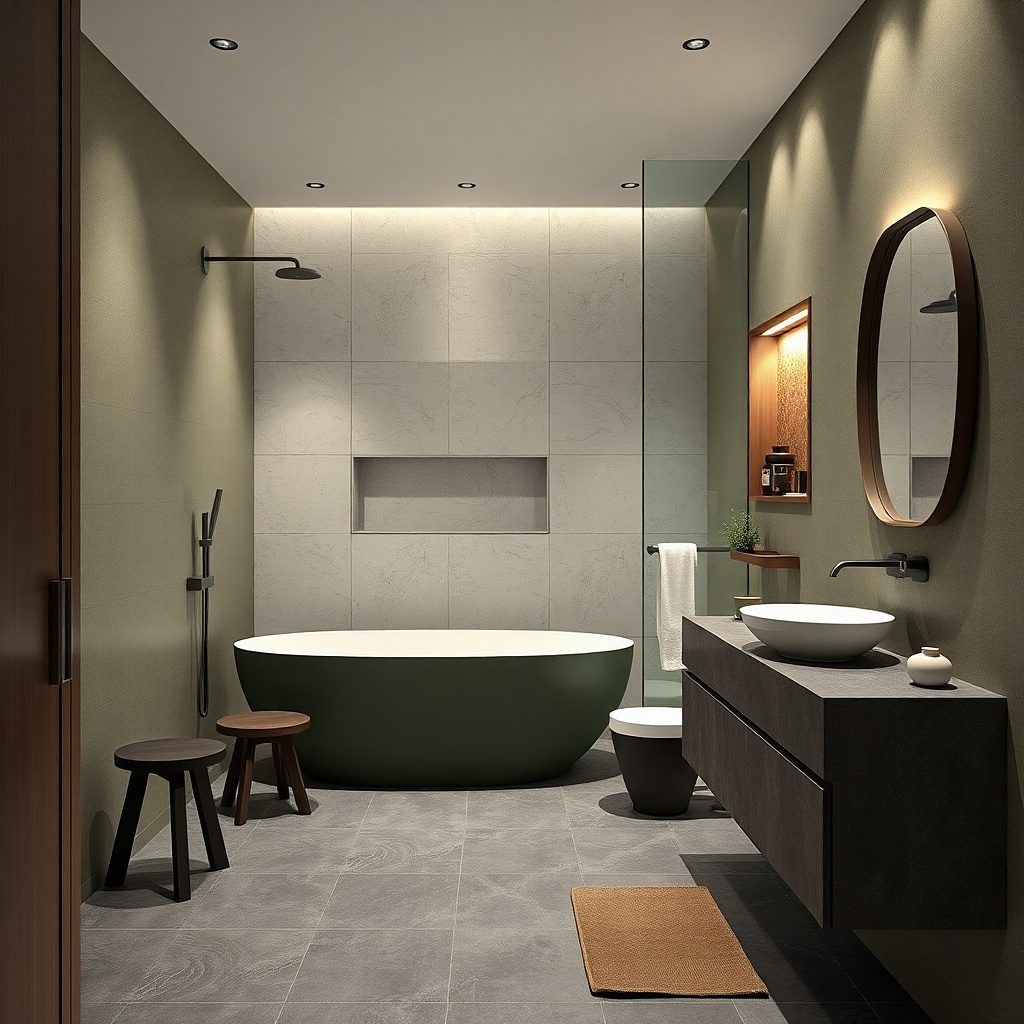
A sliding glass door gives you the most “designed” feeling in a small bathroom because it saves swing space and looks clean. Create a wet-room pocket next to the tub using waterproof wall panels and tile on the inside face, then slide the glass door closed to contain water. The tub stays freestanding and visible, but the shower experience feels like a real enclosure. Use large-format tile inside the pocket and keep the rest of the room light. This is a strong choice when your door swing and toilet location limit hinged glass.
Build the wet-room pocket to the smallest size that still fits a comfortable shower — a common target is 30x36 inches. Waterproof the walls and floor inside the pocket and install a proper drain slope. Mount a sliding glass door track to solid framing or a reinforced header. Place the tub so it doesn’t block the pocket entry and leaves a comfortable cleaning gap around the rim. Finish the pocket with large-format tile and keep grout minimal for a sleek look.
Try thisUse a door handle that matches the shower trim finish; small hardware choices show up in photos.
Common mistakeDon’t choose a sliding door that’s too short; if the opening isn’t fully covered, water will escape at the top edge.
12. Tub beside shower with a full-height half wall and fixed glass panel
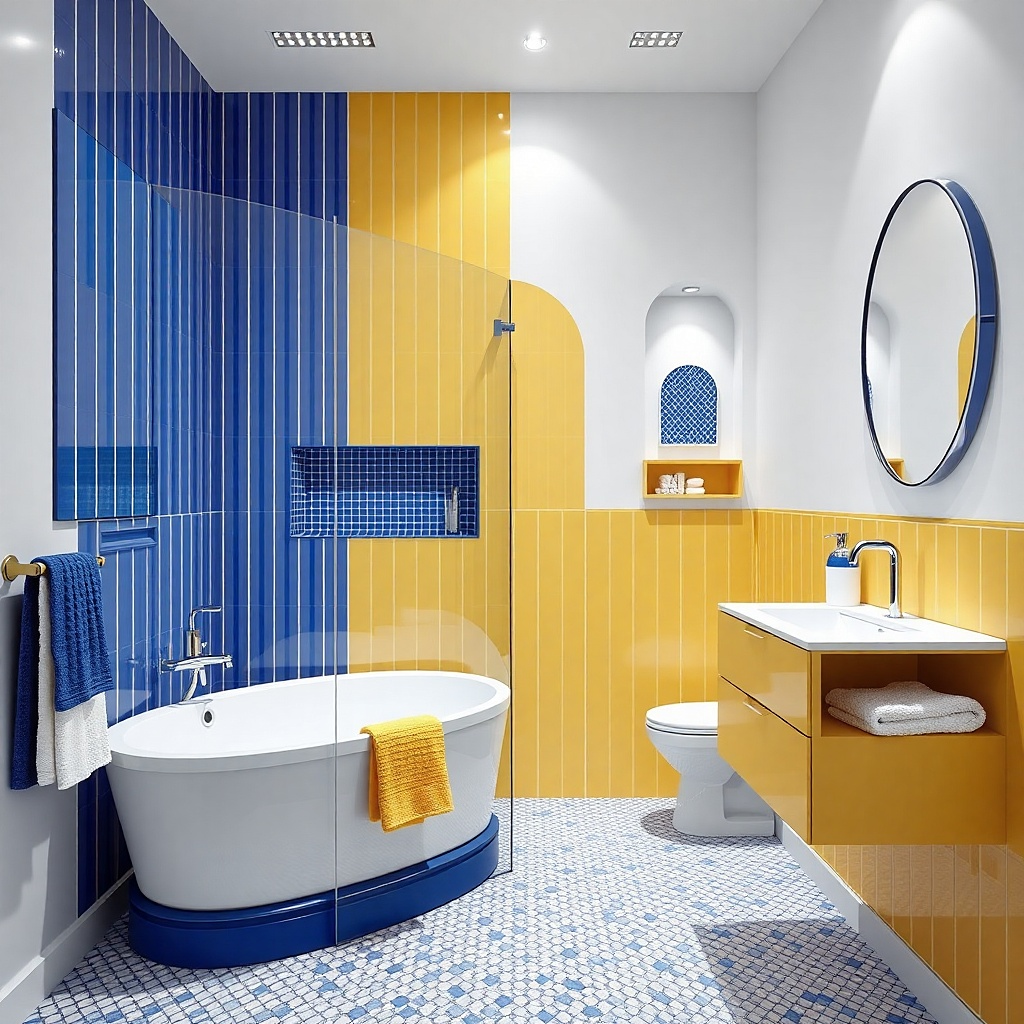
Half walls are underrated in rentals because they add structure without requiring a full enclosure. Put the freestanding tub beside the shower, then build a full-height half wall (often 36-48 inches tall) with a fixed glass panel attached to the upper portion. The half wall blocks direct spray and gives you a place to tile a decorative accent. The fixed glass keeps the space open visually, so the bathroom doesn’t shrink. Choose an accent tile band subtle, matte, and patterned only in the half wall area so it reads as intentional design.
Plan the shower zone width first and confirm you have enough space to step in without hitting the tub. Frame and waterproof the half wall and tile the wet side with a material that handles water well. Mount the fixed glass panel to the half wall so it seals at the edges. Place the tub with a small gap from the half wall for caulk and cleaning. Use a handheld or adjustable showerhead so you can aim within the glass boundary without needing a huge enclosure.
Try thisAdd a slim shelf on the half wall (inside the shower area) so shampoo bottles don’t clutter the tub side.
Common mistakeSkip a thick, bulky half wall in a tiny room; it makes the bathroom feel cut in half.
13. Sink-to-tub sightline with a long mirror and shower in a boxed alcove
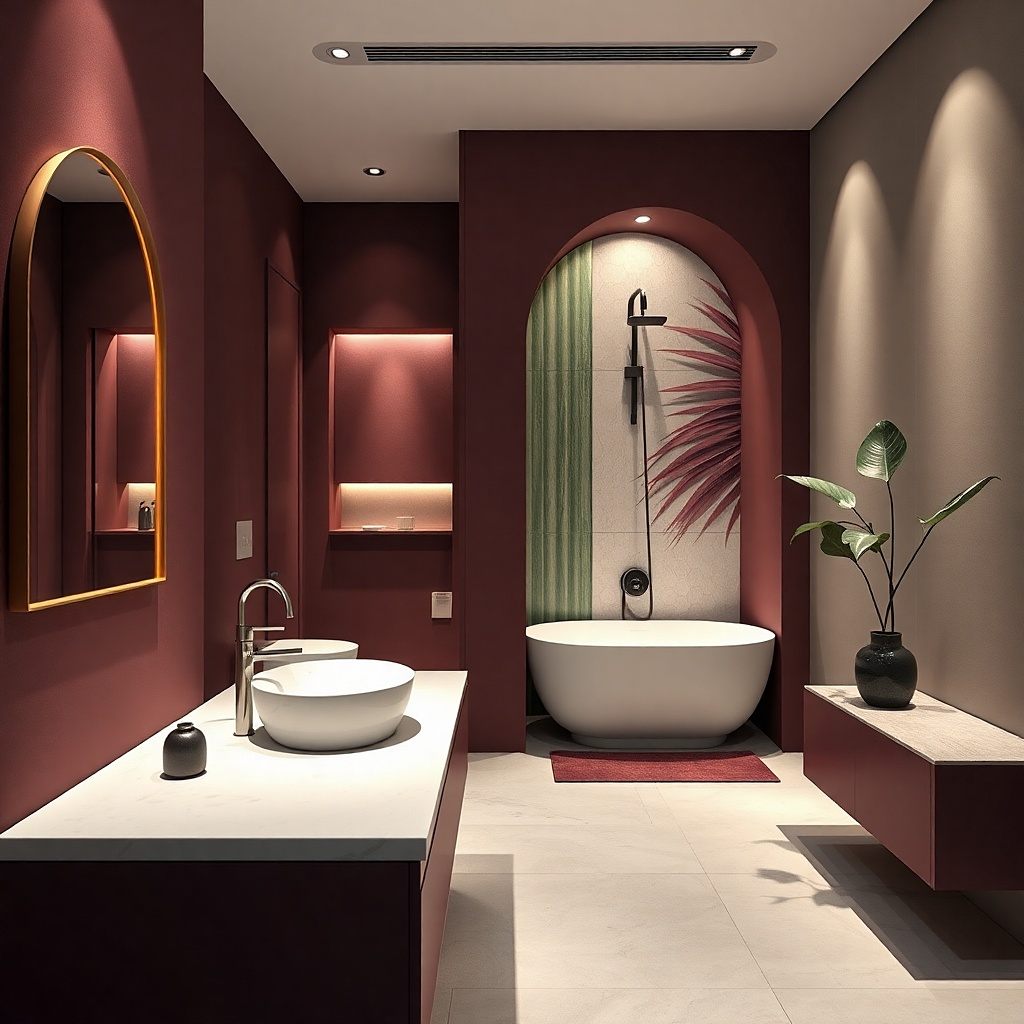
This look is all about sightlines. Put your sink and mirror so you can see the freestanding tub clearly when you enter, then tuck the shower into a boxed alcove near the plumbing wall. The boxed alcove can be finished with waterproof wall panels and a glass door or a partial glass screen. The tub stays visible and photogenic, while the shower stays controlled and visually contained. Use a long, thin-framed mirror to stretch the space vertically and make the tub feel closer to the “spa” end of the spectrum.
Start by placing the sink on the wall opposite the tub sightline. Install a long mirror that centers visually above the sink so the tub lines up in the reflection. Build the shower alcove with waterproof panels and a door or screen sized for easy entry. Position the tub so its rim aligns with the mirror’s lower third line in your view from the door. Finish the alcove with tile or textured panels and keep the rest of the room smooth and light for contrast.
Use a consistent tile color between the shower alcove and the floor outside the wet zone to visually “connect” the room.
Don’t center the tub if the door swing cuts across it; sightline matters more than symmetry.
14. Small alcove tub deck with removable waterproof panel shower screen
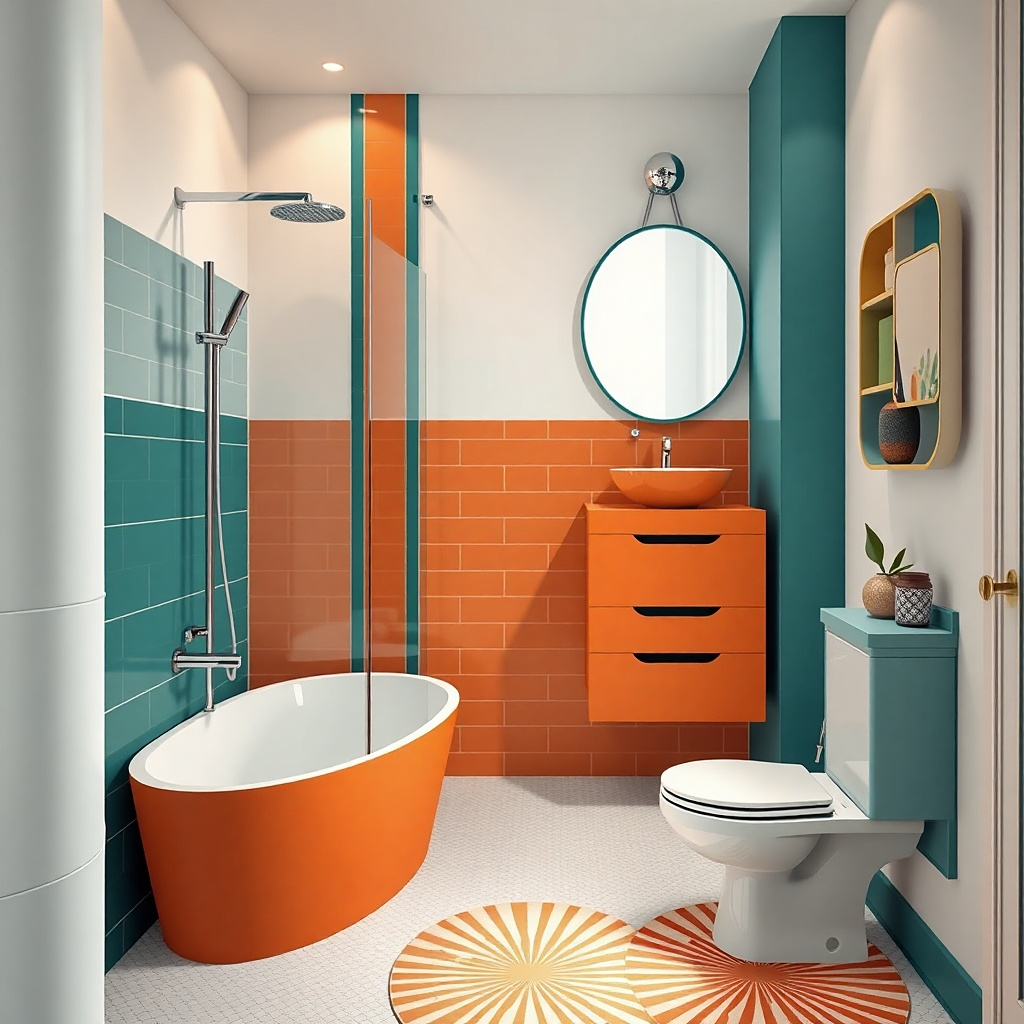
If your bathroom has an alcove or a slightly recessed area, you can build a tub deck that looks built-in while keeping the tub technically freestanding. Pair it with a removable waterproof panel shower screen instead of permanent tile walls everywhere. The screen keeps water off the deck and makes the shower area look intentional in photos. Keep the deck surface in a slip-resistant finish like matte porcelain or a waterproof composite panel. Use light walls and a warm-toned tub surround color so the whole setup looks cohesive rather than “temporary protection.”
Frame a small deck platform around the tub footprint with waterproof surface materials. Leave a visible gap at the tub base so it still reads as a freestanding piece. Install the removable shower screen with reversible attachments that don’t require drilling through finished tile or surfaces you’ll need to remove later. Place the showerhead so it hits within the screened area and use a handheld for control. Finish the deck with a durable, waterproof surface and seal edges where the deck meets the wall.
Try thisMatch the screen finish to the shower trim finish; it makes the removable part look like part of the design.
Common mistakeAvoid a deck that’s too high; it blocks legroom and makes the tub look awkwardly perched.
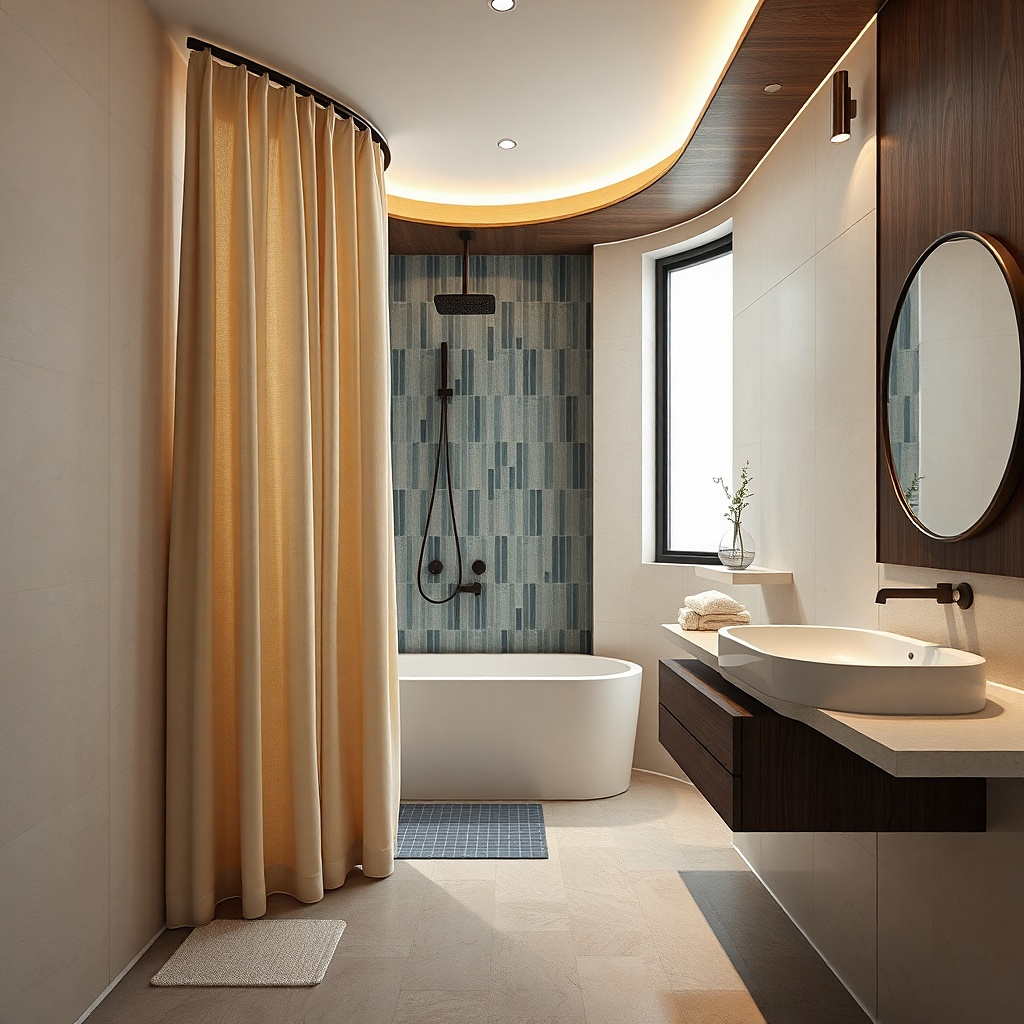
15. Tub centered under a skylight look with vertical tile in the shower zone
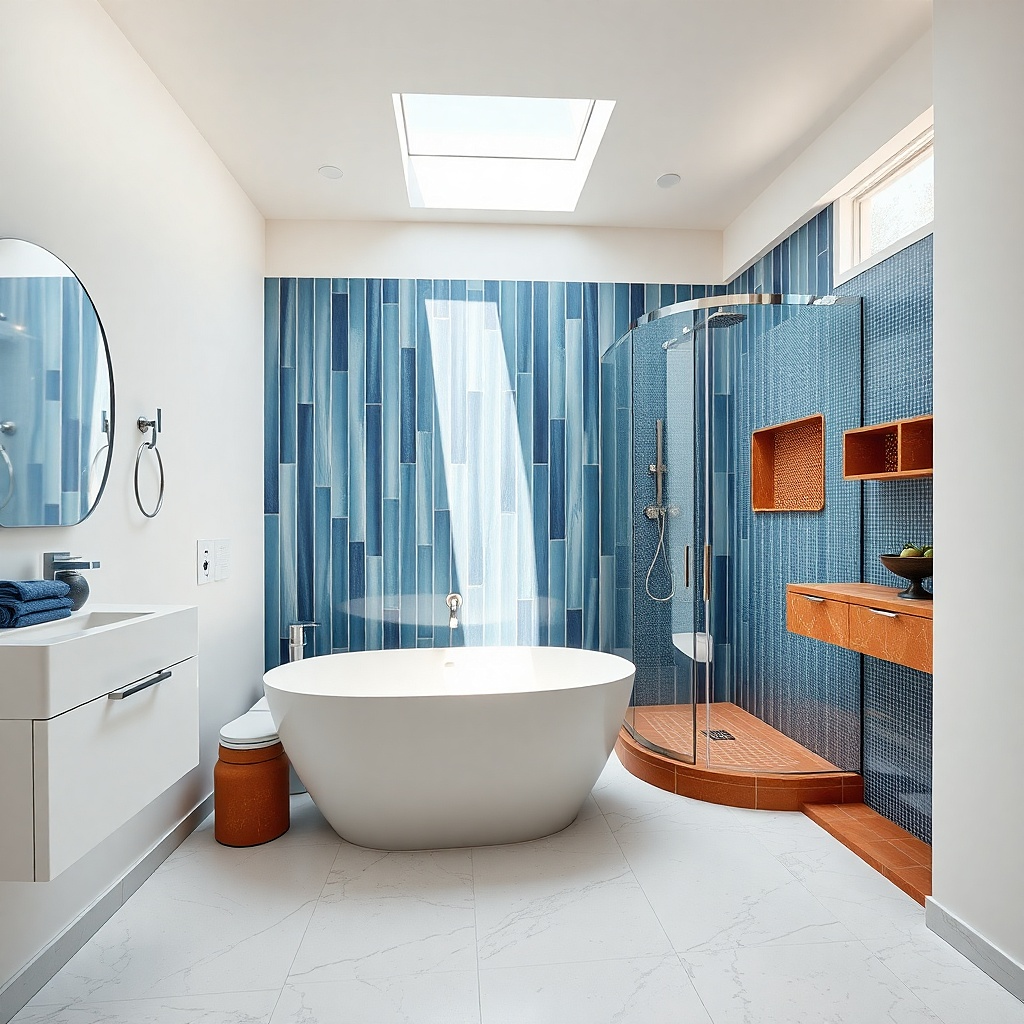
Vertical tile in the shower zone is a reliable way to make a small bathroom feel taller, and it pairs beautifully with a freestanding tub. Center the tub where light hits it best, then build a shower zone with vertical tile lines and a clear panel enclosure. Even without a real skylight, vertical lines give that airy feel in photographs. Use a light wall paint and keep the shower hardware consistent with the tub faucet finish. This layout looks clean and modern because the vertical tile creates structure, while the tub shape adds softness.
Choose vertical tile sizes like 4x12 or 3x12 and keep grout color close to the tile for a long, uninterrupted look. Position the tub so the rim aligns with the brightest area of the room (usually near a window). Build the shower zone with waterproof panels and install a clear fixed or hinged glass panel. Mount the shower valve at standard height and aim the showerhead so spray hits inside the panel boundary. Finish with a simple shower niche and keep the rest of the bathroom surfaces uncluttered.
Use a matte wall paint with a satin finish in the bathroom; it looks better under light than flat paint and wipes clean.
Don’t use glossy tile in a tiny shower zone; it shows every water spot and looks messy fast.