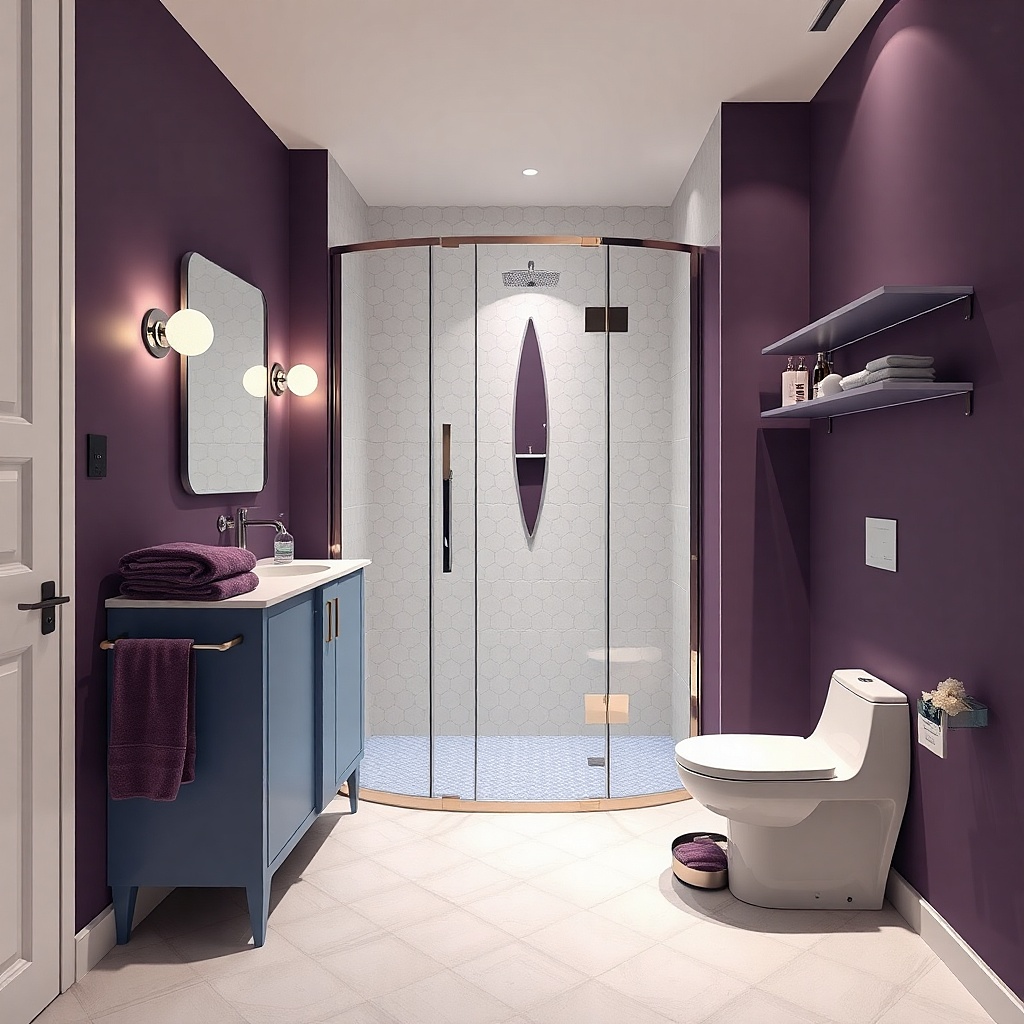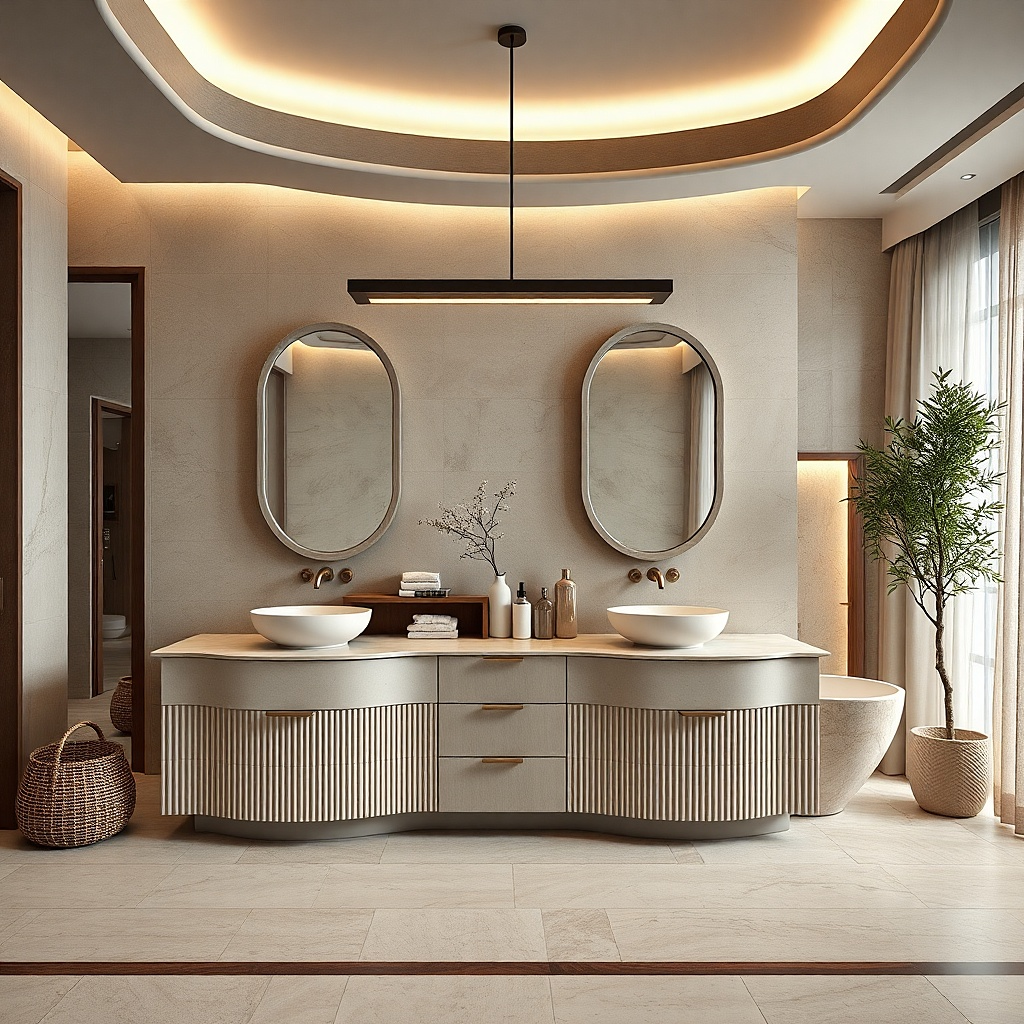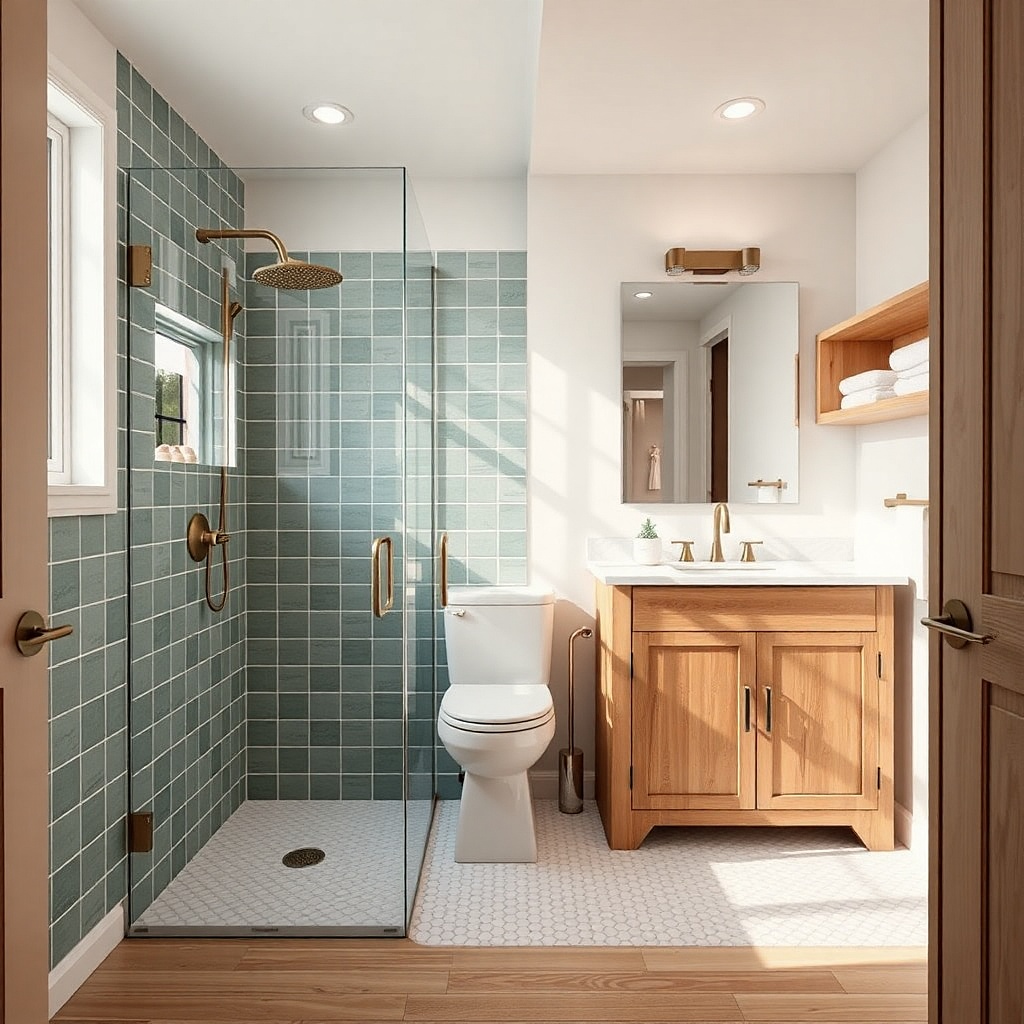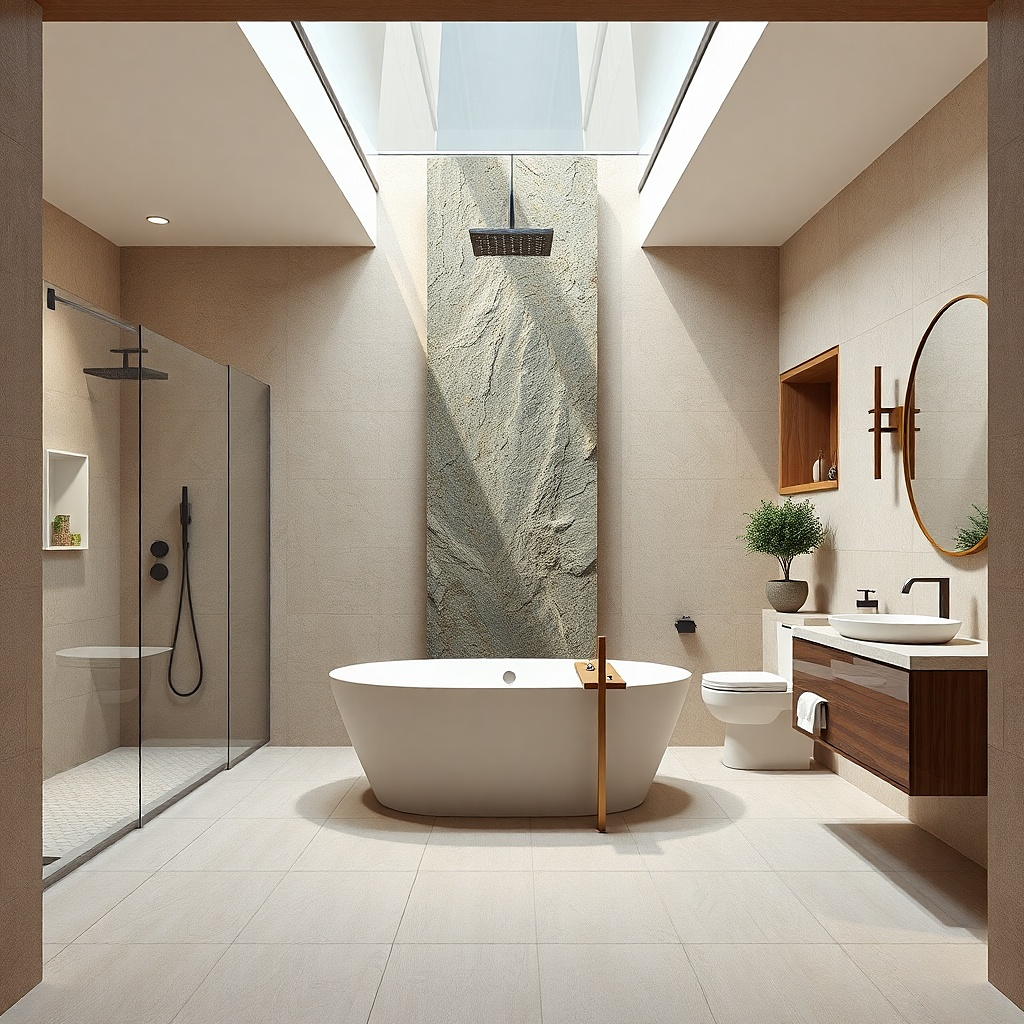
1. Floating Vanity With Matching Trim Paint
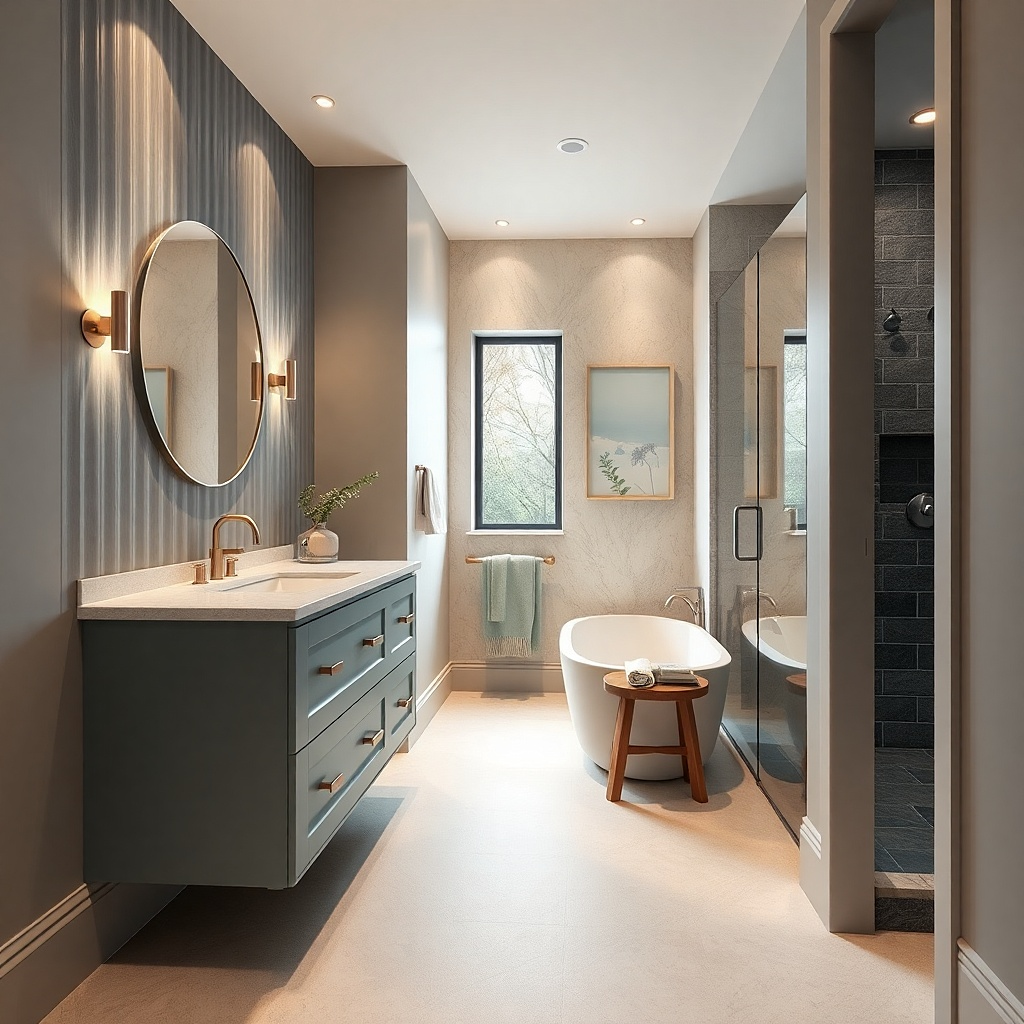
If your bathroom feels visually heavy, a floating vanity fixes that fast. The open area under the cabinet makes the floor read as continuous, which is exactly what a small spa needs. Choose a vanity in satin white, warm white, or light greige, not high-gloss, so it looks soothing rather than reflective. Paint the wall the same warm tone as the vanity trim — think creamy off-white — and keep the grout light to medium so the whole room feels cohesive. This combo also hides the “small bathroom mess” problem because the vanity top stays clearer when you have drawers below.
Measure your wall width where the vanity sits and pick a unit that leaves 2-3 in of clearance on each side for sightline balance. Install a mounting rail or ledger per the vanity instructions, then set the vanity, level it, and reconnect plumbing with flexible supply lines. Paint the wall before installing the mirror so you can run crisp edges around the vanity and avoid touching up later. Budget for a vanity plus mounting hardware and a basic mirror that matches the vanity width; expect a weekend for demo and install if your plumbing is already in place.
Match your towel bar color to the vanity hardware brushed nickel or matte black so the room looks styled, not assembled.
Avoid a vanity top that’s too deep; anything over about 21 in from wall to front eats space in a small bath.
2. Oversized Mirror That Hits 70% of Vanity Width
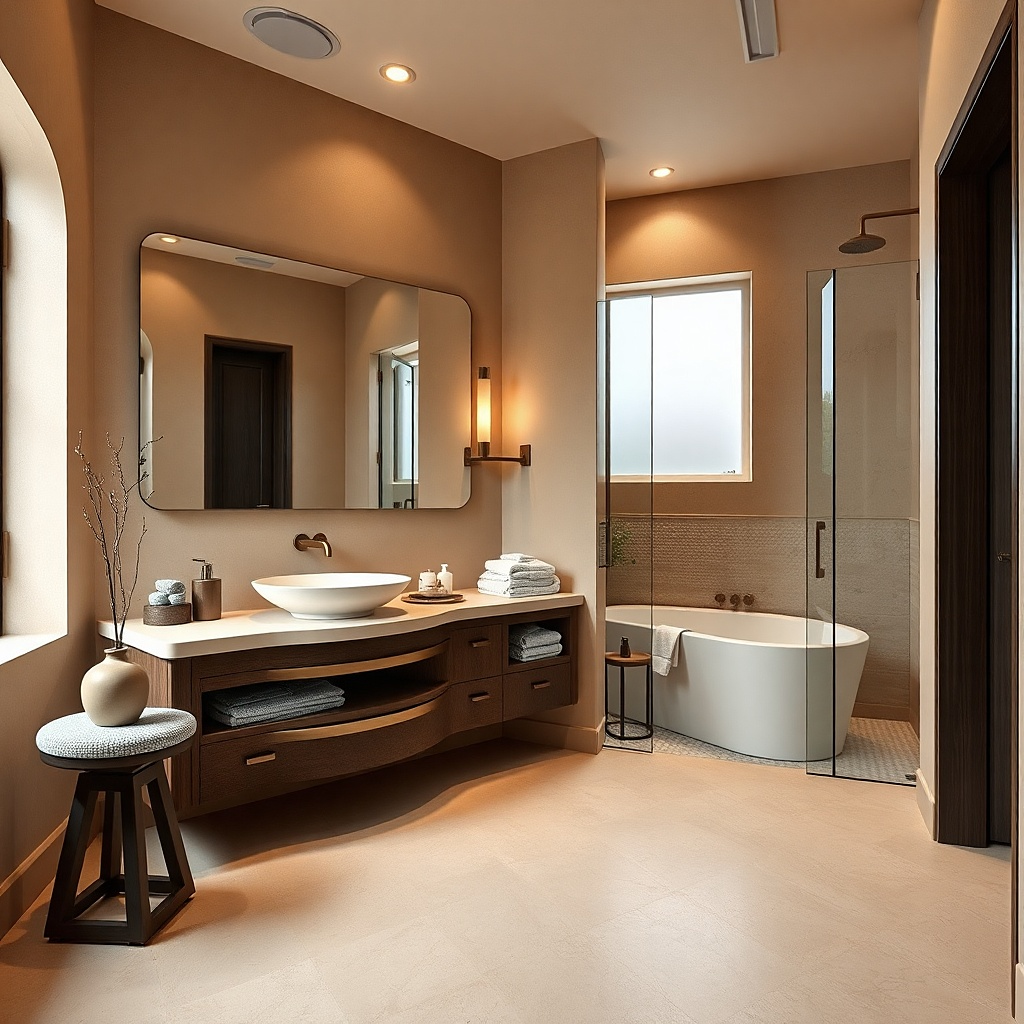
A spa bathroom feels open because it doubles the light and visually expands the walls. Go bigger than you think: target a mirror width that’s about 70% of the vanity width, with the bottom edge around 2-3 in above the vanity sink rim. Choose a simple rectangle or a soft rounded rectangle with a thin frame so it reads clean. Add warm light around the mirror area to prevent the “cave shadow” effect that makes small bathrooms look dingy. This upgrade is also photogenic: straight edges and a wide mirror make the bathroom look styled even when the counter is minimal.
Measure the vanity width and subtract 1-2 in total for clearance from the sides. Pick a mirror size that matches that target and decide on placement: center it on the vanity and keep the bottom edge roughly 65-70 in from the floor for most adults. Install a new electrical box for vanity lighting if needed, then mount the mirror using the included bracket or mounting clips. If you’re keeping existing plumbing and drywall, this is a quick swap with minimal mess.
Try thisUse warm bulbs around 2700K-3000K and dimming if your fixture supports it; spa lighting is about shadow control, not brightness.
Common mistakeAvoid decorative mirrors with heavy frames; they add visual weight and fight the spa calm.
3. Two-Layer Lighting Plan With Vanity Sconces
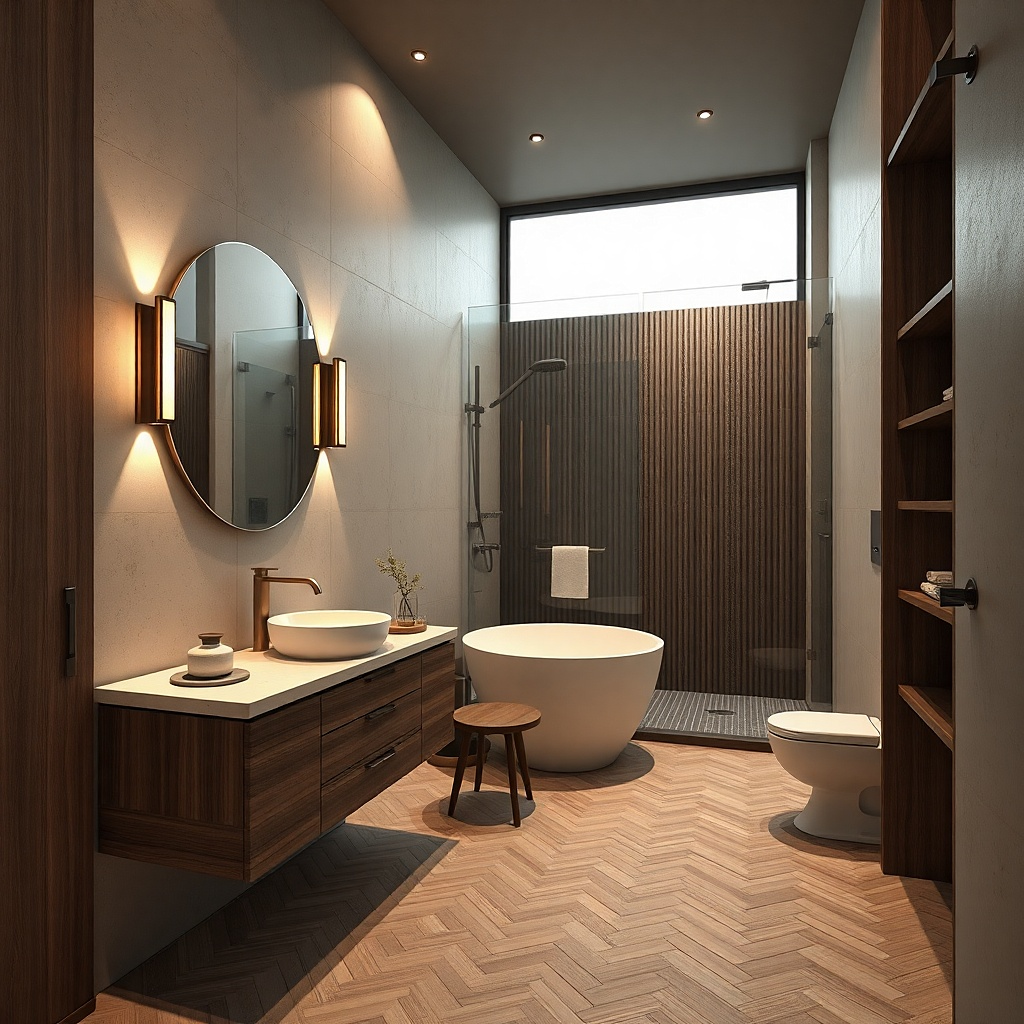
Small bathrooms look smaller when light comes from only one ceiling source. Use two layers so your face and surfaces are evenly lit, which instantly reads as spa-like. Vanity sconces or a slim wall bar on both sides of the mirror are the easiest way to eliminate harsh shadows. Choose frosted glass shades or diffusers so the bulbs don’t glare in photos. Pair that with a ceiling light on a dimmer so the room can shift from bright cleaning to calm evening light.
Install vanity sconces 28-34 in above the floor, centered at about eye level, and keep them symmetrical around the mirror. If you’re replacing the ceiling fixture, wire in a dimmer rated for your bulb type. Test spacing by holding the fixture against the wall and checking the shadow line on a mirror reflection. This is a half-to-full day job if wiring is accessible; if not, hire an electrician for safe box work.
Try thisAim for bulbs that render skin tones naturally: pick CRI 90+ if you can; the bathroom looks cleaner in photos.
Common mistakeAvoid one overhead light with no diffuser; it creates dark corners behind the toilet and under the mirror.
4. Warm Greige Walls With Matte Finish
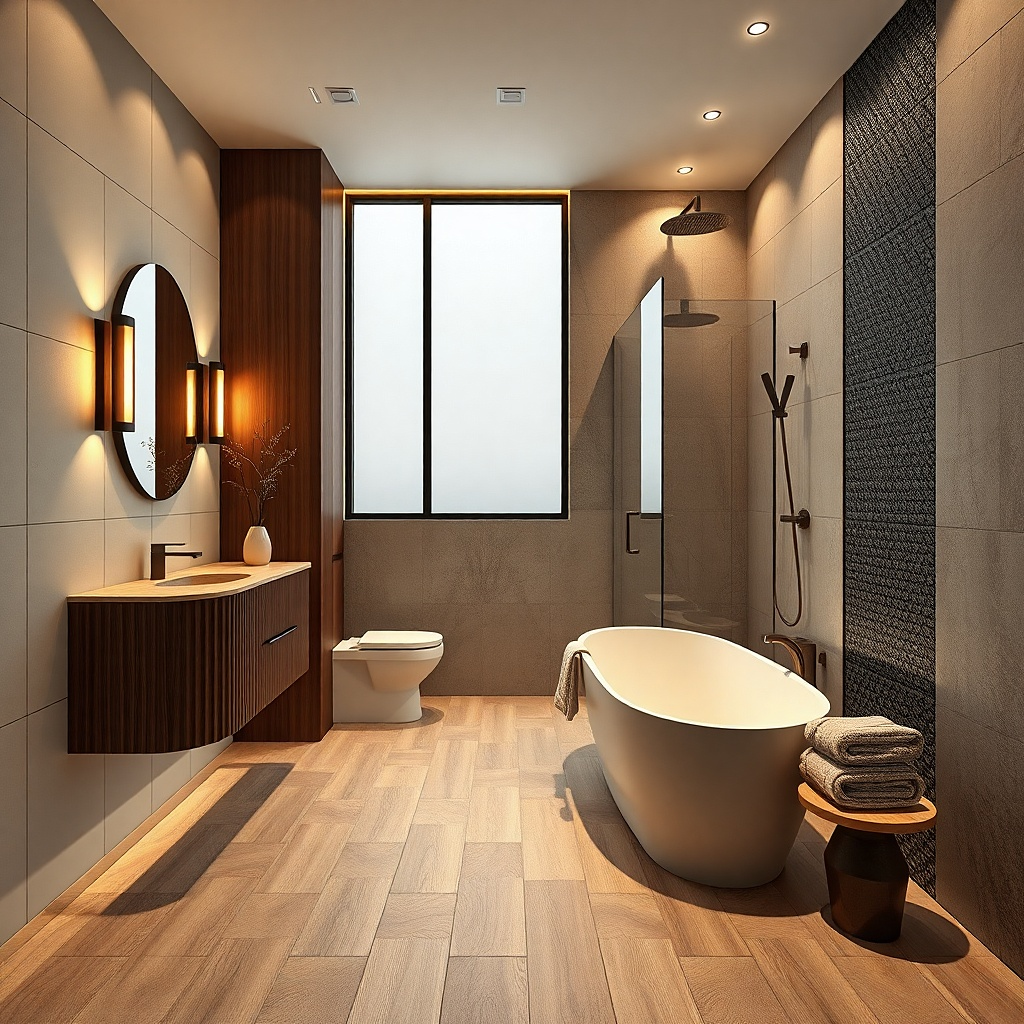
Spa bathrooms feel calming because the walls don’t fight the eye. A warm greige or creamy greige in a matte or eggshell finish softens the room and hides tiny scuffs that show up fast in small spaces. Avoid bright white walls — they often look cold next to chrome or stainless fixtures and can make tile look harsher. Pair the paint with light grout so the tile reads smooth instead of busy. This is one of the fastest ways to make a bathroom look remodeled without touching plumbing.
Pick paint labeled for bathrooms or kitchens and use a mildew-resistant primer if your walls are glossy or have stains. Apply one coat primer if needed, then two coats paint with a small foam roller for smooth coverage. Cut in around the mirror and trim using painter’s tape and a 1.5 in angled brush. Plan for 2-3 days including drying time; the actual rolling takes a few hours.
Try thisBring home paint samples and test them next to your faucet finish in daylight and at night with the bathroom lights on.
Common mistakeAvoid semi-gloss on walls; it shows every brush mark and makes the room look less spa-like.
5. Large-Format Shower Wall Tile Look (Even Without Full Demo)
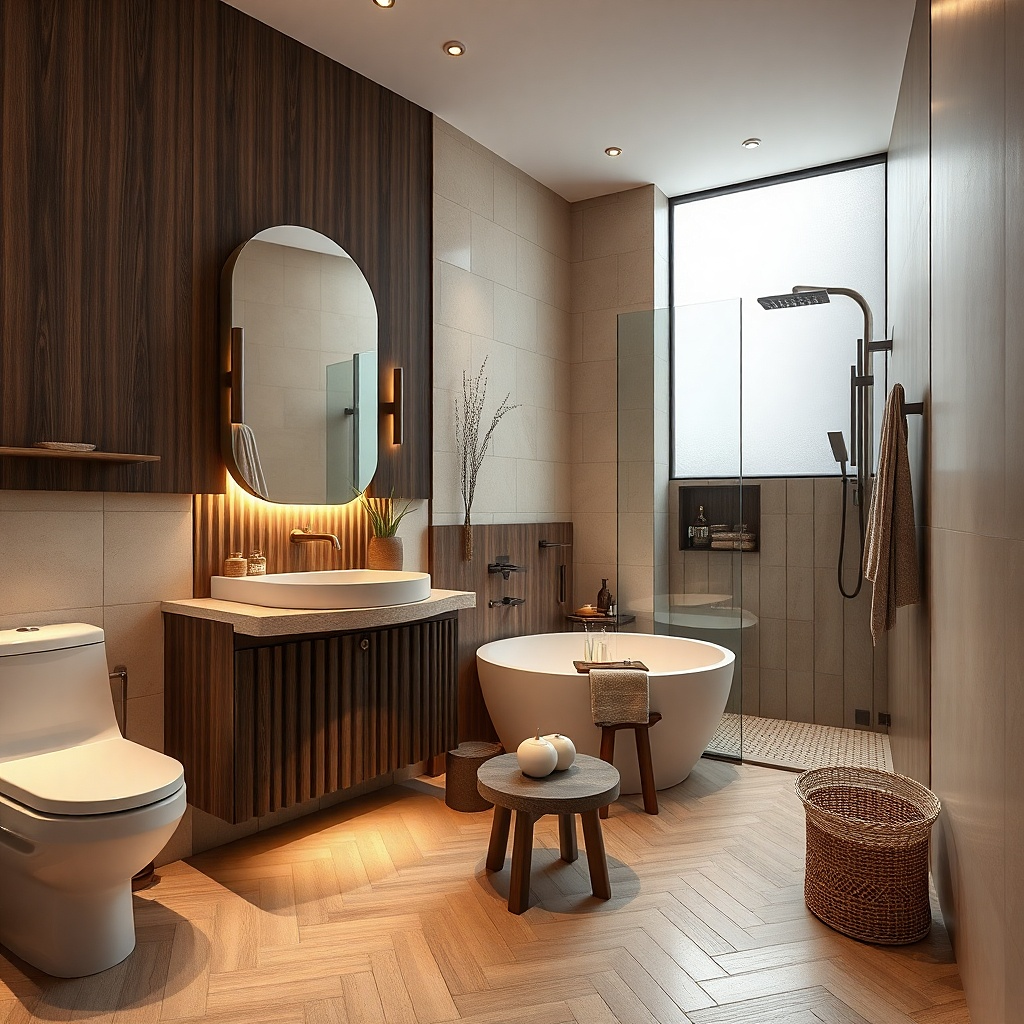
Busy mosaics make small bathrooms feel cramped. If you want a spa look, go for large-format tile that creates bigger uninterrupted planes even if you’re not doing a full bathroom demo. Choose a soft stone-look porcelain tile in warm white, greige, or light sand, and keep the grout in a close match so lines look calm. This reduces visual noise and makes the shower the focal point rather than a patchwork. The result reads expensive in photos because the wall looks smooth and continuous.
If your existing shower walls are in good shape, install tile directly over cement board or a suitable substrate after checking for moisture damage. Use a leveling system or thick-set technique to keep edges straight, especially in small showers where uneven lines show quickly. Lay tiles horizontally to emphasize width, typically with a 1/3 offset for a clean spa rhythm. Budget for tile, thinset, grout, spacers, and a wet saw if you’re cutting around niches and valves; plan for 1-2 days depending on wall size.
Try thisMatch grout color to the tile a near-match tone makes the wall look like one surface instead of many pieces.
Common mistakeAvoid high-contrast grout; it makes small showers look busy and visually smaller.
6. Tub-to-Shower Spa Conversion With a Solid Glass Panel
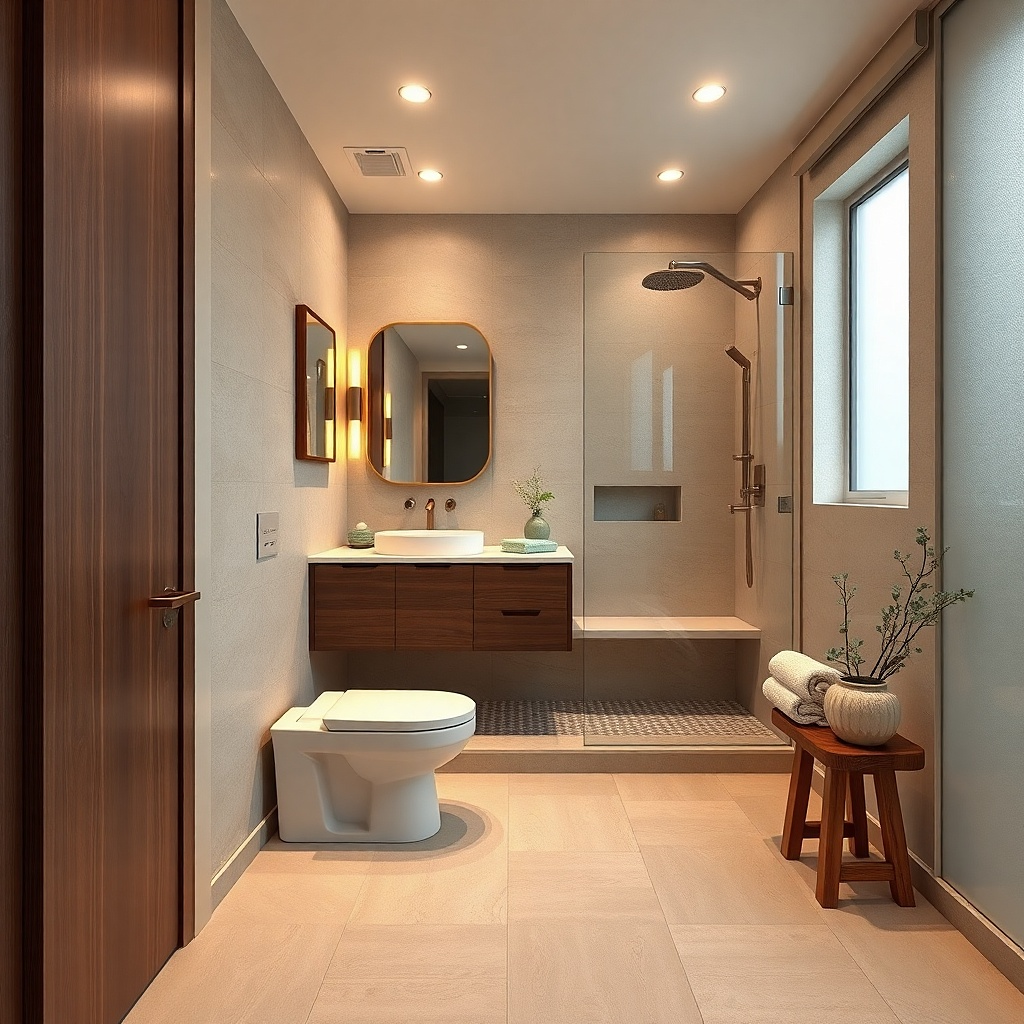
If you have a tub but want the spa feel of a shower, you can fake the look quickly with the right enclosure and hardware. A solid glass panel with minimal framing gives you clean sightlines and makes the bathing zone look intentional. Pair it with a handheld rail and a rainfall-style showerhead for that spa-in-less-space vibe. Keep the tub surround tiled in the same neutral as the rest of the bathroom so the transition doesn’t look patched. This idea is especially good when the tub deck is narrow and cluttered; it turns that area into a cleaner, more usable wall space.
Measure the tub length and the wall-to-wall opening where the panel will sit, then choose a panel system sized for your tub. Install a new showerhead and handheld rail before the glass goes on so you can seal properly and avoid leaks. Use silicone rated for bath areas at all panel seams and confirm water tightness with a test run. This is a faster project than full conversion because you’re improving the enclosure and shower experience instead of moving plumbing.
Try thisChoose clear glass with a low-iron look if you can; it reduces the green tint and looks cleaner in photos.
Common mistakeAvoid flimsy curved shower rods; they create visual clutter and won’t hold a spa look.
7. Niche-Looking Storage With a Recessed Shelf Panel
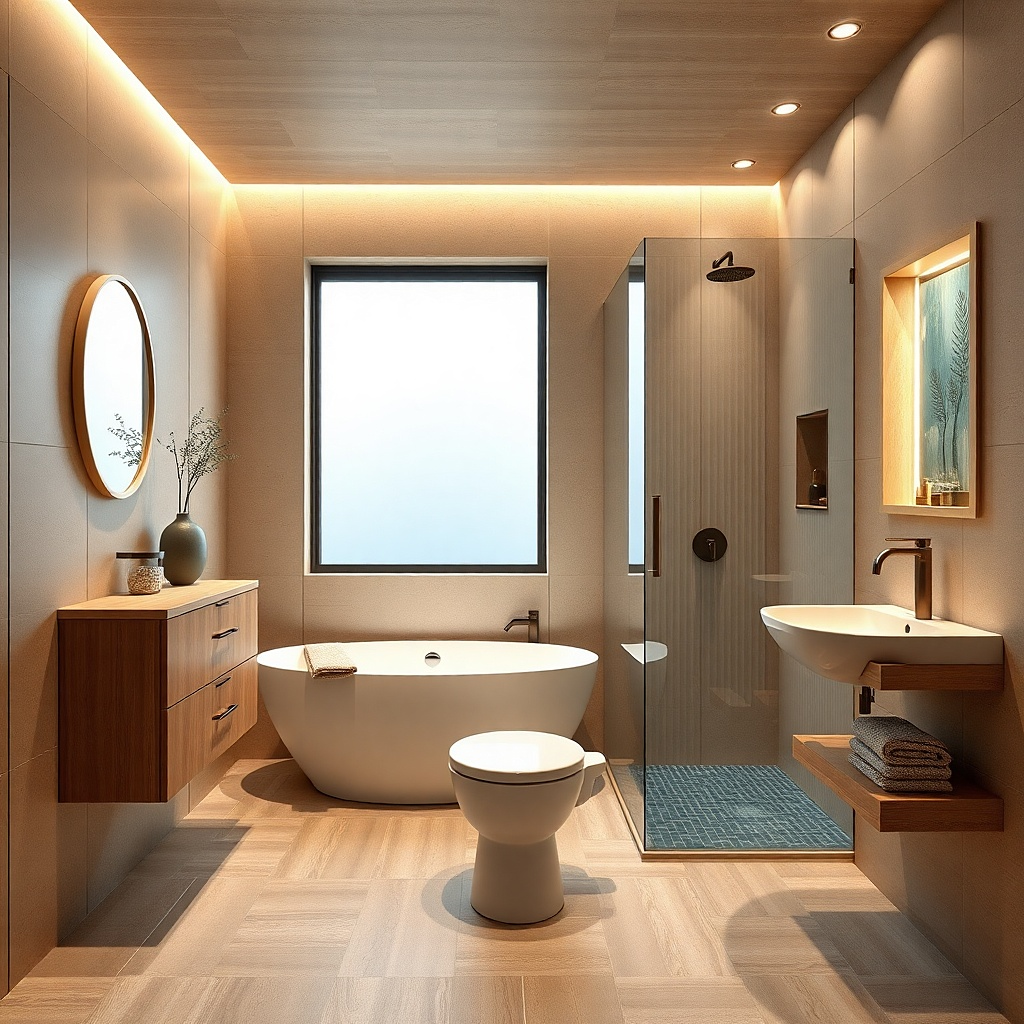
Countertop clutter kills the spa vibe fast. A recessed shelf or niche-style ledge keeps shampoo and soap off the tub rim and makes the shower look hotel-clean. For small bathrooms, go for a single shelf about 12-16 in wide rather than multiple tiny compartments — it reads cleaner and gives you room to group products. Choose a tile or waterproof panel that matches your shower walls, and use a matte finish so it doesn’t glare. This also makes the room easier to keep photo-ready because you can stage products in one spot.
Pick a waterproof shelf system that matches your shower tile and install it at a comfortable height, usually where the shelf top lands around 48-52 in from the floor. Use waterproof backer materials and seal edges with a bath-rated waterproofing membrane or proper sealant for your system. Dry-fit, mark level lines, then install with the recommended thinset or adhesive. Allow cure time before using the shower so the sealant sets correctly.
Try thisLimit the shelf to two to three items and keep labels out of view; the shelf should look intentional, not stocked.
Common mistakeAvoid shelves that stick out past the tile plane; they cast shadows and look messy.
8. Matte Black or Brushed Nickel Hardware Refresh
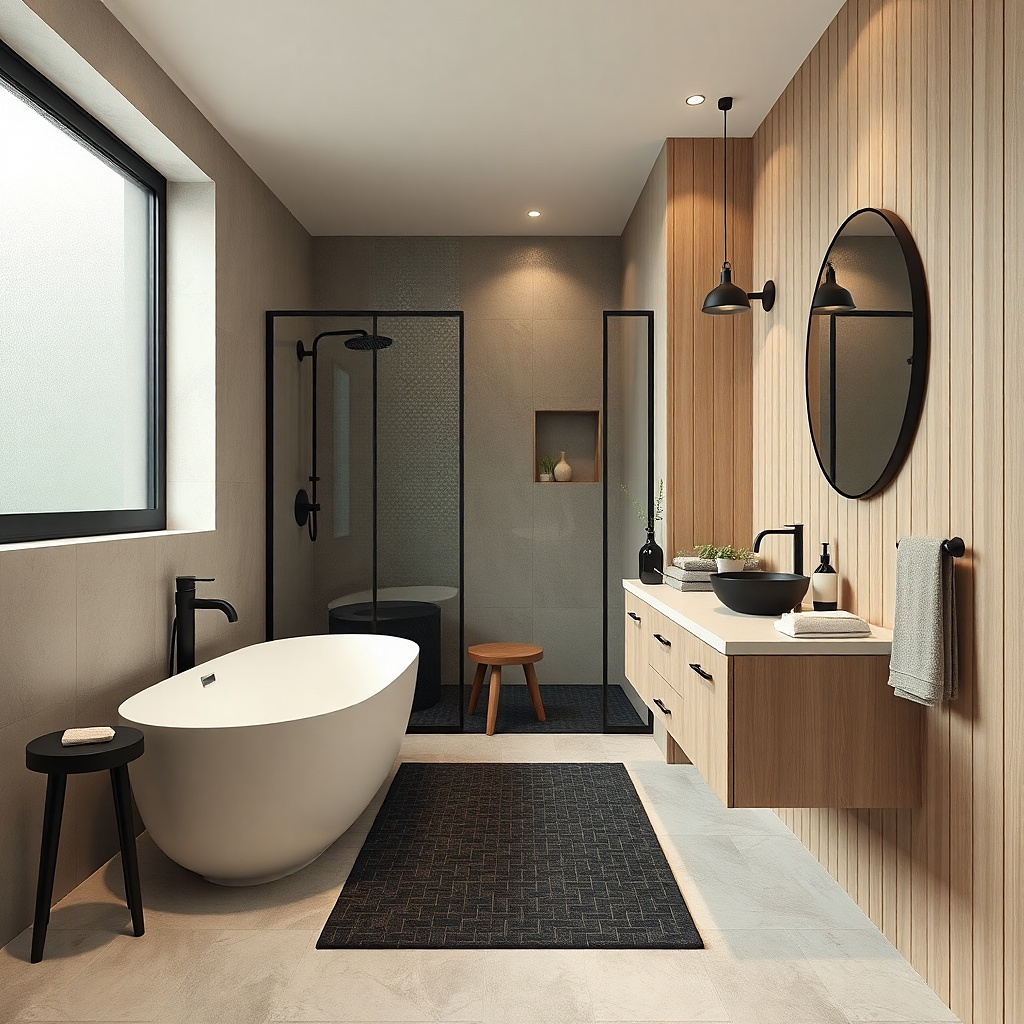
Spa style is mostly about cohesion. If your faucet, drain cover, towel bar, and toilet paper holder are mismatched finishes, the room feels chaotic even if the layout is fine. Pick one finish family and repeat it across hardware — matte black for a modern spa, brushed nickel for a softer classic look. The finish should also match your shower hardware so the shower area looks clean. This upgrade is cheap, fast, and it makes the bathroom look more designed in every photo.
Take clear photos of your existing hardware, then measure the centers for the faucet handles and the towel bar screw spacing. Replace the faucet only if you’re prepared for a plumbing swap; otherwise, start with accessories and fixtures that use simple mounting points like towel bars and toilet paper holders. Install new hardware after filling and painting old holes if needed. For a quick refresh, plan on 2-4 hours and a small tub of touch-up paint.
Try thisUse the same finish on the shower curtain rod or glass hardware; it makes the shower zone feel finished.
Common mistakeAvoid mixing polished chrome with matte finishes; the shine mismatch looks accidental.
9. Soft-Roman Shade Over the Window (No More Blinds)
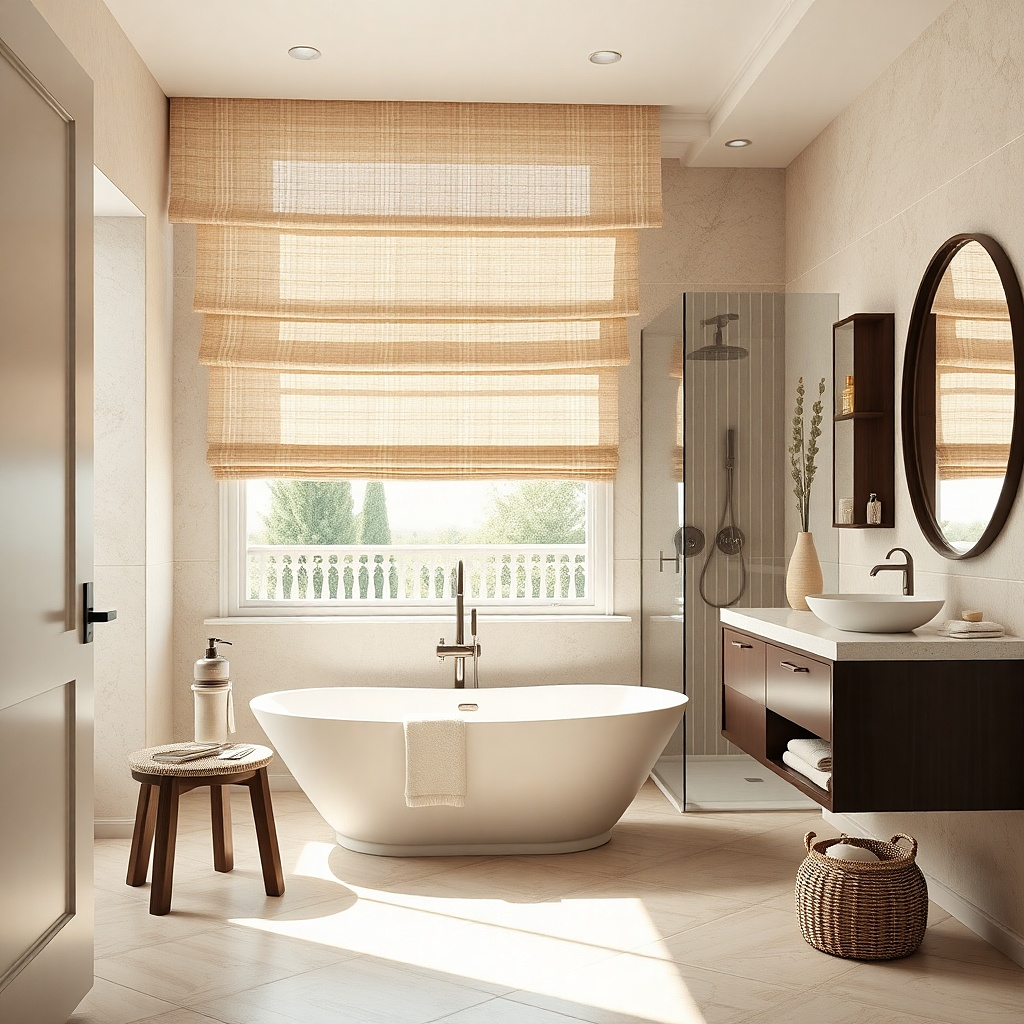
Hard blinds make a small bathroom feel more like a utility room. A soft roman shade in a light linen-look fabric brings warmth and privacy without blocking all light. Choose a neutral like oat, sand, or light taupe so it doesn’t compete with tile and paint. This is a spa move because it creates a calm frame around the window — the eye likes the clean top line. It also improves photos because you get a softer light wash inside the room rather than harsh stripe shadows.
Measure the window width and height, then order a roman shade that includes proper mounting depth for the trim. Install brackets level across the top edge, then test the shade swing and cord clearance. If you have an existing blind, remove it and patch screw holes before painting. Budget for the shade plus mounting hardware; this is a same-day project.
Try thisPick a shade with a blackout or privacy liner if your bathroom faces a street; you get the spa look without losing privacy.
Common mistakeAvoid dark fabrics in a small bathroom; they absorb light and make the room feel smaller.
10. Towel Plan: One Color + Vertical Bar Layout
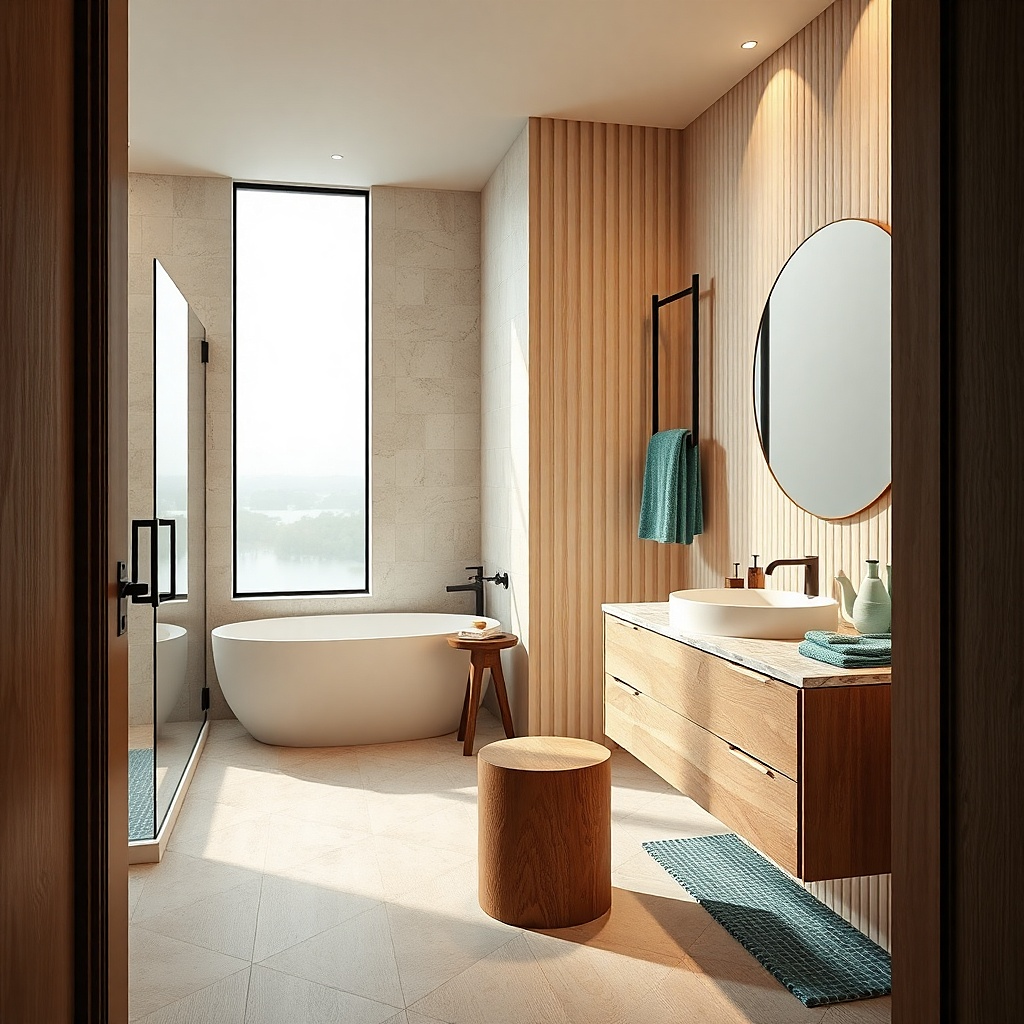
A spa bathroom looks like it has a system, not a pile of towels. Choose one towel color family crisp white, warm cream, or light greige and repeat it across hand towels and bath sheets. Install a vertical towel bar near the door or next to the vanity so towels hang straight and take up less visual space than a stack on the counter. Add one hook for robes or a second towel if you need it, but keep the number of visible items low. This makes the room look styled even between cleanings.
Pick towel sizes that match your space: hand towels for the vanity area, bath sheets only if you have a wall bar wide enough. Install a vertical bar at about 50-55 in from the floor to the top of the towel when hung. Place a hook nearby for quick access and keep it within arm reach. Treat towel styling like decor: fold once, roll once, and keep the same orientation each time.
Use a small towel ring or wall hook for one “daily” towel and keep the rest out of sight in a cabinet.
Avoid mixing multiple towel patterns; in a small bathroom it turns into visual clutter instantly.
11. Shower System Upgrade: Rain-Style Head + Handheld Rail
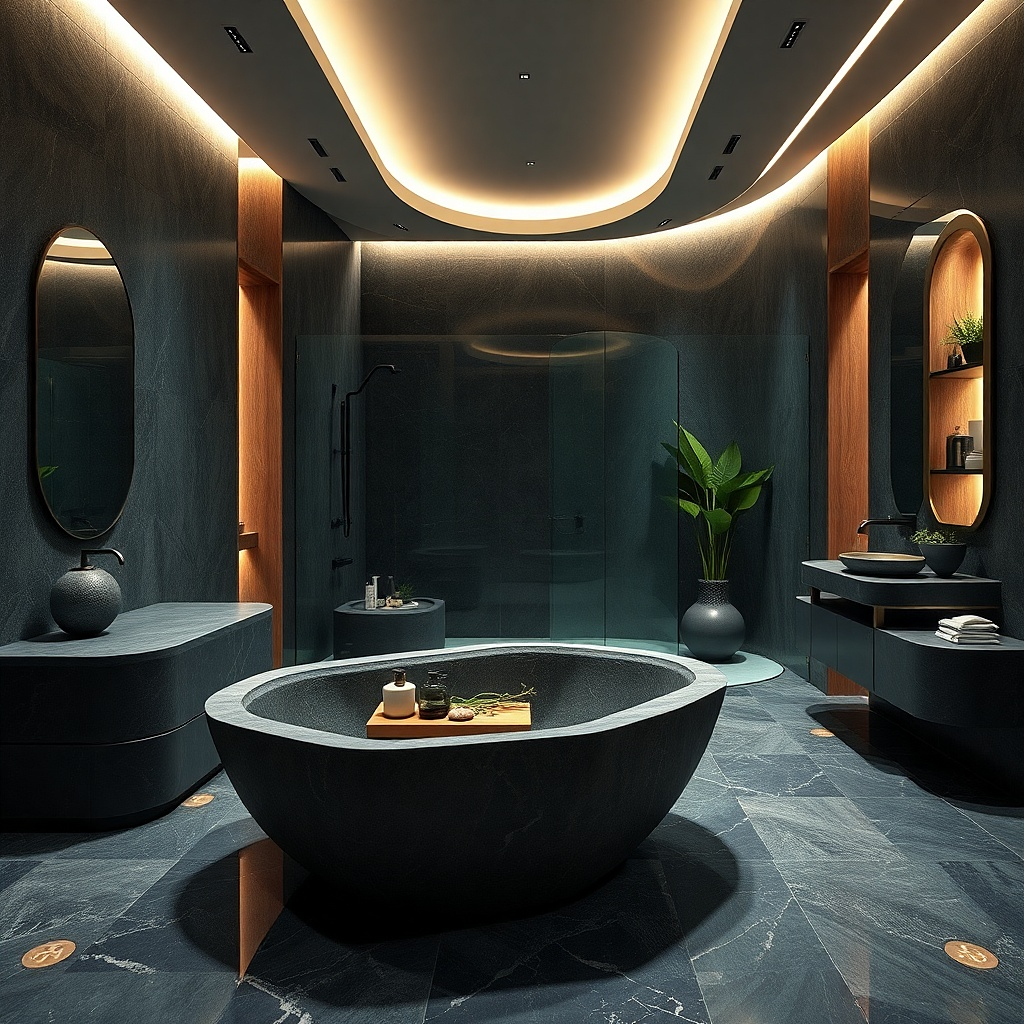
The quickest way to make a small bathroom feel like a spa is to upgrade the shower experience. A rain-style showerhead gives you that relaxing overhead feel, and a handheld rail adds control without clutter. Choose a finish that matches your other hardware so the shower area looks intentional. Keep the shower wall simple and let the hardware be the clean focal point. This works because it changes how the room is used, not just how it looks, and the clean lines photograph well.
Measure your existing shower valve height and choose a rain head that fits your plumbing rough-in location. Install the handheld rail at a comfortable height, usually 40-48 in from the floor, then set the rain head per the manufacturer’s recommended clearance. Replace any worn shower arm if the threads are rough. Plan for 1 day including sealing, and test for leaks before finishing wall covers.
Try thisUse a shower caddy that hangs from the rail or suction only temporarily; a clean wall looks better and stays easier to wipe.
Common mistakeAvoid chrome-only showerheads if your bathroom palette is warm and matte; the shine can look harsh.
12. Anti-Slip Shower Mat In Matching Stone-Look
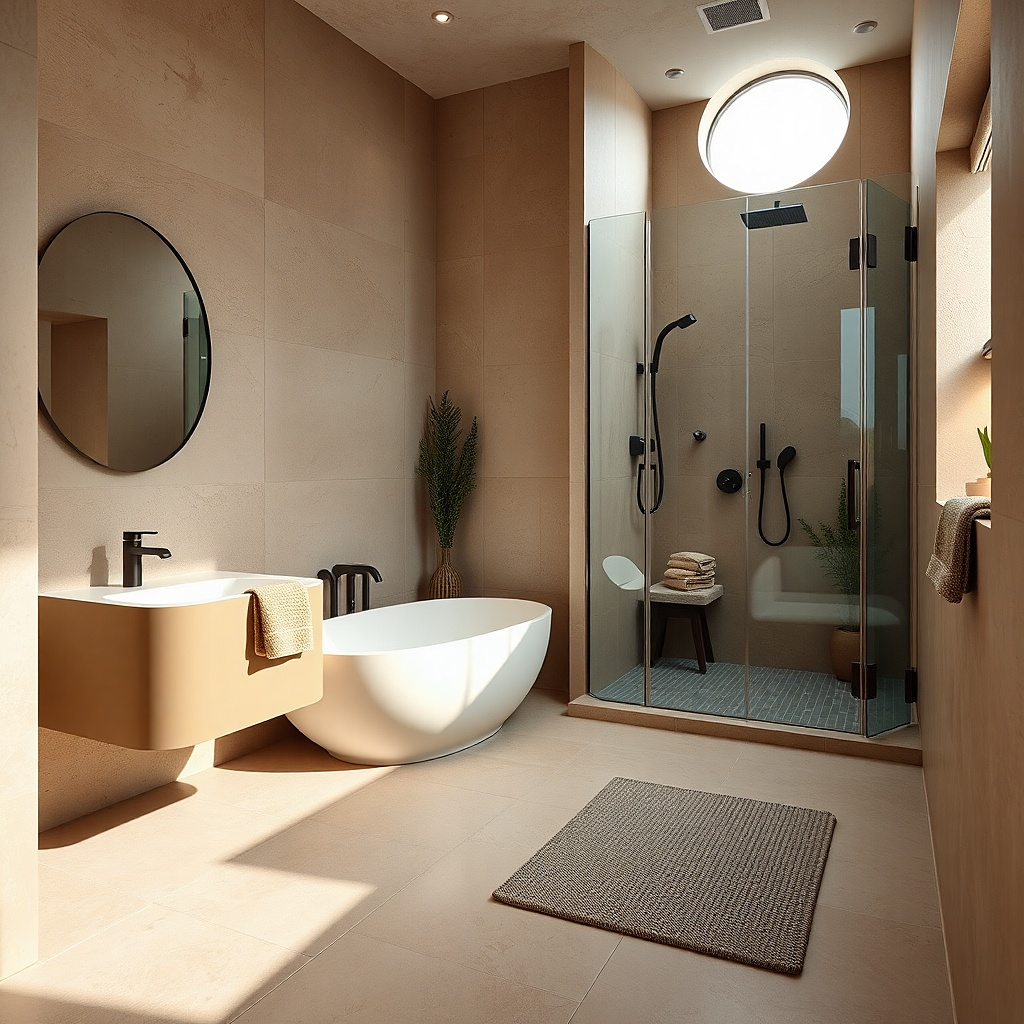
Spa bathrooms feel clean even when they’re lived in. An anti-slip mat that matches the shower tone adds comfort and makes the shower base look finished instead of bare or worn. Choose a stone-look mat in warm greige or soft sand so it blends with tile and doesn’t look like a random accessory. This is a small detail, but it photographs well because it covers scuffs and keeps the shower area looking uniform. It also helps prevent the “dirty tub floor” look that ruins the calming vibe.
Pick a mat size that covers the high-traffic area of your shower floor with a bit of overlap, usually 20x32 in or similar for standard pans. Rinse and dry after use so it stays looking fresh, then place it centered so it doesn’t curl at the edges. If you have a textured shower floor, choose a mat with a grippy backing that sits flat. Cost is low and effort is minimal — this is a quick install.
If your shower floor is darker, choose a slightly lighter mat shade so the shower reads clean and bright.
Avoid bright white mats; they show soap marks fast and look dingy in a small bath.
13. Matte-Finish Shower Door Hardware and Clear Glass
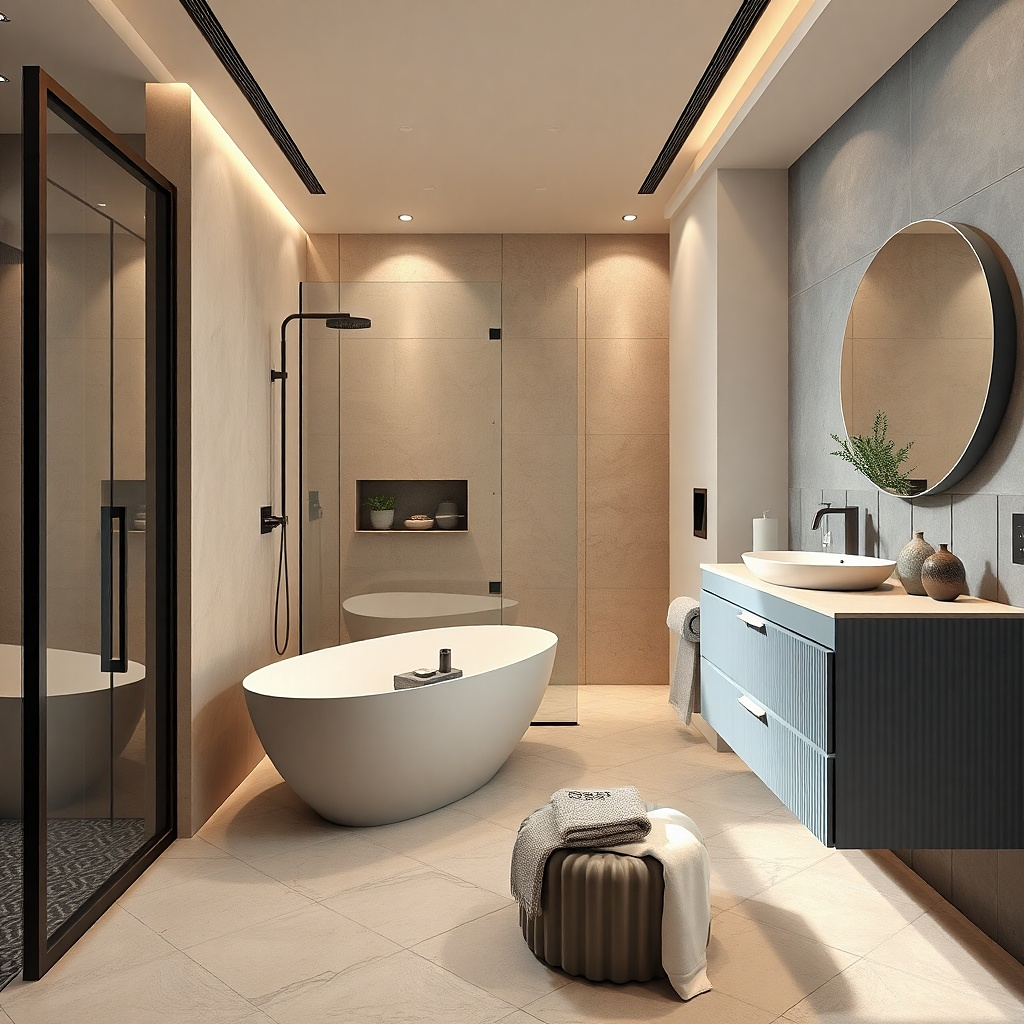
Glass makes a bathroom feel larger because you can see through it, but hardware finish decides whether it looks spa-calm or cheap. Clear glass with minimal framing and matte black or brushed nickel hardware keeps the lines crisp. The look is airy and modern, and it reduces the visual wall created by a heavy curtain. If you have a small bathroom, this matters because every edge you can see through makes the room feel less boxed. It’s also one of the most photogenic changes because the glass creates clean reflections.
Measure the shower opening width and height, then choose a door or panel that fits without large gaps. Install using the manufacturer’s anchors and follow the sealing steps exactly — glass leaks are the worst kind of project. Set the hardware level before tightening fully, then run silicone along required seams and allow cure time. Plan for about a day for install and a short cure period before heavy use.
Try thisUse a glass cleaner made for hard water and wipe in one direction; streak-free glass reads premium in photos.
Common mistakeAvoid thick, ornate frames; they add visual weight and shrink the space.
14. Toilet Surround Update With a Skirted Look Using Wallpaper or Panels
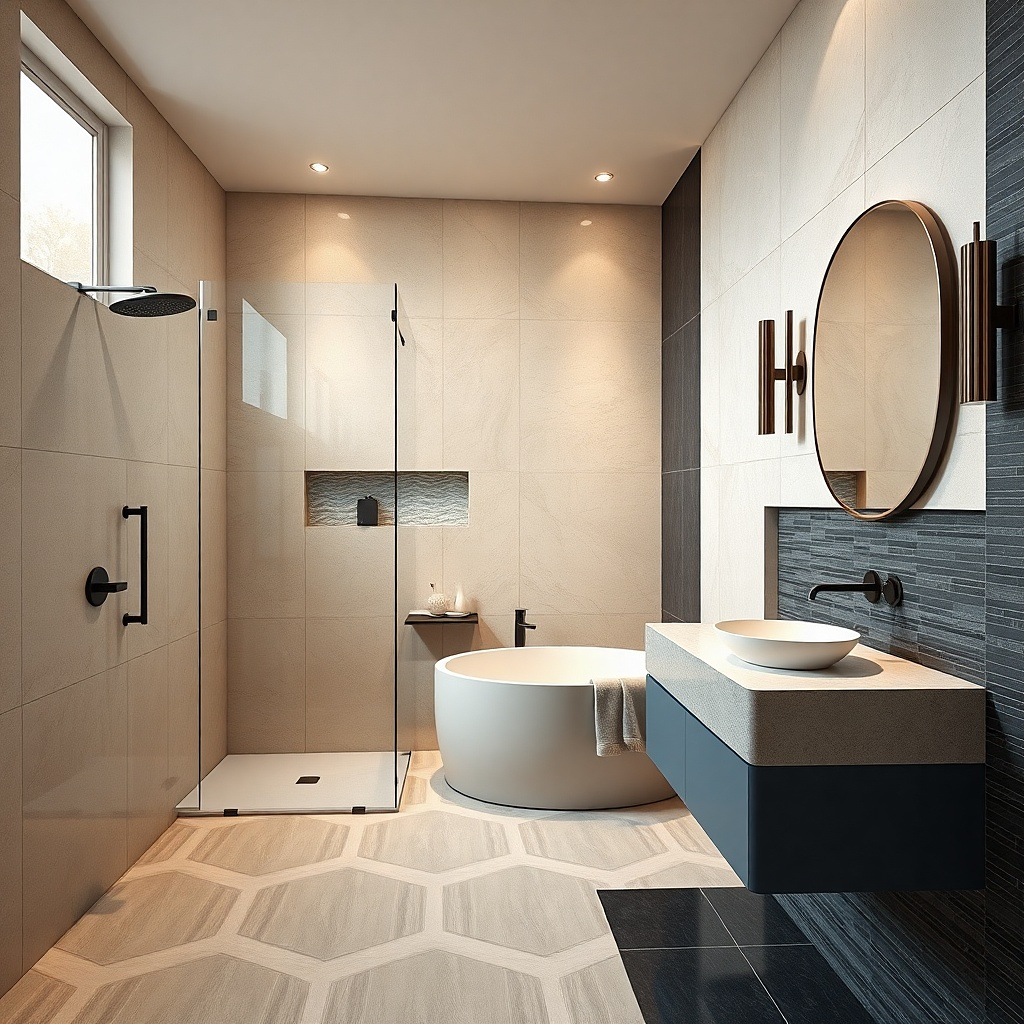
A small bathroom feels messy when the toilet area is visually broken up. If you have a standard exposed base, you can create a spa-like skirted look with an easy wall panel system or waterproof panel that covers the lower area. Choose a smooth, warm neutral that matches your wall paint or tile matte finishes read calming. The goal is to reduce the number of separate surfaces your eye has to process. It also helps with cleaning because you get a more continuous wipeable surface.
Measure the toilet tank base and the floor-to-tank area you want covered, then buy a panel system sized for those dimensions. Install the upper trim first, then fit side and front panels so they meet cleanly at corners. Use construction adhesive designed for bathrooms and seal edges where water splashes. This is a low-mess project that improves the look without touching plumbing.
Keep the panel color within one shade of your wall so it disappears and the room looks more streamlined.
Avoid patterns that are too bold; the toilet area is already a focal point in small baths.
15. Vanity Lighting Upgrade With a Slim Backplate and Diffuser
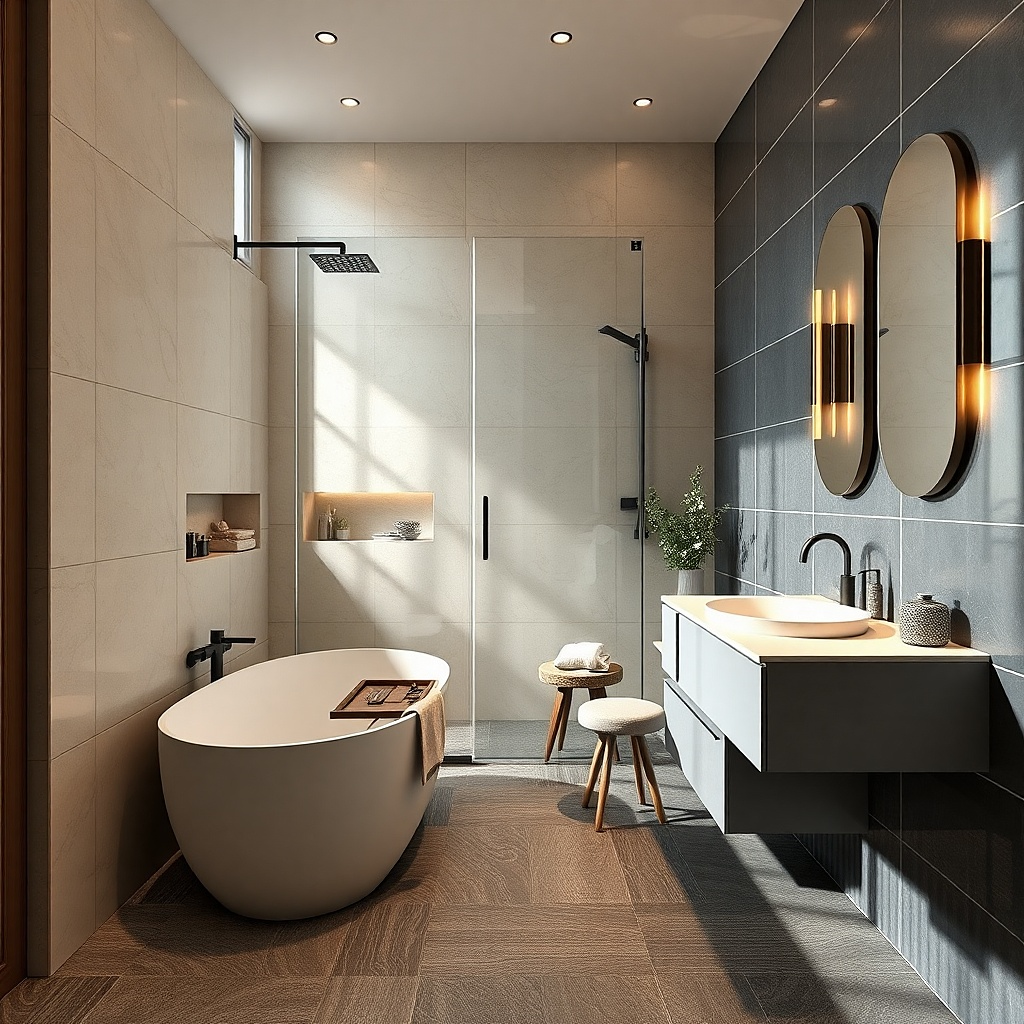
Even with correct bulb color, a harsh fixture can ruin the spa vibe by creating glare on the mirror. A slim backplate with a frosted diffuser spreads light evenly and makes the vanity area look clean and calm. This is a better look than bulky fixtures that crowd a small wall. Choose brushed nickel or matte black to match other hardware, and keep the fixture width close to the mirror width. The result is a bathroom that looks more expensive in photos because highlights look soft rather than sharp.
Remove the old fixture and check the existing box height and wiring. Choose a fixture that spans most of the mirror width and install it centered on the mirror axis. Use LED bulbs in the 2700K-3000K range and confirm the diffuser clears the mirror edges. If your wiring is unfamiliar, hire an electrician for the fixture swap — it’s fast and safer than guessing.
If you see glare on the mirror, switch to frosted glass or add a dimmer so you can lower brightness at night.
Avoid exposed-bulb fixtures; the individual bulbs create hot spots in small bathrooms.
16. Matte Stone-Look Countertop With Built-In Soap Dish
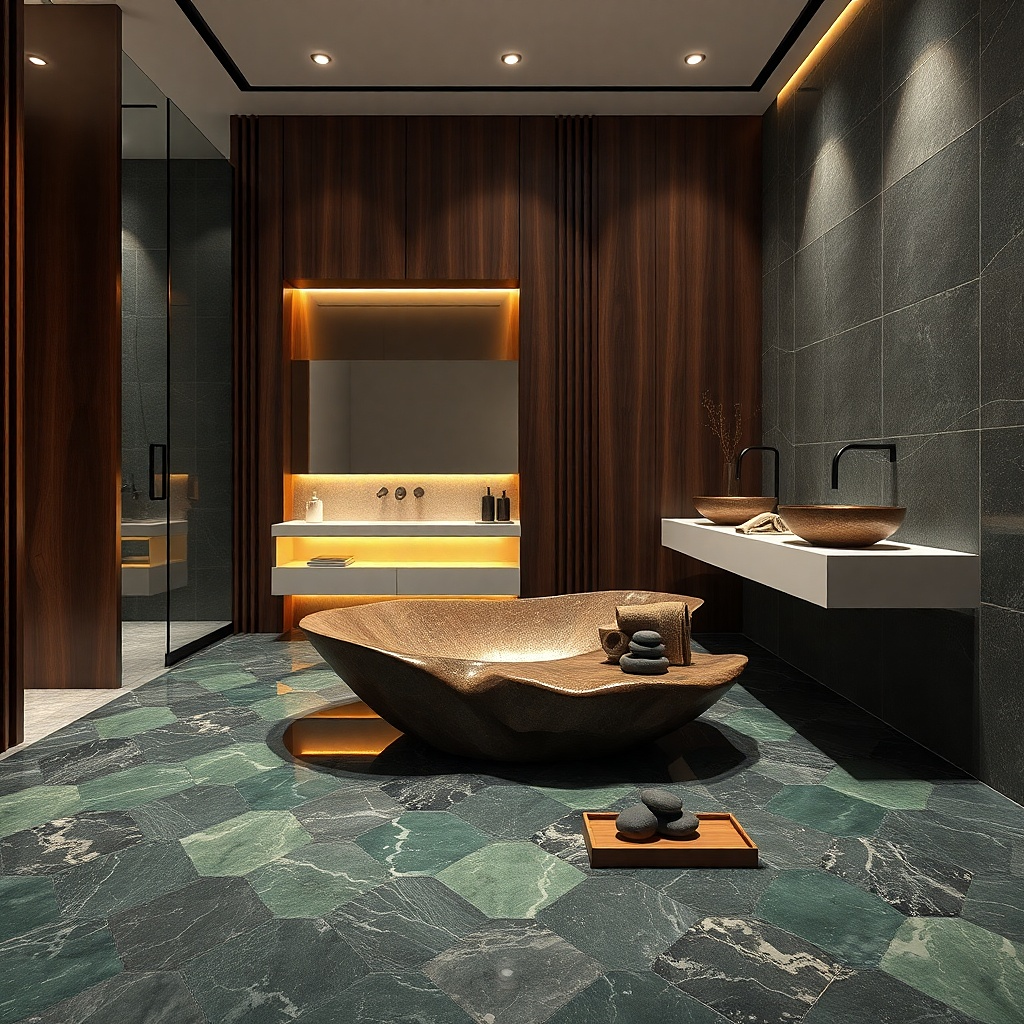
Hard-gloss counters show water spots and soap residue. A matte stone-look countertop in warm greige or light sand makes the sink area look calm, and it hides everyday use. If you choose an integrated soap dish, the bar soap and liquid bottles stay off the edges, which keeps the counter looking styled. Pair it with a simple undermount sink so the lines are clean. In a small bathroom, counter clutter is what breaks the spa illusion — this directly solves that.
If you’re not replacing the whole vanity, consider a countertop refinish kit only if your surface is stable and damage-free. For a full replace, measure the vanity top size and choose a countertop with an undermount sink cutout that matches your faucet holes. Install the sink, seal the edges, then mount the faucet. Expect 1-2 days for countertop work including cure time, depending on the product.
Use one countertop tray for essentials and keep the rest inside a drawer; the counter should look intentionally empty most of the time.
Avoid high-contrast patterns on the countertop; they make small counters look busy.
17. Color-Blocked Accent Wall Behind the Vanity
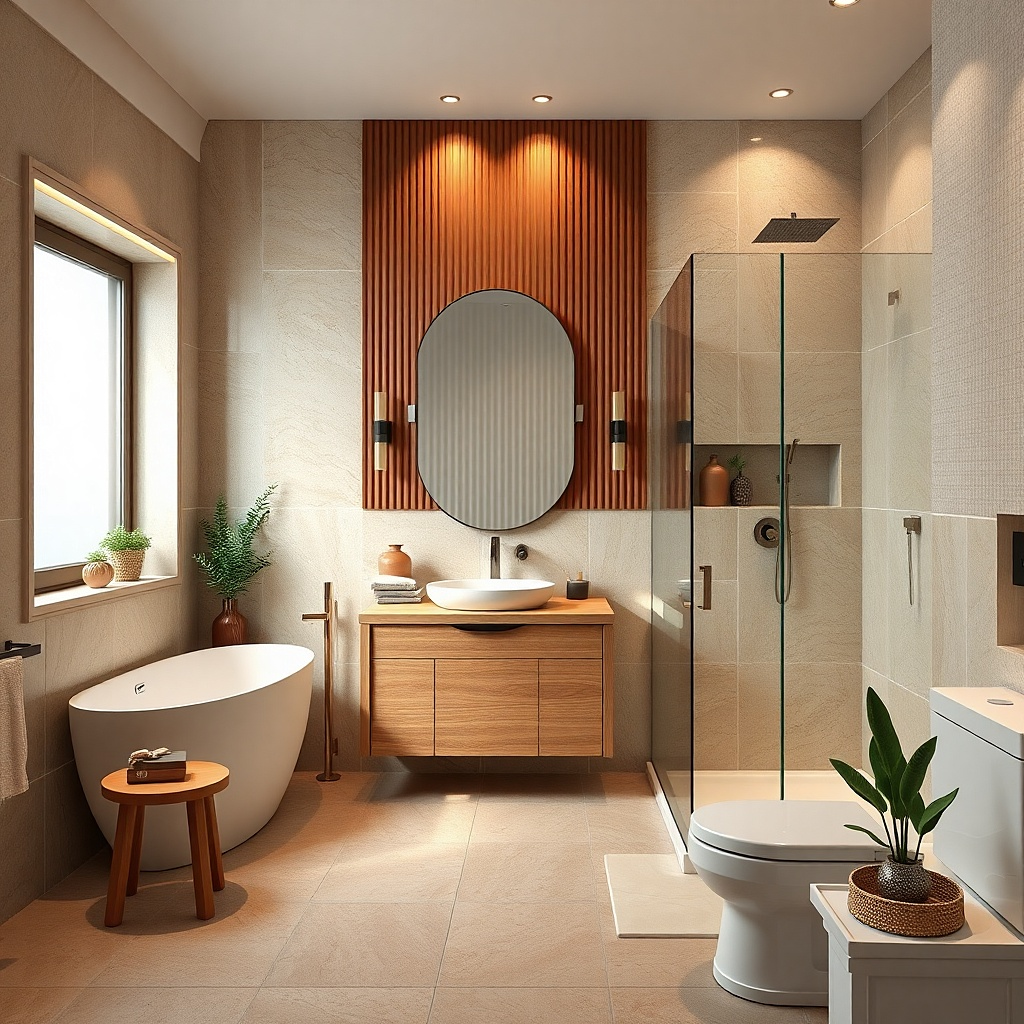
You don’t need full tile to create a spa focal point. A color-blocked accent behind the vanity either a painted band or a thin vertical panel look gives the room depth and makes the mirror pop. Choose a muted tone like clay, warm taupe, or sage-leaning greige so it stays relaxing. Keep everything else light and simple so the accent reads as intentional, not busy. This works especially well when your bathroom is narrow; the accent wall draws the eye across the room instead of letting it feel like a corridor.
Pick an accent height that makes sense with the mirror: paint a band that runs roughly from 6-10 in above the vanity top to the same height as the mirror bottom edge. Use painter’s tape to create crisp edges, then roll paint with a foam roller for smooth coverage. Let it dry fully before removing tape to avoid peeling. If you want a more durable finish, use a semi-gloss trim paint for the band edges and keep the rest matte.
Try thisMatch the accent undertone to your grout or stone color so everything looks like it belongs together.
Common mistakeAvoid bright saturated colors; they read harsh in small bathrooms and ruin the calm.
18. Curtain Track Upgrade With Weighted Liner and Clear Space
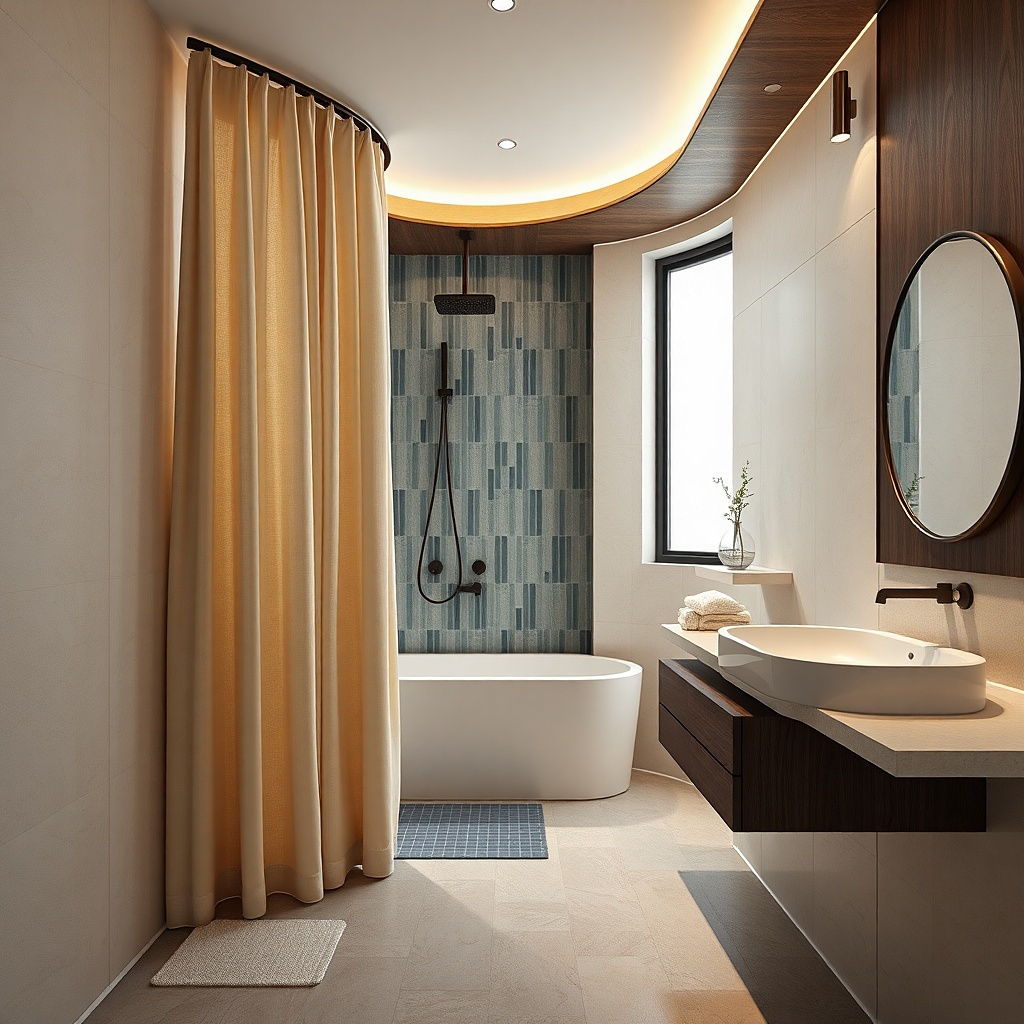
If you can’t install glass, a ceiling-mounted curtain track can still create a spa look by keeping the curtain from clinging and bunching. Use a weighted liner so the fabric falls flat and stays out of your face while showering. Choose a neutral curtain — light linen-look or soft white with a subtle texture — and keep the curtain width wider than the shower opening so it doesn’t pull inward. This creates a clean frame and keeps the visual line straight, which matters in small bathrooms. It also looks good in photos because the curtain doesn’t warp around the tub.
Measure the shower opening width and add 8-12 in total coverage by extending the track beyond the opening on both sides. Mount the track at or near the ceiling so the curtain hangs straight and has room to clear the tub. Add a weighted liner and ensure it’s the right length so it reaches near the tub edge. This is a quick install that can be done in a couple of hours with basic tools.
Try thisUse curtain rings that glide smoothly; you’ll open and close it without fighting the track, which keeps it looking neat.
Common mistakeAvoid tension rods; they sag and make the curtain look sloppy.
19. Wall-Mounted Sink With Open Space for Storage Baskets
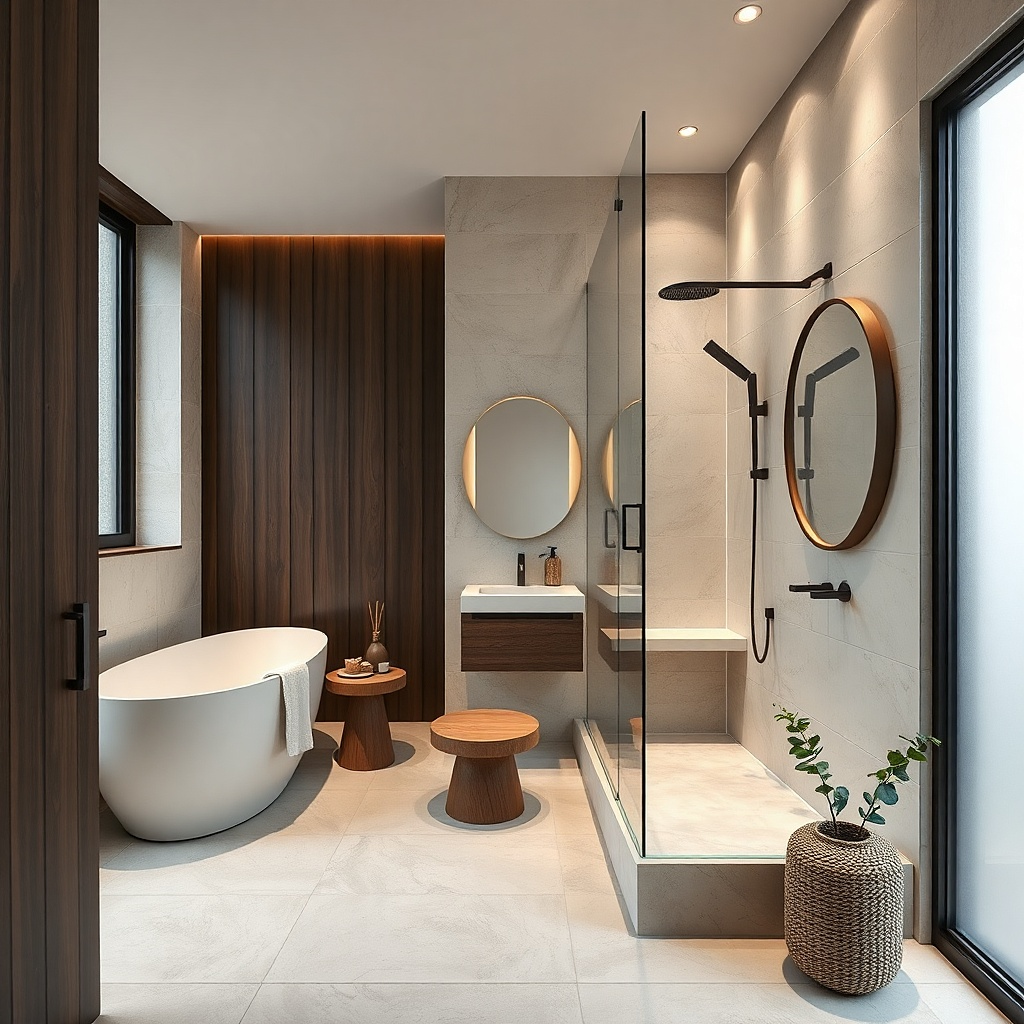
A wall-mounted sink is the fastest way to make a small bathroom feel airy, but it only looks good if you plan what sits underneath. Use the empty space for a pair of matching baskets or a slim drawer unit, so the area doesn’t turn into a storage pile. Choose the sink in a clean shape and keep the plumbing lines tidy with a cover plate. Pair with a mirror that’s wide and bright to reinforce the open feeling. This works best in narrow bathrooms where the floor space is the main problem.
Confirm your wall structure can handle mounting and locate the plumbing rough-in. Install the sink bracket at the correct height — most wall sinks sit with the top around 31-33 in from the floor. Connect plumbing with flexible lines and use a cover plate to hide exposed piping. Then measure the space under the sink and choose baskets that fit without touching the floor excessively; leave a gap so you can clean easily.
Try thisPick baskets in woven material with a light color so they look spa-like instead of utilitarian.
Common mistakeAvoid leaving the under-sink area empty; open plumbing and exposed items read messy fast.