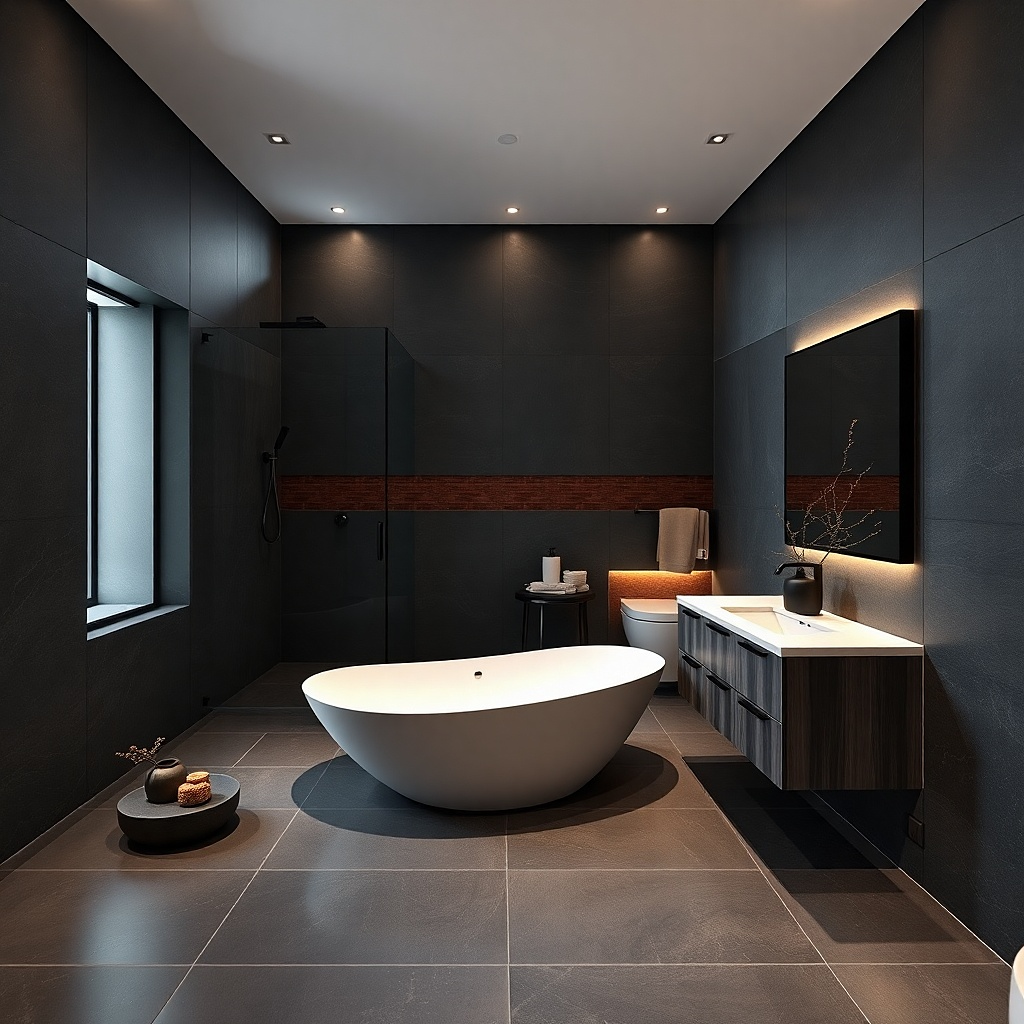
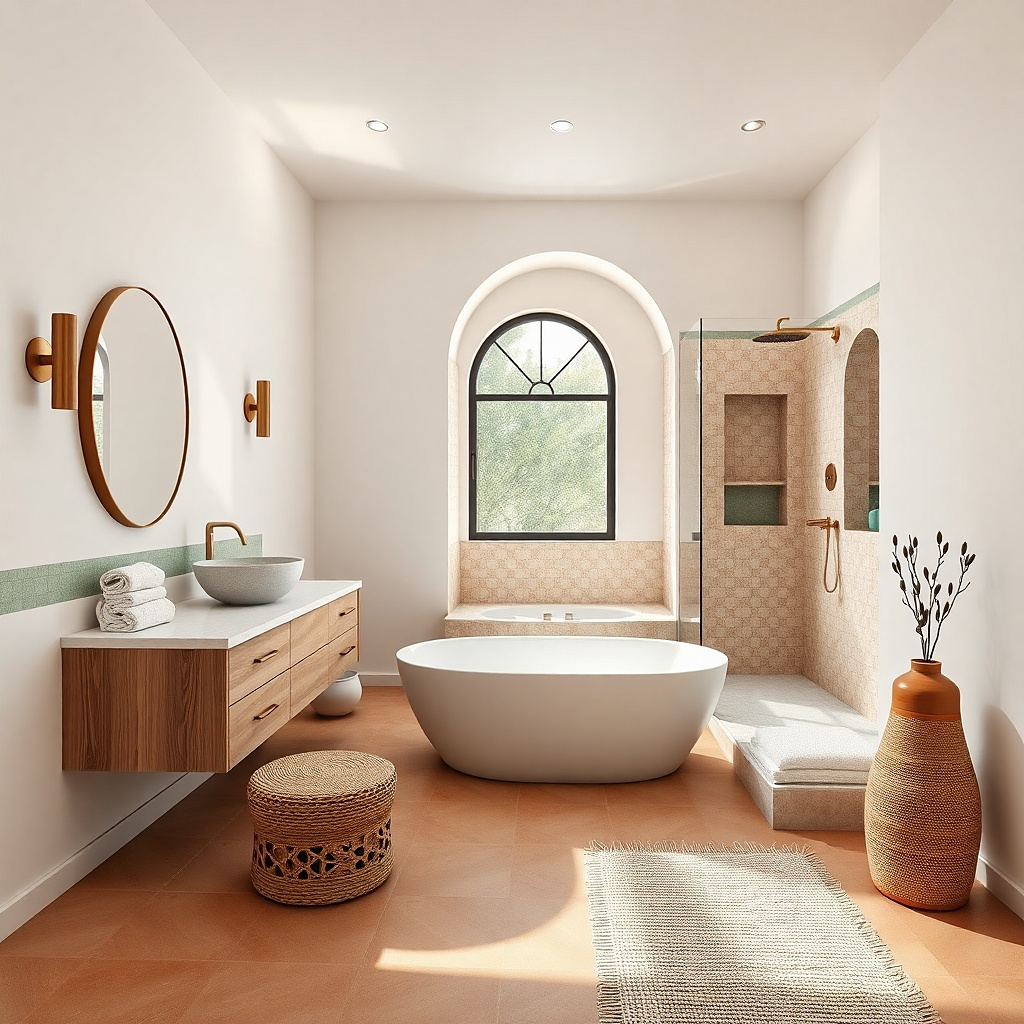
1. Large-format porcelain "slab" walls with a single grout line
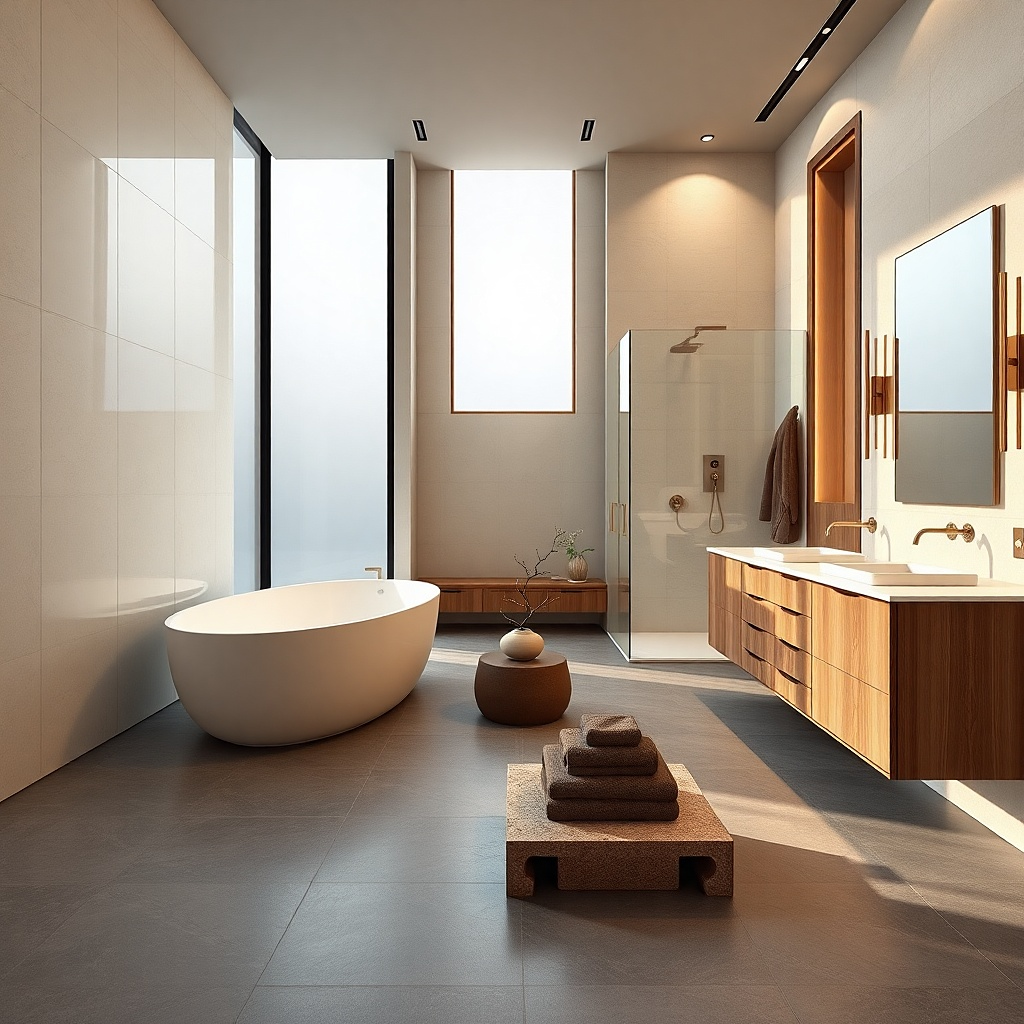
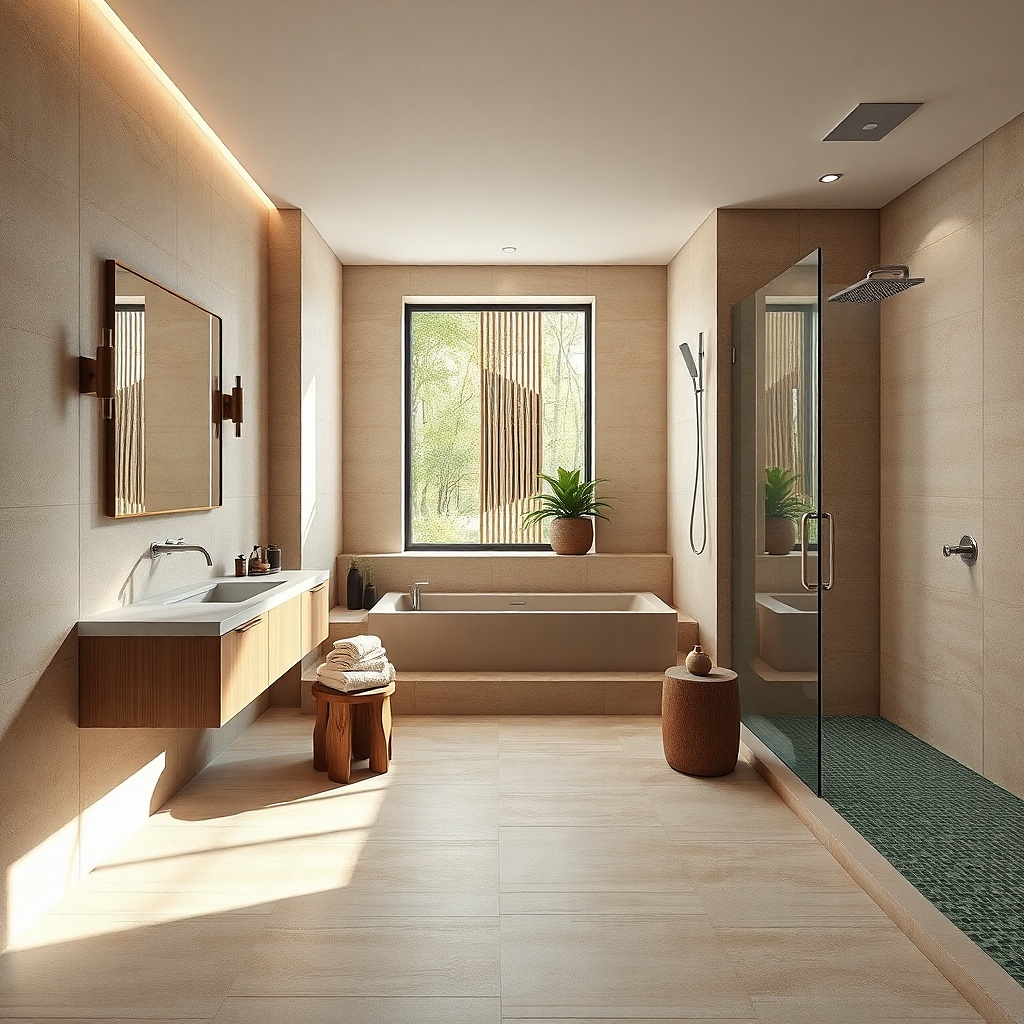
If you want that spa feel without extra scrubbing, go bigger on the wall tile. Large-format porcelain in a slab look with a consistent veining pattern gives you fewer grout lines to clean and fewer places for water to cling. Keep the grout color close to the tile (warm white grout for bright whites) so the wall reads smooth from across the room. Pair it with a simple shower niche that matches the wall tile, not a contrasting mosaic, so it stays visually calm. This works best in small master baths where the shower is the first thing you see and the walls get constant splash.
Measure your wall height and choose panels or tiles that reduce cuts around the niche and corners. Install starting from a level reference line, then work outward so the niche edges stay crisp and plumb. Use a waterproof backer and sealant appropriate for porcelain systems, then keep grout joints uniform at about 1/16 inch for the cleanest look. Finally, set the niche so the shelves are slightly back from the opening — it makes water drain and it hides grime buildup on the edges.
Pick a grout that dries slightly darker than your initial sample; test two shades in the same light as your bathroom lighting.
Avoid tiny mosaic walls if your goal is low-maintenance — they create too many grout seams.
2. Frameless shower glass with a magnetic squeegee edge
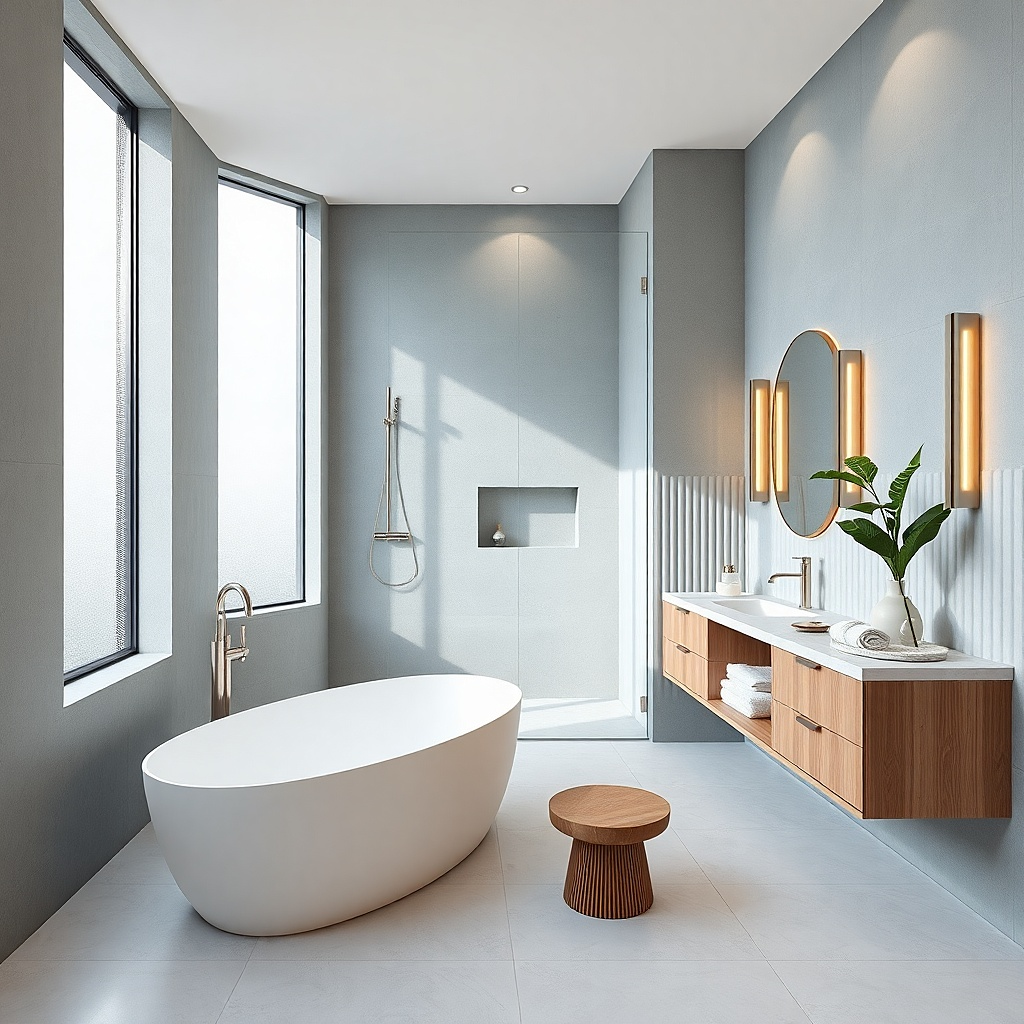
A spa bathroom should look crisp, not streaky. Frameless glass with a water-shedding coating helps, but the real low-maintenance upgrade is adding a squeegee edge that stays aligned with the door or panel. When the glass has a clean path to wipe, you remove water before it leaves mineral marks. Choose clear glass over patterned glass if your goal is calm the room looks bigger and brighter. For small bathrooms, keep the shower enclosure tight to the wall so you don’t create extra splash zones outside the glass.
Order a frameless enclosure sized to your finished opening, then plan for the door hardware so it closes flush. Install the glass with proper shimming and level — uneven glass causes leaks and makes wiping pointless. Add a magnetic squeegee strip or integrated squeegee edge that can be removed for cleaning. After installation, run a water test for 10 minutes, then check corners and the bottom track for seep points before closing the walls.
Use a 12- or 16-inch shower squeegee with a soft rubber blade for daily wipe-downs in under 60 seconds.
Don’t skip bottom track alignment — even a small misalignment turns wiping into spot-cleaning.
3. Textured stone-look floor porcelain with a matte finish
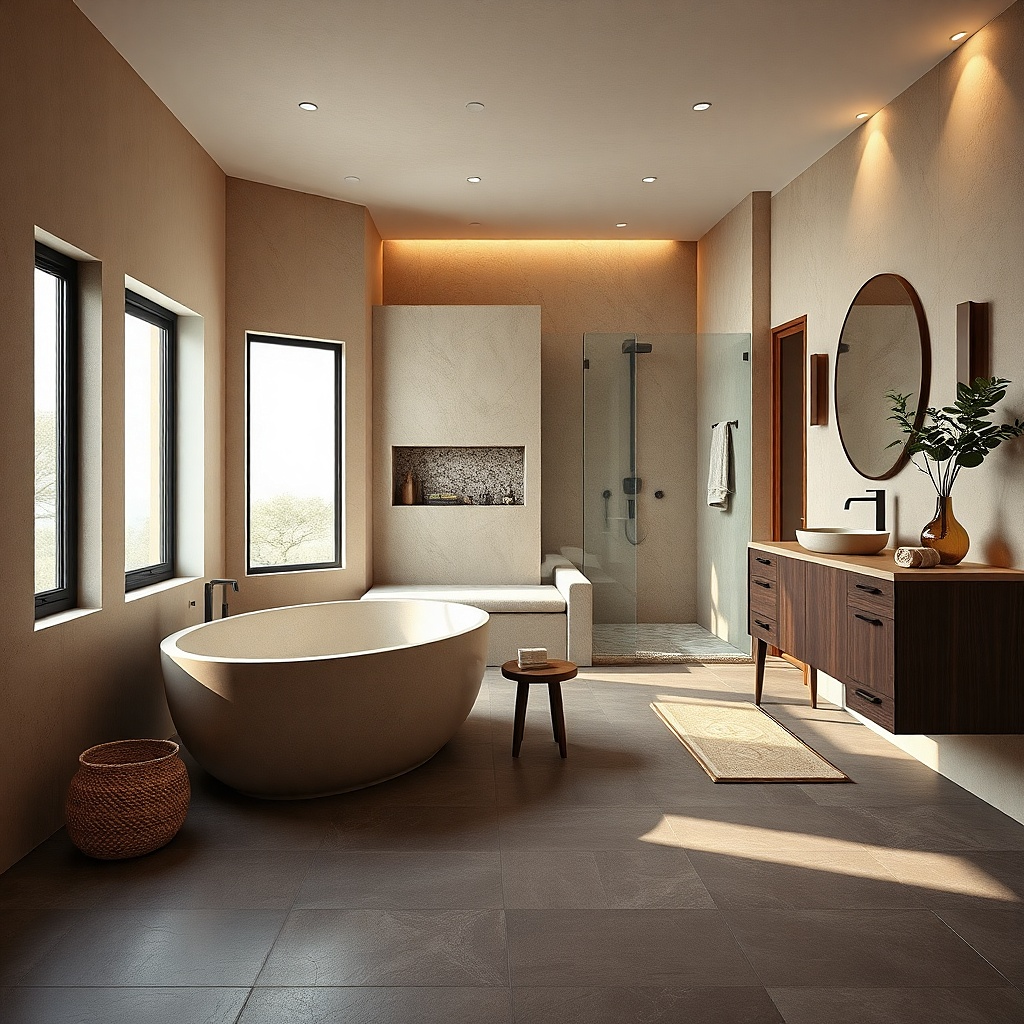
Floors take the abuse in a small bathroom: wet footprints, splashes, and dropped items. A matte, slip-resistant porcelain in a stone-look pattern hides water spots better than glossy tile because the texture breaks up reflections. Choose a colorway with mid-tones (warm greige, taupe, or light limestone tones) so soap scum doesn’t stand out as stark white. Keep grout joints tight and choose grout close to the tile so the floor reads smooth and spa-like instead of busy. This is a strong choice for master baths where you want the bathroom to feel calm even right after a shower.
Select porcelain with a slip rating suitable for wet floors and a matte surface finish. Lay the floor with a grout joint that matches your tile system (commonly around 1/8 inch) and keep the pattern straight or gently offset for a spa look. Dry-fit a few rows to find your best alignment so you don’t end up with skinny cuts near the entry. Seal only if the product calls for it; porcelain often doesn’t need sealing, and over-sealing can make the floor harder to maintain.
Use color-matched grout and keep a small sample card by the vanity light so you can confirm the tone under your 2700K bulbs.
Avoid high-gloss stone-look tile in a wet zone — it shows every streak and footprint.
4. One-piece or integrated tub deck with a full-height splash panel
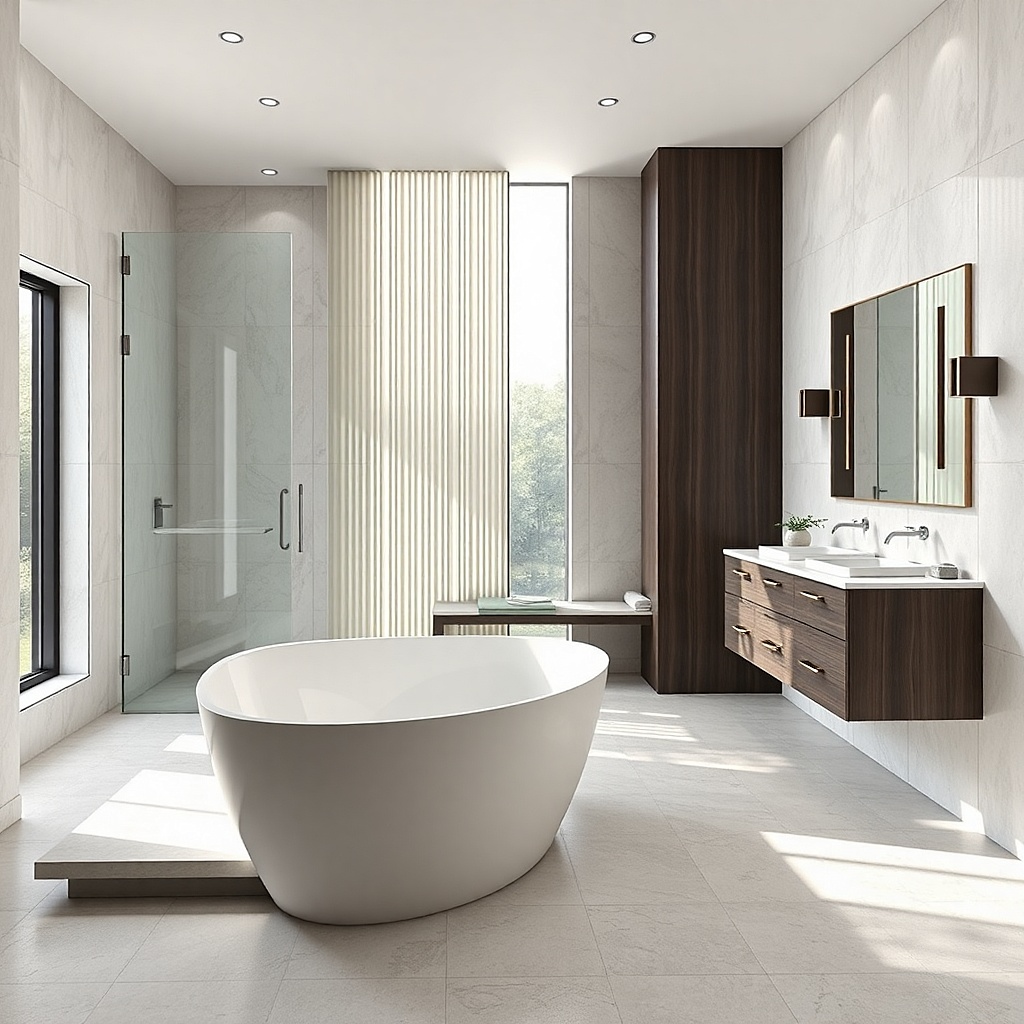
If you want a tub but still want low-maintenance, the surround design matters more than the tub itself. Use a one-piece or integrated tub deck look with a full-height splash panel behind the faucet and where water hits. Fewer seams means fewer places for grime to hide, and smooth, waterproof surfaces wipe clean fast. Keep the palette simple: one wall material and one tub surround finish. This approach is photogenic because the tub area reads like a single architectural block instead of a pile of different tiles.
Pick a tub model that works with an installed surround system, then plan the splash panel height to cover the water line area. Install waterproof backer or an approved tub surround system, then apply the wall finish in one continuous plane around the tub deck. Use a flexible caulk designed for wet areas at all transitions, especially where the panel meets the tub. After the first full fill test, check caulk edges for any seep — fix immediately before you wrap with trim.
Choose a matte finish for the surround and faucet trim; it hides water spots better than chrome shine.
Don’t leave gaps between the tub edge and surround — those create permanent dark lines.
5. Built-in shower niche that matches the wall and drains back
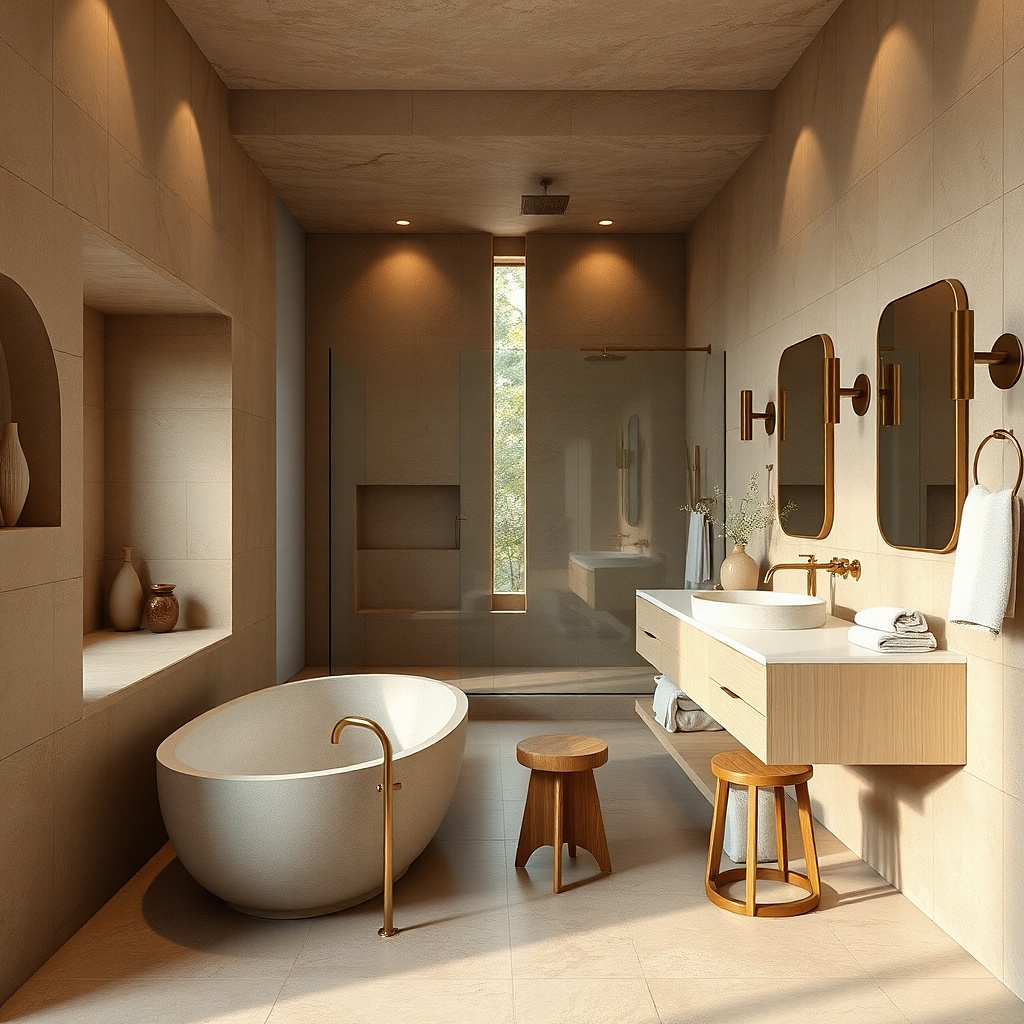
A shower niche is where your spa vibe lives or dies. Make it seamless with the wall tile so it looks like part of the architecture, not a separate design element. Put the niche in a spot you can actually reach and wipe, and use a shelf that slopes slightly back so water drains instead of pooling. Keep the niche back covered in the same finish no contrasting grout-intensive mosaics. In small bathrooms, a well-made niche also reduces clutter on the shower ledge, which keeps the whole space visually calm.
Frame the niche with waterproof backer and set it after you map your tile layout so the edges align with grout lines. Slope the shelf about 1/8 inch from front to back so water runs back into the shower. Use the same tile and grout system as the main walls, then seal transitions with a wet-rated caulk. Finally, dry-fit your bottles and confirm you can store them without blocking the drain path or reaching awkwardly.
Use one small organizer basket only if you need it; otherwise, let bottles sit on the shelf for a cleaner look.
Avoid flat shelves without drainage — they trap water and soap residue.
6. Anti-fog mirror with warm edge lighting
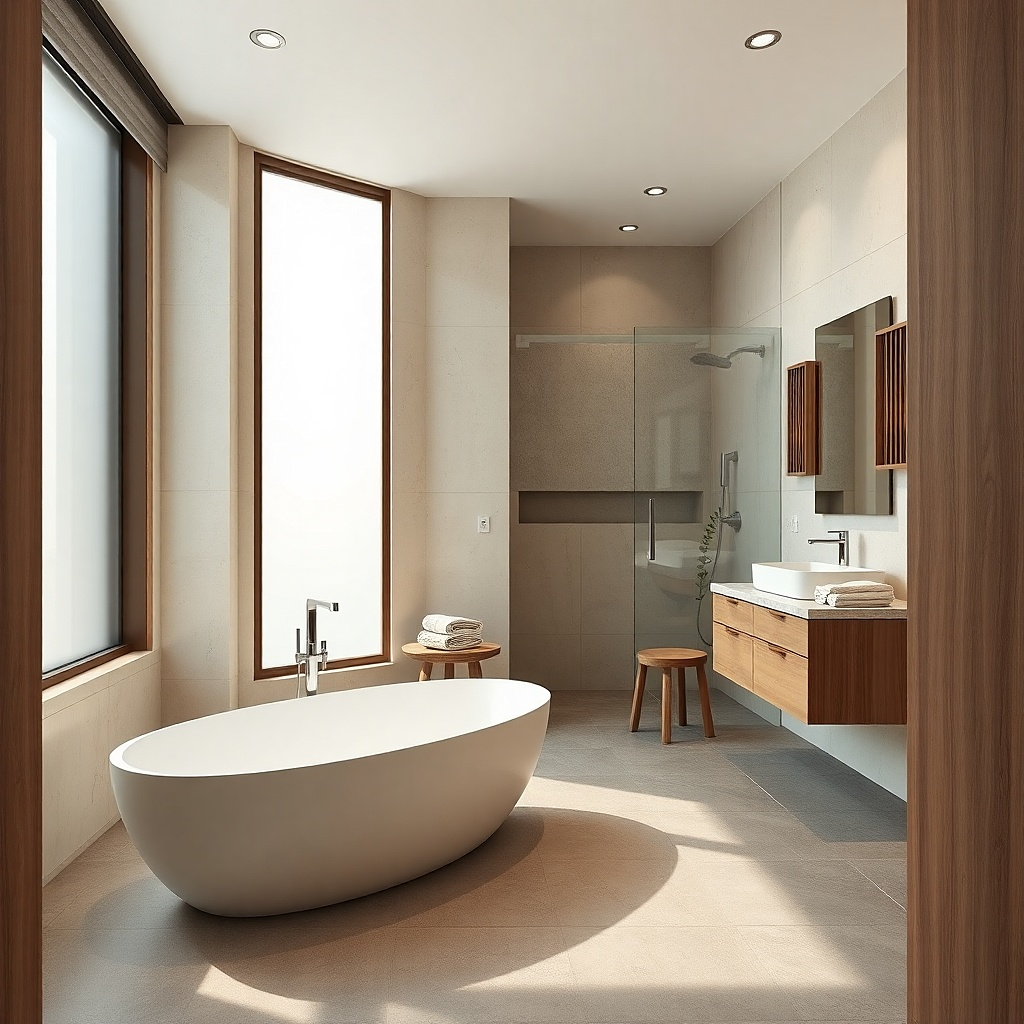
A spa bathroom always looks clear. An anti-fog mirror removes the most common “messy” moment after a hot shower, and it keeps the mirror surface from looking cloudy in photos and daily use. Add warm edge lighting around the mirror so the bathroom feels cozy rather than clinical. Choose a mirror size that balances the vanity width too small makes the room feel cramped, too large overwhelms the wall. Keep the lighting diffused and avoid harsh spotlights that show every water spot on the mirror.
Try thisUse a dimmer so the mirror lighting matches your mood instead of blasting at full brightness.
Measure the mirror wall and pick a mirror width that matches the vanity — aim for the mirror to be within 2-4 inches of the vanity width on each side. Install at a height where the center is around eye level for most users, then confirm the light doesn’t cast shadows on the countertop. Choose anti-fog heating and warm LED (around 2700K) and wire it to a switch that won’t turn off mid-routine. After mounting, check clearance from the shower spray line if it’s nearby.
Common mistakeAvoid cool 4000K lighting; it makes skin look tired and makes water spots more obvious.
7. Wall-mounted vanity with hidden storage and a clean toe-kick
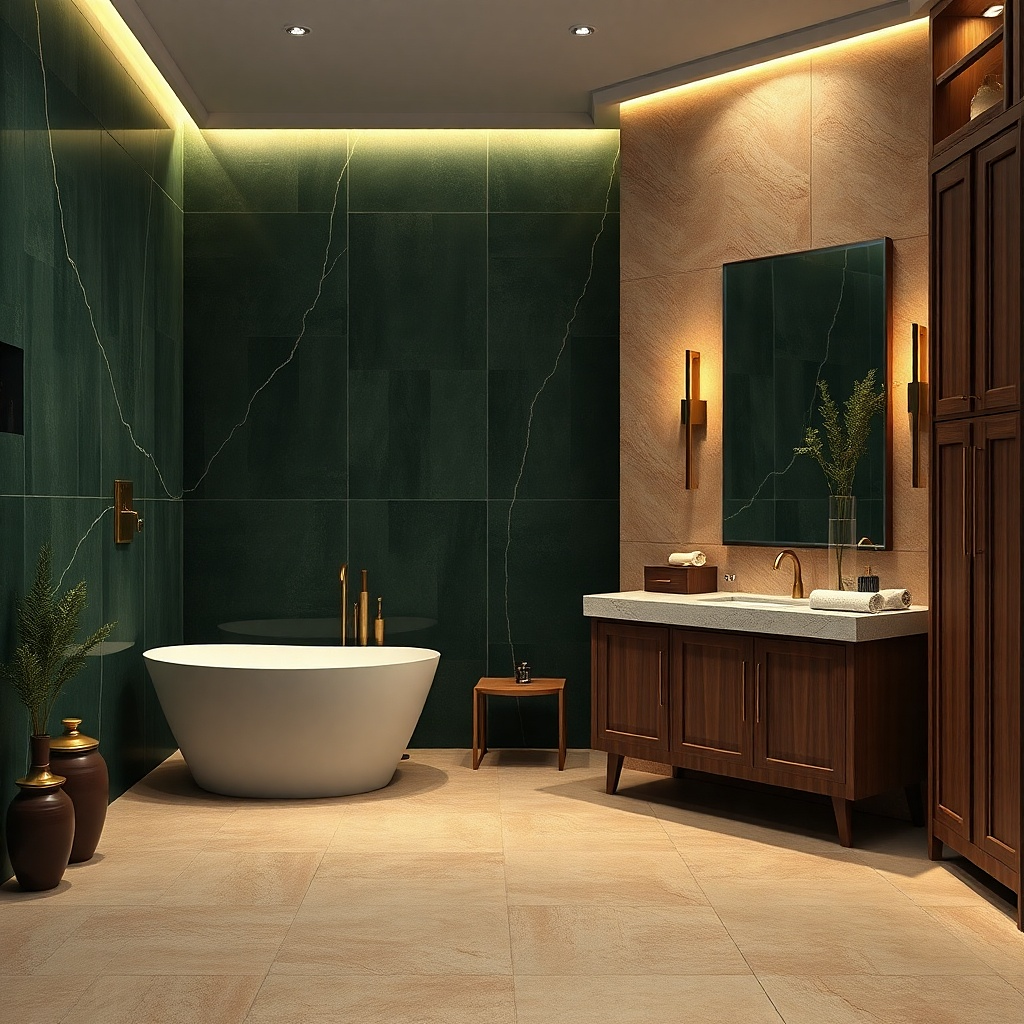
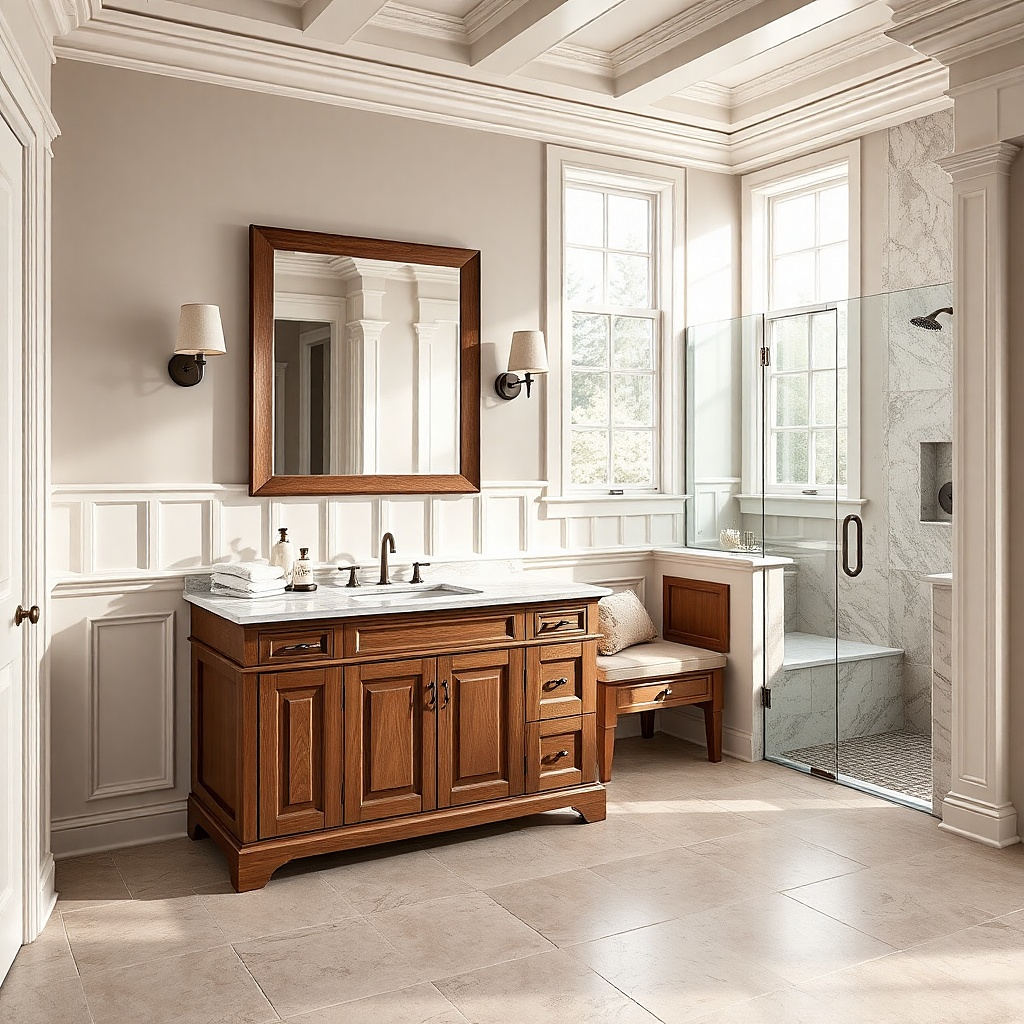
A floating or wall-mounted vanity makes a small bathroom feel lighter, and it also improves maintenance. With more floor visible and a clean toe-kick line, you can sweep and mop without wrestling around a bulky base. Choose drawers over open shelves so towels and toiletries don’t create visual clutter. Go for matte fronts in a warm neutral like greige, soft white, or warm gray, because glossy paint shows fingerprints and water marks. This is the best option when you want the spa look to stay photo-ready even on busy mornings.
Try thisChoose drawer pulls in a single metal finish and keep them small; chunky hardware makes the space look busier.
Pick a vanity width that leaves at least 30-36 inches of clear circulation space in front of the door and toilet. Install a proper wall ledger and secure it to studs; floating vanities need real support, not just drywall anchors. Keep plumbing aligned and use a vanity top with an integrated or easy-clean sink basin. Add drawer organizers before you install the hardware so you don’t end up redoing the layout.
Common mistakeAvoid open shelving above the toilet if you’re chasing low-maintenance — it turns dust into a visible problem.
8. Matte quartz countertop with integrated sink and minimal seams
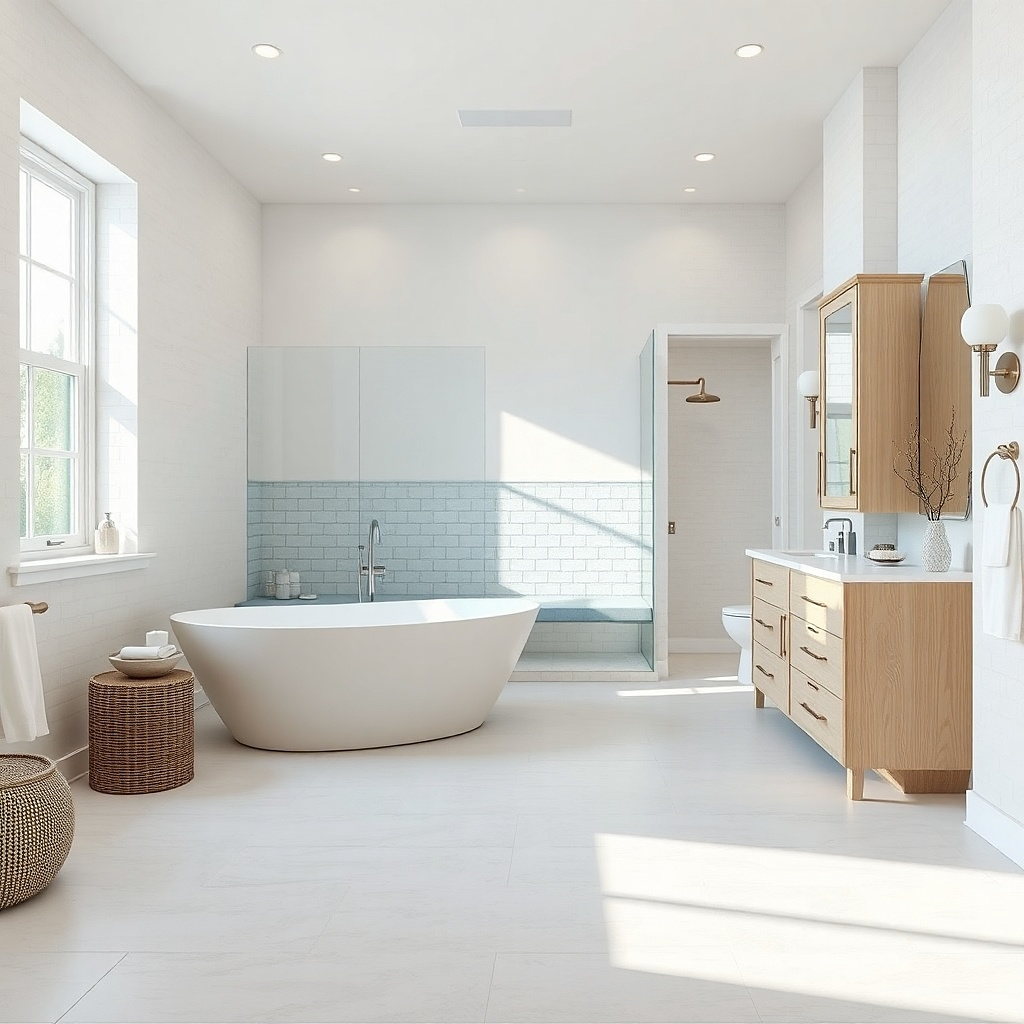
Countertop seams and glossy surfaces are where daily grime collects. Matte quartz hides fingerprints and water spots better than shiny stone, and an integrated sink removes one of the most annoying cleaning edges. Choose a quartz color that reads calm in warm light — soft white with subtle gray veining or warm greige with gentle movement. Keep the backsplash simple or go with a slab backsplash tied to the main wall color so the vanity area looks intentional. This combo looks upscale and stays easier to wipe down after toothpaste, face wash, and hair products.
Select a quartz slab with a matte or honed finish and confirm the sink is fully integrated to reduce seam lines. Plan the countertop overhang so it doesn’t interfere with mirror clearance and lighting placement. Install the countertop with proper bedding and avoid extra caulk blobs around the sink — a smooth bead is the clean look. After installation, run water and wipe test around the sink edge to confirm no standing water collects at any seam.
Use a microfiber cloth for daily wipe-downs; paper towels can leave lint that shows on matte surfaces.
Avoid patterned countertops with heavy contrast if you want the spa effect — it makes the room feel busier.
9. Curbless shower look with a linear drain
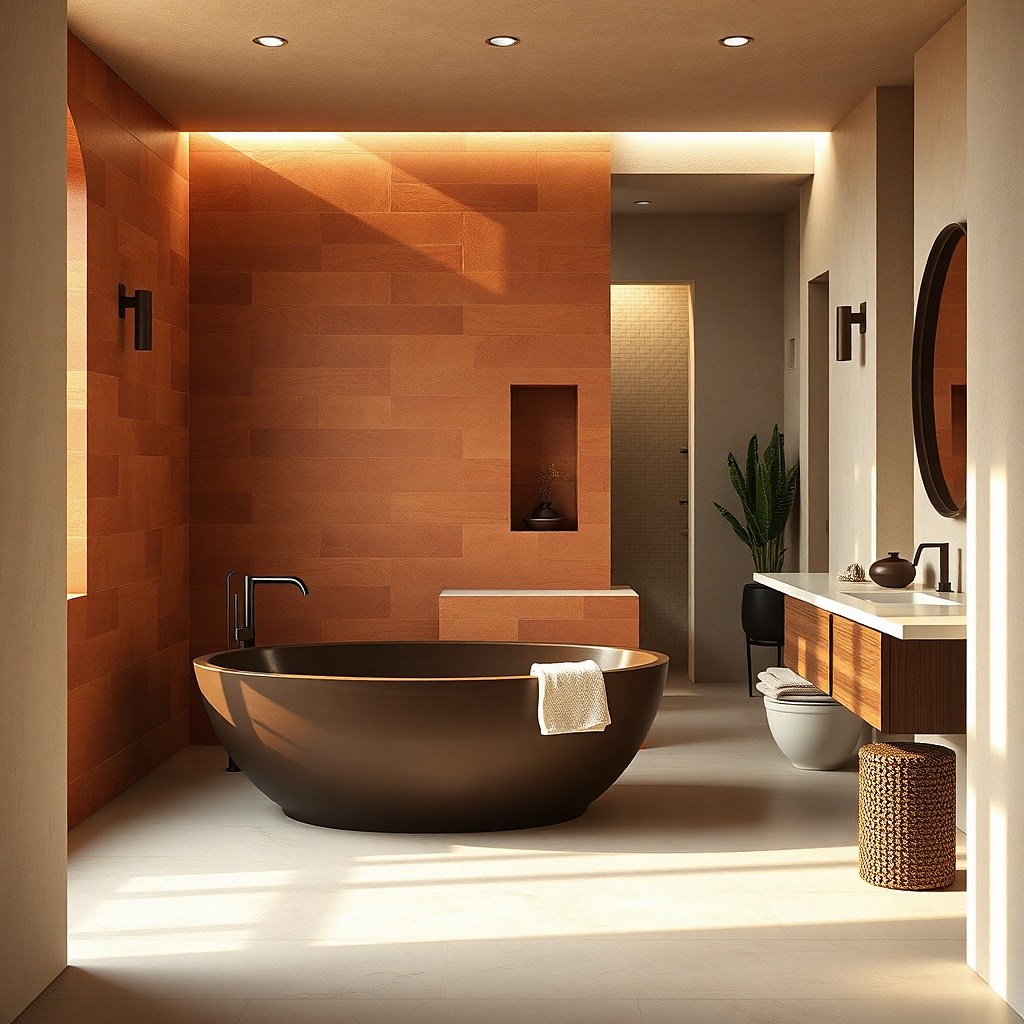
A curbless shower reads like a spa because it feels seamless and modern. The low-maintenance win is the linear drain — water runs where it should instead of pooling in corners or at the base. To keep it easy, use waterproofing systems designed for curbless installs and choose a floor finish that handles wet use. Keep the shower floor and bathroom floor in the same tile family so the transition is visually smooth. In a small bathroom, this design also makes the space feel bigger because you don’t see a raised threshold.
Plan the slope to the linear drain during rough-in — you need correct pitch so water moves without standing. Choose a linear drain length that fits your shower footprint and position it so the drain line stays visually balanced. Install waterproofing membrane and perform a flood test before tiling. Then lay tile with consistent grout joints and use waterproof grout practices for wet areas. Finally, seal around the drain and test for leaks after the tile cures.
Pick a drain cover finish that matches your faucet — it keeps the whole shower line looking intentional.
Avoid random tile cuts around the drain — crooked patterns make the shower look unfinished.
10. Towel strategy that looks built-in: recessed bar or rail niches
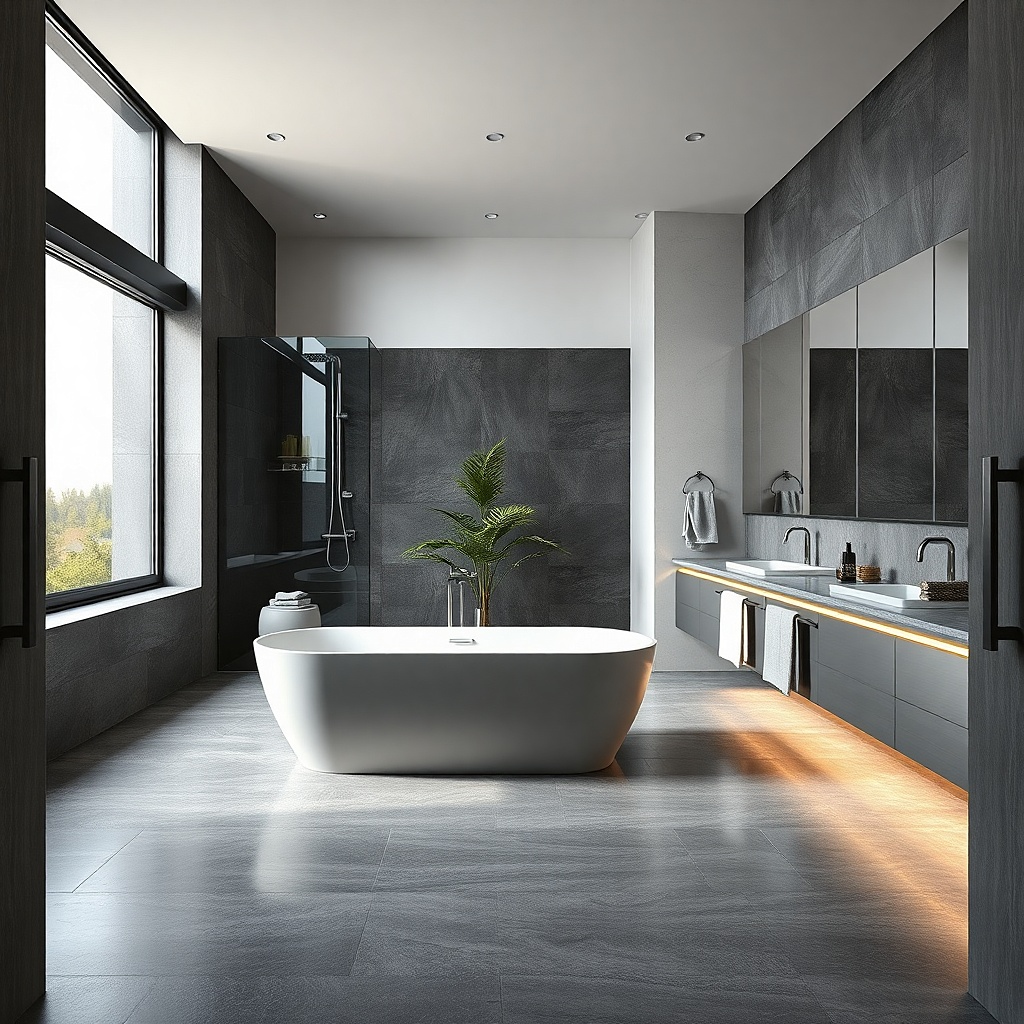
Spa bathrooms feel calm because towels aren’t hanging everywhere. A recessed towel bar or a wall rail niche makes towels look like part of the design and reduces the clutter that makes small baths feel chaotic. Choose a finish that matches your other metals and keep the line simple. If you’re remodeling a master bath, place the towel rail where towels dry quickly and don’t sit right in the shower splash path. The result looks tidy in photos and stays tidy for real because towels have a “home.”
Try thisAdd a second smaller hand towel rail near the vanity for guests and quick use; it prevents towels from migrating to the shower edge.
Pick the towel bar height so the rail sits around 48-52 inches from the floor for a standard reach. Locate it on a wall that gets airflow, not directly behind a door that traps humidity. Install solid backing or reinforcement so the bar doesn’t wobble, then align it with the mirror centerline for visual symmetry. Use matching fasteners and finish caps so the installation looks clean.
Common mistakeAvoid placing towel bars too close to the shower — towels stay damp and start looking dull.
11. One color family walls with a single accent band behind the mirror
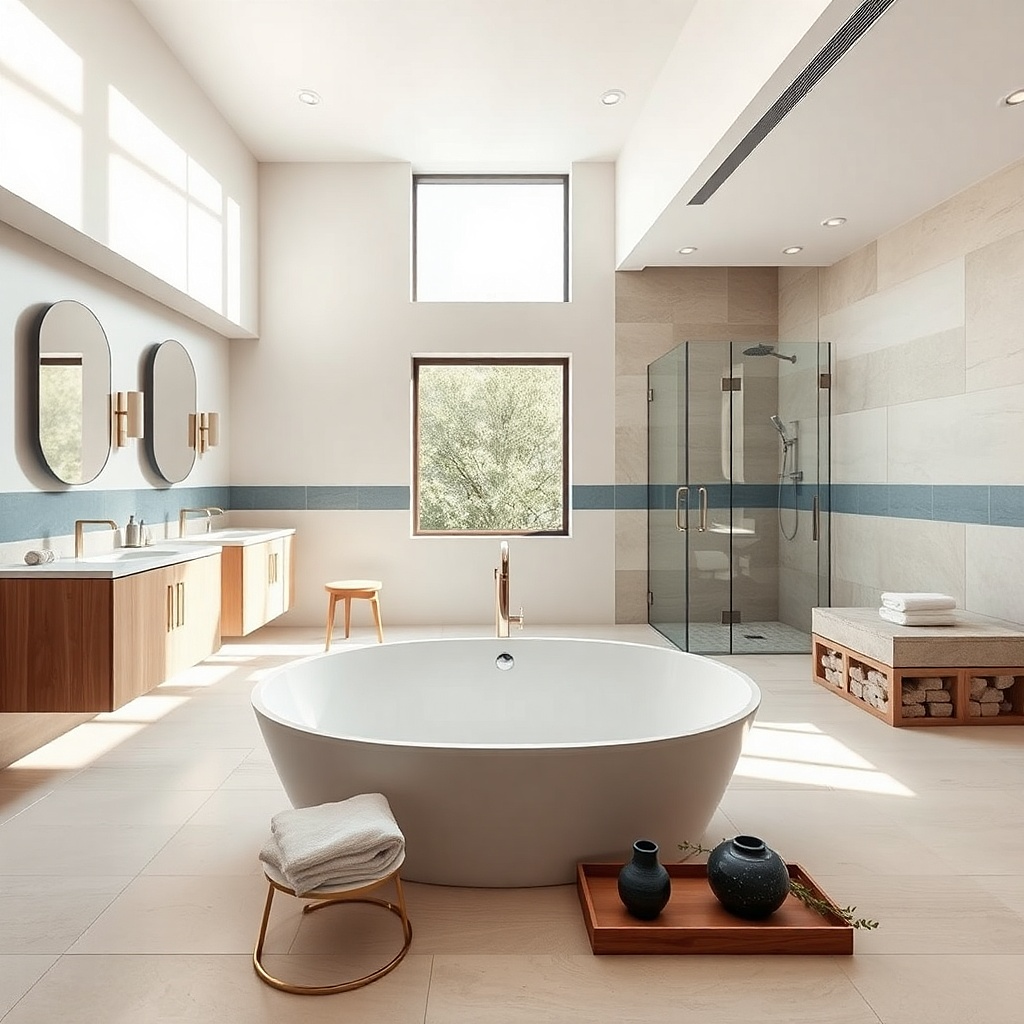
A small spa bathroom needs visual focus. Keep the walls in one color family, then add a narrow accent band behind the mirror area so the eye has a calm anchor. Use a slim strip of tile or a waterproof wall panel in a slightly different tone — think matte warm gray or soft sand, not high-contrast black. This technique looks designed, but it still helps maintenance because the accent area is limited to one zone. You get the photogenic glow around the mirror without creating extra grout lines across the entire room.
Try thisUse matte finishes for both the wall and accent so the mirror light doesn’t create glare streaks.
Choose your main wall material first, then pick an accent band height of about 8-12 inches behind the mirror. Dry-fit the band layout with the mirror centered so the lines feel intentional. Use waterproof materials and run the accent band as a continuous strip with matching grout or seams designed for wet areas. Finish with a consistent caulk color at edges, then check the accent under the mirror lighting so it doesn’t look muddy.
Common mistakeAvoid multiple accent zones; they create visual noise and make the room feel smaller.
12. Water-shedding wall paint or wall panel system in the wet zone
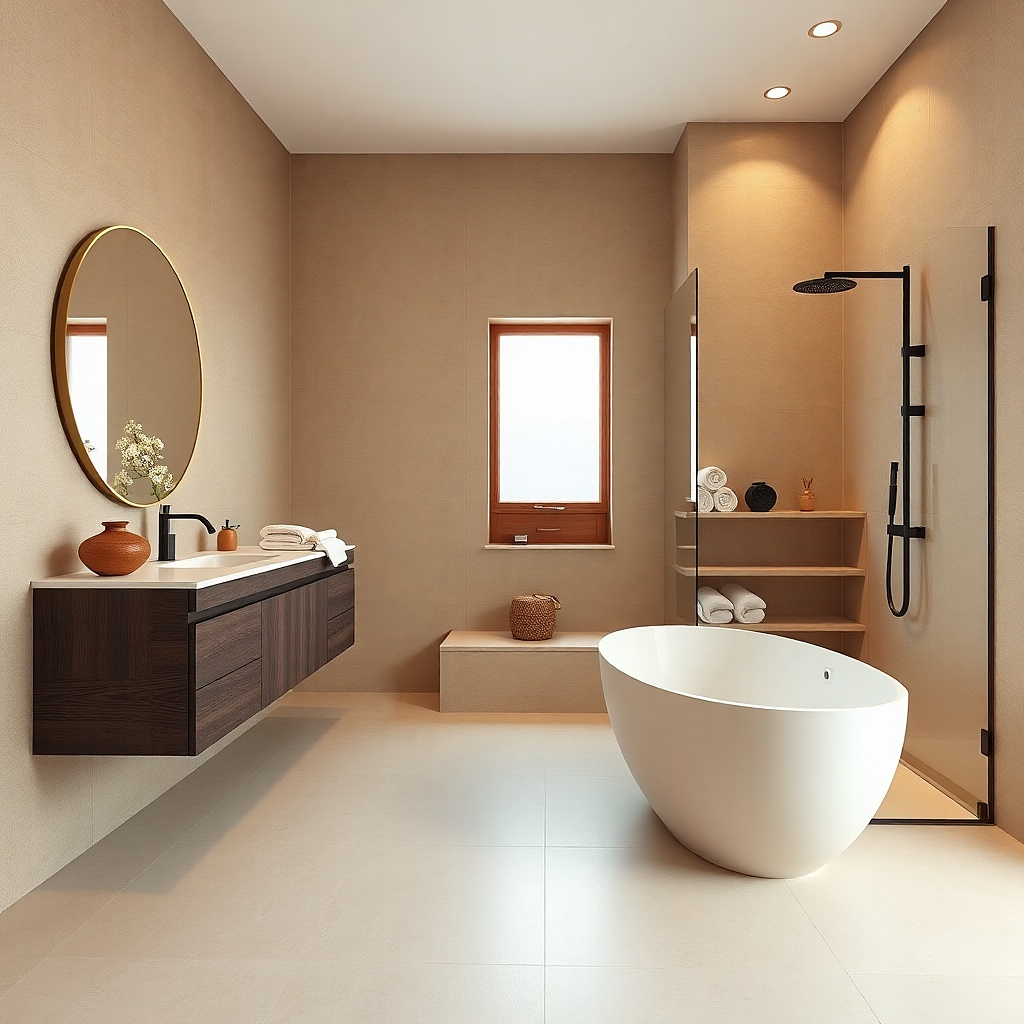
Not every wall needs tile, and that’s where the low-maintenance advantage is hiding. In a small bathroom, you can keep the wet zone protected with a waterproof wall panel system or water-shedding finish, then save tile for areas that truly get spray. The look stays sleek because you avoid dozens of tile edges and grout lines. Choose a paint that is rated for bathrooms and apply it with a smooth roller finish for an even, spa-like wall texture. When done right, the walls wipe clean without the constant grout maintenance.
Identify the true wet zone: behind the sink splash line and around the shower where water hits. Protect those areas with a waterproof wall system or tile to a consistent height, then paint or panel the rest. Prep matters — clean, prime with a bathroom-rated primer, then apply two coats with a foam roller for a smooth finish. Let cure time fully pass before you steam up the room with hot showers. Test one spot with a damp cloth after cure to confirm wipeability.
Use a satin or eggshell sheen, not high-gloss; it looks warmer and doesn’t show every micro-spot.
Avoid painting over damp drywall or skipping primer — that’s how you get peeling and stubborn stains.
13. Matte black or brushed nickel hardware with consistent spacing
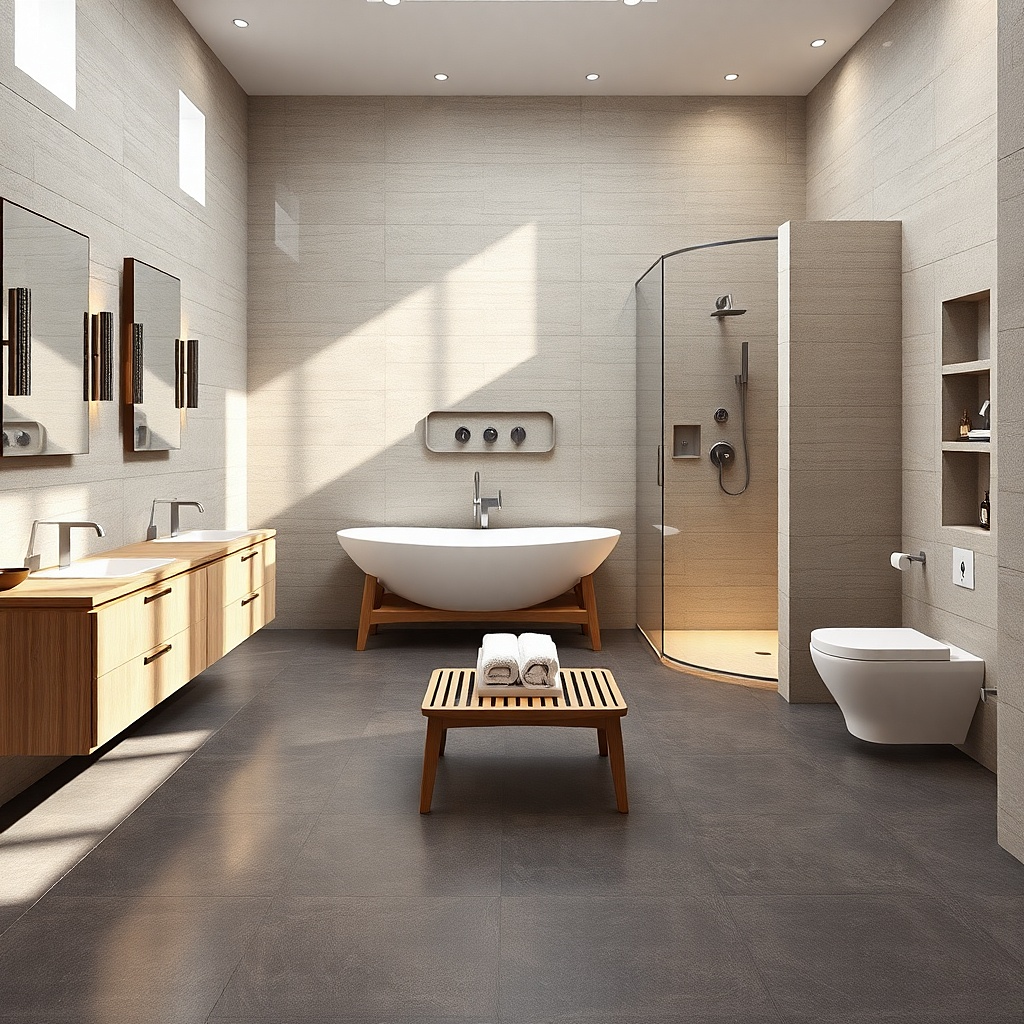
A spa bathroom looks intentional because the details match. Pick one metal tone and stick to it for faucet, shower trim, towel bars, toilet paper holder, and robe hooks. Brushed nickel and matte black both hide minor water spots better than shiny chrome, and they photograph with less glare. Consistent spacing matters too: align towel bars with the mirror centerline and keep robe hooks placed where robes don’t collide with the shower door. This is a low-maintenance win because matched finishes reduce the urge to constantly polish mismatched hardware.
Choose your metal finish first, then buy the full set at once so you don’t end up mixing slightly different shades. Measure mounting heights based on the mirror and vanity layout, not on eyeballing. Install using the provided template or level marks so hardware ends up straight. After installation, wipe down once with a gentle cleaner and microfiber cloth to remove any residue from handling.
Keep one accent finish only; adding a second metal tone breaks the spa calm and increases dusting attention.
Avoid mixing polished chrome with matte hardware — it looks mismatched and is harder to keep looking clean.
14. Softly lit vanity shelf with backlit niche storage
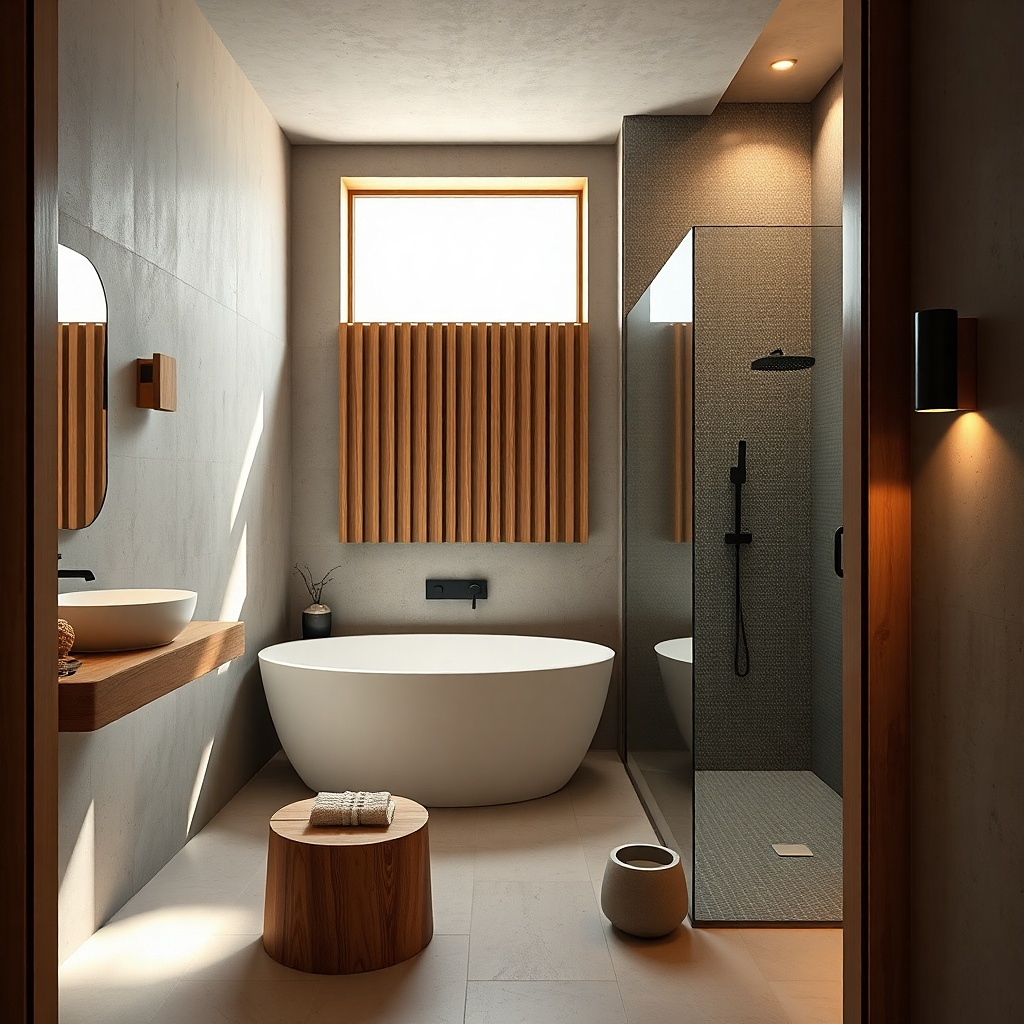
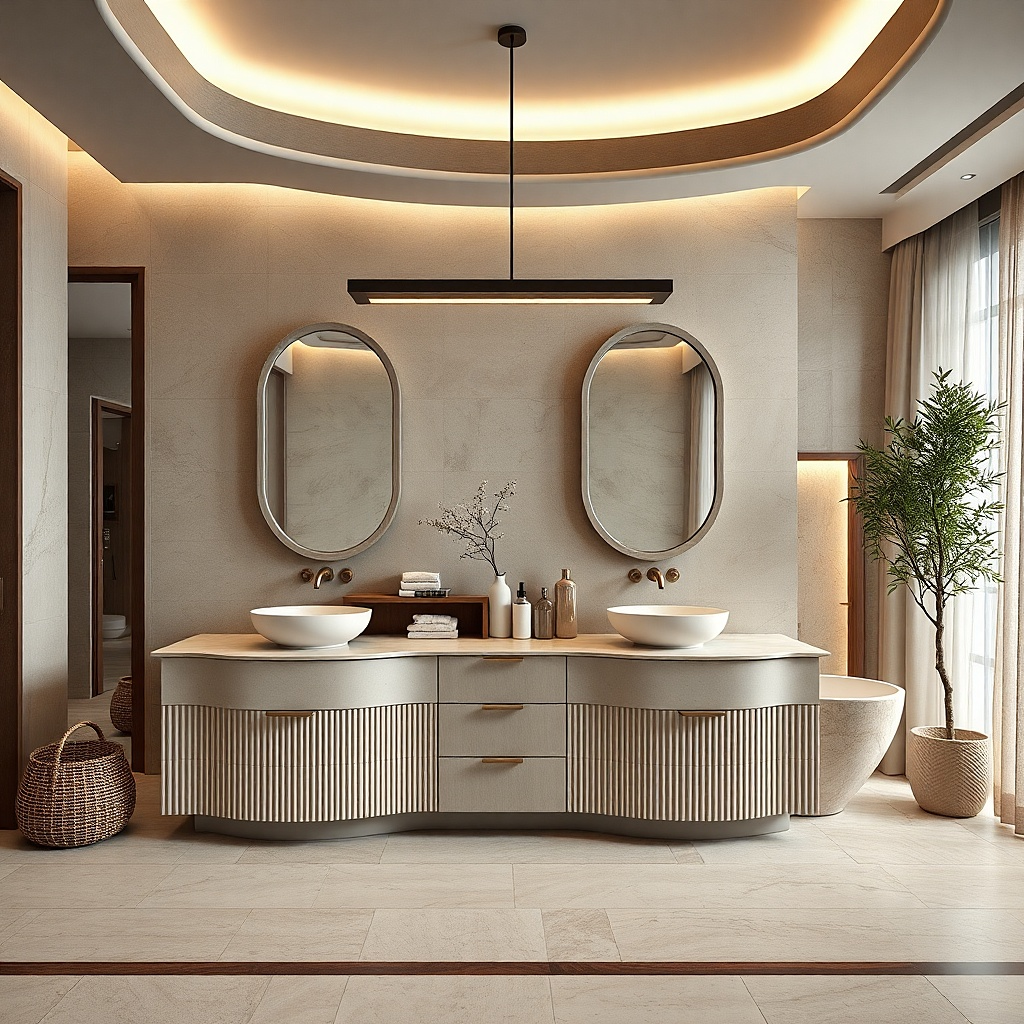
Spa bathrooms look restful because clutter is controlled and lighting flatters surfaces. A backlit niche or a shallow vanity shelf with concealed lighting makes everyday items look curated without requiring a glass-front display. Choose warm lighting and keep the niche deep enough that bottles sit back, away from the front edge where water marks and fingerprints show. This also helps low-maintenance because you can see what you’re grabbing, so products stop piling up in random places. Visually, the warm glow makes the small bath feel larger and calmer.
Try thisUse matching pump bottles or transfer refills into the same style so the niche looks uniform, not busy.
Plan the niche or shelf depth at least 4 inches so bottles don’t sit too close to the opening. Install a warm LED strip behind a diffuser panel to avoid hot spots and glare. Wire the lighting to a switched circuit or mirror switch and use a dimmer if your bathroom has multiple lighting sources. Arrange bottles by height and keep a consistent front-facing orientation for a clean, spa look.
Common mistakeAvoid placing light directly behind reflective surfaces; it creates glare and shows fingerprints.
15. Toilet splash-proof zone: half-wall waterproof paneling with easy-clean trim
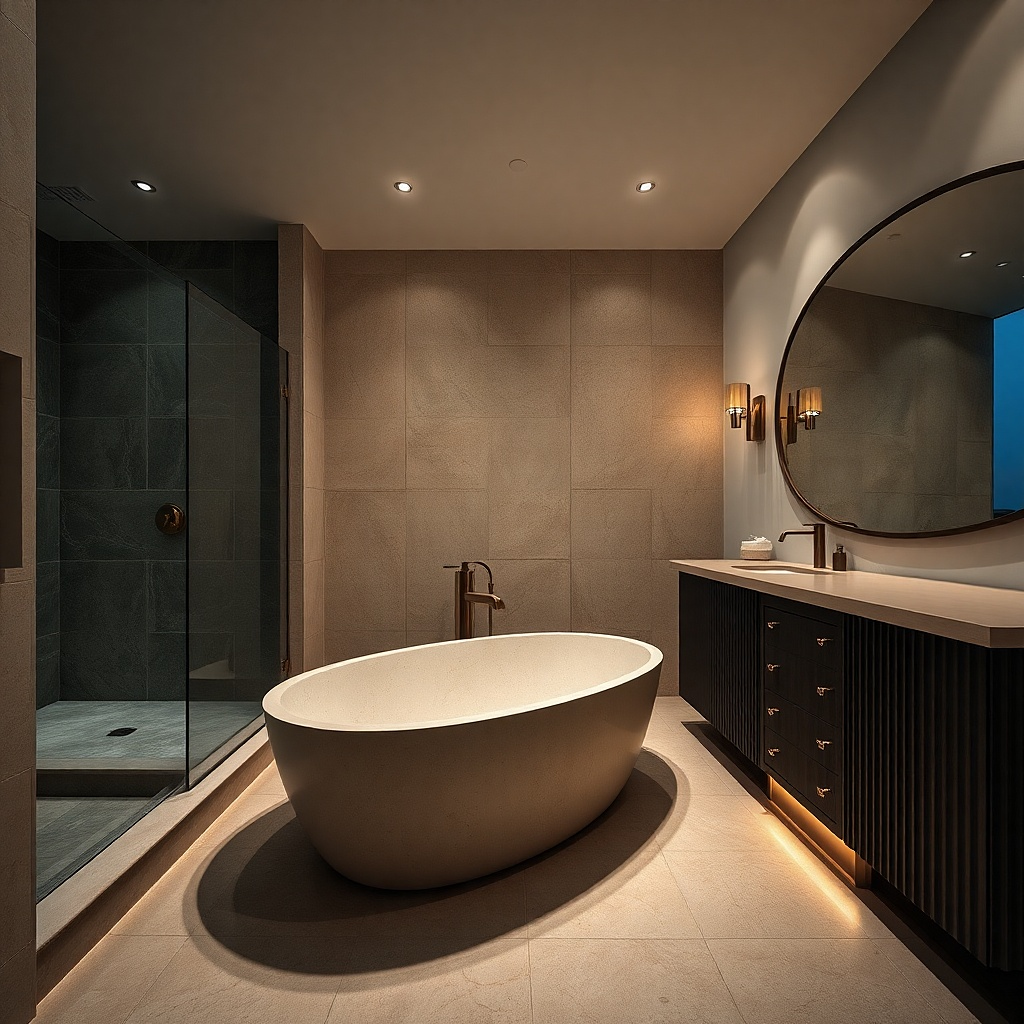
Toilets hide a lot of mess until you remodel and suddenly notice it. If your small bathroom has splash risk from everyday use, protect the wall behind and beside the toilet with a waterproof panel system and simple trim. Half-wall height keeps the look open while creating a wipeable zone where water and cleaning sprays land. Choose a matte finish in a warm neutral so it doesn’t look clinical. This design looks tidy in photos because the wall behind the toilet is clean and consistent, and it’s easier to wipe than tile with lots of grout lines.
Try thisChoose a caulk color close to the panel so the edges look sharp, not patched.
Mark the splash-protection height — a common range is about 36-48 inches from the floor, adjusted to your toilet height and typical reach. Install waterproof backer or panel system in that zone, then use a matching trim edge to hide cuts. Seal the corners with wet-rated caulk and choose a trim finish that matches your other hardware. After install, do a simple water test using a spray bottle on the wall zone and wipe to confirm the surface clears clean.
Common mistakeAvoid open, grout-heavy tile in the toilet splash area; it stains and demands more scrubbing.
16. Low-profile recessed medicine cabinet with flush doors
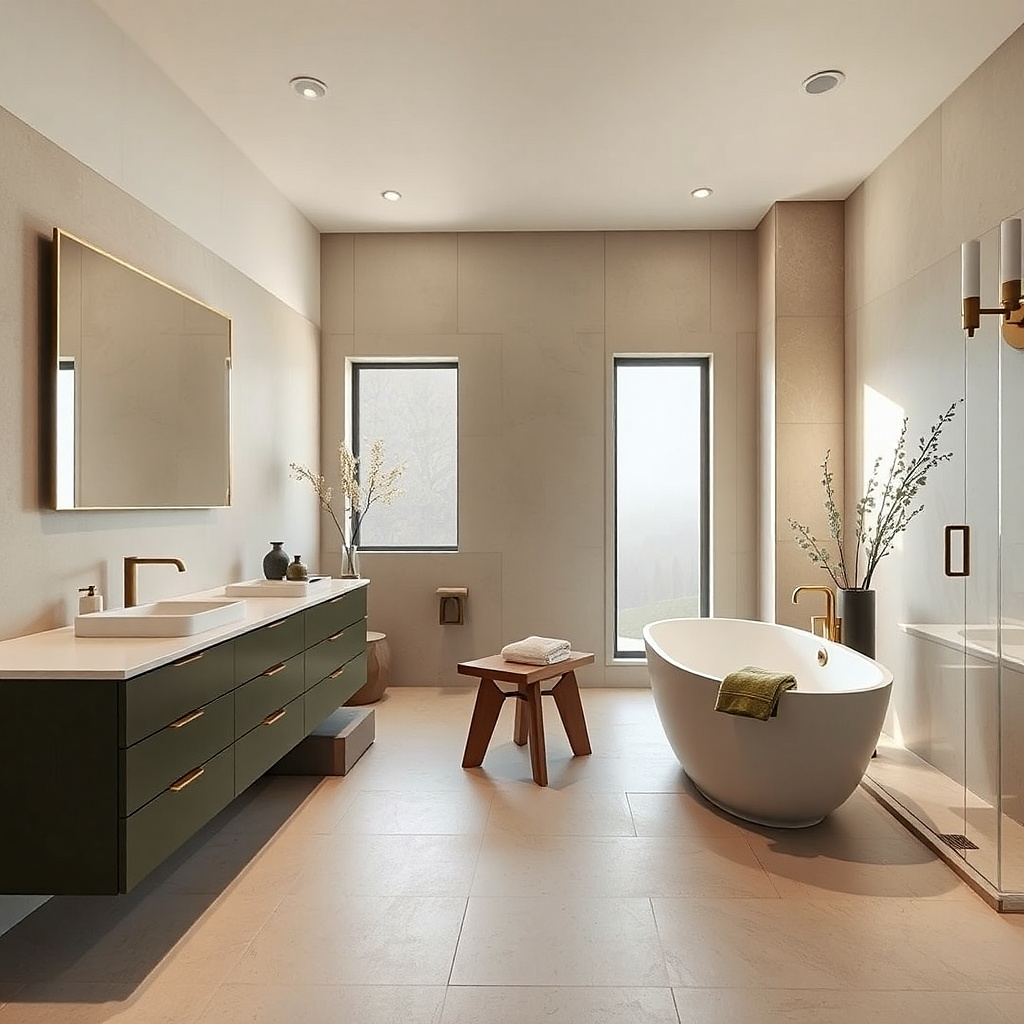
A recessed medicine cabinet keeps daily items out of sight, which is the fastest route to a spa look in a small bathroom. Flush, low-profile doors mean less visual clutter and fewer edges where grime collects. Choose a cabinet with a smooth finish and integrated lighting so you don’t need extra wall fixtures that create reflections and glare. Keep it shallow enough that the mirror line stays clean, and use adjustable shelves so you can store makeup, hair tools, and skincare without stacking bottles randomly. The maintenance benefit is simple: fewer countertop items means fewer wipe-down surfaces.
Try thisUse a small tray inside for daily use items; it keeps you from scattering products across the cabinet shelves.
Select a cabinet depth that fits your wall framing — measure before you buy and account for plumbing and electrical. Cut the opening carefully, then install with the manufacturer’s mounting system so the cabinet sits flush. Add a dimmable light or rely on integrated LEDs and wire to the correct switch. Once installed, set shelves first and then place items so nothing overhangs the door opening when it closes.
Common mistakeAvoid mirrored cabinets with textured frames; they collect dust and they show water spots more.
17. Steam-friendly wet-room ventilation and a quieter fan grille
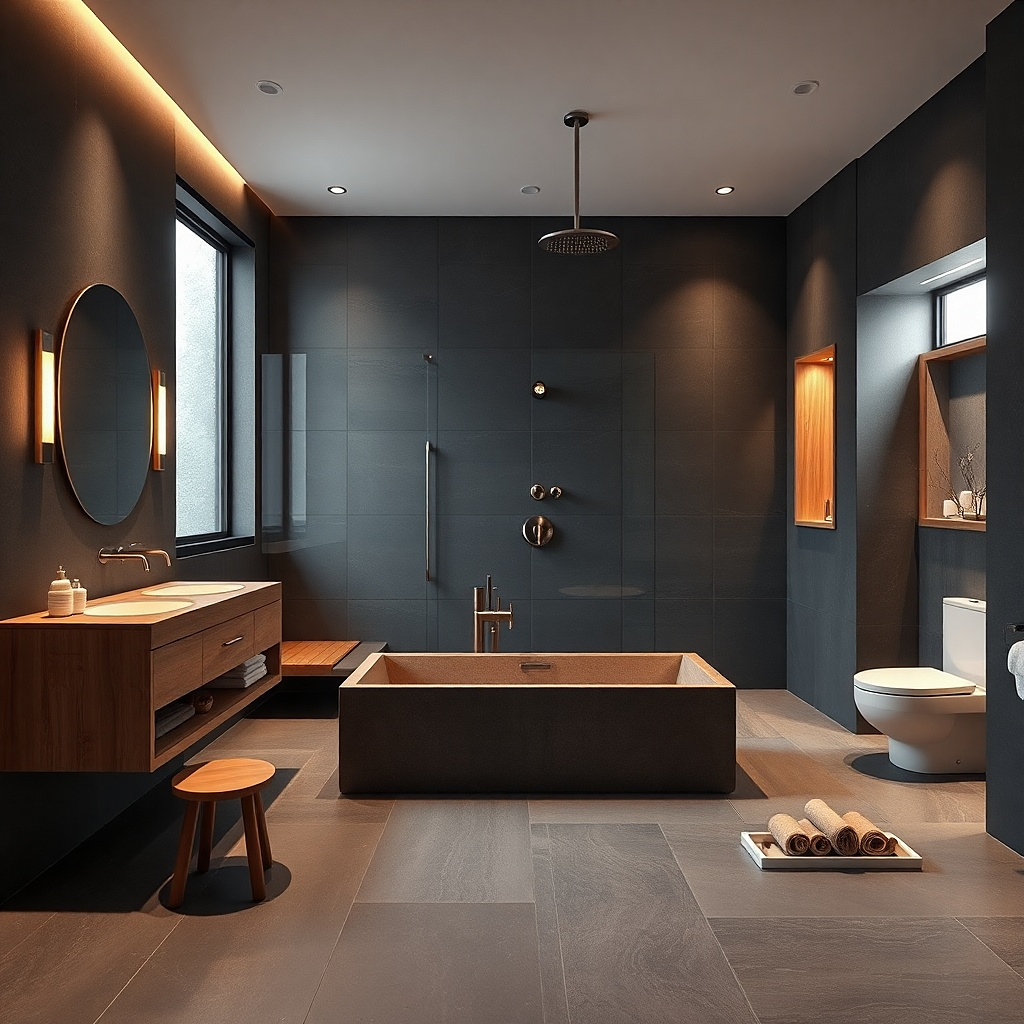
Low-maintenance isn’t only surfaces it’s also moisture control. In a small bathroom, steam from showers lingers and creates that faint damp smell plus faster spotting on mirrors and fixtures. Choose a ventilation fan with enough airflow for a small bath and install it so it vents properly without backdraft issues. Use a grille that matches the ceiling finish and doesn’t collect dust in deep ridges. When moisture drops quickly, the spa look lasts longer because surfaces stay clearer between cleanings.
Measure your bathroom size and pick a fan rated for that square footage, then verify duct length and diameter so it performs at the rated capacity. Install with the correct ducting material and route it to the exterior — never rely on recirculation in a small master bath. Use a humidity-sensing switch or timer if you want it to run after showers. After install, test with a mirror fog check or a small amount of steam and confirm it clears within a reasonable time.
Run the fan for 20-30 minutes after showers if you don’t have an auto-humidity sensor.
Avoid undersized fans — they leave moisture behind and make every surface look dull faster.
18. Warm 2700K lighting plan with diffused sconces and a bright mirror
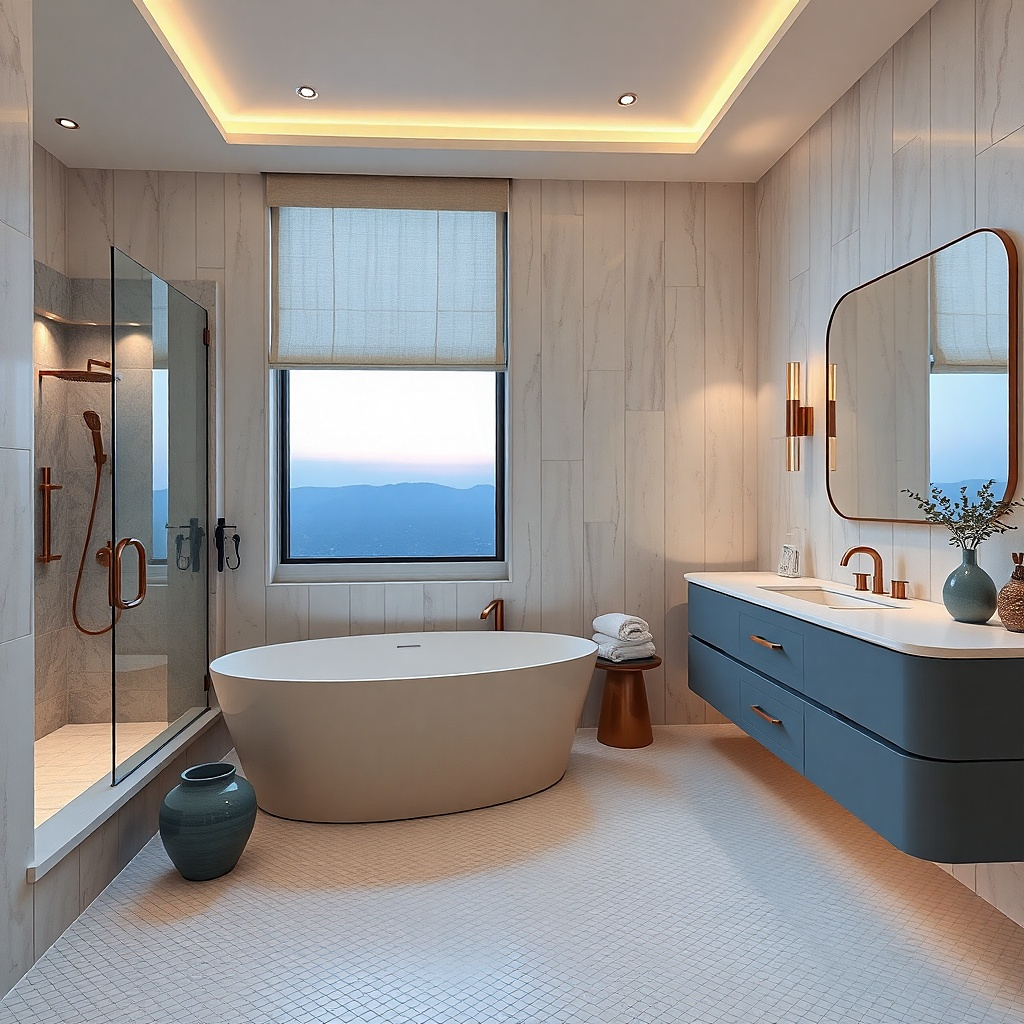
Spa bathrooms look restful because skin looks soft and shadows are controlled. Warm 2700K bulbs reduce the harshness that makes water spots and soap residue stand out. Use diffused sconces or shades that spread light rather than bare bulbs that create glare on mirrors. Put one light source near the mirror for face lighting and keep ceiling lights minimal so the room feels calm. In small bathrooms, good lighting also makes the space feel larger, which makes your material choices look more premium.
Choose bulb color temperature around 2700K and verify the lumens are enough for the mirror area without blasting the whole room. Place sconces at a height that avoids casting dark circles under the eyes — typically around 60-66 inches from the floor to the center of the fixture. Use diffusers or frosted shades to reduce glare and reflections. Test by turning on the lights and checking if the mirror shows streaks from typical cleaning products.
If you have a dimmer, set it so the mirror area is bright enough for shaving or makeup at 60-70% brightness.
Avoid cool white lighting — it makes the bathroom look harsher and the maintenance issues more visible.