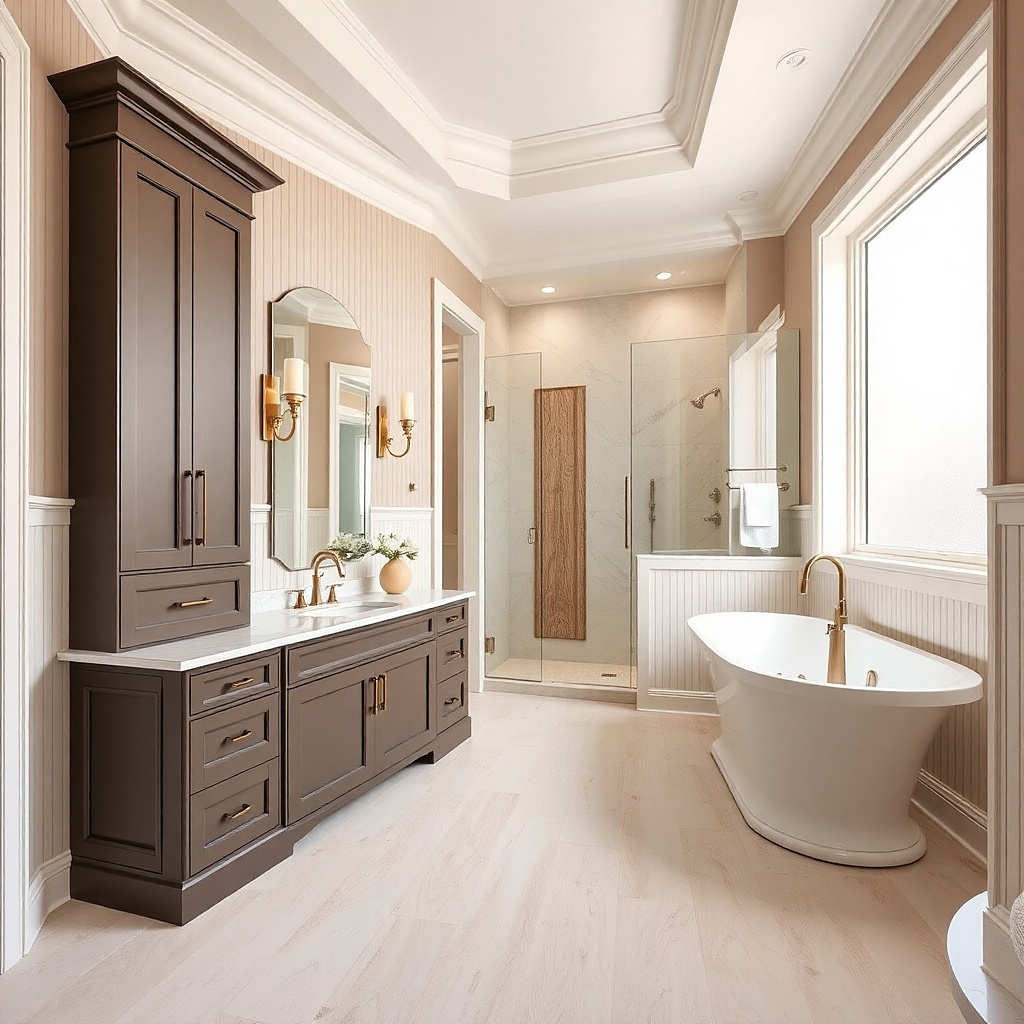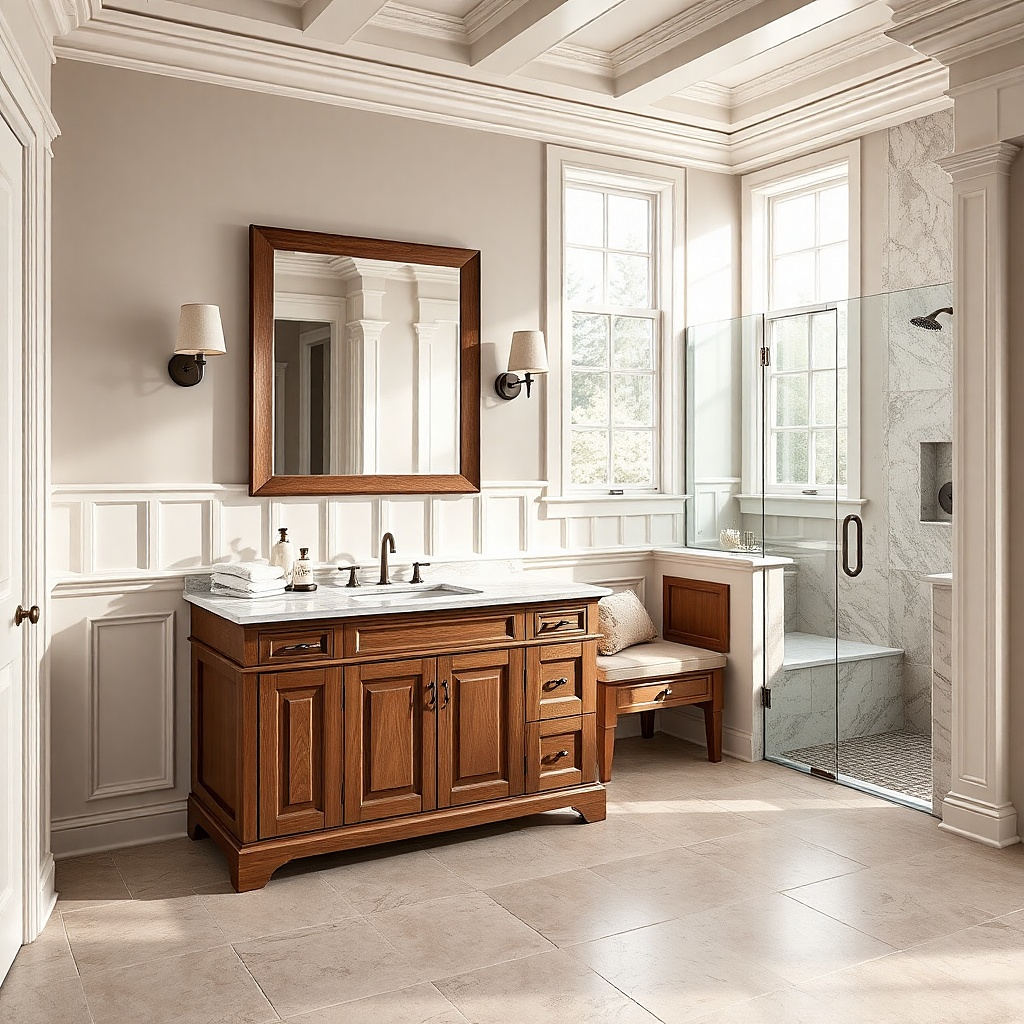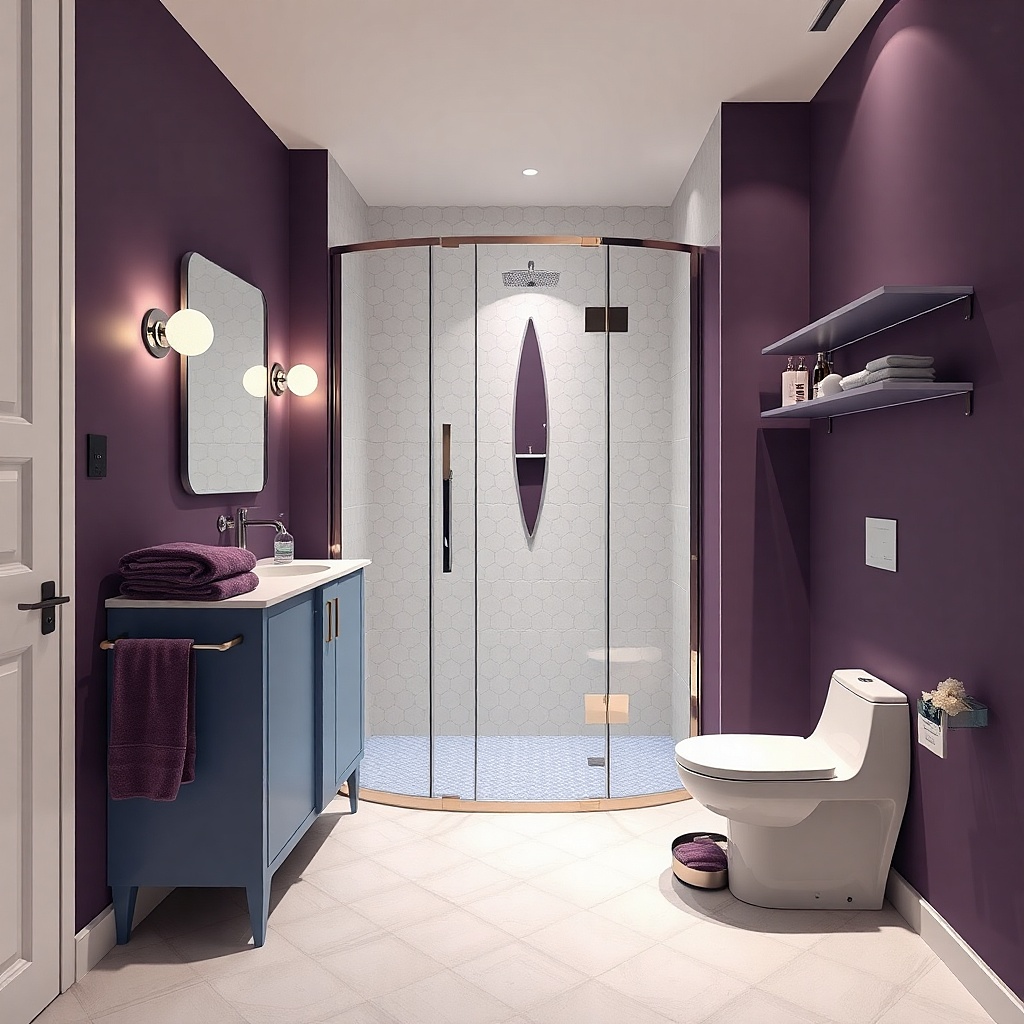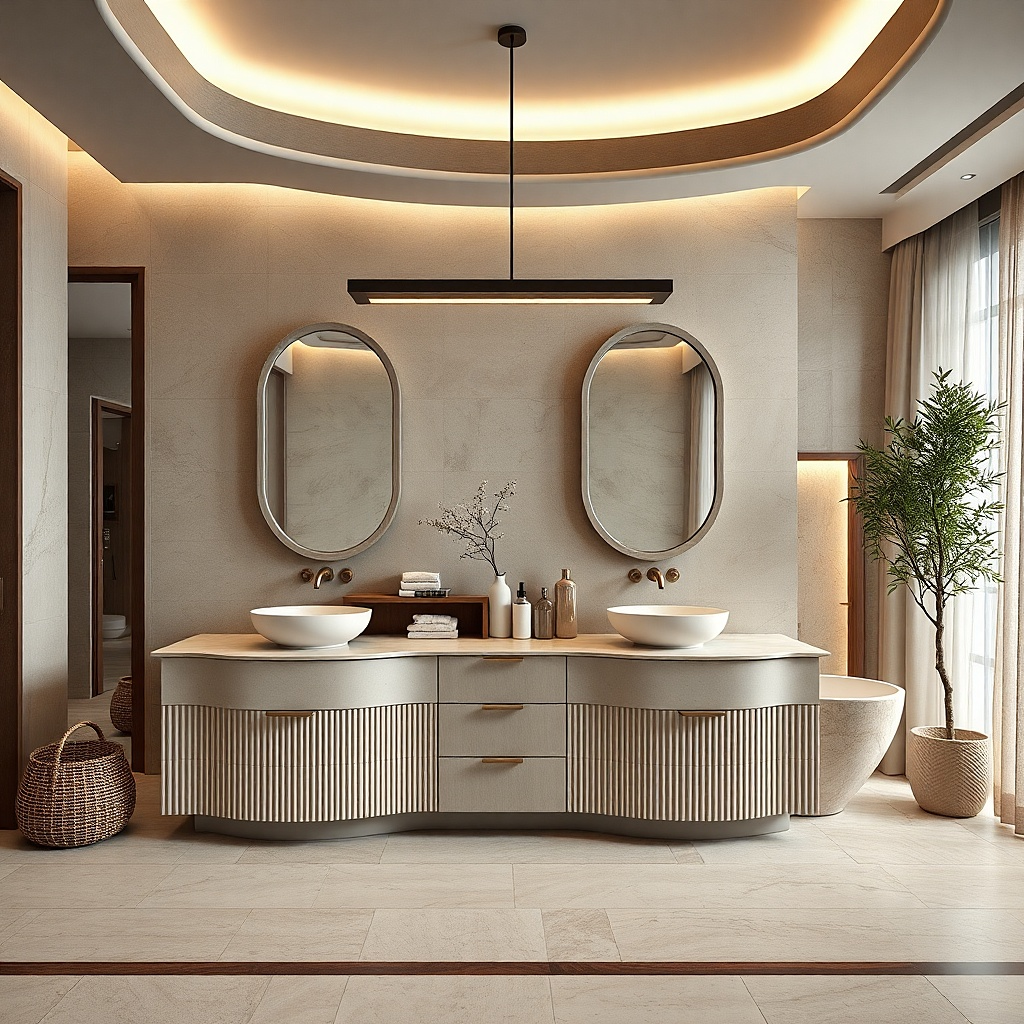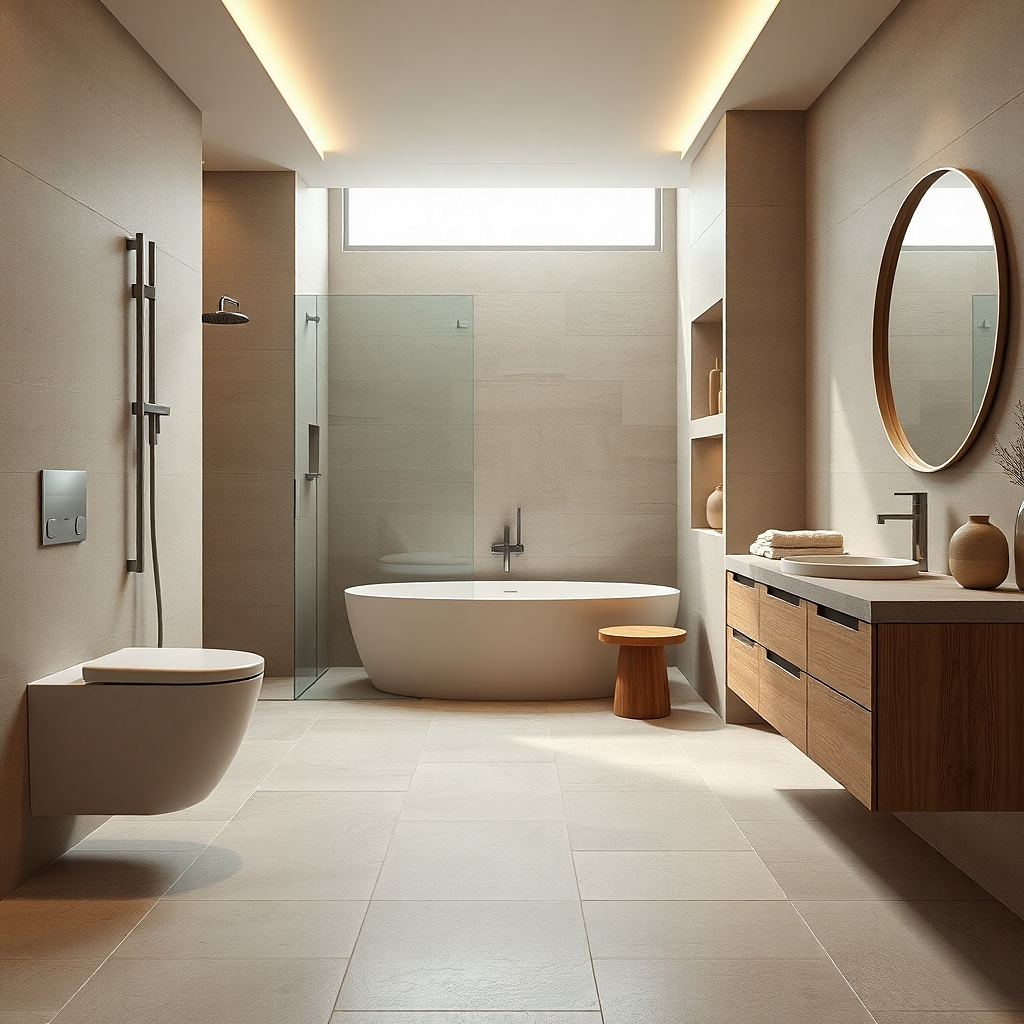
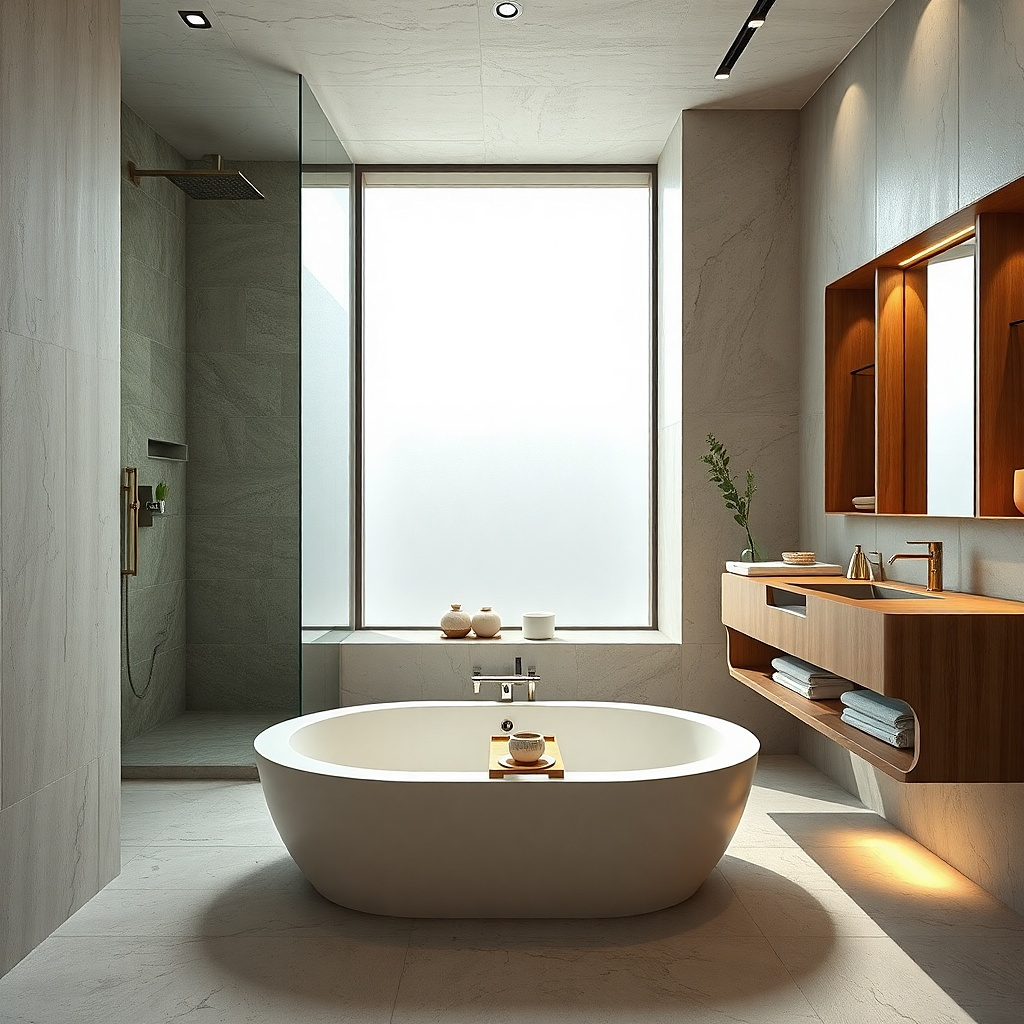
1. Honed marble-look tub surround with warm grout
A honed marble-look tub surround calms a small bathroom because matte stone hides fingerprints and water spots better than glossy tile. Go for a warm white base with soft gray veining that stays subtle, not high-contrast. Use warm white grout so the grout lines blend into the stone instead of drawing attention to every seam. Add a slim recessed niche on the same plane as the surround so toiletries disappear into the wall. This works best when your tub is the main focal point and you want the wet zone to feel spa-like without adding visual clutter.
Start by selecting a marble-look porcelain with a consistent veining direction and a honed or matte surface. Dry-fit a layout so your niche sits at about 48 inches from the floor to the niche center, then keep it level with the tub deck line. Install the tile with a grout color that matches the tile’s lightest tone; warm white grout keeps the wall visually smooth. Finish by sealing the grout if the product requires it, then add a shower caddy only if you still need temporary storage before the niche is stocked.
Choose a niche depth you can reach comfortably from the tub edge shallow niches look cleaner and cost less to finish.
Avoid bright white grout against a warm stone-look tile; the contrast makes the room feel busy.
2. Frameless mirror with concealed medicine cabinet
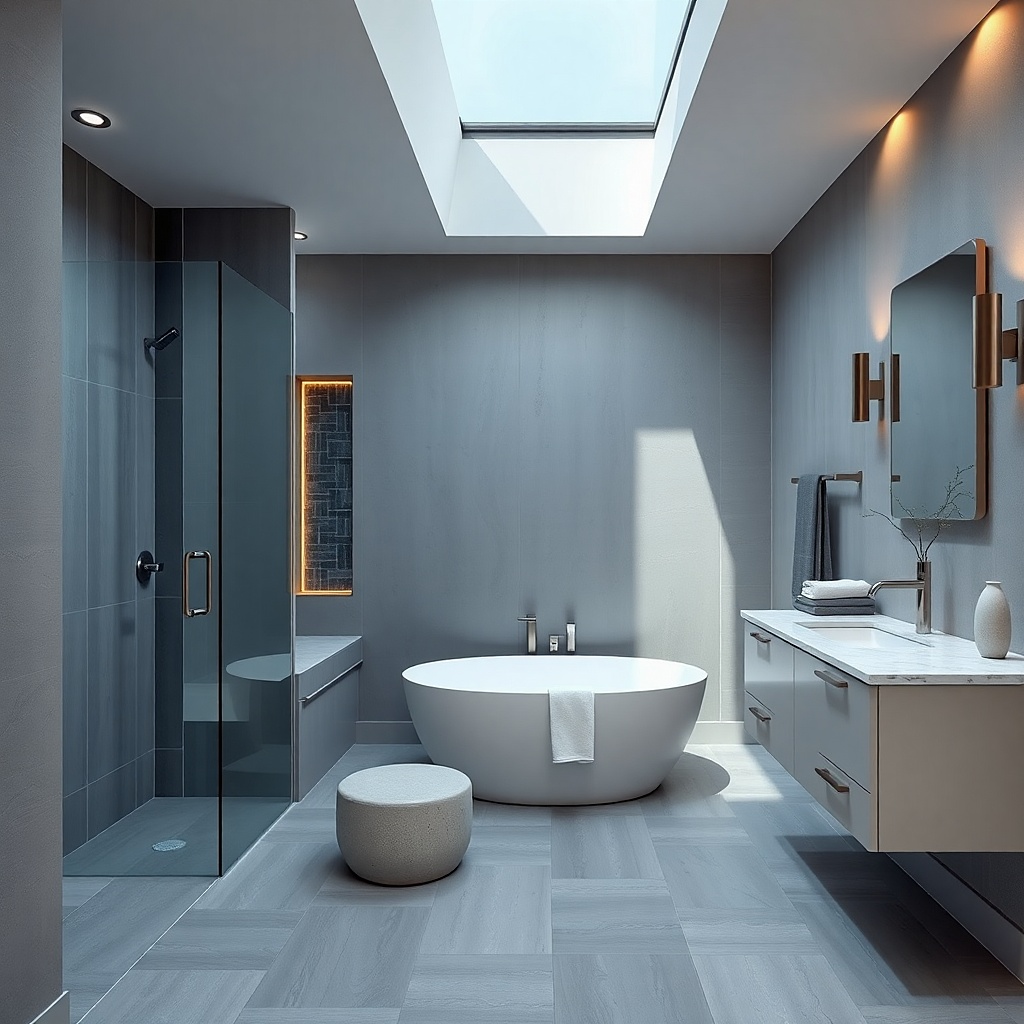
A frameless mirror with a concealed medicine cabinet is the fastest way to remove countertop clutter while keeping the bathroom bright. In small spaces, every visible bottle on a 24- to 30-inch counter reads like visual “noise” even when the bathroom is clean. This setup lets you keep the sink area clear and still store daily items within arm’s reach. Use a mirror that spans most of the vanity width so the room looks bigger and calmer. Pair it with warm dimmable lighting so the mirror doesn’t cast harsh shadows on the counter.
Try thisKeep the cabinet lighting warm (around 2700K) so skin tones look natural and the space feels more spa-like.
Measure your vanity width and aim for a mirror panel that covers at least 80% of it, usually 28-36 inches on common small vanities. Choose a recessed medicine cabinet that can sit behind the mirror line without forcing you to lower the mirror too far. Install the cabinet first, then mount the mirror frame-free or with minimal trim so the seam stays tight. Finally, plan one shelf for daily essentials and one for backup items so you don’t overload the cabinet.
Common mistakeAvoid a mirror that’s too small for the vanity; you’ll regain counter clutter because there’s no visual “buffer.”
3. Wall-hung vanity with flat-front drawers
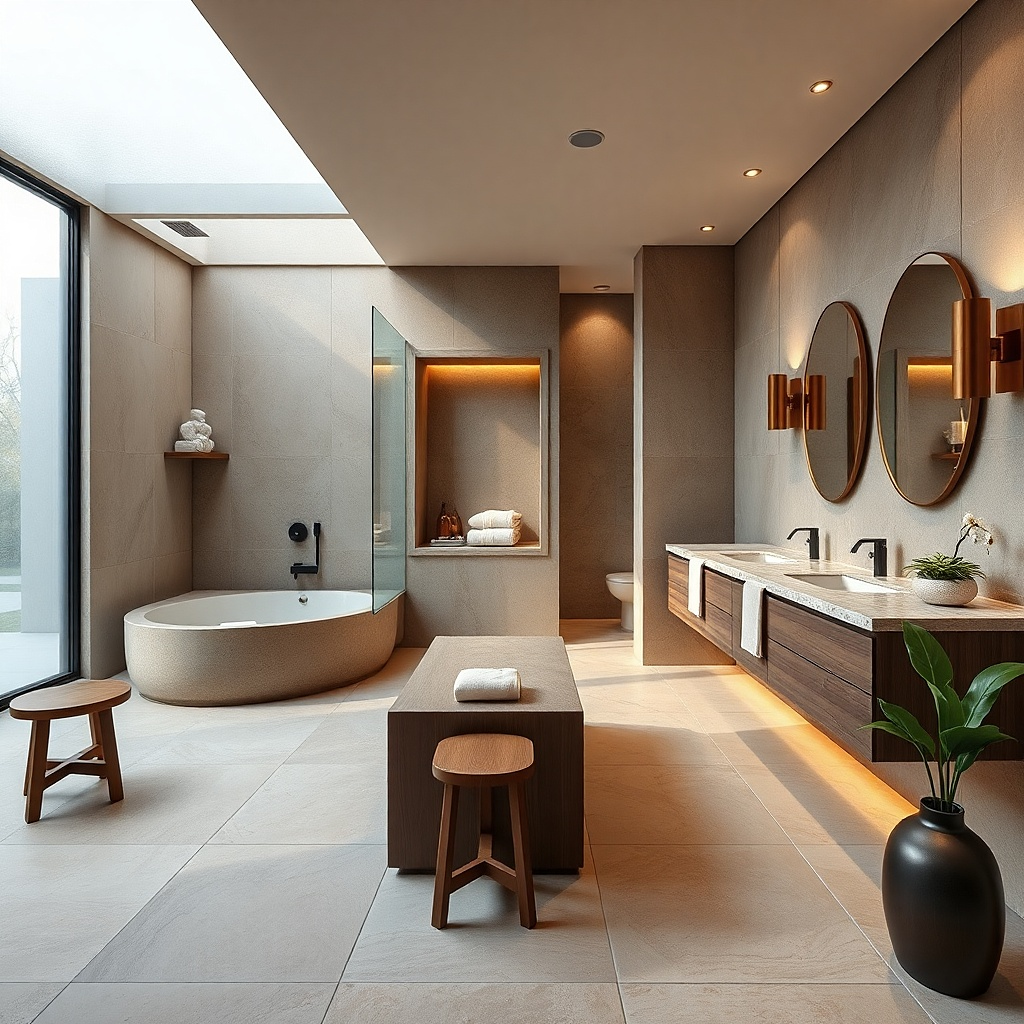
A wall-hung vanity makes a small bathroom feel calmer because it reveals floor space and reduces the visual mass around the sink. Choose a flat-front door and drawer style with integrated pulls or a simple push-to-open mechanism so there are fewer “hardware distractions.” Keep the countertop minimal and use a single undermount sink so you don’t create extra ledges that collect clutter. This is a strong choice when your goal is “less stuff on display” because drawers and cabinet faces stay quiet. Pair it with a slim backsplash or a small wall panel that matches the shower tile tone for continuity.
Pick a vanity depth around 18 inches or less for tight layouts so the door swing and circulation stay comfortable. Mark a level line and install the mounting rail or bracket system first, then hang the vanity box and confirm it’s plumb. Use a countertop with a clean edge and undermount sink to minimize ledges. After plumbing hookup, install drawer dividers before you move items in so the storage stays organized from day one.
Use matching drawer organizers for hair tools and meds so drawers stay openable without turning into a mess.
Avoid freestanding legs or chunky toe-kick details; they visually “weigh down” a small room.
4. One-tone shower wall with linear drain
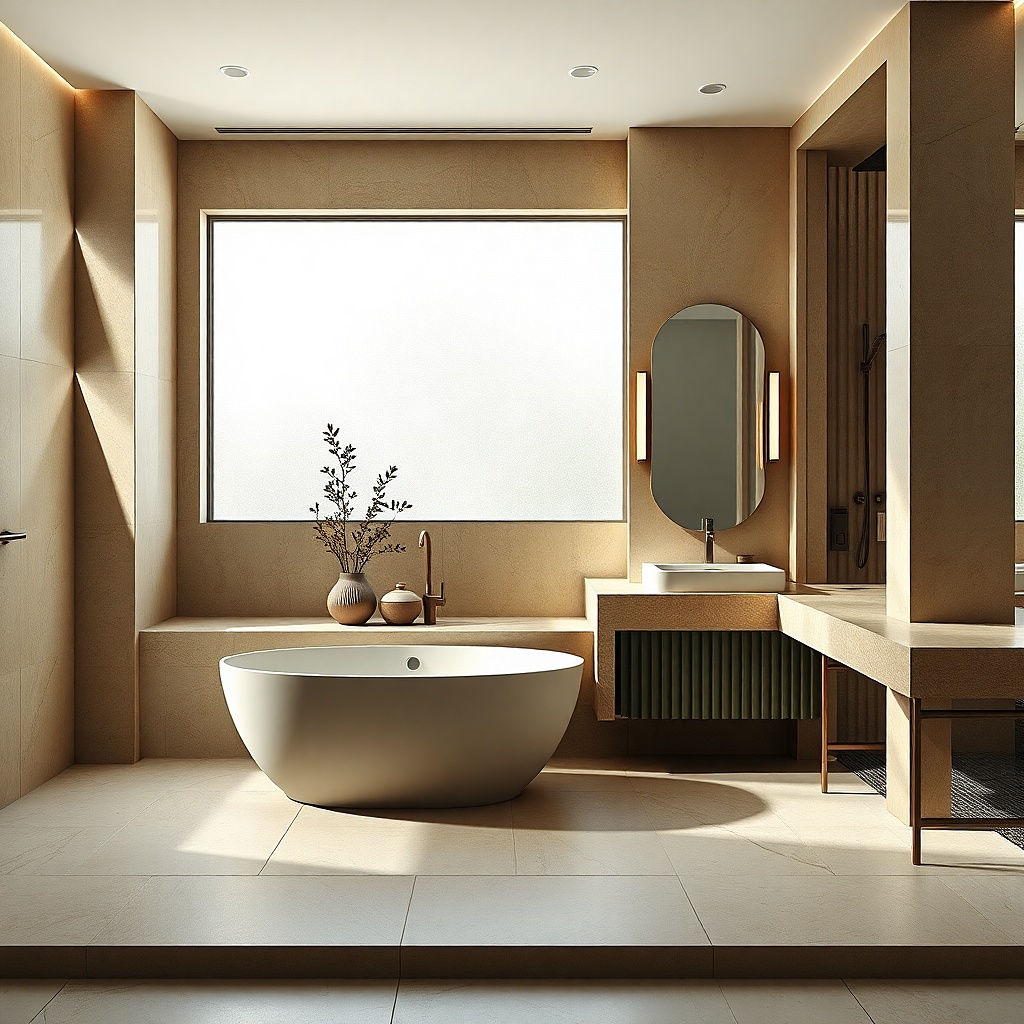
A one-tone shower wall makes the wet zone look intentional and calm because your eye doesn’t bounce between contrasting tile colors or busy patterns. Choose a large-format matte porcelain in one color family and set it with consistent grout joints. Add a linear drain in a matching metal finish so the floor transition looks clean. This design is photogenic because the shower reads like a single surface plane. It also helps with the “less clutter” goal because you can rely on a single niche and skip the cluttered caddy on the ledge.
Try thisUse a niche located where you naturally reach while standing roughly chest height so you don’t keep bottles on the rim “just in case.”
Select a large-format tile (commonly 24x48 inches) that matches your shower dimensions so you don’t create narrow, awkward cuts at the edges. Install the shower pan and slope first, then set the linear drain and confirm the drain alignment before tile goes up. Tile the walls in a one-tone layout and keep grout joints consistent, then add a recessed niche on the same wall plane. Finish with a clear glass door or low-profile panel if your layout allows so the shower line stays open and airy.
Common mistakeAvoid mixing subway tile patterns with large-format slabs; the mismatch creates visual seams that feel busy.
5. Recessed shower niche with matching tile backer
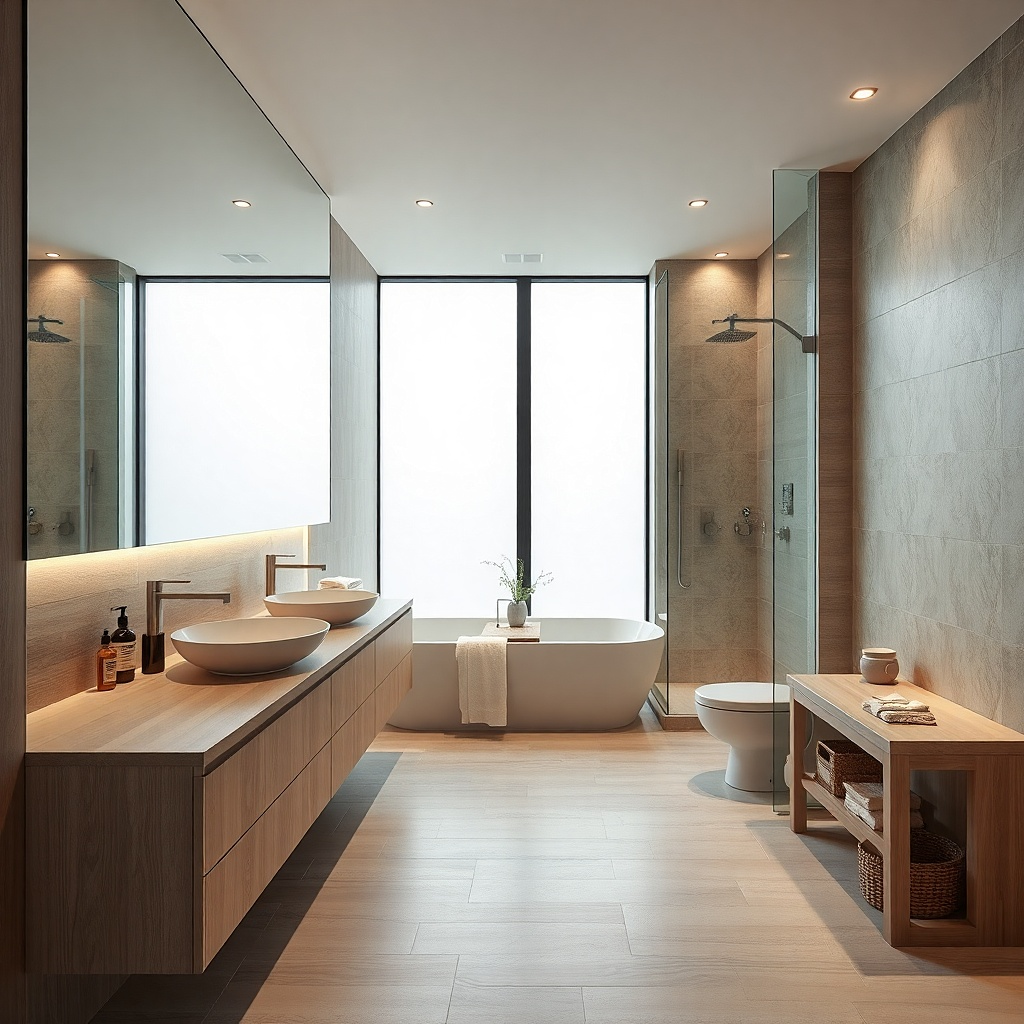
A recessed niche is the cleanest way to store shampoo and soap in a shower without turning the wall into a shelf. The spa look comes from finishing the niche with the same tile and finish as the surrounding wall, so it doesn’t look like an afterthought. Keep the niche simple — no decorative trim that breaks the calm line. If your bathroom is small, this matters more because anything stored on the shower ledge becomes visible clutter every time you open the door. Place it where the bottles sit upright and don’t crowd the glass door swing.
Try thisUse matte, refillable soap bottles in the same color family; matching bottles make the niche look designed even when stocked.
Choose a niche size that balances capacity and visual calm, such as 12x12 inches or 12x16 inches depending on your stud spacing. Plan the niche height so the center sits around 48 inches from the floor for most adults. Build the waterproof niche backing and membrane before tile, then tile the niche interior and edges with the same tile and grout as the wall. After sealing, use a simple set of matching bottles or refillable dispensers so the niche stays visually uniform.
Common mistakeAvoid niche shelves with multiple ledges; they create stacking chaos and show every label.
6. Matte black hardware with softened edges
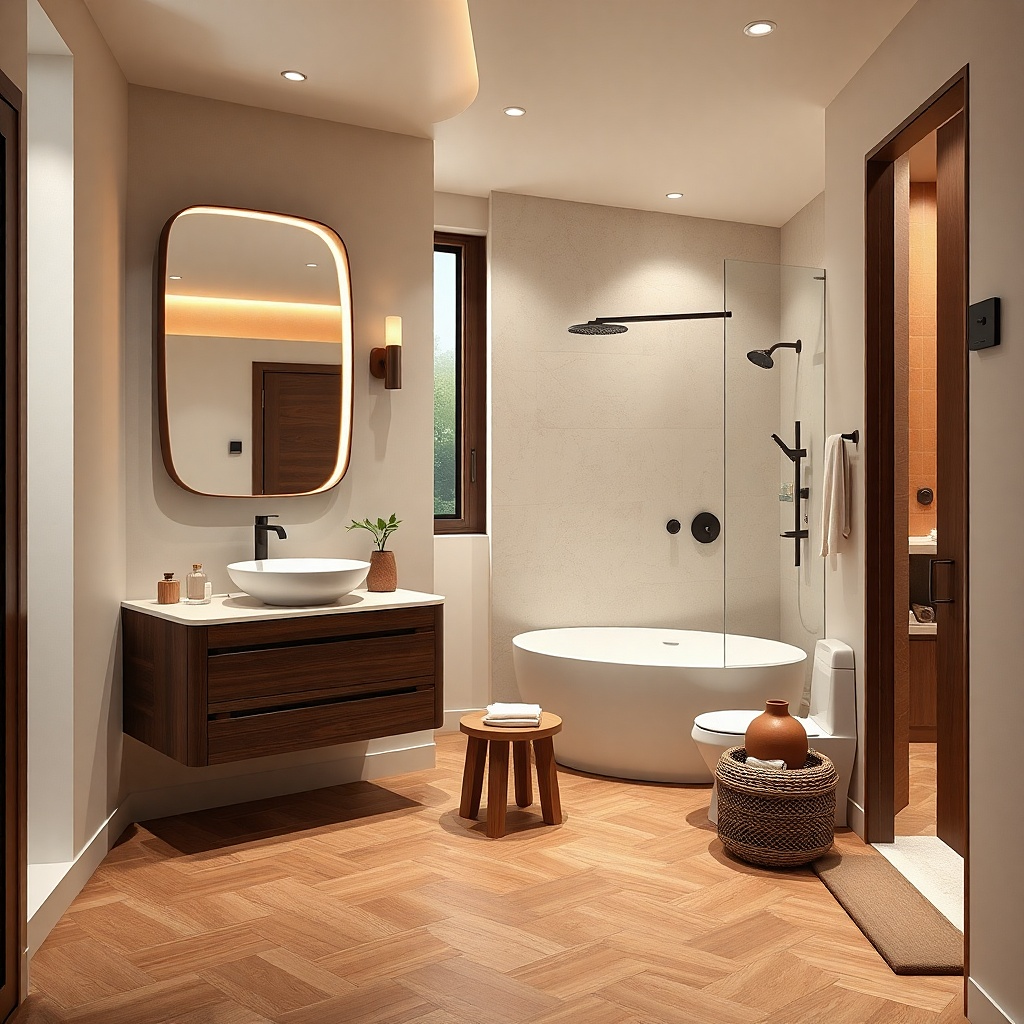
Matte black looks high-end in small bathrooms because it frames the fixtures without adding bright reflections that make messes look louder. The key is softened edges and consistent finish: choose a matching faucet, shower trim, and towel bar all in matte black. Avoid chrome undertones or mismatched sheens, because different metal reflections read like clutter. This works best when paired with light tile and warm lighting, so the black becomes a clean outline instead of a heavy block. It’s especially effective for a Zen spa vibe because the contrast feels controlled, not stark.
Pick one fixture set with matching finishes across the faucet and shower trim, then keep towel bars and hooks in the same finish. Install the faucet and trim first and confirm handles clear the mirror line and shower door. Choose a matte black towel bar mounted at about 48-52 inches from the floor for easy towel grabs. Finally, keep the counter styling minimal so the darker hardware doesn’t compete with too many small objects.
Use a matte black shower curtain ring only if you need one; otherwise go with a door to keep lines clean.
Avoid mixing matte black with glossy black accents; the shine difference looks accidental.
7. Haze-soft wall paint in a warm greige
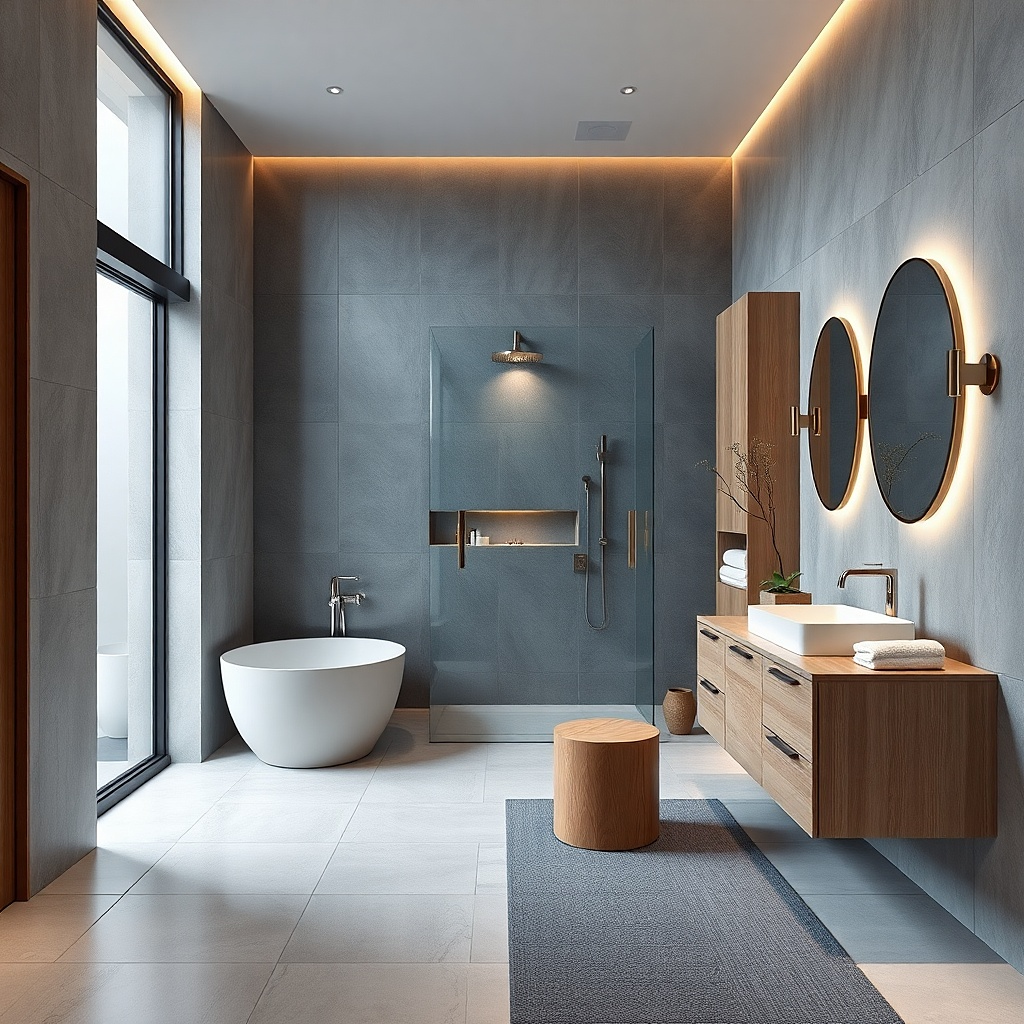
Paint can either calm or clutter a small bathroom. A warm greige with a soft, low-sheen finish makes the room feel spa-like because it doesn’t glare and it blends with stone-look tile tones. Go with an eggshell or satin finish on walls so it resists moisture while still looking quiet. This is a smart move when your tile is already busy or when you have an older layout and want a high-end refresh without ripping everything out. Keep trim simple and close in color to the walls so the room feels cohesive.
Patch and sand the walls, then apply a moisture-resistant primer if you have any stains or old glossy paint. Choose a warm greige with a slight beige undertone and test a small patch near the vanity where lighting hits it. Paint in two coats with a smooth roller for fewer texture bumps. Finish by painting the trim in a slightly lighter shade than the walls so the edges look clean without creating a hard contrast line.
If you have a window, check the paint sample at night under the bathroom bulbs; warmer bulbs can shift greige toward beige.
Avoid flat paint in high-humidity bathrooms; it scuffs and looks dull fast.
8. Continuous tile backsplash from vanity to side wall
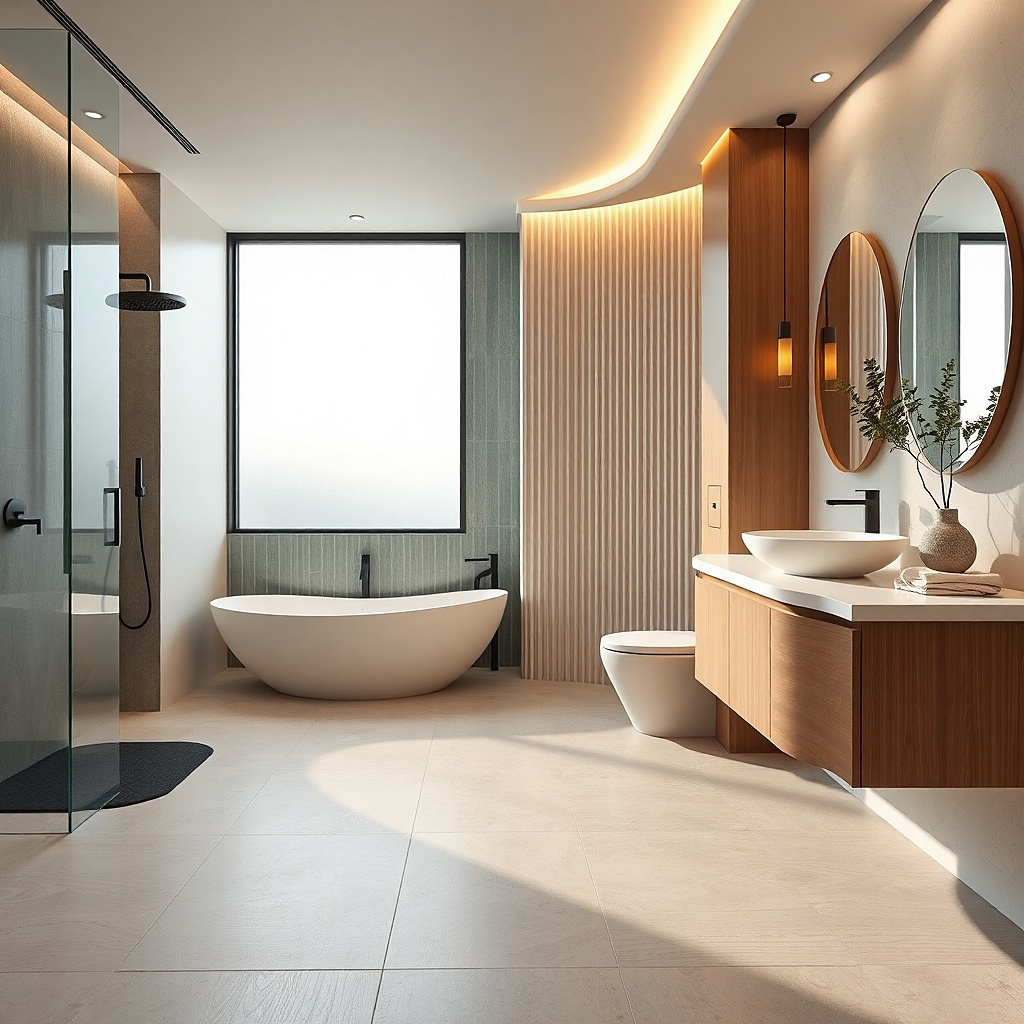
A continuous tile backsplash removes the “cut and stop” look that makes small bathrooms feel unfinished. When your backsplash runs from the vanity to the side wall, the whole wall reads like one dressed surface, which hides the visual clutter that normally gathers behind sinks. Use the same tile tone as the shower niche or shower wall so the bathroom feels designed as one story. Matte stone-look porcelain works well because it doesn’t create glare from the vanity light. This is a strong move when counters are narrow and you need visual structure around the sink.
Measure the vanity width and plan a backsplash that extends at least 6-12 inches past the vanity sides. Dry-fit a tile layout so you land full tiles at the most visible edges, then mark your starting height based on the countertop height. Install tile with a thinset rated for wet areas and use spacers that keep grout joints consistent. Seal grout if needed and keep the grout color warm so it blends with the stone-look finish.
Mount a single towel ring or hook on the side wall within the tiled zone so you don’t punch holes in visual calm with extra hardware.
9. Compact steam-style shower head and wall slider
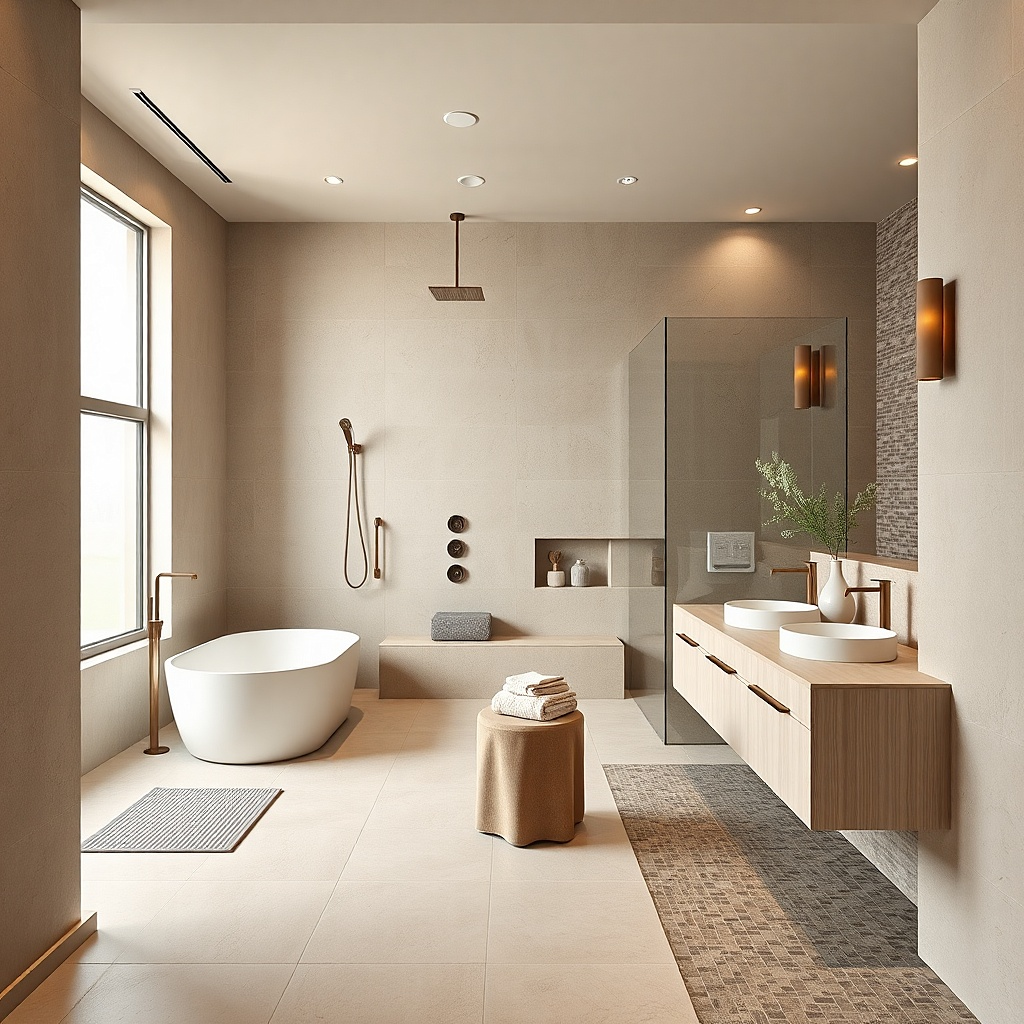
The “Zen spa” look isn’t only tile. A compact shower head with a clean profile makes the shower feel designed and less like a collection of parts. Pair it with a slim wall slider so you can adjust height without bulky accessories. Choose a finish that matches your faucet and trim, and keep the hose hidden behind the wall-mounted slider when possible. This reduces the visual clutter of hanging hoses and mismatched attachments. In a small bathroom, that matters because every line is visible from the doorway.
Try thisUse a wall-mounted soap dispenser instead of a loose shower caddy to keep the shower wall visually quiet.
Choose a shower head around 6-8 inches wide and confirm your existing plumbing standard matches the shower valve. Install the wall slider first if you’re replacing a rough-in or trim, then mount the shower head so it aligns with the center of your shower spray. Use a hose length that doesn’t droop; most small bathrooms look better with a shorter hose. After installation, test the water pressure and adjust the slider height so the spray hits the area you use most.
10. Tub deck niche soap ledge with slim panel
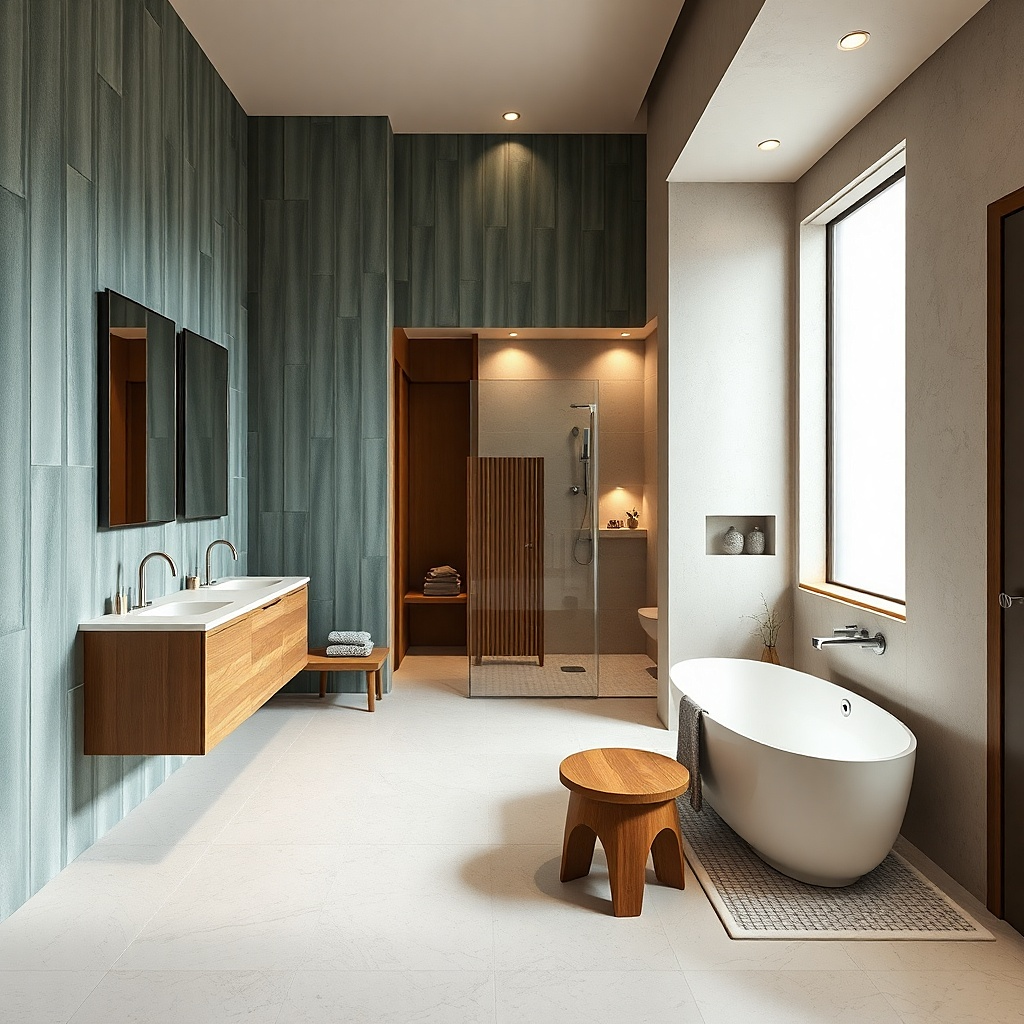
A tub deck ledge can become clutter fast, but a built-in slim panel solves that by controlling where items sit and how they look. The trick is to integrate it into the wall plane and keep the surface finish consistent with the surrounding tile. Use it for one or two items only — think bar soap dish and a single pump bottle — so the ledge stays calm. This idea works when you don’t have room for a full shower niche or when your tub is the main bathing spot. Keep the ledge depth shallow so bottles don’t protrude into the visual line.
Decide your ledge depth first, aiming for about 2-3 inches so it looks slim and doesn’t create a “shelf” vibe. Build the ledge into the wall framing during the remodel so waterproofing and tile backer stay continuous. Tile the ledge surface with the same tile as the tub surround, then slope or detail the edge so water doesn’t pool. After finishing, style with two items that match in color and shape so the ledge looks intentional.
Use refillable dispensers with labels you can swap; plain labels keep the ledge looking clean between uses.
11. Soft-glow vanity lighting with two sconces
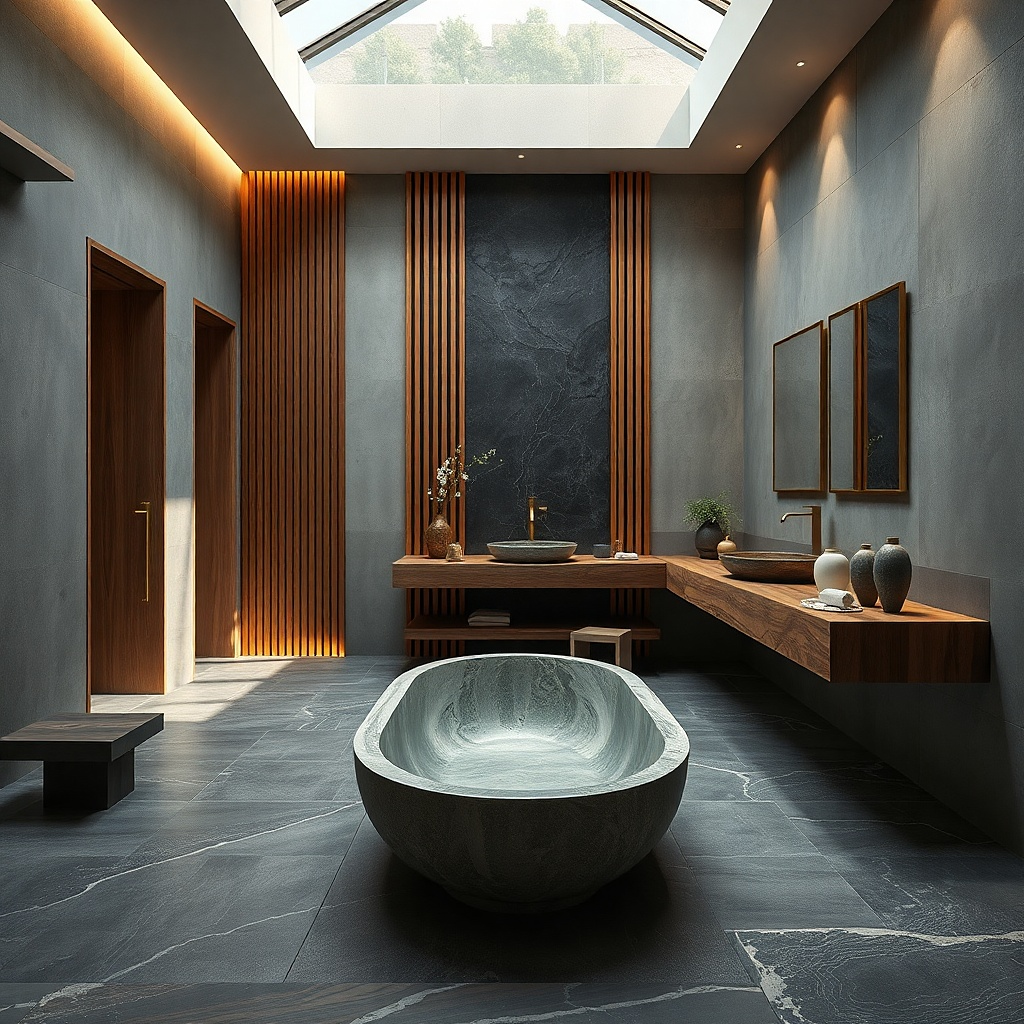
Lighting is the difference between “bathroom” and spa. Two sconces flanking a mirror give even illumination and reduce harsh shadows that make clutter look worse. Choose warm bulbs around 2700K and use diffusers or frosted glass so the light spreads instead of beaming. In a small bathroom, shadow control matters because you’re close to the mirror and every reflection shows. This design also makes the mirror look more expensive and the whole space more calm, even if your tile is simple.
Try thisAvoid overhead-only lighting; it creates under-eye shadows and makes the counter look messier.
Pick sconces that mount at about eye level, usually 60-66 inches from the floor to the bulb center, then adjust based on your mirror height. Place them symmetrically so the light hits the face area without washing out the countertop. Use dimmable switches and select bulbs with a CRI of 90 or higher for natural skin tones. Install the wiring and mount hardware before final mirror installation so the alignment stays crisp.
12. Matte wall-hung toilet with concealed tank panel
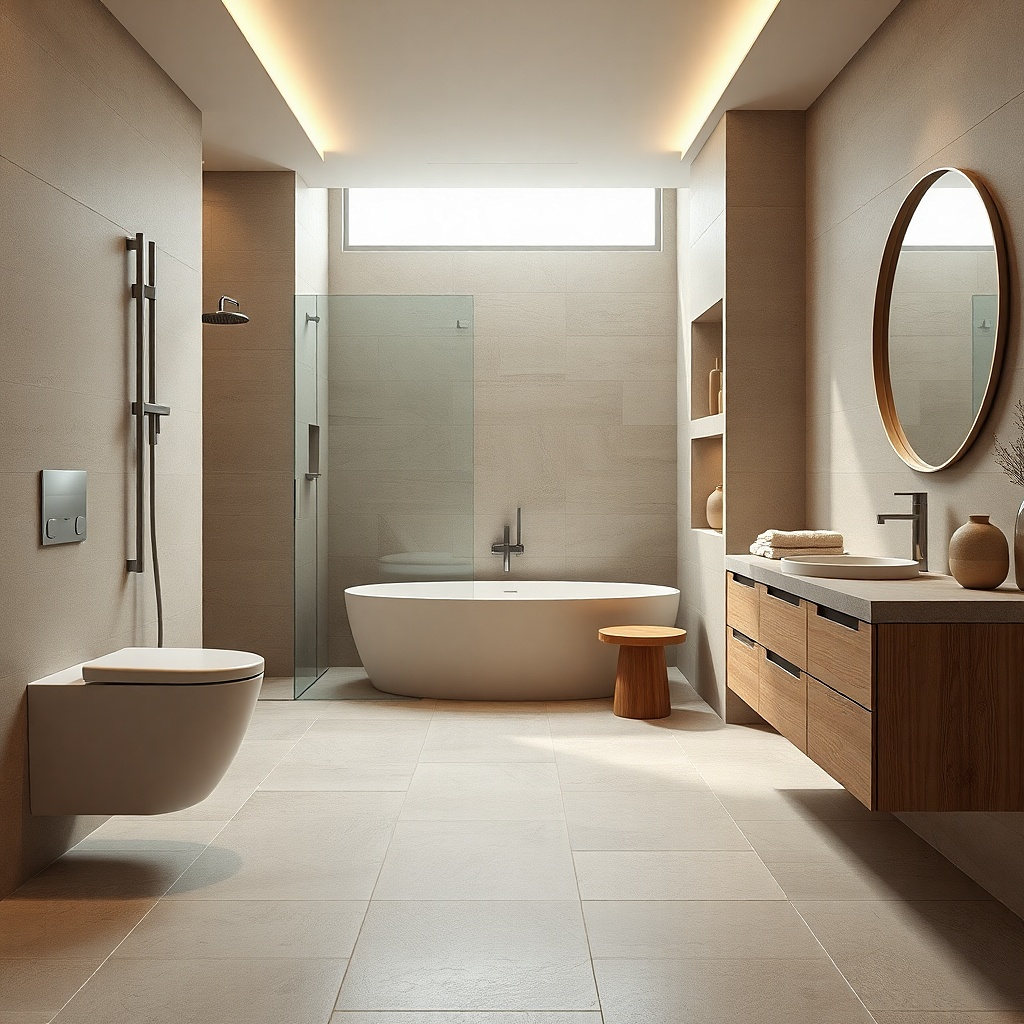
A wall-hung toilet with a concealed tank panel cleans up the visual line in a small bathroom. The matte finish hides fingerprints and wipes down without the shiny glare that makes every smudge more noticeable. This is a strong choice when you want the bathroom to feel calm from the doorway; the area behind the toilet stays visually simple instead of showing a tank and hardware. Pair it with a minimal hand sprayer or no extra accessories on the floor so the wall reads clean. It also gives you better floor access for cleaning, which keeps the room looking better longer.
Confirm your rough-in wall depth and choose an installation kit that matches your stud space. Install the carrier frame first, keeping the toilet height around 15-17 inches from the floor to the seat. Choose a wall-hung toilet with a dual-flush button that sits neatly in the tank panel. Finish by tiling or paneling the tank area in a tone that matches the rest of the bathroom so it doesn’t look like a separate patch.
Keep accessories off the floor and behind the toilet; even a small caddy breaks the calm line.
13. Built-in linen tower with flush doors
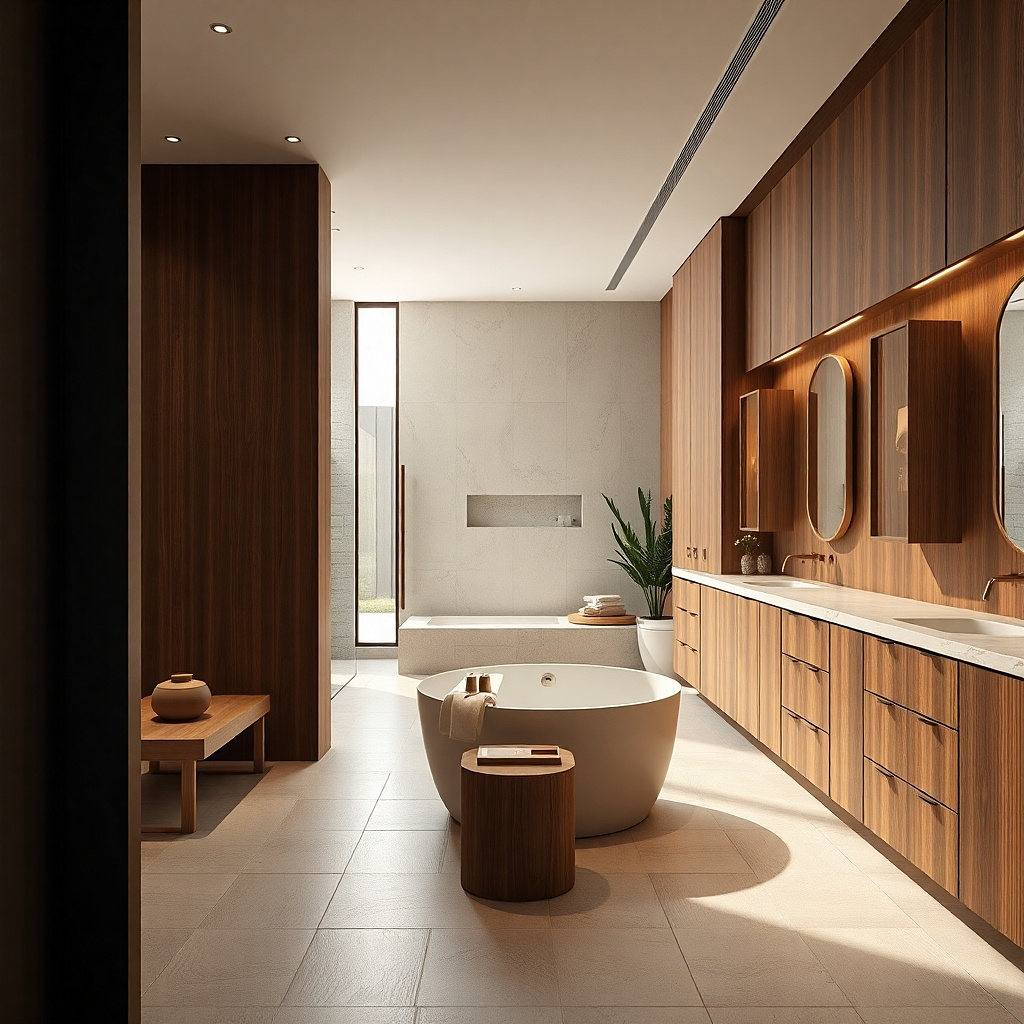
For less clutter, you need storage that disappears. A built-in linen tower with flush doors uses vertical space without adding visible shelving that invites clutter. In a small bathroom, a narrow 12-18 inch tower can hold extra towels, backup toiletries, and spare rolls while keeping everything behind a flat face. Choose a finish that matches your vanity or the bathroom trim so the tower feels like architecture, not furniture. This idea is especially helpful if your counter and shower niche are already doing their job and you still need more storage.
Try thisPut the “daily use” items in the medicine cabinet and keep the linen tower stocked with backups only so it stays visually calm.
Measure the available wall width and aim for a cabinet depth around 12-14 inches for linen storage that doesn’t eat the walking path. Build or frame the unit so the doors are flush and aligned with the surrounding wall plane. Add adjustable shelves so you can store towels upright and swap shelf heights for taller items. Install soft-close hinges and use a toe-kick or base panel so it looks integrated with the floor and tile line.
Common mistakeAvoid open shelves for towels in a small bathroom; they look neat for a day and clutter by week two.
14. Color-matched refillable dispensers for niche and sink
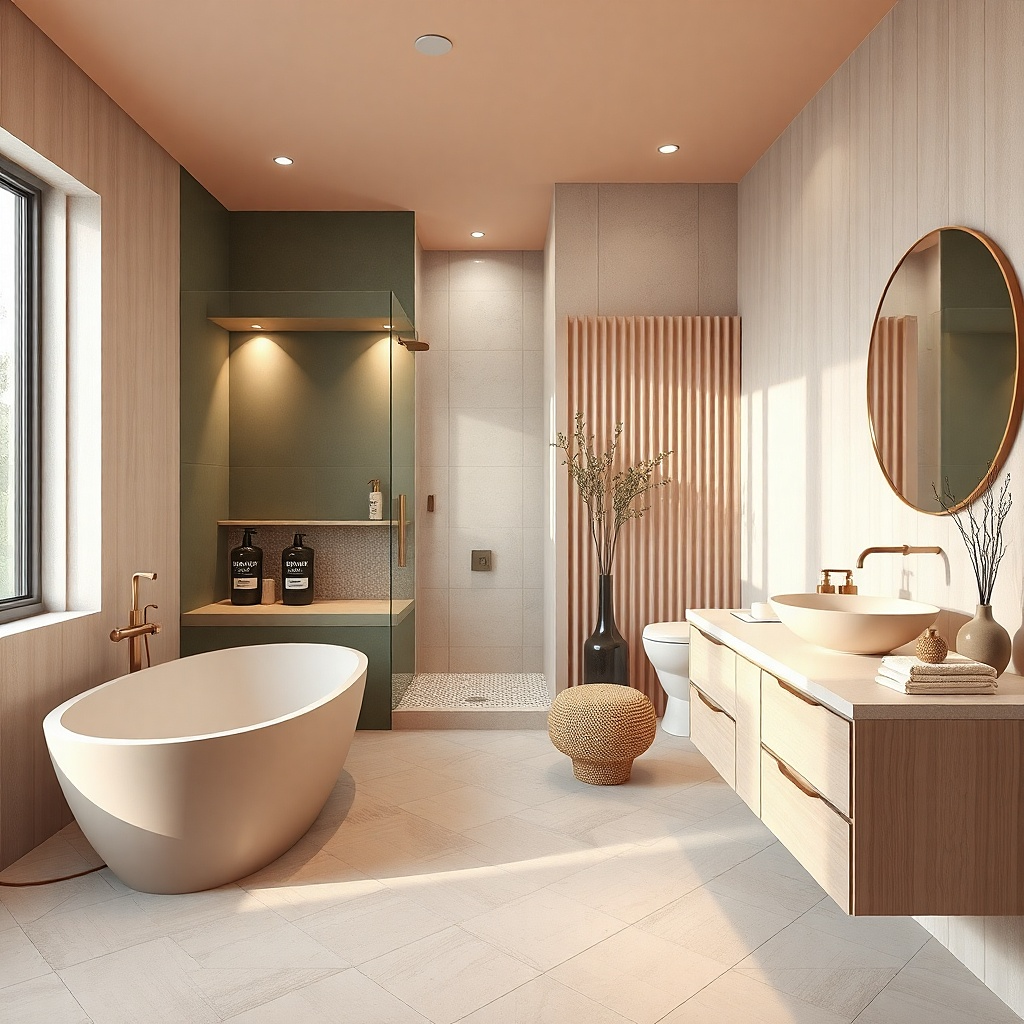
This is the finishing move that makes the whole remodel look high-end. Even the best tile work looks cluttered when the bottles don’t match in color, height, and label style. Use refillable dispensers in the same finish family — matte white, warm gray, or clear with a matching pump — so the niche and sink area look curated. Keep the number of bottles limited: one for shampoo/conditioner style, one for body wash, and one for hand soap at the sink. The spa effect comes from visual uniformity, not from hiding everything completely.
Try thisChoose pumps with the same shade of plastic or metal finish; small differences show up in photos.
Pick one color family and stick to it across the bathroom, then measure the niche width and height so the bottles don’t crowd the recess. Fill with products you actually use so you’re not constantly swapping bottles and labels. Use a pump design that matches your shower flow and won’t leak when left in the niche. At the sink, keep the hand soap container within the same visual height as your toothbrush holder so the counter reads tidy.
15. Sliding glass shower door with slim metal track
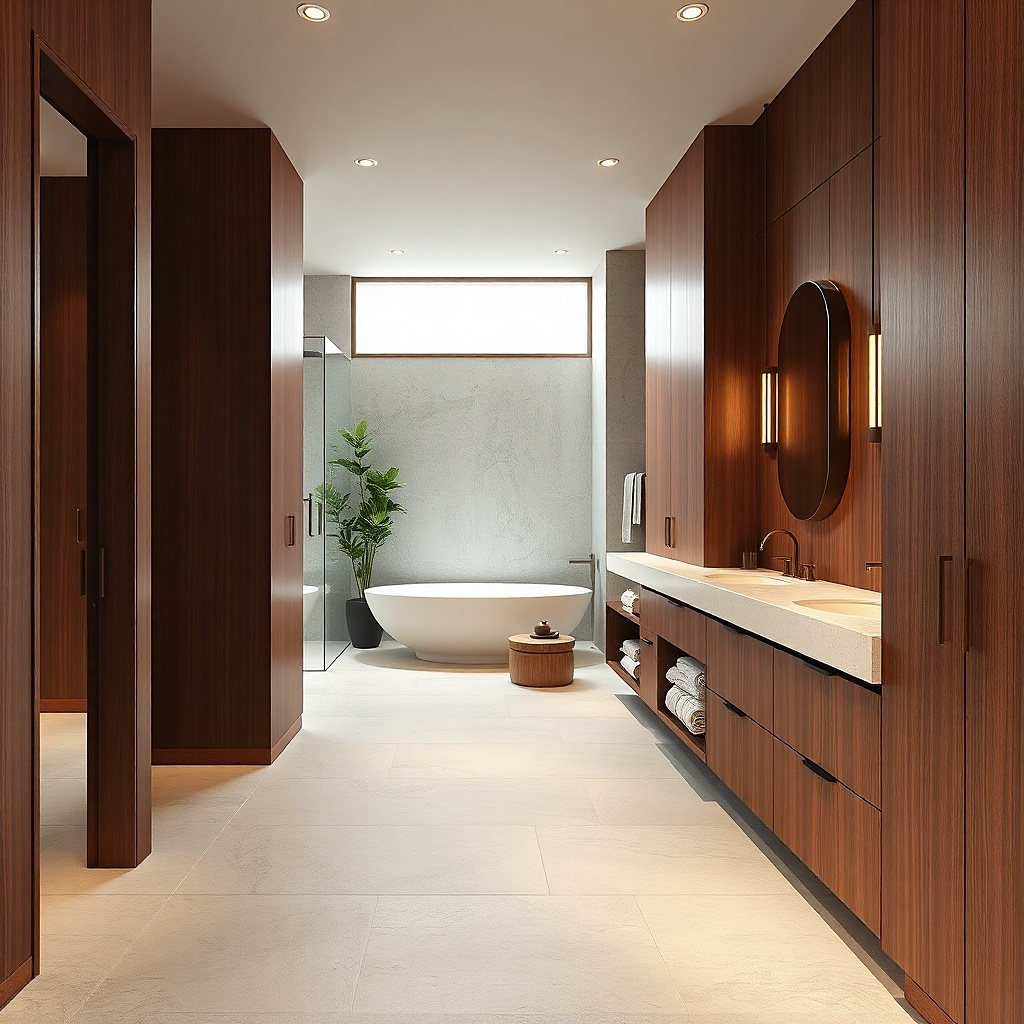
A sliding glass shower door keeps the bathroom feeling open, which makes a small space feel less cramped. Clear glass preserves sight lines, and a slim metal track keeps the visual structure minimal. This is a good fit when you can’t swing a hinged door without eating into walkway space. Pair it with a consistent trim finish so the door doesn’t introduce a second metal tone. For Zen spa styling, the goal is to make the shower look like part of the wall plane rather than a separate box.
Measure the shower opening width and choose a door panel size that covers the full opening without leaving gaps at the sides. Install the track level and plumb — small misalignment causes sticking and looks messy even if the bathroom is new. Use clear or lightly tinted glass depending on your preference for hiding water spots. After installation, clean the track and test the glide, then adjust the alignment screws if needed before you finish any trim work.
Choose a door with easy-clean track access so maintenance stays simple and the glass stays clear.
16. Low-contrast floor tile with larger grout joints
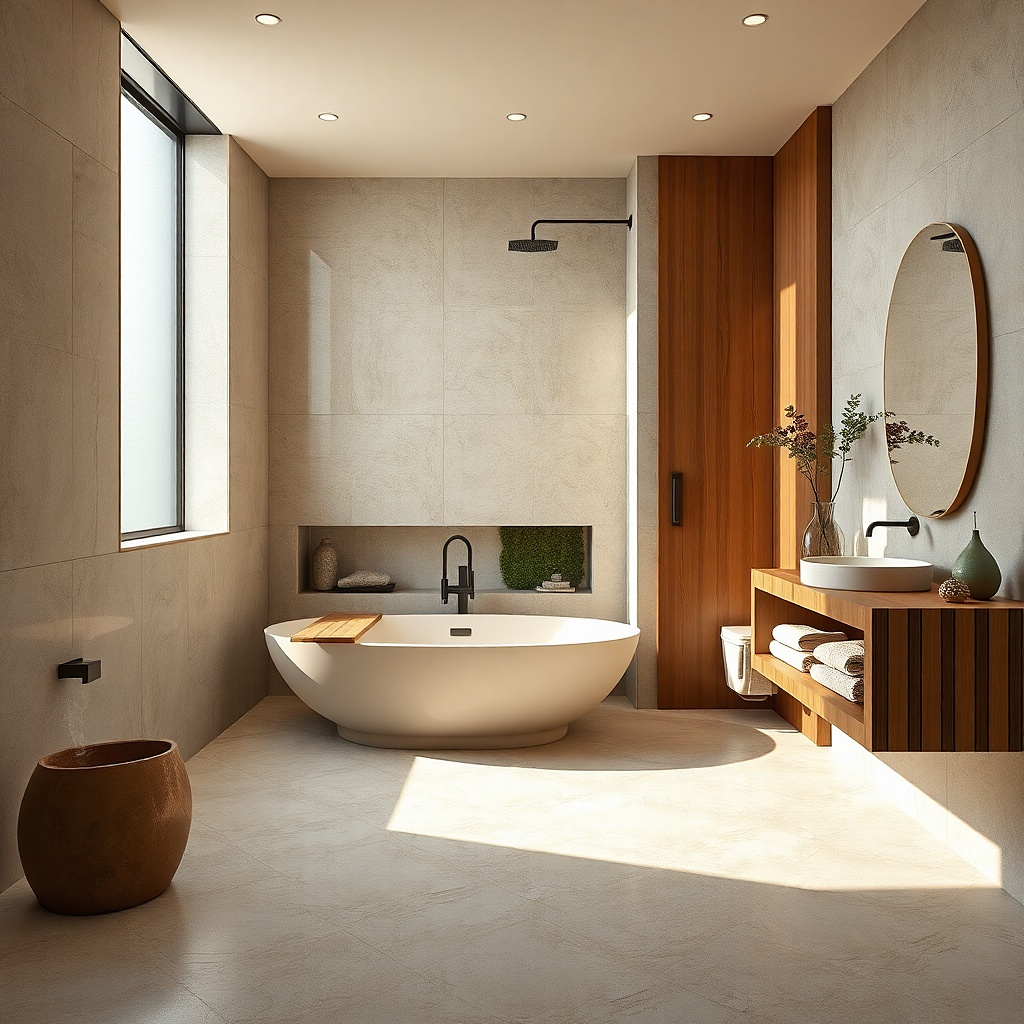
Floor tile can make a small bathroom look busy if the grout lines are high-contrast or too fine. A low-contrast floor color and a grout approach that looks smooth keeps the room visually calm. Use a larger-format floor tile with grout joints that don’t scream against the surface, and pick a grout color close to the tile tone. This helps the Zen spa goal because it reduces the “grid” effect that makes tight rooms feel smaller. It also makes the bathroom look more expensive because the surface reads continuous.
Try thisIf you have a small bathroom, avoid busy patterns like medallions; the floor should disappear into a calm base.
Choose a floor tile in a light neutral with subtle variation, then pick grout that matches the tile’s mid-tone rather than the lightest speck. Plan your layout so the main entry area has full tiles and avoids tiny slivers at the edges. Install with the right thinset and keep grout joints consistent using spacers. Seal grout if your product requires it, then use a grout cleaner once after installation to remove haze so the floor looks clean in photos.