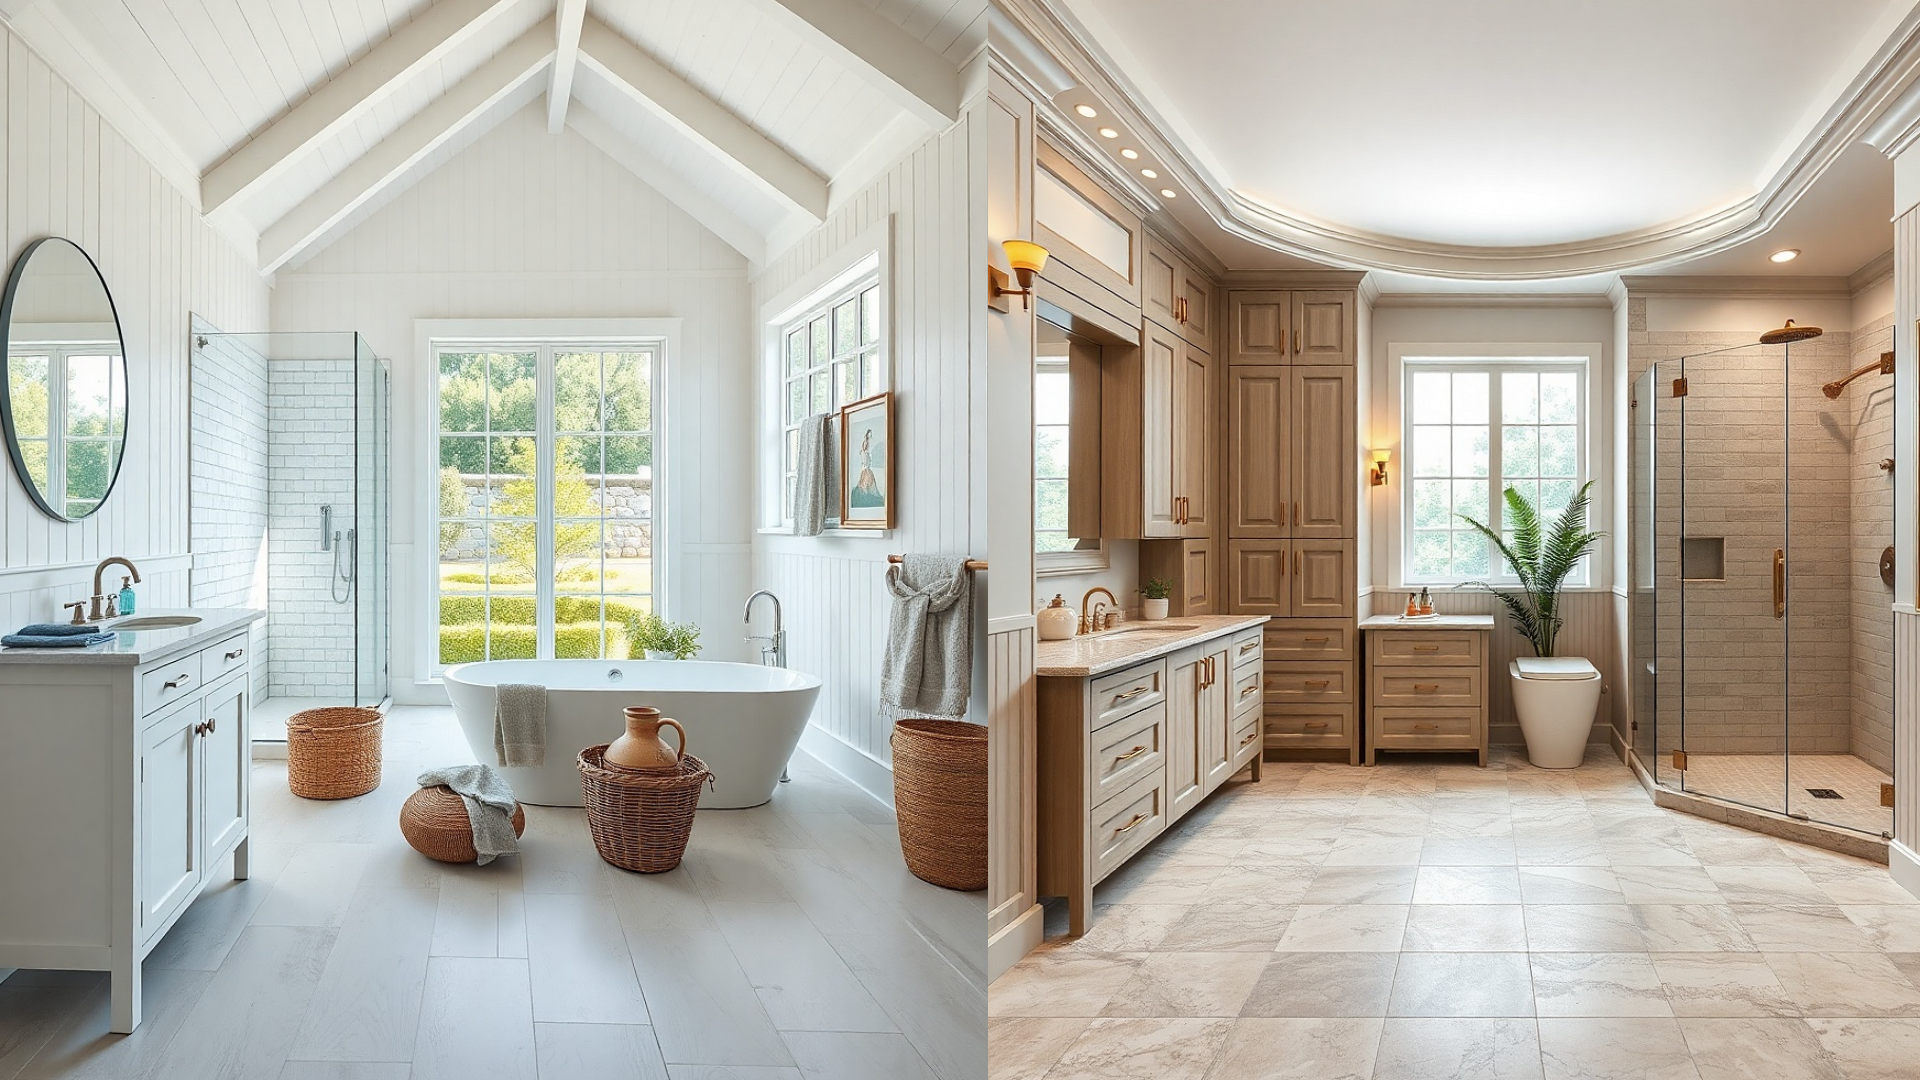
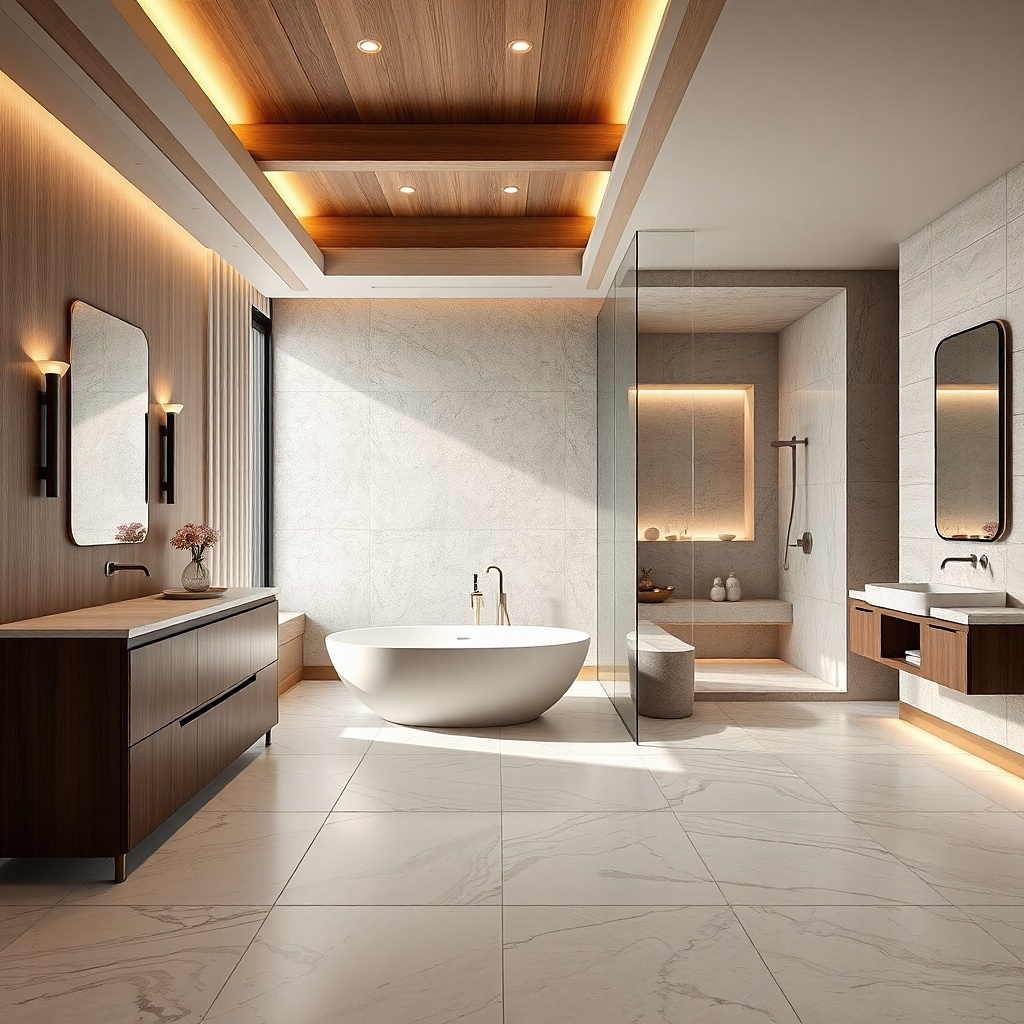
1. Stone waterfall top with a full-height back splash
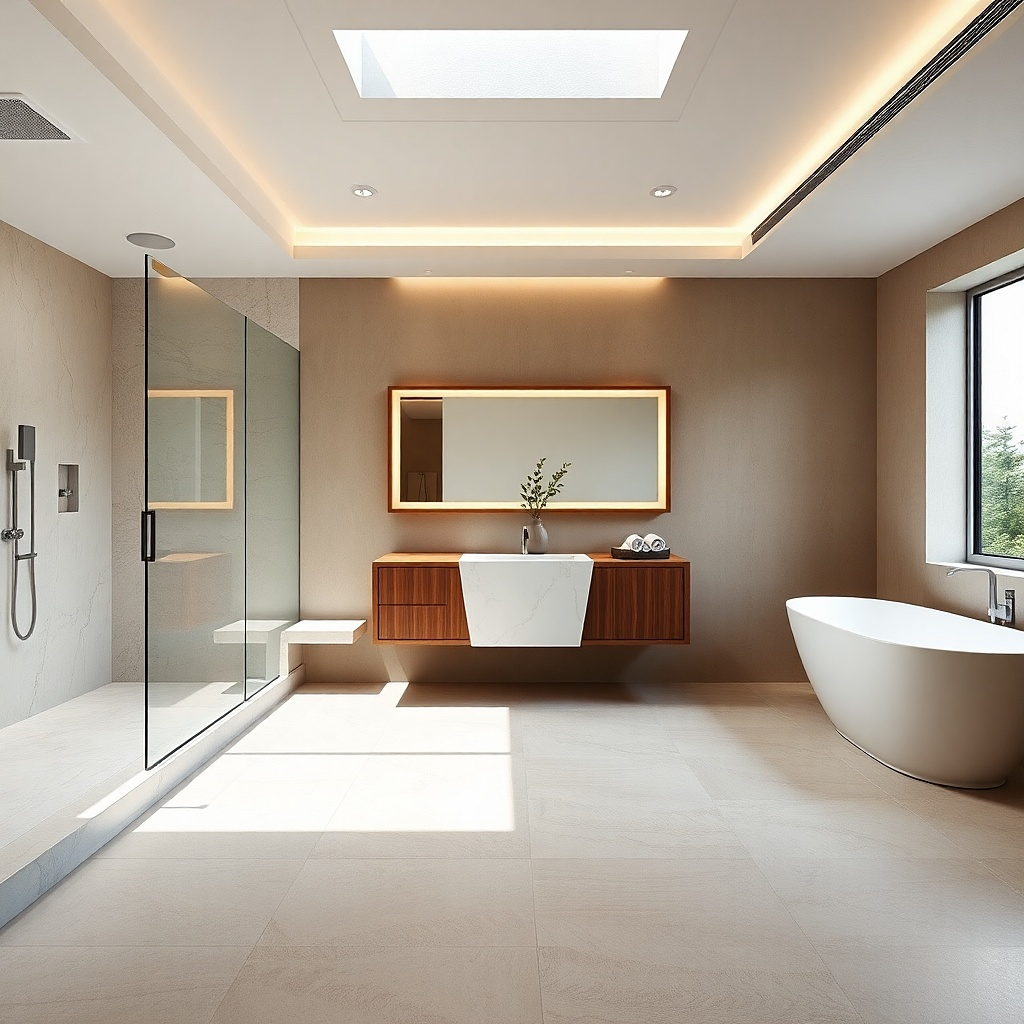
A waterfall top instantly reads luxury because it removes the visual stop line where cheaper counters end. Choose an engineered stone in bright white or soft warm white, then extend the slab down the front edges so it looks like one continuous mass. Add a full-height backsplash that reaches the mirror line or close to it; that vertical plane makes the vanity feel built-in. Keep the cabinet fronts simple — flat panel or subtle raised panel — so the stone is the star. This works especially well in bathrooms with clean tile or neutral walls, where the stone can catch light and look dimensional instead of busy.
Try thisPick a stone with a low-contrast pattern so the waterfall reads smooth from across the room.
Start by measuring your vanity width and planning the waterfall returns so the stone overhang matches the cabinet face by 1-2 inches. Order a slab thickness that looks substantial on the edge — 2 cm minimum for a convincing top, thicker if your fabricator can match your budget. Then ask your stone fabricator for a tall backsplash panel that matches the countertop finish, not a separate tile cap. Finally, install the vanity, level it carefully, and seal the stone-to-cabinet contact points so the surface feels continuous and stable.
Common mistakeDon’t pair a waterfall top with tiny, lightweight pulls — the mismatch makes the whole piece look costume.
2. Matte lacquer vanity in deep espresso with matching trim
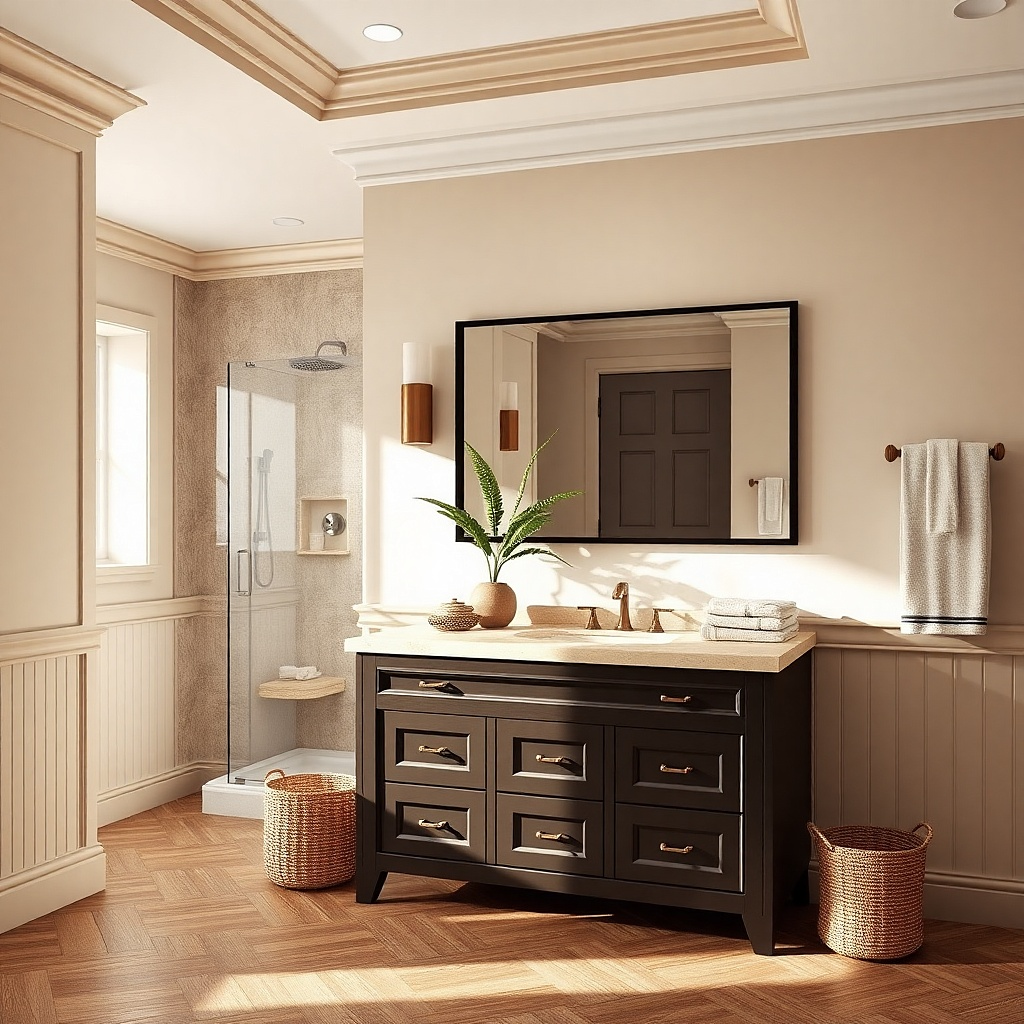
Deep espresso lacquer looks expensive because the surface absorbs light instead of reflecting it like cheap paint. Go matte, not satin, and keep the finish consistent across doors, drawers, and the interior face trim. Use a thin, clean toe-kick or a slightly extended base frame in the same color so the vanity looks like one sealed unit. Pair it with a warm stone top such as cream with subtle movement or a dark veined marble look. This idea is ideal for bathrooms with light walls, where the dark vanity creates contrast without looking harsh.
Choose a cabinet finish system that can be sprayed and cured — lacquer or high-grade painted MDF/plywood construction is the look you want. Then select hardware that matches the undertone: dark bronze or oil-rubbed bronze works best with espresso, while chrome can look cold. Order a vanity with full-extension drawers and soft-close hinges, and confirm the cabinet depth fits standard plumbing layouts. After installation, buff the finish with a microfiber cloth and wipe with a manufacturer-recommended cleaner so the matte surface stays even.
Use a light-colored wall paint in the same bathroom to prevent the vanity from visually shrinking.
Skip glossy varnish on espresso — it looks cheap fast because it shows fingerprints and uneven reflections.
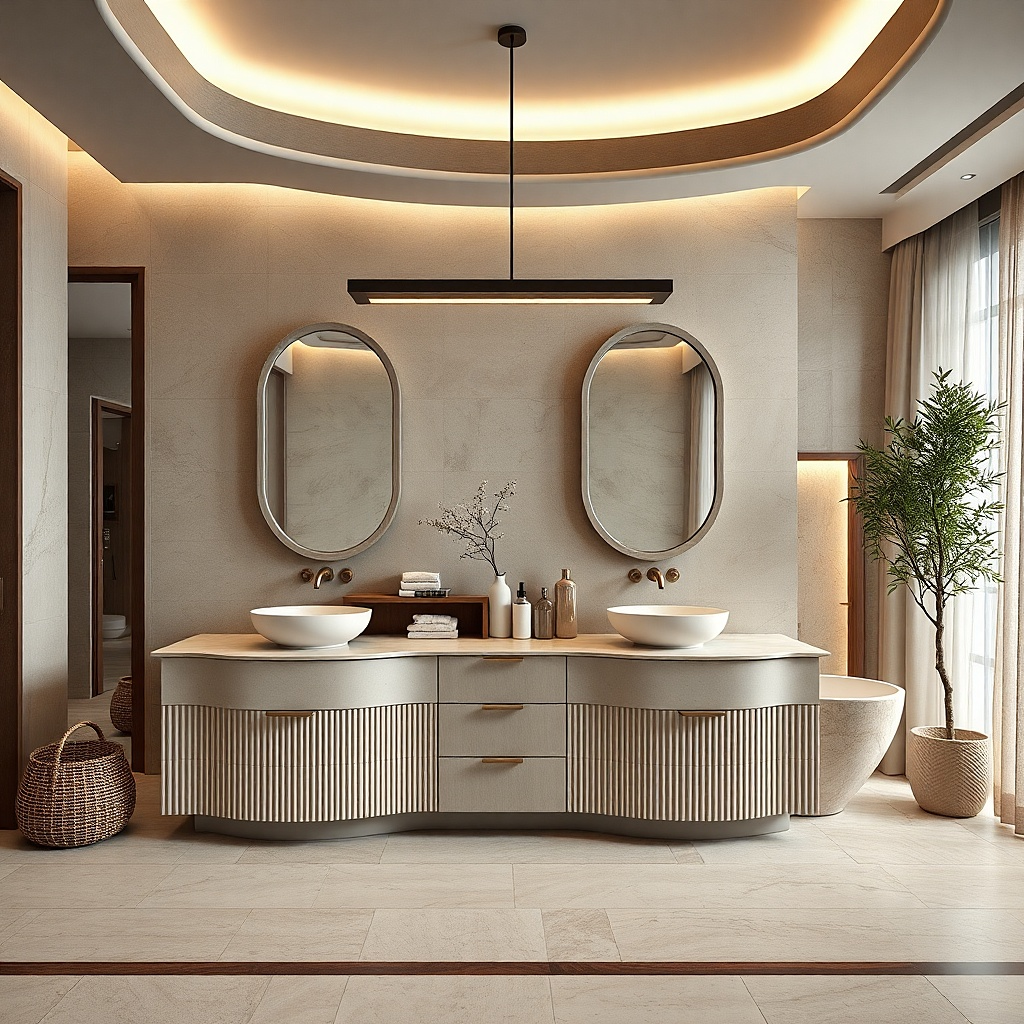
3. Double vanity with a single long slab and a centered shared backsplash
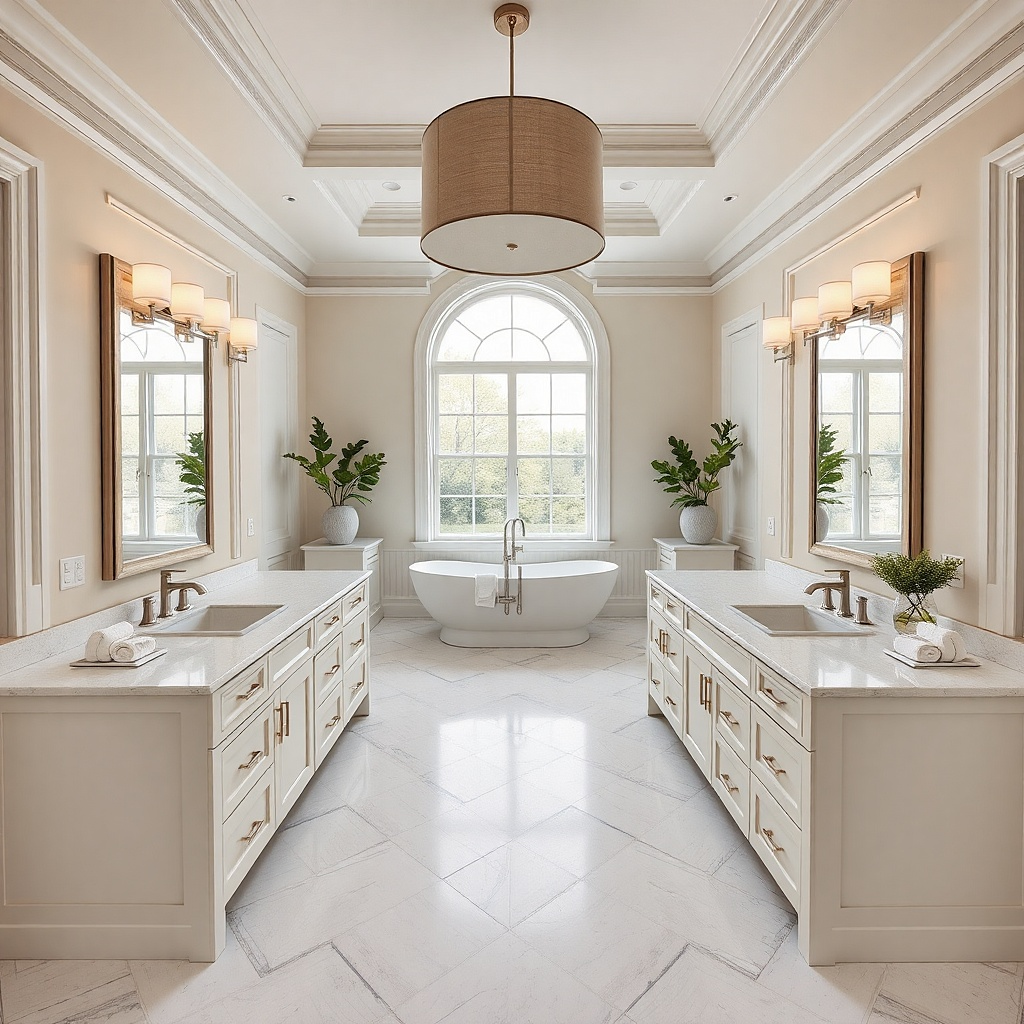
Double vanities look luxury when they feel like one built piece, not two separate units. Use one continuous long slab top across both sides, then center the backsplash feature behind the mirror. That shared stone plane makes the room look designed and expensive even if the cabinet boxes are standard sizes. Choose undermount sinks so the counter surface stays uninterrupted. For hardware, pick a single bar pull style that matches across both sides and keep the spacing even. This works best in larger bathrooms where you want symmetry and a calmer visual rhythm.
Measure the total span from left cabinet edge to right cabinet edge and order one slab cut to that full length. Plan sink centers based on your plumbing — aim for consistent spacing from the outer edges to each sink basin. Install the cabinets with a tight seam between them, then set the slab so the joint line sits under the backsplash. Finally, confirm the backsplash panel covers the entire seam area and seals cleanly behind the mirror lighting.
Keep the faucet style identical on both sinks so the symmetry reads intentional.
Don’t use two different top materials or separate backsplashes — it breaks the “one custom piece” illusion.
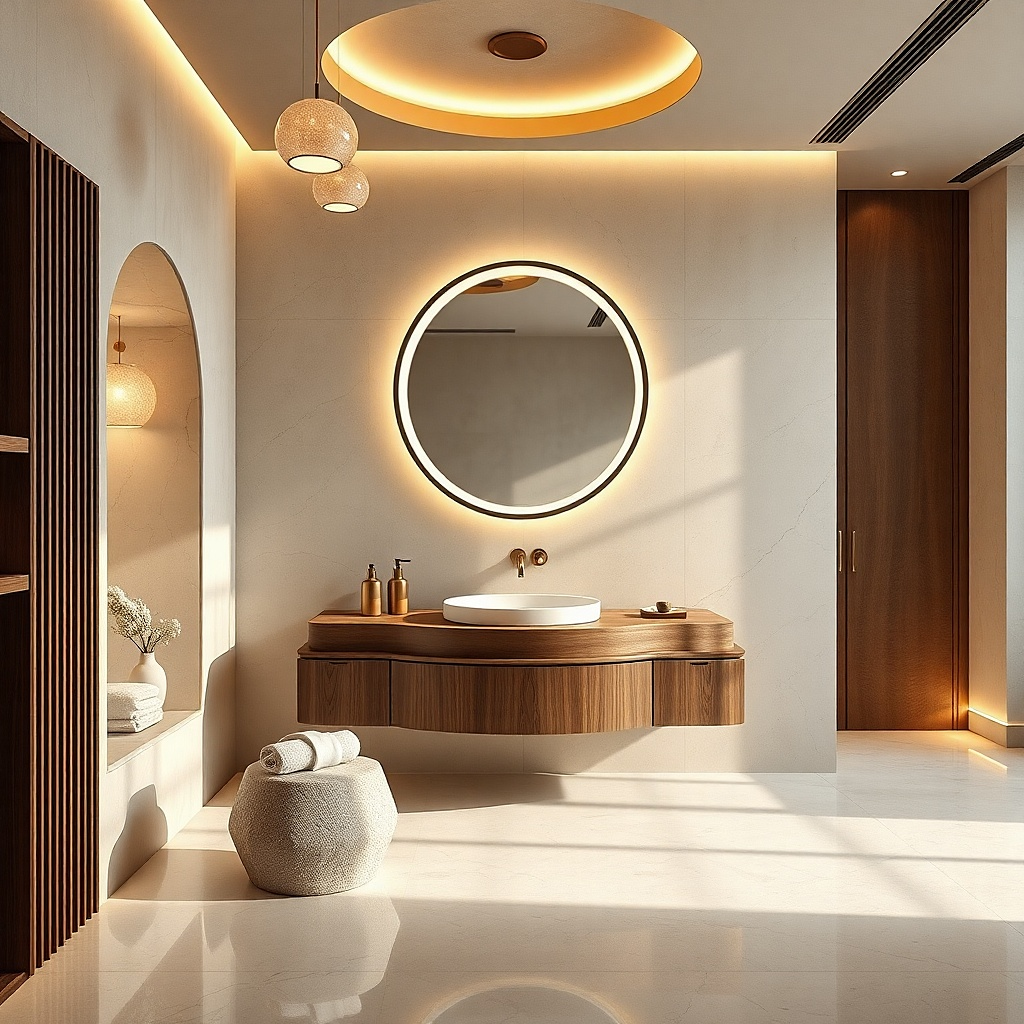
4. Live-edge walnut floating vanity with a thick oil finish
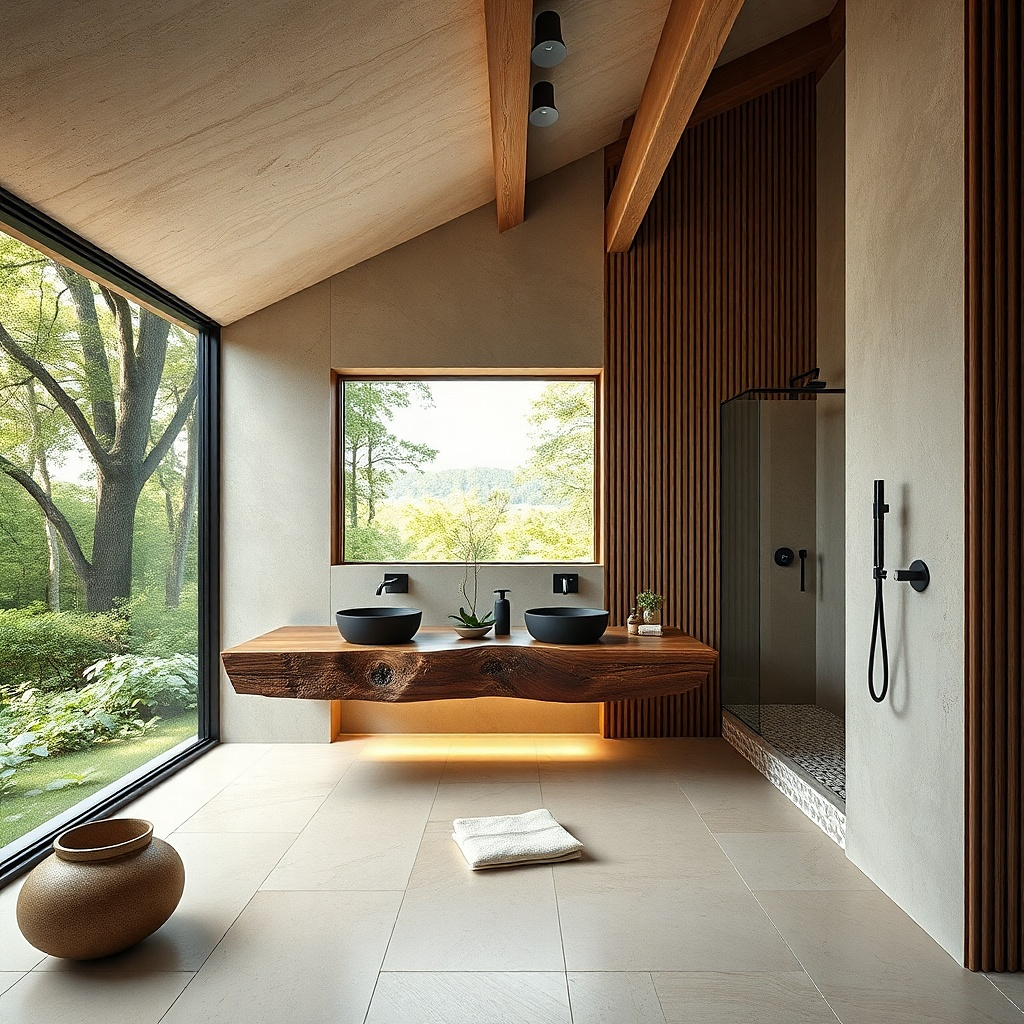
Walnut with a live edge reads high-end because it has natural depth and irregular character that looks handmade. Go for a thick oil-finished top that shows grain variation and a slightly darker edge band, not a thin veneer strip. The floating base keeps lines clean and makes the wood look like it’s suspended. Pair it with a matte black or brushed brass faucet to balance warmth. This works in modern or transitional bathrooms where you want warmth without using dark painted cabinetry everywhere.
Choose a live-edge slab thickness that looks substantial — 2 inches is a good target for a real presence. Seal the wood with a bathroom-rated oil and topcoat so it handles water splashes and daily cleaning. Mount the vanity to studs with heavy-duty brackets and confirm the floating clearance leaves room for mopping — 3-4 inches minimum. Then install undermount sinks and route the plumbing neatly through the back so the under-vanity area stays visually tidy.
Match the wood tone to your mirror frame — either walnut stain or a warm metal finish to keep the palette coherent.
Don’t leave the live edge raw or unsealed — water marks show quickly and kill the luxury look.
5. Brass-framed vanity with inset panel doors and glass-front medicine storage
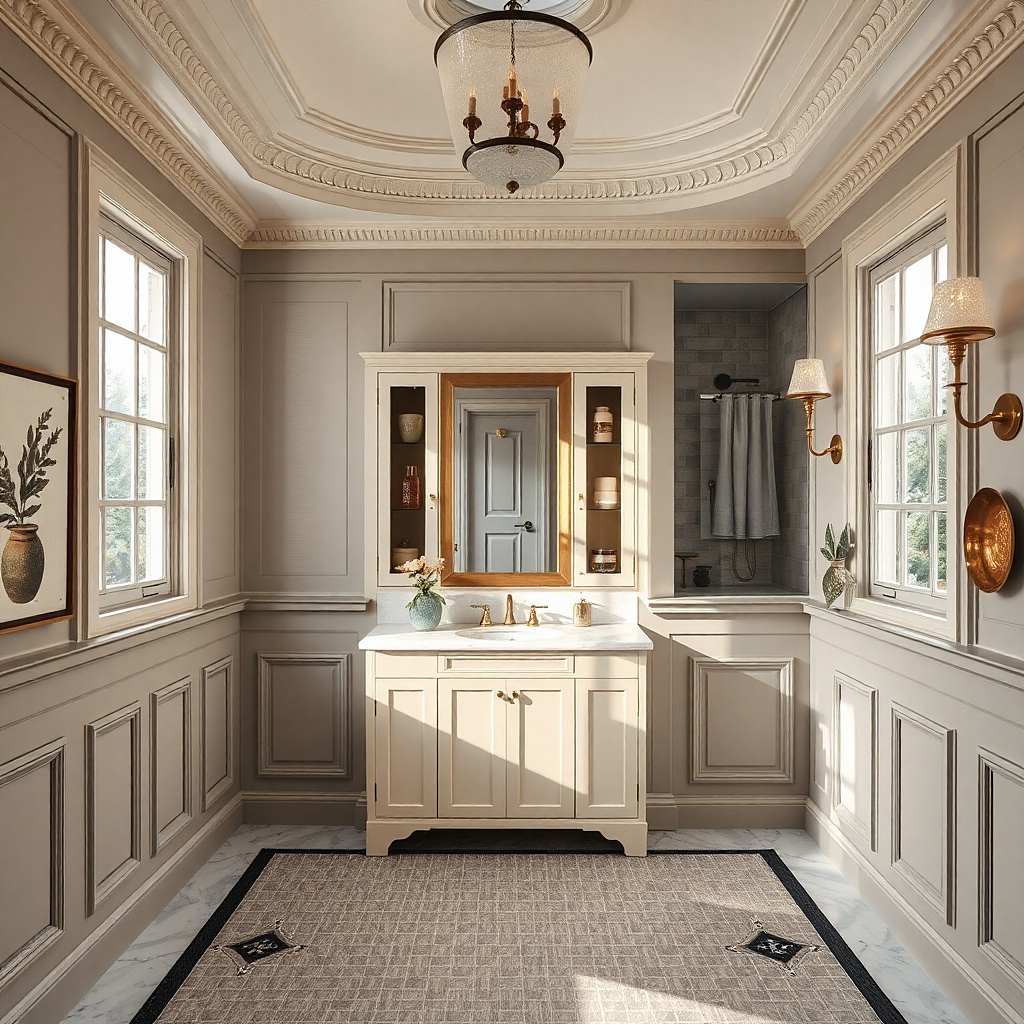
Brass framing reads expensive because it adds a crisp architectural line around soft cabinet surfaces. Use brass-painted or unlacquered brass-look metal framing around inset doors, then keep the door faces in a calm neutral like ivory or warm greige. Add a glass-front section for medicine storage so the vanity has functional display without clutter. Choose seeded or lightly textured glass so you can see the contents but not every item. This idea works in bathrooms that already have warm metal elements like towel bars or mirror frames, since it ties everything together.
Try thisUse a frosted or seeded glass so you can store essentials without the glass looking messy.
Start with a vanity design that uses inset panel doors; flat slab doors with exposed seams look cheaper against metal trim. Select brass tone and verify it matches your other fixtures — bring photos or finish samples when you order. Install the vanity so the brass frame aligns with the mirror centerline, not slightly off. Then add glass shelves that are easy to remove for cleaning, and choose soft-close hinges to keep the doors feeling heavy and premium.
Common mistakeSkip clear, fully transparent glass — it turns daily items into visual clutter.
6. Rift-cut oak veneer cabinet with a thin black quartz top
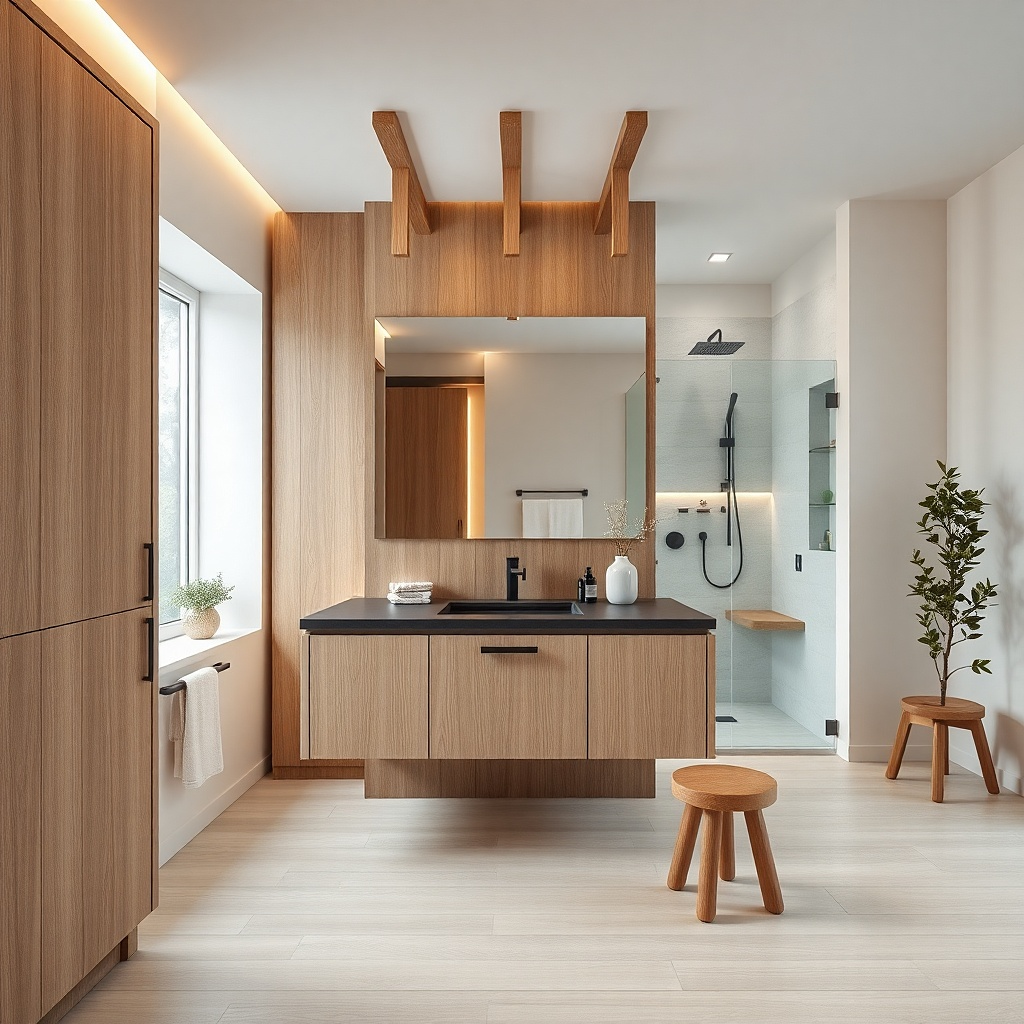
Rift-cut oak veneer looks expensive because the grain runs straight and controlled, not chaotic like cheap veneer. Pair it with a thin-looking but high-contrast black or charcoal quartz top so the wood warms the room while the stone grounds it. Keep the cabinet doors either flat-panel or subtly chamfered, with minimal hardware. The contrast between light oak and dark stone reads designer even in smaller bathrooms. This is a strong option when your tile is neutral and you want the vanity to be the focal point without going dark overall.
Try thisAdd a mirror with a thin frame in the same metal as the pulls to extend the luxury look.
Pick oak veneer with rift-cut grain direction and confirm the finish is a protective lacquer that resists water spotting. Choose a charcoal or black quartz with a fine, low-pattern surface so it looks like a solid slab. For hardware, use slim bar pulls in brushed brass or matte black, and keep them consistent across drawers. Install the vanity, then seal the top edges properly and caulk the stone-to-wall line for a crisp, finished perimeter.
Common mistakeDon’t choose oak with busy knots if you want a luxury, controlled feel.
7. Marble-look porcelain slab with a full-width undermount sink
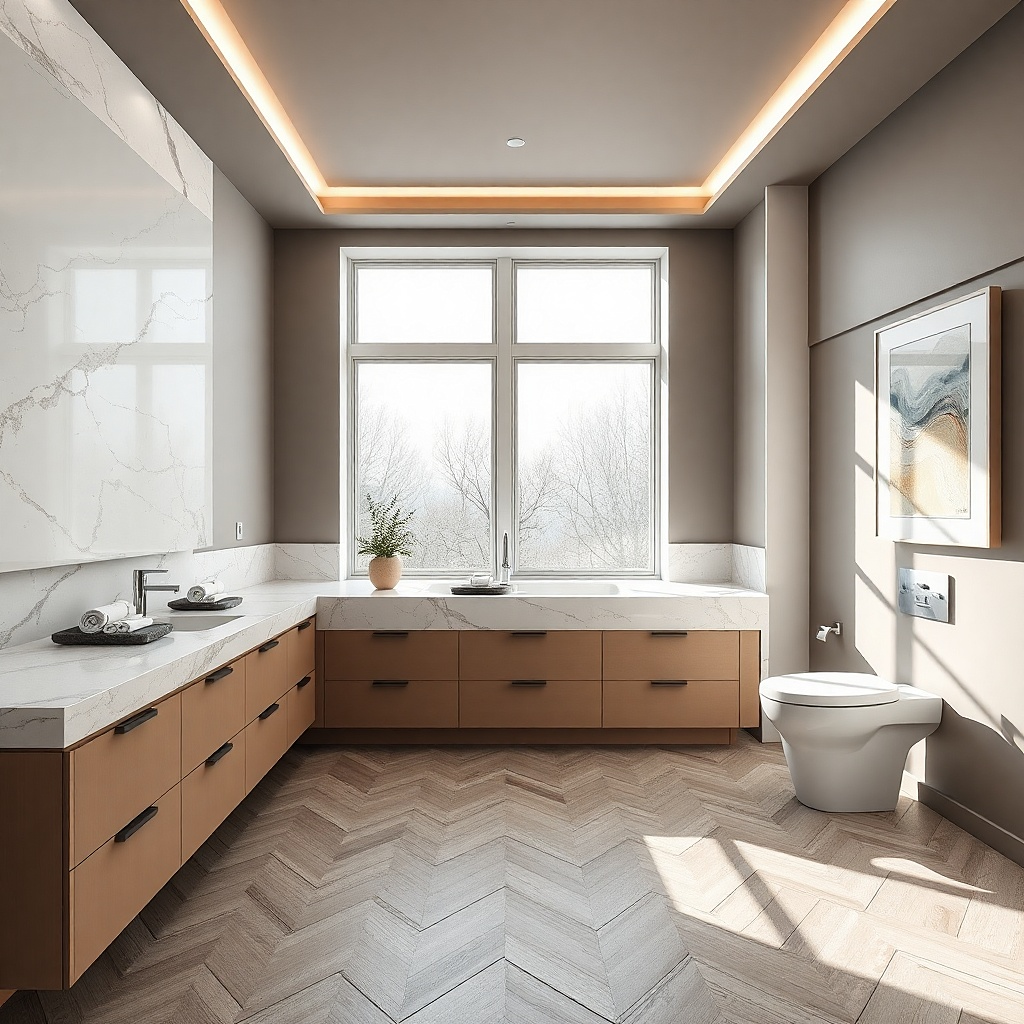
If you want a luxury marble look without the fuss, porcelain slab tops can deliver the look when the pattern is scaled correctly. Choose marble-look porcelain with movement that looks realistic at large scale, then keep the top smooth and polished enough to show gentle highlights. A full-width undermount sink makes the vanity look custom because it eliminates the sink-to-counter visual interruptions. Pair with a simple cabinet in white oak or warm painted white so the stone stays the star. This idea works well in bathrooms where you want a high-end look but don’t want to baby a natural stone surface.
Select porcelain slab thickness that supports a clean edge reveal — 2 cm is a good minimum for a premium look. Order a custom sink cutout from the same supplier if possible so tolerances are tight. Install the vanity level, then set the slab and use a high-quality silicone sealant at the perimeter. Finally, use a sink grid and a gentle daily cleaner to keep the polished finish looking even over time.
Ask for a stone pattern match plan so the veining doesn’t look random across the slab.
Avoid marble-look tops with tiny, dense veining — they read like a print, not stone.
8. Tall built-in storage tower beside the vanity with matching face panels
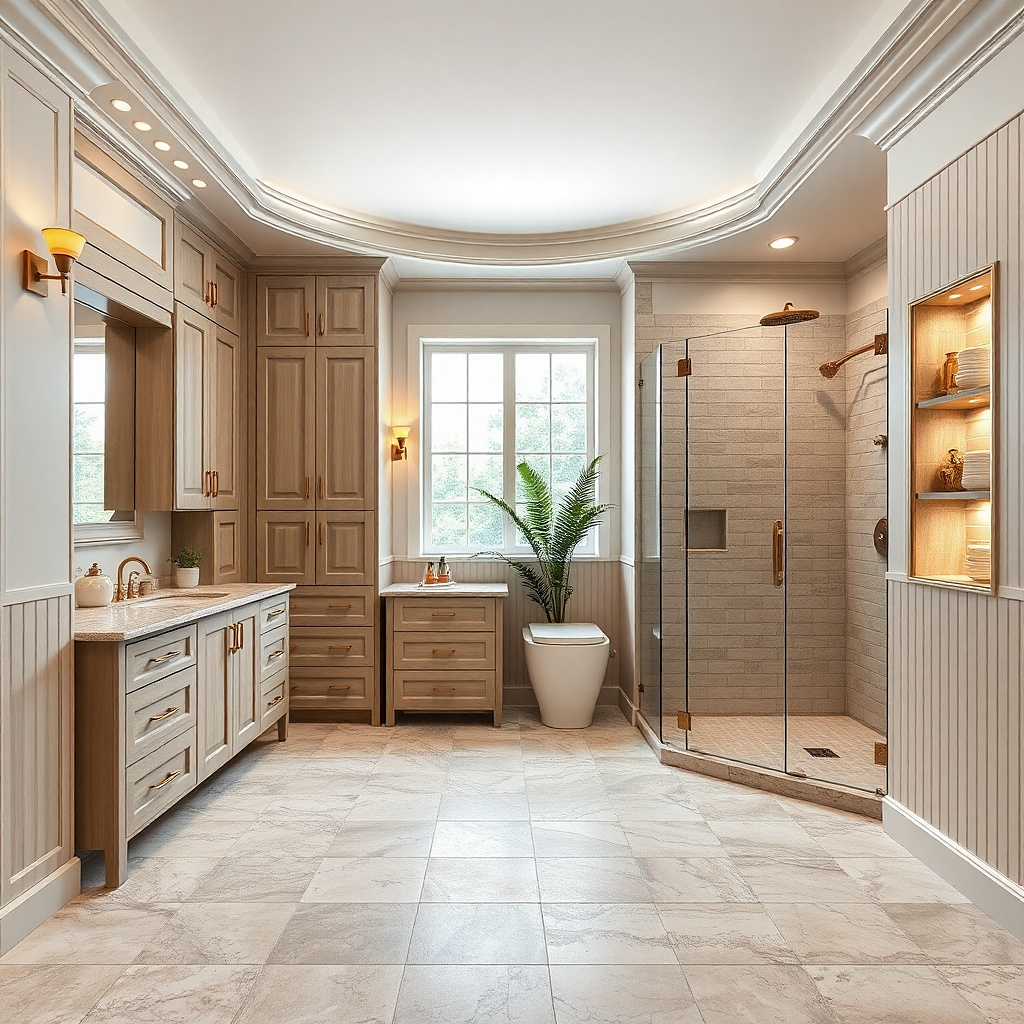
Luxury vanities feel expensive when they look integrated with the room, not floating alone. Add a tall storage tower next to the vanity with the same cabinet finish, door style, and hardware. Keep the tower face panels aligned with the vanity drawers so the whole setup reads like one piece. Use internal shelves and a pull-out hamper or drawer for cleaning tools. This solves the real problem that makes bathrooms feel messy — toiletries live on countertops because storage is missing or mismatched.
Measure the wall space next to the vanity and plan for a tower width that matches a standard cabinet module — 12-18 inches is a common sweet spot. Choose shelves that are adjustable and install a pull-out hamper if you need laundry control. Order the tower doors in the same finish batch as the vanity so color and sheen match. Install the vanity first, then set the tower tight to the side panel and align hinges and pulls before caulking the gap.
Use one continuous toe-kick line across vanity and tower for a cleaner, built-in look.
Don’t mix different cabinet styles on adjacent pieces — it screams “separate furniture.”
9. Matte white shaker vanity with brushed nickel pulls and a backlit mirror
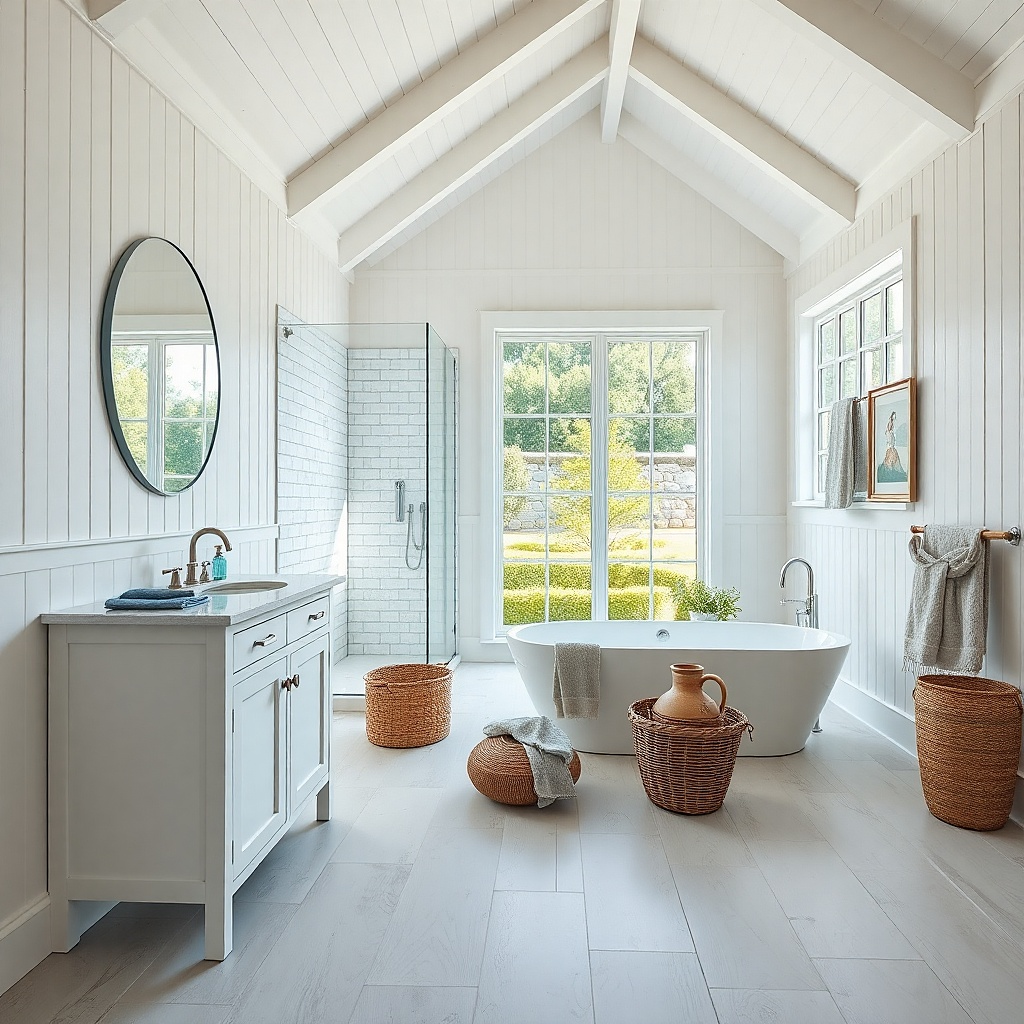
White shaker can look cheap if it’s glossy, flimsy, or paired with flat lighting. Go matte white with tight shaker rails and doors that align perfectly — the crisp geometry reads higher-end. Brushed nickel hardware keeps it cool and clean without turning into chrome glare. Add a backlit mirror with even illumination so the vanity top and hardware look softly lit, not harshly spotlighted. This approach is great for bathrooms that need bright, clean energy but still want a luxury finish.
Pick a vanity with real wood or high-grade plywood construction and a matte paint system that dries smooth. Install a countertop with a subtle edge reveal — 2 cm top thickness and a clean bevel edge makes it look substantial. For lighting, choose a backlit mirror with uniform brightness and a color temperature around 2700K-3000K for flattering skin tones. Mount the mirror centered over the sink and check that the light spreads across the cabinet face, not just behind it.
Use a single soap dispenser and keep countertop items low-profile so the shaker lines stay the focus.
Skip exposed, mismatched lighting fixtures next to a white vanity — they reflect and make paint look uneven.
10. Blackened steel hardware and a dark green painted cabinet
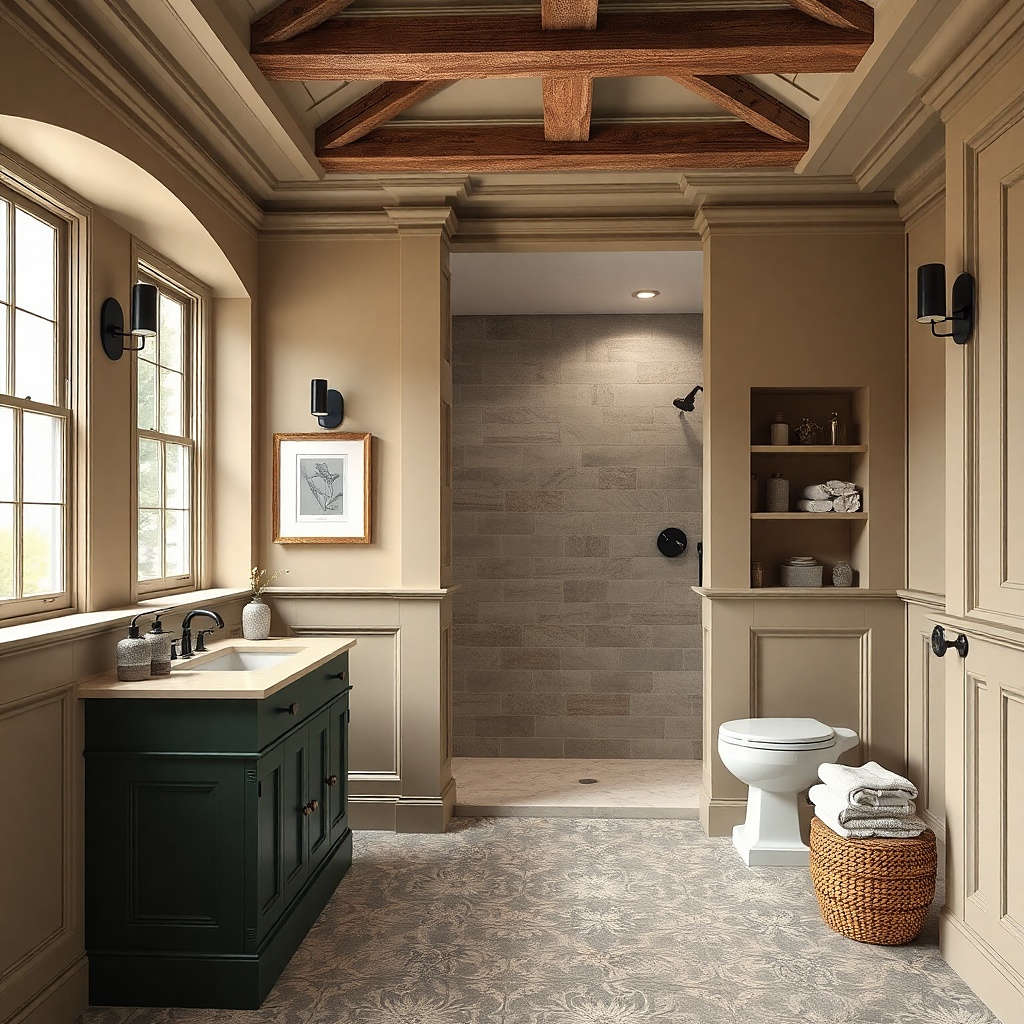
Dark green painted cabinetry looks luxury when it’s paired with blackened steel hardware and a light top that brightens the room. The green gives depth without going fully black, and the blackened metal adds a slightly industrial edge that still reads premium. Choose a stone top in white with gray movement or a soft cream so the green doesn’t feel heavy. Keep the cabinet doors flat or gently raised and use consistent spacing so the hardware lines look precise. This works in bathrooms with warm lighting or wood accents, where the green feels intentional and not trendy.
Try thisMatch your towel bar finish to the hardware so the bathroom reads coordinated, not random.
Choose a cabinet paint color with a blue-green undertone, then request a satin-matte finish that hides brush marks. Use blackened steel pulls and hinges that match in tone — the hardware should look like it has depth, not painted black. Install with a consistent reveal along the top edge and back panel, then seal the stone perimeter carefully. Finally, set the faucet and mirror frame in the same blackened family so the hardware theme doesn’t split.
Common mistakeDon’t pair dark green with shiny chrome — it makes the vanity look like a rental upgrade.
11. Large-format slab backsplash behind the mirror with the same stone as the top
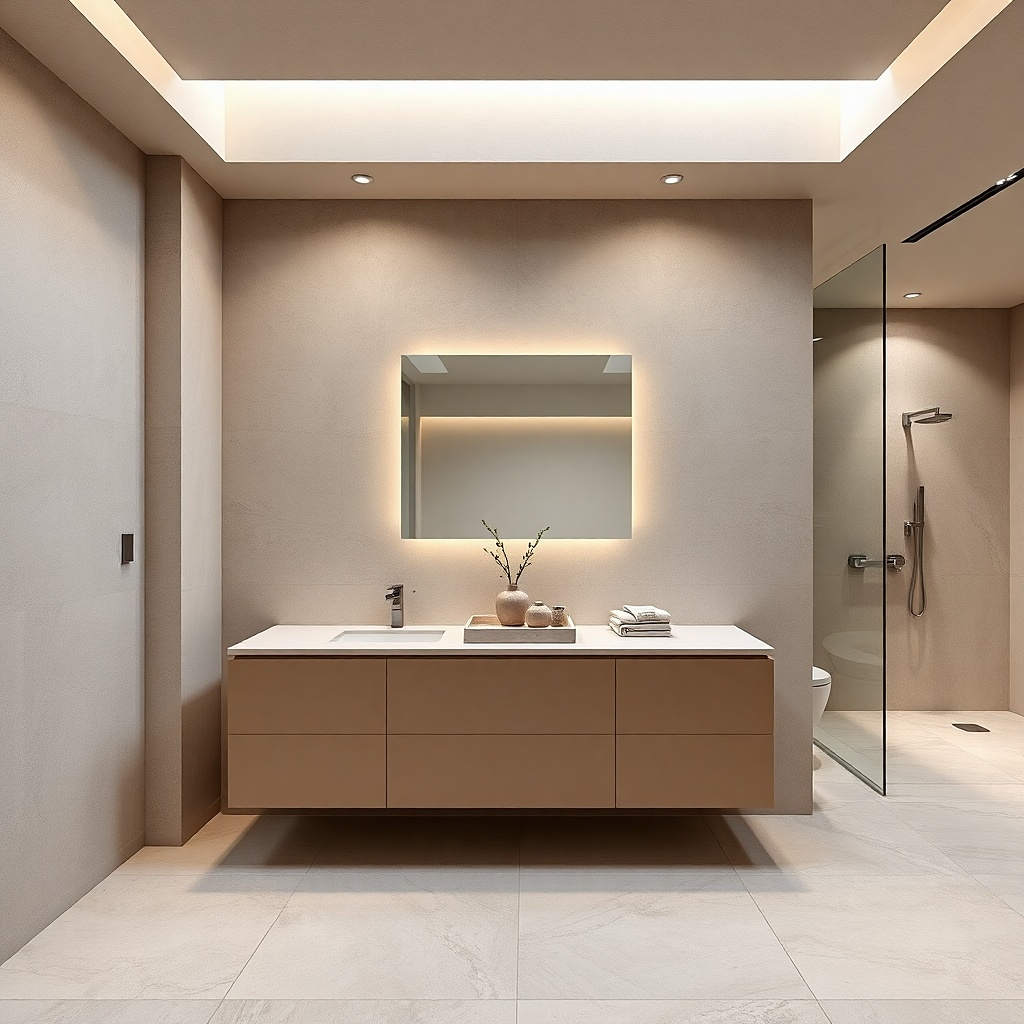
A vanity looks expensive when the wall behind it looks finished, not tiled in small, disconnected pieces. Use a large-format backsplash panel in the same stone as the countertop so the mirror area looks like one continuous design. This trick makes the bathroom feel custom because the “feature zone” behind the sink looks intentional and large-scale. Keep the cabinet design simple so the stone planes and seams are the focal point. This is especially effective when your bathroom has a lot of visual lines — patterned tile, busy floors, or multiple mirrors.
Order a backsplash panel cut to the mirror width plus a clean margin on each side, typically 2-4 inches beyond the mirror frame. Install the panel with a waterproof adhesive rated for stone and level it before the mirror goes up. Use the same stone finish as the top so the sheen and veining match under lighting. Then caulk the perimeter with a paintable silicone and keep the grout lines out of the mirror zone entirely.
Choose a stone with a consistent direction so the backsplash reads calm, not chaotic.
Skip using two different stone colors for top and backsplash — it breaks the built-in illusion.
12. Offset undermount sink with an ultra-slim waterfall shelf edge
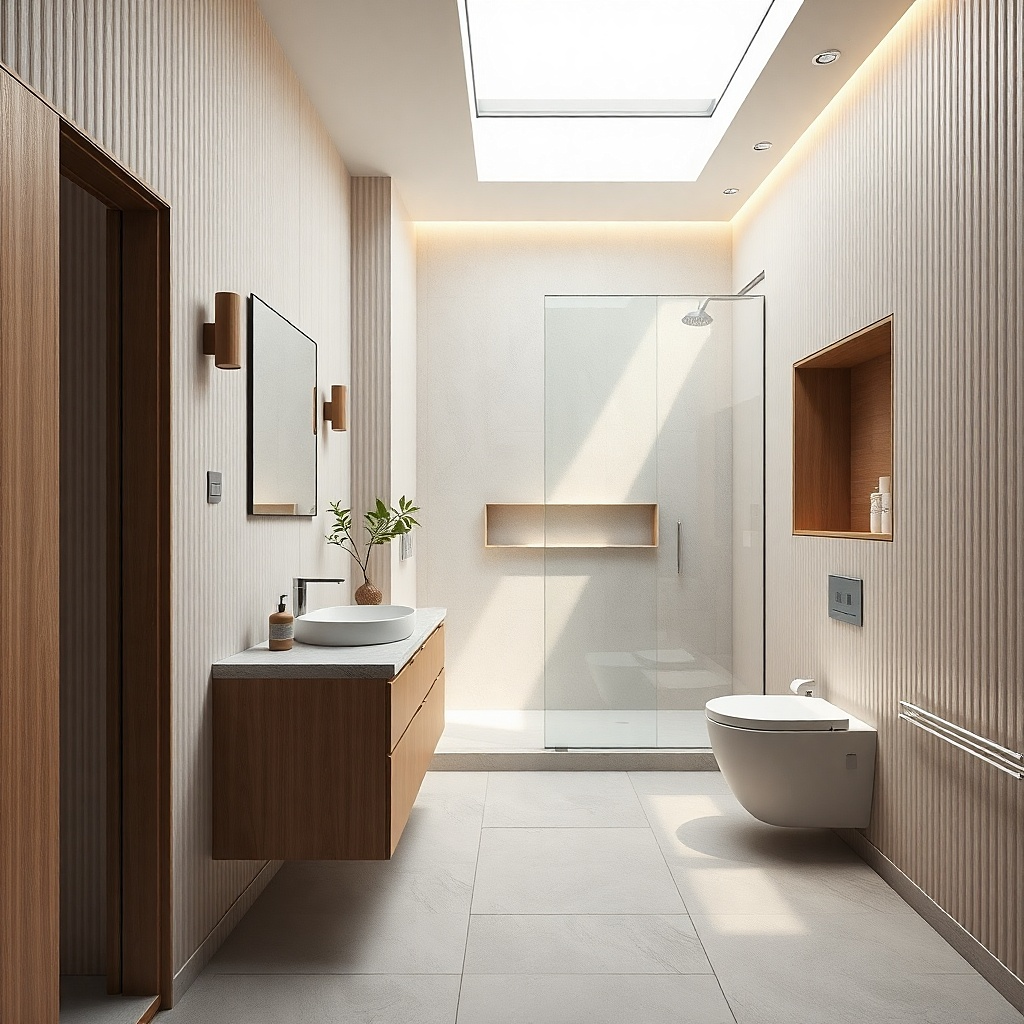
Luxury isn’t always about big and dark. An offset undermount sink with a slim waterfall edge makes the vanity look architectural and designer. Move the sink slightly off-center so you get a clean, usable shelf area on one side for a soap dish or toothbrush can. Keep the stone edge thin but crisp so it looks intentional, not chunky. This works in smaller bathrooms where you want one sink but still need a sense of structure and planning. Pair with a cabinet in warm white or light wood to keep the room bright.
Try thisUse a matching stone tray or built-in shelf on the non-sink side so it looks designed, not accidental.
Pick a sink size that fits the cabinet footprint and plan the offset so the faucet centerline remains comfortable — usually 2-4 inches from center. Choose a stone edge profile that stays slim, and confirm your fabricator can keep the waterfall return consistent. Install the vanity, then dry-fit the sink and faucet placement before final stone installation. Finally, seal the stone and use a caulk line that stays even along the wall for a finished edge.
Common mistakeDon’t offset the sink without checking door swing and plumbing clearance — you’ll end up with awkward access.
13. Floating vanity with a hidden toe-kick and integrated drawer pulls
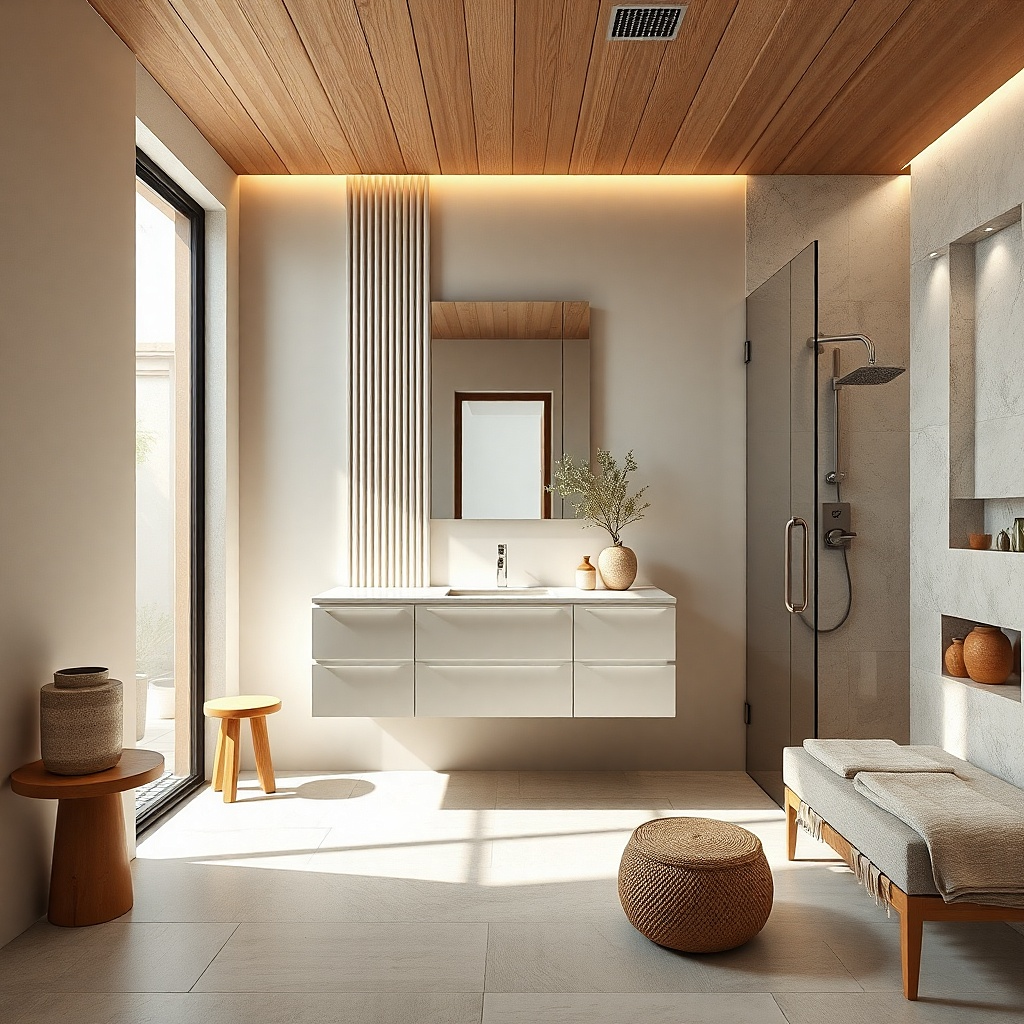
Floating vanities can look cheap if the underside looks unfinished or the toe-kick is awkward. Luxury comes from hiding the messy parts: a concealed toe-kick, clean mounting, and pull hardware that doesn’t break the front plane. Integrated pulls or a shallow channel pull make the cabinet look custom and smoother from a distance. Use a cabinet finish like warm white lacquer or a light oak veneer so the floating base doesn’t feel heavy. This idea is great for modern bathrooms with large-format tile floors where you want clean lines and a lighter visual footprint.
Choose a floating vanity design where the mounting rail and concealed toe-kick are included, then confirm stud spacing before you order. Install the mounting system at the correct height so the vanity top lands at your target comfort level, usually 32-34 inches. Then set cabinet doors and check alignment so integrated pulls sit evenly. Finish by installing the stone top and sealing along the wall and underside edges so the floating gap looks intentional, not like a rough cut.
Use a mirror with a thin frame and warm backlighting so the floating look stays premium, not stark.
Don’t leave visible gaps under the vanity — they read unfinished and cheap.
14. Oversized framed mirror cabinet with matching vanity cabinet finish
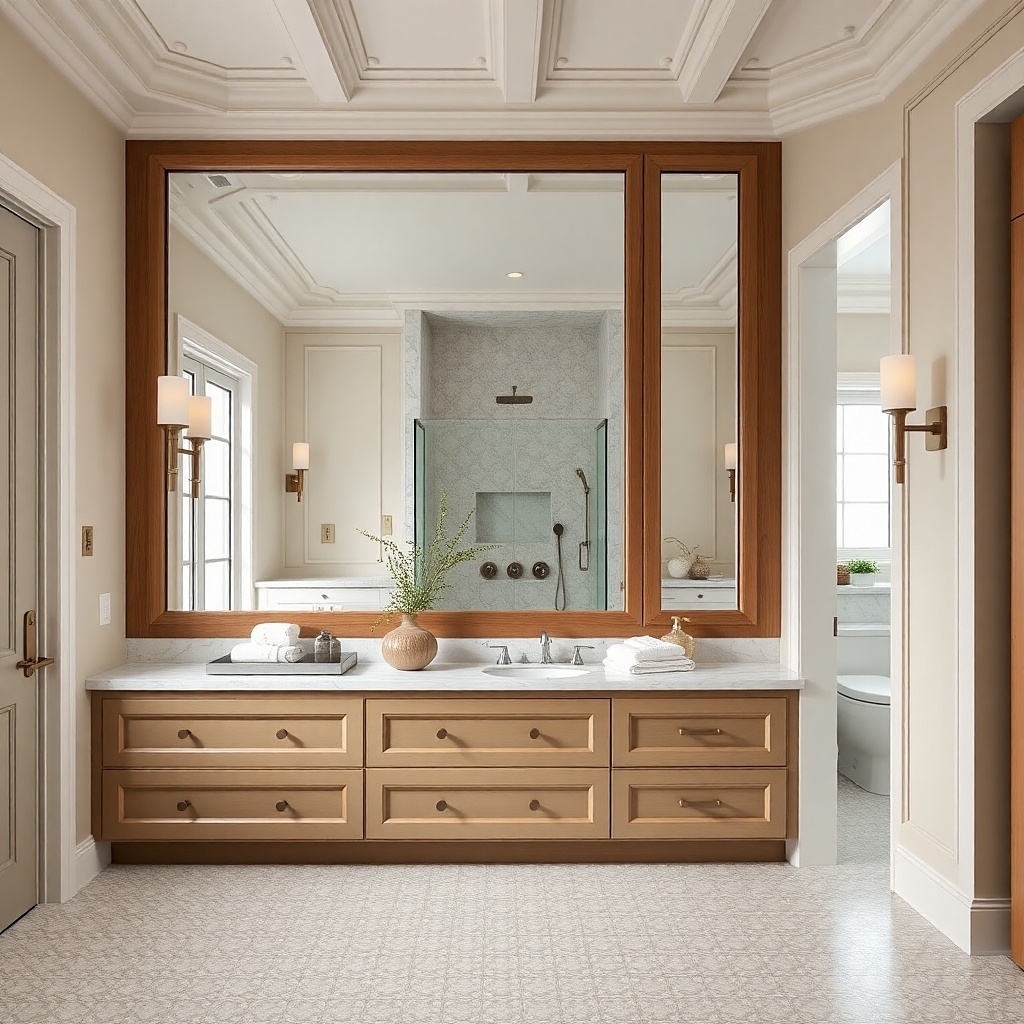
A vanity looks luxury when the mirror area is treated like part of the cabinetry, not an afterthought. Choose an oversized framed mirror cabinet with the same finish as the vanity doors and a slim frame width that matches the hardware tone. The cabinet storage behind the mirror hides daily clutter and makes the vanity top look clean — that’s where luxury usually comes from. Add soft interior lighting in the mirror cabinet so items are visible without shining harshly on the stone. This is ideal for bathrooms that need storage but don’t have room for a separate medicine cabinet.
Match the mirror cabinet frame color to the vanity finish by ordering from the same manufacturer or by using finish samples. Install the mirror cabinet so its center aligns with the sink centerline, then confirm it clears faucets and any wall outlets. Set the mirror height so the bottom edge sits around 65-70 inches from the floor for comfortable viewing. Finally, install the mirror cabinet first if it shares wiring, then mount the vanity and set the stone top after plumbing is finished.
Use a mirror cabinet with dimmable lighting so the bathroom doesn’t look clinical at night.
Skip cheap mirror frames with thick, uneven edges — they make even a premium vanity look off.
15. Limestone-inspired vanity top with a honed finish and soft brass accents
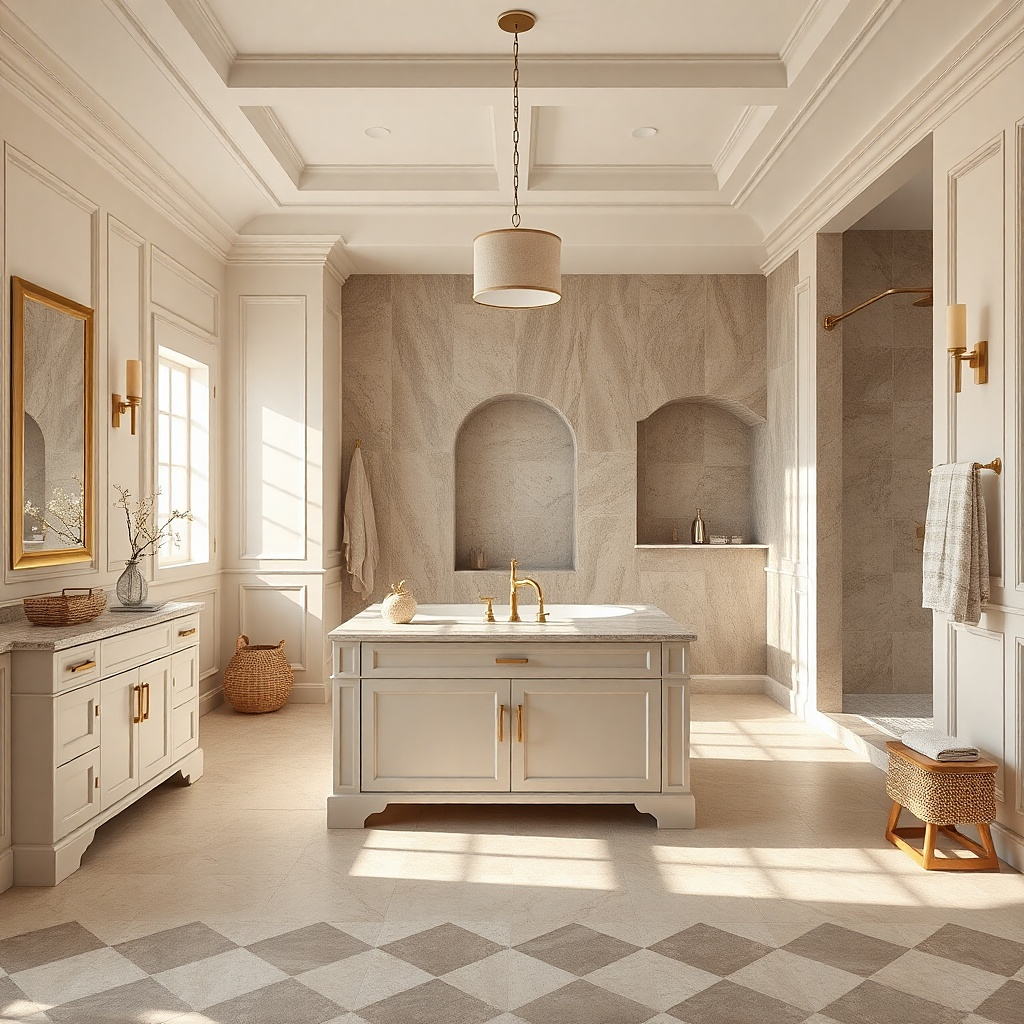
A honed, limestone-inspired top looks expensive because it doesn’t glare. Honed surfaces show subtle texture and depth, which reads higher-end than mirror-polished stone in many bathrooms. Choose a limestone-look engineered stone in warm off-white with gentle gray movement. Pair it with soft brass accents like a brushed brass faucet, towel hooks, and a mirror frame that isn’t too bright. Keep the cabinet finish in warm white or light wood so the honed top stays the focal point. This works well in bathrooms with natural light, where honed stone looks calm and premium rather than flat.
Try thisChoose brass with a brushed finish so it matches honed stone texture instead of fighting it.
Pick honed stone with a matte finish rating that resists staining and has a sealed surface. Keep the top thickness at least 2 cm and choose a straight, clean edge profile so it looks tailored. Install the vanity and stone, then use a sealant product recommended for honed surfaces if your supplier requires it. Finish by selecting brass hardware with a consistent undertone and install it after the cabinet doors are aligned so spacing looks precise.
Common mistakeDon’t use a honed top with shiny chrome fixtures — the contrast reads mismatched.