1. Frameless clear glass with a white deck tub
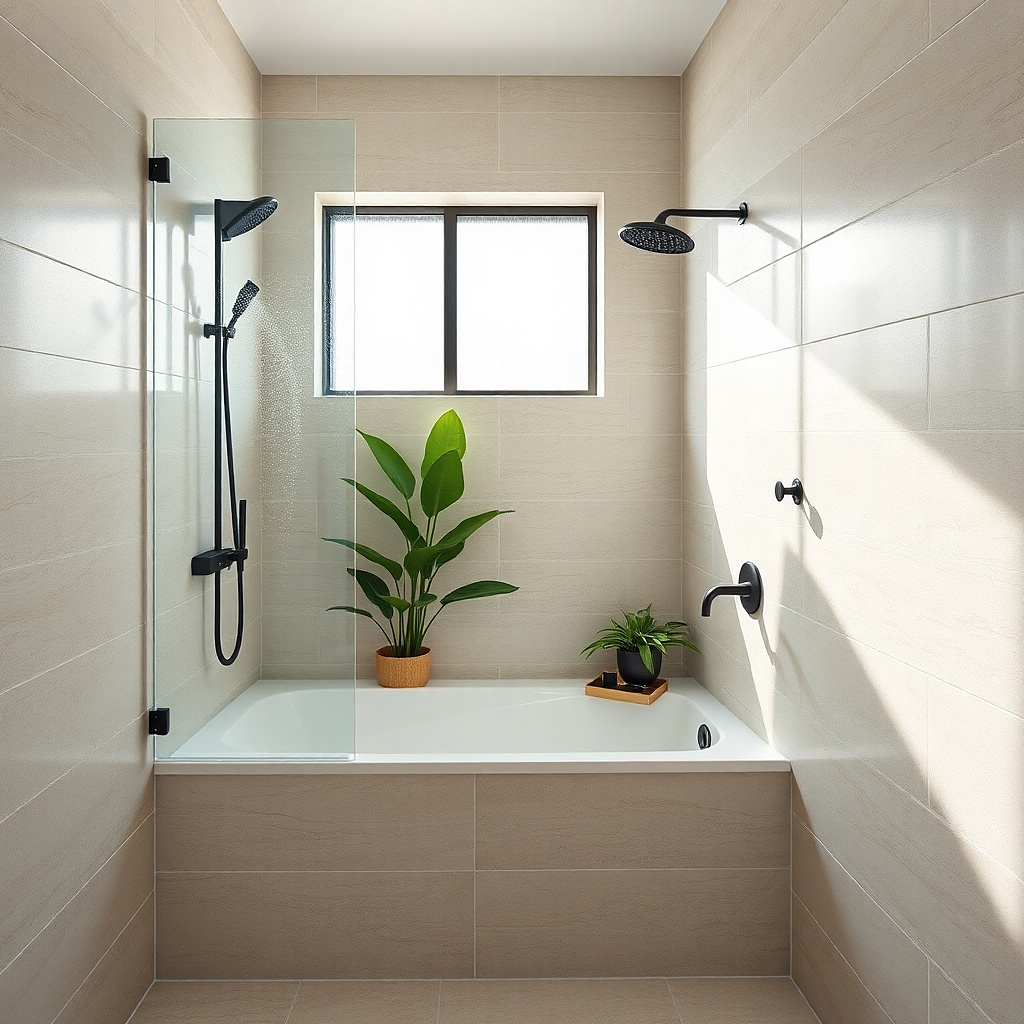
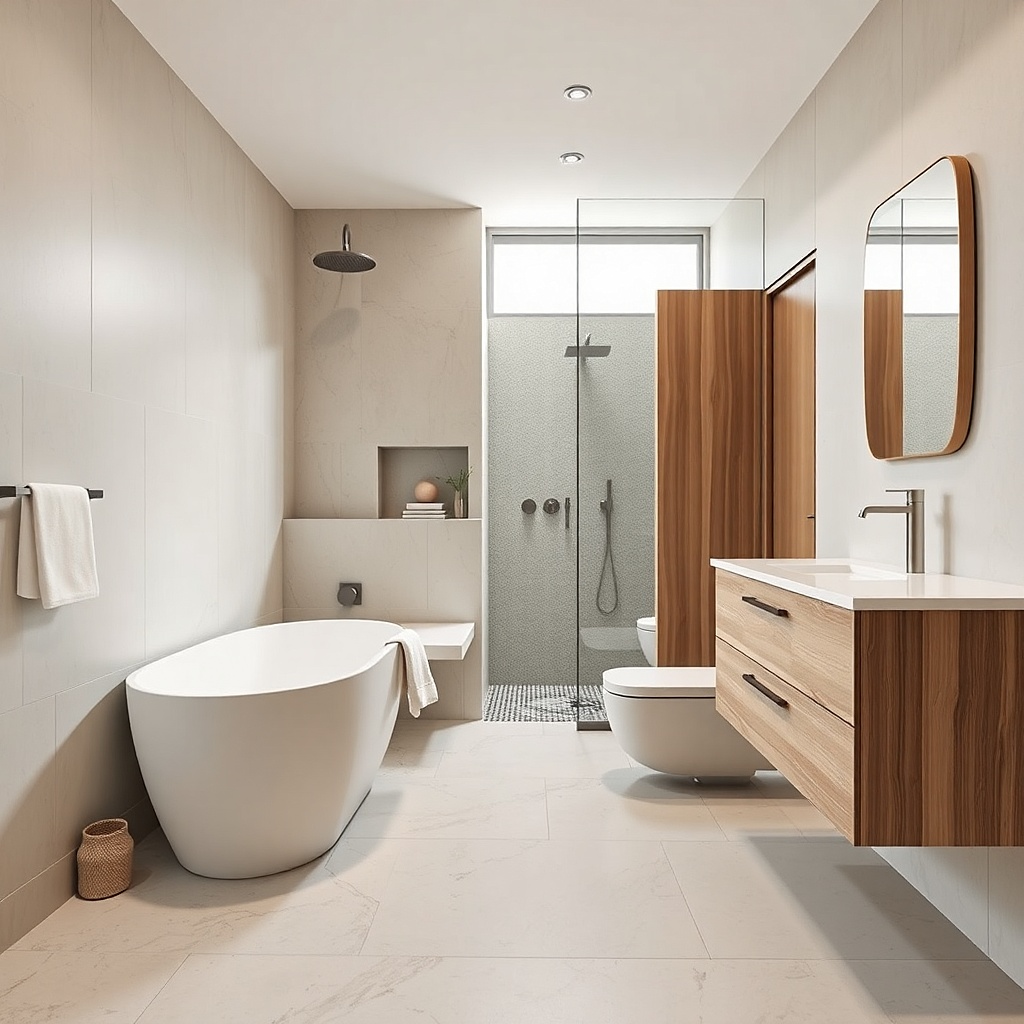
This is the cleanest “good-looking small bathroom remodel ideas” look because the glass disappears and the tub reads like furniture. Use a white acrylic or solid-surface tub with a simple apron so the shape stays crisp in a compact room. Cover the shower wall with large-format porcelain in soft white or warm ivory, and carry a simple 1/8-inch grout line to keep the surface calm. The tub deck stays light, so reflected light bounces around the bathroom instead of absorbing into darker finishes. Put the glass on the wet-side wall and keep the door hardware minimal for a photo-ready, uncluttered front view.
Measure your tub footprint first, then plan the glass panel width so it covers the wet zone without eating walkway space. Order a frameless system with a clear panel thickness around 3/8 inch and set it so the bottom edge sits over a properly waterproofed curb or tub deck. Tile the shower wall and the tub deck before installing the glass — you want the panel to land on finished tile, not raw waterproofing. Use a matching caulk line where the glass meets tile, and select hardware in brushed nickel or matte black with a slim profile.
Try thisChoose a tub with a flat rim and minimal detailing; the simpler the tub edge, the more “built-in” it looks in small bathrooms.
Common mistakeAvoid frosted glass — it hides water splatter but it also kills the airy look that makes small rooms feel bigger.
2. Matte black rail + vertical tile to stretch the height
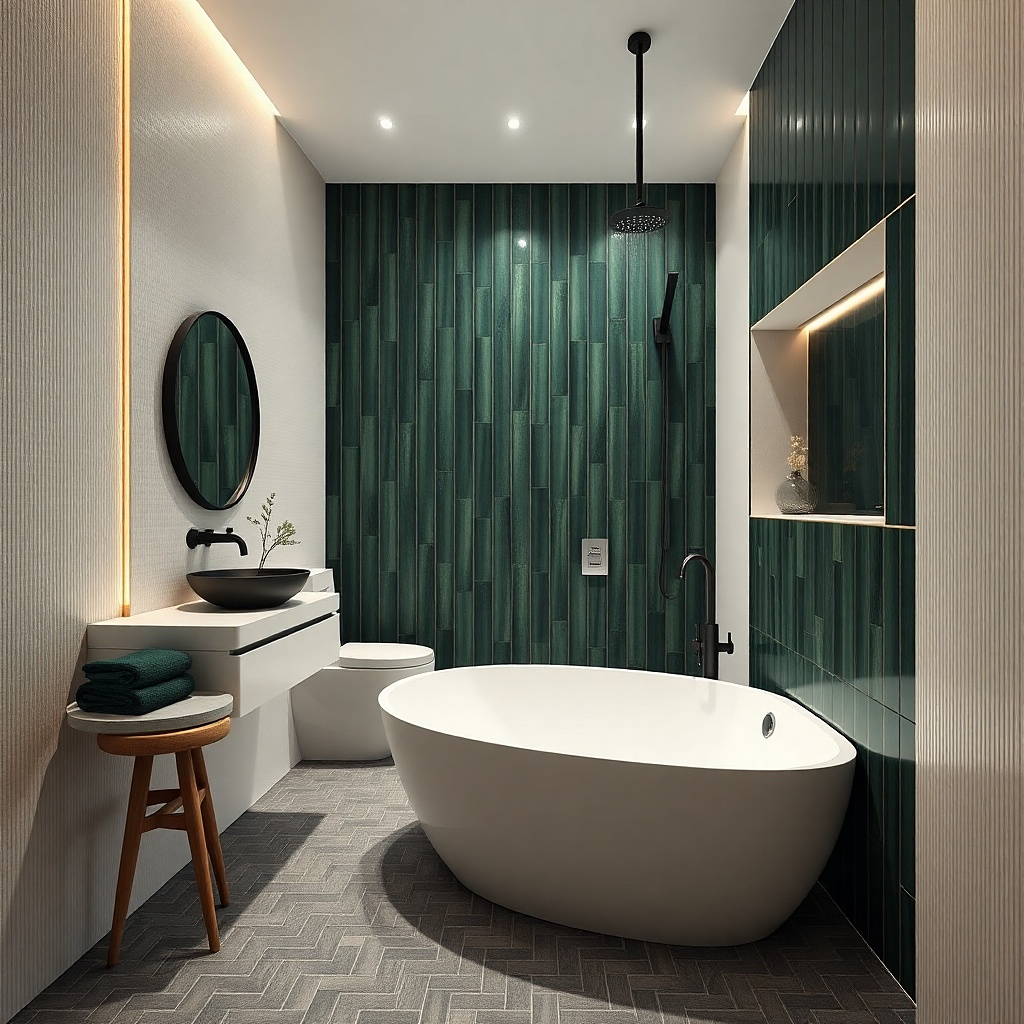
If your bathroom feels short or boxy, vertical tile lines do more than any layout tweak. Pair a soaking tub with a shower wall tiled in tall-format strips or vertical rectangles in a light neutral — think greige, warm white, or soft sand. Keep the glass clear and add matte black hardware — towel bar, shower rail, and door pulls — so the contrast looks intentional instead of harsh. The black rail gives you a clean vertical reference point that makes the whole combo look designed. This works especially well in narrow bathrooms where you need the eye to travel up, not sideways.
Select a tub and place it so the long side faces the entry — you want the tub rim visible, not hidden behind a door swing. Tile the shower wall with vertical pieces about 4x12 inches (or similar long rectangles), and keep grout light — choose a grout color close to the tile tone. Install the matte black shower rail and handheld head, then mount the glass panel after waterproofing and tile are complete. Use a level to keep the tile pattern straight; even a small misalignment shows up hard in vertical layouts.
Try thisUse the same tile on the back wall behind the glass and on the tub surround so the vertical lines don’t “reset” mid-room.
Common mistakeDon’t mix vertical tile with busy mosaic floors; the room will feel visually noisy fast.
3. Corner soaking tub with a single hinged clear door
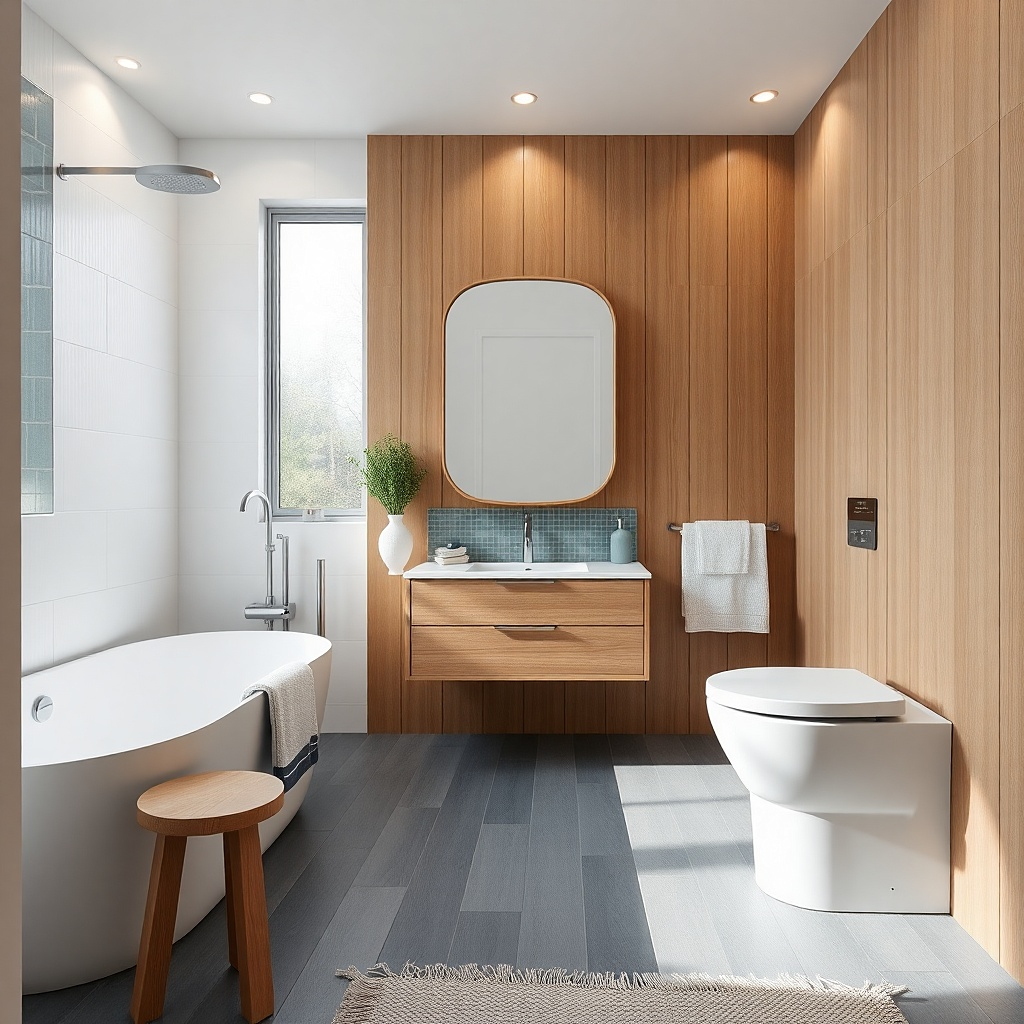
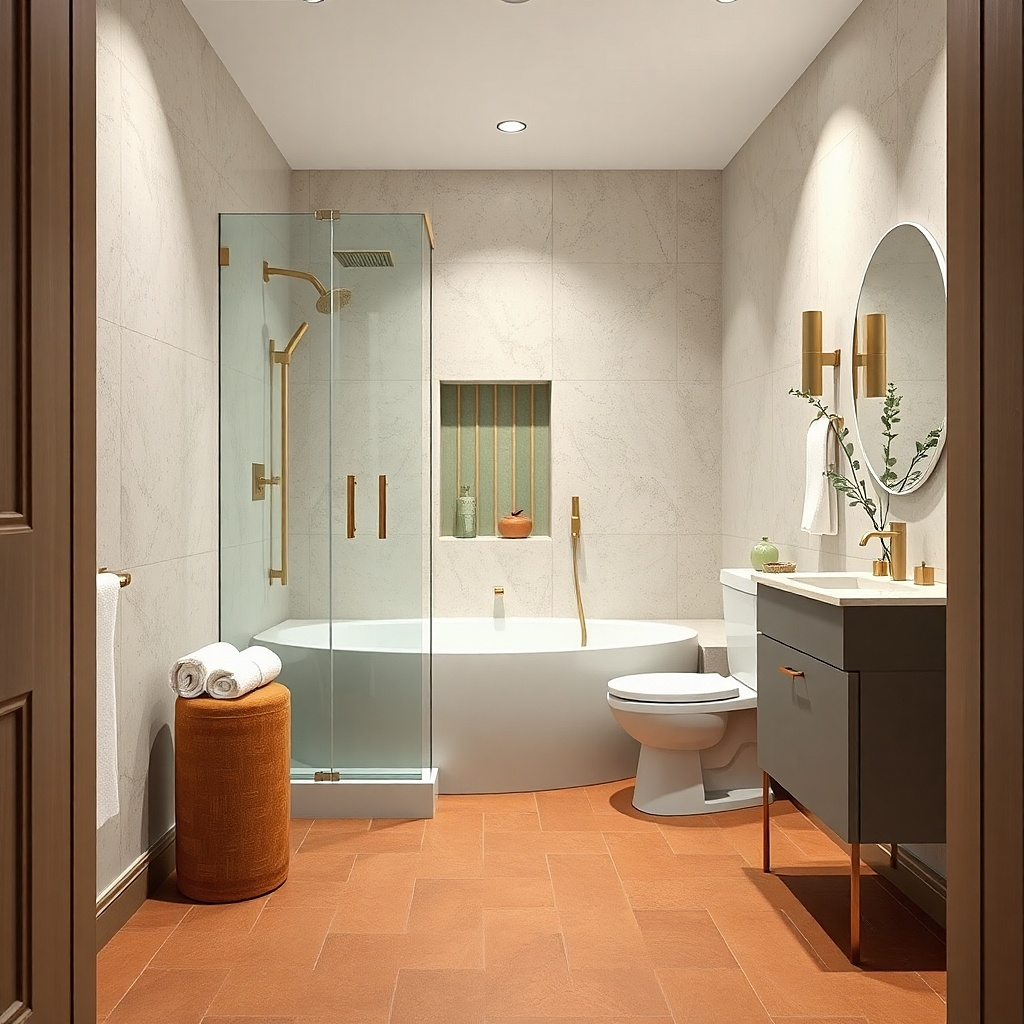
Corner tubs solve the space problem because they tuck the soaking zone into a dead corner while keeping the main wall open. Use a corner soaking tub with one flat side where the shower starts, then add one hinged clear door that opens inward. The look is clean because the glass is only where it needs to be, not across the entire front. Tile the shower wall and the adjacent wall in the same color family, but use a slightly different sheen — matte on the main wall, satin on the wet zone — to make water control feel subtle. This combo is great for bathrooms with a vanity on one straight wall and a door that swings across a narrow hallway.
Start by confirming the door swing clearance with the tub in place. Then choose a corner tub model with an internal soaking depth around 16 inches or more and a rim profile that doesn’t block the glass. Waterproof the wet wall and install tile on that wall first, then set a threshold or curb only where the glass needs to seal. Finally, install the hinged glass door so it clears the tub rim by at least a few inches when open.
Mount the showerhead on the wall opposite the door hinge so the stream hits the back wall, not the glass seam.
Avoid a full-length fixed panel in a corner — it makes the room feel tighter than a single door.
4. Tile-to-ceiling shower wall with a slim shelf niche
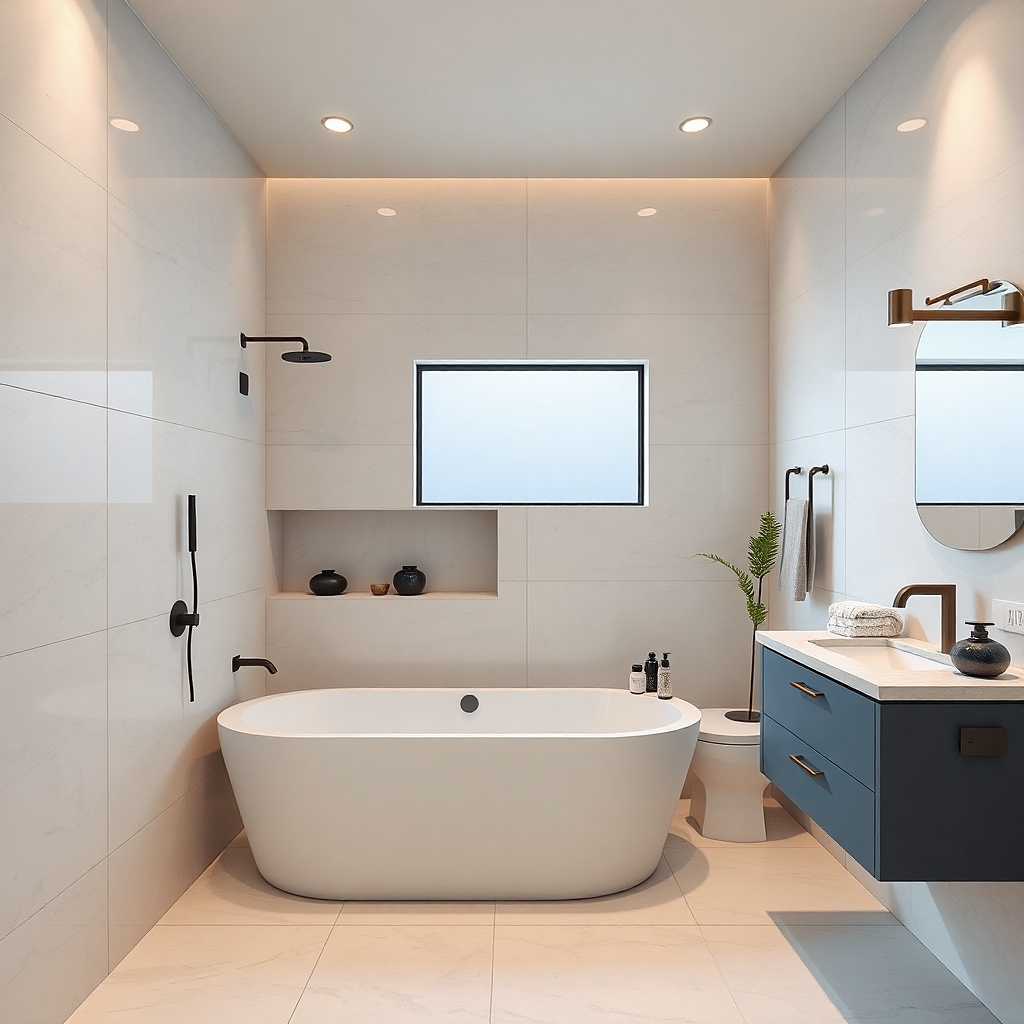
A tile-to-ceiling shower wall makes the shower area feel taller and more expensive, and it also protects the walls in a combo remodel. Pair it with a soaking tub that has a clean apron, then create one slim niche for shampoo and soap instead of adding floating bottles. Keep the niche width around 6-8 inches, and line it with the same tile as the shower wall so it disappears visually. A niche gives you the “designed” feeling that photos love, and it keeps your tub deck clear. If your bathroom is small and you want it to look calm, this layout is one of the safest aesthetic bets.
Plan your niche location before you tile: aim for about 40-48 inches from the floor to the top shelf edge so bottles don’t crowd the showerhead. Waterproof the wall, frame the niche, then tile the wall in full sheets first and cut around the niche last. Install the soaking tub and tile the tub deck seam carefully with a waterproof membrane and proper thinset. After tile cures, install the glass panel or door and caulk along the tile edge with a color-matched silicone.
Use a darker grout line inside the niche only if you can keep the rest of the wall grout very light — it makes the niche read as a feature without breaking the clean look.
Avoid multiple niches or open shelving in a small bathroom; it turns “comfort” into visual clutter.
5. Warm wood-look accents with white porcelain
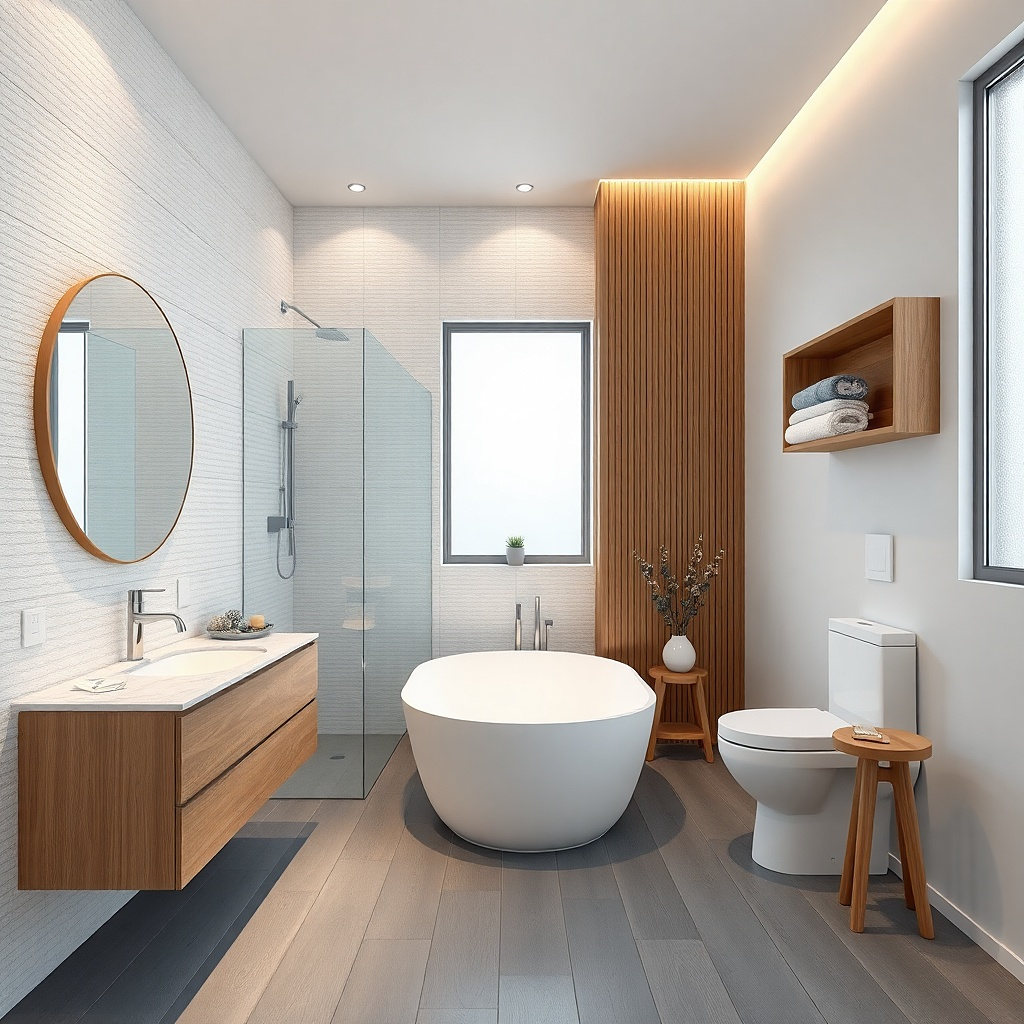
White porcelain keeps the bathroom bright, but wood-look accents make the combo feel lived-in instead of clinical. Choose a soaking tub with a white finish, then tile the shower walls in a bright white porcelain with a subtle texture. Add wood-look porcelain or wood-look strips on one wall section — keep it to a band about 12-18 inches tall or as a single vertical panel to avoid visual busy-ness. Use warm brass or brushed brass hardware, and keep the glass clear with a thin frame. The result looks warm in daylight and still clean at night, which matters because small bathrooms often rely on one overhead light.
Pick your wood-look material first and match it to your vanity tone so the combo doesn’t fight the rest of the room. Tile the shower wall in white porcelain, then place the wood-look accent band at about eye level — roughly 48-60 inches from the floor. Install the tub after waterproofing and before final tile on the wet wall, then finish the tub deck tile so it aligns with the accent band. Use a clear door or low-profile inline panel so the brass hardware stays the main contrast.
Try thisIf your bathroom has a window, place the wood accent on the window-adjacent wall so the grain effect catches light.
Common mistakeAvoid real wood in the wet zone — use wood-look porcelain only where it will be fully sealed and rated for wet areas.
6. Light stone look with a matching tub deck
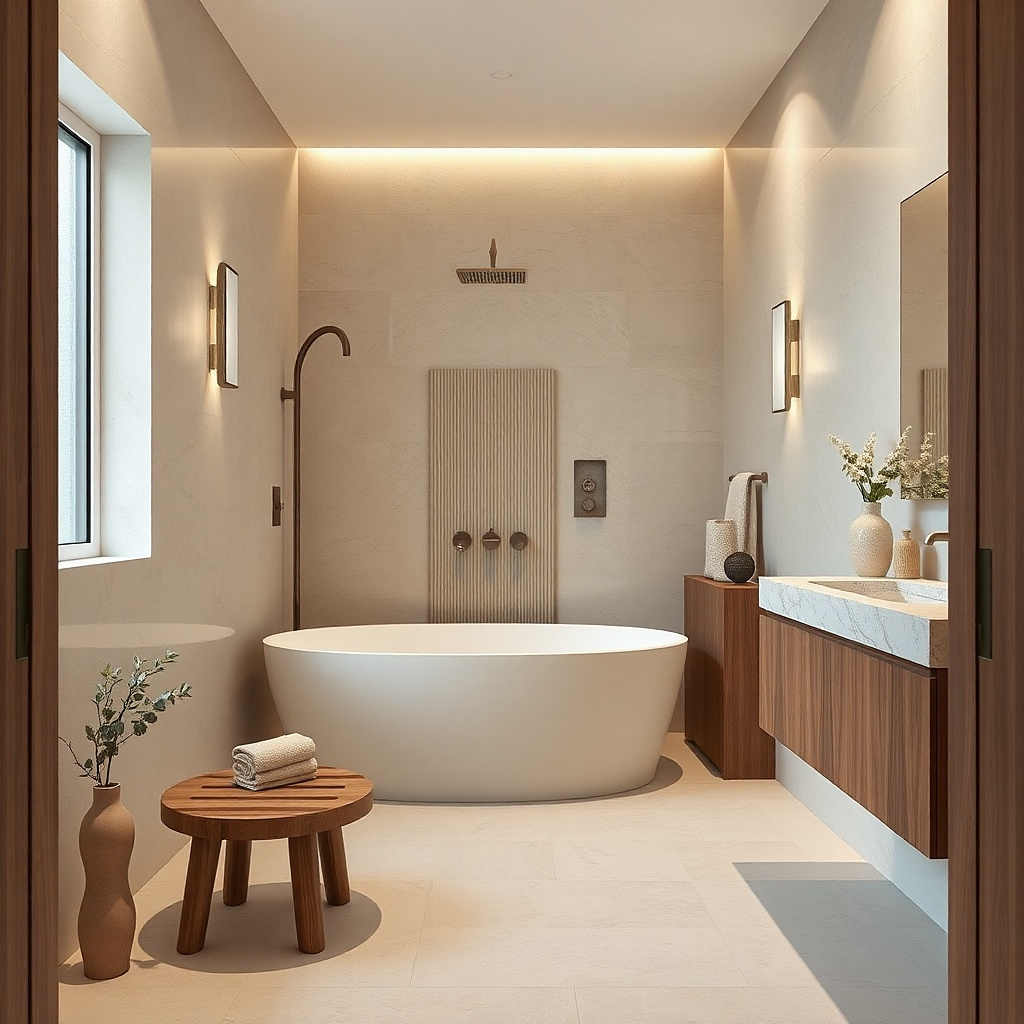
Stone-look tile gives you instant luxury without the upkeep of real stone, and the key is matching the tub deck to the shower wall. Use light limestone or travertine-look porcelain in a warm neutral, then tile the tub deck with the same product so the wet zone reads as one continuous surface. Keep the glass clear and choose hardware in brushed nickel to avoid clashing with warm stone tones. This combo is perfect for people who want a soaking tub that feels spa-like, but the space is too small for bulky spa styling. The calm, uniform surface makes the room feel larger because there are fewer visual interruptions.
Choose one stone-look tile body and stick to it for both shower walls and tub deck. Install the tub and waterproof the wall, then run the stone-look tile from the shower floor up to the ceiling with consistent grout joints. Use a tile layout that minimizes cuts at the glass edge so the tile stays symmetrical in photos. After tile is set and grouted, install the glass panel and seal the tub-to-tile transition with a waterproof caulk line.
Use 2x2 or small-format accents only on the floor if you want traction; keep the wall large-format for the clean look.
Avoid mixing two different stone-look tiles — the room starts looking like it was assembled, not designed.
7. Microcement-style shower walls and a white tub
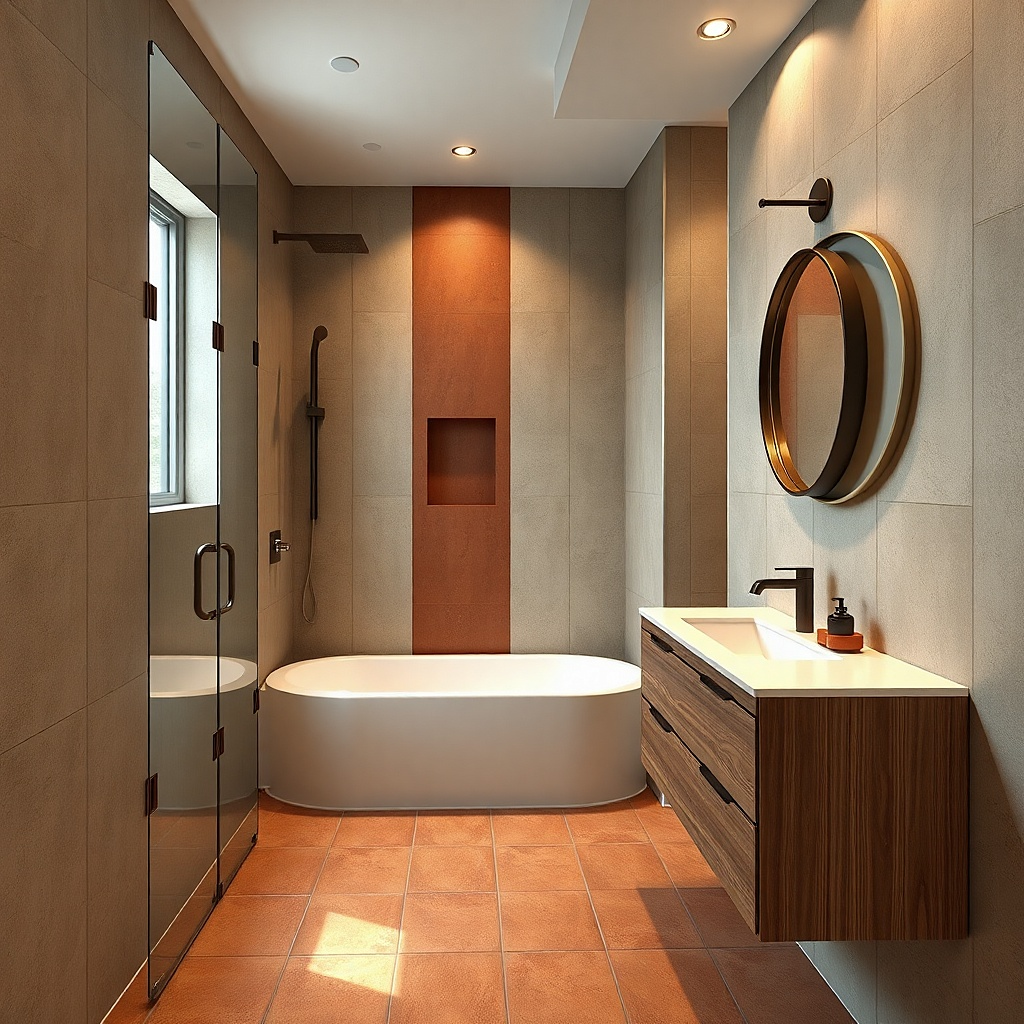
Microcement-style finishes look modern and smooth, and they hide grout lines better than tile if you keep the color consistent. Pair a white soaking tub with a cement-gray shower wall that goes to the ceiling, then keep the glass clear. The smooth color field makes the small bathroom feel larger because there’s less pattern breaking up the sightlines. For comfort, choose a tub with a slightly contoured back so you still get that “soak” feeling even with a minimalist surround. This idea works well in bathrooms with simple lighting and clean lines where you want the combo to feel architectural.
Microcement-style finishes require proper prep, so plan on using a system rated for wet areas rather than paint. Waterproof the shower wall, apply the cementitious coating per the manufacturer’s thickness and cure times, then topcoat with a slip-resistant finish in the shower floor area. Install the soaking tub, then seal the perimeter between tub and coated wall with waterproof sealant. Finally, mount the glass panel and use a matching caulk color so the seam disappears.
Try thisKeep the cement color slightly warm (greige-gray) if your bathroom lighting is cool; it avoids a cold, cave-like look.
Common mistakeAvoid glossy cement coatings on a small bathroom floor; reflections can make the space feel busier.
8. Herringbone tub surround in soft white
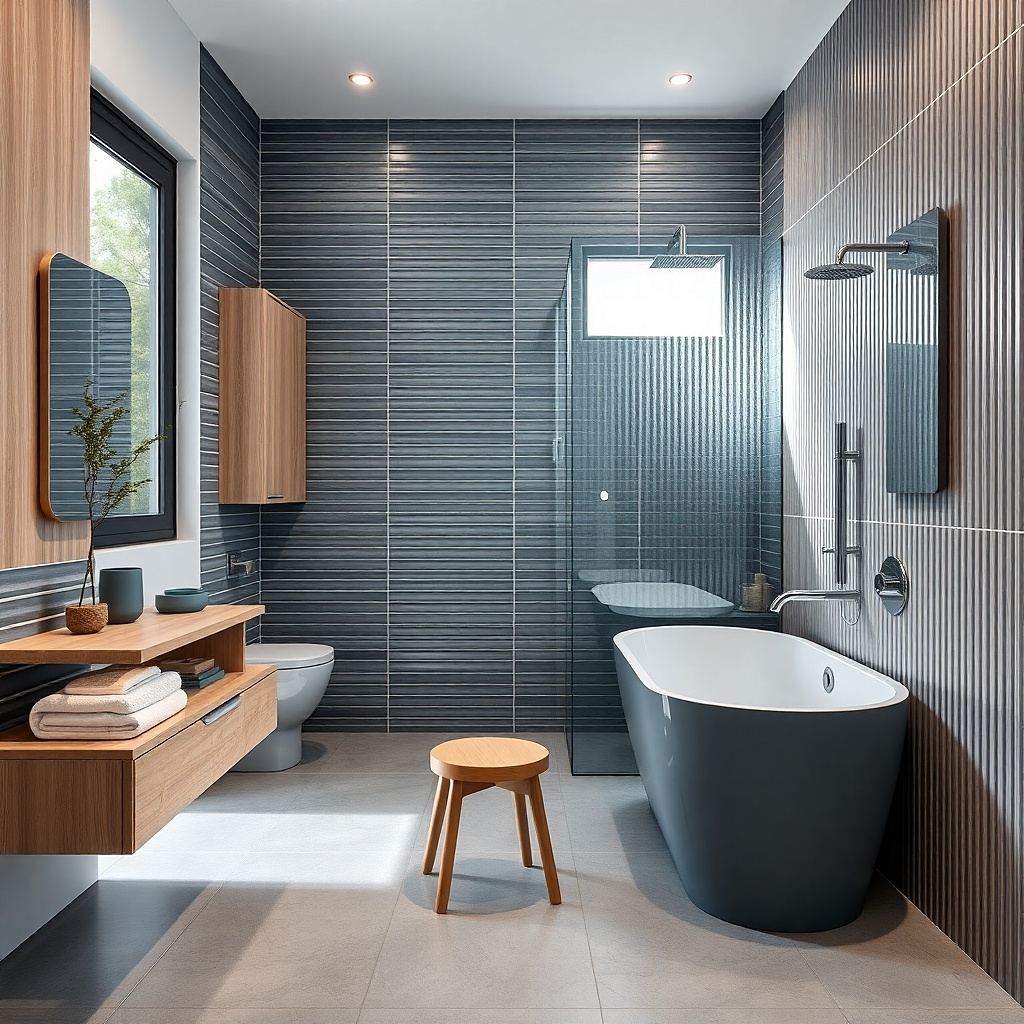
Herringbone adds pattern without taking over the whole room, and it’s one of the best ways to make a small soaking tub shower combo look custom. Use a soft white herringbone on the tub surround and shower wall, then keep the rest of the bathroom simple with flat white or light greige paint. Choose clear glass so the pattern stays visible and feels intentional. This combo is very photogenic because the tile lines create movement even in a compact footprint. It’s ideal when you want the tub to be the visual anchor and you don’t want dark colors to shrink the space.
Pick a tile size that makes herringbone scale right for the room, such as 2x6 or 2x8 pieces. Start your layout at a point that makes the pattern symmetrical around the tub centerline, then dry-lay to confirm you won’t end up with skinny slivers at the glass edge. Waterproof the wall, install the tub, then tile from the tub rim down to the shower floor. After tile cures, install glass and grout with a light, color-matched grout to keep the pattern crisp.
Use a matte grout finish; high-shine grout looks dirty in photos fast.
Avoid oversized herringbone in a tiny space — it can look heavy and fights the airy goal.
9. Two-tone shower: light walls, darker tub deck
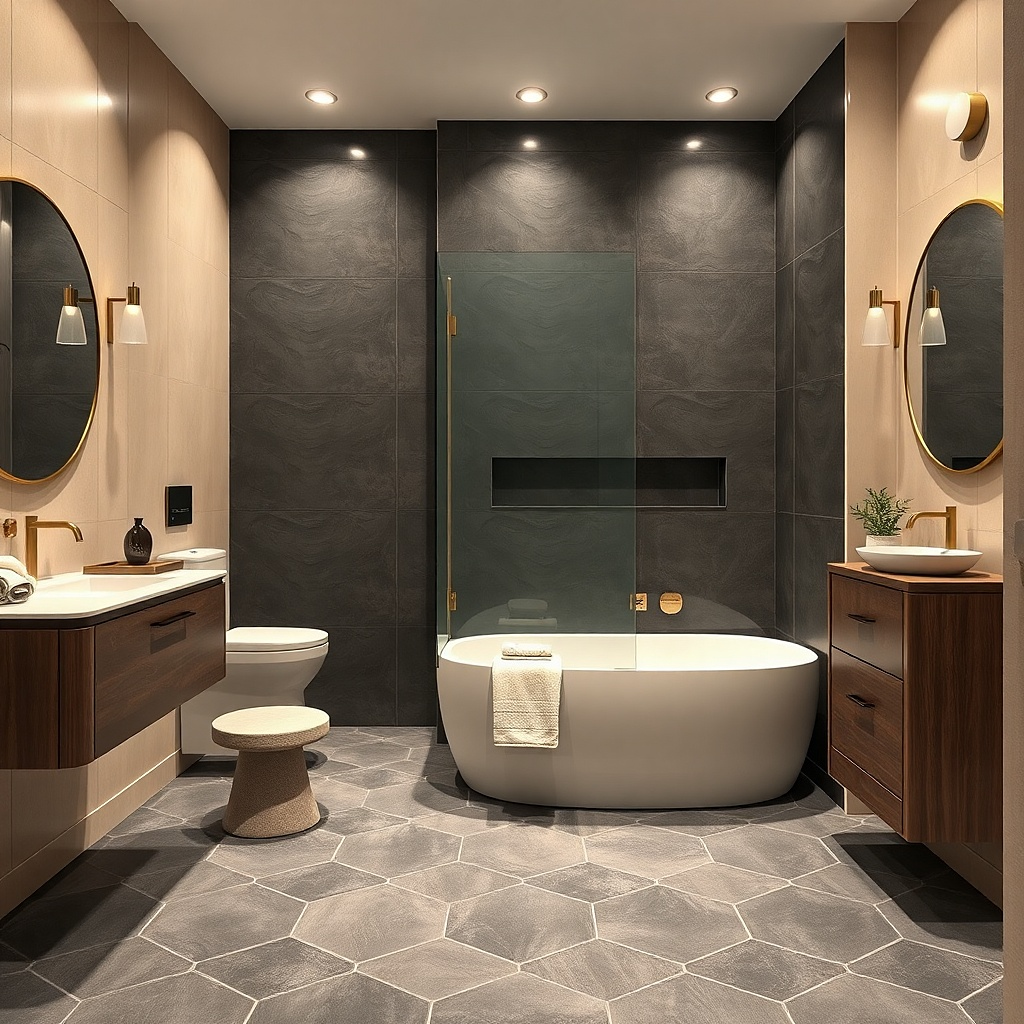
Two-tone design is how you make a small bathroom feel designed instead of “all one thing.” Keep the shower wall light and bright with a glossy or satin-finished porcelain, then tile the tub deck with a slightly darker matte stone look. The contrast defines the soaking area and makes the glass line look sharper. Choose a color that matches your vanity or floor — for example, taupe-brown for warm woods or cool greige for gray floors. This approach keeps the room airy while still giving you depth under the tub, which reads well in pictures.
Choose your light wall tile first, then pick a tub deck tile that is 1-2 shades darker in the same temperature (warm vs cool). Install the shower wall tile to the ceiling, then tile the tub deck last so you can align the horizontal color break at the tub rim. Use a straight edge to define where the colors change and keep the grout line consistent across both sections. Waterproof and seal all seams before glass installation, then caulk the glass edge with a tone that matches the wall tile.
Keep the darker tub deck matte — it hides water spots better than glossy surfaces.
Avoid a high-contrast black deck unless your bathroom has strong light; it can make the tub feel heavy.
10. Slim curbless shower with glass and a sloped tub deck
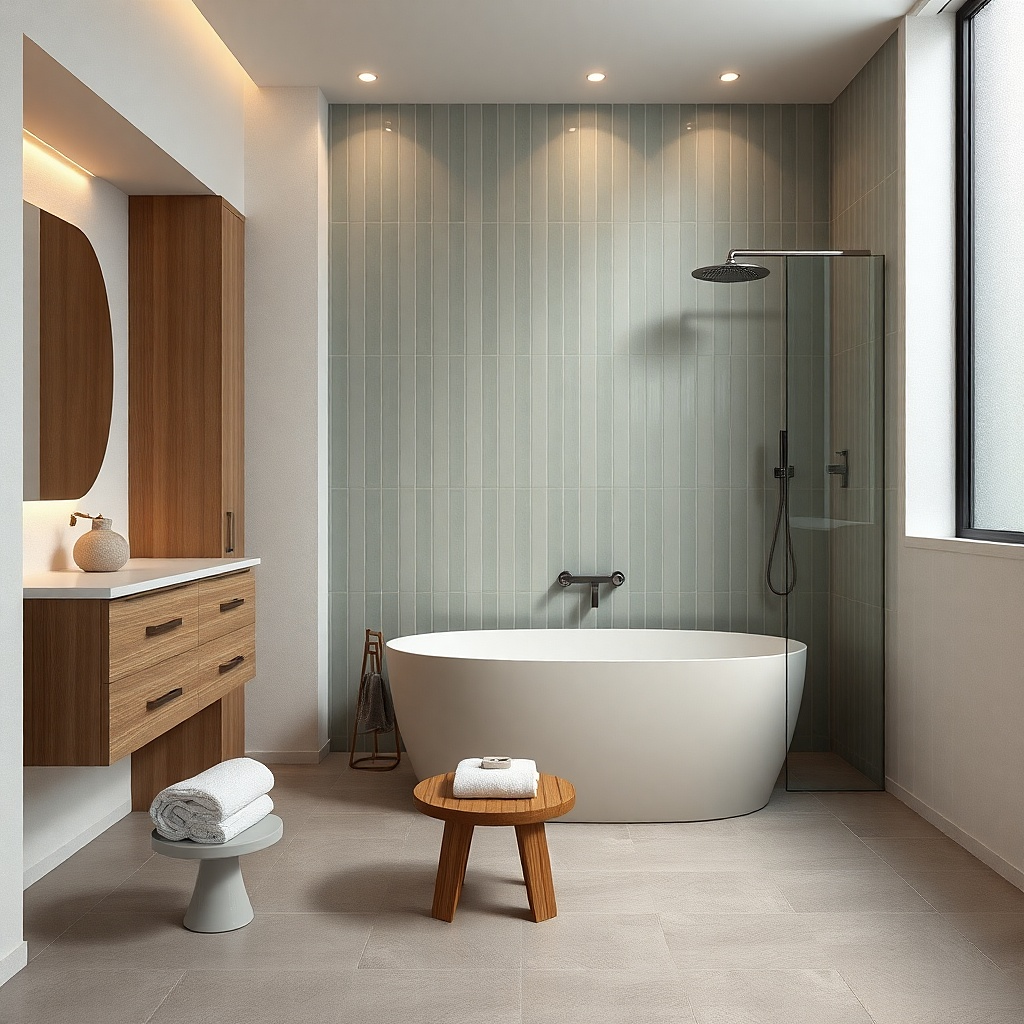
A curbless look is one of the best aesthetic upgrades for small bathrooms because it removes the visual “lip” that interrupts flow. In a soaking tub shower combo, you can still keep water contained by using a tub deck designed to slope toward the drain and adding a clear glass panel that seals tightly. Use large-format wall tile and a minimal grout layout so the smooth, continuous surface reads upscale. This idea works best when you want a modern, spa-like look and your bathroom floor can handle the plumbing changes needed for proper drainage. It also helps accessibility without making the room look like a hospital bathroom.
Confirm your floor structure and plumbing route before you commit; curbless requires the drain to be placed correctly and the waterproofing to be detailed. Choose a tub with a compatible drain location and a deck slope, then plan the glass panel width to cover the wet zone. Waterproof the entire shower area, install tile on the sloped deck, and use a thin, color-matched grout line for the clean look. After tile is cured, install the glass panel and test the seal with a controlled water run before finishing trims.
Use a floor drain grate in a finish that matches the glass hardware so the drain doesn’t become the visual center.
Avoid rushing waterproofing details; curbless failures show up fast through leaks.
11. Rounded tub edge with ribbed glass panel
If you want privacy without going fully frosted, ribbed or lightly textured glass gives you a softer look while still letting light pass. Pair it with a rounded-edge soaking tub so the curves feel intentional and comfortable. Use neutral matte tiles — warm white, sand, or soft greige — and keep the rest of the bathroom minimal. This combo looks great in photos because the ribbed texture catches light differently as you move, which adds depth in a small footprint. It’s a smart choice for bathrooms that face a hallway where you want visual privacy.
Select a glass panel with a ribbed pattern that still feels bright, then choose hardware in a finish that matches the ribbed glass frame (matte black or brushed nickel). Tile the shower wall and tub deck in a matte tile to avoid glare against the textured glass. Install the tub first, then tile up to the glass edge and leave a clean, waterproof seam for caulk. Mount the glass panel after grout is cured so you can align the bottom edge perfectly over the wet zone.
Try thisKeep the tile color warm if the ribbed glass is cool-toned; it prevents the whole combo from looking gray.
12. Patterned floor tile that anchors the combo
Small bathrooms can look flat because the floor becomes an afterthought. Put your visual energy on the floor instead of the walls: use a patterned tile on the bathroom floor, then keep the shower wall and tub surround simple and light. A soaking tub shower combo looks more grounded when the floor has texture, and the clear glass keeps the shower area from feeling heavy. Choose a floor pattern with 2-3 tones max — for example, off-white plus greige plus a muted clay — so it doesn’t clash with the shower tile. This is a strong choice if you’re remodeling a bathroom where the walls can’t be fully re-tiled due to time or budget; you can still make the combo look like a full design.
Pick the floor tile pattern first and measure the bathroom so the tile lines center under the tub and vanity. Install the tub and shower wall tile as planned, then install the floor tile last so you can align the floor pattern cleanly at the tub edges. Use a matching grout color on the floor and a lighter grout on the shower walls to keep the wet zone calm. After floors are set, install the glass panel and seal all transitions between floor and shower surfaces.
Try thisChoose slip-resistant floor tile — the comfort part matters when you step out of a soaking tub.
Common mistakeAvoid a busy shower wall pattern if your floor is already patterned; the bathroom will feel louder than it needs to be.
13. Single wall niche + built-in tub caddy look
A built-in caddy look makes the tub feel like a spa because it gives you a place for a candle, soap, or a glass of water without cluttering the deck. Do it by adding one wall niche near the shower end and using a simple tub surround tile that matches the shower wall. Keep the niche slim — about 4-6 inches deep — so it doesn’t steal space. Use a clear glass panel so the niche stays visible through the glass, which makes the combo look intentional and complete. This approach is great for people who want comfort features but don’t want a complicated enclosure.
Mark your niche location on the wall next to the tub, then confirm you don’t hit plumbing lines in the wall. Waterproof the wall, frame the niche, then tile the wall and niche using the same tile and grout color. Install the tub and finish the tub deck seam so the niche area stays dry and clean. Finally, install the glass panel and caulk the edges; add the shower hardware after the glass is in so you can align everything neatly.
Use one niche only and keep it at a consistent height; two niches make a small bathroom feel chopped up.
Avoid open shelves outside the wet zone; they read as storage clutter in small spaces.
14. Matte white wall tile with a subtle linear drain look
A matte white wall keeps the room bright, and a linear drain gives you a clean, modern water path. In a tub shower combo, the linear drain look makes the shower area feel intentionally designed instead of improvised. Pair matte white with a light gray grout and keep the tub deck tile consistent with the wall. The glass stays clear, and the minimal hardware makes the whole setup feel calm. This works especially well in small bathrooms that already have a dark vanity or dark flooring — it balances the contrast without making the wet zone look heavy.
Choose a linear drain grate finish that matches your glass hardware. Plan the drain placement with your rough-in so it sits where the shower water naturally runs; then waterproof the shower area thoroughly. Tile the shower wall in matte white large-format pieces and keep grout lines tight. Install the tub, tile the deck to meet the drain area, then mount the glass panel and seal the perimeter with waterproof caulk.
Try thisUse a water-resistant shower curtain rod as a temporary cover during construction; it keeps dust out of the glass track while you tile.
Common mistakeAvoid glossy wall tile with a linear drain if your bathroom lighting is harsh; glare makes small rooms look messy.
15. Satin brass fixtures with light greige tile
Satin brass on shower fixtures is one of the best ways to make a small bathroom feel warmer without adding visual bulk. Pair it with light greige tile in large-format slabs on the shower wall, and keep the tub white or very light cream. The brass reflects just enough light to make the glass line look polished, and the greige tile keeps the room from feeling sterile. Choose clear glass so the fixtures and tile are visible, and keep the grout light to preserve a smooth surface. This combo is photogenic because the brass creates a soft highlight where the camera wants to focus.
Pick your brass finish first, then choose tile in a greige tone that matches the undertone of the brass (warm greige pairs well with satin brass). Install the soaking tub and tile the shower wall to the ceiling with large-format pieces, leaving clean edges at the glass opening. Waterproof and seal the tub-to-tile seams, then install the shower valve and trim before glass so you can align the fixtures. After tile and grout cure, mount the glass panel and caulk with a grout-matched silicone.
Try thisUse matching brass on the towel bar and grab points so the bathroom looks cohesive instead of “one-off.”
Common mistakeAvoid mixing brass with bright chrome in the same bathroom; it makes the combo look unfinished.
16. Deep green accent strip with white subway tile
White subway tile is classic, but the trick for small bathrooms is adding one controlled accent instead of full pattern overload. Use white subway tile on the shower wall and tub surround, then add a deep green vertical or horizontal accent strip about 3-6 tiles tall. Keep the glass clear and use black hardware so the green reads clean, not muddy. This idea gives you a strong focal point while the rest of the bathroom stays bright. It’s a good choice if you want “comfort” to feel cozy and not just minimal.
Choose your subway tile size, then plan the accent strip so it aligns with the tub rim and glass edge. Waterproof the wall, install the main white subway pattern, then place the green accent strip using a level and spacers to keep it straight. Tile the tub deck with the same white tile or a matching cream, and keep grout light so the green doesn’t look harsh. Install glass last, after grout cures, and seal the perimeter with waterproof silicone.
Keep the accent strip on the wall behind the shower controls; it makes the shower area look intentional in photos.
Avoid adding more than one green element; a second accent quickly turns into clutter in small rooms.
17. Two-panel sliding glass for narrow bathrooms
In narrow bathrooms, a hinged door eats space you need for circulation. A two-panel sliding glass system keeps the wet zone contained while leaving the entry area open. Pair it with a soaking tub that has a clean rim and tile the shower wall in large-format white or pale stone so the sliding tracks don’t visually dominate. The look is sleek because the glass panels move instead of swinging into your sightline. This is one of the most practical “good-looking small bathroom remodel ideas” for cramped layouts where the door swing is a constant problem.
Measure the clear opening and confirm you have enough wall length for the sliding track on the side panel. Install the tub and waterproof the shower wall, then tile the wall and tub deck before installing the track so the glass height matches finished tile. Use a slim-profile track and choose clear glass panels for maximum light. After installation, run water to test sealing along both panels and adjust if needed before final trim.
Mount the track so the lower edge aligns with the tub deck line; misalignment makes the combo look DIY.
Avoid heavy dark frames on sliding glass in a small room — they visually shrink the space.
18. White slab surround with a thin black reveal line
Slab-style walls make a small bathroom feel larger because they reduce visible grout and seams. Use a white or off-white porcelain slab-look tile, then add a thin black reveal line at the glass edge or as a vertical strip in the wet zone. The black line gives you a crisp boundary that photographers love because it frames the glass and tub without cluttering the room. Pair with matte black fixtures and a clear glass panel. This combo looks sharp, modern, and calm — exactly what a compact soaking tub shower combo needs.
Choose a slab-look tile with a true large format and plan your layout so seams fall outside the main line of sight. Waterproof the wall, install the tub, then set the slab tiles with a consistent thinset bed and straight edges. Add the black reveal element at the transition line where it will be most visible — usually near the glass panel edge. Install glass after tile cures, then caulk the reveal line with black or near-black silicone for a tight, intentional border.
Use matte black on the shower valve trim only, not on every towel hook and accessory; keep the room from feeling too dark.
Avoid thick trim bands; they make small bathrooms look like they have built-in borders everywhere.
19. Light gray porcelain with a textured shower floor insert
This is a comfort-and-practicality combo that still photographs well. Keep the shower walls in light gray porcelain for a clean, modern look, then use a textured shower floor insert with a subtle pattern for slip resistance. The contrast between smooth walls and a grippy floor makes the wet zone feel premium without adding visual clutter to the walls. Pair it with a clear glass panel and brushed nickel fixtures so the whole setup stays neutral and cohesive. This works well if you have a lot of foot traffic and want the bathroom to look tidy even when it’s used daily.
Pick a textured shower floor tile rated for wet areas, and match its color family to the wall tile so it doesn’t look like an afterthought. Waterproof the shower area, install the tub, then tile the shower wall first so you can accurately set the floor insert height at the tub edge. Use a matching grout color and keep grout lines consistent across the floor and wall transitions. Install the glass panel after grouting, and seal the junctions with waterproof silicone.
Try thisChoose a floor texture that’s not too deep; deep texture can trap grime and look dull in photos.
Common mistakeAvoid mixing a dark textured floor with dark wall tile — it can make the wet zone feel like a pit in a small bathroom.