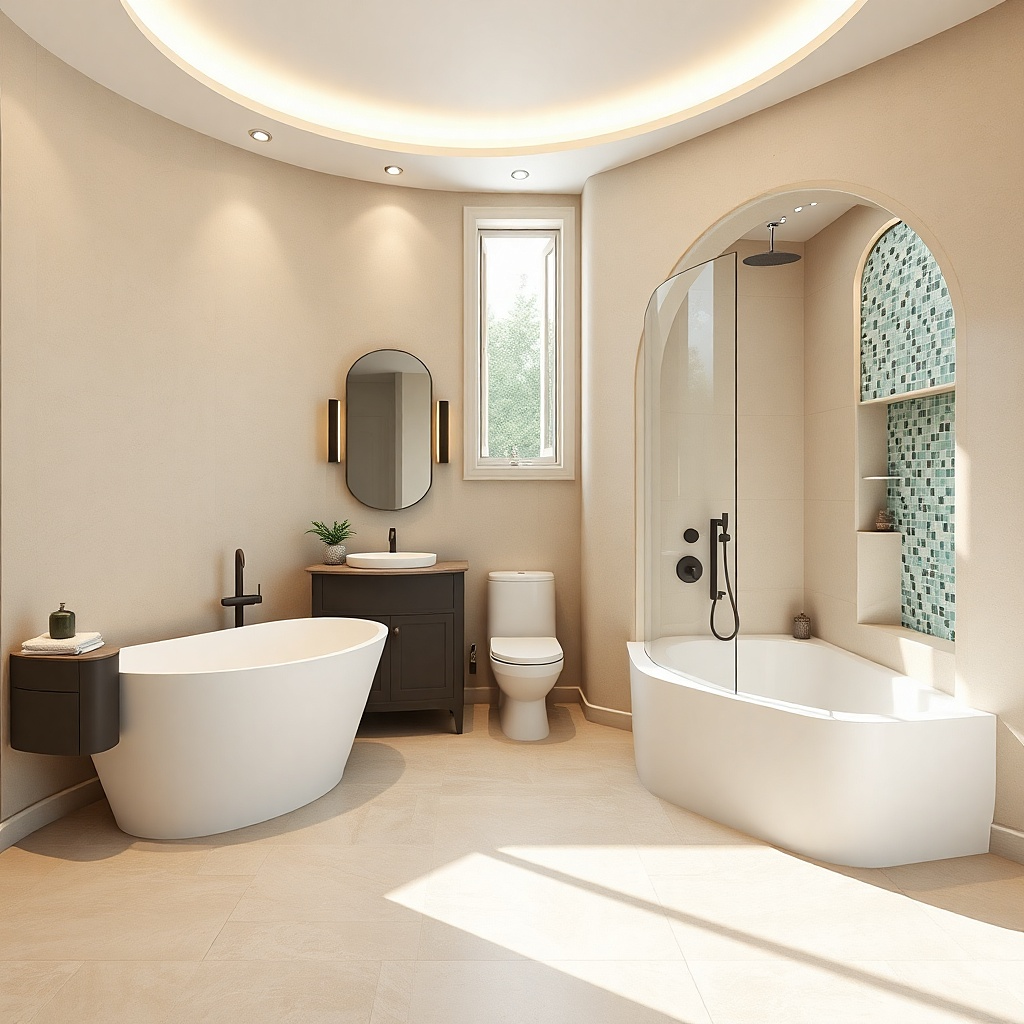
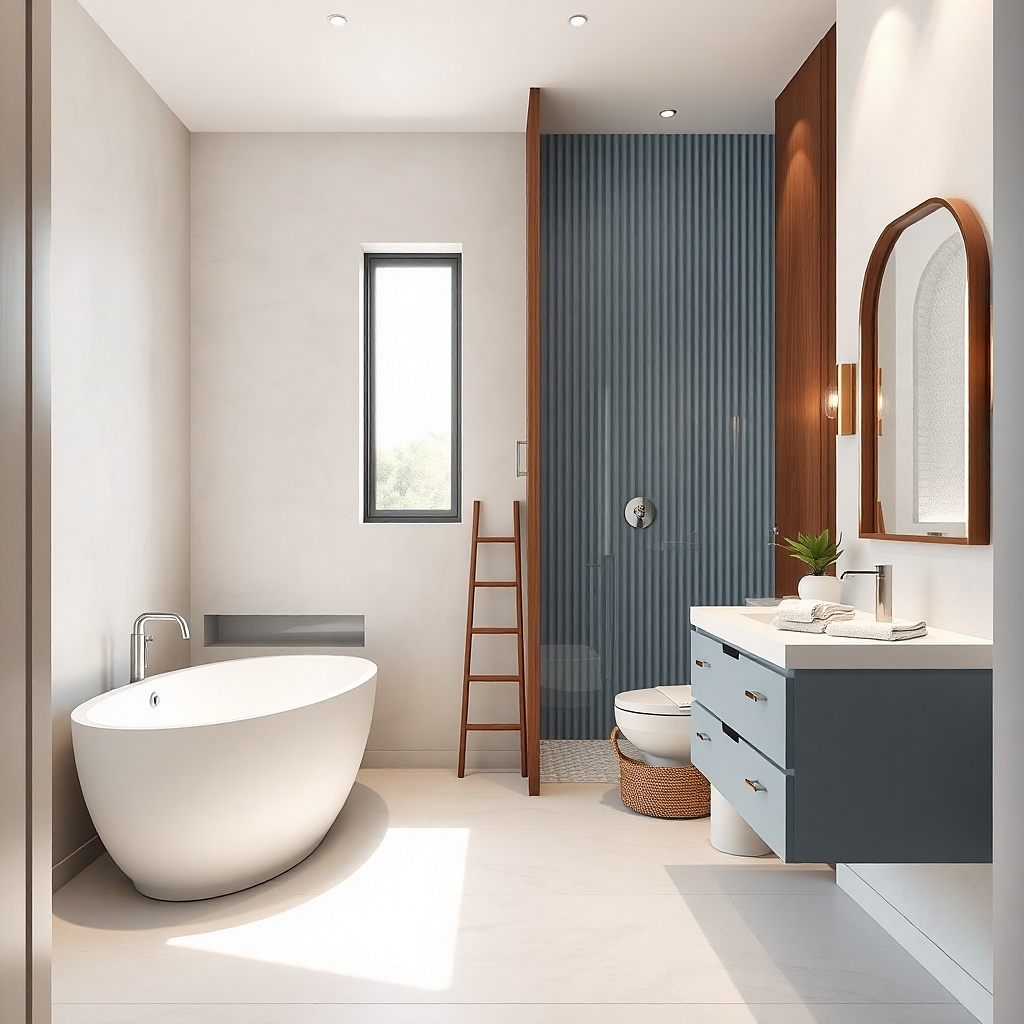
1. Curbless Shower with Clear Glass + Light Gray Porcelain
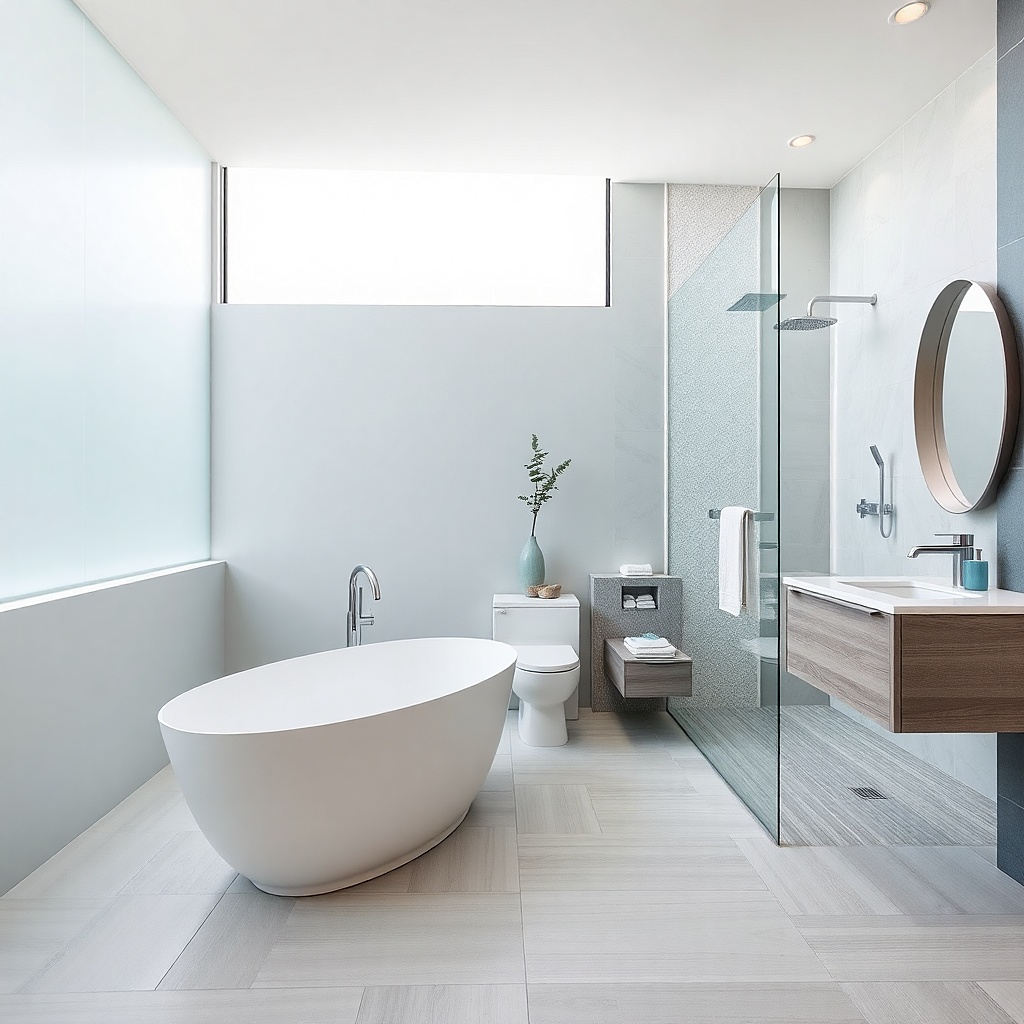
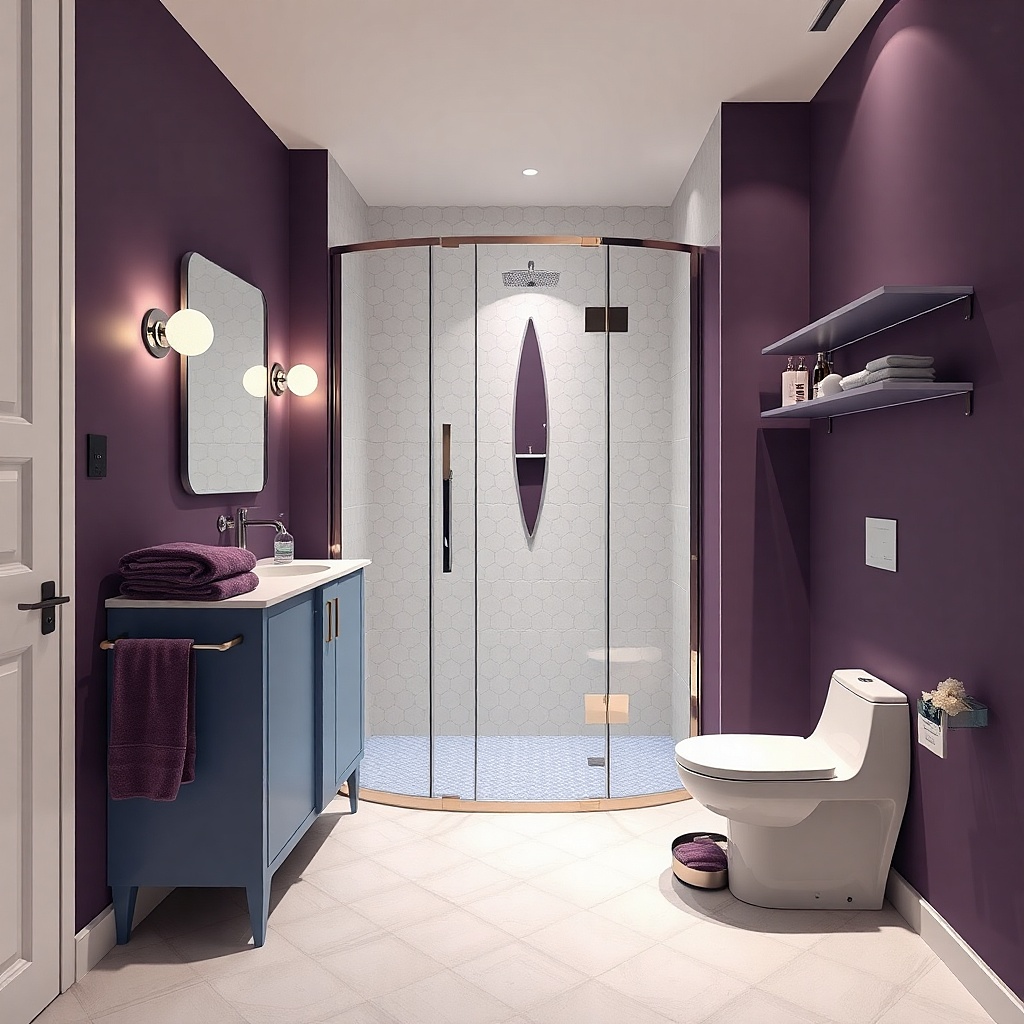
Measure your shower area first and plan for a low-threshold drain that still meets slope requirements (a typical target is about 1/4 inch per foot toward the drain). Install a waterproof system on the walls and floor, then set porcelain wall tile before the floor tile so transitions stay crisp. Finally, mount clear frameless glass panels so the edge lines up near the same height as the tile change line and avoid a second visual “frame.” Budget roughly $1,500-4,000 for a glass-and-tile shower depending on size and labor level.
If your goal is “light, relaxed, bigger,” a curbless shower with clear glass is the cleanest move. Clear glass keeps the sightline open, so the room doesn’t break into a heavy box even when the shower is the biggest visual footprint. Use light gray porcelain with a subtle, stone-like texture so it reads spa-calm, not industrial. Keep the wall tile and floor tile in the same family, then use a grout color that is one shade lighter than the tile for a softer outline.
Common mistakeDon’t choose a dark grout or heavily veined tile — it makes the shower look like a separate room inside the room.
Try thisPick a glass thickness that matches your existing bathroom feel 3/8 in looks airy; 1/2 in reads more substantial and can feel heavier in tiny rooms.
2. White Shiplap-Style Wall Tile with Continuous Grout Lines
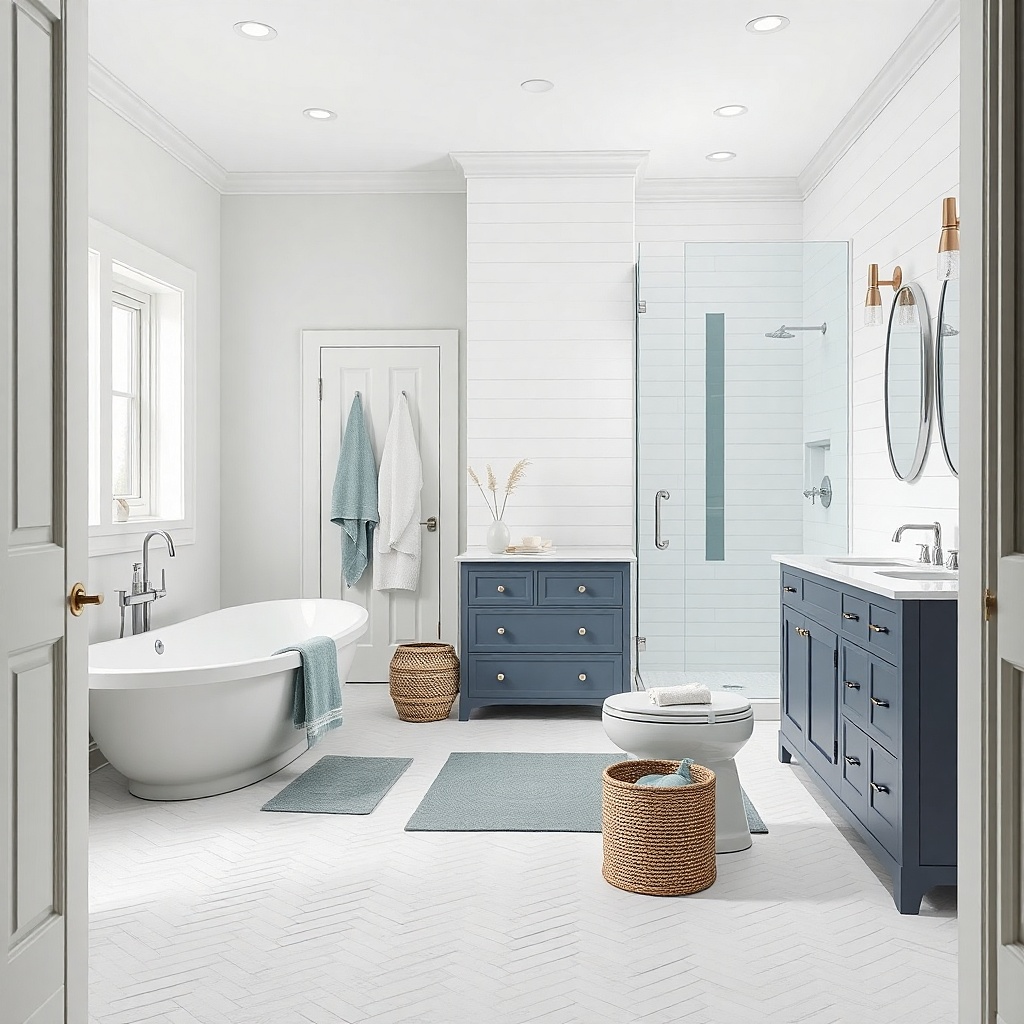
Coastal spa doesn’t need real wood panels. White shiplap-style wall tile creates that calm, laid-by-the-sea texture while staying waterproof. Horizontal lines are the trick for a small bathroom because they visually widen the wall. Use a soft white tile with a matte finish so it doesn’t glare under vanity lighting. Keep grout color slightly lighter than the tile so the lines look intentional and airy, not harsh.
Start by mapping the wall so the first course lands cleanly at eye level — aim for a full tile at the most visible height and trim in less noticeable corners. Use a tile spacers system to keep grout lines consistent, then back-butter wall tile so the ridges sit flat. Install a waterproof cement board or equivalent substrate before tile. Expect a material cost around $6-15 per sq ft for tile plus underlayment and thinset.
Run the shiplap tile behind the mirror and stop it cleanly at the vanity line so the room feels unified instead of patchy.
Avoid glossy white with bright white grout — it looks like a showroom, not a spa.
3. Sandstone-Color Floor with a Simple Hex Accent Band
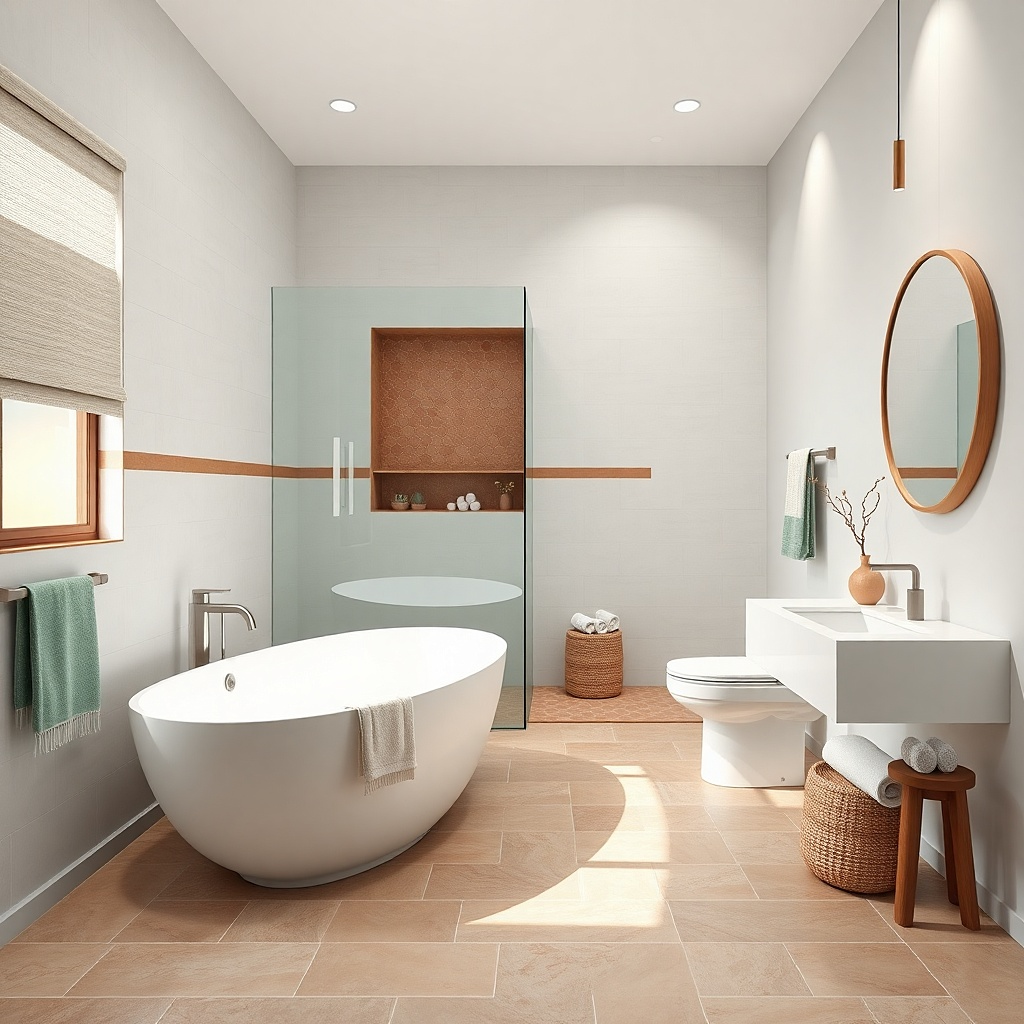
Pick a floor tile size that fits your layout without lots of awkward cuts — 12x24 in or 18x18 in porcelain often works well. Mark a level reference line where the hex band will sit, then plan the band width around your shower curb or threshold so it doesn’t pinch. Install floor tile first, then set the hex band on top after the main floor is cured enough to prevent shifting. This is usually a mid-cost remodel: tile and thinset plus labor for layout.
A small bathroom can look coastal and grown-up when the floor carries the calm color and the walls stay simple. Choose a sandstone or warm greige porcelain floor with a matte finish so it looks soft underfoot and hides minor water splashes. Add a narrow hex accent band only at a single location — like around the shower entry or along the vanity wall so it becomes a subtle horizon line. Use a pale sand hex tile with matching grout to keep it from looking like a separate pattern.
Common mistakeDon’t add multiple patterned zones — one accent band is enough for a small bathroom.
Try thisKeep the accent band width between 2-3 inches so it reads as a line, not a feature wall.
4. Tide-Blue Glass Subway + Warm White Vanity Area
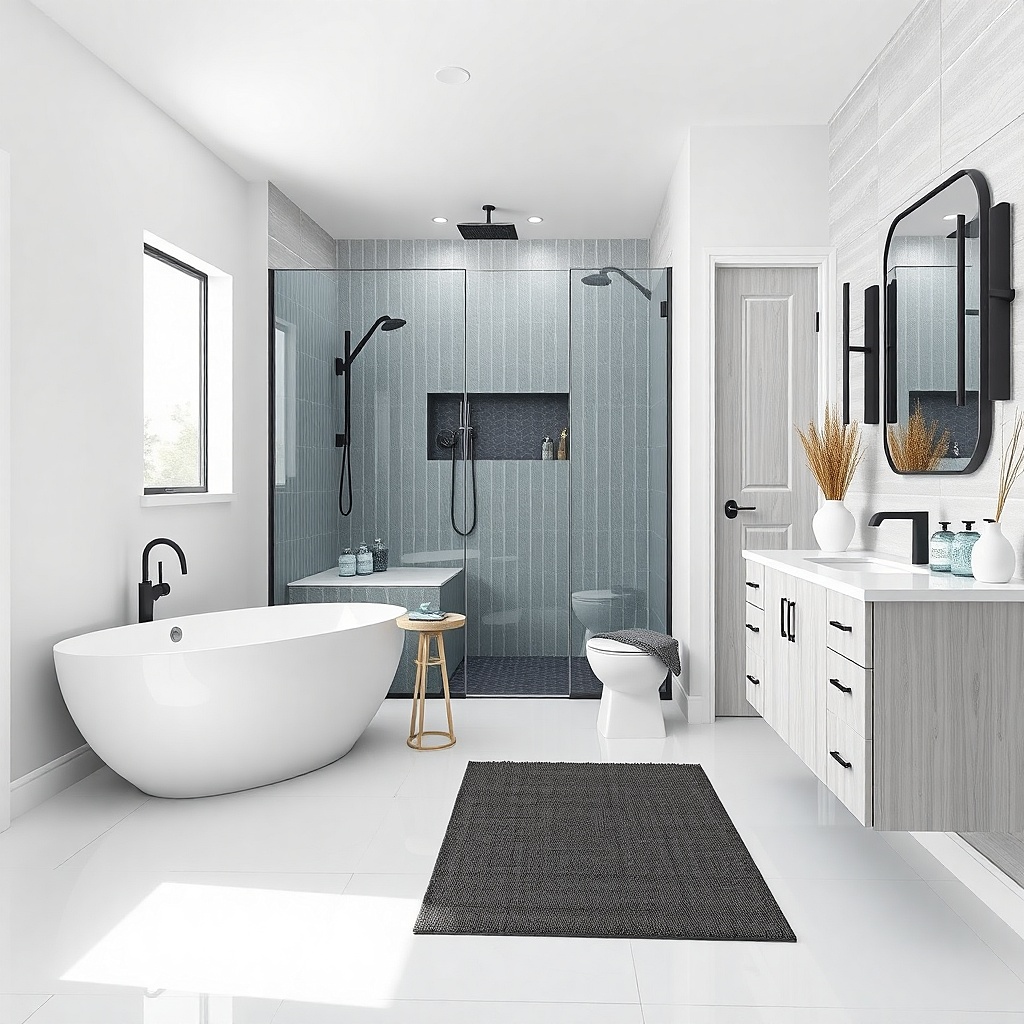
For coastal calm, a gentle tide-blue subway tile adds color without turning the room into a themed beach bathroom. Glass subway tile catches light, so pair it with warm white matte walls elsewhere to keep it from looking chilly. Use a soft-satin vanity top and warm-toned wood or wood-look laminate to balance the blue. Keep the shower floor neutral and choose clear or low-visibility glass so the blue reads as a glow, not a block of color.
Choose subway tile with consistent thickness and a finish that won’t show water spots easily (soft satin is easier to live with than high gloss). Plan your layout so the subway joints align vertically from a visual anchor point, usually the center of the niche or the valve. Set the subway tile with 1/8 in grout lines and use a grout color that matches the tile’s undertone. Add a niche or shelf only if you can keep it framed in the same blue tile for a clean look.
Use a single metal finish for the whole room brushed nickel or champagne bronze so the blue stays the star.
Avoid bright cobalt blues; they read too loud in small spaces.
5. One-Piece Wall Tile Look with a Single Large Format Backdrop
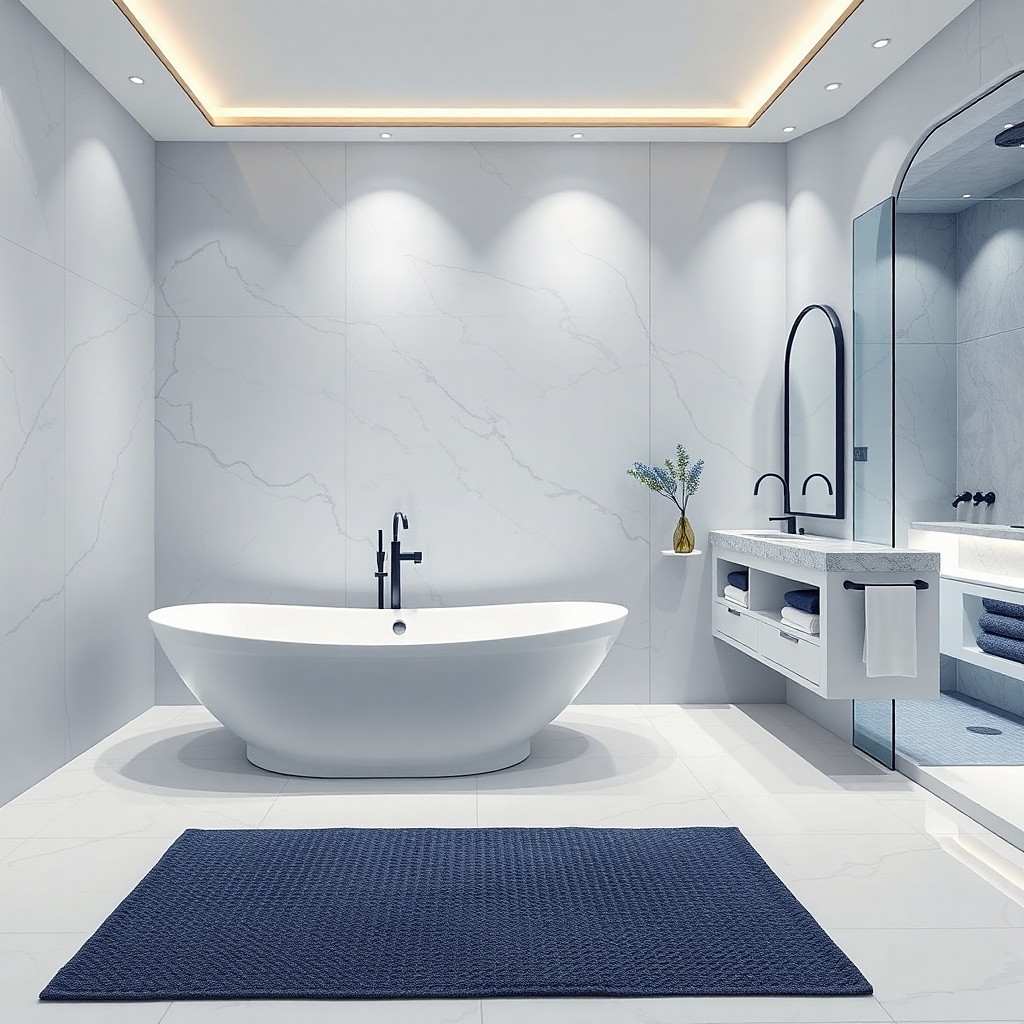
Use 24x48 in or 24x24 in tile for walls if your installer can handle LFT layout without lippage. Plan for a consistent cutting strategy around the valve and shower head; dry-fit the first course so you don’t end up with tiny slivers at the edges. Waterproof and prime the substrate before setting tile. Expect labor to be higher than small tile because large formats need careful leveling and thinset coverage.
Large-format tile makes small bathrooms feel calmer because grout lines are fewer. Pick a light, cool-white or pale seafoam marble-look porcelain, then run it vertically on the main shower wall to add height. Keep the floor tile in a similar tone but slightly warmer so the room doesn’t feel sterile. The result is a “one-piece” backdrop that photographs well and looks spa-like because the eye has less to jump around.
Common mistakeDon’t mix multiple tile sizes in the same plane — it fragments the look.
Try thisAsk for a lippage check with a straightedge before grouting. One small high corner shows up in every photo.
6. Niche-Only Storage in a Soft Matte Stone-Look Shower
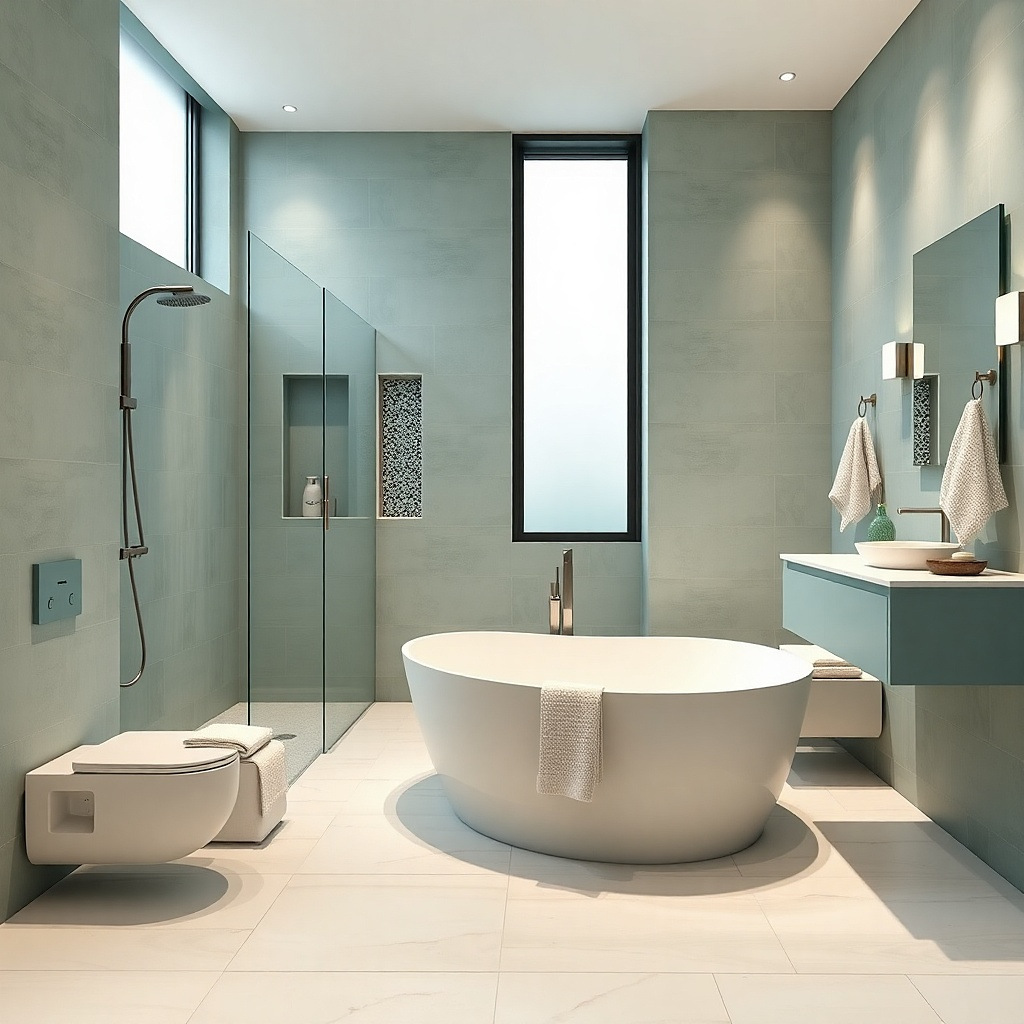
Locate the niche height around usable reach: the center of the niche often lands about 48-52 in from the finished floor. Waterproof the niche area as part of the shower system, then set tile so the niche edges align with your main grout grid. Keep the niche depth modest (about 3-4 in) so it doesn’t steal space from a small shower. Finish by installing a wall-mounted shower system so the wall stays smooth and photogenic.
In a small coastal spa bathroom, clutter is the enemy of “relaxed.” Built-in niches give you storage without adding shelves that visually break the wall. Choose a matte stone-look porcelain in a warm greige or pale sand, then frame the niche with the same tile so it disappears into the architecture. Frameless glass keeps the niche area visible, which makes the shower feel intentional instead of cramped. This approach also reads clean in photos because there’s no shower caddy silhouette competing with the tile lines.
Common mistakeDon’t add a separate corner shelf if you already have a niche — it looks busy fast.
Try thisUse matching soap dispensers and keep them refillable; visual uniformity matters more than you think.
7. Round Mirror Over a Narrow Floating Vanity
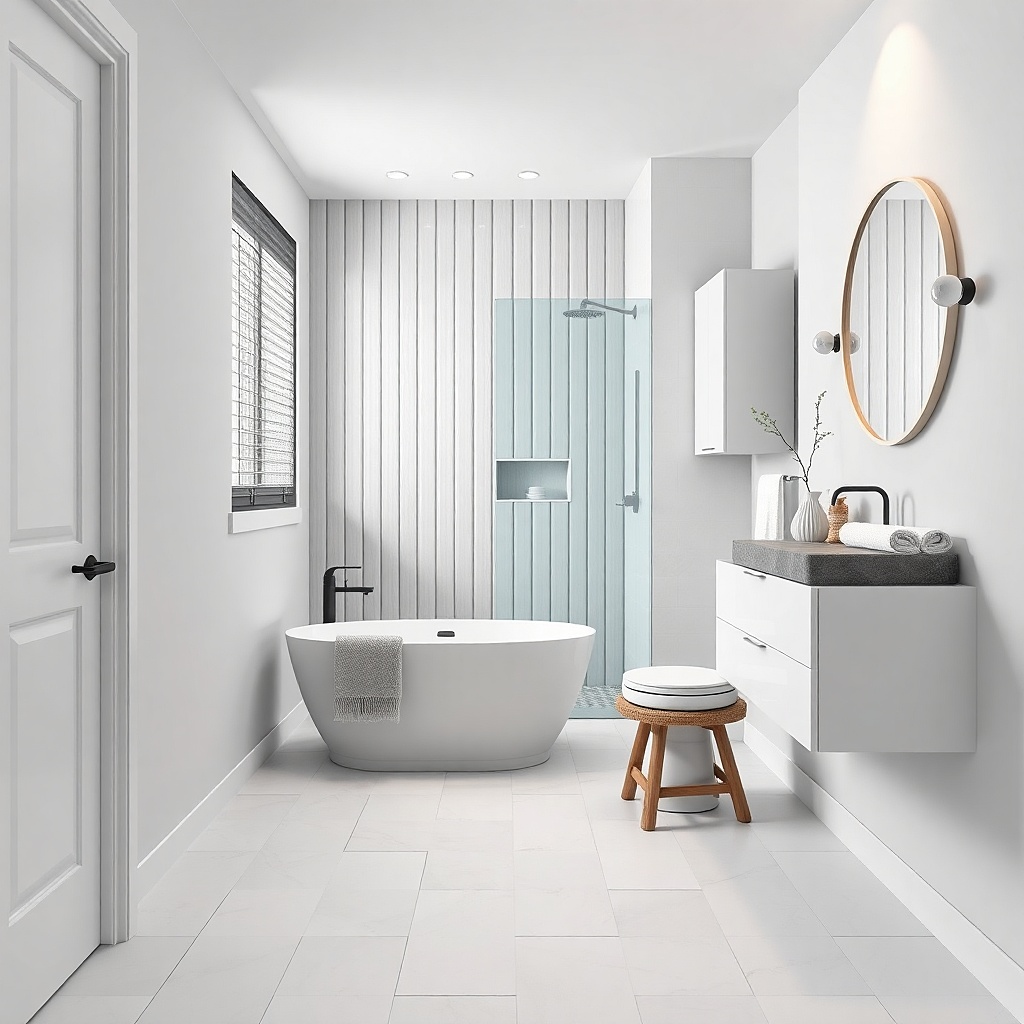
Measure the wall space and center the mirror so its bottom edge sits around 6-10 in above the vanity top. If your vanity is narrow (like 18-24 in), choose a mirror that is at least 2/3 the vanity width for balance. Install a floating vanity with proper blocking in the wall so it feels solid. Add a dimmable light source; bright overhead lighting kills the spa vibe in small rooms.
Mirror choice changes how big the room feels more than most people realize. A round mirror above a narrow floating vanity creates a gentle coastal spa look because it softens hard lines and reflects light across the room. Go for a mirror diameter around 24-30 in so it’s large enough to read from the doorway, but not so wide it blocks the shower glass view. Pair it with a vanity top in white quartz with a soft edge and warm underlighting or a wall sconce that throws light upward.
Common mistakeAvoid tiny mirrors; they make the ceiling feel lower and the room feel more segmented.
Try thisMatch mirror frame finish to your faucet and shower trim brushed nickel with nickel, champagne bronze with bronze tones.
8. Oyster White Walls with Matte Chrome-Free Hardware
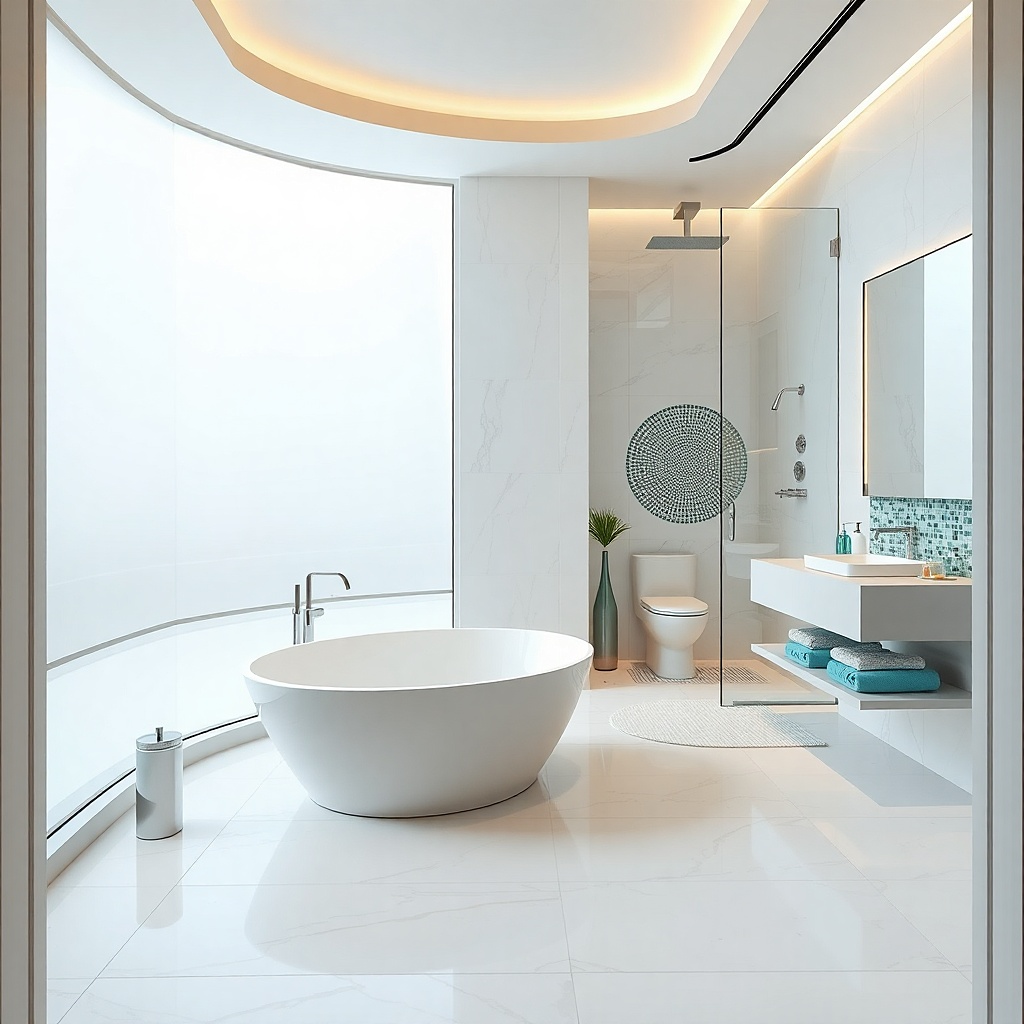
Choose wall tile in oyster white with a matte finish and keep it consistent from shower walls into the main bathroom wall if possible. Use a grout color that is slightly lighter than the tile so the lines dissolve. Select hardware finishes like brushed nickel, matte black, or champagne bronze depending on your lighting temperature. Install a fog-resistant mirror with a subtle anti-glare coating so the mirror stays usable and photo-friendly.
If you want the coastal spa feeling without obvious “beach” cues, go oyster white on the walls and keep hardware finishes muted. Oyster white reads warmer than pure white and makes skin tones look good in bathroom lighting. Use matte or brushed finishes for faucet and towel bars so reflections don’t create sharp glare. Pair this with a simple frameless shower and a consistent tile tone across the wet area. The aesthetic looks airy because the room has one dominant light color and minimal contrast edges.
Common mistakeAvoid mixing bright chrome with warm whites; it clashes in small spaces.
Try thisSet your lighting temperature around 2700K to 3000K. It makes oyster whites look creamy instead of gray.
9. Vertical Tile on the Shower Wall for Height Boost
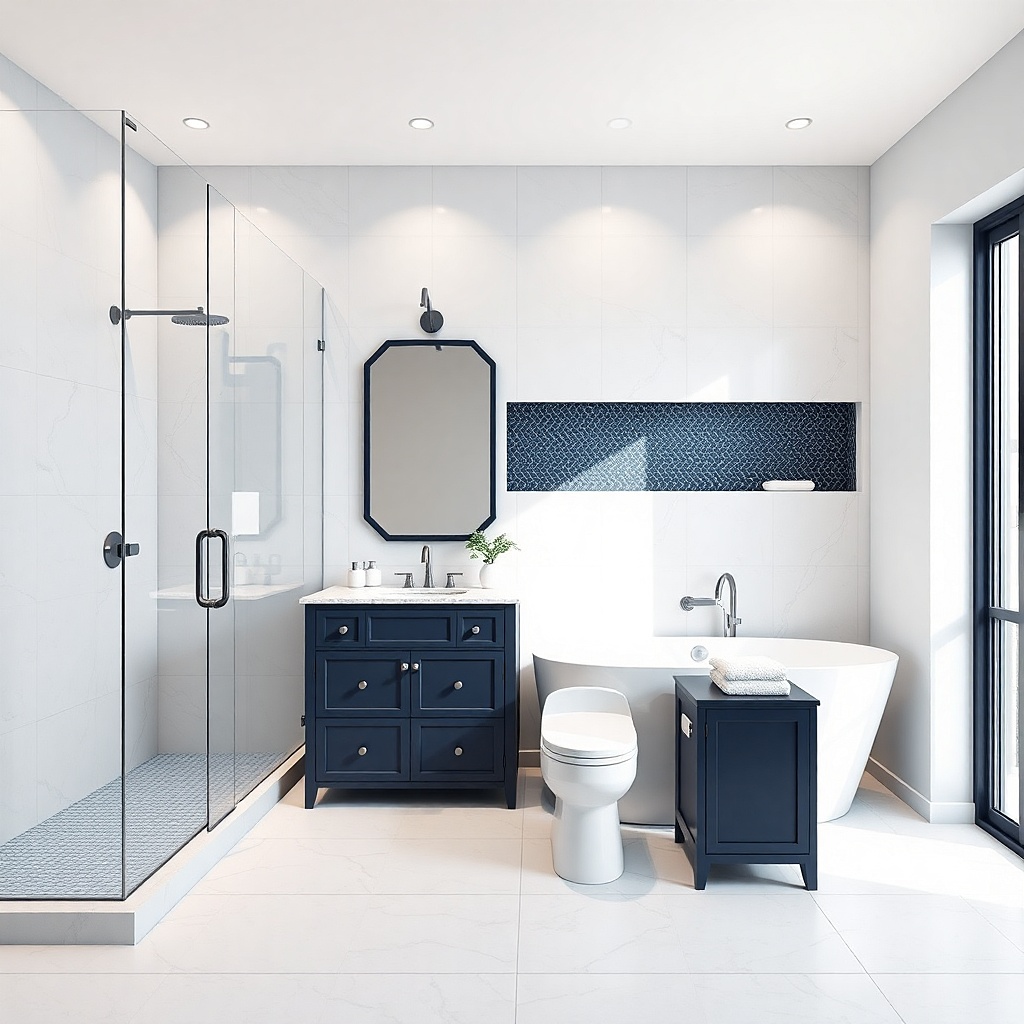
A small bathroom often feels shorter than it is. Vertical tile lines fix that instantly because your eye reads up. Choose a narrow tile format or a long rectangle and set it vertically on the tallest visible shower wall. Keep the color light and consistent — pale gray, oyster white, or sea-glass blue and use grout that’s close to the tile shade. This look is especially photogenic because it frames the shower opening with clean, tall lines.
Measure the height from shower curb or tub deck to ceiling and plan your tile layout so you don’t end up with a thin cut at the top. Use a ledger or laser level to start the first course straight, then work upward in consistent grout joints. If your shower has a niche, align the niche corners with the grout lines for a crisp look. Expect similar costs to standard tile installs, but labor may be slightly higher due to layout planning and alignment.
Keep the shower head and valve centered on the vertical tile grid. Alignment reads expensive in photos.
Don’t add a second pattern on the floor that fights the vertical lines.
10. White Quartz Tub-to-Shower Conversion with a Low Threshold
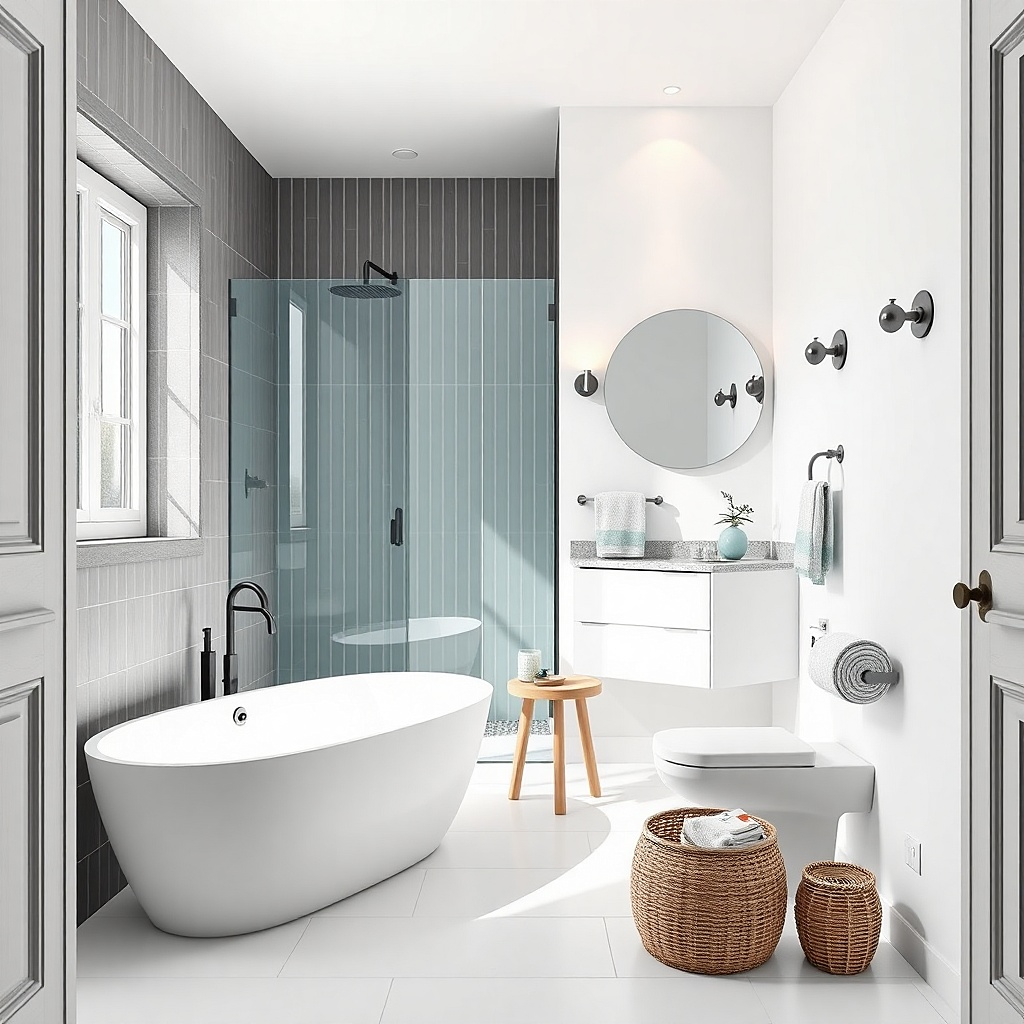
Remove the tub and prep the subfloor for a shower pan system. Install waterproofing and slope to a drain, then set a light shower deck surface and wall tile. Add a low-threshold curb, typically just a few inches high, so stepping in feels easy. Finish with a glass door or panel system that matches the tile height so the doorway looks intentional.
If you still want the option of a soak without a full tub, a tub-to-shower conversion with a low threshold keeps the room feeling open and modern. Choose white quartz or light porcelain for the shower deck area so it reflects light and looks clean. Keep the wall tile light and continuous, and use a glass panel that hides the “old tub” bulk. This is one of the best comparison small bathroom remodel ideas because it changes the silhouette less mass, more air.
Common mistakeAvoid dark shower decks; they make the conversion look like a patch.
Try thisUse a linear drain if you want a more modern, spa-like look than a single round drain.
11. Light Oak Vanity with White Countertop and Slim Brushed Bronze Pulls
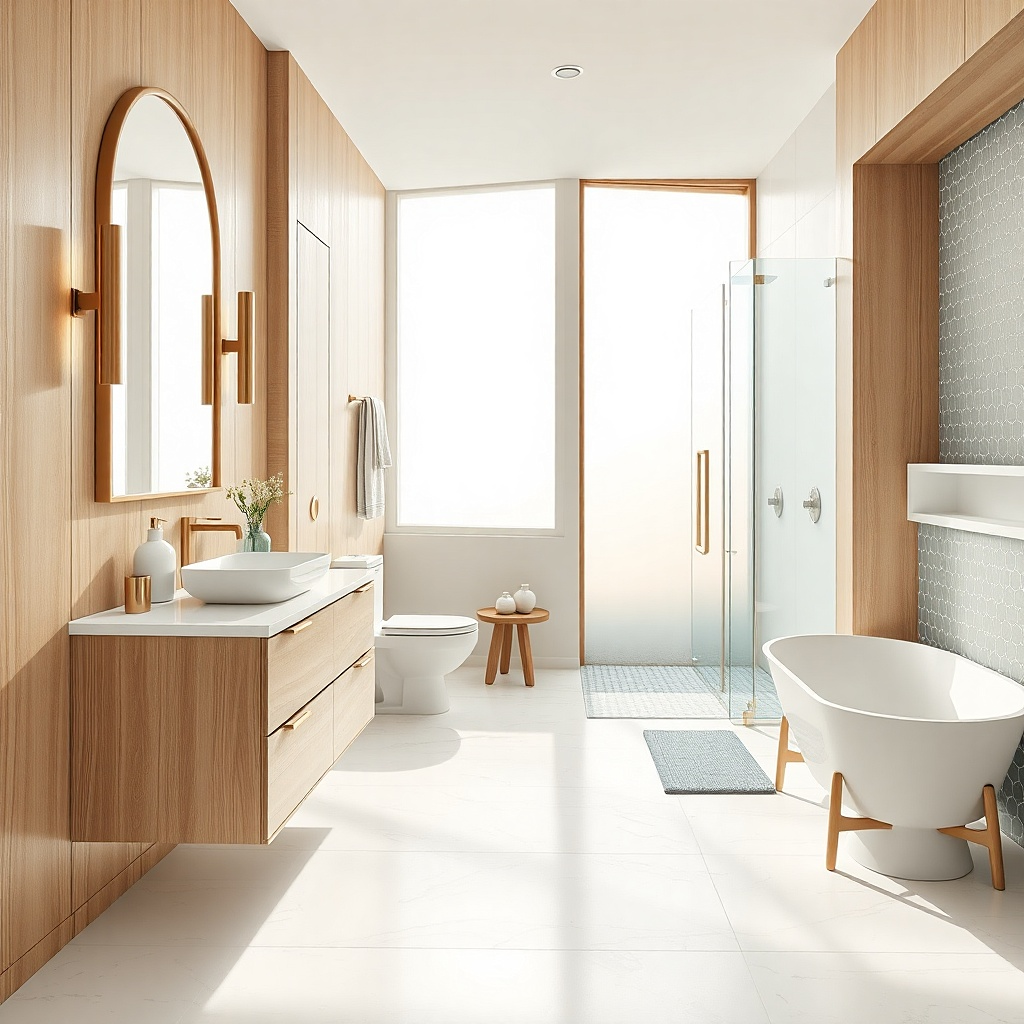
Pick a vanity width that fits your clearances — in a small bathroom, 24-30 in is a common sweet spot if you need a walkway. Install the vanity level and secure it to blocking so it doesn’t flex when you open drawers. Pair it with a white quartz or solid-surface countertop and a backsplash that matches the wall tile tone. Budget for vanity and top plus plumbing modifications if your drain location changes.
Coastal spa is about warmth and calm, and wood tone does that better than any decorative sign. A light oak vanity with a white countertop brings a natural coastal feel without leaning into obvious nautical motifs. Keep the vanity depth slim and use a wall-mounted or close-to-wall installation so the floor stays visually open. Choose brushed bronze hardware for a soft coastal warmth that pairs well with oyster white tiles. This look photographs well because the color contrast is controlled: light woods and white surfaces, no harsh black hardware.
Common mistakeAvoid dark walnut finishes; they absorb light and shrink the room.
Try thisUse a single-handle faucet with a slightly arched spout so it looks balanced on a narrow counter.
12. Matte White Ceiling + Soft Gray Walls for a Lighter Upper Half
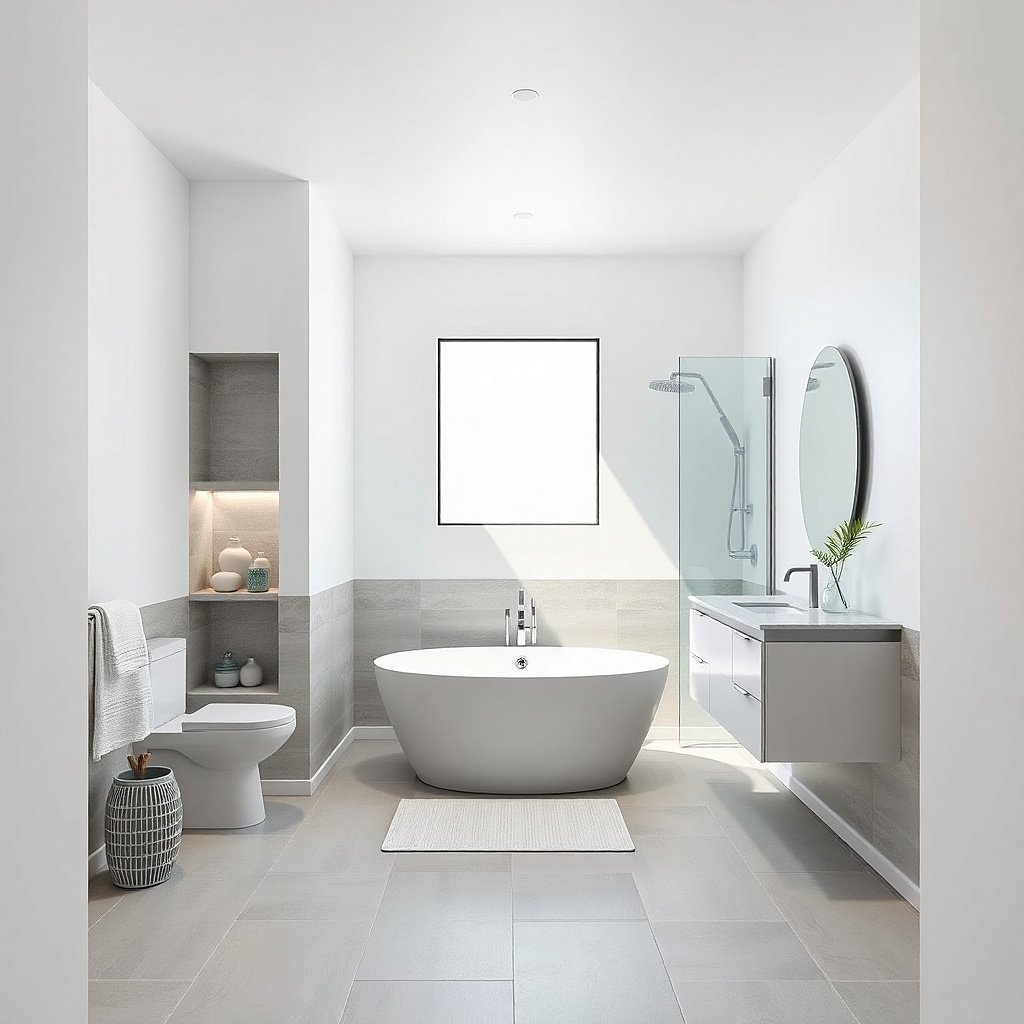
Tape and prep the bathroom surfaces, then use a bathroom-rated paint with a matte finish on the ceiling and soft eggshell or satin on walls (avoid high gloss). Choose a wall paint color that matches your tile grout undertone — if your grout is cool, pick a cooler gray. Apply two coats and keep the ceiling paint line crisp at the trim. If you want the look to last, seal around the shower edges and re-caulk any changes after curing.
People focus on tile and forget the ceiling. In a coastal spa bathroom, a matte white ceiling makes the room feel taller and brighter. Pair it with soft gray or pale blue-gray walls so the upper half stays clean and reflective without looking glossy. This is a smart comparison small bathroom remodel idea because it gives you a big visual payoff even if you don’t change the plumbing. Use paint with a mildew-resistant bathroom rating, then carry the tile tone up to a consistent height so the transition looks deliberate.
Common mistakeDon’t use flat paint on walls near the shower; it stains and looks patchy.
Try thisTest paint samples next to your tile and lighting. Coastal bathrooms can turn gray or blue depending on bulb temperature.
13. Stone-Look Porcelain with a Single Corner Reveal Stop
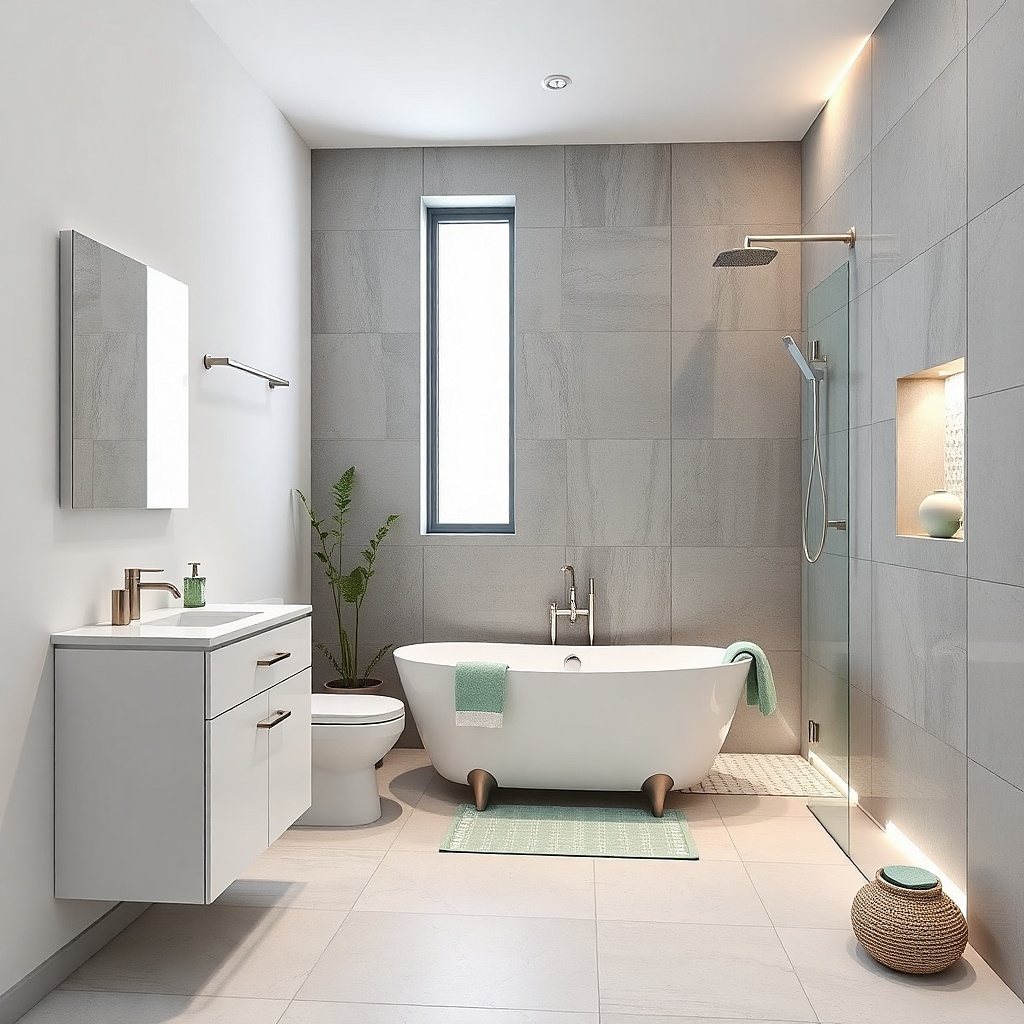
A lot of small bathrooms look messy because tile corners show too many cuts and transitions. You can control that by planning a single corner reveal stop where the tile changes plane cleanly. Use stone-look porcelain in a light neutral and keep the shower wall and main wall in the same tile tone so the corner becomes a quiet boundary. This creates a spa feel because the eye reads fewer edges. It’s also photogenic because the tile texture is subtle and consistent across the room.
Choose your tile and confirm the finish consistency lot-to-lot so color doesn’t shift. Plan the layout so the most visible corners have full tiles or clean, straight trims rather than stacked small cuts. Use a corner profile or a consistent reveal method so edges look straight in photos. Install the shower tile first, then mirror the same tile direction on the adjacent wall for continuity.
If your installer can, align the tile pattern texture direction on the main wall so the stone look doesn’t look random.
Don’t let corners become a patchwork of small trims — that reads cramped instantly.
14. Half-Height Tile + Soft White Painted Wet Zone
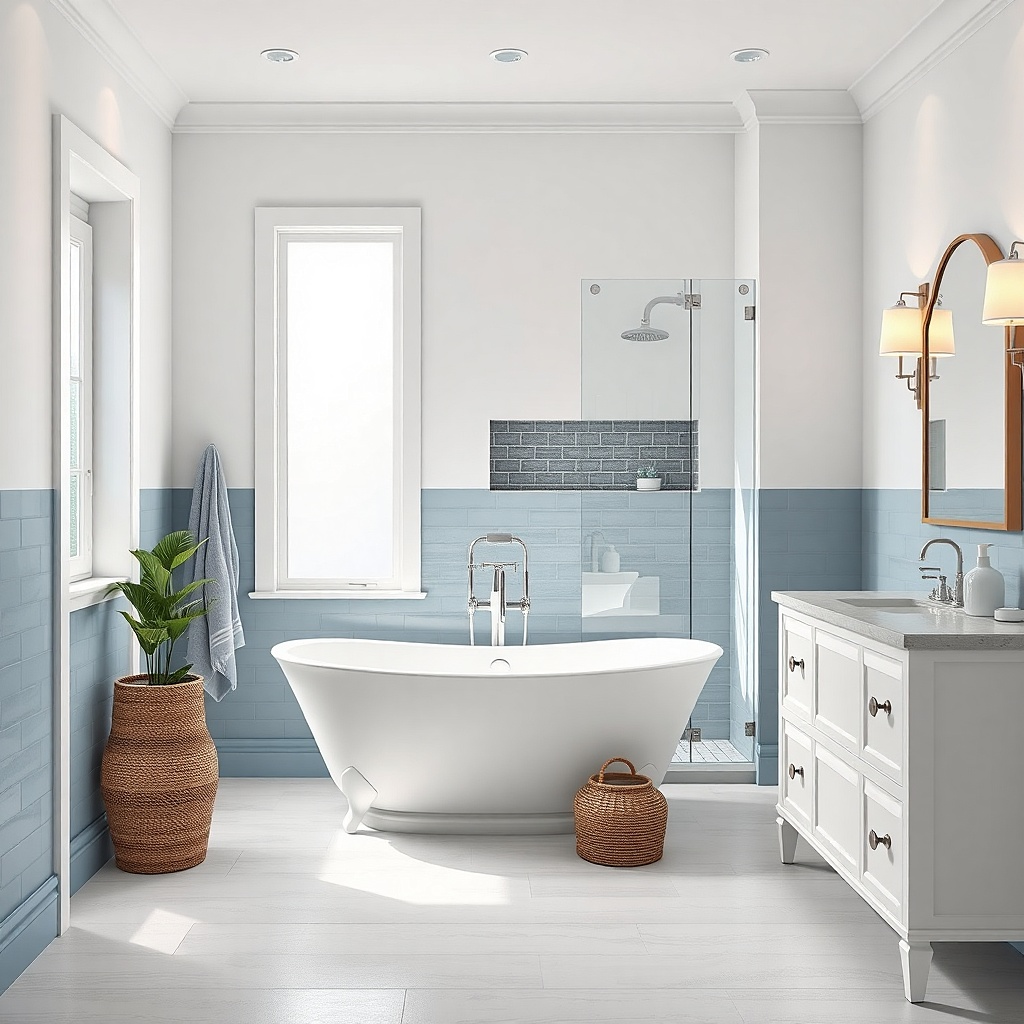
Pick a tile height that looks balanced — typically 48-60 in is a good range depending on your shower height and where the shower head sits. Waterproof the wall behind the tile up to the tile height and use proper cement board or waterproof backing. Apply moisture-resistant paint above the tile line and keep the paint sheen matte or eggshell for the spa look. Finish by installing a shelf or niche only if you can keep it minimal and aligned with the tile line.
Not every spa look needs full-height tile. Half-height tile reduces cost and keeps the room lighter because more wall is painted in soft white. Use a light, matte tile for the bottom half, then paint the wet zone above with a bathroom-rated moisture-resistant paint. Choose a frameless glass panel so the shower still looks open. This approach is ideal when the bathroom is small and you want the coastal vibe without spending on tile for every square foot.
Common mistakeAvoid glossy paint in the wet zone; it shows glare and looks less spa-like.
Try thisKeep the paint color warmer than the grout. A cooler paint can make the tile look dingy in photos.
15. Warm White Patterned Floor with Solid Tile Walls
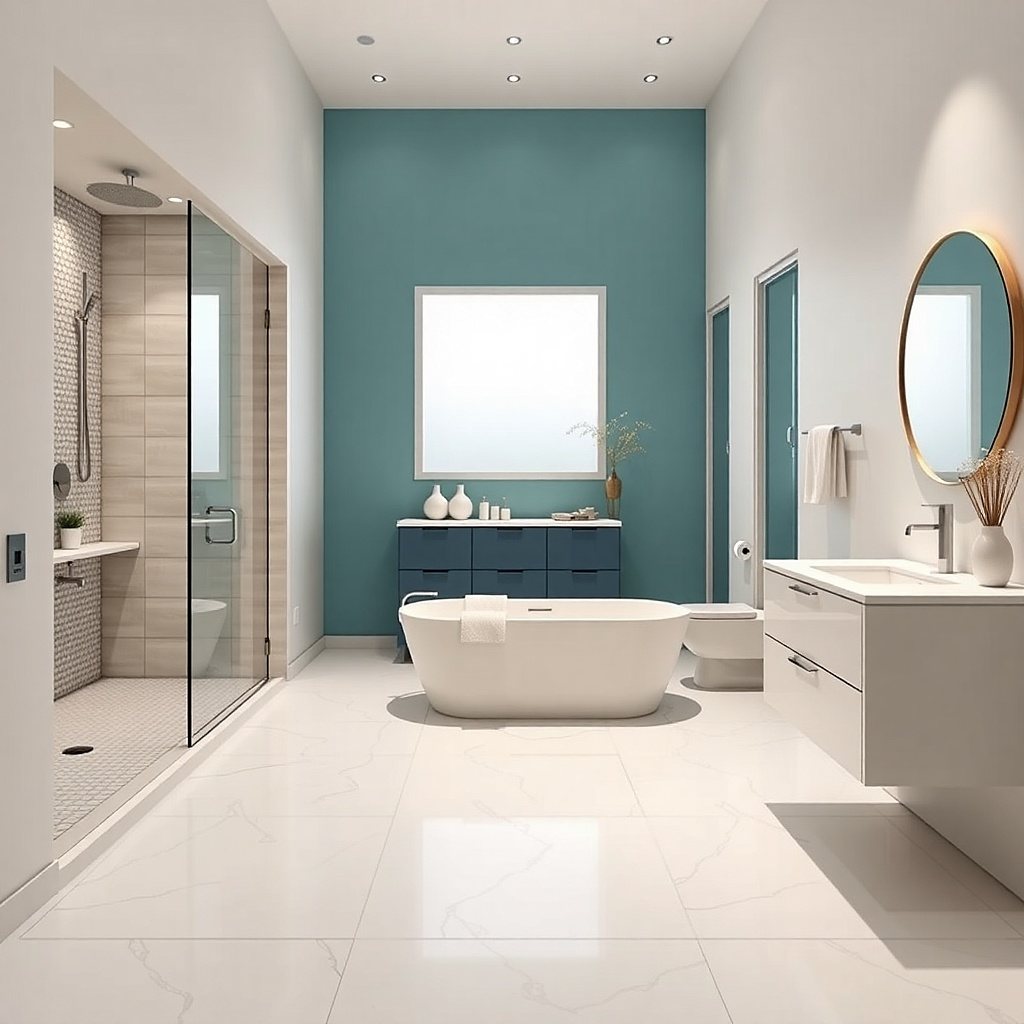
Select a patterned floor tile that uses a limited palette — warm white plus one secondary tone works best. Measure your room and plan the layout so the pattern starts from a visible doorway line, not a random corner. Install the floor first, then install the solid wall tile with grout that matches the dominant floor tone. Expect slightly higher labor due to layout matching, but the overall remodel stays manageable because walls are simpler.
If you want coastal spa with character, let the floor carry the pattern and keep the walls solid and calm. A warm white patterned floor tile — think small-scale repeating shapes adds visual interest without making the whole room busy. Choose a matte finish so the pattern doesn’t reflect harsh light. Keep the walls in a single soft white or pale gray tile with subtle texture. The room reads cohesive and relaxed because the pattern is contained at the floor level where it’s easier on the eye.
Common mistakeDon’t add a patterned shower wall on top of a patterned floor — it overwhelms small bathrooms.
Try thisUse a coordinating baseboard trim in a warm white to make the floor pattern look intentional.