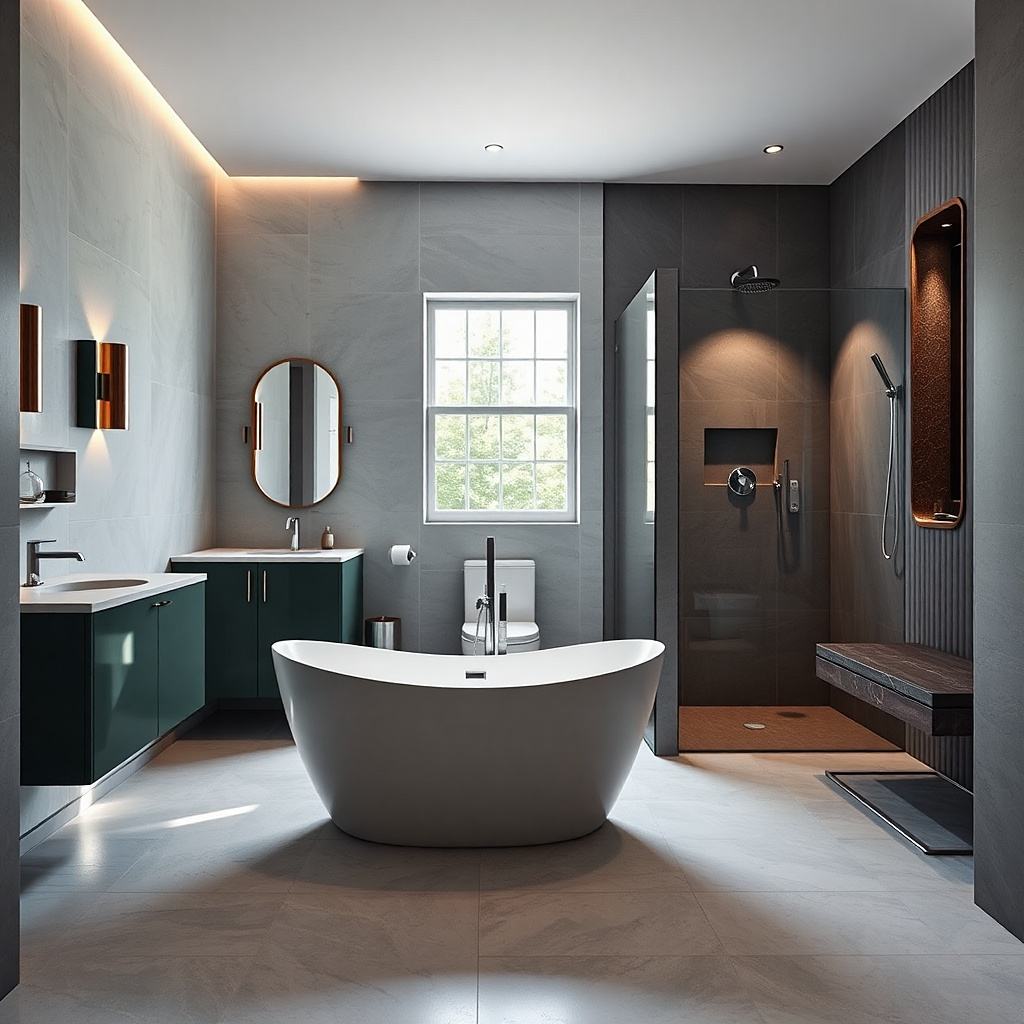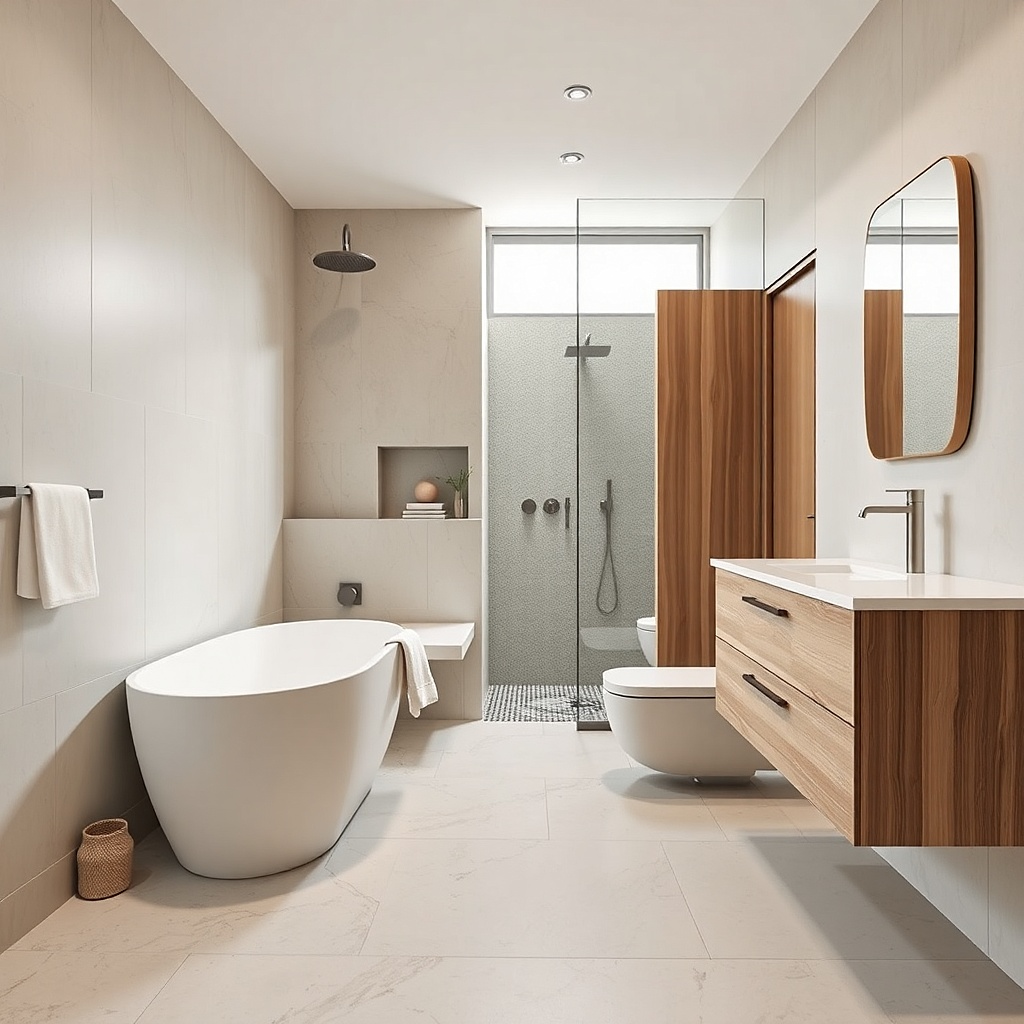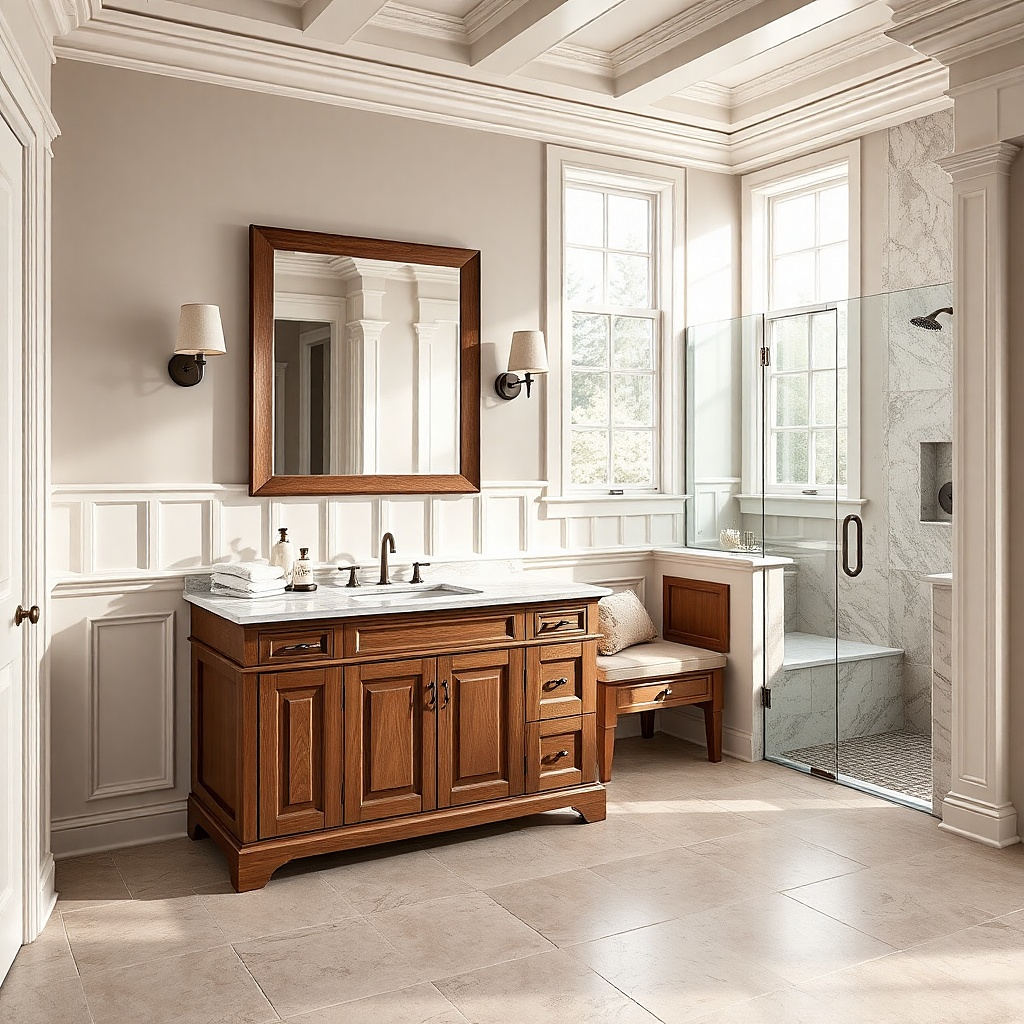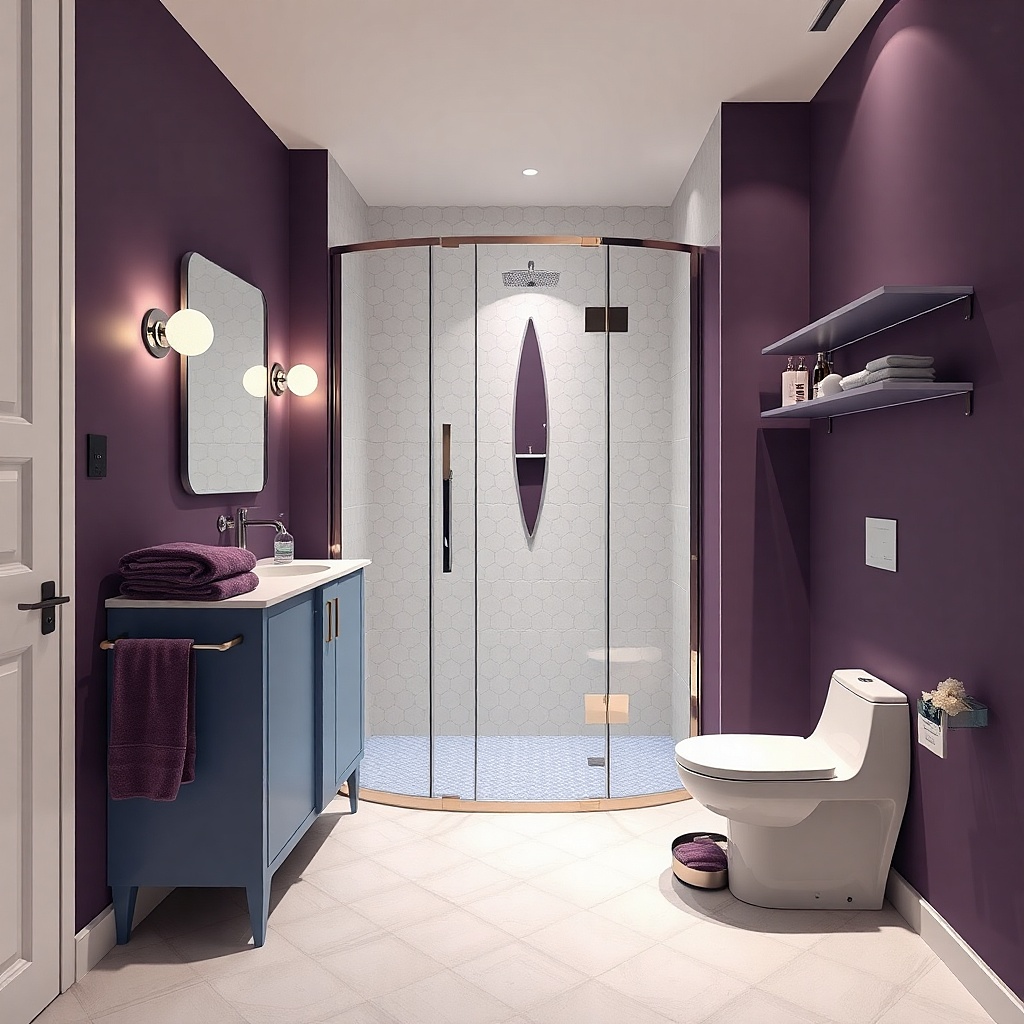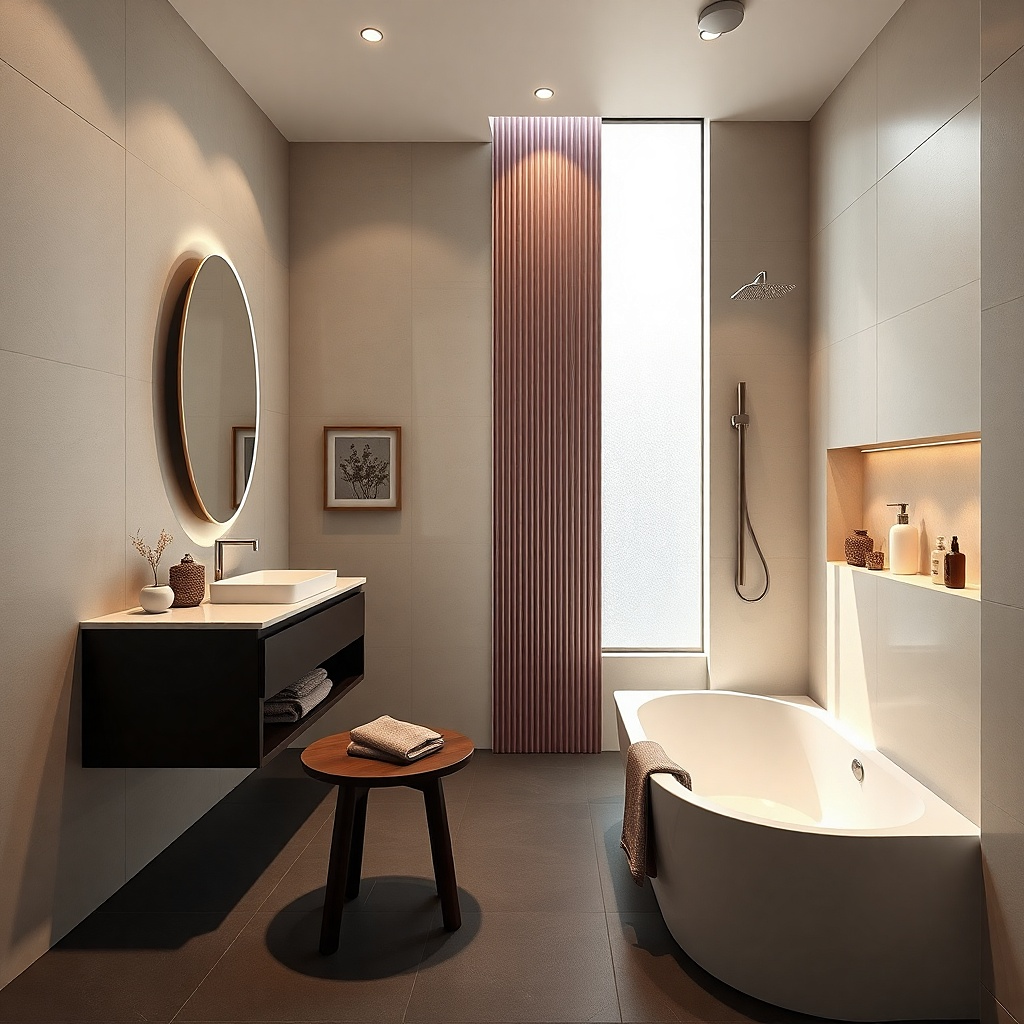
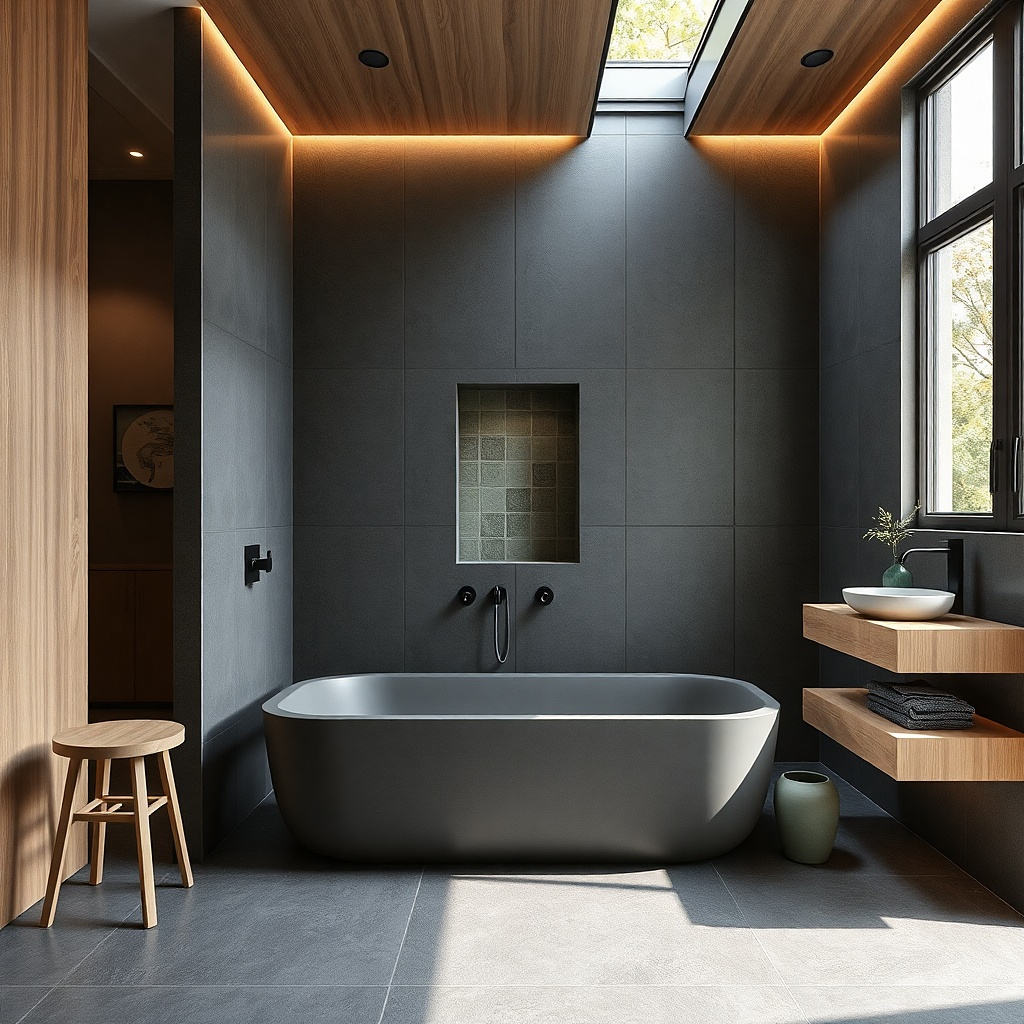
1. 24x48 Wall Tile Tub Alcove With Fixed Glass Panel
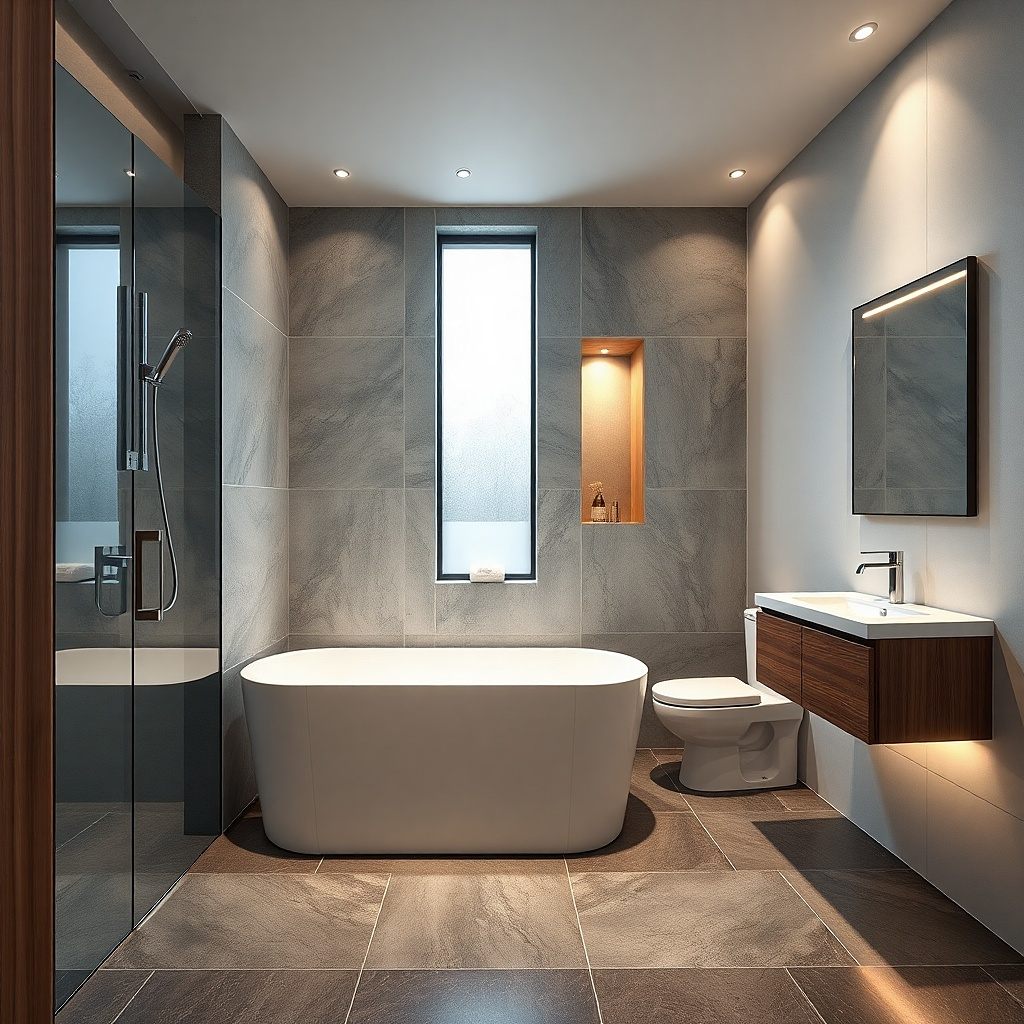
This setup makes the tub and shower feel like one designed zone instead of two separate fixtures. Large-format 24x48 tile keeps grout lines low, so the eye reads a continuous wall plane. A fixed glass panel at the shower side blocks spray while leaving the room open — the tub still reads as a tub. Use warm white tile with light variation, then add satin brass or brushed gold accents to keep it cozy rather than clinical.
Start by dry-fitting the glass panel so it aligns with the shower spray path — most people aim the head and then measure where water lands. Install a tub deck with the correct slope if you’re adding a shower floor surface, then set the wall tile after waterproofing is complete. Mount the fixed panel with proper clamps into the tile backing or reinforcement, then finish with matching metal trim at the wall edge. Budget for tile plus a tempered glass panel system, and plan for about 1-2 days of demo and waterproofing work before tile goes up.
Try thisMatch the glass hardware finish to your faucet and towel bar so the small room looks intentional, not pieced together.
Common mistakeAvoid full-height glass without a plan for door swing — it often blocks access to the vanity in tight layouts.
2. Walk-In Tub Style With Shower Head Over the Rim
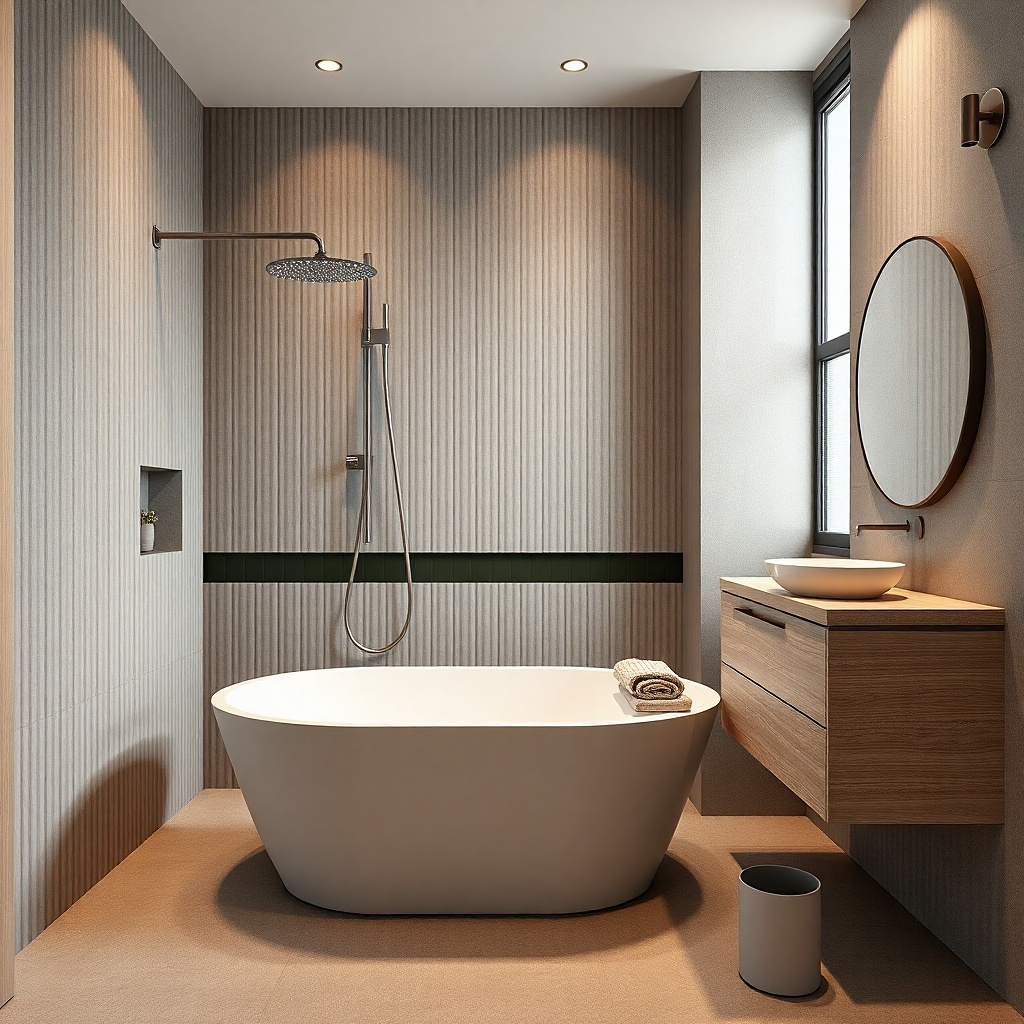
If you want the comfort of a tub but still need daily showering, a walk-in style tub with a shower head over the rim keeps the footprint compact and the look clean. The rim-mounted shower keeps water contained to the tub zone, so you don’t need a complex full shower enclosure in a tiny room. Choose a soft matte wall tile around the tub and keep the rest of the bathroom brighter to avoid a dark box effect. Warm lighting and a slip-resistant tub surface make this feel spa-like instead of purely functional.
Pick a compact walk-in tub that matches your existing drain location, then confirm the door opening clears the room door swing. Waterproof the tub surround, then tile up to the tub deck height with a consistent pattern so the zone looks continuous. Install the shower head on the wall or a tub surround panel so it targets the tub interior, not the bathroom floor. Finally, add a handheld wand if you want flexibility, and place a towel bar within arm’s reach on the outside edge.
Try thisUse a slightly larger shower head than you think you need it feels more luxurious without increasing clutter.
Common mistakeSkip high-contrast black grout lines on the tub surround; they make the small zone feel cramped.
3. Corner Tub With Diagonal Glass Partition
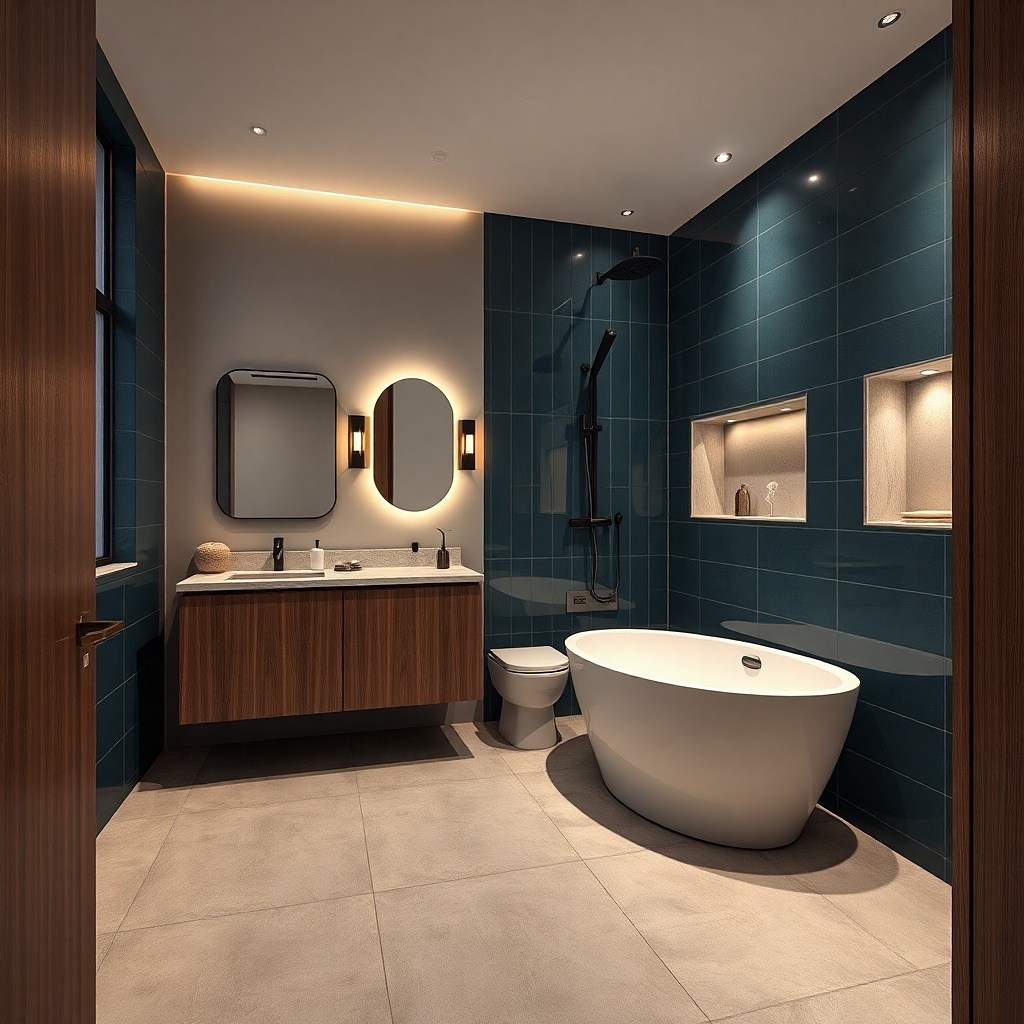
A corner tub uses the room’s “dead space” and gives you a long wall run for storage and a vanity. The diagonal glass partition is the photogenic trick: it breaks up the sharp rectangle lines and helps the bathroom feel larger. Keep the tile pattern simple and repeat it across both walls so the corner doesn’t look chopped. Use a soft beige or greige wall tile and a floating vanity to keep sightlines light.
Measure the diagonal glass run by marking where you want the shower spray to stop, then order a custom panel if your walls aren’t perfectly square. Waterproof the corner tub surround first, then tile with bullnose or a clean edge trim where the glass meets the wall. Install the glass panel anchors at the stud or proper backing, then add a small wall return or seal strip to control leaks. Plan for a handheld wand or a diverter on the tub spout so you can aim water without stepping around the glass.
Keep the glass hardware minimal slim brackets look cleaner than bulky hinges in small corners.
Don’t place the vanity directly opposite the glass — it creates a visual bottleneck when you open the door.
4. Half-Wall Tub Shower Screen With Niche Lighting
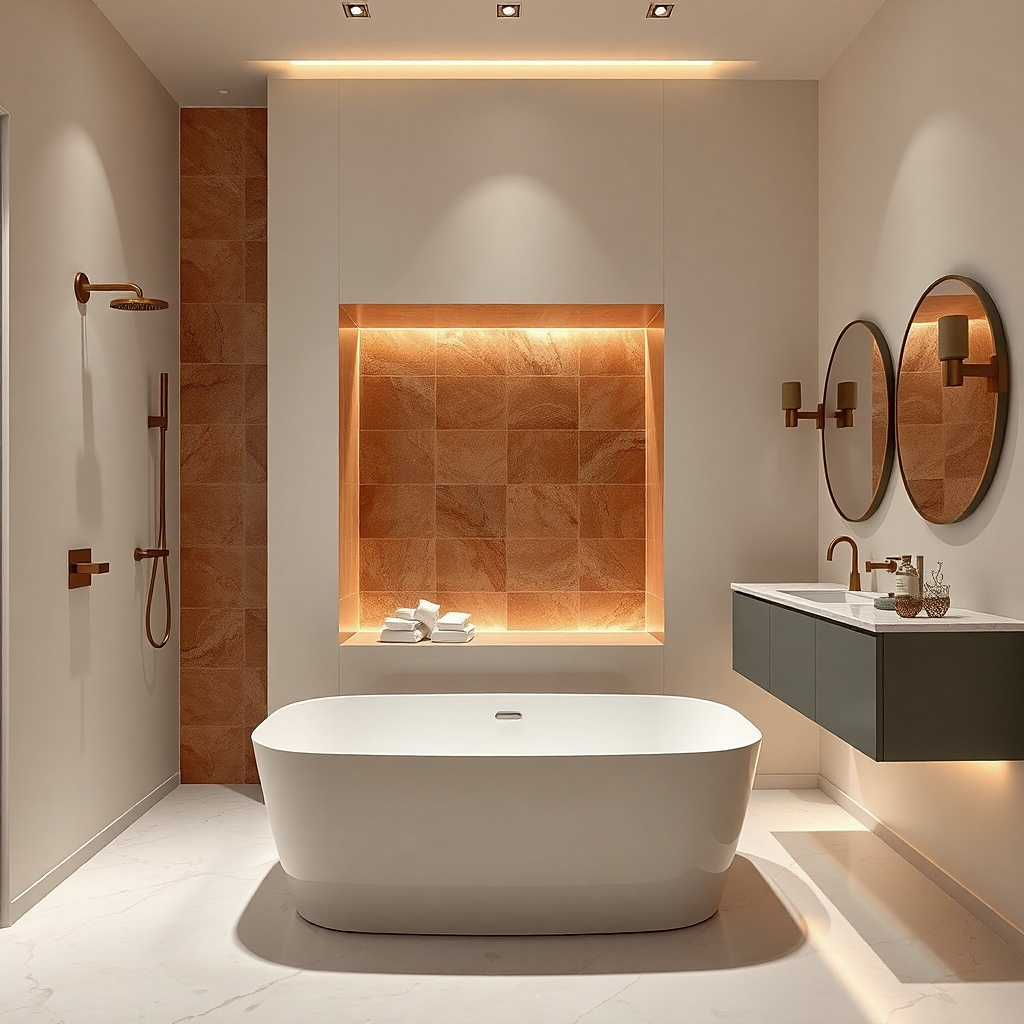
A half-wall screen gives you privacy, reduces water spray, and creates a built-in design moment. Add a niche shelf above the tub rim and light it with warm LEDs, and the whole combo reads cozy instead of utilitarian. This works especially well when you want towels and bath items to live close to the tub without cluttering the room. Choose matte tile on the half-wall and a glossy accent strip only in the niche to catch light.
Build or purchase a half-wall screen height that matches your comfort — around 40-48 inches is a common sweet spot for privacy without feeling boxed in. Waterproof the wall area behind the half-wall and tile over it, then install the niche framing and LED strip. Set the tub spout height so the shower stream hits the tub interior, then fit the screen with a clear seal line. The niche should be deep enough to avoid shadowing on the back wall, usually about 3-4 inches.
Try thisUse warm 2700K LED lighting inside the niche, not cool white, so the tile looks skin-toned and inviting.
Common mistakeSkip bright, cool-white LED strips — they make warm tile look gray.
5. Freestanding Tub On Platform With Riser Shower Wall
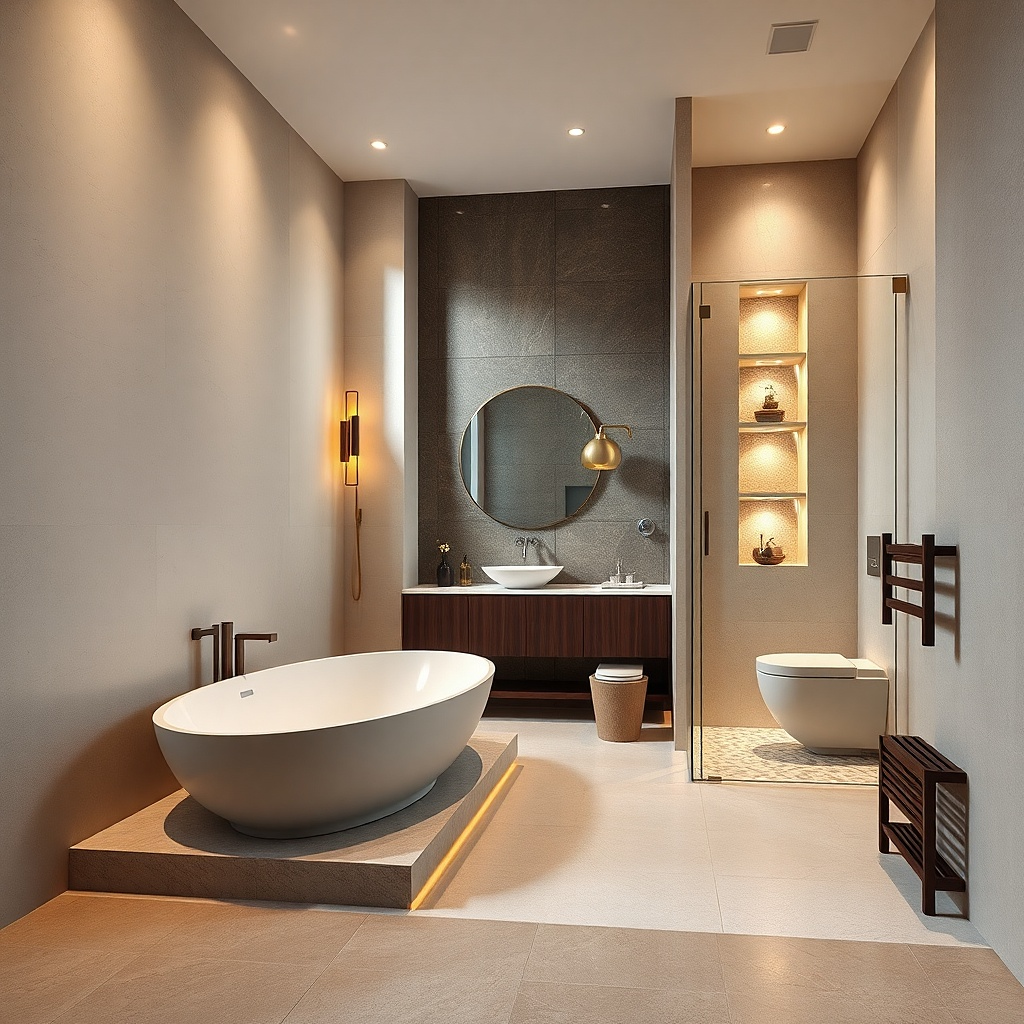
A freestanding tub can still work in a small bathroom if you give it a defined platform and a single tiled shower wall behind it. The riser wall acts like a backdrop that absorbs visual noise and makes the tub feel intentional. Use a narrow vertical tile pattern on the shower wall — like 3x12 or 4x12 so the bathroom looks taller. This is a strong choice when you want a high-end look without full custom glass enclosures.
Frame a platform around the tub footprint, keeping the platform width tight so you don’t lose circulation space. Waterproof the shower wall area, then tile it with a vertical pattern and extend it to at least the shower head height. Install a shower rail or wall-mounted diverter system so the water hits the tub center. Add a clear splash guard behind the tub edge if you need extra containment, and finish the platform edges with matching tile trim.
Try thisChoose a tub faucet finish that’s slightly warmer than your towel bar finish to keep the room cohesive.
Common mistakeAvoid placing the shower wall flush with the vanity side — it creates awkward splash overlap.
6. Tub + Shower Combo With Curbless Wetroom Feel
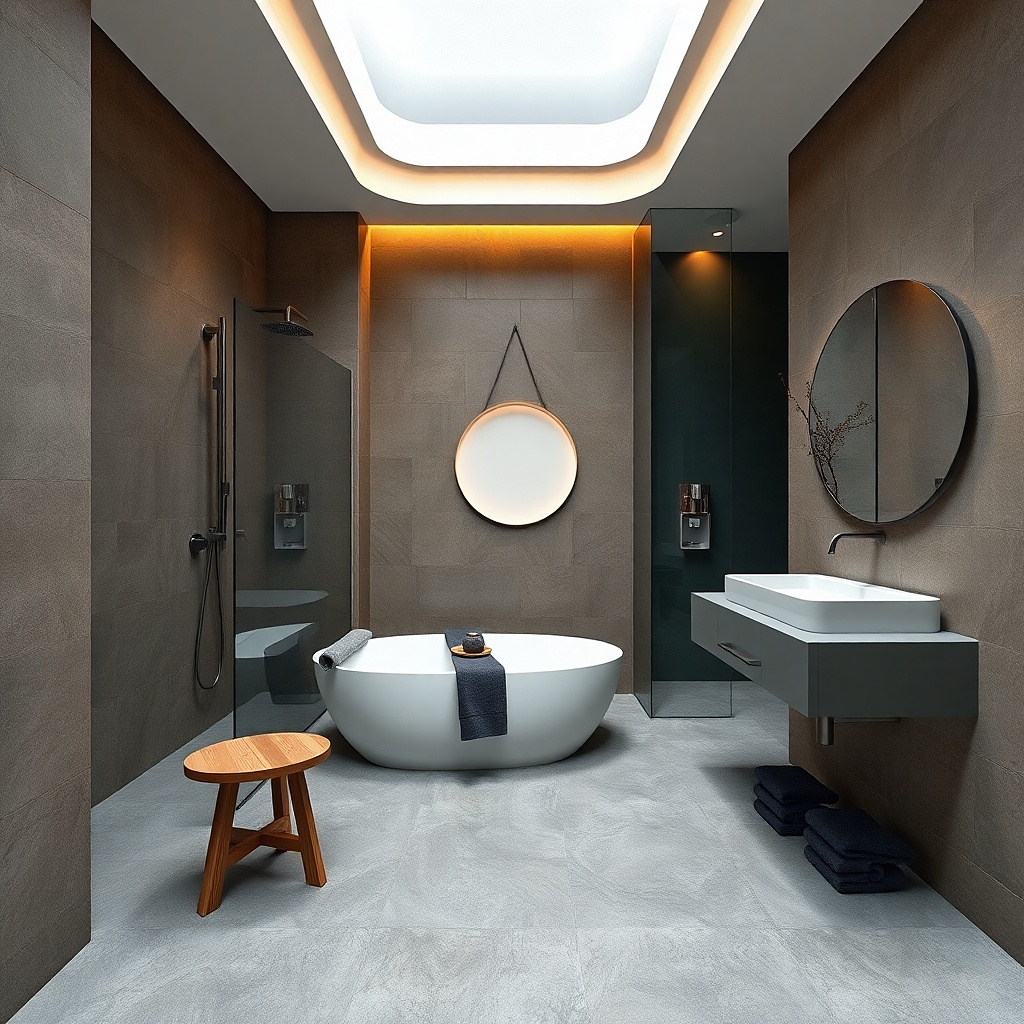
The wetroom look is cozy because it feels continuous, not segmented. You can get that effect with a tub where the shower zone drains to a linear drain, then tile the floor and lower walls to the same material. This is the most “spa” option, but it needs real waterproofing. Choose warm-toned large tile and keep the floor slope toward the drain so the space stays clean-looking even after use.
Plan a linear drain placement first, then build the floor slope before tile. Waterproof with a proper membrane system and test for leaks if your installer recommends it. Tile floor and up the walls to at least 12-24 inches, then use a glass splash panel or curtain track at the tub edge. Install a shower head and handheld diverter so you can aim water into the wet zone without hitting the vanity. This is a higher effort remodel because the floor build-up matters.
Try thisUse a single tile color for floor and lower walls to avoid harsh visual breaks in a small bath.
Common mistakeDon’t rely on caulk alone at the tub-floor junction — waterproofing needs to be part of the assembly.
7. Sliding Door Tub Shower for Tight Entryways
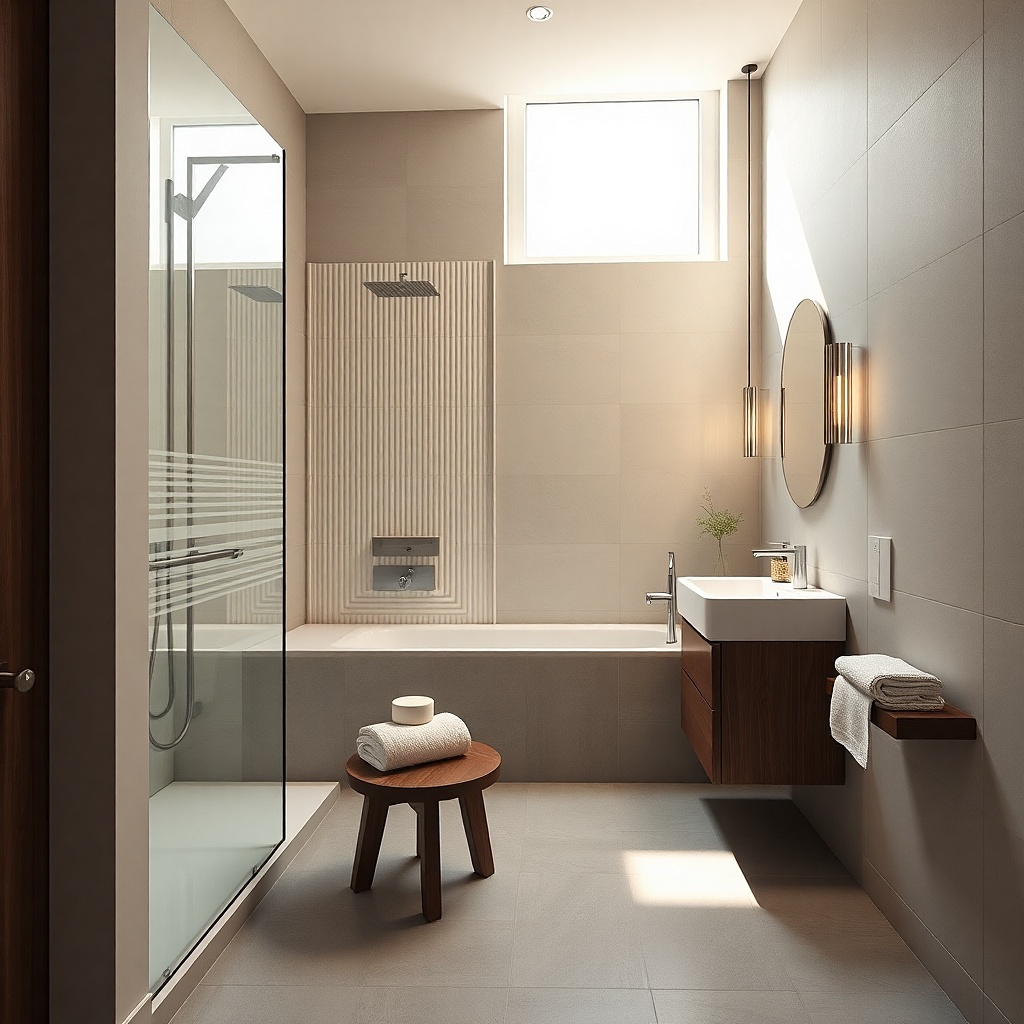
When your bathroom door swing and vanity placement steal space, a sliding door is the clean fix. It keeps the shower opening accessible without needing clearance for hinges, which makes small baths look less crowded. Use clear glass with a slim metal track and pair it with warm wall tile so the hardware doesn’t look harsh. This combo is best when you want the tub and shower to feel separated but still visually open.
Measure the area for the sliding door track so it overlaps the glass opening correctly — you’ll want enough overlap to control water spray. Install waterproof backer and tile the walls first, then set the door frame into the correct wall studs. Fit the sliding panel and test it for smooth travel before finishing trim. Add a towel bar near the entry side since the door reduces drying space inside the shower.
Try thisChoose a track finish that matches your faucet to prevent the tiny track from looking like a random metal line.
Common mistakeAvoid a door that runs too far into the room — it blocks foot traffic during entry.
8. Tub With Shower Curtain Track Mounted to Ceiling
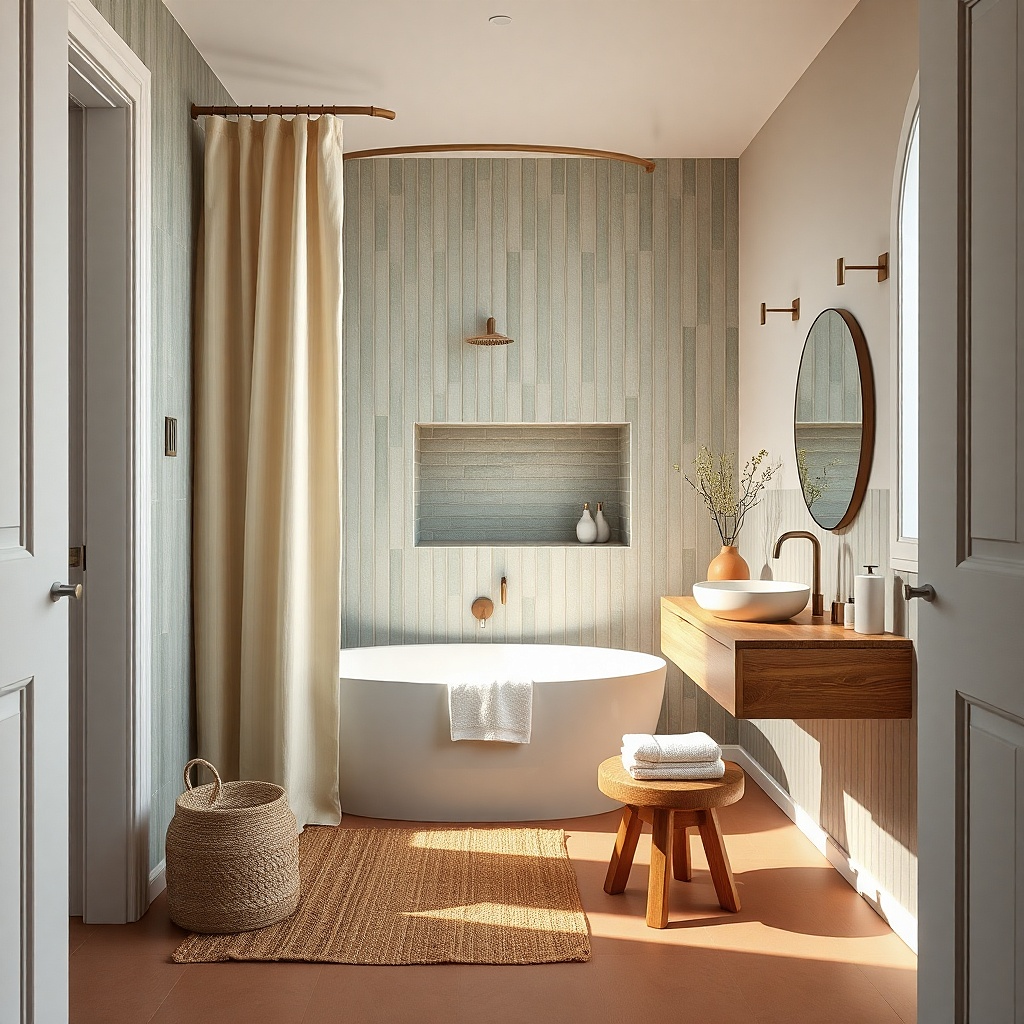
Curtains get a bad reputation, but a ceiling-mounted track makes the tub-shower combo look designed instead of temporary. The key visual is that the curtain hangs straight and pools at the edges, so it doesn’t billow into the room. This works when you don’t want glass and you need to save on cost and complexity. Use a warm, textured curtain fabric or a patterned liner that echoes the tile color.
Install a ceiling track so the curtain clears the tub rim by a few inches and the curtain width spans beyond the tub edge on both sides. Waterproof the tub surround, then tile with a simple pattern to keep the curtain from competing. Fit curtain rings or gliders that slide smoothly, then add a weighted hem or side weights so it stays flat. Finally, add a towel hook on the wall near the tub entry so the curtain area dries quickly.
Hang the curtain so it reaches closer to the floor than you think it looks tighter and keeps spray inside.
Skip a short curtain that ends above the tub deck; it looks messy and leaks visually.
9. Steam-Friendly Tub Combo With Handheld + Overhead
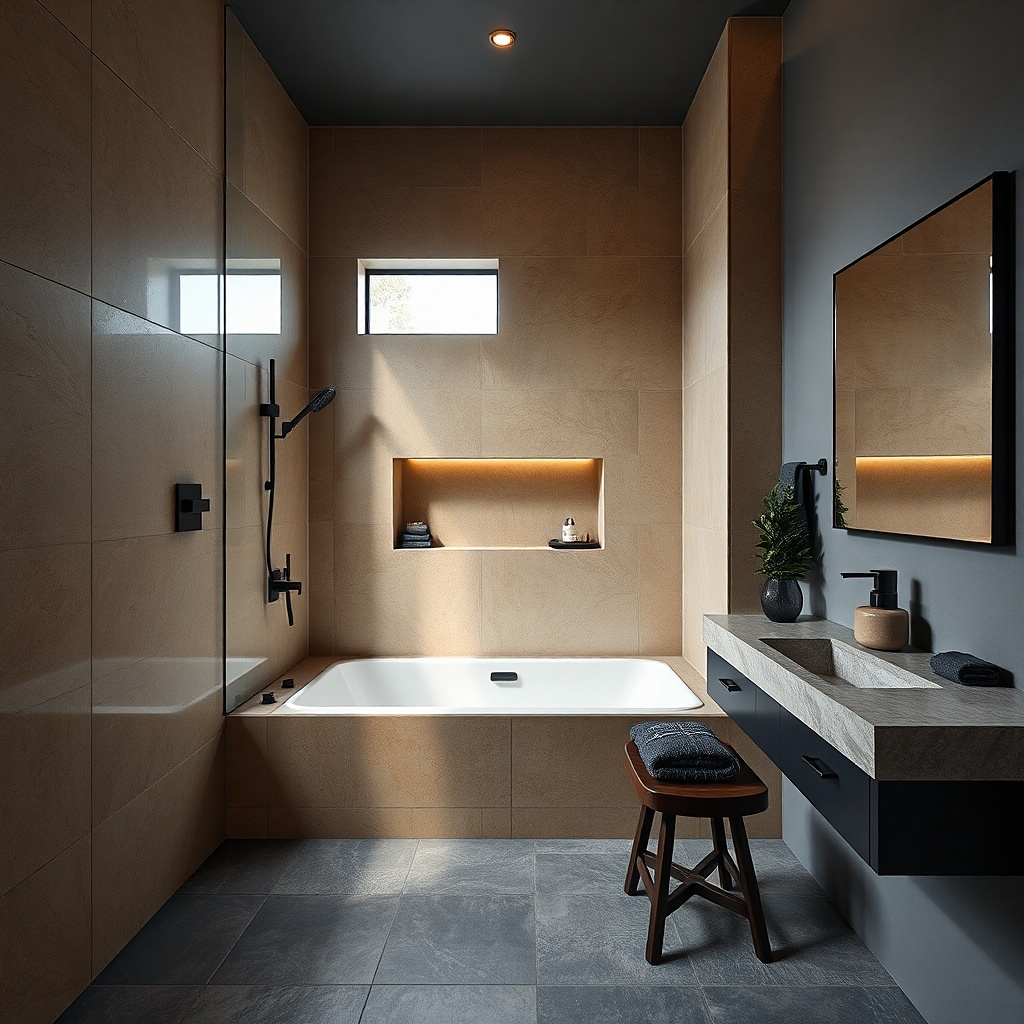
A cozy tub-and-shower combo for small baths should feel like a proper shower, not a compromise. Pair an overhead shower head with a handheld sprayer so you can rinse quickly or aim for different body positions without moving around glass. Use a matte, slip-resistant floor tile and keep wall tile glossy or satin to reflect light. This combo is especially flattering in small rooms because overhead lighting and steam make surfaces look warm and soft.
Install a diverter valve that can switch between overhead and handheld, then set the overhead head height so it sprays into the tub center. Waterproof the shower wall and tile behind the controls, then mount the valve at a comfortable reach height. Add a handheld cradle at the side so it doesn’t hang loose and look cluttered. Choose a brushed finish for the fixtures and add a small niche for shampoo so the wall stays clean.
Try thisUse a single soap niche instead of multiple bottles it reads more upscale and stays photo-clean.
Common mistakeAvoid separate valve trim that doesn’t match the faucet finish; small bathrooms notice mismatches fast.
10. Narrow Vanity + Tub Centered With Side Glass Panel
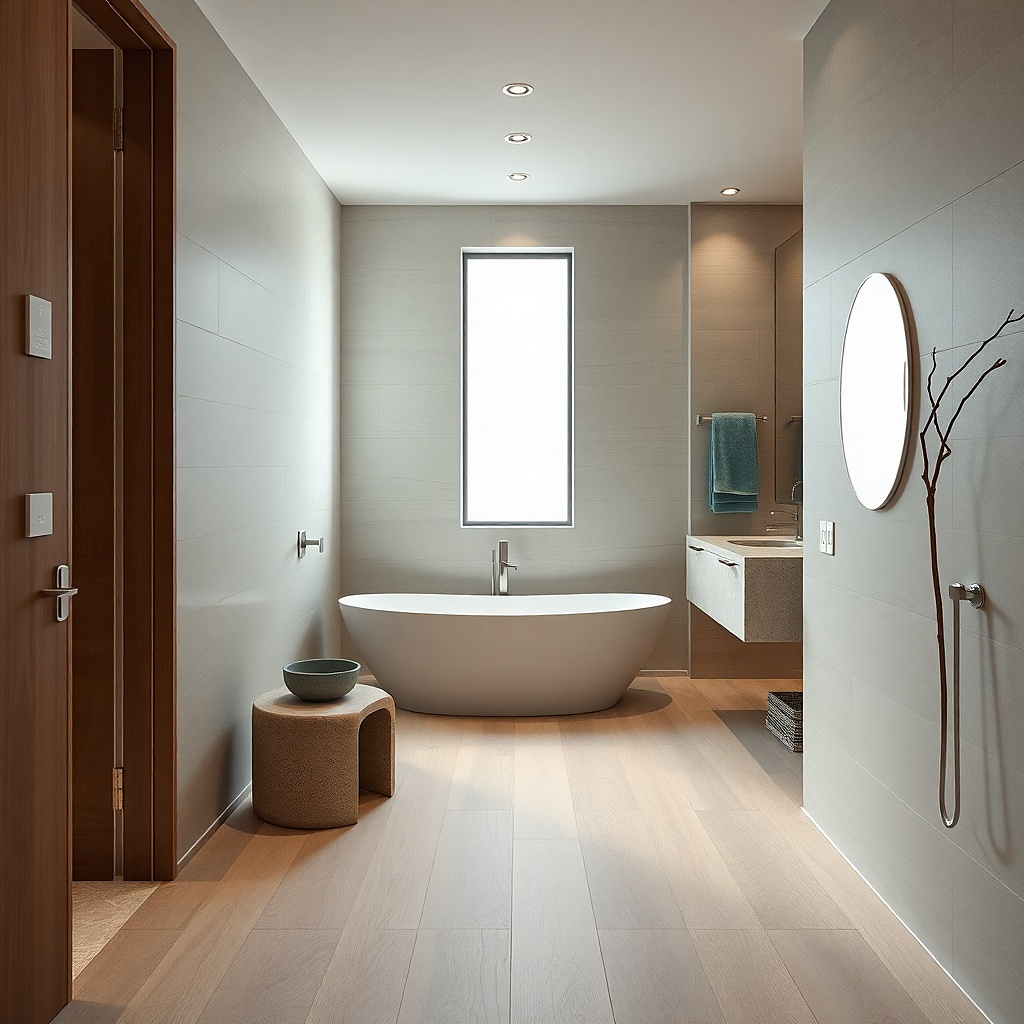
This layout is about protecting the vanity wall from water while keeping the tub visually centered. A narrow vanity (like 18-24 inches deep) gives you breathing room for movement and keeps the bathroom from feeling like a hallway. A side glass panel on the shower side blocks spray and keeps the shower visually contained. Pair a warm wood-look vanity with light tile walls for a cozy, lived-in look.
Place the tub so its long side aligns with the main wall and keep at least 30 inches of clear walkway in front of it. Install the side glass panel where the shower stream hits, then waterproof and tile the wall behind the panel. Use a single-handle faucet to reduce visual clutter, then add a slim mirrored cabinet if you need storage without taking floor space. Finish with a towel ring on the open wall side so towels dry quickly after showers.
Choose a mirror width that matches the vanity width exactly it makes the whole bath look squared-up and intentional.
Don’t put open shelving directly beside the shower spray — it collects water spots and looks messy fast.
11. Tub With Tile-to-Ceiling Accent Strip and Minimal Glass
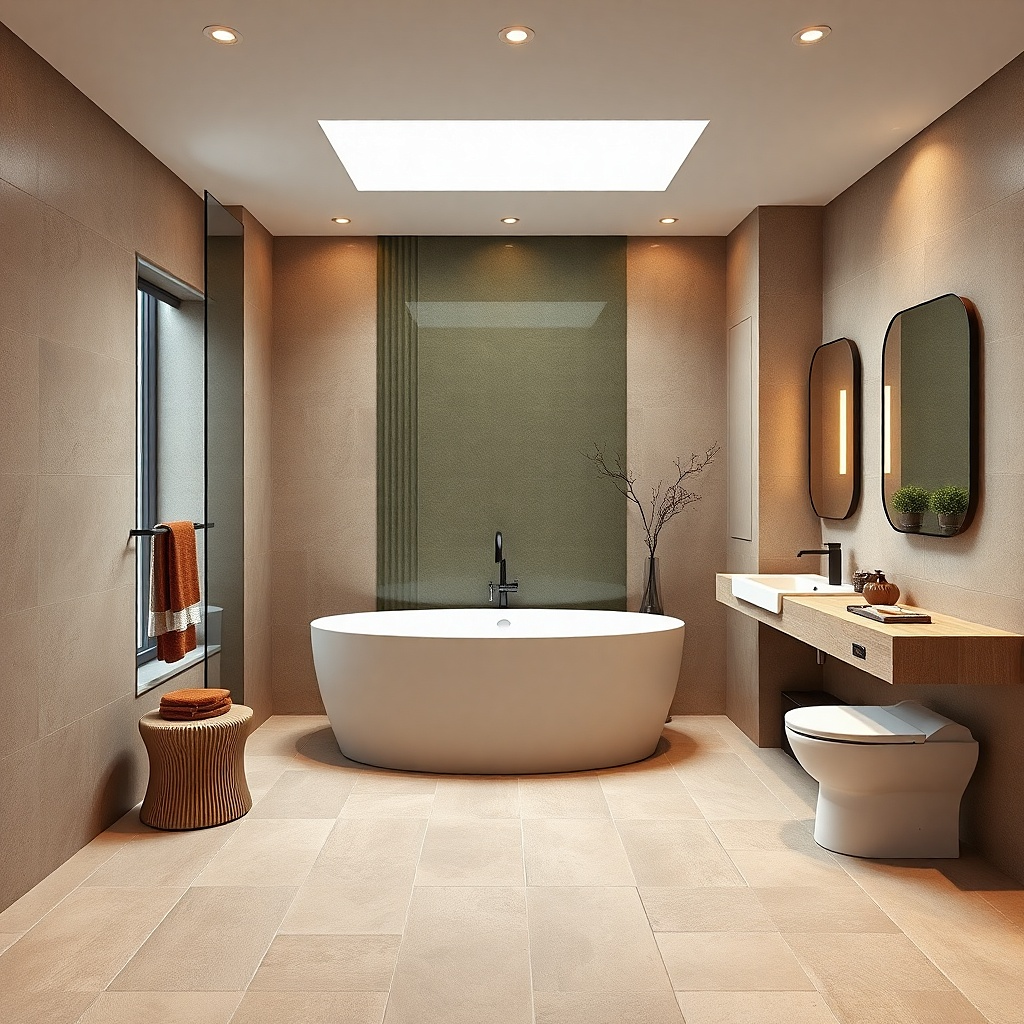
A tile-to-ceiling accent strip makes the tub zone look designed and makes the ceiling feel higher. Keep the rest of the wall in warm neutral tile, then run a narrower accent strip in a subtle pattern or slightly darker shade. Use a minimal clear glass panel only where the spray hits, not a full enclosure that eats visual space. This is a great choice for bathrooms where you want cozy warmth but don’t want heavy construction.
Plan the accent strip height by marking tile layout from the floor so the strip lands evenly around the tub. Waterproof the entire tub surround, then tile the main field first so the accent strip installation stays straight. Install the small glass panel on the shower side with a seal strip at the edge. Finish with caulk in a matching color where glass meets tile, then add a wall niche or recessed shelf to keep the area clean.
Try thisUse the same accent tile on the floor border or vanity backsplash so the room looks connected.
Common mistakeAvoid multiple accent patterns in one small bath — it turns the tub zone into visual noise.
12. Compact Soaking Tub With Glass Corner Enclosure
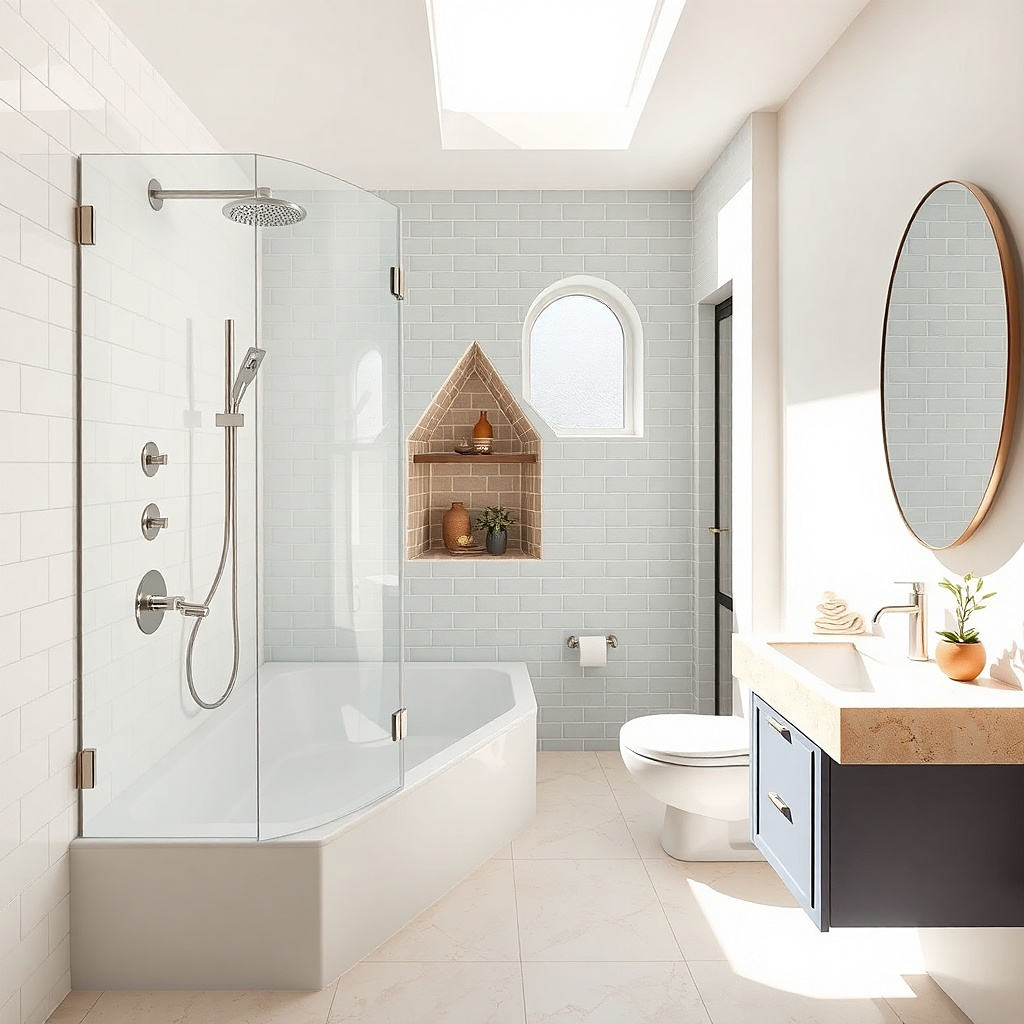
A compact soaking tub plus a corner glass enclosure gives you the tub feel without the bulk of a full-size tub. The corner enclosure keeps the room open while controlling spray, and it looks clean in photos because the glass lines frame the tub. Choose taupe or greige tile and warm lighting so the tub reads cozy and spa-like. This combo works well when you’re replacing an old shower stall and want a real tub moment.
Select a soaking tub that fits your current footprint and confirm access to the drain trap underneath. Waterproof the enclosure zone, then tile walls and set the glass frame anchored into proper backing. Install the shower valve so the head sprays inside the glass enclosure area, then test water flow and adjust before final caulk. Add a small corner shelf inside the enclosure for essentials so the outside wall stays uncluttered.
Use one corner shelf inside the glass instead of multiple wall hooks; fewer items look cleaner and calmer.
Don’t choose a glass enclosure with thick, bulky framing — it shrinks the visual space in small baths.
13. Tub + Shower With Built-In Bench Seat on Side Wall
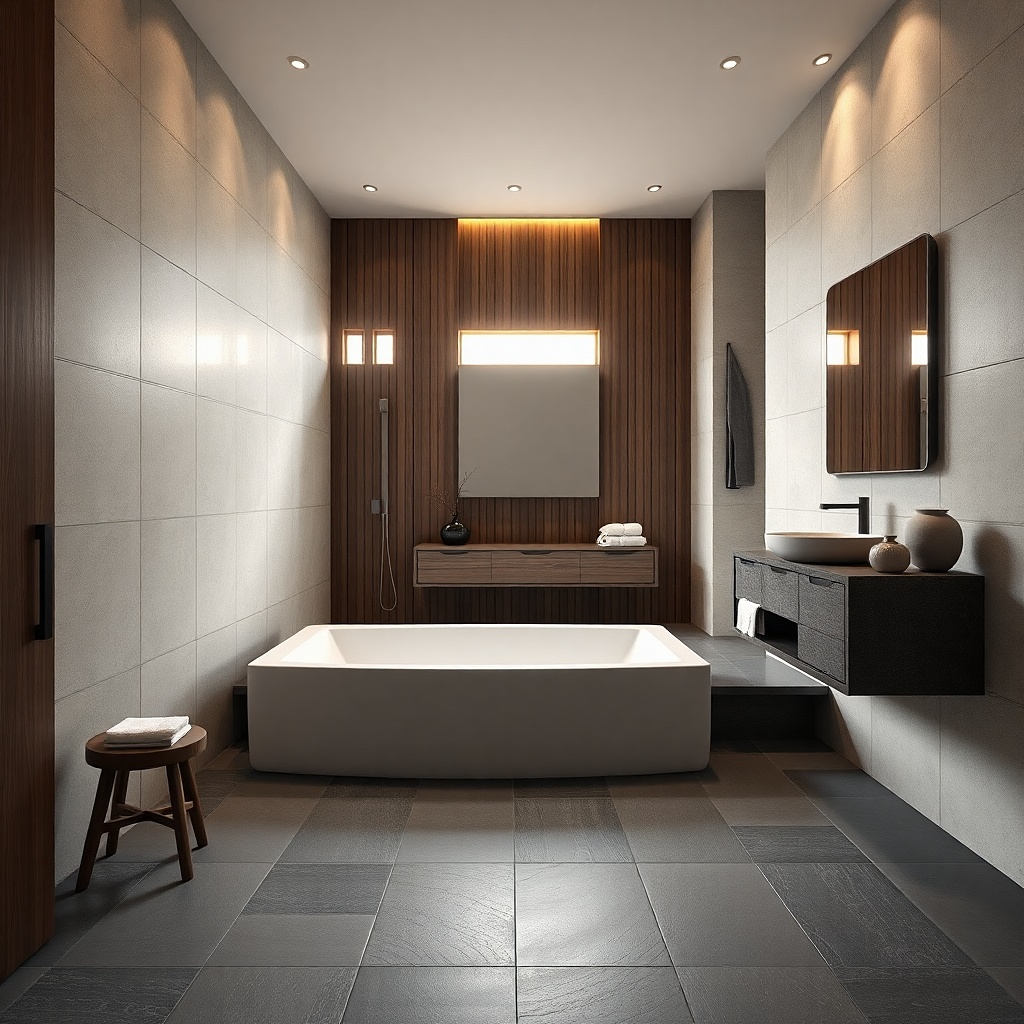
A built-in bench makes the shower feel like a real shower even when the room is small. It also adds a cozy, spa vibe because it gives the eye a soft, human shape instead of straight walls only. Tile the bench in the same finish as the surrounding walls and keep the bench size proportional so it doesn’t eat space. Add warm backlighting or a simple niche above to make the bench look purposeful.
Choose bench placement on the side wall where you can sit without blocking access to the tub. Build a waterproof bench box (or use a rated bench form system), then tile it with the same wall tile. Install grab bars or a reinforced seat support if you want safety and a more stable look. Fit the shower head and handheld so water hits the tub interior and bench area without overspray. Finish with a drainable shelf or niche so water doesn’t pool.
Pick a slightly textured tile for the bench seat so it doesn’t look shiny and slippery.
Skip a bench with a glossy finish — it reads slippery and looks cold in small rooms.
14. Dual-Function Tub Wall With Handheld Holder + Soap Niche
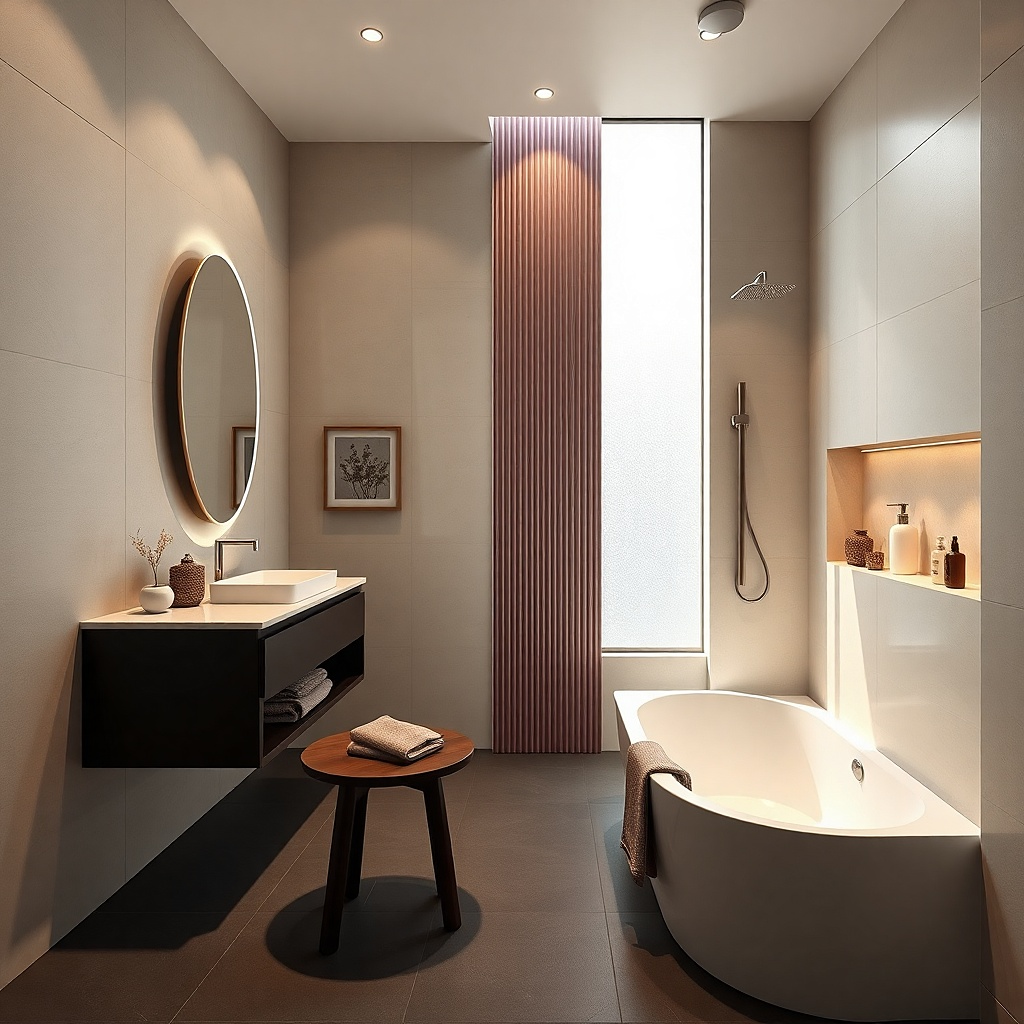
This is the “pretty but practical” plan: one clean wall plane with a handheld holder and a recessed niche so nothing sits on the tub deck. In small bathrooms, countertop clutter is what makes them feel chaotic, so built-in storage is part of the cozy look. Use a niche with the same tile as the wall and a warm metal trim so it feels designed, not patched. Pair it with a simple glass panel so the shower zone looks crisp.
Plan niche size before tile: a 12x12 or 10x14 niche is usually enough for bottles without looking bulky. Waterproof the wall area, then frame and install the niche form so it sits at comfortable reach height. Mount the handheld holder on the wall at a height that matches where you stand in the tub. Install a fixed glass panel or curtain track so the shower stream stays inside the tub zone. Finish with grout that matches the tile and seal all transitions.
Try thisUse a niche for bottles and add a small towel ring nearby — it keeps the room tidy after every shower.
Common mistakeAvoid open shelves in this zone; they collect water spots and show soap residue.
15. Two-Tone Tile Tub Combo With Vertical Color Break
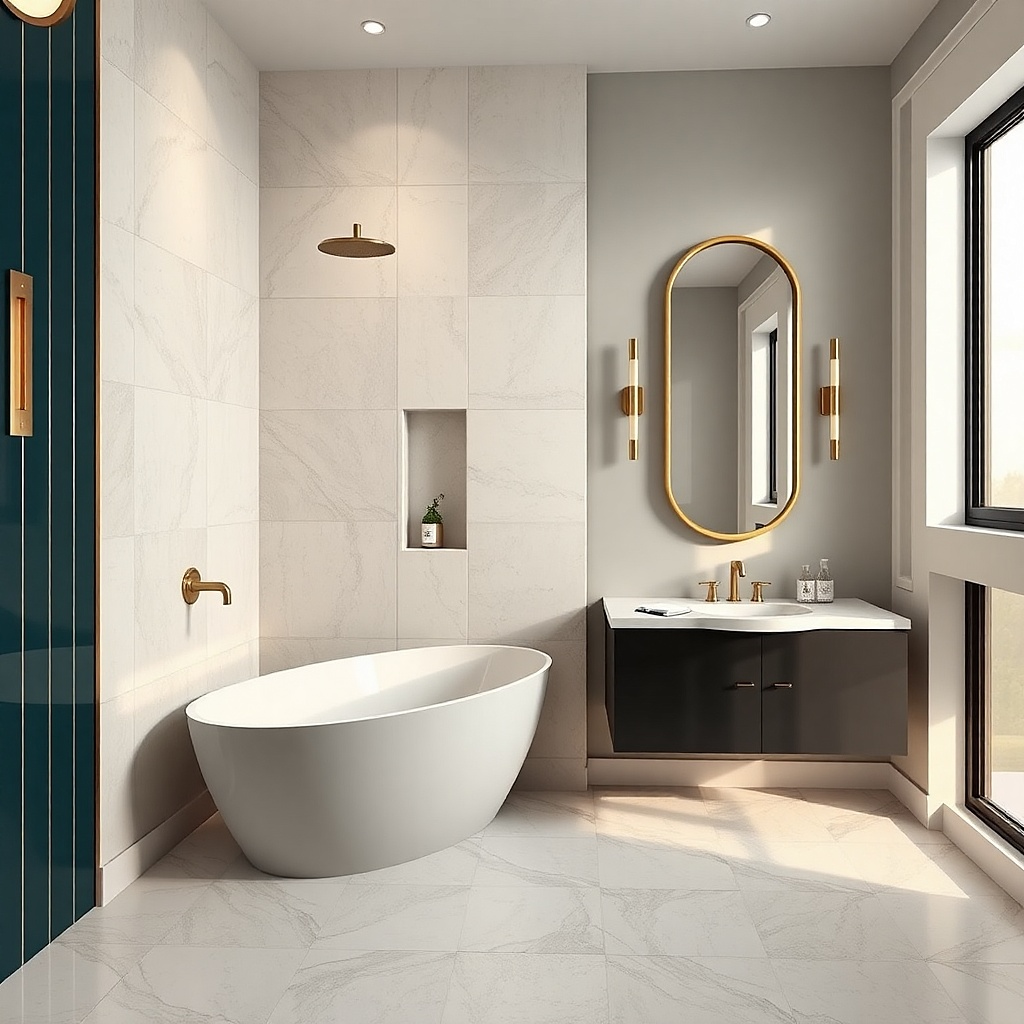
Two-tone tile can make a small bathroom feel longer when you do it with a vertical break behind the tub. Keep the main wall in warm light tile, then use a slightly darker or warmer shade in a vertical stripe or panel that runs from near the tub deck up. This draws the eye upward and makes the tub zone look elevated. Use a light floor tile and keep grout neutral so the color break feels intentional, not patched.
Choose your two tile colors first, then map the vertical break width based on your tub width. Waterproof the tub surround, then tile the main wall field up to the accent break height. Install the vertical accent strip, then continue the field tile above so the pattern reads continuous. Add a small glass panel or curtain track on the shower side and finish with matching metal trim and caulk lines.
Try thisKeep the accent tone subtle a gentle warm taupe looks cozier than a bold charcoal in small rooms.
Common mistakeDon’t place the color break at eye level; it can make the bathroom feel shorter.
16. Low-Profile Tub With Glass Door and Sloped Tile Floor
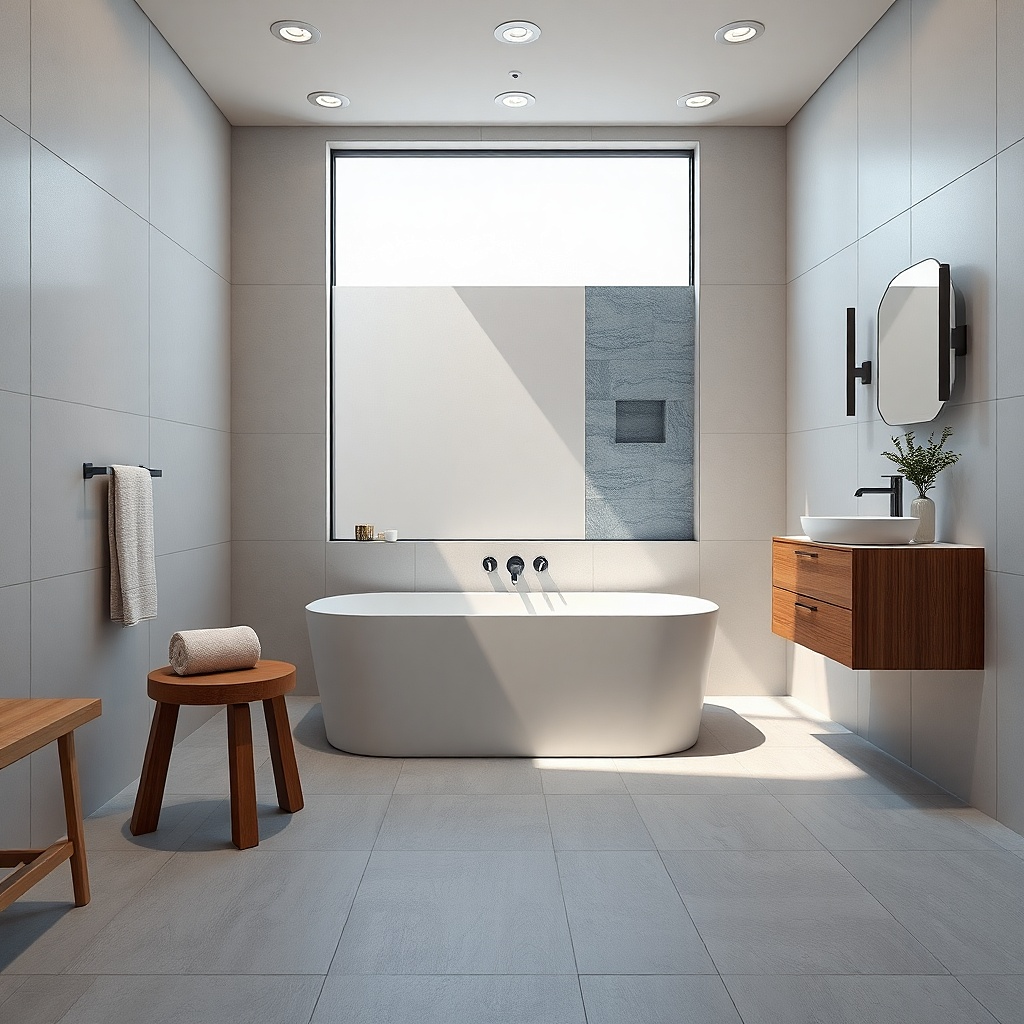
A low-profile tub with a glass door can look modern and airy because the tub rim sits lower in the visual field. Pair that with a sloped tiled shower floor so water drains cleanly and doesn’t leave puddles that stain grout. This combo feels cozy because the surfaces look continuous and easy to clean. Use light, warm tile and a frameless glass look to keep the room from feeling cramped.
Select a low-profile tub that fits your drain line and confirm you can access the plumbing for maintenance. Build a waterproof sloped shower floor area toward a drain (linear drains look sleek), then tile floor and lower walls together. Install a glass door system that aligns with the door opening and seals properly. Set the shower head so it sprays inside the glass area and avoid overspray toward the vanity. Finally, seal all corners and let the system cure fully.
Try thisUse a grout color that matches the tile — contrast grout makes even a good layout look busy.
Common mistakeSkip a flat shower floor — puddles ruin both the look and the smell quickly.
17. Tub and Shower Combo With Recessed Linear Drain
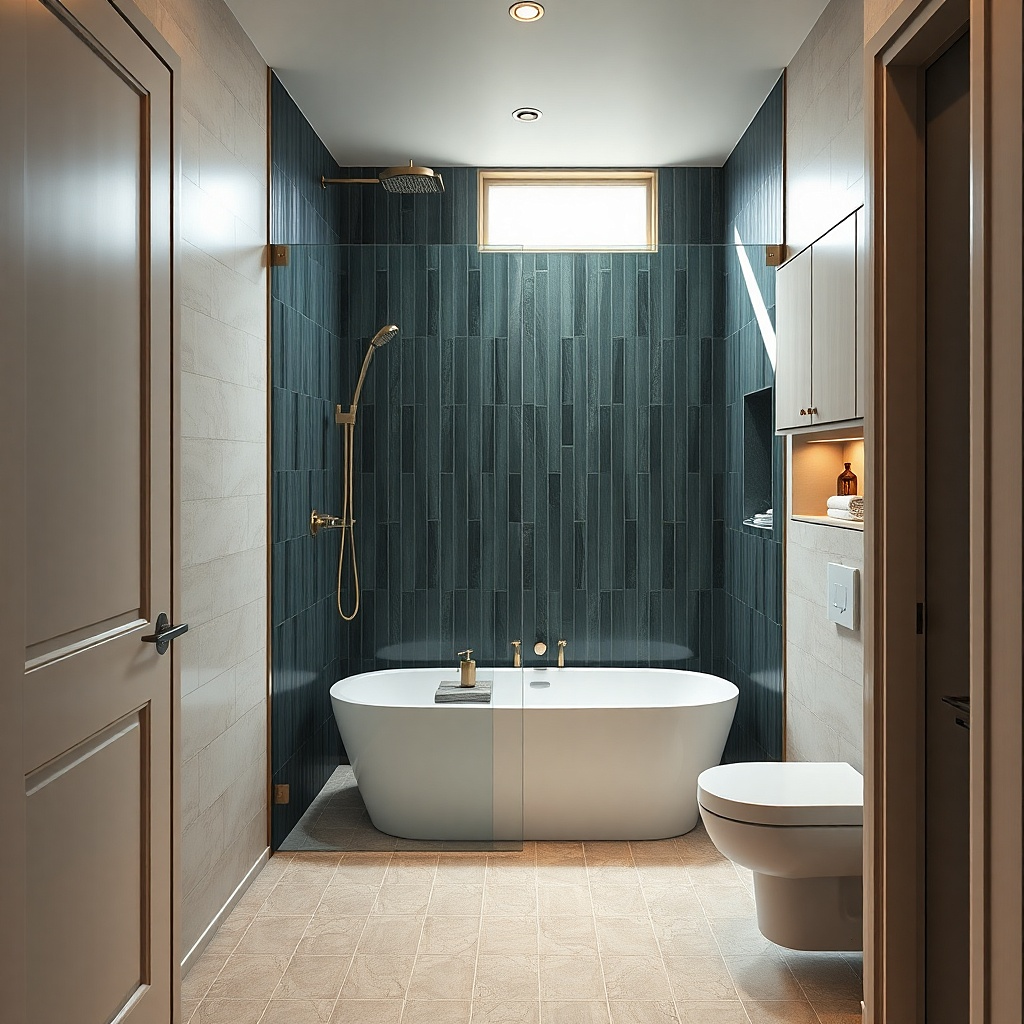
A recessed linear drain gives you that crisp, hotel-clean look in a tub-shower combo. It also makes maintenance easier because water goes where it should instead of pooling around the tub edge. Tile the floor and wall in the same color family, and keep the drain cover minimal so the whole bathroom reads calm. This is a strong option for small baths because it removes visual clutter from the shower floor.
Plan the drain position based on where the water will land from your shower head, then build the subfloor slope toward it. Waterproof the entire shower floor and transition up the walls to at least the curb height you’re creating. Tile the floor with consistent direction lines and set the linear drain flange correctly to avoid leaks. Install a glass splash panel or a frameless door so the rest of the room stays dry. Expect a higher labor cost because floor prep is the main work.
Try thisChoose a drain cover finish that matches your faucet it looks intentional instead of like an afterthought.
Common mistakeDon’t pick a drain cover that contrasts hard with the tile; it breaks the calm look.
18. Corner Shower Head on Tub Wall With Clear Splash Guard
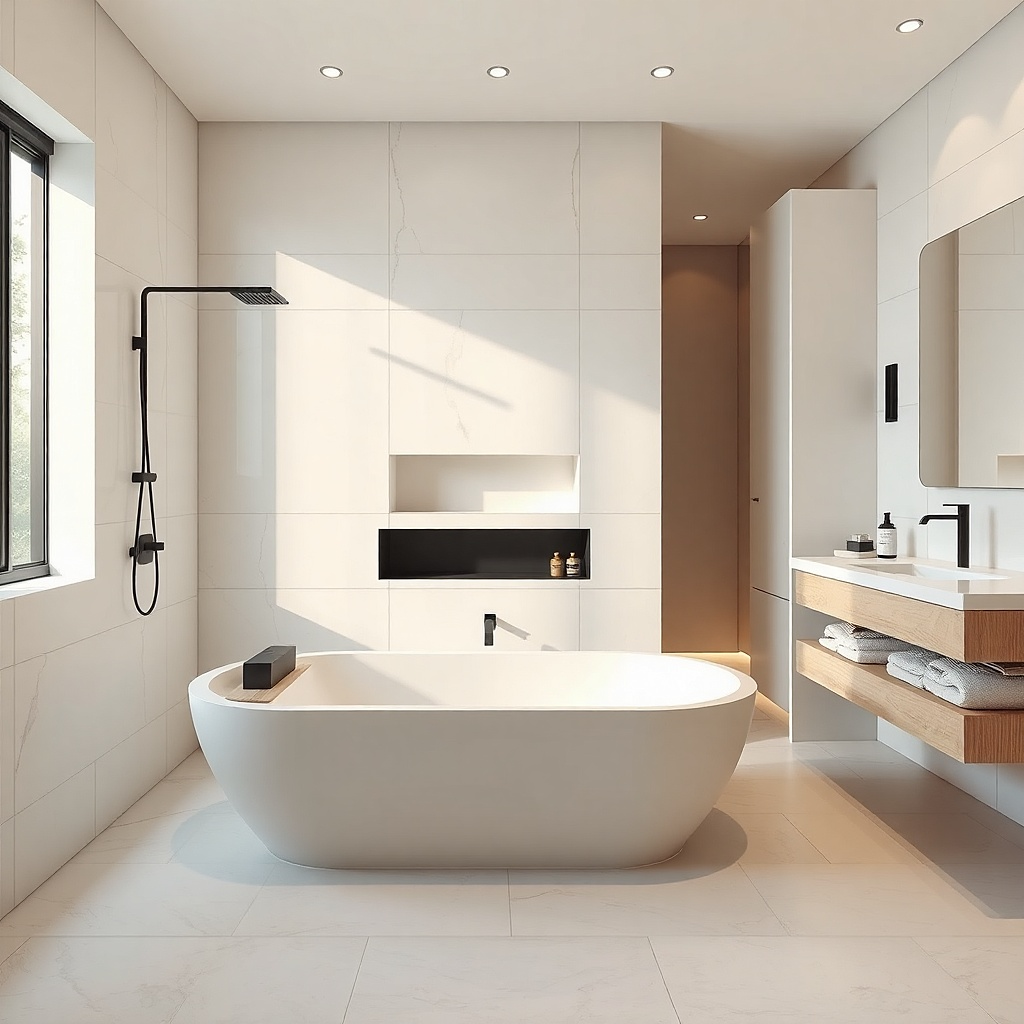
If you want a tub that still feels like a shower without building a full enclosure, a corner shower head plus a clear splash guard is the smart visual compromise. The splash guard keeps water off the vanity side and keeps the shower zone looking sharp. Use a warm neutral tile and keep the hardware consistent so the glass line looks purposeful. This is especially good when your bathroom has a window — you avoid bulky walls that block light.
Mount the shower head on the tub-side wall corner so the spray arcs into the tub interior. Install a clear splash guard panel sized to cover the spray line, usually long enough to extend a few inches beyond where water lands. Waterproof and tile the wall, then anchor the splash guard into the correct backing. Add a handheld sprayer if you want more control, and keep the tub deck free of standing bottles by using a niche or wall-mounted dispenser.
Try thisSet the splash guard so its edge aligns with a tile grout line; it looks straighter and more finished.
Common mistakeAvoid oversizing the splash guard — too much glass can make the room feel smaller.
19. Tub With Vertical Slat Wall Behind Shower Controls
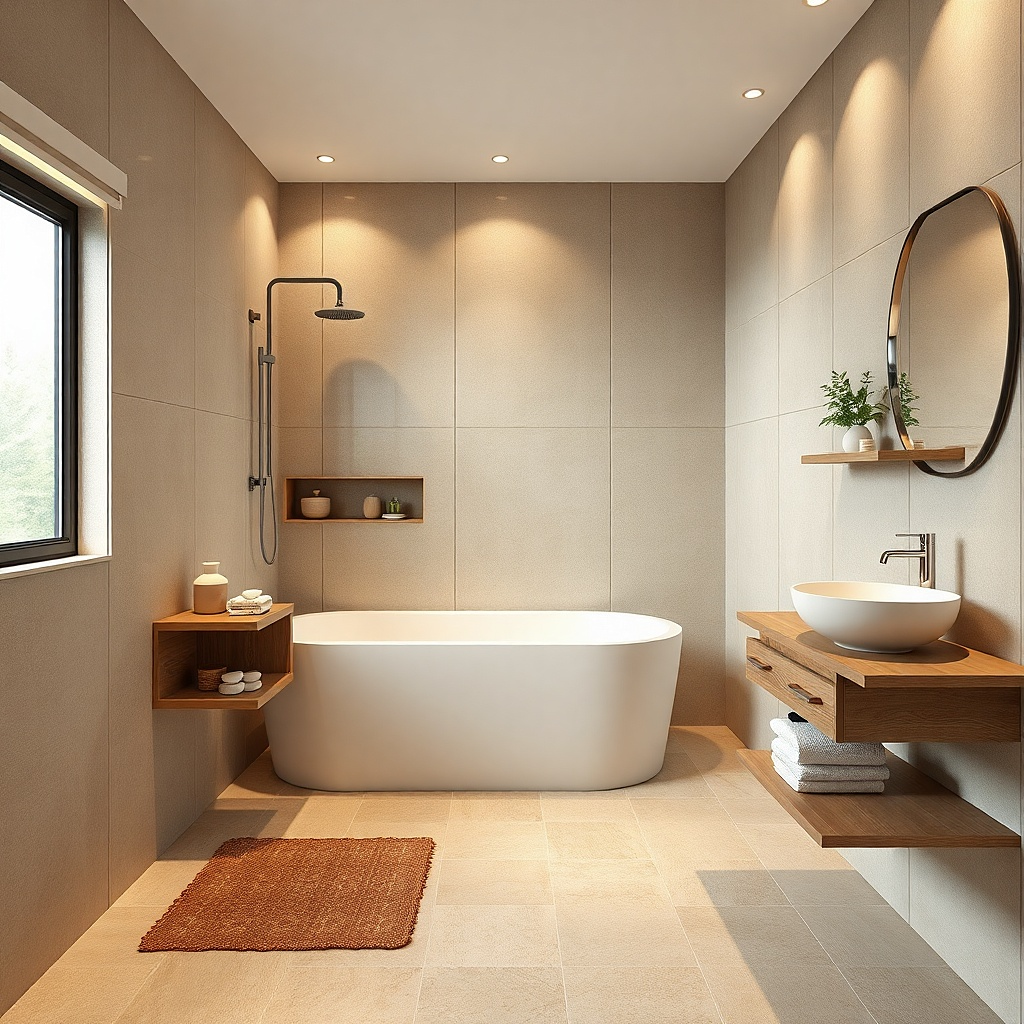
Texture makes small bathrooms feel cozy, and vertical slats add warmth without adding clutter. Put the slatted panel behind the shower controls and handheld holder so the eye lands there, not on plumbing. Keep the rest of the tub surround in smooth tile and use a clear glass panel to control spray. The vertical lines also make the ceiling feel higher, which is exactly what cramped baths need.
Use a moisture-rated slat system or tile-over slat look panels designed for wet areas. Waterproof the wall behind the panel, then install slats with proper fastening and sealed edges. Tile the surrounding walls in a warm neutral so the slats don’t compete. Mount the shower controls through the slat system using the manufacturer’s trim kits, then install a clear panel on the shower side. Finish with a small niche for products so the slat area stays clean.
Keep slat color in the warm range (oak, walnut, or driftwood tones) so it reads cozy, not gray.
Skip fabric-backed slat ideas — they peel and discolor in steam-heavy bathrooms.
20. Tub and Shower Combo With Narrow Shelf-Ledge and No Glass
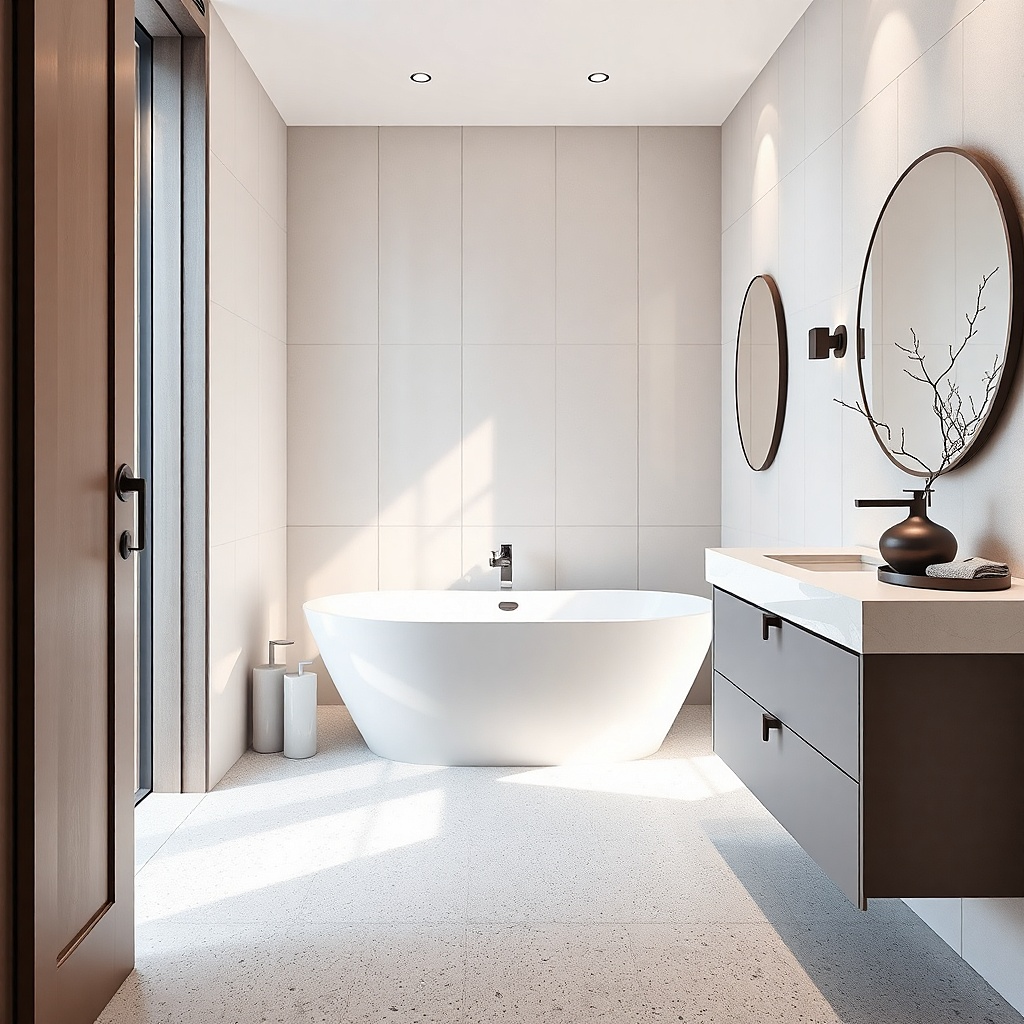
No-glass combos can still look sharp when you use a narrow shelf-ledge and a curtain track. The ledge gives a clean line and a place for essentials without bottles on the tub deck. A curtain track mounted slightly above the ceiling draws the eye upward, and the shelf creates a visual frame for the shower zone. Use warm wall tile and a matte floor so the whole bath feels soft and cozy.
Install a ceiling track curtain system so the curtain hangs straight and reaches low. Build a narrow shelf ledge around the tub edge, keeping it shallow enough that water doesn’t pool on top. Waterproof the ledge and surround, then tile over it with a slip-resistant floor tile. Place the shower head so water hits the tub interior and stays below the shelf height. Finish with a ledge-friendly soap holder or built-in dispenser so the ledge stays uncluttered.
Try thisUse a curtain liner with a subtle texture so it doesn’t cling and stick after steam.
Common mistakeDon’t leave the ledge un-waterproofed — it stains and looks rough fast.
21. Tub Combo With Curved Glass Return for Softer Lines
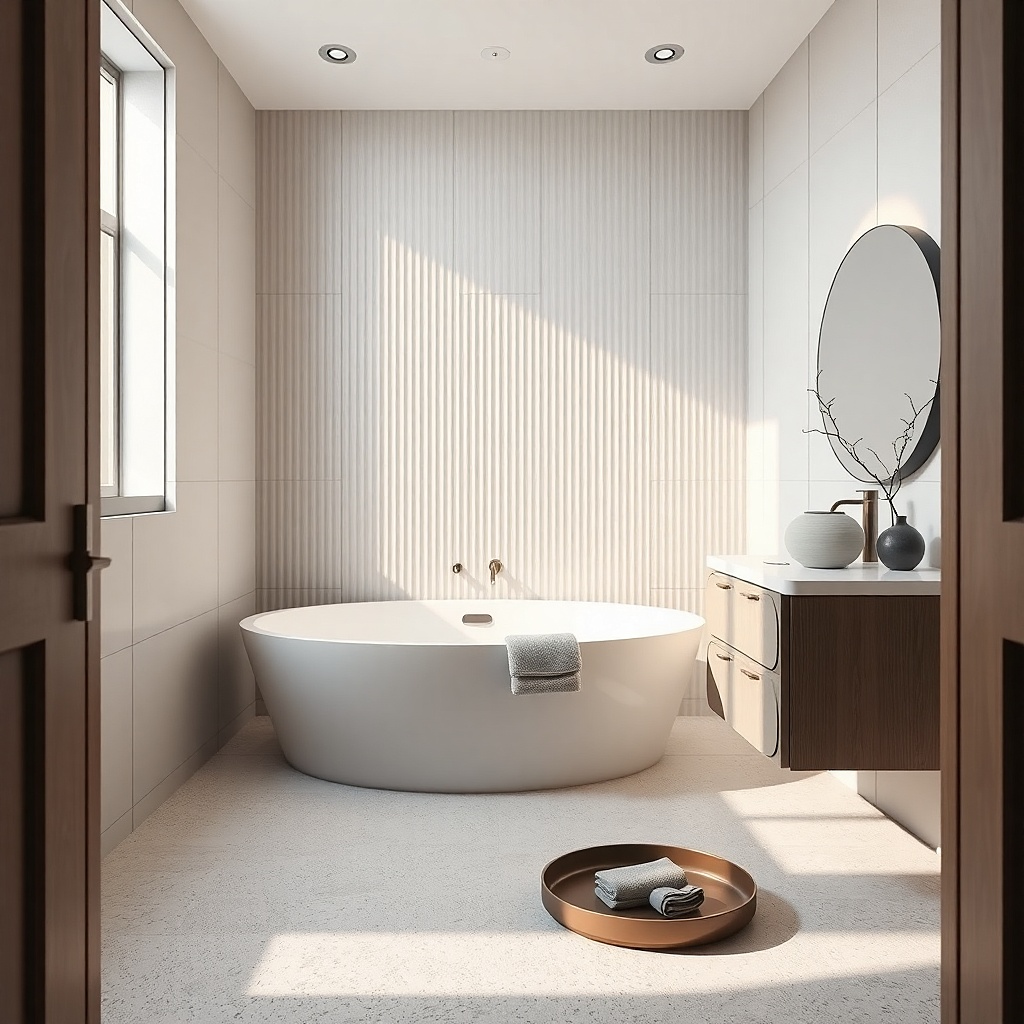
Straight glass can feel harsh in tiny baths. A curved glass return softens the lines and makes the tub-shower zone look more like a design feature than a bathroom necessity. Pair it with cream tile and brushed metal to keep the mood warm. This combo works best when you have a corner or a short wall run where a small return panel can redirect spray.
Choose a curved glass return panel sized to match your tub edge and where spray needs to stop. Waterproof the wall and tub surround, then set the panel anchors into studs or correct backing. Tile the wall so the curved panel edge lands cleanly against grout lines. Install the shower head and adjust its angle so the stream hits the tub interior and doesn’t splash past the return. Use a minimal hand towel ring on the outside wall to keep the room photo-clean.
Try thisKeep the glass hardware slim and brushed it looks lighter with curved shapes.
Common mistakeAvoid bulky framed curved glass; it looks heavy and makes tight rooms feel smaller.
22. Tub Combo With Mirrored Back Wall Behind Vanity
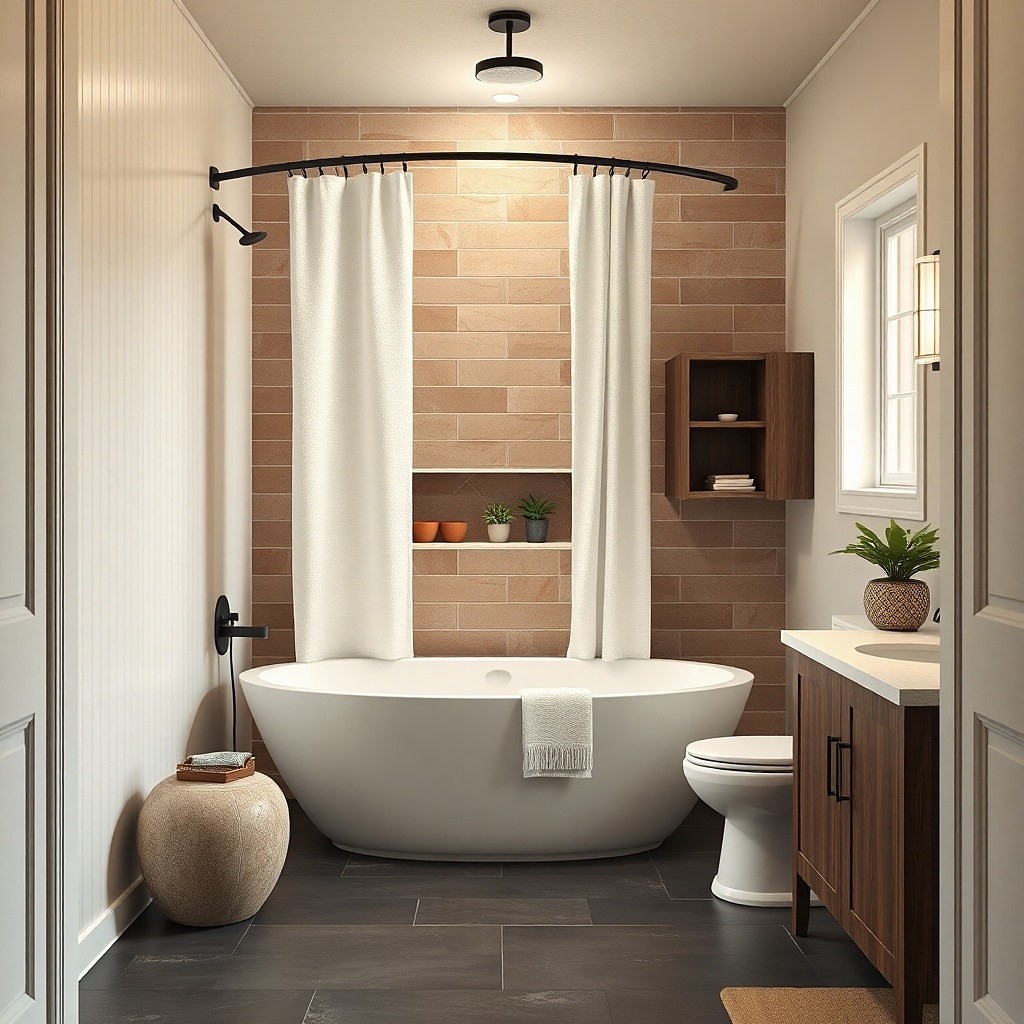
Cozy also means bright. A mirrored back wall behind the vanity reflects light and makes the tub-shower zone feel less boxed in. This pairs well with a tub and shower combo that has glass or a curtain — the mirror adds depth without adding physical clutter. Use warm mirror lighting and keep the vanity hardware brushed so the reflection looks soft, not shiny and harsh.
Choose a mirror panel sized to the vanity width and install it on a waterproof wall surface if you’re close to the wet zone. Waterproof the area behind the mirror where splash can reach, then mount with proper rated adhesives or brackets. Keep the tub-shower enclosure clean and simple so the mirror doesn’t reflect chaos. Use warm lighting and a light tile palette to make the reflected space match the real one. Finally, ensure the mirror edge trim matches the faucet finish.
Use warm 3000K vanity lighting; cool lighting makes small baths feel gray and less cozy.
Avoid a busy vanity backsplash right next to the mirror — reflections multiply visual noise.