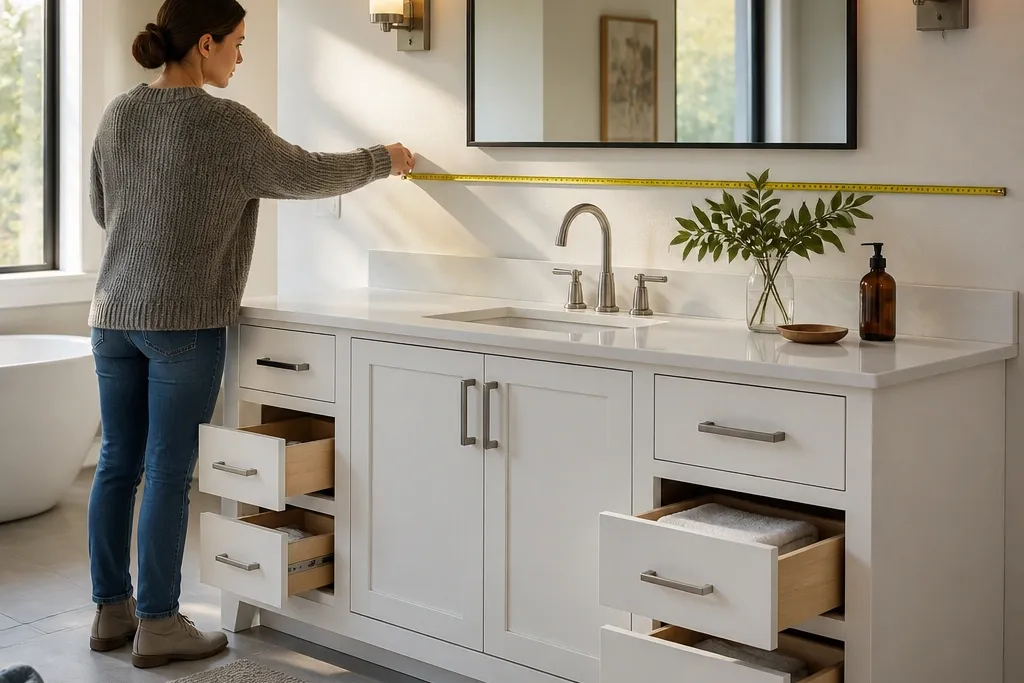

1. Buying the vanity before checking door swing clearance
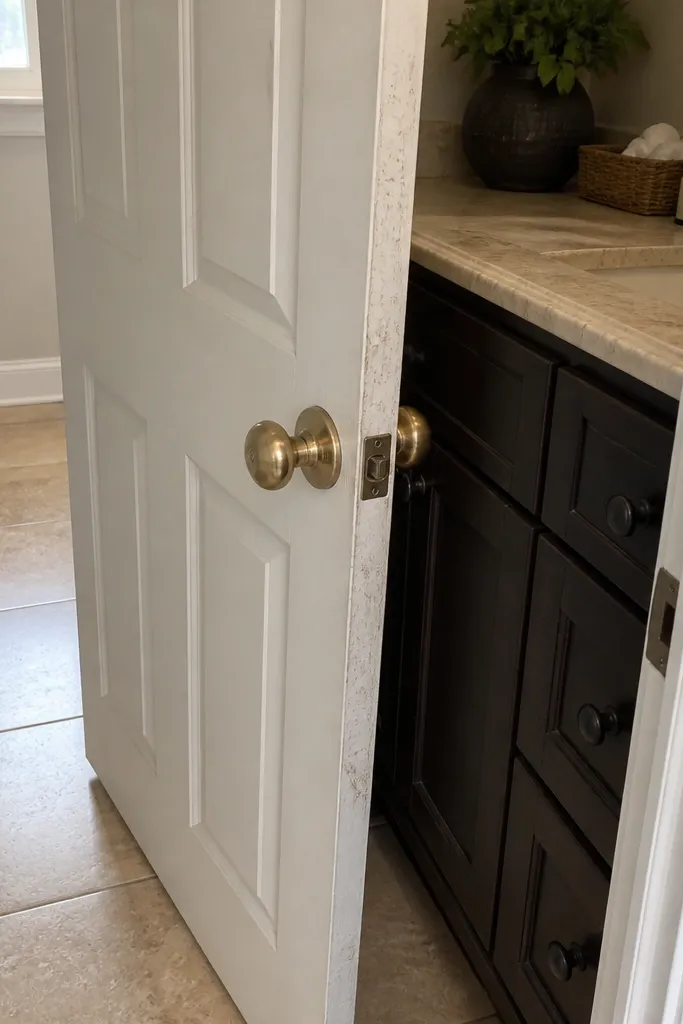
The most common layout failure is a vanity that blocks the door or forces you to squeeze past the hardware. You might like the cabinet width in a showroom, but your bathroom has a specific door swing arc and a specific finished wall line. When the door lands too close to the vanity face, the door either won’t open fully or you get a constant scrape against the cabinet edge. Fix this by planning your vanity position around the door swing, not around the vanity’s visual center.
Try thisIf you’re between two placements, bias the vanity farther from the door and use a slightly narrower cabinet clearance beats extra storage.
Start by marking the door swing on the floor with painter’s tape. Measure from the finished wall to the inside edge of the door opening at the point where it’s closest to the vanity — that’s your usable clearance. Then place the vanity so you keep enough room for the door to open without hitting the cabinet face or handles. Finally, confirm the vanity’s toe kick and any base trim don’t reduce the clearance you planned.
Common mistakeAvoid choosing the vanity first and discovering the door hits the handle after installation.
2. Ignoring vanity depth and ending up with a cramped walkway
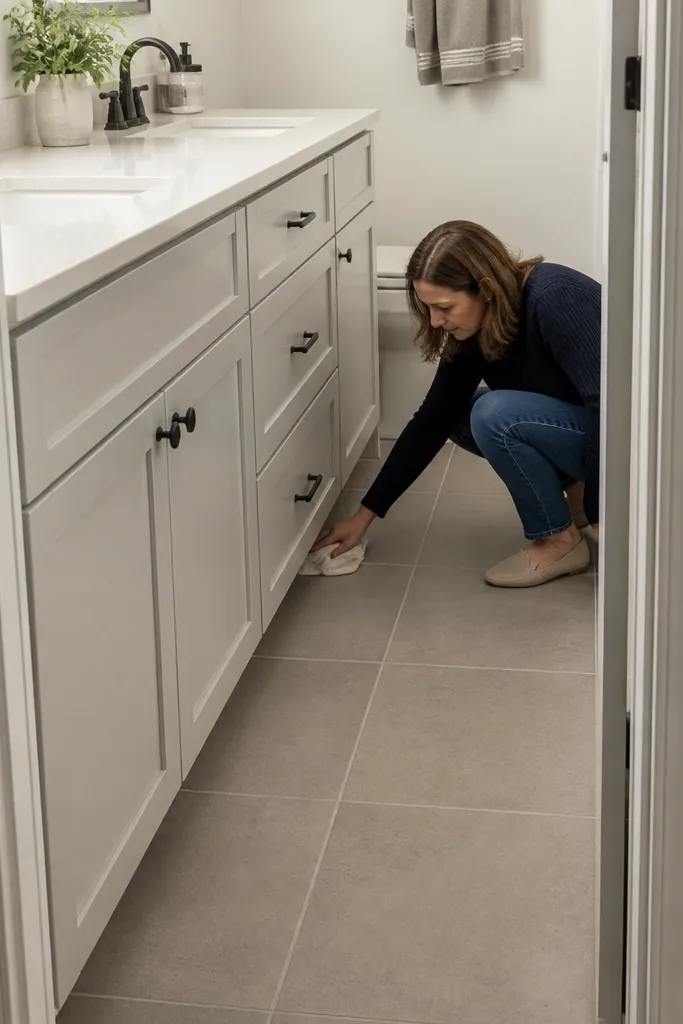
Depth is where a bathroom gets uncomfortable fast. Many people pick “standard” depth by habit, then forget that sinks, faucets, and toe kicks add bulk where your body needs space. If the vanity is too deep, you lose the straight path to the shower or toilet, and cleaning becomes annoying because you can’t reach the floor edge. A good bathroom vanity depth choice keeps your main walkway feeling open even when the drawers are pulled out a bit.
Measure your available run from the vanity’s intended front edge to the next fixed element like the toilet or shower curb. Decide how much walkway you want — in a small bathroom, aim for a clear path around 30 inches where possible. Then subtract the sink overhang and faucet projection from your chosen cabinet depth so the front edge stays in the right zone. Finally, check that drawer slides and cabinet doors don’t extend farther than your planned front edge clearance.
For tight spaces, choose a shallower cabinet and a sink with minimal rim overhang so your usable space doesn’t shrink.
Avoid treating vanity depth as “close enough” when your bathroom has a narrow path.
3. Mismatching vanity height to real body use

Height mistakes show up fast because you feel them every day. If the vanity is too tall, you end up raising your shoulders and bracing your elbows. If it’s too short, you’re bent over and your knees take the hit. The standard 32 to 34.5 inches to the top of the vanity is a starting point, but you should adjust for your household’s typical height and whether you want a taller look. A vanity height that matches daily use makes the room feel more “right” even before you care about style.
Try thisIf you’re installing a new faucet, pick one with a spout reach that lands near the center of the sink bowl so you don’t lean in for every wash.
Measure the distance from the floor to where your hands naturally land when you’re standing comfortably at the sink. Then compare that to the vanity top height the product lists — the number matters because tops change the final height. If you’re choosing a cabinet with interchangeable tops, pick the cabinet base first, then set the top height to your measured target. Finally, confirm the faucet height clears your wrists and doesn’t spray water into the backsplash or your counter clutter.
Common mistakeAvoid buying a vanity because it looks tall or sleek without matching the top height to how people use the sink.
4. Choosing a double-sink vanity but forgetting counter-to-plumbing realities
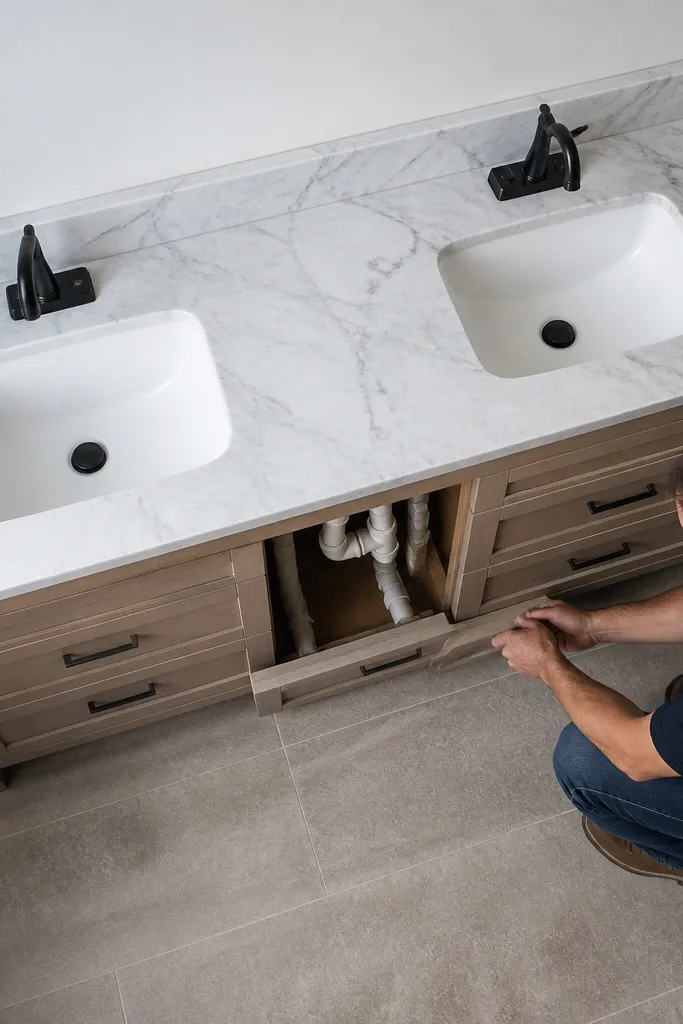
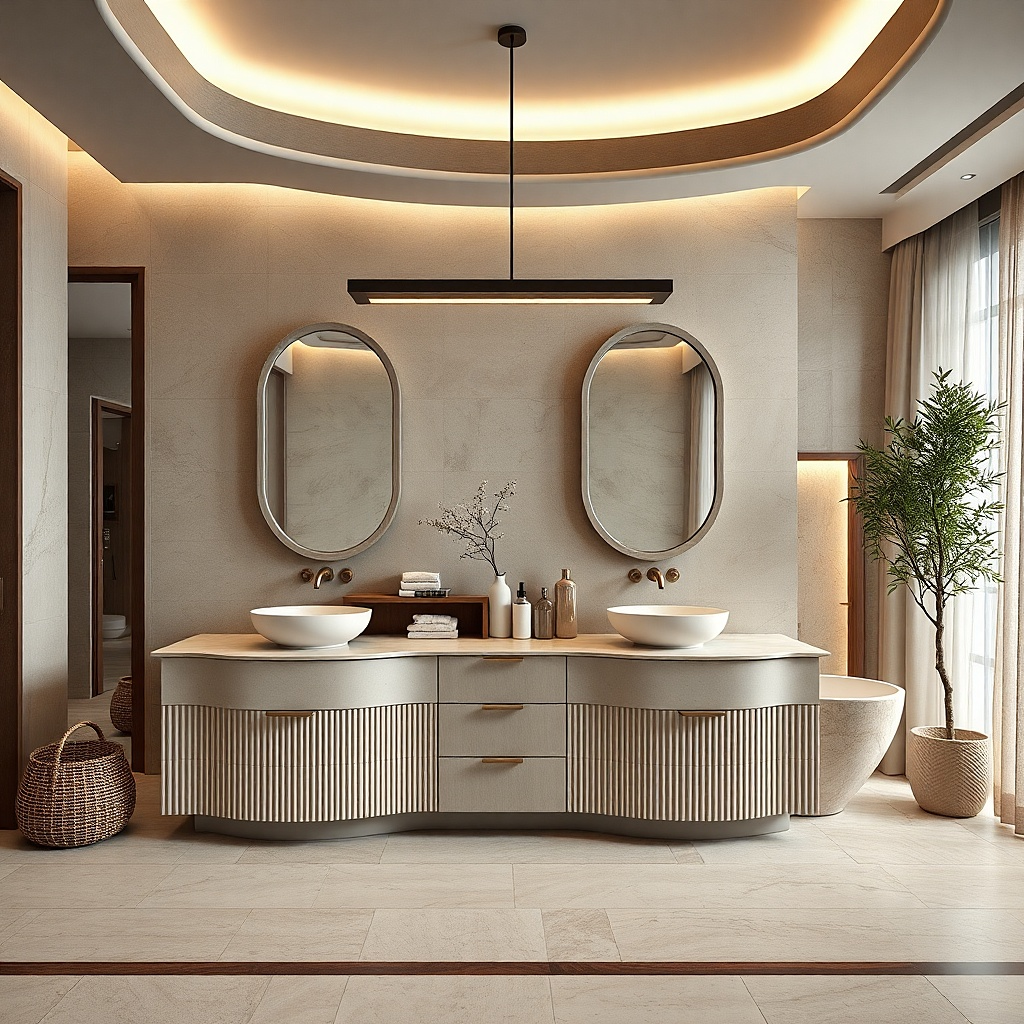
Double-sink vanity ideas can look perfect on paper and still fail in the real world. The problem is that drain and supply lines have fixed locations, and the cabinet has to accommodate them without blocking drawers or creating odd cutouts. If the sinks are too close together for the faucet style, you end up with awkward faucet centers that clash visually and functionally. You also need enough counter between the two basins for daily items like soap and toothbrush cups.
Start by checking the sink template or rough-in requirements for the exact sink model you plan to buy. Then verify the drain center spacing so it lines up with the double-sink plumbing layout you have or are willing to change. Choose faucet styles that match the sink’s faucet holes and spacing — widespread faucets need more room between centers than single-hole styles. Finally, confirm drawer clearance above and below — some cabinet drawers get cut or reduced when plumbing occupies the middle zone.
If you want a double vanity in a smaller bathroom, consider two smaller sinks with a single continuous counter rather than two deep bowls that crowd the center.
Avoid assuming any double-sink cabinet will fit your plumbing without checking rough-in spacing.
5. Picking a sink that makes drawer storage useless
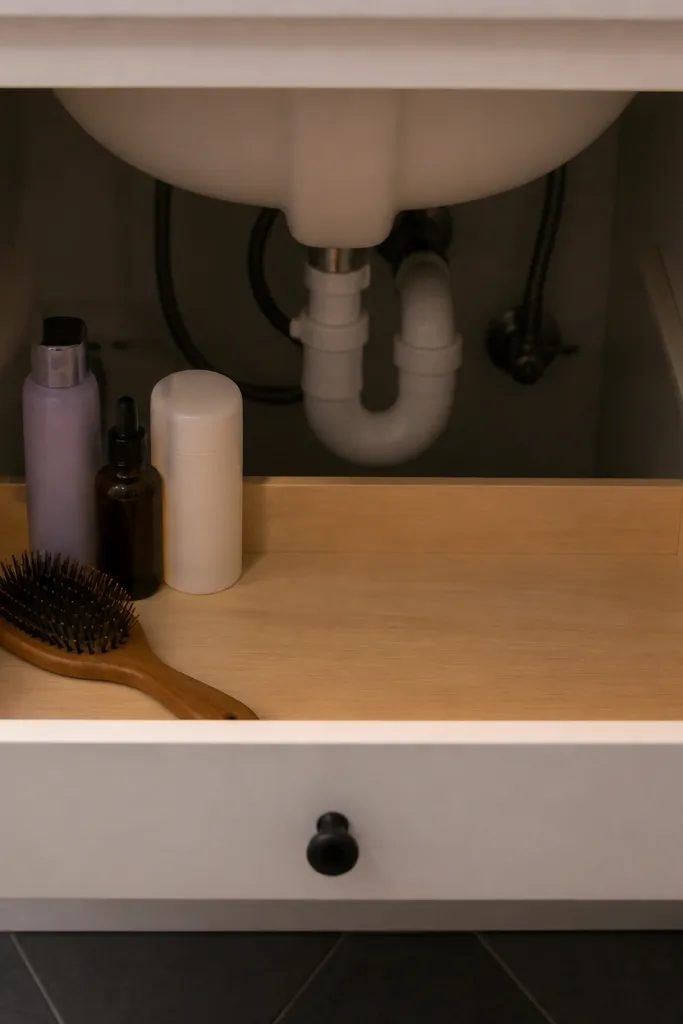
A vanity should let you hide clutter, not force you into baskets on the counter. Some sink choices create a trap zone that eats the cabinet’s drawer space, especially with certain drain locations and deeper bowls. You end up with one skinny drawer that can barely hold a hairbrush, while the rest of the cabinet becomes plumbing-only. The fix is to plan storage around the plumbing footprint before you commit to a sink shape and drain type.
Try thisAim for at least two drawers that fit daily items like toothbrushes, toothpaste, and skincare so the counter stays clean by default.
Look at the cabinet’s internal layout and note where the plumbing will sit relative to drawer fronts. Then check the sink’s drain location and whether the trap requires extra vertical clearance. Choose a sink with a drain that leaves enough space for drawers below it, or select a cabinet layout that uses a mix of drawers and a cabinet door for the plumbing zone. Finally, confirm the drawer depth you want — shallow drawers can feel useless even if they look spacious from the outside.
Common mistakeAvoid buying a sink shape you love without checking whether the drawers can still open and store real stuff.
6. Underestimating faucet backsplash splash and water management
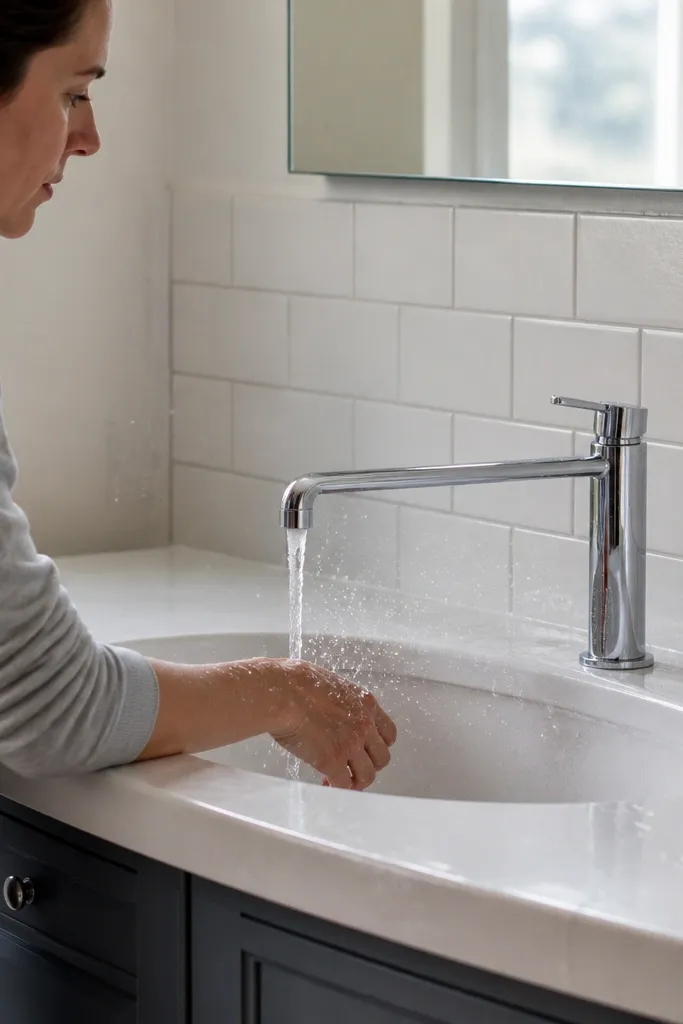
Faucets that look good in photos can create a daily mess if the spout reach and backsplash height don’t match your sink. Splash happens when water hits the front rim or shoots beyond the bowl. That turns your backsplash into a wipe-every-day surface and makes grout and caulk age faster. The vanity vanity top needs to handle water where it lands, not where the faucet looks centered.
Choose a faucet with a spout reach that lines up with the sink’s bowl depth and center. Then check the sink’s front rim height so water has room to land inside the bowl. If you’re using a backsplash-less setup, you need a higher backsplash or a top with a back edge that catches spray. Finally, dry-fit the faucet and check the clearance to the backsplash and any wall outlets before final assembly.
If you hate wiping counters, pick a faucet with a slightly shorter spout reach and a sink with deeper bowl sides.
Avoid choosing faucet style without confirming splash behavior against your exact sink bowl shape.
7. Ignoring top overhang, edge thickness, and finish protection
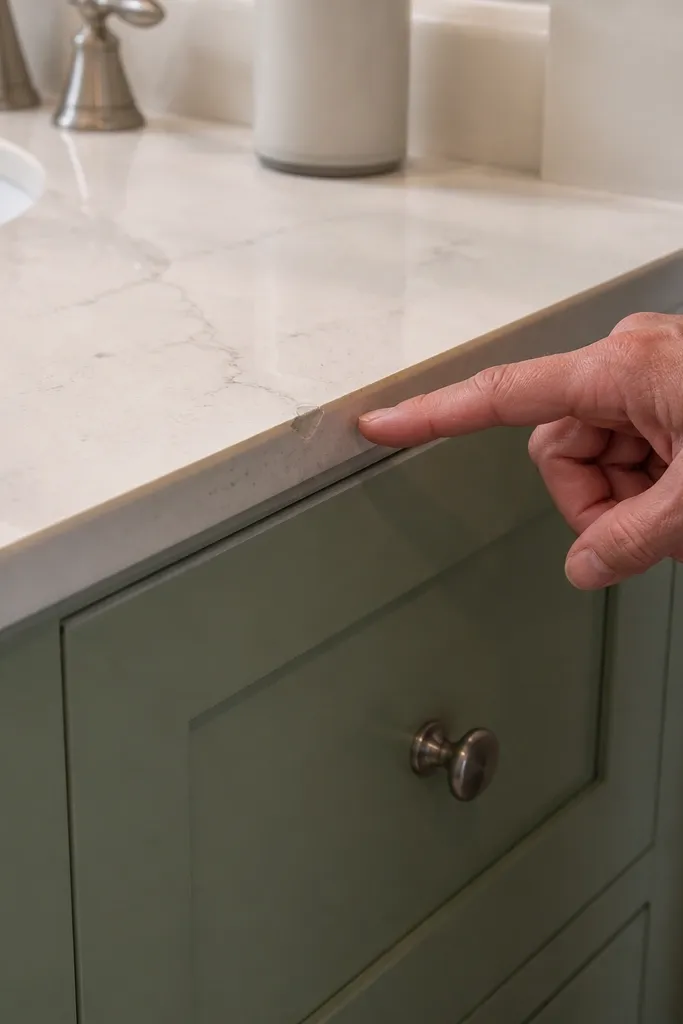
A vanity top is where water sits, where people bump things, and where chips happen first. Common mistakes include tops with uneven overhang that create a lip you can’t clean, and edges that chip because the finish is too thin for the front exposure. If you go with a material that isn’t sealed well at the cut edges, splashes get trapped. The right edge finish keeps the front look crisp and makes cleaning easier because you can wipe straight across.
Try thisAsk for a top with factory-polished edges when possible — field finishing is where you get uneven shine and micro-chips.
Measure the cabinet top opening and choose a countertop that matches the overhang you want at the front and sides. Plan for a consistent, clean front edge — most people prefer a modest overhang that doesn’t create a deep ledge. Then inspect edge thickness and whether the material’s edges are polished or profiled to resist chipping. Finally, confirm the top has a proper seal at seams and cutouts around the sink and faucet holes.
Common mistakeAvoid assuming any countertop cutout will protect the front edge from chips and water intrusion.
8. Using the wrong cabinet finish for a humid cleaning routine
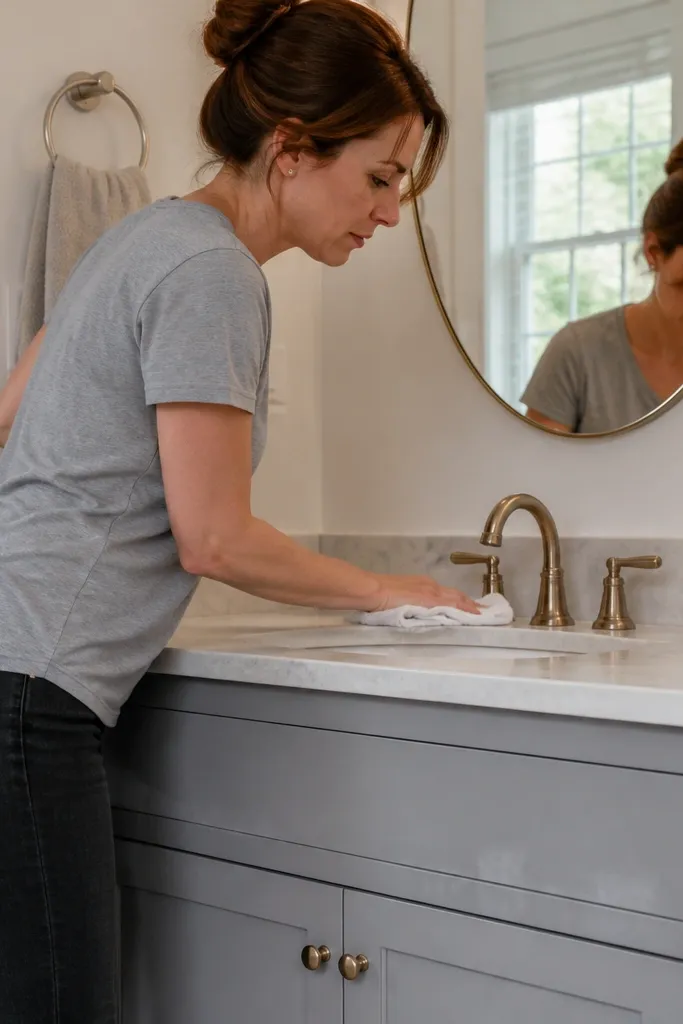
Cabinet finish choices show up as dull patches, sticky spots, or swelling around the sink zone. Bathrooms aren’t just humid; they get sprayed and wiped with chemicals, and the backsplash area catches the overspray. A finish that looks great dry can haze when it meets repeated cleaners. If you want vanity ideas that still look fresh, treat the finish like a performance surface, not a decorative coat.
Check that the cabinet uses moisture-resistant plywood or engineered panels, not plain particleboard. Look for a durable topcoat on doors and drawer fronts that doesn’t feel soft when you press gently with a fingernail. For cleaning, pick a mild cleaner and avoid harsh solvents that strip sheen. Finally, seal any exposed edges around the sink cutout and keep water from pooling at the backsplash line.
Use a microfiber cloth for daily wipe-downs — paper towels leave lint that holds onto spray residue.
Avoid choosing a cabinet finish that looks fragile or thin, especially if you clean with strong sprays.
9. Forgetting the storage math and ending with empty drawers
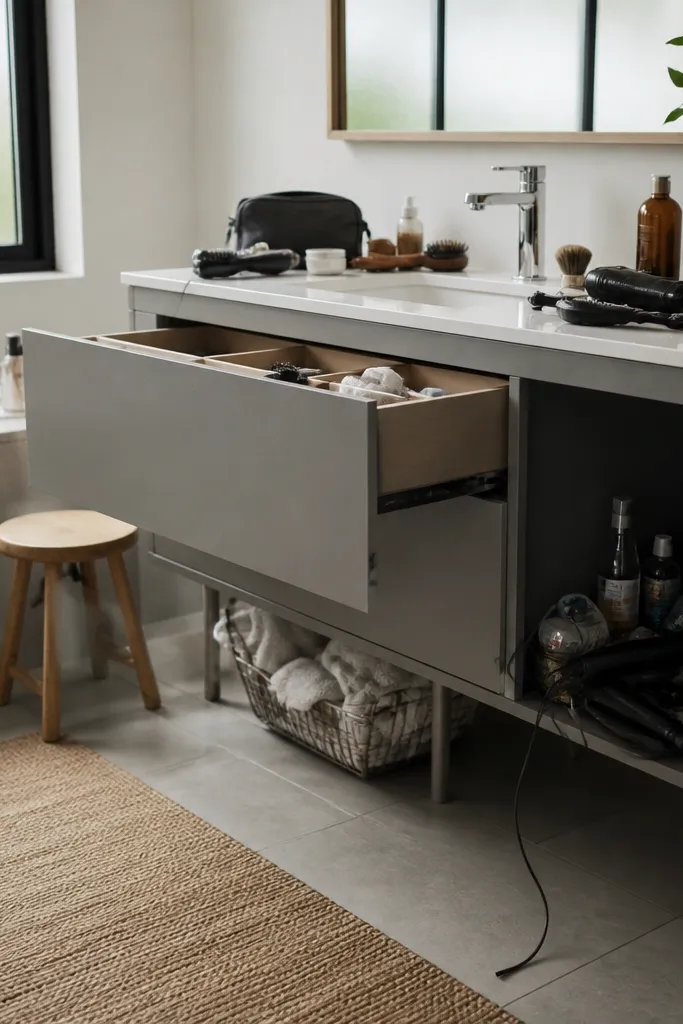
A vanity can look sleek and still be a storage disappointment. The mistake is planning storage around the cabinet size, not around what you actually put away. Hair tools, shaving gear, and skincare need different zones, and a single shallow drawer forces everything to live on the counter. When storage doesn’t match routines, the bathroom looks messy even if the vanity is expensive. Storage planning is part of vanity ideas, not an afterthought.
Try thisIf you have kids, pick deeper drawers for toothpaste and small bottles so they don’t topple when the drawer is pulled hard.
List your daily items and group them by how often you touch them — daily grab items vs weekend tools. Then decide which drawer or cabinet door should hold each group. Choose a vanity configuration that includes at least one drawer sized for longer items like toothbrush holders and one compartment-friendly drawer for small bottles. Finally, add simple organizers after installation so the drawer layout stays consistent — don’t rely on “drawer space” alone.
Common mistakeAvoid buying a vanity with nice-looking drawers that don’t match your item sizes.
10. Ignoring ventilation and sealing gaps behind the vanity
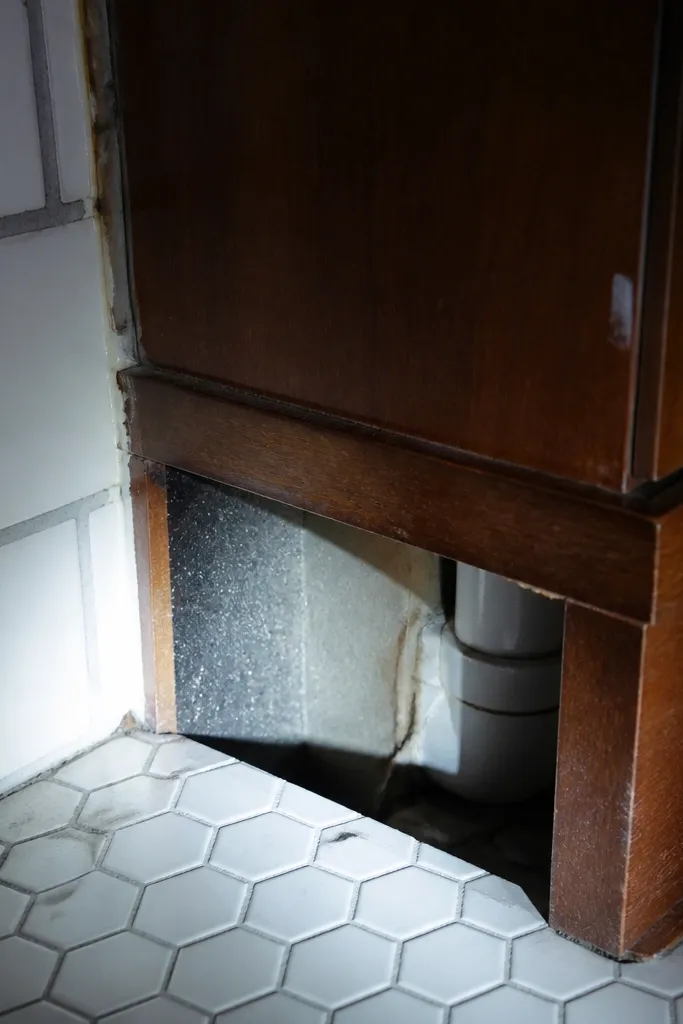
Bathrooms fail quietly behind vanity cabinets. Steam condenses on cooler surfaces, and any gap around the plumbing line can hold moisture against the wall. If the vanity isn’t installed with proper sealing and the bathroom ventilation is weak, you get odor and early wear at the base and around caulk lines. This is why some vanity ideas look fine at install and then start to sag, discolor, or peel where you can’t see it. Your vanity needs a dry path behind it, not trapped humidity.
Try thisAfter the first week, inspect caulk lines around the sink and at the base — early shrink cracks are easier to fix fast.
Before installing, check that your bathroom fan is venting outside and that it runs long enough to clear steam. Then plan the seal points: caulk or seal around the sink cutout as recommended by the top manufacturer, and seal the perimeter where the vanity meets the wall. Keep plumbing penetrations sealed so water can’t creep into the wall cavity. Finally, leave a tiny service gap where needed so you can access shutoff valves without ripping everything out.
Common mistakeAvoid installing the vanity and sealing everything without checking ventilation performance and moisture control.