1. Oversized wood-look framed mirror with a dark walnut finish
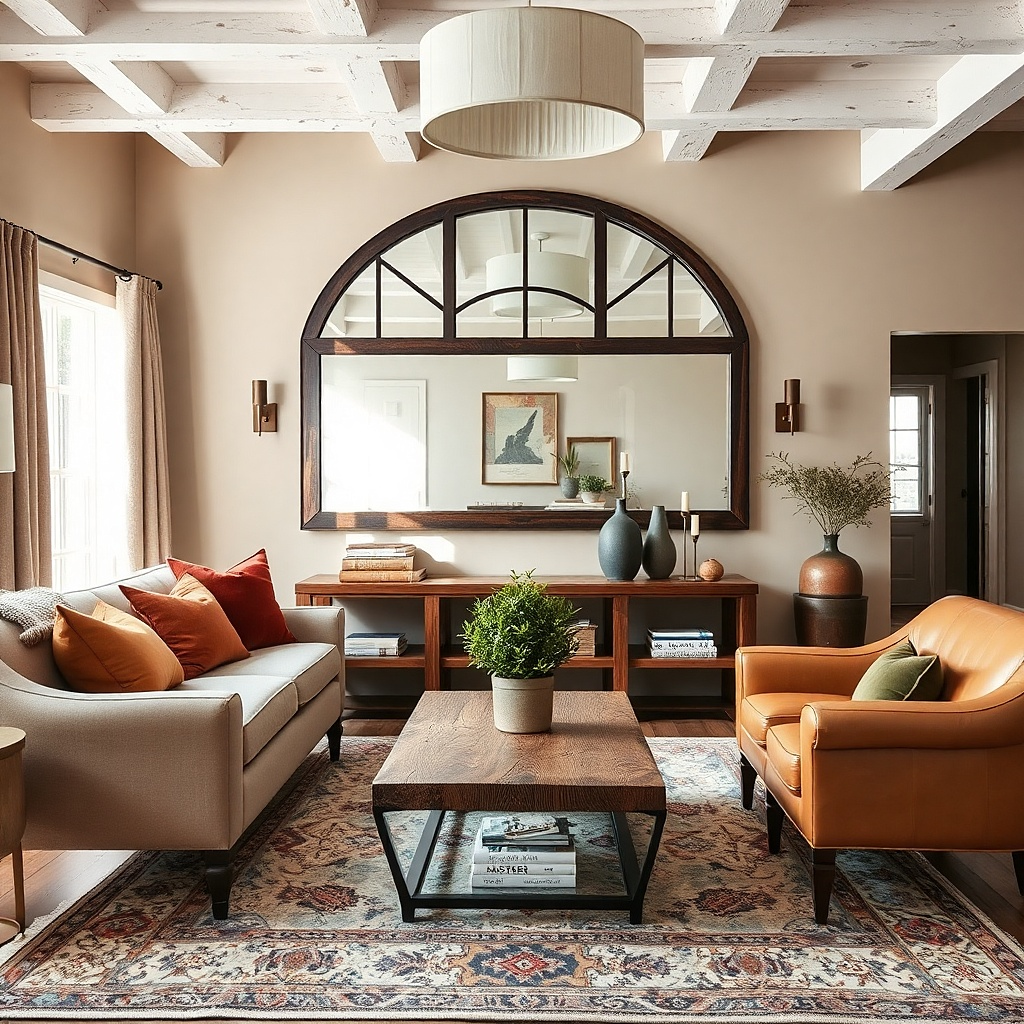
Measure the wall space first and aim for the mirror to be about 60-75% of the sofa width. Use removable mirror clips or a picture-hanging system that grips the back edge so the weight spreads; avoid single-point adhesive strips for a mirror. Mark the centerline, install the clips on the wall using your chosen removable anchors, then hang and level the mirror. Plan for 30-60 minutes of careful alignment and expect the hardware to cost roughly $25-80 depending on mirror weight and clip system.
A big mirror instantly makes a living room feel warmer because it bounces light onto the wall and surrounding textures. Go for a wood-look frame in dark walnut or blackened oak so it reads rustic without looking orange or cheap. Choose a matte or lightly distressed finish, not glossy — glossy frames can feel modern and slippery against rustic textiles. For a renter-friendly install, use a mirror hanging system designed for weight distribution and removable mounting clips. This works especially well on the main sofa wall where you want one statement piece that still feels layered when you add small decor around the edges.
Common mistakeSkip thin frames that look like laminate; the mirror should feel substantial from across the room.
Try thisAdd two slim sconces or plug-in wall lights on either side so the mirror reflects warm light instead of harsh overhead.
2. Linen and jute wall textile hung with a removable rod
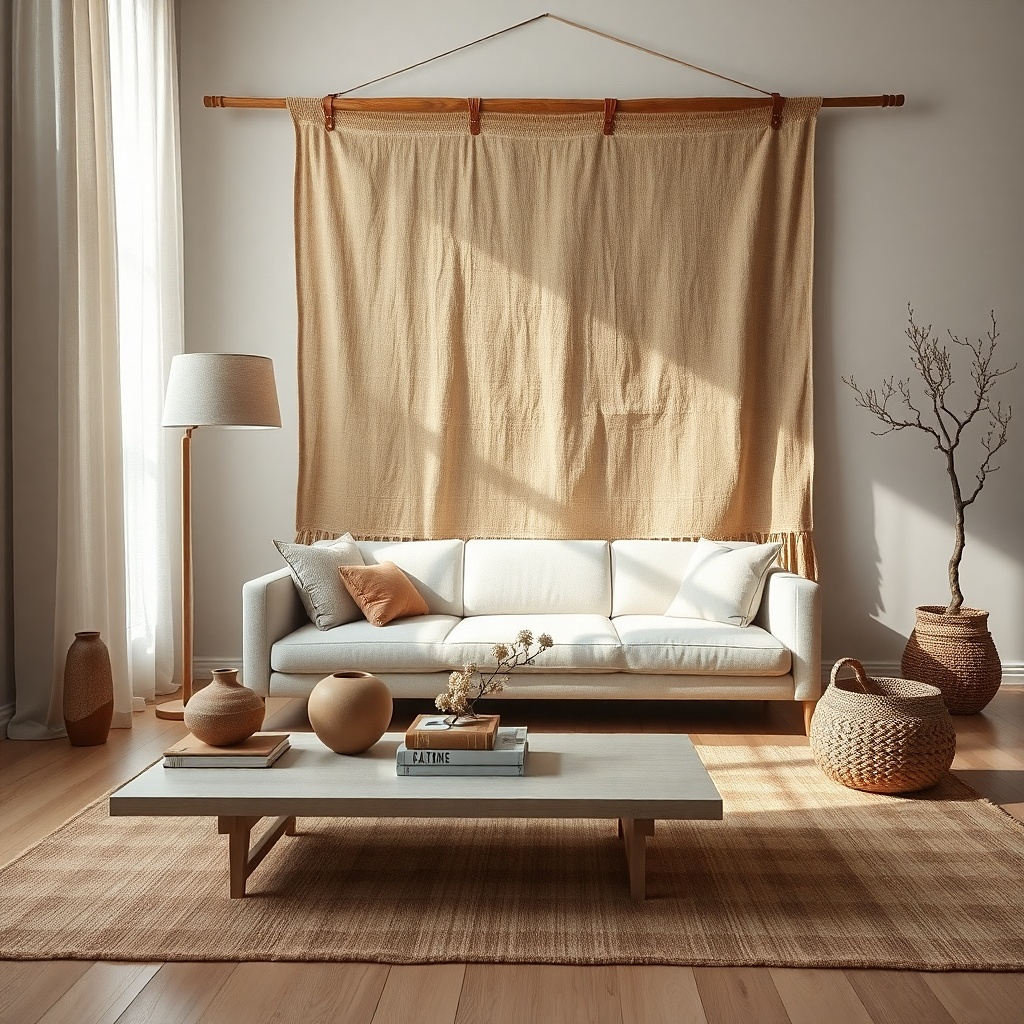
Pick a textile width that covers at least half the wall span; a 36-48 inch width usually looks right above a smaller console, while 50-72 inches works behind a sofa. Install a removable wall rod with brackets that use adhesive mounts or screw-in anchors that are designed to be removed cleanly. Slide the textile onto the rod using a sleeve or clip rings, then center it and keep the bottom edge aligned with the sofa back height. Use a steamer on low to remove wrinkles before hanging; it makes the weave look more intentional.
A woven textile turns rustic wall decor into something soft, not stiff. Choose linen plus jute or a jute blend so you get visible fibers and a natural, slightly uneven surface that reads warm. A neutral cream base with a muted stripe in clay or olive looks timeless and doesn’t fight your furniture. The rod method is renter-friendly because it uses removable brackets or tension hardware instead of nails. This is perfect when you want rustic layering but your wall is too busy for a lot of frames.
Common mistakeAvoid bright white textiles — they can look stark and make rustic feel colder.
Try thisPair the textile with one small ceramic or wood shelf below so the wall and surface feel like one composition.
3. Reclaimed wood plank wall panel using peel-and-stick trim planks
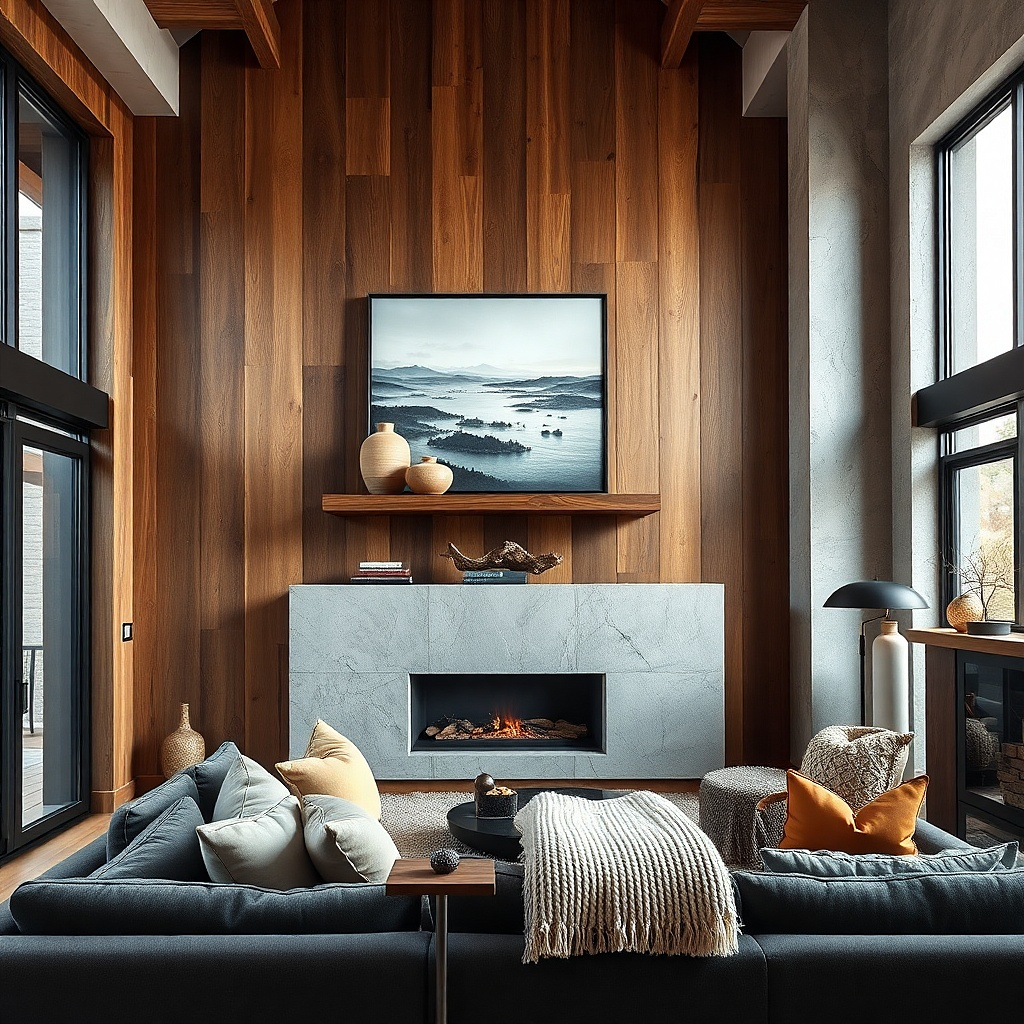
Clean the wall with a gentle degreaser and let it fully dry; adhesion fails on dusty baseboards and oily fingerprints. Plan your panel size first — a 24-48 inch wide vertical section or a 36-60 inch horizontal strip looks best without overwhelming the room. Apply planks from a straight reference line (use a level and painter’s tape), press each plank firmly at edges and corners, and stagger joints for realism. Cost is usually $40-120 for materials depending on plank size and coverage; plan 1-2 hours for careful alignment.
If you want true rustic texture without demolition, peel-and-stick trim planks give you the look of reclaimed wood with a clean install. Choose planks in warm gray-brown or dark oak tones with subtle knots so the wall reads naturally aged. Keep the panel as one contiguous block, not scattered pieces, so it looks designed. Matte finishes hide adhesive seams better and feel more authentic than lacquered wood. This works best on one focal wall where you can build the rest of the decor around it — like a fireplace wall or the area behind the sofa.
Common mistakeSkip glossy planks; they reflect light in a way that screams “sticker,” not rustic.
Try thisUse one large framed piece or mirror centered over the panel so the wall texture feels intentional, not like a patch.
4. Black metal and wood floating grid with removable hooks
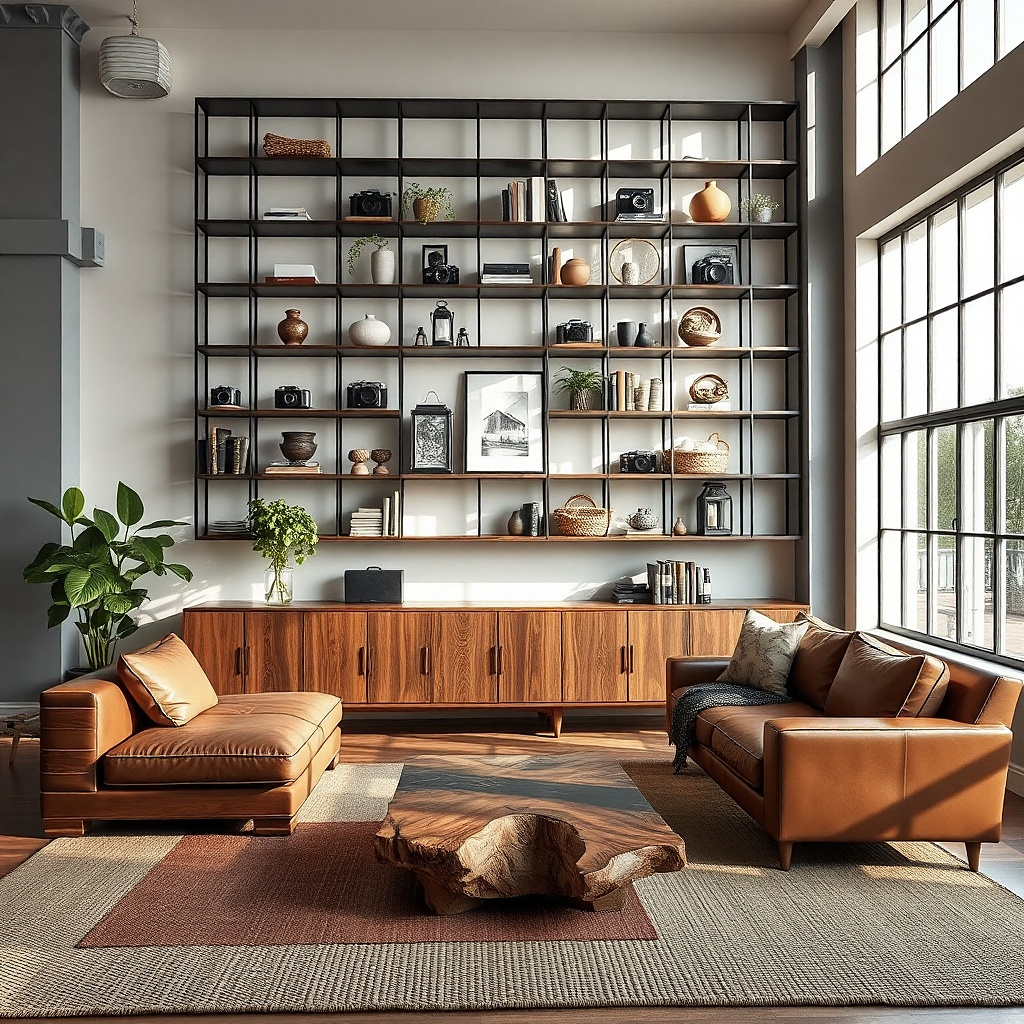
A floating grid gives you that rustic workshop vibe while staying organized. Choose a grid frame in black metal with warm wood shelves or spacers, then use removable hooks or clips to hang small items like dried botanicals, linen-lined baskets, or lightweight framed prints. The aesthetic is photogenic because it creates a structured pattern on the wall, but you still get natural textures from the accessories. It’s a strong option for renters because you can anchor the grid with removable mounts and update the contents seasonally. This is ideal for a wall beside the sofa where you want movement without covering the whole wall.
Pick a grid size that matches your wall blank area; 18x24 inches is a sweet spot for tight living rooms. Attach the grid using a removable hanging system rated for the combined weight of frame plus accessories; check the kit for weight limits. Clip in accessories after it’s level so you can adjust spacing — aim for 2-4 inches between hanging items. Start with three to five pieces, not ten; the grid should look curated, not crowded.
Use linen or canvas baskets on the hooks so the grid reads rustic, not industrial.
Avoid hanging heavy cast-iron items on removable mounts.
5. Gallery wall with mixed frames in walnut, cream, and black
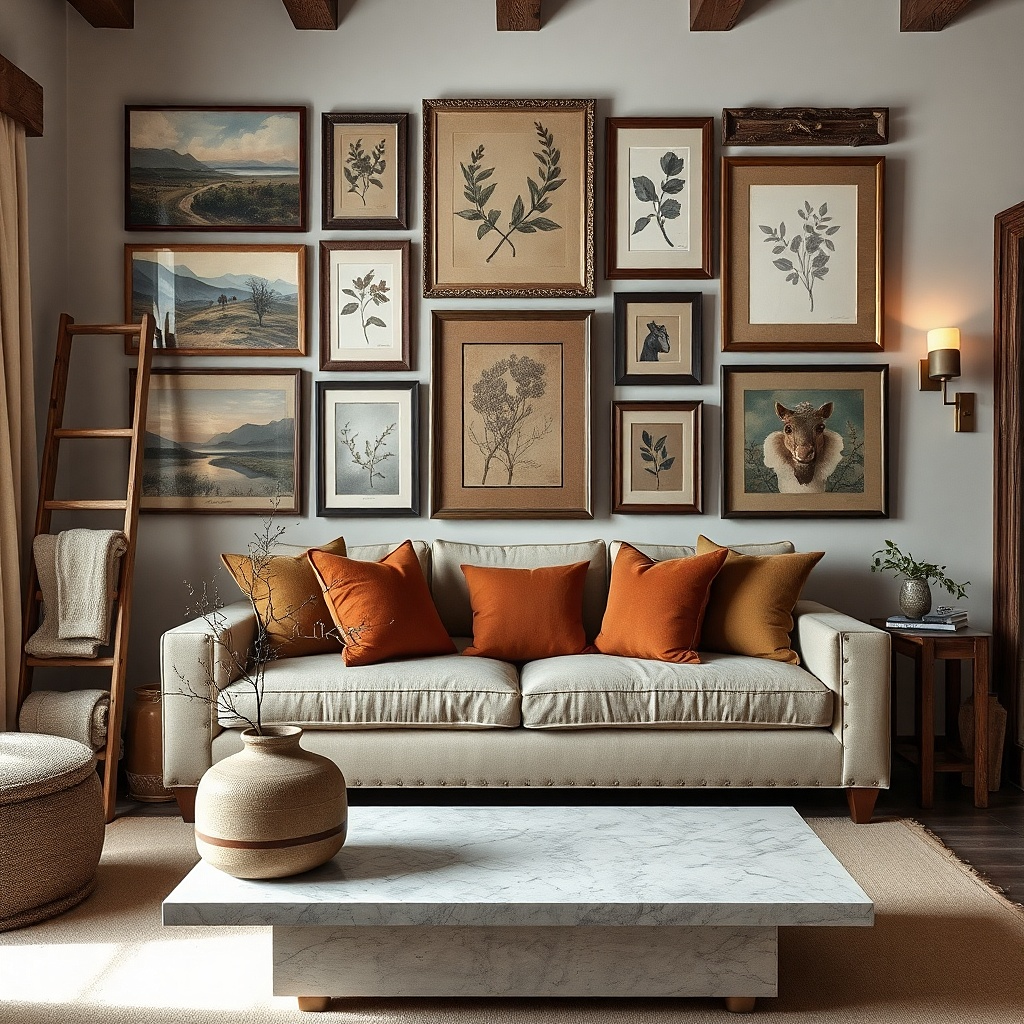
Choose 8-12 frames and calculate the overall rectangle size; a 48-72 inch wide cluster is common over a sofa. Lay frames on the floor first and build a grid with consistent spacing — 2-3 inches between frames for a tight look. Use painter’s tape on the wall to mark each frame position, then hang using removable picture hooks sized to each frame’s weight. After hanging, step back and adjust until the cluster reads as one block. Budget roughly $60-200 depending on frame quality and print size.
A mixed-frame gallery wall is the easiest way to get layered rustic warmth without drilling. The trick is to keep frame finishes cohesive: walnut or dark oak, cream matte, and one black element for contrast. Use prints that include texture cues — linen-look typography, muted landscapes, or simple botanical line art — so the wall doesn’t feel like a random collage. Arrange frames into a rectangle, not a scattered circle, so it looks timeless. This works when you want warmth but don’t want one huge anchor that dominates the room.
Common mistakeSkip shiny gold frames; they can turn rustic into “cheap glam.”
Try thisPick one print with a larger size and place it centrally so the gallery has a clear visual center.
6. Vintage-style botanical plates on removable picture rails
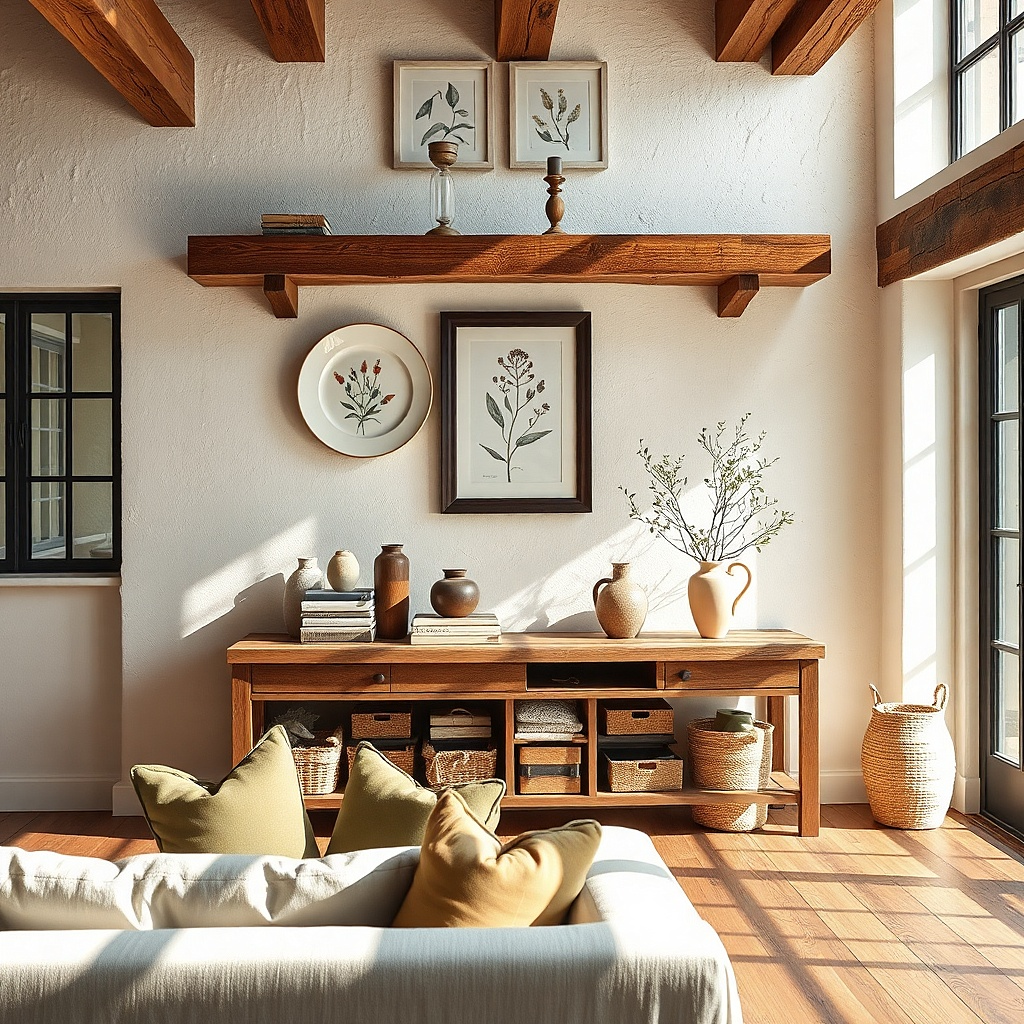
Find or buy a removable picture rail kit that uses adhesive mounts or clamp-style brackets; choose one that supports the frame weight. Start by measuring your rail length — 36-60 inches looks best for a living room wall. Hang frames with picture rail hangers or clips, keeping 2-4 inches between plate centers for breathing space. Use a level to keep the rail straight, then fine-tune the frame heights so the top row aligns. Plan 1-2 hours and $30-120 for the rail kit and frames.
Rustic wall decor looks warmer when it includes heritage-style details. Botanical plates in muted greens and warm creams add softness, and the plate look feels “collected” instead of bought yesterday. Use a picture rail or a removable rail system so frames hang without drilling, and keep the layout in a clean horizontal line. Choose frames with thin wood or simple black metal so they don’t overpower the plates. This is great for renters because you can swap plates later without redoing the wall.
Common mistakeAvoid mixing heavy ornate frames with delicate plates; match frame visual weight.
Try thisAdd one plate with a darker border to anchor the color palette and keep the line from looking flat.
7. Oversized round woven wall basket cluster
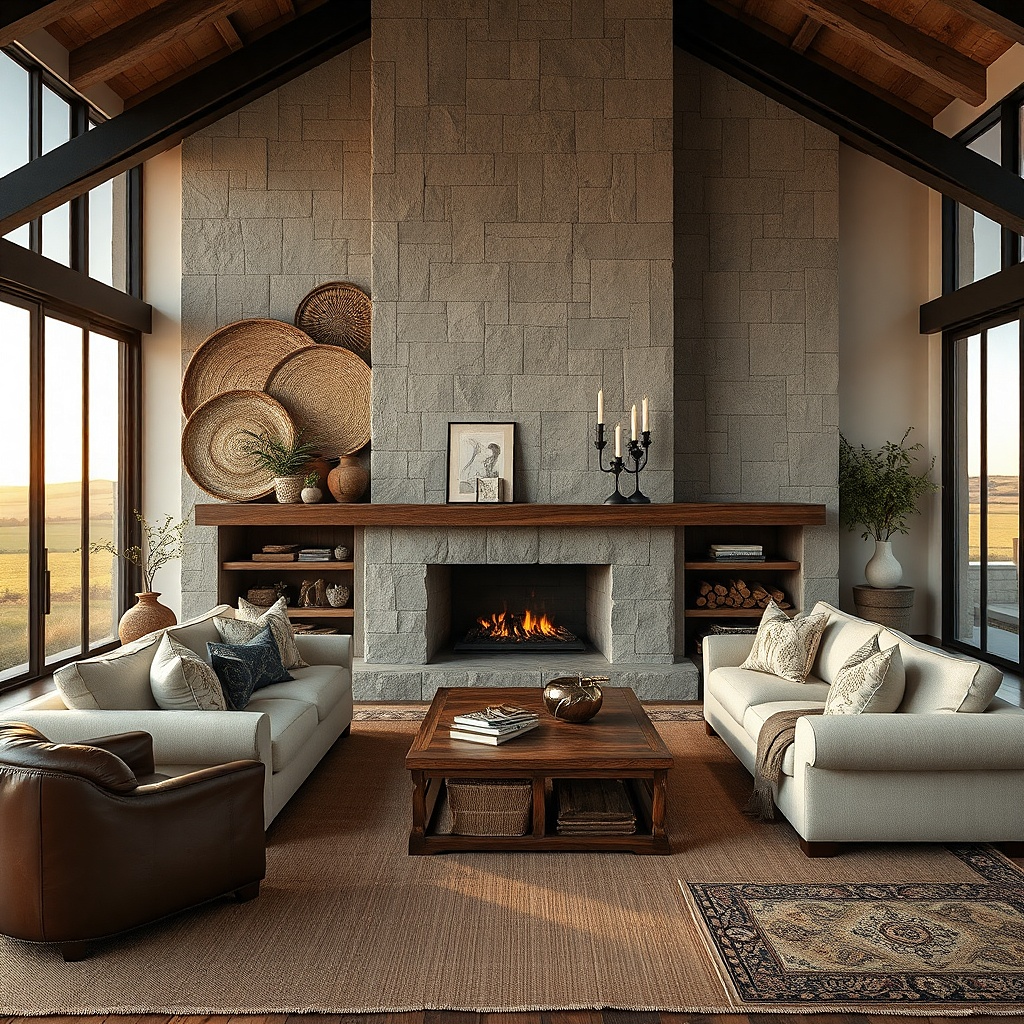
Pick three baskets with a clear size hierarchy: center basket around 14-18 inches wide and side baskets about 10-14 inches. Use adhesive hooks with a weight rating suitable for the basket plus any hanging hardware, and place them behind the basket weave where it won’t warp. Mark positions with painter’s tape and hang the center first, then add sides at equal heights. If the baskets are heavy, use a removable bracket system instead of small hooks. Expect $25-150 depending on basket size and material.
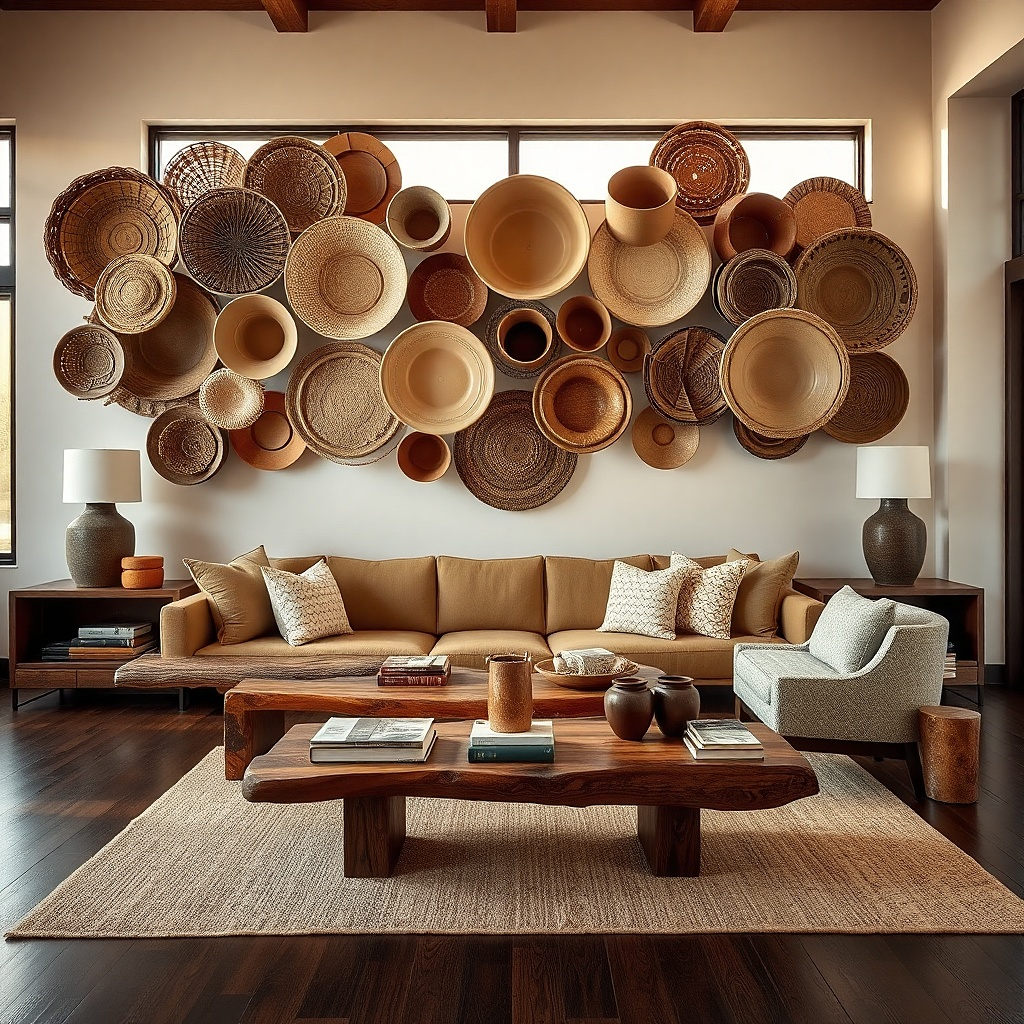
Woven baskets are the fastest path to rustic warmth because they add texture you can see instantly. Go for large round baskets in natural tan, oatmeal, and a muted camel tone, then cluster them like nesting — one bigger center basket with two smaller ones flanking it. The shape variety keeps it interesting, while the neutral palette keeps it timeless. Renter-friendly hanging is easy with basket-specific adhesive hooks or removable wall brackets designed for lightweight decor. This works on any wall that feels too flat, especially near a reading chair or a corner where you want a cozy focal point.
Common mistakeSkip tiny baskets; they read like craft projects at living-room scale.
Try thisKeep the basket rims facing the room at the same angle so the cluster looks intentional in photos.
8. Wood-framed wall shelf with stacked books and ceramic objects
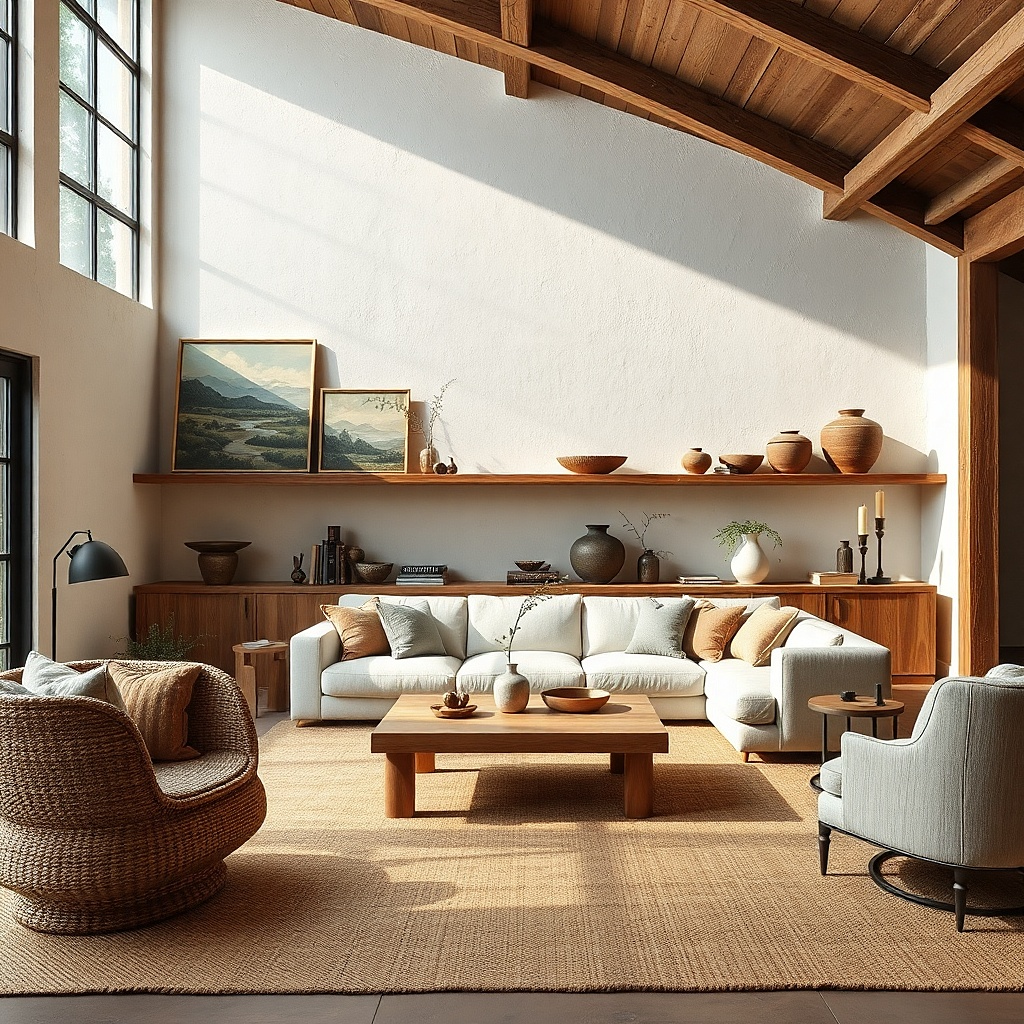
A single shelf adds depth and lets you layer without cluttering the entire wall. Choose a thick wood shelf in warm oak or walnut and pair it with a framed print above or a small wall sconce style light. The objects do the rustic work: ceramic vases in matte off-white, a small tray in dark wood, and one stack of books with muted covers. Renter-friendly shelves can be mounted with studless brackets designed for removal, but you must respect weight limits. This is ideal for a wall that needs function — like storing blankets, showing candles, or adding a place for a plant.
Select shelf length about 24-36 inches depending on the wall width and sofa scale. Use a studless shelf mounting kit rated for your shelf and object total weight; calculate conservatively. Install brackets first, then attach the shelf and check level. Style in layers: back object for height, a tray for grounding, then one vertical book stack for rhythm. Budget $40-160 for shelf and hardware, plus $20-80 for decor pieces.
Leave 1-2 inches of negative space on the shelf front edge; it keeps the rustic look from becoming busy.
Avoid overcrowding; three to five items looks designed, eight looks accidental.
9. Oversized macrame wall hanging with a neutral fringe
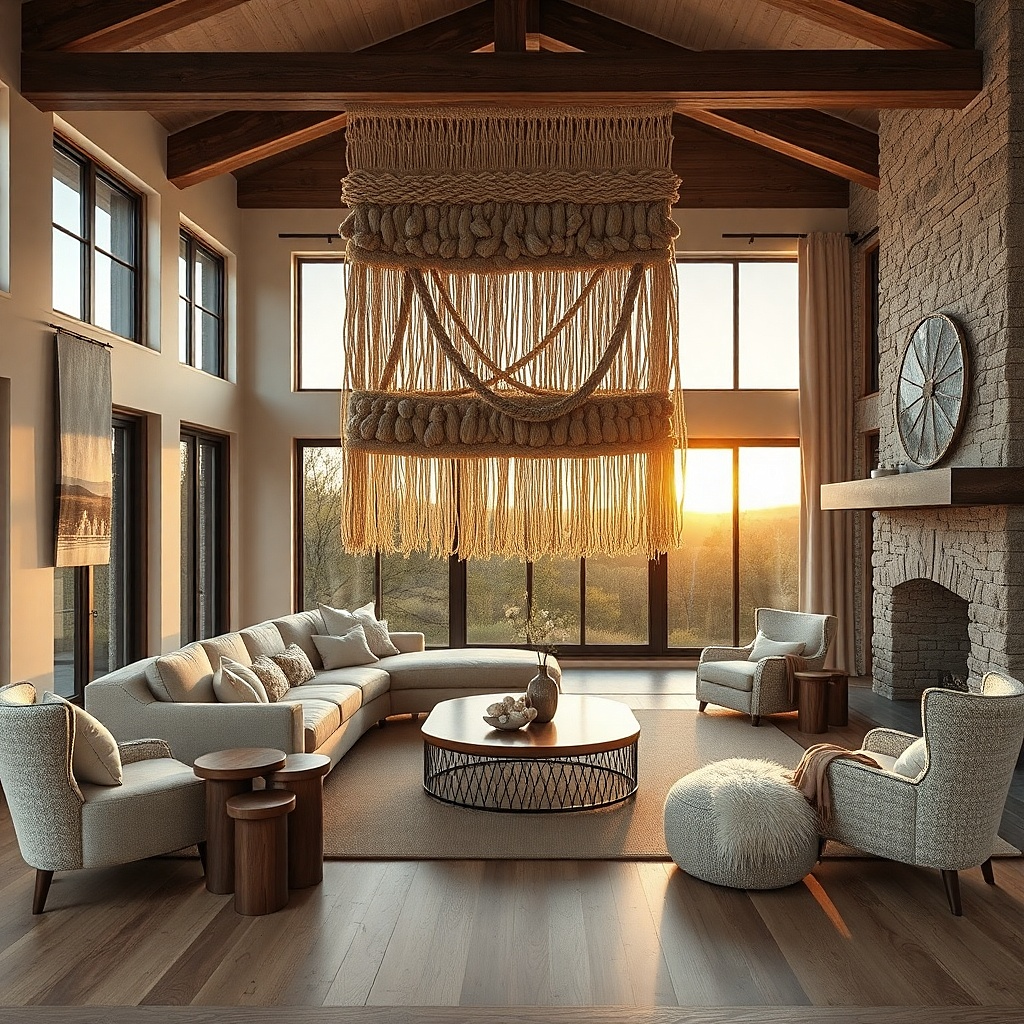
Pick a width that covers at least 40% of the sofa wall span; 30-50 inches wide is a solid range. Install a removable ceiling-to-wall or wall rod mount at the top bar height so the macrame hangs to about sofa back height. If using adhesive mounts, use multiple points along the top bar for even support. Comb the fringe gently with fingers after hanging and let it settle for a few hours. Costs often land around $35-200 depending on size and knot density.
Macrame reads rustic and soft, especially in neutral tones. Choose a large piece in natural cream or oatmeal with a fringe that falls straight, not curly-dense, so it looks airy rather than heavy. The fringe creates movement, which makes the wall feel warm even when the room is still. Hang it with a removable rod or adhesive-supported beam mount designed for textiles; macrame is lighter than it looks but needs stable support. This works best when your furniture is already neutral and you want the wall to add texture without adding color noise.
Common mistakeSkip white-on-white macrame; it can look flat against light walls.
Try thisPair with one matte ceramic and one wood element so the macrame doesn’t feel like a standalone craft piece.
10. Black-and-white photo transfers in distressed frames
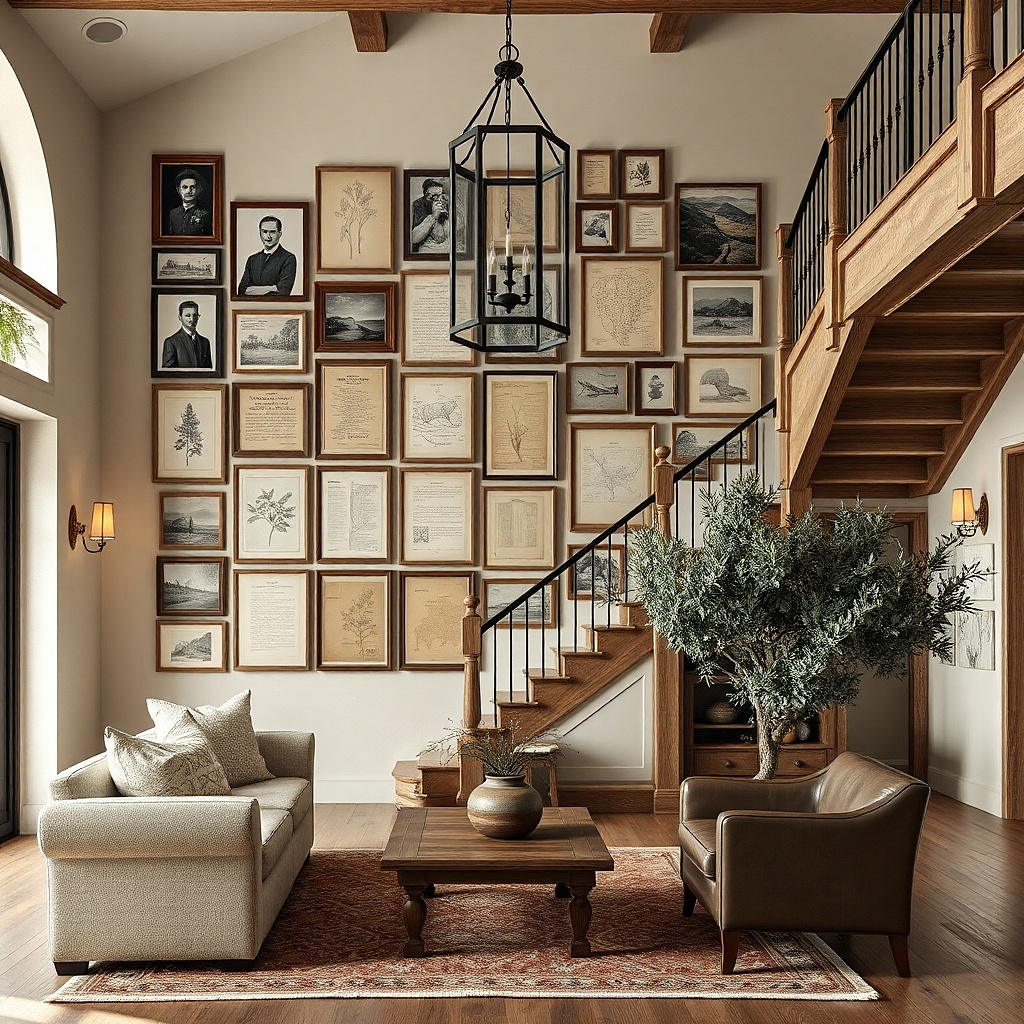
Select frames with inner matting in cream or warm gray to keep the photos from looking cold. Lay out a grid on the floor and decide on uniform gaps of 2-3 inches. Mark positions with tape, then hang using removable hooks sized to each frame’s weight. Hang from the centerline at eye level so the top row isn’t too high. Budget $80-250 depending on frame sizes and how many you use.
Rustic doesn’t have to be brown. Distressed frames with black-and-white photo transfers add a weathered look that feels timeless and calm. Choose frames with light distressing and warm undertones like gray-oak or taupe, not bright white. Use a limited set — 6-9 frames — and keep the spacing consistent so the wall reads like a planned gallery. Renter-friendly mounting works with removable hooks and frame hangers, as long as you keep frame weight in mind. This is great when you want rustic warmth but your furniture already has strong color.
Common mistakeAvoid mixing too many print styles; keep it all black-and-white for a cohesive rustic mood.
Try thisUse one frame with a wider photo or mat in the middle so the wall has a clear focal point.
11. Rustic wall clock with reclaimed wood backing and removable mount
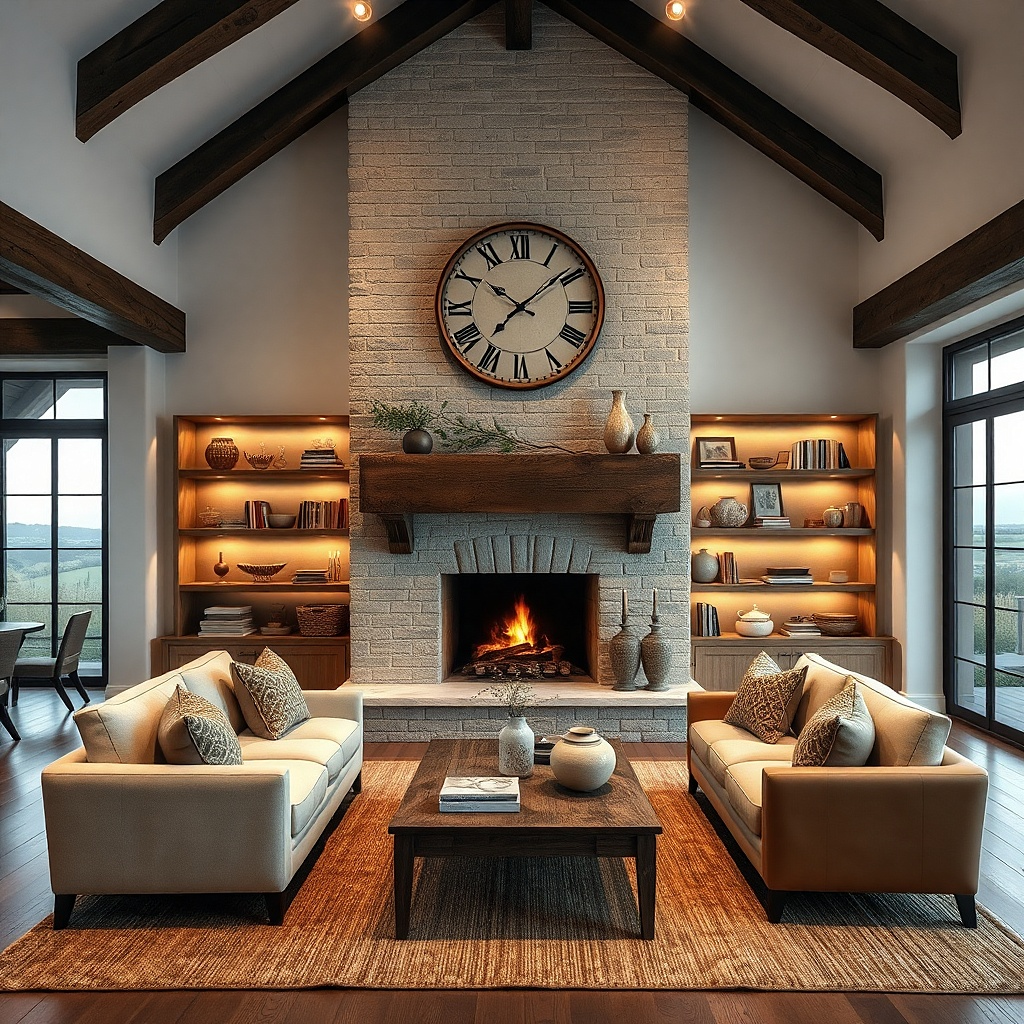
Measure your wall blank area and choose a clock width about 40-60% of the sofa width. Use the clock’s own hanging bracket but connect it to a removable wall anchor system designed for the clock weight. Center it on the wall and set the clock so the bottom edge lands around the same height as your sofa sightline. Test level before releasing the bracket fully. Cost is often $50-180 depending on materials and size.
A wall clock is practical, but in rustic style it also becomes a strong visual anchor. Choose a clock with a wood backing in warm walnut or weathered oak, and a matte metal clock face detail if you want contrast. Keep the clock size big enough to read from the sofa — around 14-20 inches wide for most living rooms. Mount it with a removable hanging system that distributes weight, because clocks tend to be heavier than they look. This is ideal when you want one statement wall piece that also reduces clutter.
Common mistakeSkip tiny clocks; they look decorative and get lost in rustic layering.
Try thisPair the clock with one small wooden shelf or one framed print below so the clock doesn’t feel isolated.
12. Terracotta and cream framed textile patchwork grid
This is a renter-friendly way to get a patchwork look without dealing with heavy cloth. Use multiple small frames holding fabric swatches or textile-look prints in terracotta, cream, and muted clay. The effect is warm and layered because fabric textures repeat across the grid, even though each piece is small. Choose frames with thin wood or light black metal so they don’t overpower the textile colors. It’s perfect for walls that need interest but have limited space — like around a corner or above a console.
Pick 9-12 frames and decide on a grid size first; a 30-40 inch square cluster often looks right on a console wall. Use removable hooks for each frame, keeping frame-to-frame gaps around 2 inches. Arrange swatches so terracotta pieces are distributed, not all in one corner. Level each frame as you hang, then step back and adjust the grid edges so it stays rectangular. Expect $60-200 depending on frame count and whether you buy fabric swatches or textile prints.
Choose one swatch with a subtle pattern like a faded stripe so the grid has rhythm.
Avoid adding too many different colors; terracotta plus creams should dominate.
13. Matte ceramic plate wall with removable hooks
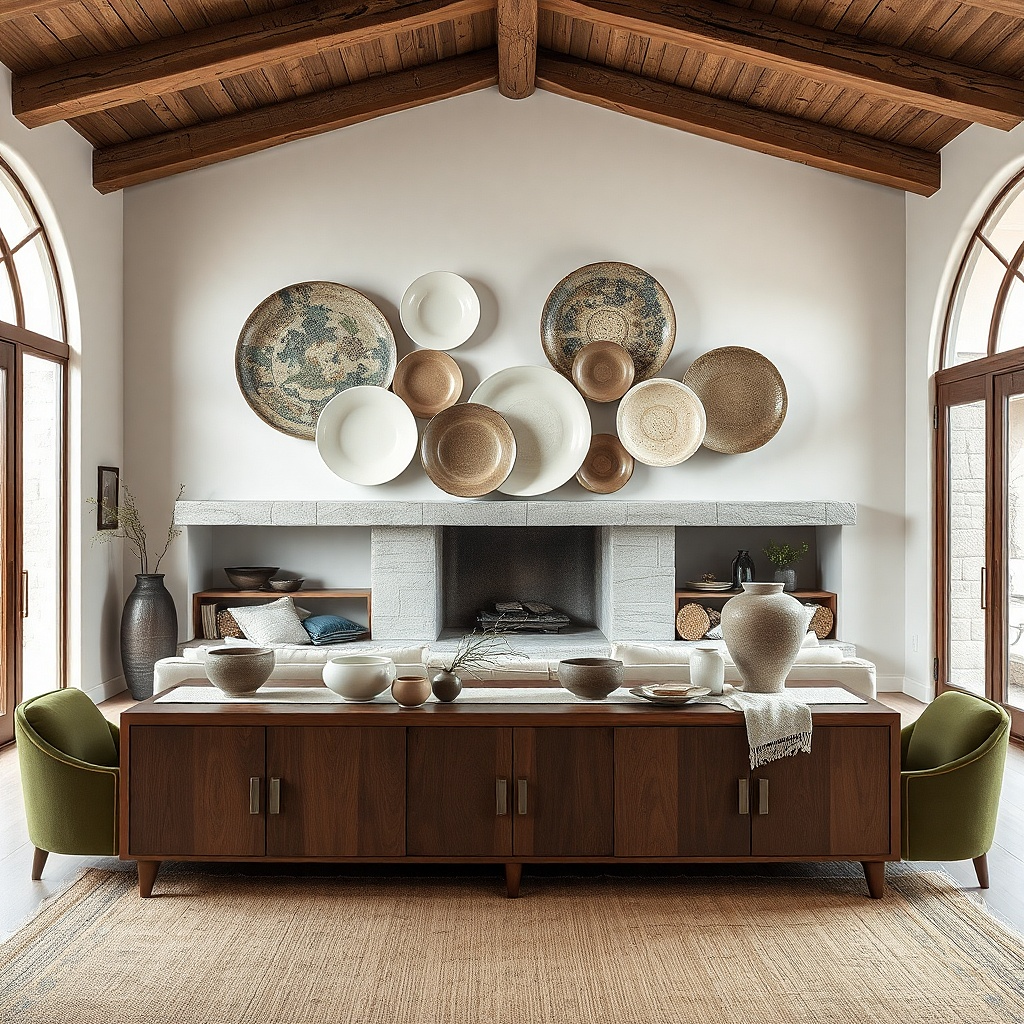
Choose 6-10 plates with a size range: small plates 6-8 inches and larger plates 10-14 inches. Test the wall mounting method on a scrap section if your renter setup allows, then install hooks at measured points using painter’s tape. Hang the largest plate first at center, then build outward with consistent vertical spacing of 3-5 inches. Keep heavier plates lower to reduce stress on mounts. Budget $50-180 for plates depending on whether you buy sets.
Ceramic plates bring rustic texture and a handmade feel. Go for matte finishes in warm white, sand, and one muted color like rust or sage, then mix sizes for dimension. Arrange them in a loose grid or slightly curved arc so the wall reads cohesive instead of random. Use removable plate hooks or adhesive mounts made for ceramic weight; plates can chip if you use flimsy hooks. This looks especially good when your room has wood furniture, neutral walls, and simple lighting.
Common mistakeSkip glossy plates; they reflect light and can look “dinnerware,” not wall decor.
Try thisUse one plate with a speckled glaze finish; it adds visual texture without adding more colors.
14. Rustic wall mural look using removable peel-and-stick wallpaper panel
Measure the wall and select a single panel size that covers the space without too many joins. Clean the wall and let it dry; apply wallpaper from the center outward to avoid bubbles. Use a plastic smoothing tool and trim edges carefully with a sharp utility knife. If you’re doing a full wall, plan for 2-4 hours; if it’s one panel behind the sofa, 1-2 hours is more typical. Cost usually lands around $50-150 for a panel depending on brand and size.
A wallpaper panel can give you the rustic “mural” look without committing to paint. Choose a design that’s subtle: aged paper texture, muted botanical line work, or a faint wood-grain pattern. Keep the color palette warm and low contrast so it doesn’t fight your furniture. Peel-and-stick works well for renters, but the seams matter — choose a panel with a repeat that aligns and hides edges. This is best for one wall where you want a background that makes everything else look intentional.
Common mistakeAvoid high-contrast patterns; they read trendy and can overwhelm rustic furniture.
Try thisFrame a simple mirror or print over the wallpaper so the mural look feels anchored, not floating.
15. Layered wood hoops and dowels with removable mounting
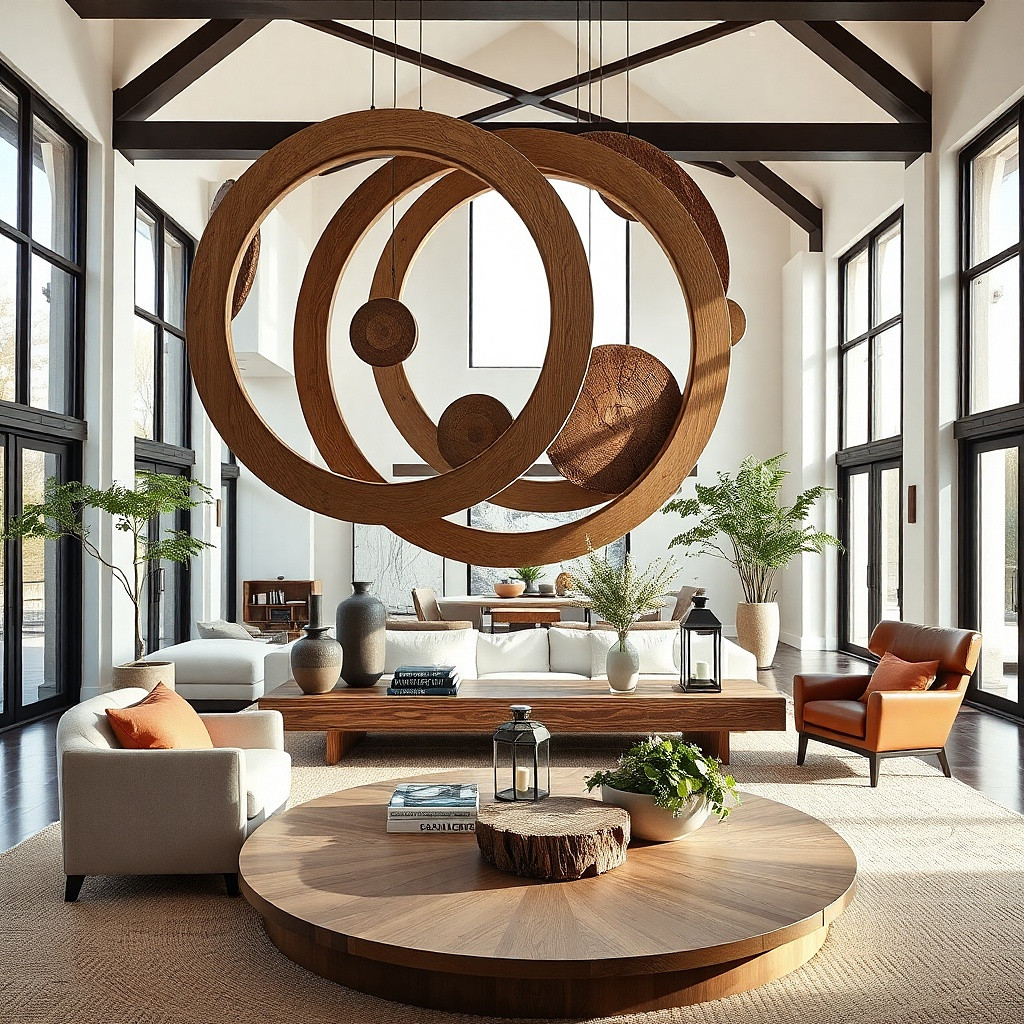
Pick a cluster size that’s around 20-36 inches wide so it reads from the room. Assemble the hoops on the floor first to decide the overlap so the center piece isn’t too low. Mount the heaviest point with a removable bracket rated for the weight, then hang lighter pieces with adhesive hooks or small removable nails if your system supports them cleanly. Level the cluster, then step back and adjust the angles until the overlap looks balanced. Materials cost is usually $30-120 depending on hoop sizes.
Wood hoops add a sculptural rustic look without needing a full wall installation. Use two or three hoops in different sizes, plus a couple of thin dowels arranged like a windmill or orbit so it looks layered. Choose unfinished or lightly stained wood in warm oak or walnut and keep the metal hardware minimal — black hardware is fine, but avoid bright silver. Renter-friendly mounting is easiest with multiple removable hooks or a small wall bracket that holds the heaviest center piece. This works well on a blank wall next to a sofa or above a console where you want shape and texture.
Common mistakeDon’t mix too many wood tones; two shades max looks designed.
Try thisAdd one small framed art piece near the cluster so the wall doesn’t look like only sculpture.
16. Rustic farmhouse sign style print in a large black frame
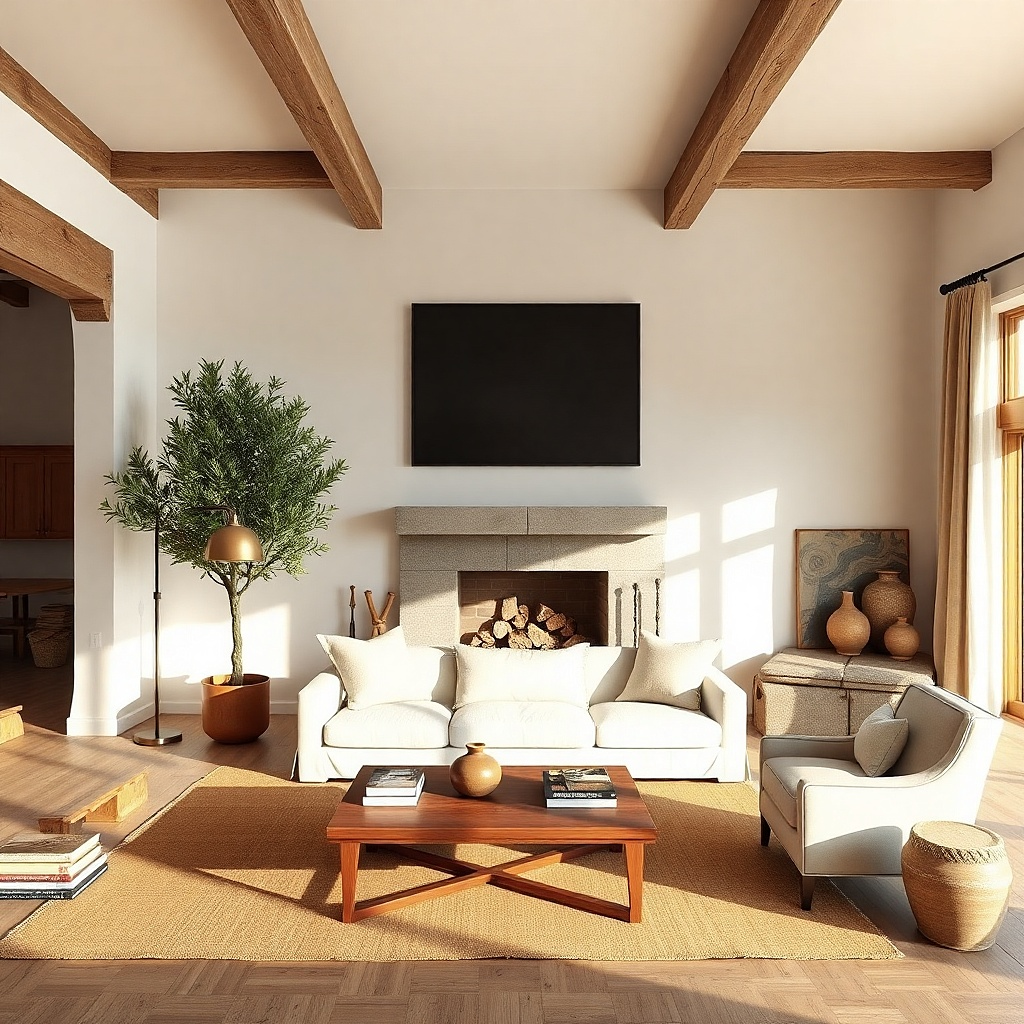
Choose a frame width that matches the wall — 24-30 inches wide is a common sweet spot. Use a mat and glass or acrylic that doesn’t glare; matte finishes read better in photos. Install removable hooks on the wall at the frame’s hanging points, then hang and level. Keep the sign text minimal and in a neutral ink color like dark brown, charcoal, or muted black. Budget $60-220 depending on frame size and print quality.
A sign-style print can look rustic and warm if you keep it clean and muted. Choose a large black frame with a warm cream mat, and pick a typography design that’s simple — no busy borders or glittery effects. Rustic warmth comes from the paper tone and mat color, not from loud lettering. Mount the frame with removable picture hooks so you can take it with you when you move. This works when you want a single focal piece that still feels layered because the mat and frame create depth.
Common mistakeAvoid frames with ornate gold corners; they skew the look away from rustic.
Try thisPlace the sign slightly above sofa head height so it reads as intentional, not like it’s slumping.
17. Vintage-inspired window frame shadow box with dried stems
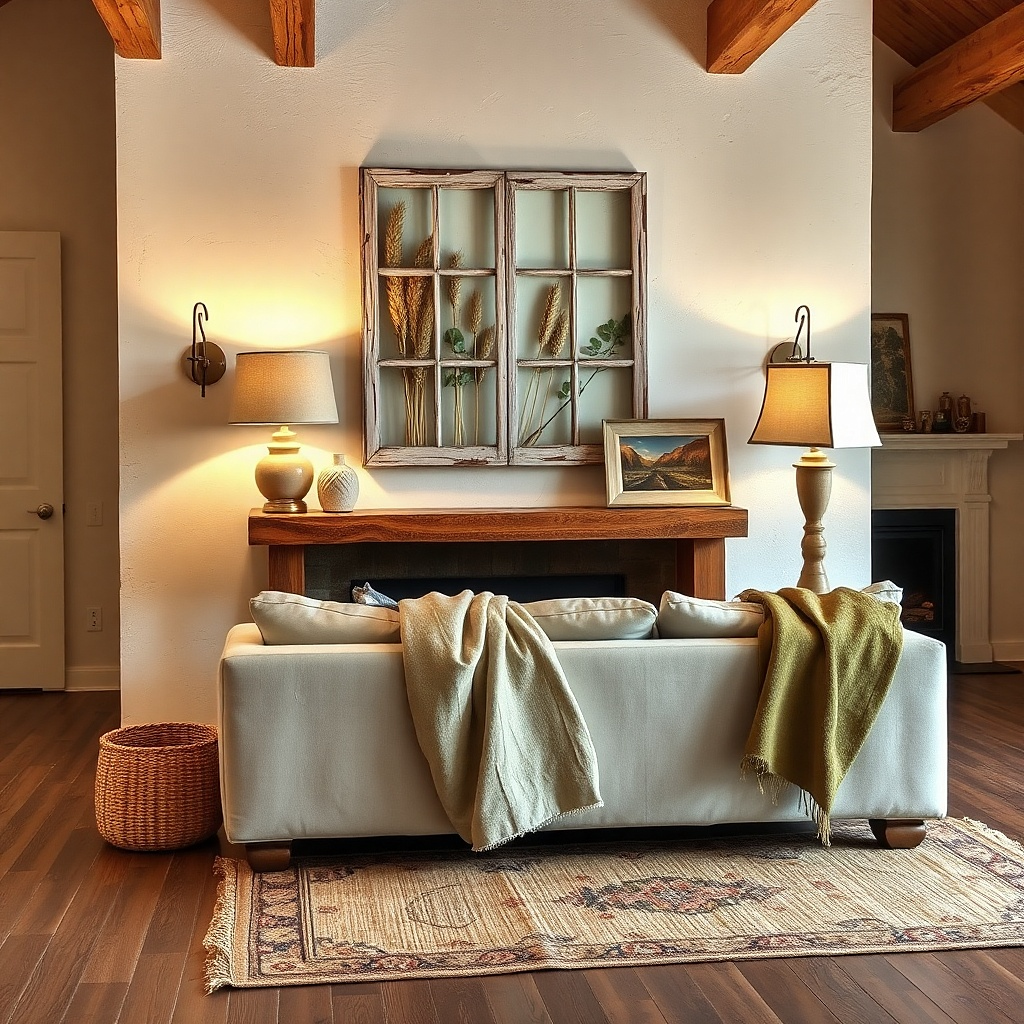
Pick a shadow box size around 18-24 inches wide so it reads from the room. Assemble stems inside using a simple base like a foam block or mesh grid, then secure with thin wire so stems don’t shift. Hang using removable picture hooks or a removable bracket system sized for the weight. Keep the inside arrangement slightly off-center so it has depth when light hits. Expect $60-200 depending on frame and stem materials.
A window-frame shadow box gives rustic depth and a collected, garden-like feel. Use a frame in distressed wood, then fill it with dried stems like wheat, eucalyptus-like leaves, or neutral grasses in cream and tan. The glass or clear front keeps the decor protected and makes it look finished rather than “craft.” This is renter-friendly because the shadow box can hang like any framed piece, and you can swap stems when they fade. It’s a strong option for walls that need texture but not more clutter — especially near seating areas.
Common mistakeSkip bright dyed stems; they make the wall look costume-like.
Try thisUse stems in only two color families — cream/tan and muted green — so the rustic look stays calm.
18. Textured wood slat wall art panel in warm gray-brown
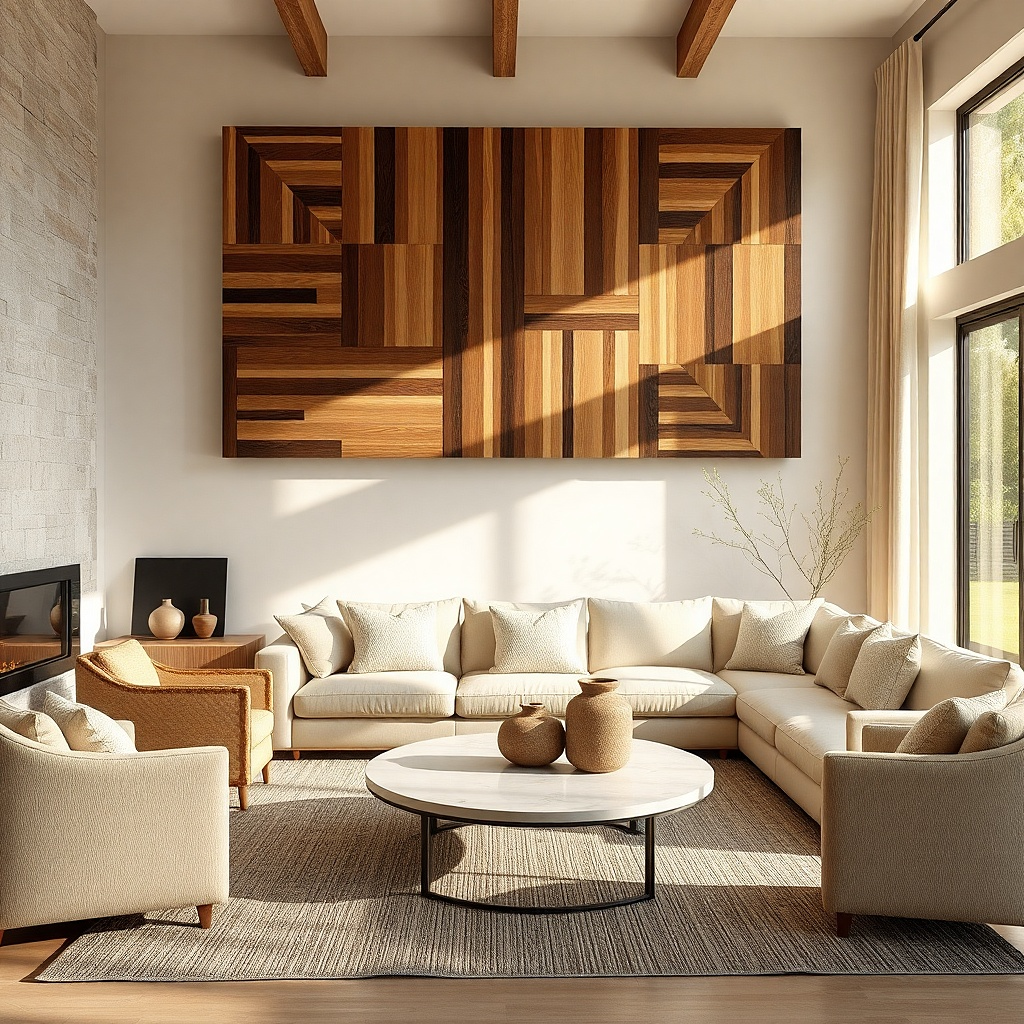
Choose a panel width around 24-48 inches depending on the wall blank size. Use removable mounting options rated for the panel weight; slat panels are heavier than prints. Mark the placement with tape and install mounts first, then attach the panel and level it. If the panel has keyhole mounts, test alignment by holding it against the wall before final hanging. Budget $80-250 depending on size and whether it’s handcrafted or mass-produced.
Wood slats bring dimensional rustic texture without the mess of full plank walls. Choose a rectangular slat panel with a warm gray-brown stain or light walnut so it doesn’t turn orange. Keep the slat depth shallow — enough to catch shadows — but not so thick it dominates the entire wall. Hang it as a single anchor, then add one small frame or sconce around it to complete the look. This works great for renters who want the “architectural” feel but need removable installation.
Common mistakeAvoid very dark black slat panels unless your room has lots of warm light.
Try thisPlace a light-colored frame next to the slat panel so the shadows look intentional instead of gloomy.
19. Woven runner wall hanging for a layered horizontal look
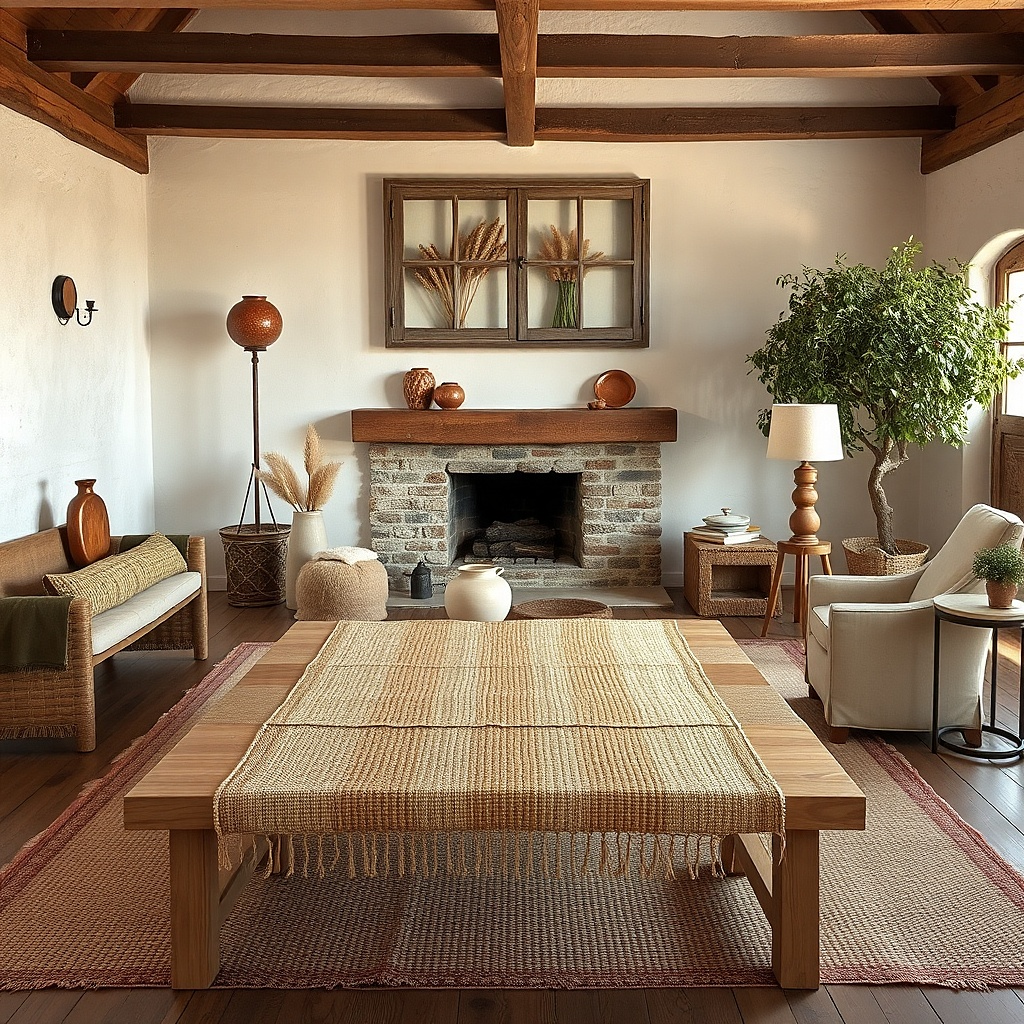
Choose a runner length that covers about 60-80% of the wall width where it hangs. Install a removable rod or clip system at the top edge so the runner falls straight and doesn’t sag. Use 2-3 support points along the top if the runner is thick, and keep the bottom edge aligned with sofa back height. Steam lightly if it’s wrinkled, then hang and adjust. Cost usually lands around $35-150 depending on size and thickness.
A woven runner hung horizontally creates a layered, long-line effect that feels rustic and grounded. Look for a runner with subtle stripe or block pattern in oat, tan, and muted clay. Horizontal placement makes the wall feel wider and calmer, which is helpful in living rooms with narrow layouts or low ceilings. Renter-friendly mounting can be done with a removable rod or with clips on a tension system. This is a smart choice when you want rustic warmth but don’t have space for a large mirror or big gallery wall.
Common mistakeSkip very thin runners; they look like temporary decorations instead of intentional wall decor.
Try thisAdd a small ceramic bowl or tray below to echo the woven texture and create a visual rhythm.
20. Matte black and wood wall sconces with removable power cords
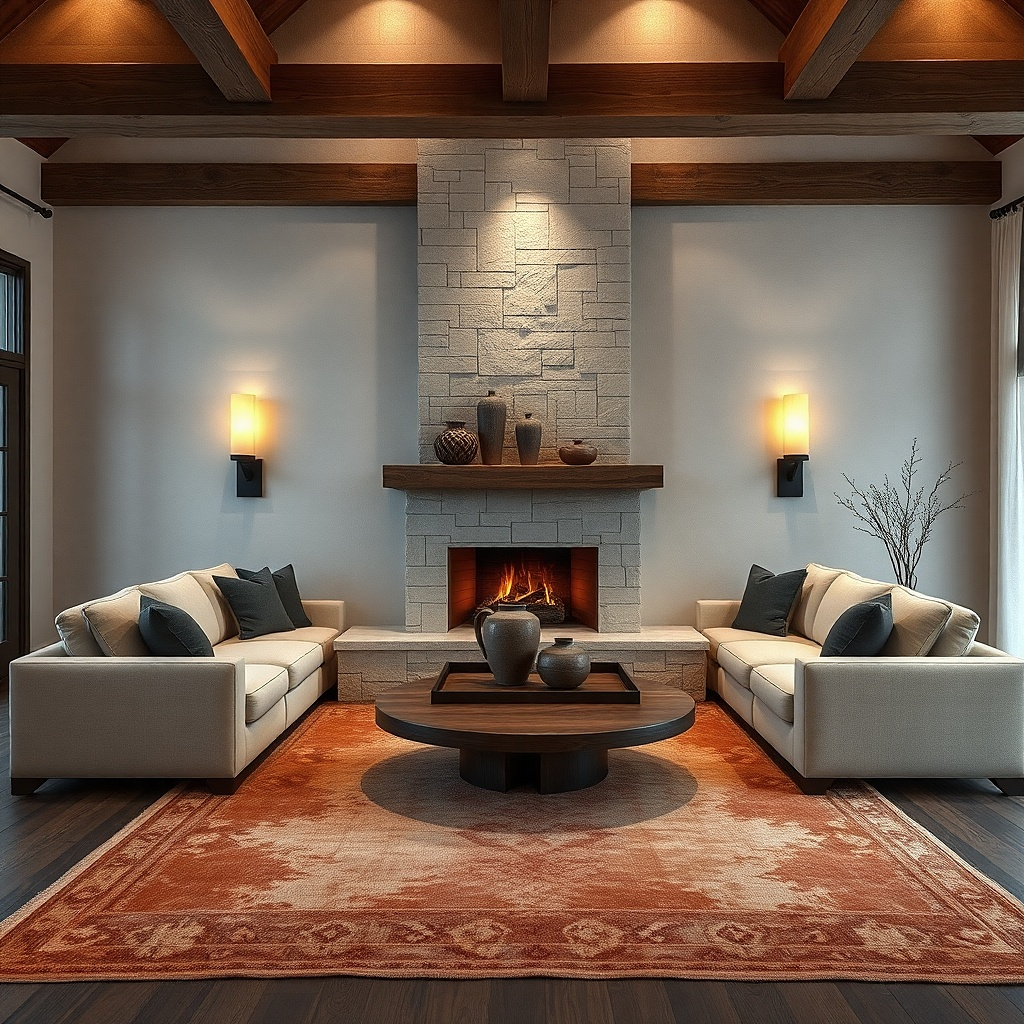
Choose plug-in or battery-backup sconces that come with removable mounting plates. Mark stud locations if you have them, but if you’re fully renter-friendly, use the included adhesive or clamp mounts designed for the wall type. Install the plates first, then attach sconces and route cords neatly behind decor or along baseboards using cord covers. Use warm bulbs and keep the shade height so light lands at eye level and doesn’t glare. Budget $80-250 for a pair depending on style and bulb type.
Rustic wall decor looks warmer when you add light with character. Wall sconces in matte black with wood accents create that grounded rustic contrast, especially when paired with warm bulbs in the 2200-2700K range. Because you’re using removable power-friendly options, you can avoid hardwiring — a big win for renters. Place them on either side of a mirror, a framed textile, or a wood slat panel to create symmetry. This makes the wall look designed even when you don’t add many objects.
Common mistakeAvoid cool white bulbs; they make wood and woven textures look dull.
Try thisUse one warm-toned shade fabric or diffuser so the light looks soft against rustic textures.
21. Rustic wall clock plus small framed botanical prints in a tidy set
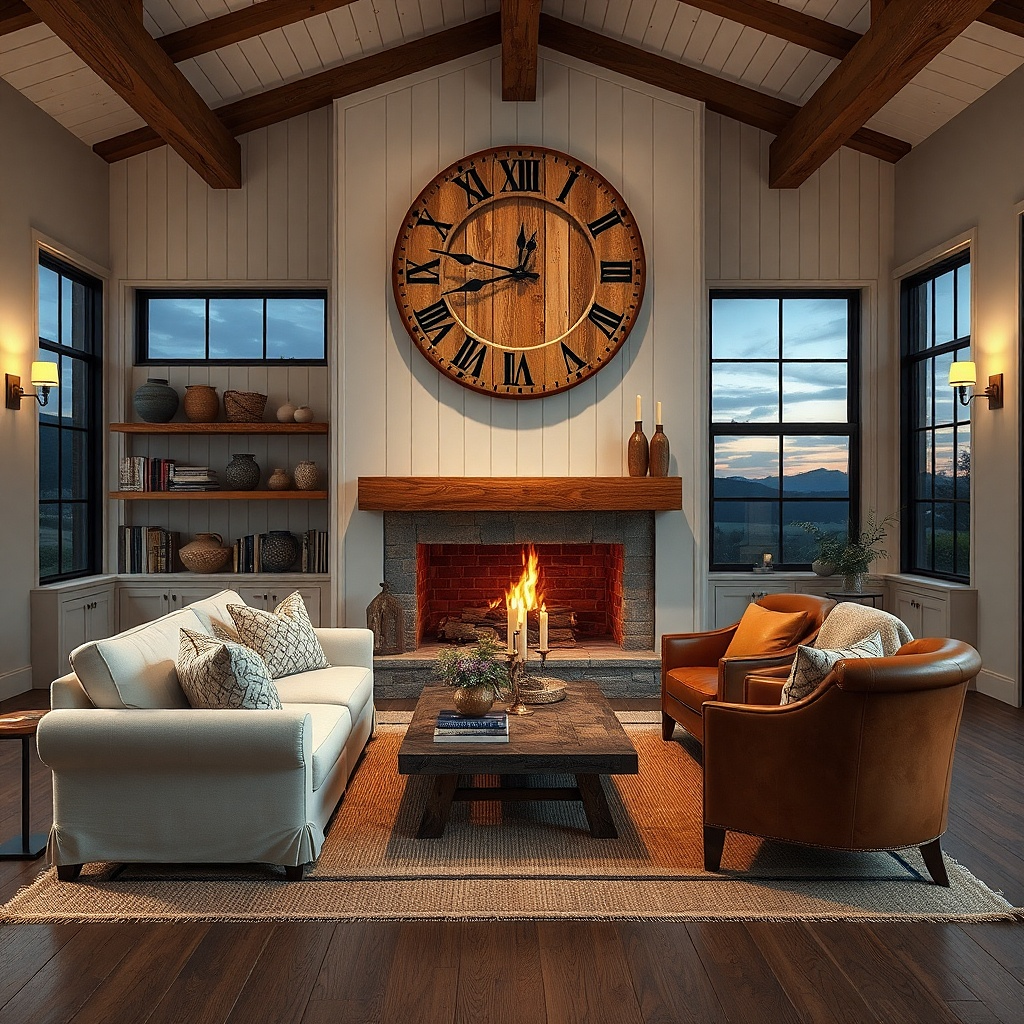
This is a layout trick: use one functional anchor (the clock) and two smaller botanicals to build a balanced rustic frame around it. The clock provides scale and structure, while the botanicals add softness and warmth without turning the wall into a cluttered gallery. Pick a clock face that’s understated — matte or lightly distressed — and botanicals in muted greens on cream paper. Mount the clock and frames with removable hooks so you can move them easily. This setup is great for renters who want a polished wall without spending hours arranging frames.
Pick one clock about 14-18 inches wide and two frames around 8x10 or 11x14. Hang the clock first and center it on the wall, then place the two frames symmetrically at equal height to the clock midline or slightly below. Use removable hooks sized to each frame weight; keep the clock’s mount within the system’s weight rating. Step back and confirm symmetry from the sofa before you fully commit. Expect $90-300 depending on clock and frame materials.
Use matching frame finishes for the two botanicals to keep the set from looking random.
Avoid mixing too many styles of botanical prints; keep them all muted and heritage-style.
22. Oversized framed linen map print in warm wood frame
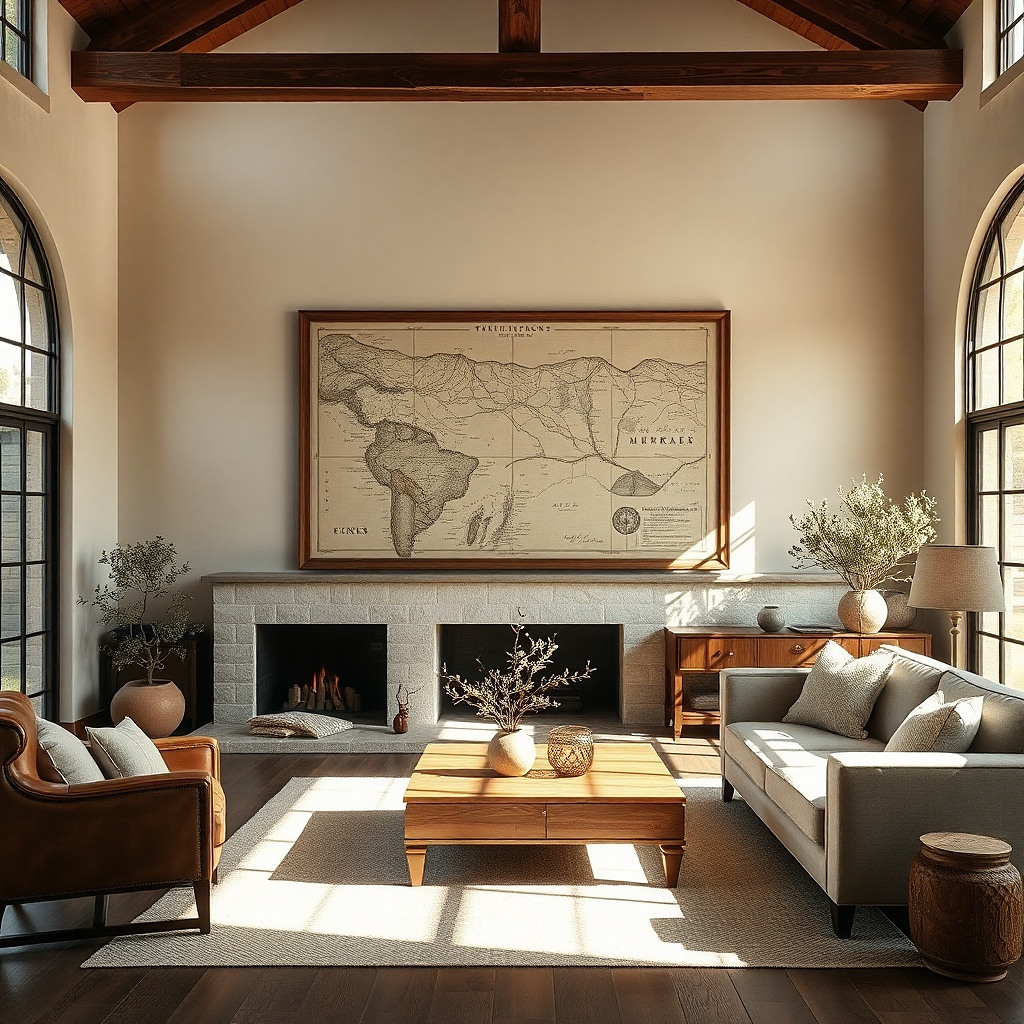
Choose a frame size that is about 50-70% of the width of the sofa, usually 30-40 inches wide for many living rooms. Use a mat board in warm cream and keep the print unglossy to avoid glare in daylight. Install removable picture hooks based on frame weight and hang at eye level; bottom edge around 56-60 inches from the floor is a good starting point. If the wall is textured, use a mounting method rated for that surface so the frame doesn’t loosen. Budget $70-250 depending on frame and print size.
A linen-style map print gives rustic character with a subtle, timeless feel. Choose prints with a worn paper background and muted ink colors like sepia, olive, and charcoal. Frame it in warm wood — walnut or dark oak — with a cream mat so it reads cozy instead of vintage-catalog. This works because the map adds visual interest without loud colors, and the linen texture cues make it feel layered even though it’s one piece. Mount it renter-friendly with removable hooks and keep it as a single anchor on a blank wall.
Common mistakeAvoid bright modern map colors; they fight rustic warmth.
Try thisPair the map print with one warm wood element nearby like a coffee table tray to tie the look together.